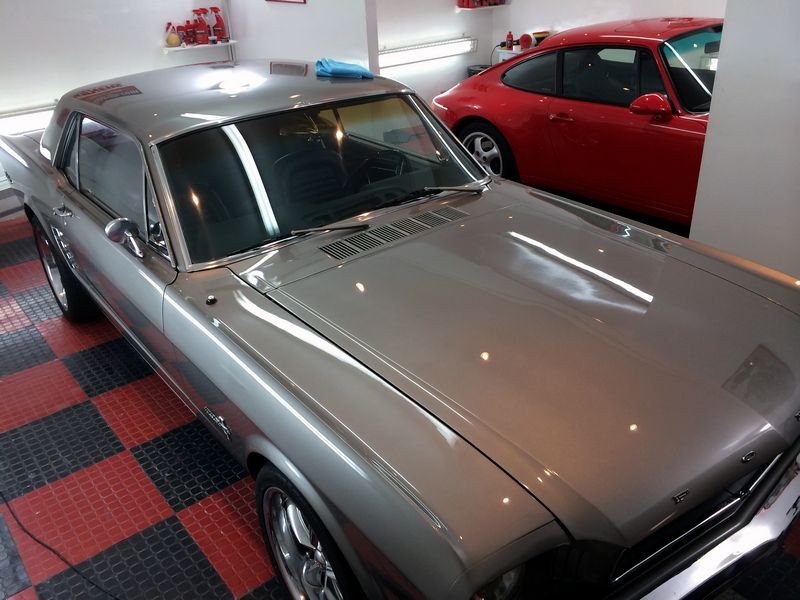
Glass polishing left streaks only when glass is wet

Nexifer

New member
Joined
Dec 21, 2012
Messages
12
Reaction score
0
I polished my windshield using Ceriglass and an Orange pad on a Porter Cable. The water spots and overspray all came off and looks great. I did not seal the glass though and when it rains, the wipers show marks (buffing marks) on the glass that only show up when its wet. Will a sealer like Diamondite stop this from occurring? The glass looks perfect when its dry...

Thanks
 
I get this too and I don't know why it happens. It must be something with ceriglass that it doesn't wipe off easily. Use an apc and or clay to clean the glass. Use a spray bottle of water to test if it's clean again or not. I've had success doing this a few times.

Sent from my SCH-I535 using AG Online
 
I polished my windshield using Ceriglass and an Orange pad on a Porter Cable.

The water spots and overspray all came off and looks great.

Sorry I just now found this, been kind of busy behind the scenes...

So you're saying you used Ceriglass with an Orange foam cutting pad?


I did not seal the glass though and when it rains, the wipers show marks (buffing marks) on the glass that only show up when its wet.

That's strange.


Will a sealer like Diamondite stop this from occurring? The glass looks perfect when its dry...

Thanks

I don't think any glass sealer will undo any surface imperfections in or on the glass caused when buffing.

One thing I'd recommend and that's to SHAKE the Ceriglass polish up very well before use and after use.


2 Questions


What speed setting did you use on your Porter Cable?

What size pad did you use?


:)
 
Just to note....


I've never tried the Ceriglass with a foam pad.


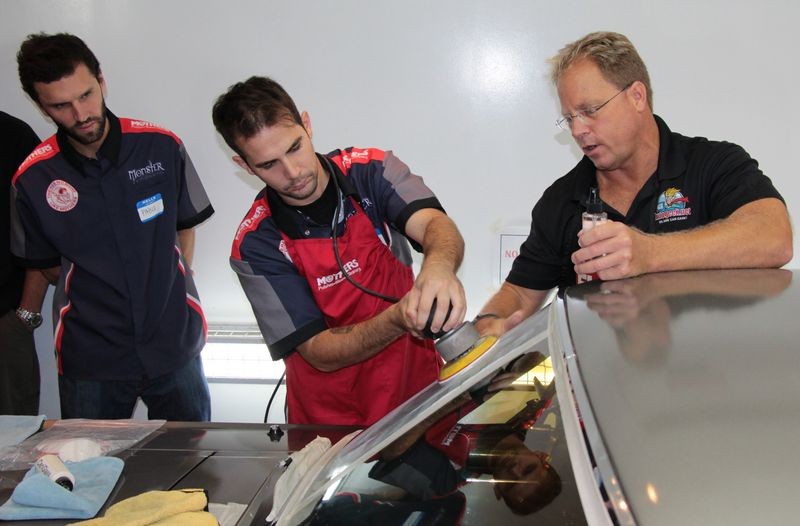
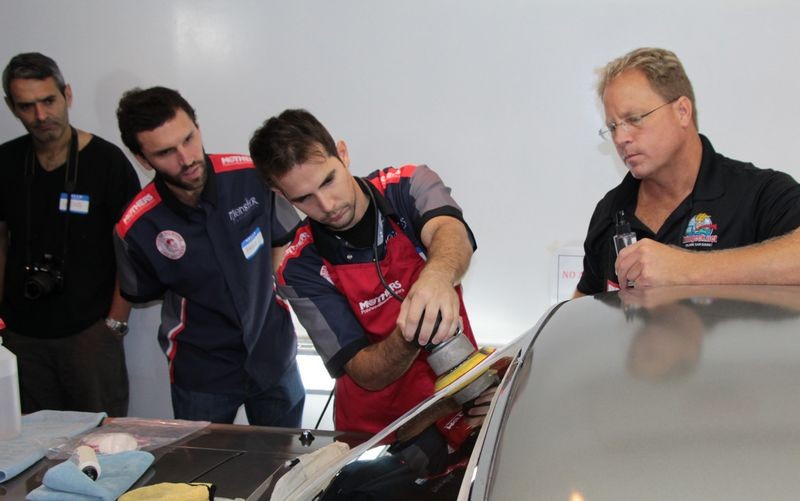
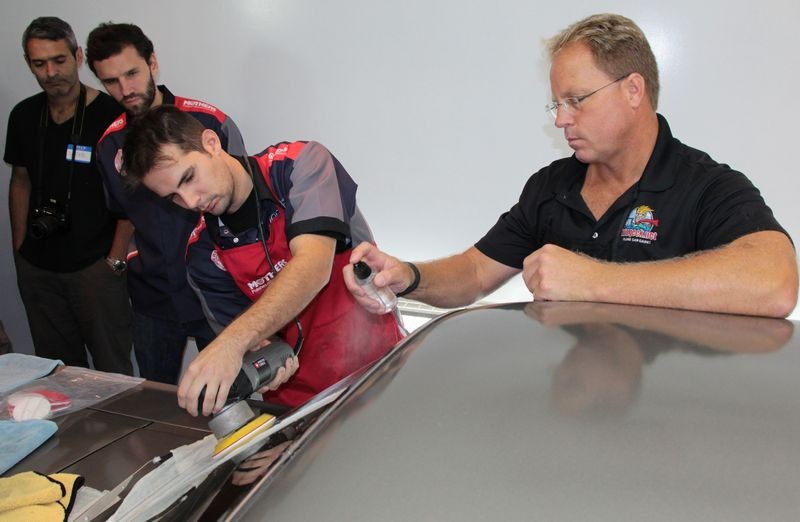
The last time I used the Ceriglass "system" was when I was in Argentina teaching my 2-day Detailing Boot Camp Class and we used a 1965 Mustang for our demo car and demo windshield.


Glass polishing - How to remove scratches in glass


The below is from page 4 of the above thread,


I shipped these products to Argentina and then used the step-by-step directions shared in this thread to teach the guys in the class how to remove wiper scratches from a classic Mustang windshield.

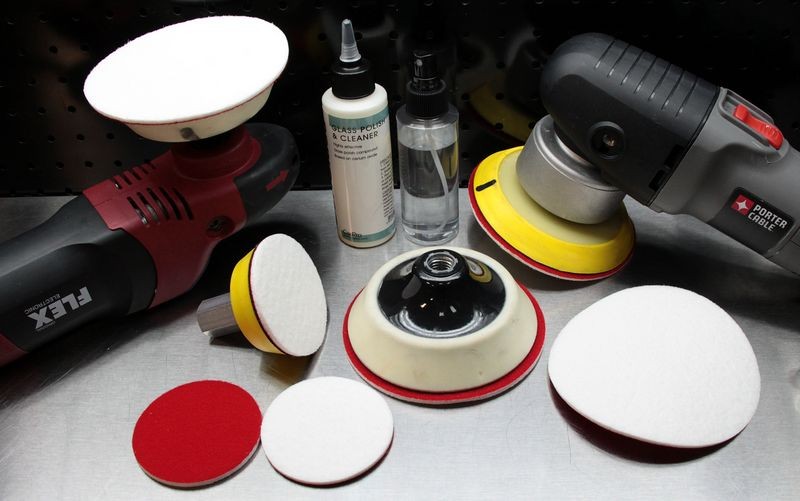
Cerium_Oxide_Glass_Polishing_Tools.jpg


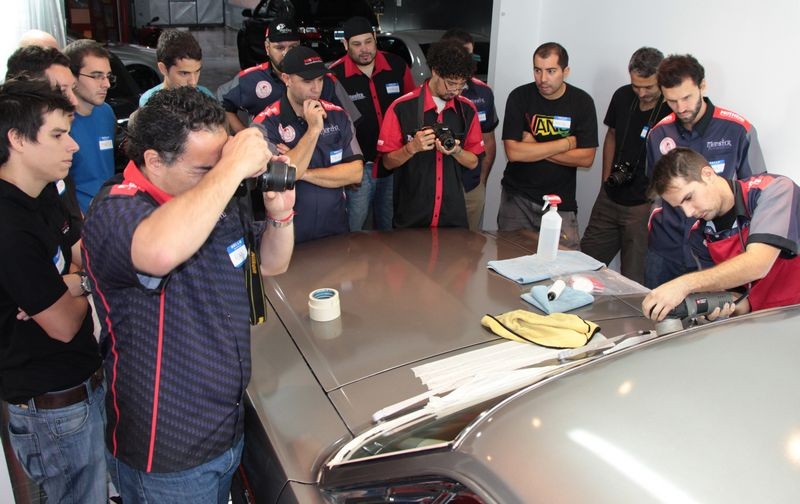
On Saturday April 5th and Sunday, April 6th, we held our two-day detailing boot camp class at my good friend Christian Thompson's detailing shop in Buenos Aires, Argentina.

In my detailing boot camp classes I teach the order to do each step when detailing cars. The pictures below are taken from the different steps after first going over the products and procedures in a power point presentation. After each step is presented in the power point the topic ends with a slide that reads,

Break for hands-on

Detailing_Class_in_Argentina_000.jpg


These classes are fast paced with a little classroom time to get the head knowledge needed to do a specific task or procedure the right way followed with plenty of shop time using the products and tools to back up what was learned in the class.


Removing Scratches out of Glass
One of the demo cars was a restored Mustang in dire need of both wetsanding to remove surface texture as well as glass polishing to remove decades of wiper scratches in the windshield.

For this we used the Porter Cable 7424XP plus Ceriglass from CarPro which uses Cerium Oxide for an abrasive to actually abrade the glass and level it thus removing the scratches.


The first thing I teach guys is to never start on the driver's side where if something were to go wrong you could impair the driver's vision. Instead, I teach to start on side glass, back glass or in this case, the passenger side of the windshield.

Detailing_Class_in_Argentina_001.jpg


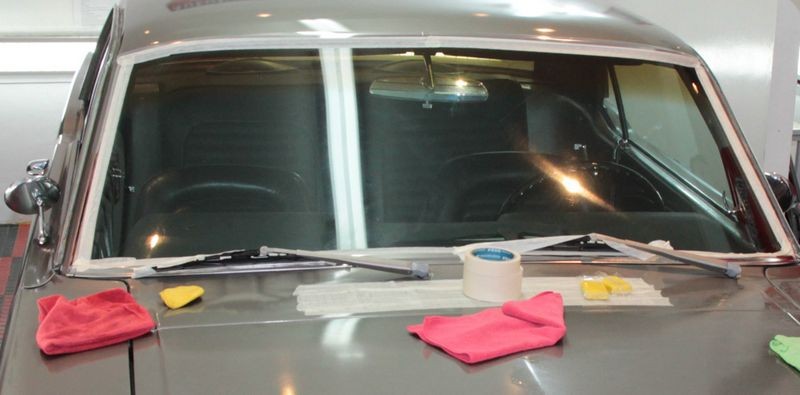
Classic cars have what are called fresh air grills where vents inside the car can draw fresh air. In most cases you cannot get to the sheetmetal below the grill to clean and remove any splatter from the glass polishing process, (or the paint polishing process), so it's important to tape-off and cover up the openings on fresh air grills on classic cars.

Detailing_Class_in_Argentina_002.jpg


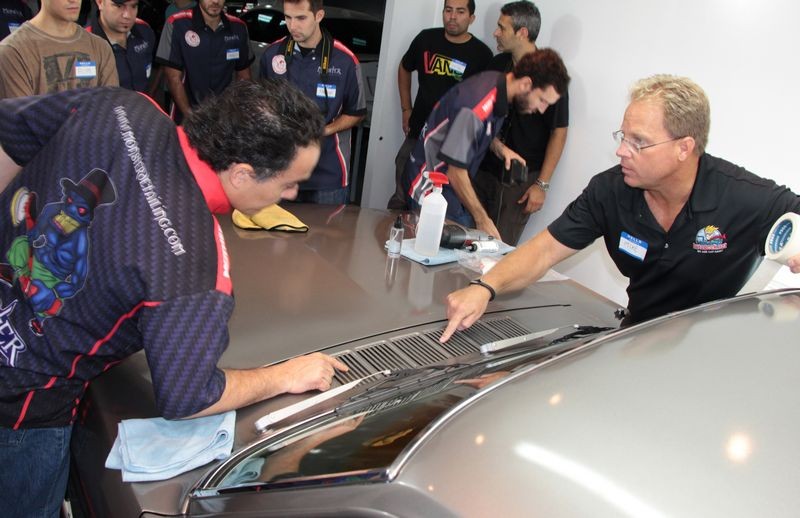
Here were inspecting the sheetmetal below the grill as there is already compound splatter from the other people that have at one time or another buffed out this car.

We're not going to add to it at this class...

Detailing_Class_in_Argentina_003.jpg


After covering the fresh air grill with some masking tape I start by demonstrating the correct technique for using a Porter Cable to remove scratches out of the glass.

Detailing_Class_in_Argentina_004.jpg


Detailing_Class_in_Argentina_005.jpg


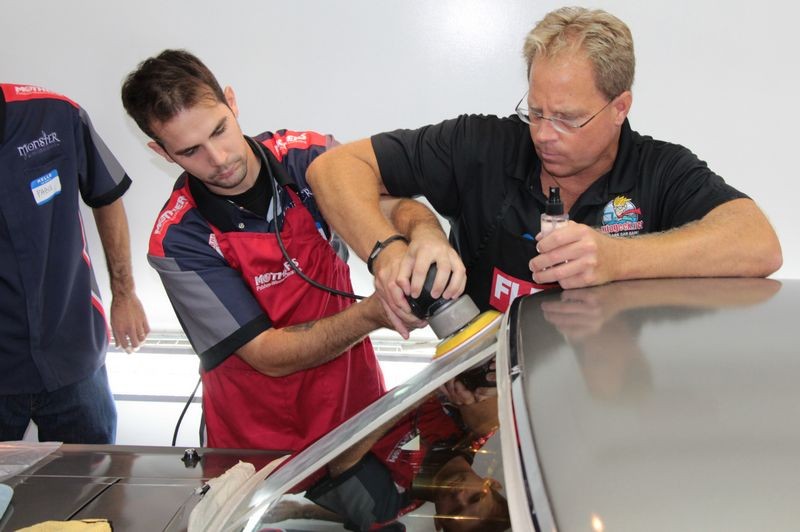
After inspecting the results from the first few passes to show the scratches are being removed and optical clarity is being restored, it's time for one of the students get some hands-on training and experience.

Detailing_Class_in_Argentina_006.jpg


Detailing_Class_in_Argentina_007.jpg


Detailing_Class_in_Argentina_008.jpg


Perfect technique his first time machine polishing glass....

Detailing_Class_in_Argentina_009.jpg


When machine polishing glass it helps to have a buddy to mist a little water while you're buffing because glass polishes tend to dry up quickly. This works best with a water sprayer that really does a good job of atomizing the water into a fine spray as this dramatically reduces any splatter mess.

Detailing_Class_in_Argentina_010.jpg


Detailing_Class_in_Argentina_011.jpg


They also learned how to machine sand as we used this classic Mustang as our demo car for wetsanding and how to use rotary buffers.


Detailing_Class_in_Argentina_152.jpg


So the glass polishing techniques shared in this article work just be sure that any time you're machine polishing scratches out of glass start like we did and that's by testing as well as starting on the passenger side not the driver's side.


Full write up from the Argentina trip here,

Autogeek's Detailing Class in South America!


:)
 
I know Mike is on the case so what I have to add is little but a couple of questions came to mind

1) Did you dry buff or kept the product WELL lubricated? Uneven cutting may be due to uneven spread of dry product
2) Why did you select the orange pad over something more aggressive like a rayon pad?
3) You mentioned that the water spot and "overspray" came off. Were you dealing with paint overspray which you chose to buff off over claying or scraping off (with a razor blade). Could you have picked up some of that overspray on your pad as you were polishing and instilled some defects in your glass at the same time?
4) Did you work the product long enough? Without a rotary or a forced rotation DA it does take a little longer.
5) Mike already asked about the speed, pad size, so only thing to add is what arm speed did you use? Was it consistent with consistent overlap or more random"ish"?


:dblthumb2: Great follow-up questions.... :dblthumb2:


The reason I want to know which size pad was used because if it was too big and the speed wasn't on the 6.0 setting, chances are good it wasn't rotating effectively and thus vibrating and I'm thinking that vibrating Cerium Oxide against glass might remove topical defects but it also might leave a type of marring on the surface too.

Just a guess....

Like mentioned though... I've never tried any Cerium Oxide glass polish with foam, only dedicated glass polishing pads.

When it comes to Ceriglass I've had fairly good results but I'm really good about shaking the product first and ALWAYS test on glass NOT in the field of view of the driver. Just in case something goes wrong...


:)
 
I used the foam because last time I used a glass pad it seemed too thin. I used the Porter Cable at 4 and 5" orange foam pad and polished until the ceriglass seemed to disappear. Washed well with water. The results are perfect until the glass gets wet. The wipers then show the marks. I can repeat with a glass pad and see if it improves but it seems to me that the foam pad is less aggressive than the glass pad. I did shake the ceriglass well. I am waiting for Pinnacle sealant to see if this improves the issue. If the glass is sealed and does not get wet, perhaps it will no longer show up. Just a thought.
 
Clean it first with an apc. See if it works. Sounds exactly like what I had.

Sent from my SCH-I535 using AG Online
 
Should I not be buffing until the polish disappears? Perhaps this is introducing those marks.
 
Thank you Nirvalica! I used a cleaner/degreaser and washed off. No more marks. Its really odd, I drove through a tropical downpour for over an hour on Sat night and washed with Invisible glass cleaner about 5 times and whatever was left on the glass didn't come off. The cleaner seems to have done the job. I will be sealing the glass with the Pinnacle glass sealer as soon as it arrives...
Perhaps this step should be added to the instructions.
Just a side note regarding overspray. I did deal with this once before using a clay bar. I recently used a dedicated glass clay bar with poor results. I think a regular clay is necessary for overspray. At least the stuff they put on my pavers... But since I was ready for a good waterspot polishing, I went to the ceriglass.
Thanks everyone. Always something to learn here!
 
Thanks. Next time I will keep it lubricated and use water misting as per tutorial.
 
Thanks. Next time I will keep it lubricated and use water misting as per tutorial.
I've used it a few times, each time keeping it wet and spraying often. And each time I still get the weird streaking. It must just be part of it...
 
Back
Top