SeaJay's
New member
- Aug 2, 2010
- 3,070
- 0
This customer came to me via Facebook. He owns his own business where he rents our his Corvette ZR1. Unfortunately, the Vette was not on the books for this detail. Instead the truck he uses to tow the Vette around was in dire need of a full detail and we decided upon a 1 step correction to save him some money.
Took me about 10 hours to get the truck to the finished state. The interior was a lot worse than I originally had thought, so a good amount of time was spent on there and on the 1 step correction.
Products Used:
OPC - Diluted 4:1 for interior
DP Xtreme Foam
Duragloss 901
CG Diablo Wheel Cleaner gel
Superclean degreaser diluted 3:1
DP Clay
ONR - Diluted to clay lube
Stoners Invisible Glass
DP Carpet & upholstery cleaner
Leather Masters Leather Protectant
Menzerna Power Finish
Pinnacle Souveran
Pinnacle Black Onyx Tire Gel
P21s polishing soap
Equipment Used:
3 - 5 Gallon Buckets - 2 with grit guards
Cobra Chenille Wash Mitt
Various MF's
Various Brushes
Powermate Pressure Washer
Foam Lance
PC 7424xp
5.5 LC CCS flat pads - White for 1 step and red for wax
Wet/Dry Vac
Vapor Clean Gaia
Onto the pics...Sorry there aren't too many for the interior. I had actually forgot my camera and steamer. So after I vacuumed the interior I ran home and grabbed my camera and steamer.
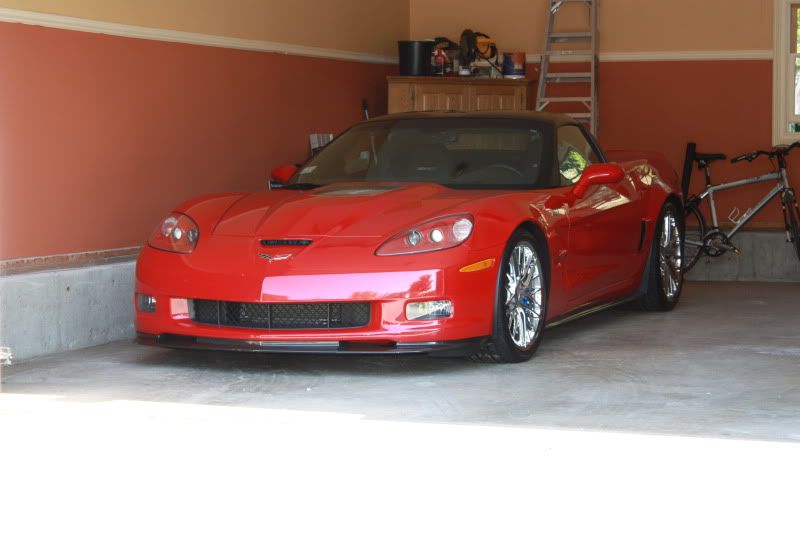
1st here is a pic of his vette....I will hopefully have the pleasure of detailing this in the future.
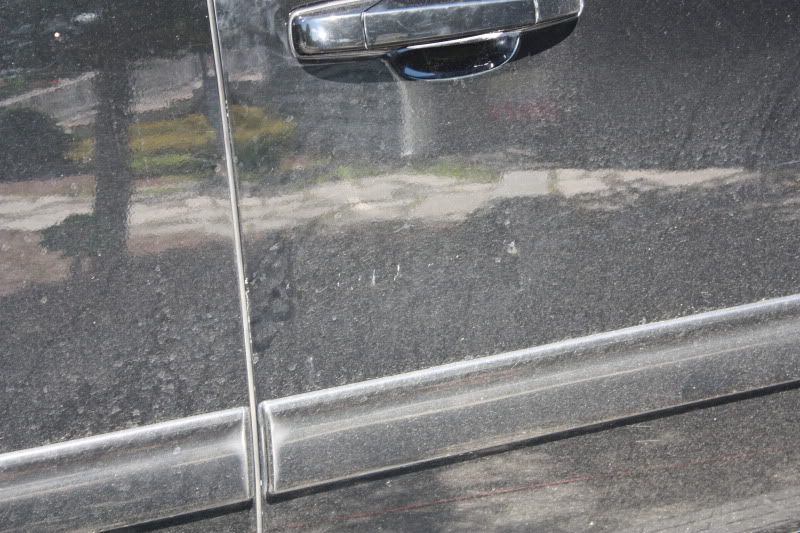
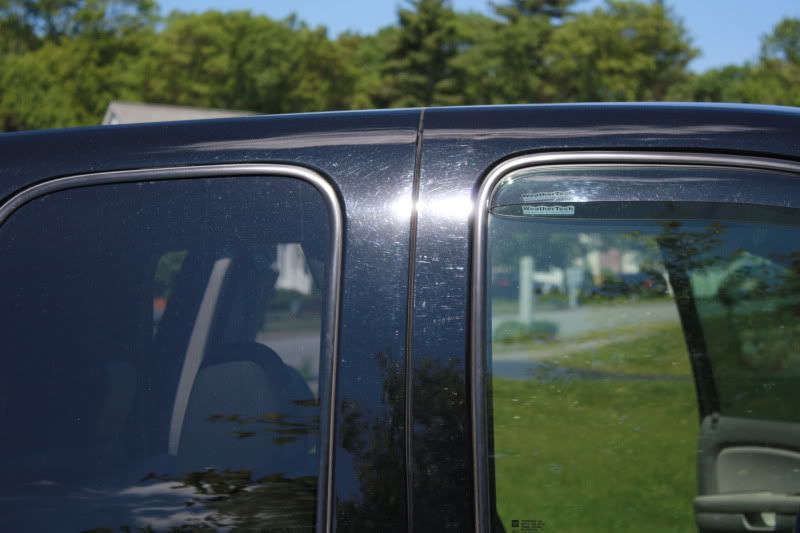
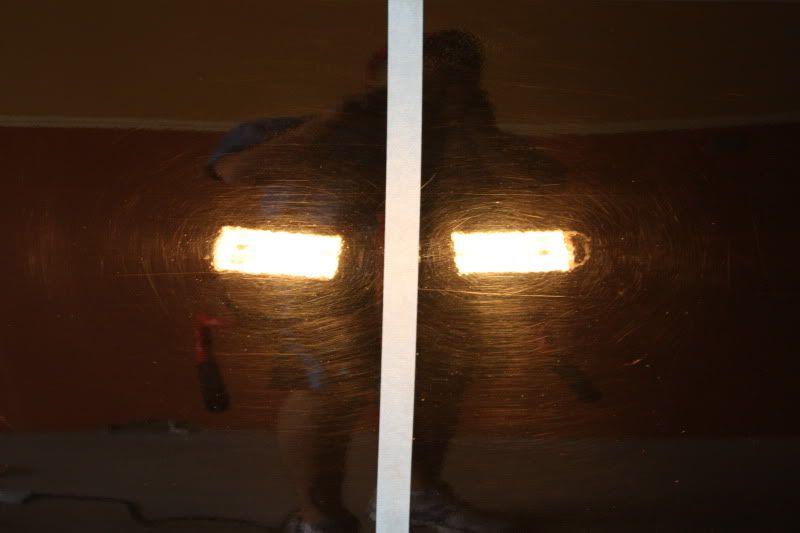
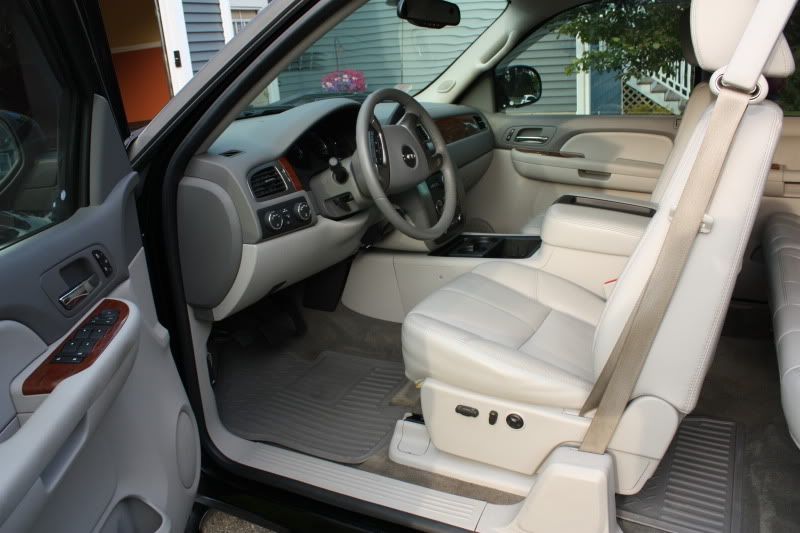
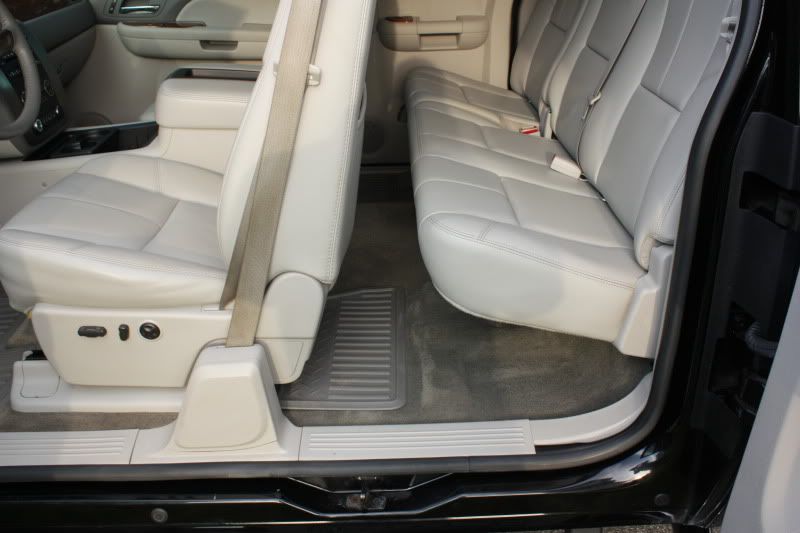
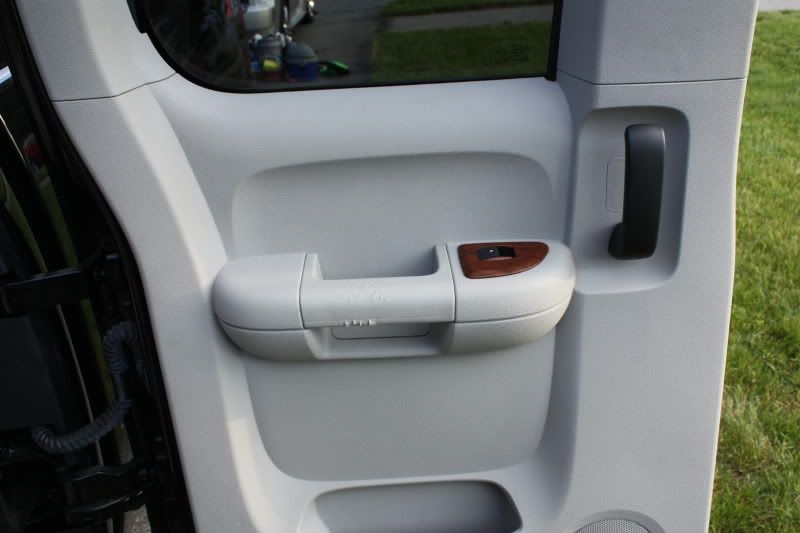
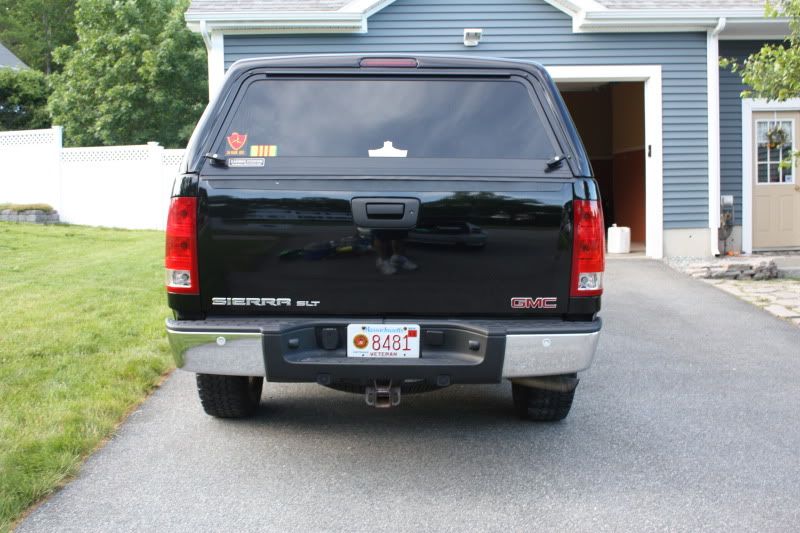
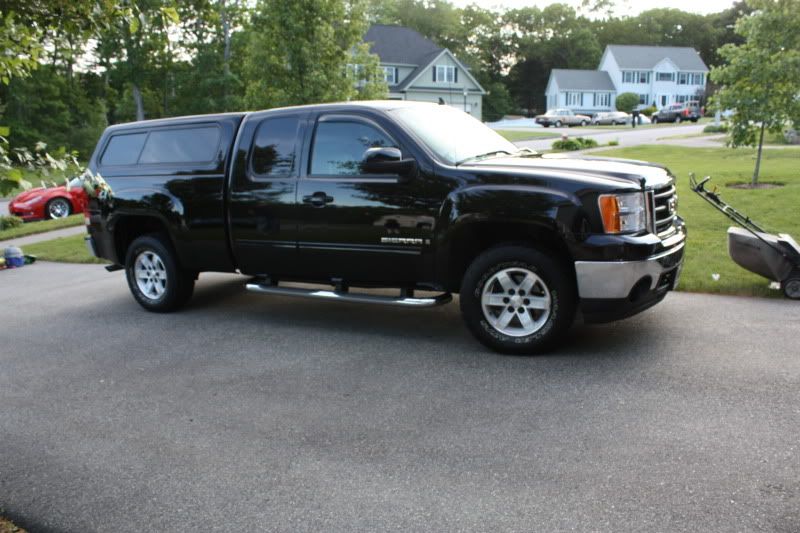
And the before pics of the truck
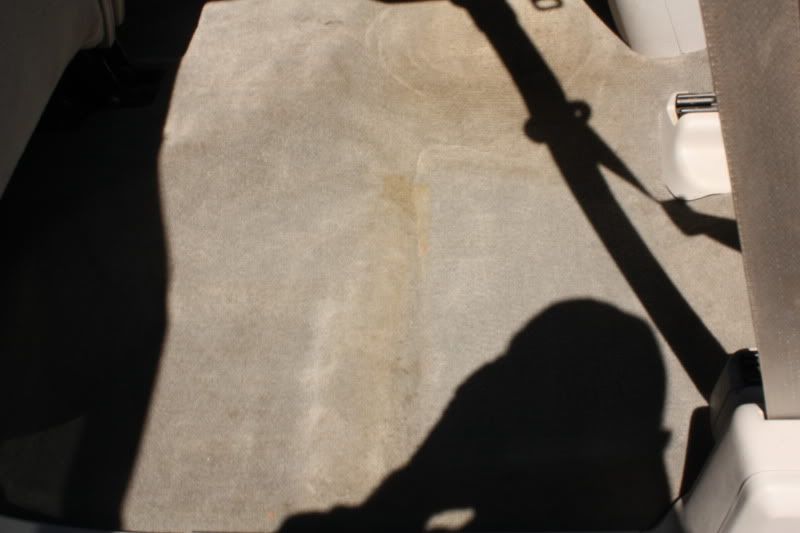
Carpet stains were really pretty bad as were the leather seats.

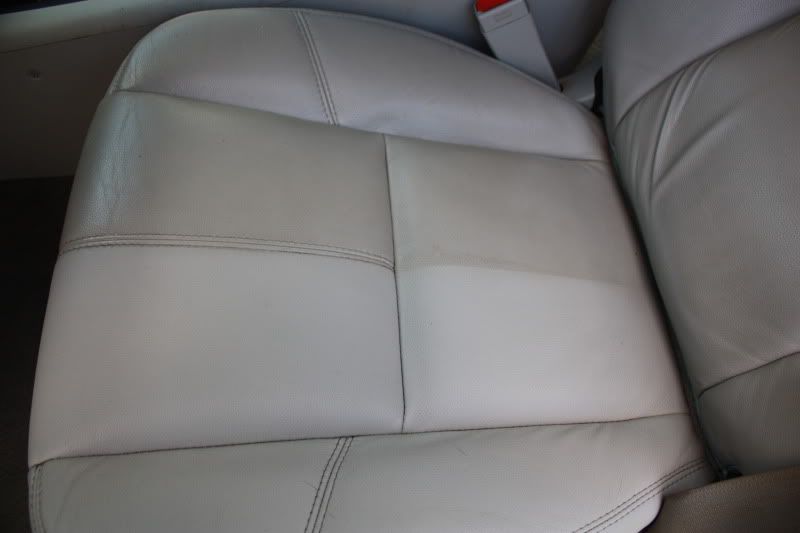
50/50 of the drivers side seat. All the seats were just as bad as this...spent lots of time removing grime and dirt from the seats and the stains from the carpet.
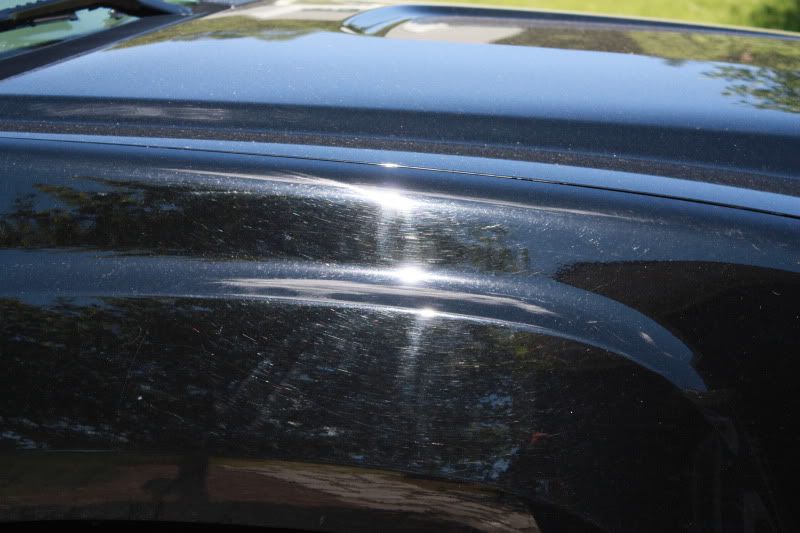
Correction pics - sorry again not too many it was taking me much longer than expected.
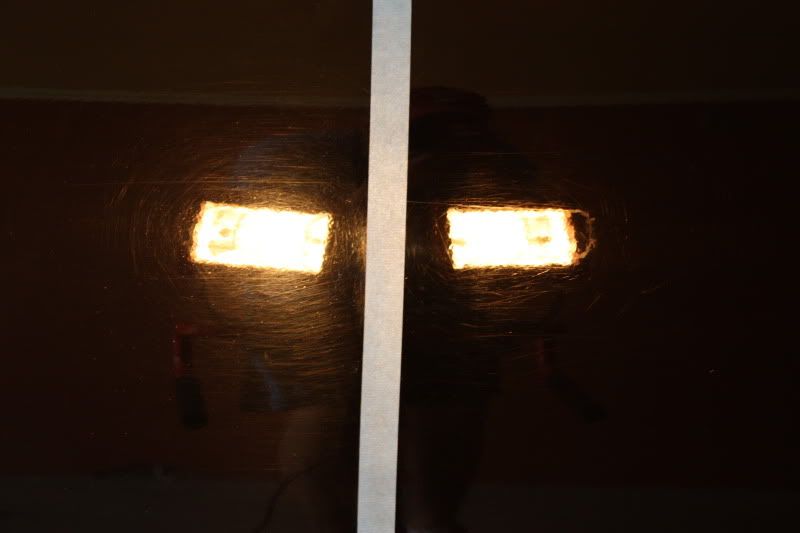
Before pics
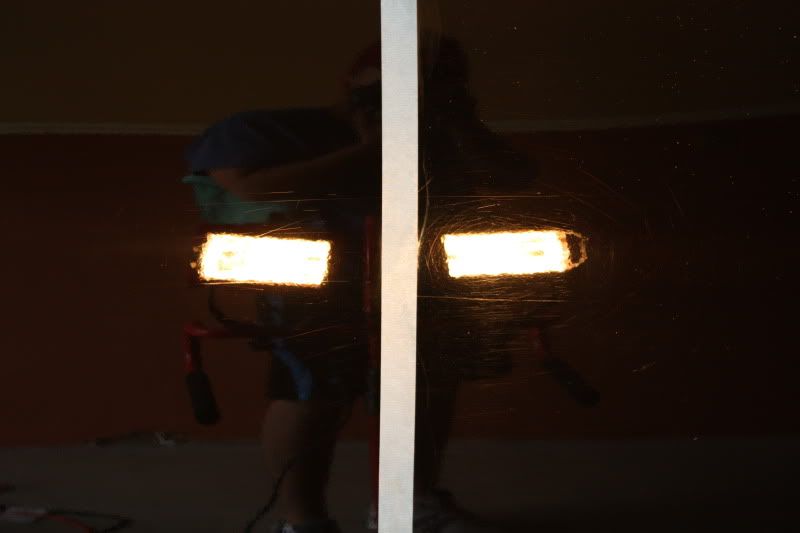
I had some Griots Garage Machine Polish 3 that I hadn't tried it out yet. So figured I'd give it a shot. Right side was hit with this. Not bad but I thought I could do better
So I then hit the left side with Menzerna Power Finish. As you can see Menz compared to Griots. Both on LC CCS white pad.
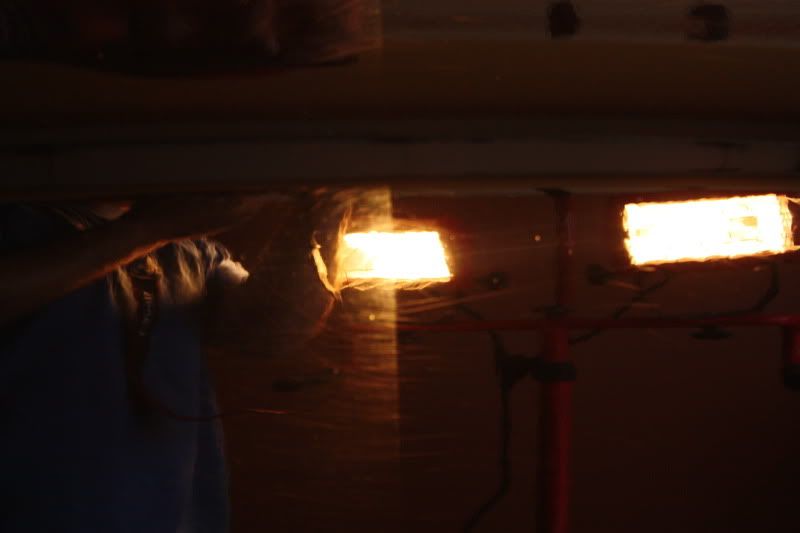
Couple 50/50's

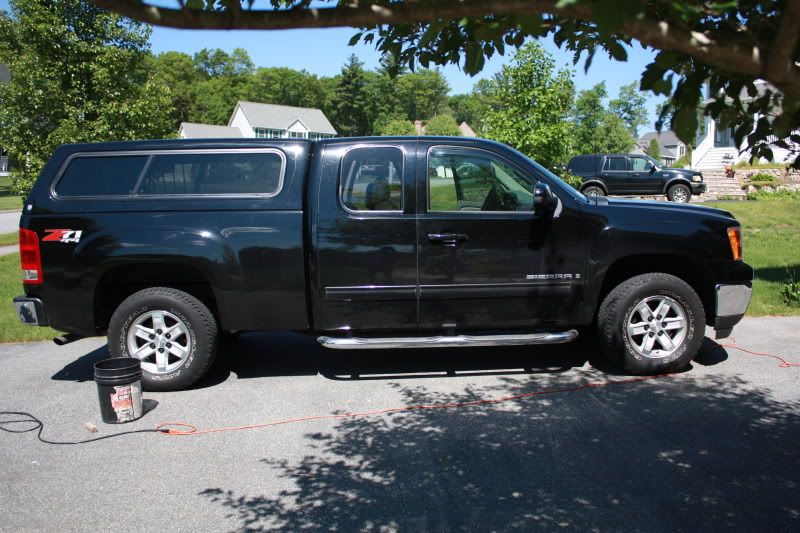
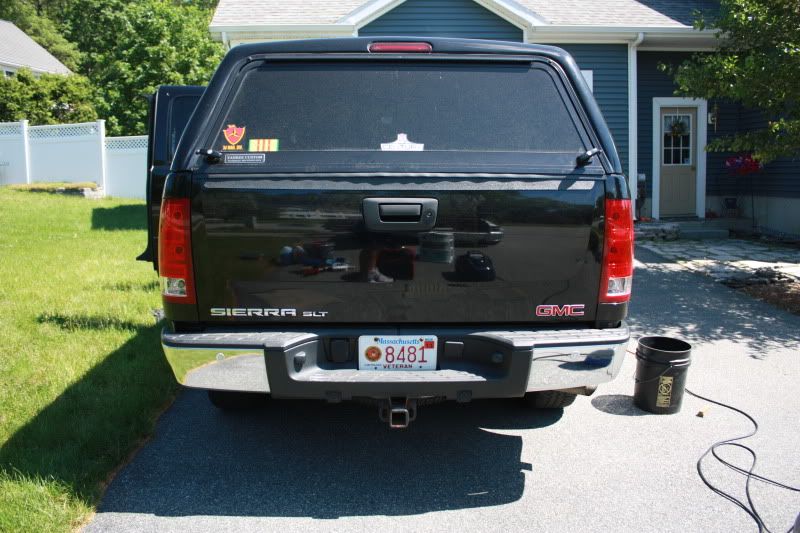
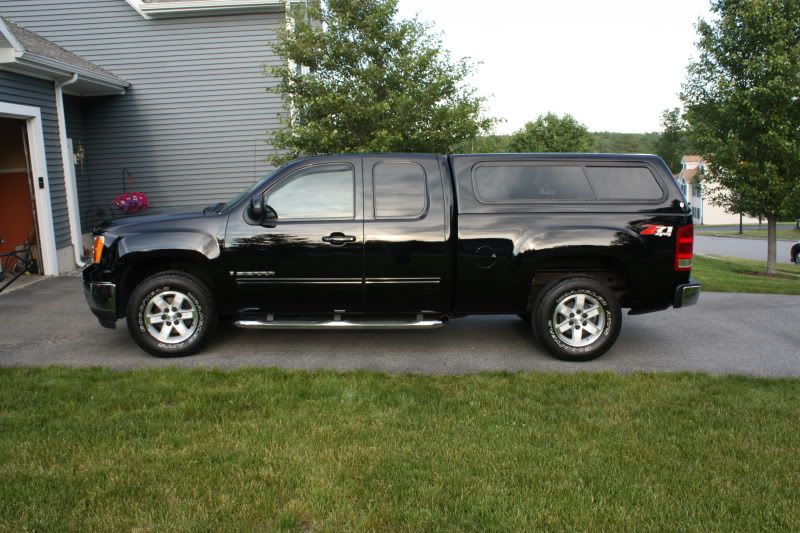
And the afters
Thanks for reading!
Took me about 10 hours to get the truck to the finished state. The interior was a lot worse than I originally had thought, so a good amount of time was spent on there and on the 1 step correction.
Products Used:
OPC - Diluted 4:1 for interior
DP Xtreme Foam
Duragloss 901
CG Diablo Wheel Cleaner gel
Superclean degreaser diluted 3:1
DP Clay
ONR - Diluted to clay lube
Stoners Invisible Glass
DP Carpet & upholstery cleaner
Leather Masters Leather Protectant
Menzerna Power Finish
Pinnacle Souveran
Pinnacle Black Onyx Tire Gel
P21s polishing soap
Equipment Used:
3 - 5 Gallon Buckets - 2 with grit guards
Cobra Chenille Wash Mitt
Various MF's
Various Brushes
Powermate Pressure Washer
Foam Lance
PC 7424xp
5.5 LC CCS flat pads - White for 1 step and red for wax
Wet/Dry Vac
Vapor Clean Gaia
Onto the pics...Sorry there aren't too many for the interior. I had actually forgot my camera and steamer. So after I vacuumed the interior I ran home and grabbed my camera and steamer.
1st here is a pic of his vette....I will hopefully have the pleasure of detailing this in the future.
And the before pics of the truck
Carpet stains were really pretty bad as were the leather seats.
50/50 of the drivers side seat. All the seats were just as bad as this...spent lots of time removing grime and dirt from the seats and the stains from the carpet.
Correction pics - sorry again not too many it was taking me much longer than expected.
Before pics
I had some Griots Garage Machine Polish 3 that I hadn't tried it out yet. So figured I'd give it a shot. Right side was hit with this. Not bad but I thought I could do better
So I then hit the left side with Menzerna Power Finish. As you can see Menz compared to Griots. Both on LC CCS white pad.
Couple 50/50's
And the afters
Thanks for reading!