DARK HORSE
Active member
- Sep 14, 2009
- 2,537
- 0
This pickup was brought to me after having it repainted ~ 6 weeks ago. The owner has owned it since it was new, and is restoring it to use as a work truck. (I wish I’d taken some pictures of the interior; he had new leather bucket seats, carpet, door panels, and dash components installed). When I spoke with him over the phone the first time a few weeks ago about it, he was very anxious to have it done. I explained that I would like to wait ~ 6 weeks before sealing the paint, and it would be best to seal it right after correcting it. He indicated that it looked absolutely horrible and he was considering having it repainted again. I convinced him that we could most likely undo all the bad juju and make him happy. He said that the body shop had returned it to him (after painting it) covered in what he termed “swirls”. Later I would discover that they had installed severe holograms, as well as swirls. Almost 6 weeks to the day this is what he brought me…
Upon arrival it doesn’t look to bad; (from a distance and in the shade)… uh?:


Here’s what it looked like up close; (in the sun):


First Wash:
Rinsed with water and presoaked with OPC @ 3:1. Let it dwell for about 5 minutes. Then washed (via 2bm) with CG Citrus Wash & Gloss.
Clay:
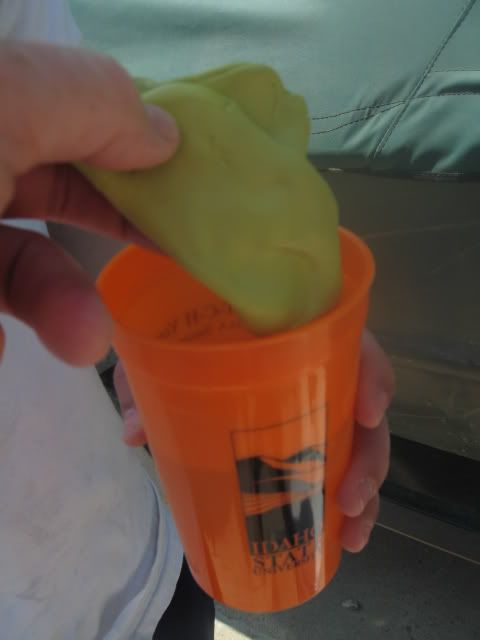
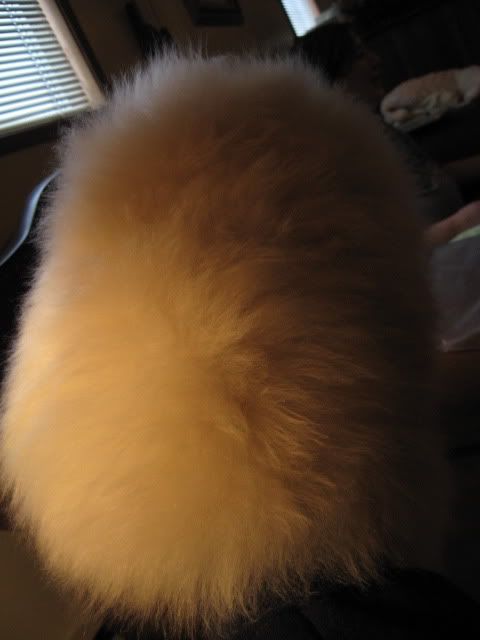
Clayed the vehicle with Riccardo Yellow, using ONR mixed a 1:32 with distilled water for clay lube. (I like to drop my clay into a cup of hot water to keep it pliable while using it…
Paint Correction:
Flex3401
PCxp 7424
M105/Cyan HT pads
Menzerna PO 106 FA/ Tangerine HT pads
(Used PakShak microfiber “Ultra edgeless white towels” for polish removal and PakShak ultra plush towels for IPA wipe downs).
Here are some shots before, during, and after the compounding/polishing stages:


Upon arrival it doesn’t look to bad; (from a distance and in the shade)… uh?:
Here’s what it looked like up close; (in the sun):
First Wash:
Rinsed with water and presoaked with OPC @ 3:1. Let it dwell for about 5 minutes. Then washed (via 2bm) with CG Citrus Wash & Gloss.
Clay:
Clayed the vehicle with Riccardo Yellow, using ONR mixed a 1:32 with distilled water for clay lube. (I like to drop my clay into a cup of hot water to keep it pliable while using it…
Paint Correction:
Flex3401
PCxp 7424
M105/Cyan HT pads
Menzerna PO 106 FA/ Tangerine HT pads
(Used PakShak microfiber “Ultra edgeless white towels” for polish removal and PakShak ultra plush towels for IPA wipe downs).
Here are some shots before, during, and after the compounding/polishing stages:


")
 rops:
rops: