RaskyR1
New member
- Apr 14, 2008
- 3,733
- 0
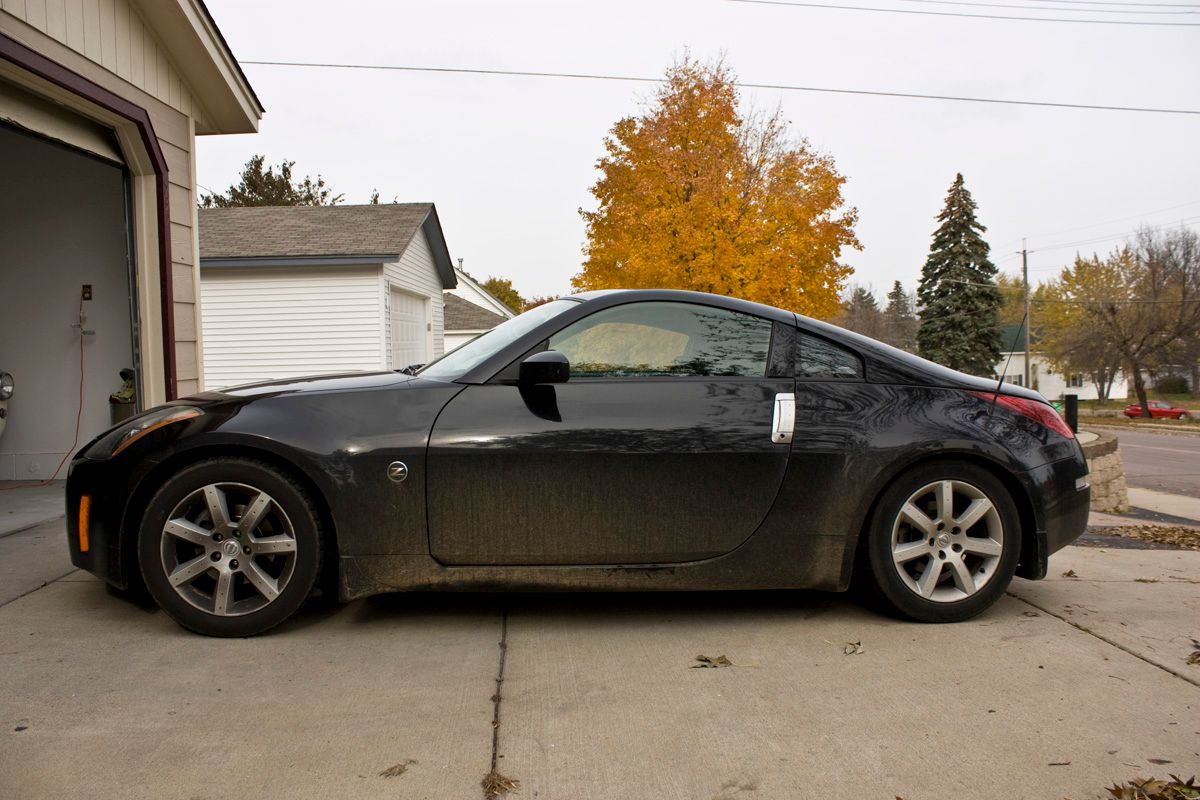
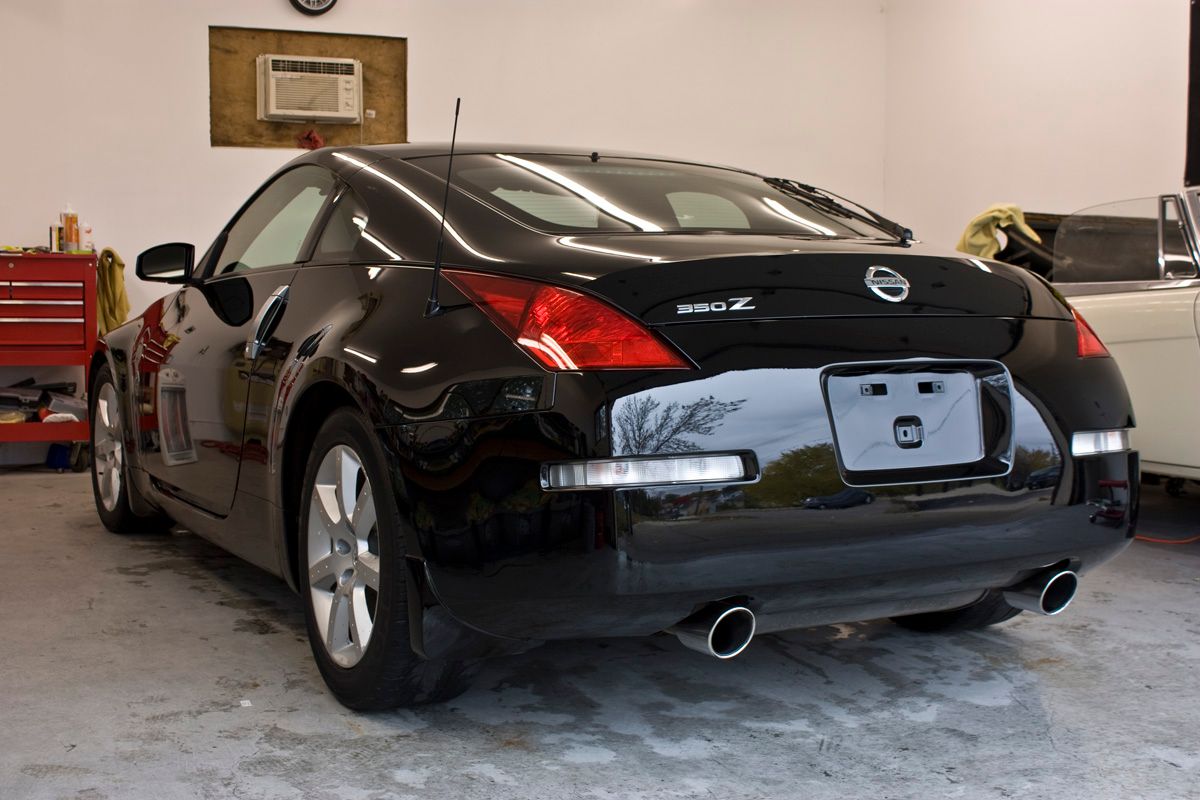
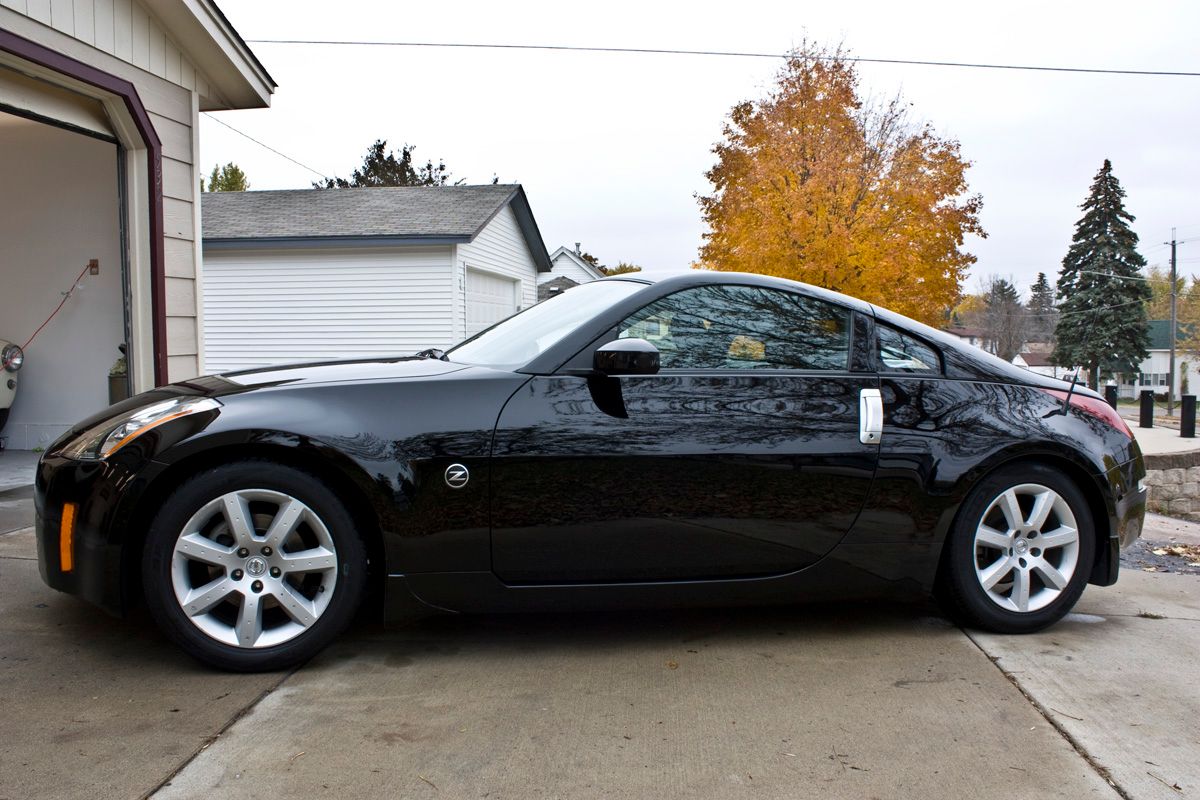
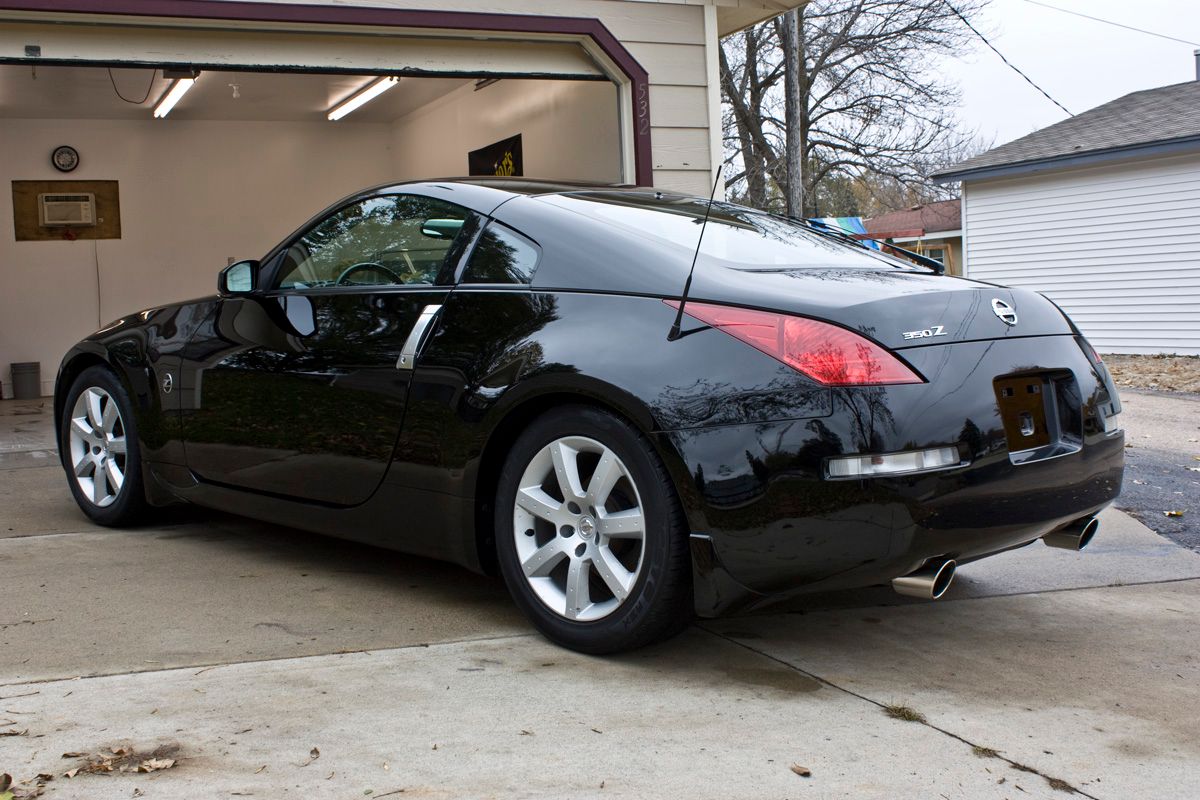
2003 Nissan 350Z, paint correction only.
Now I tend to think there are three basic types of car owners out there. You have the freaks like us who spend hours after hours making sure are vehicles are flawless in everyway. Then there are the basic car owners who like to keep there cars pretty clean for the most part. You may see them washing their vehicle in the driveway on a warm summer day, using Dawn for soap, or maybe even taking it through the local gas station car wash. Lastly you have the types of owners like my roommate, who just happens to own this lovely 350Z! These are the owners who have NEVER washed or waxed a car in their life! Cars are nothing more than a mode of transportation to them.
In my roommate’s defense, it’s not like he doesn’t want the car to look nice. He simply didn’t understand how to care for it, nor has he ever really wanted to spend the time doing it. He literally has never hand washed a car in his life! He always ran it through the auto washes and never understood how bad they were for the cars finish.
Having lived with me for over 2 years now, and seeing all of the transformations that have come out of my shop, I think he has finally become a “car guy”. He recently asked me if I could show him how to correct the paint on his car, and how to keep it looking nice, to which I gladly accepted!
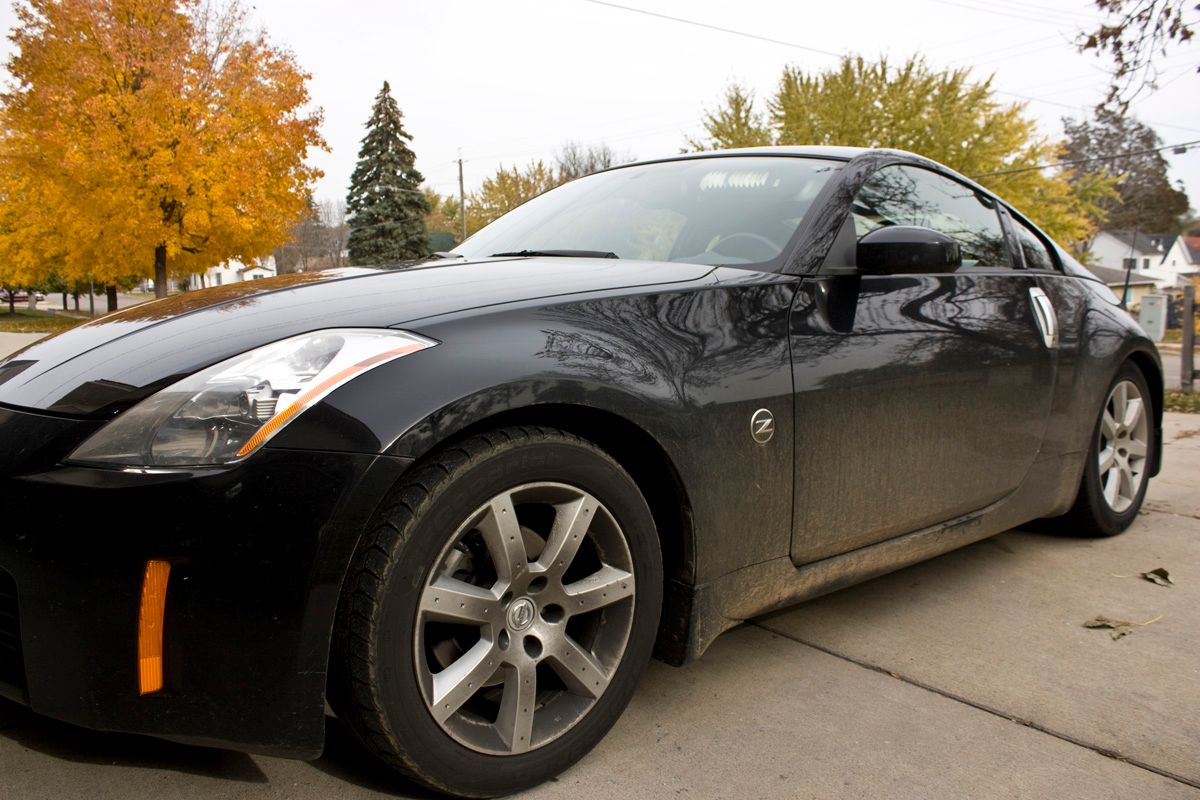
As you can see the car was covered in dirt/mud to start with, having gone through a muddy field the week prior at some Halloween haunted trail. I chose to pre-soak the car in P21S TAW to loosen all the dirt. I then pressure washed the car really well and washed using the 2BM and some Meguiars Gold Class soap. A round detail brush was used around the emblems and all cracks to remove the dirt which had accumulated over the years.
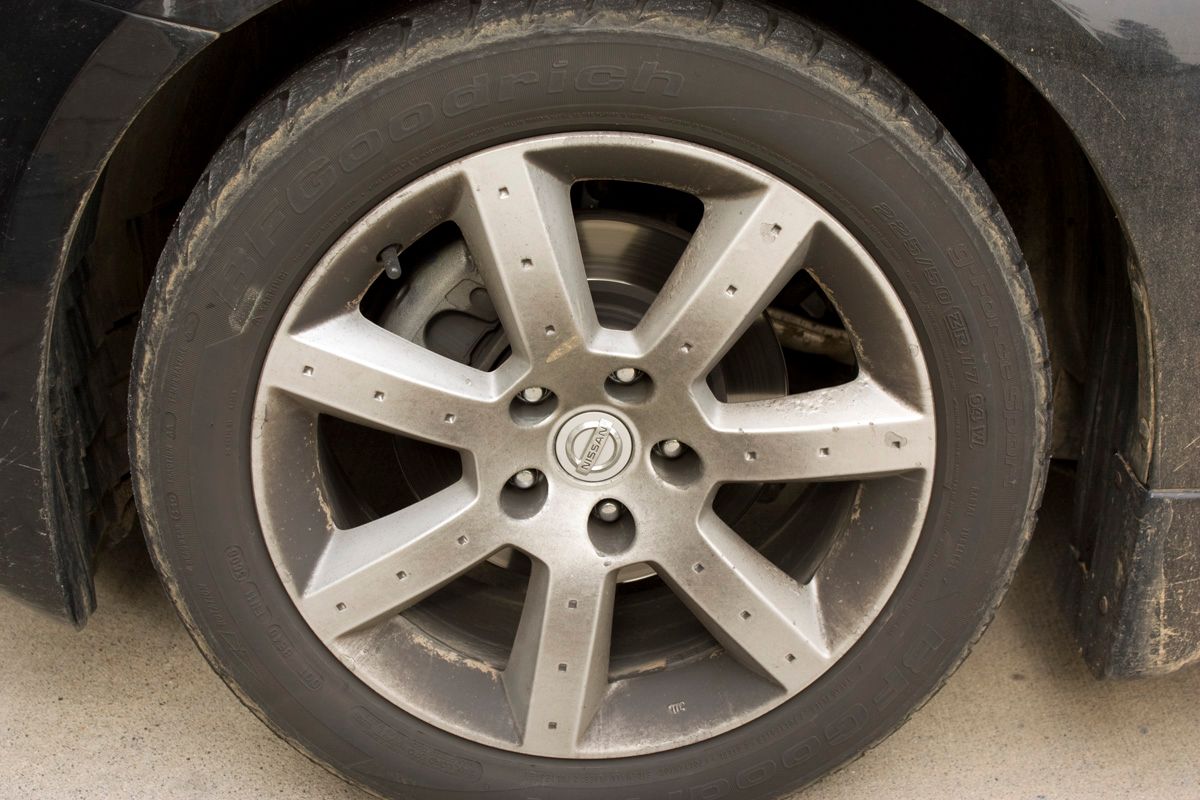
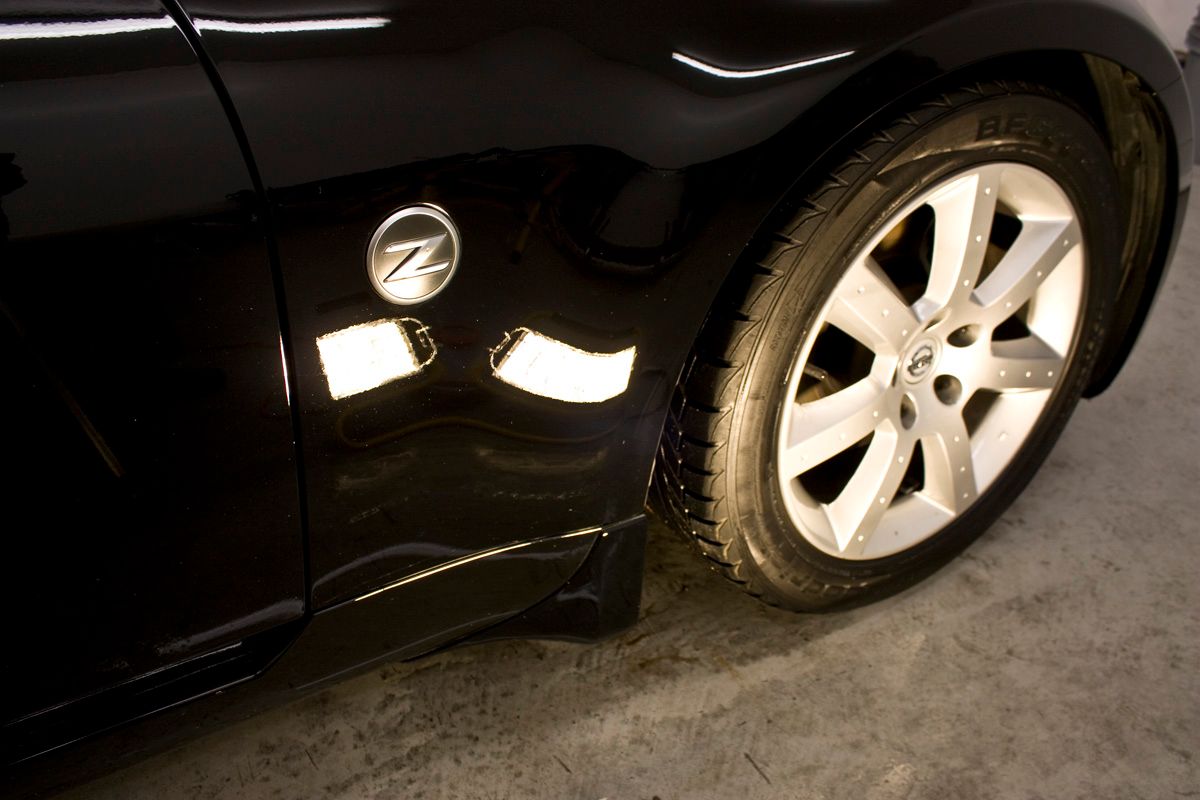
The wheels on the car were toast! My roommate drives this car hard with LOTS of gas and LOTS of break! There were some signs of curb rash, and the paint was flaking off and bubbling all over. I simply cleaned them with some Wheel Brightener and various brushes, but really didn’t spend too much time on them.
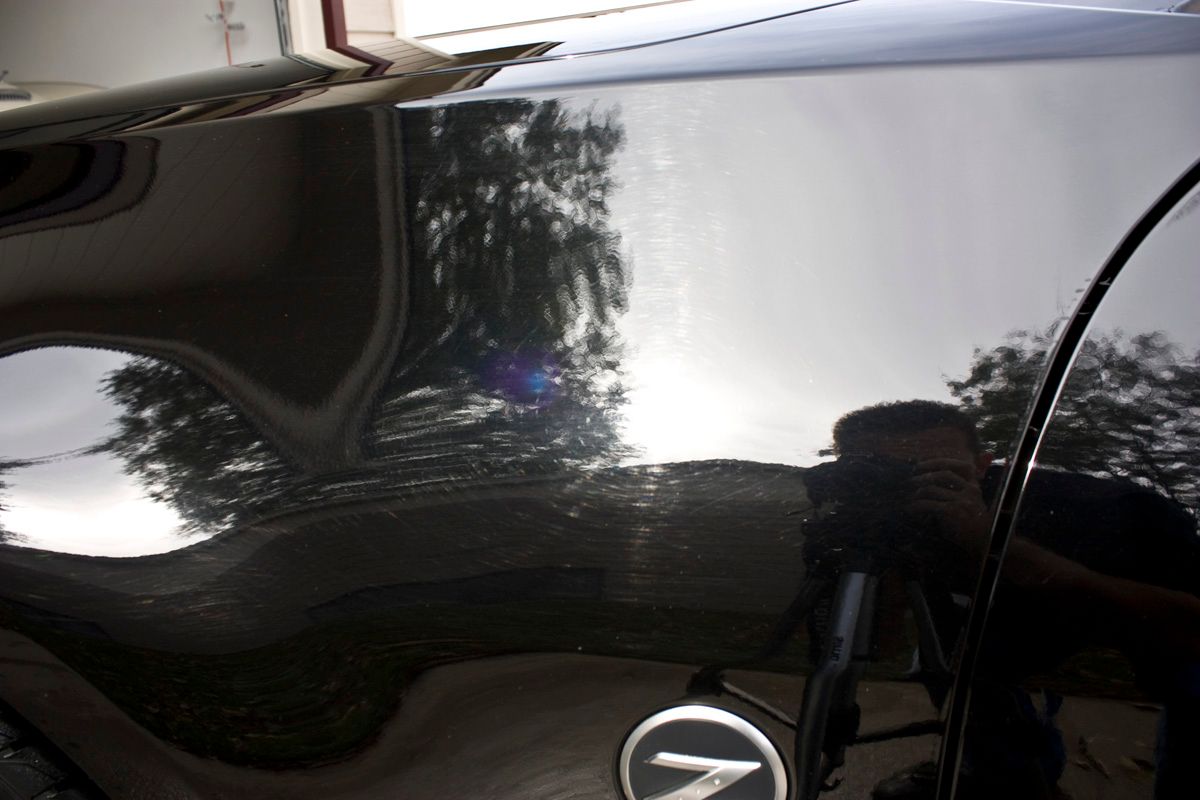
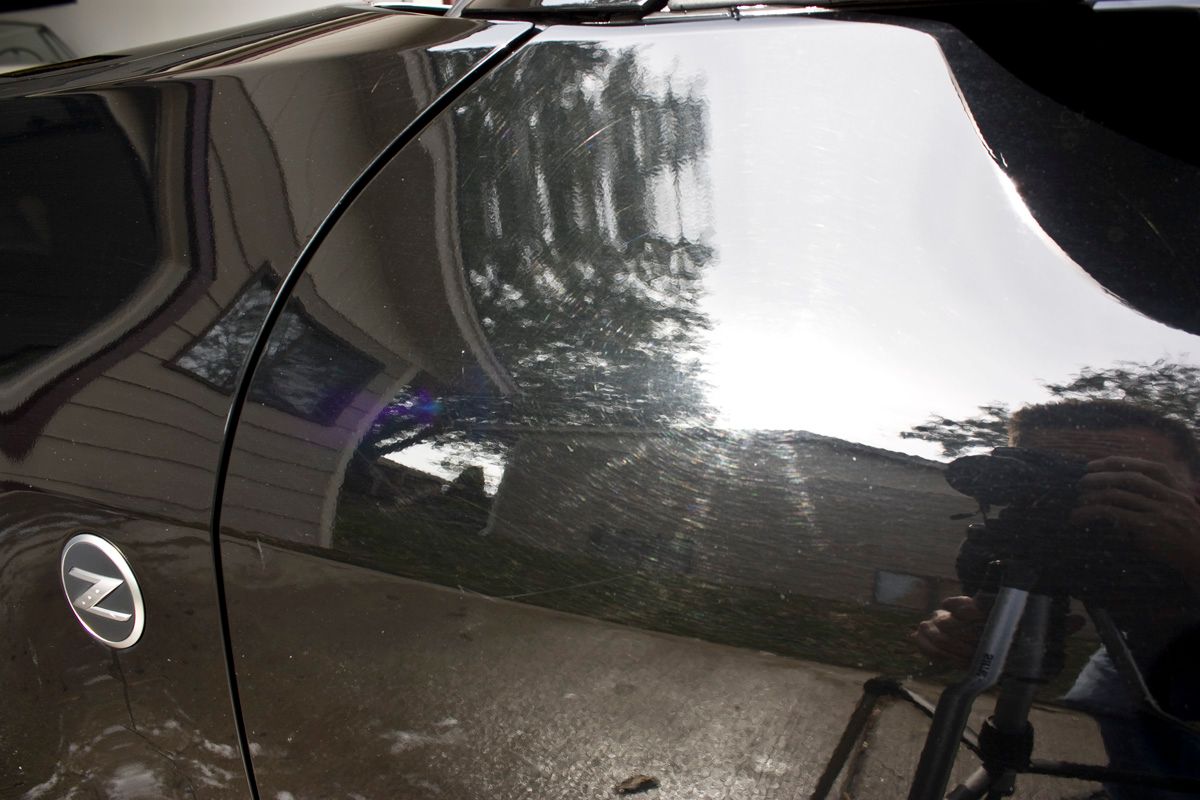
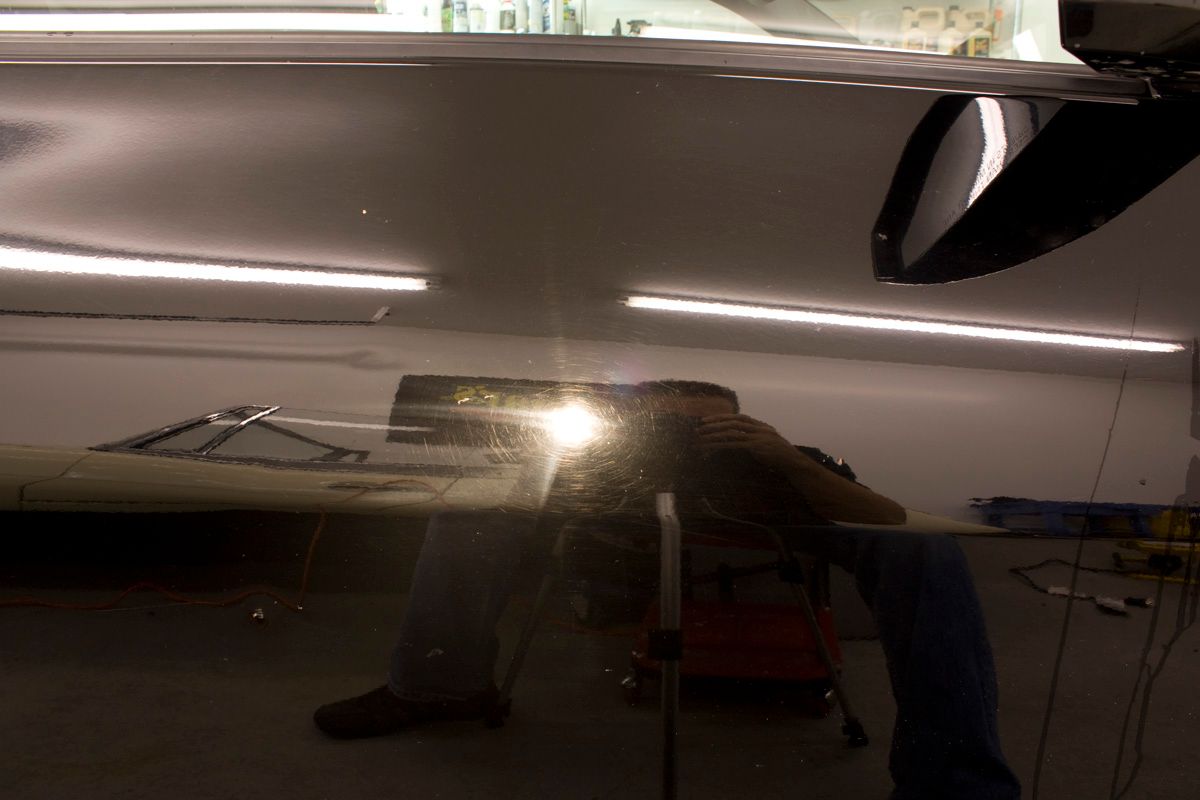
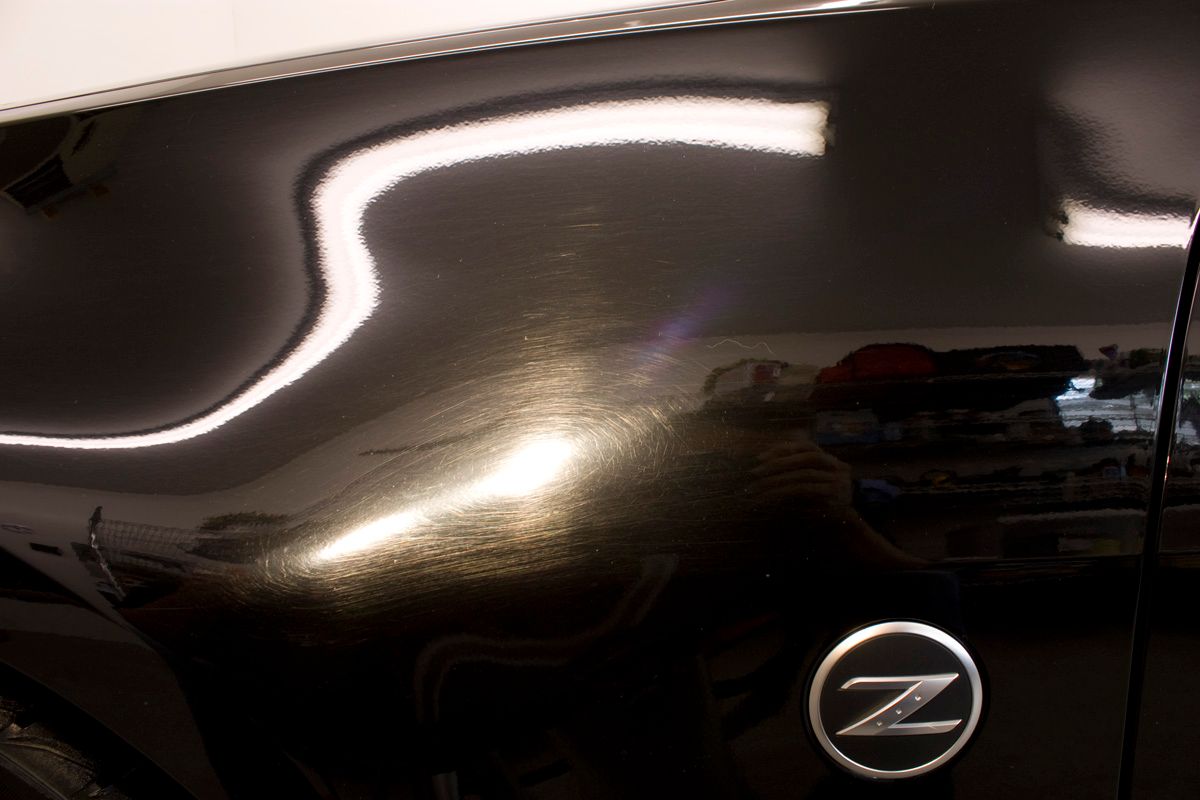
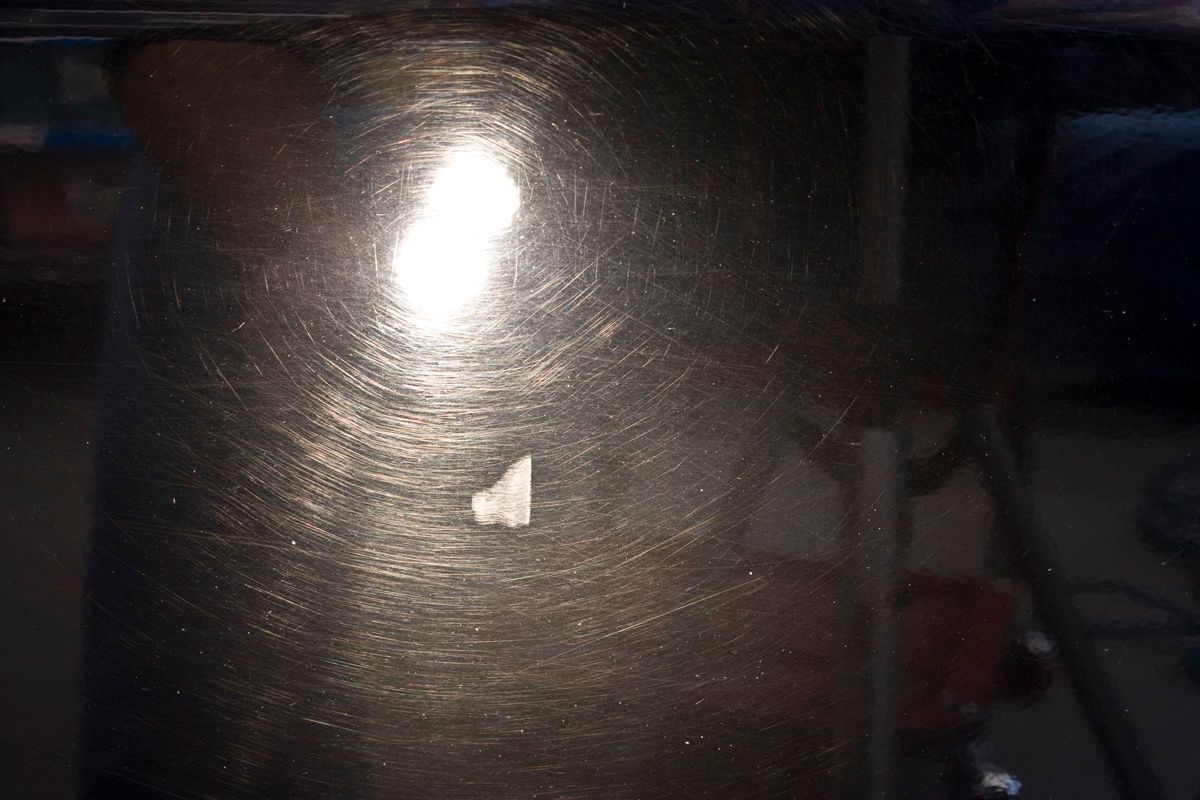
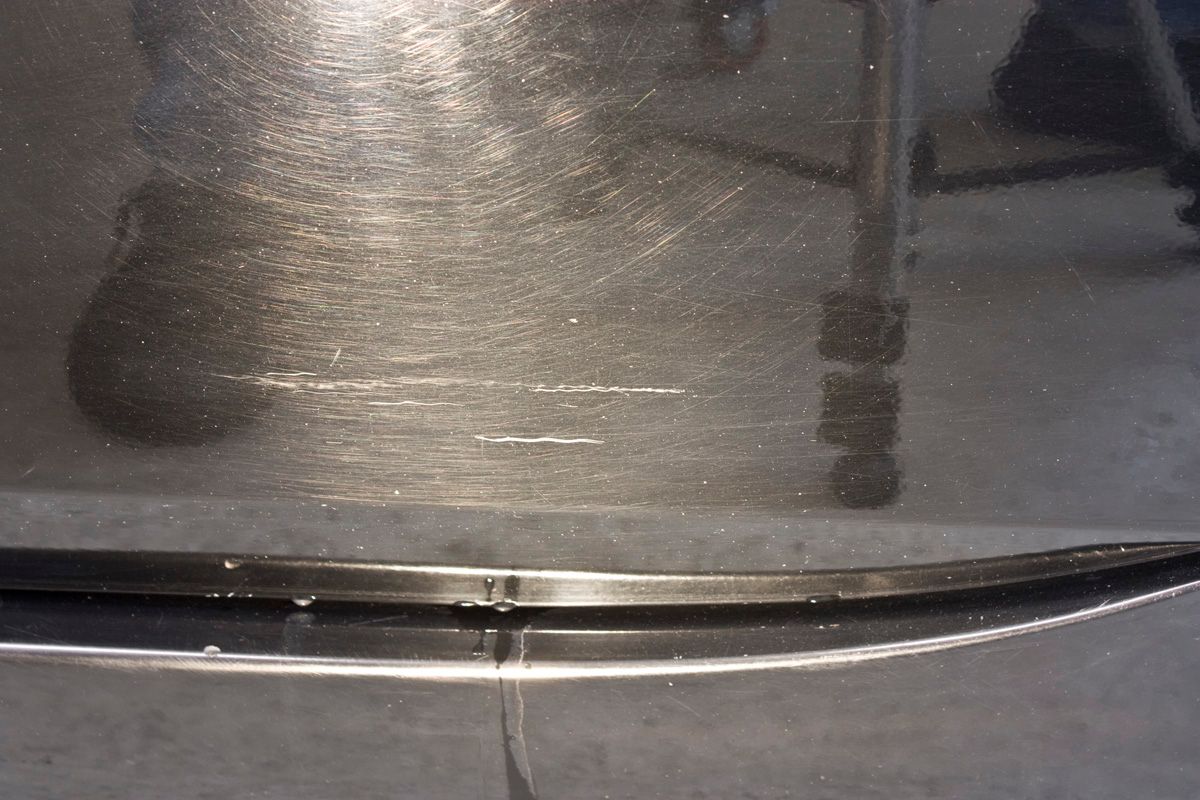
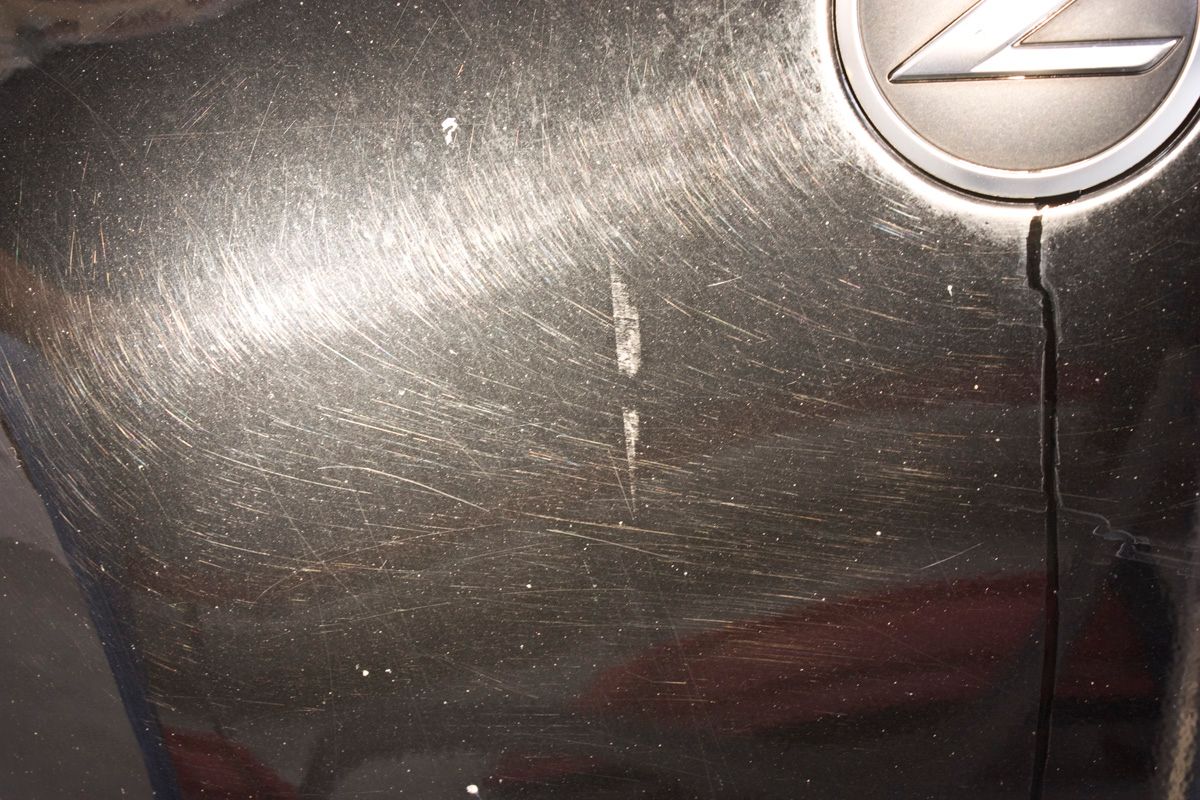
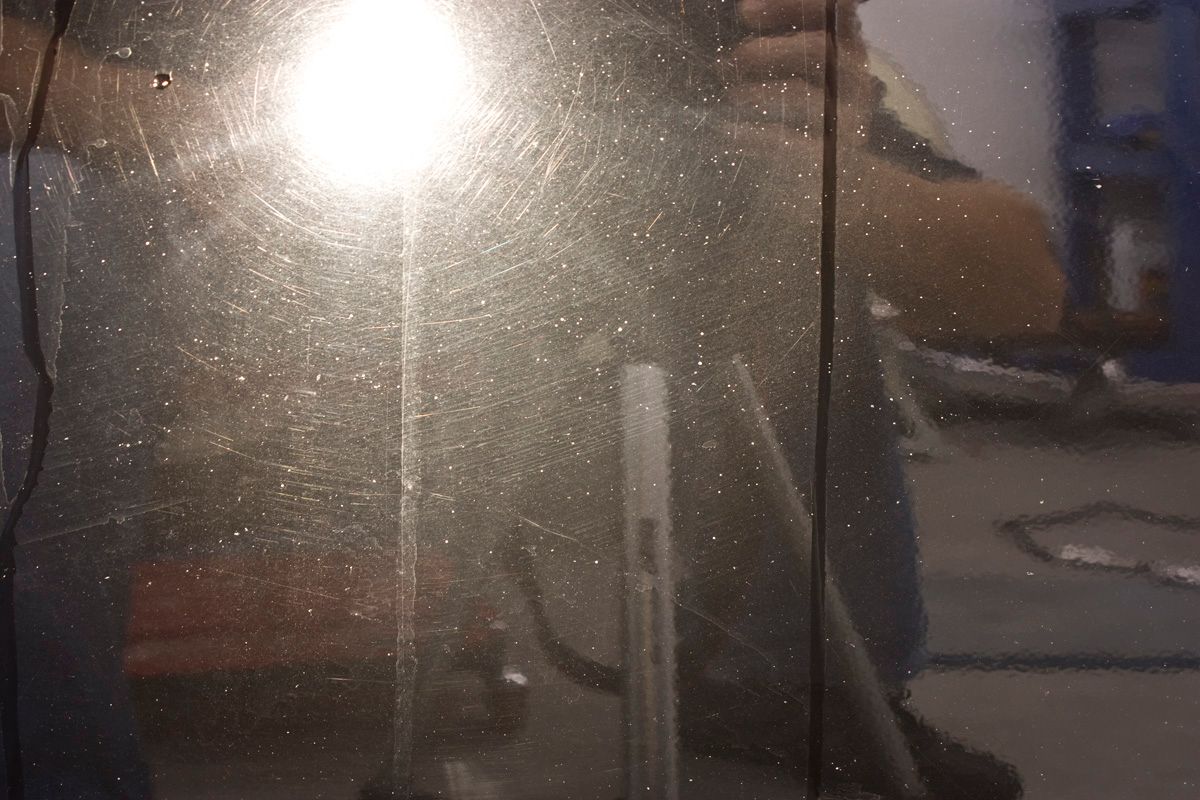
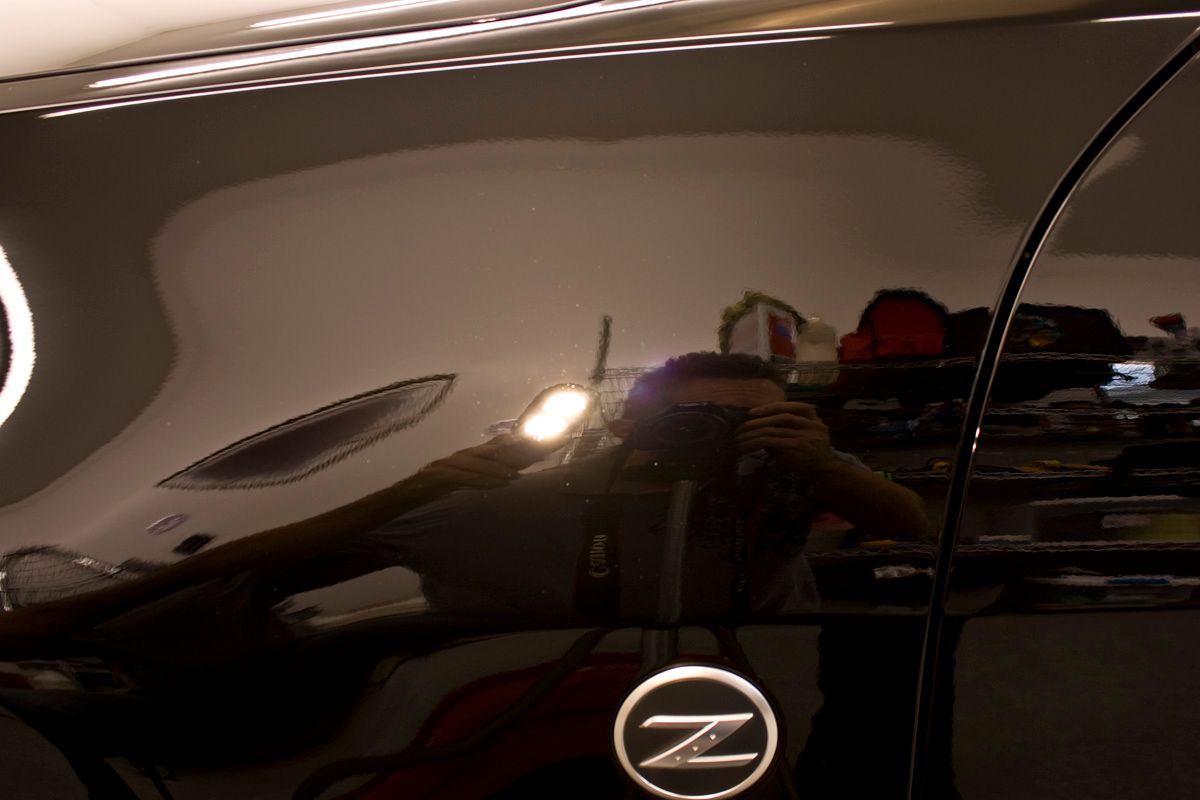
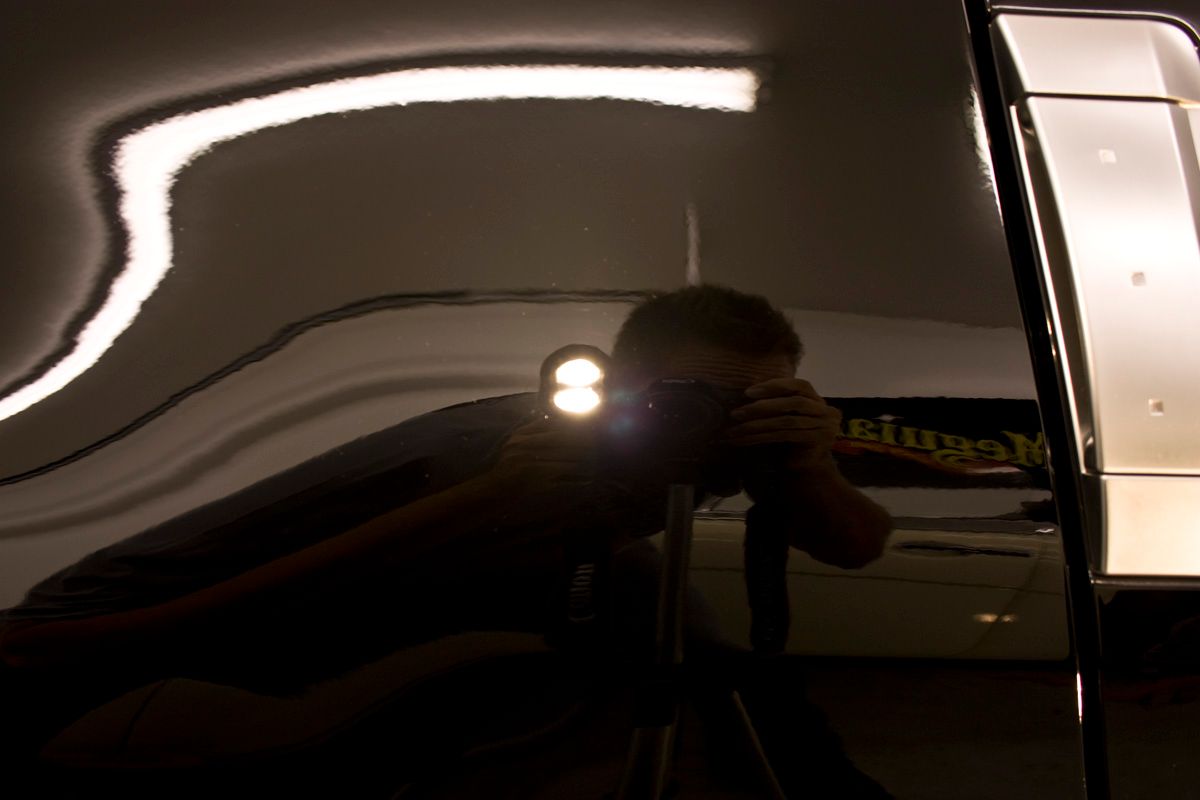
After washing you can clearly see the car is covered in heavy cob-webbing, lots of RIDS, bird bomb etching, door dings, tree sap etching…

The paint on the car felt like 80 grit sand paper after washing! This thing was definitely going to need some serious claying! We used 3M clay on the car, which was the most aggressive I had on hand and Last Touch as lube.
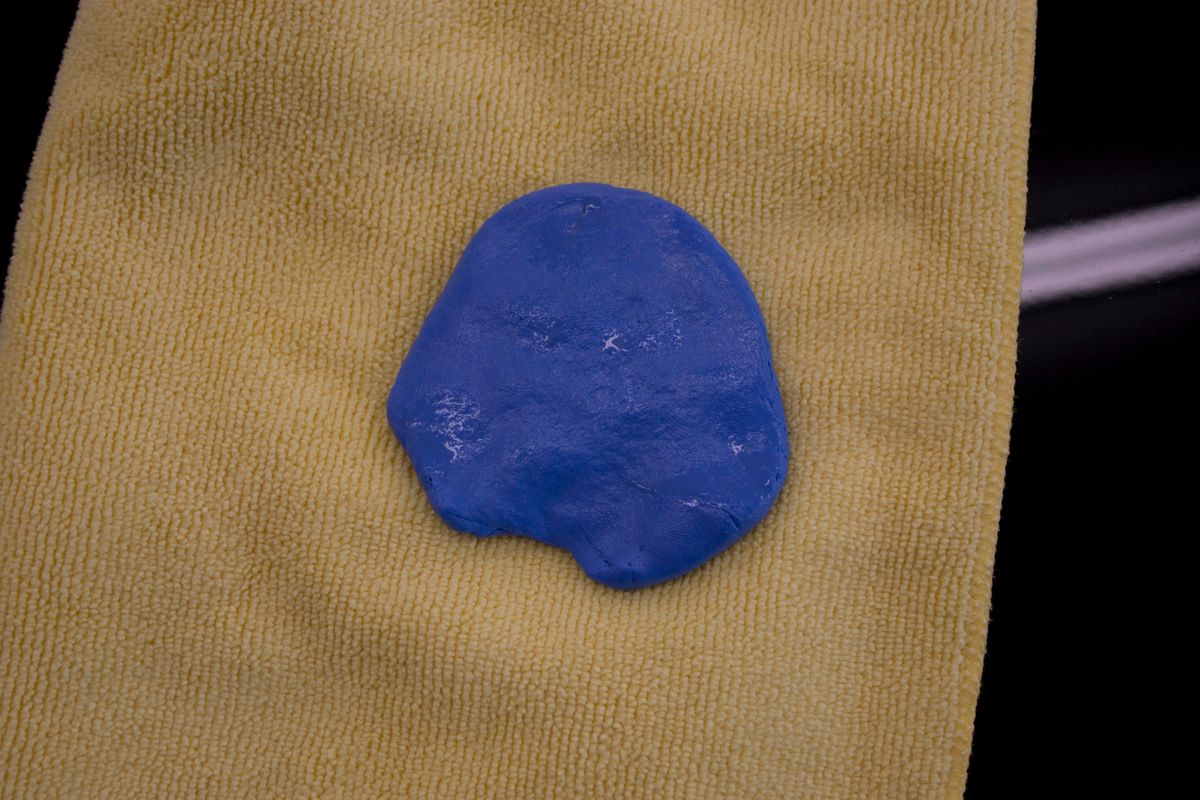
This was the clay after doing just the front fender!

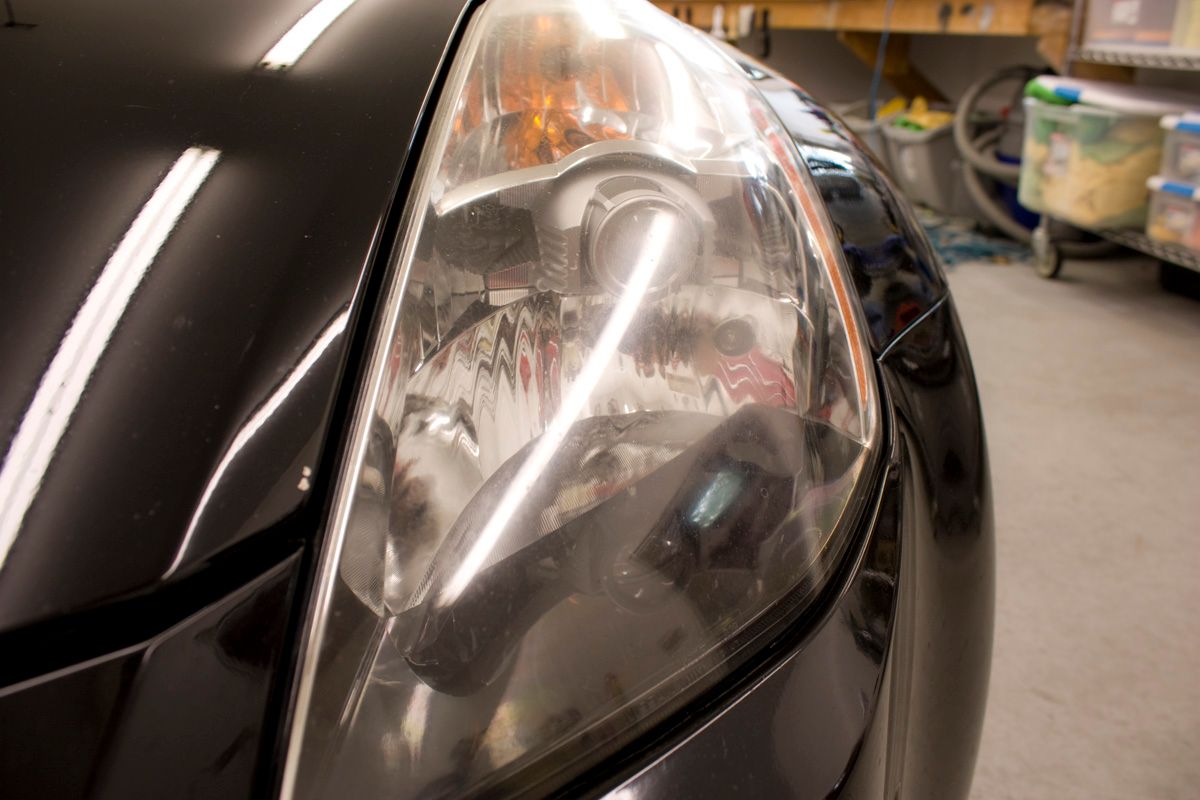
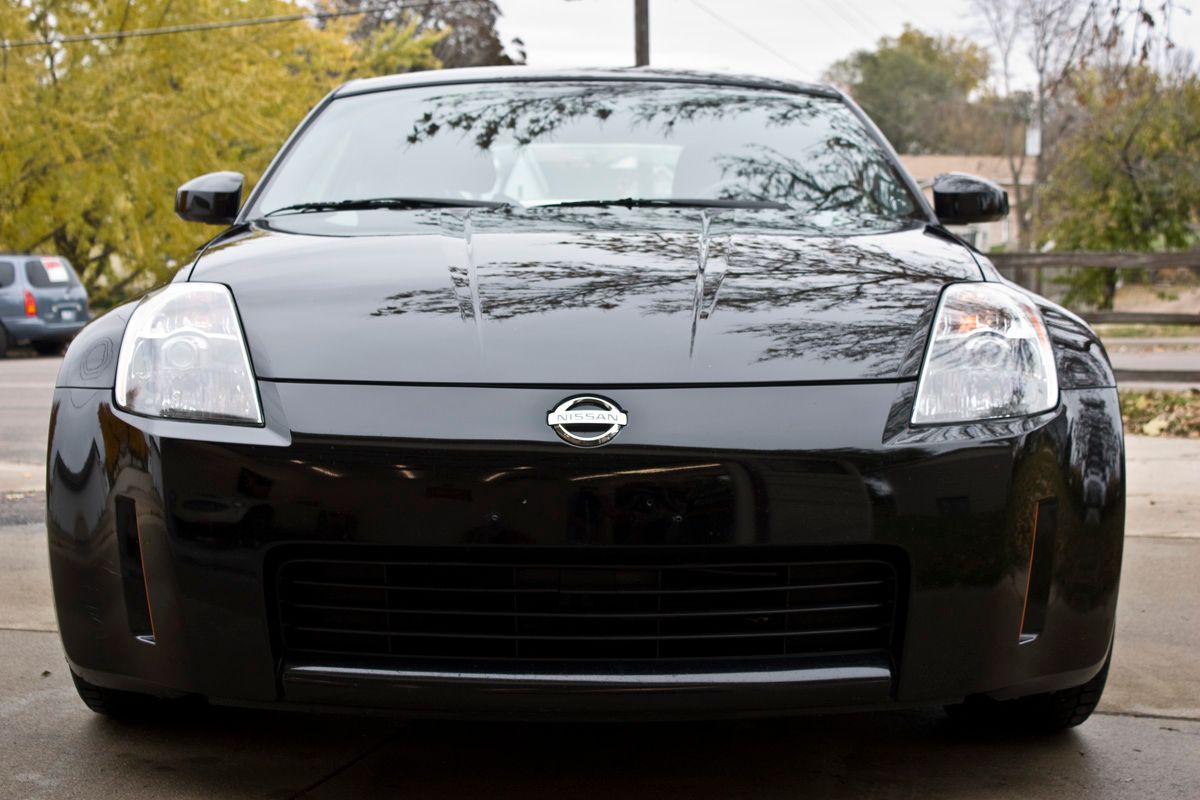
Though it did not show real well in the pics, the headlights were cloudy and pitted. I sanded them down with some 2000 grit and polished with M105 and an orange LC pad via the rotary, followed by some M205 on a black LC pad.
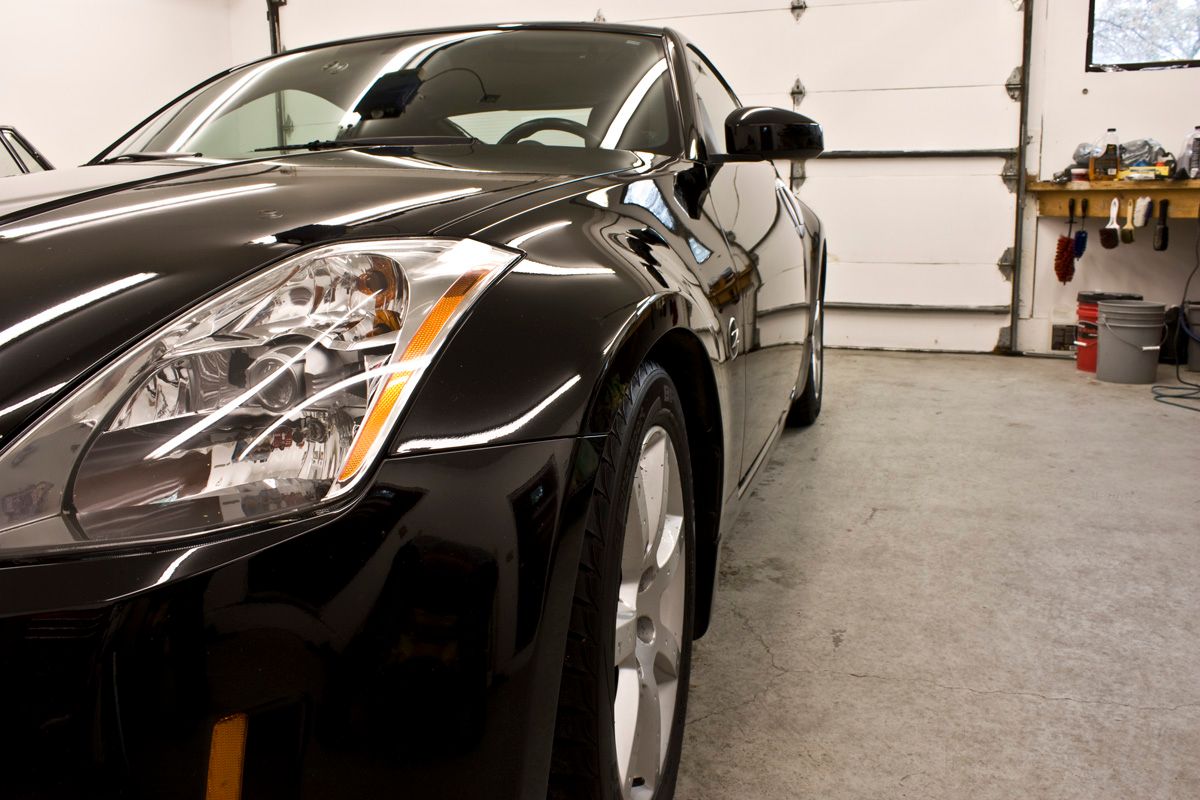
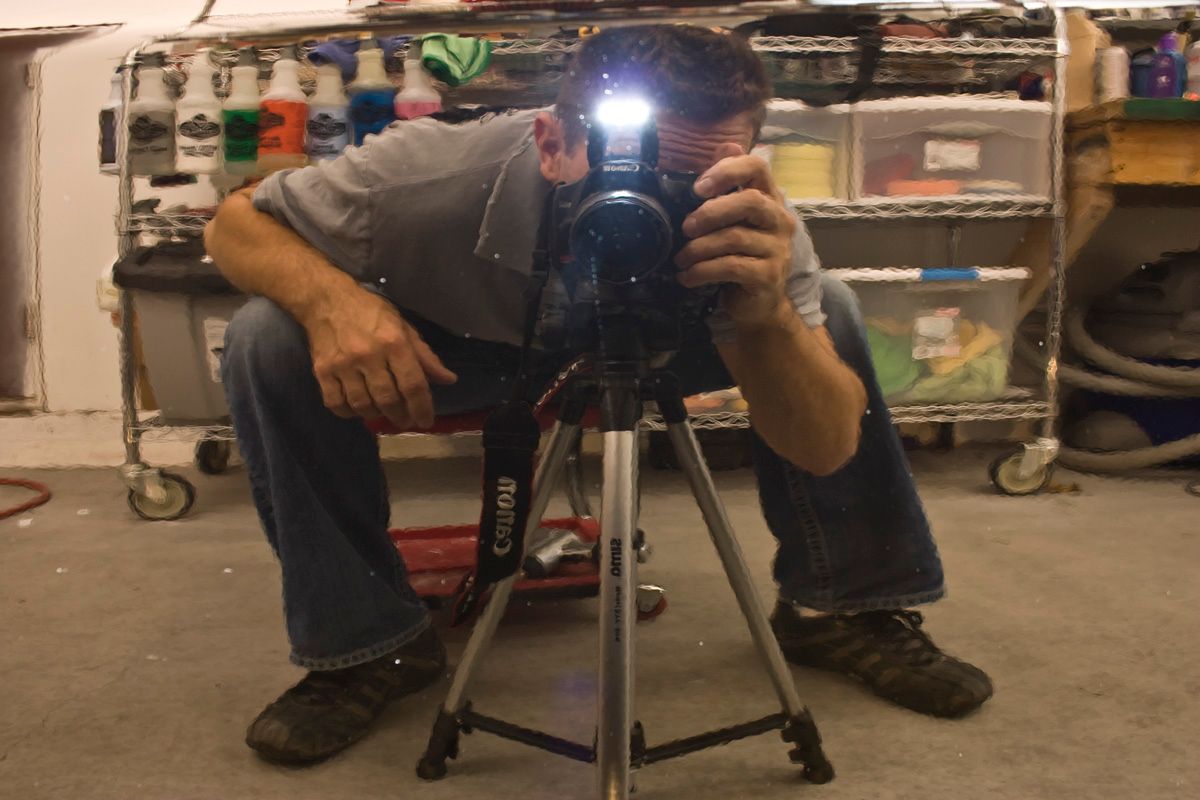
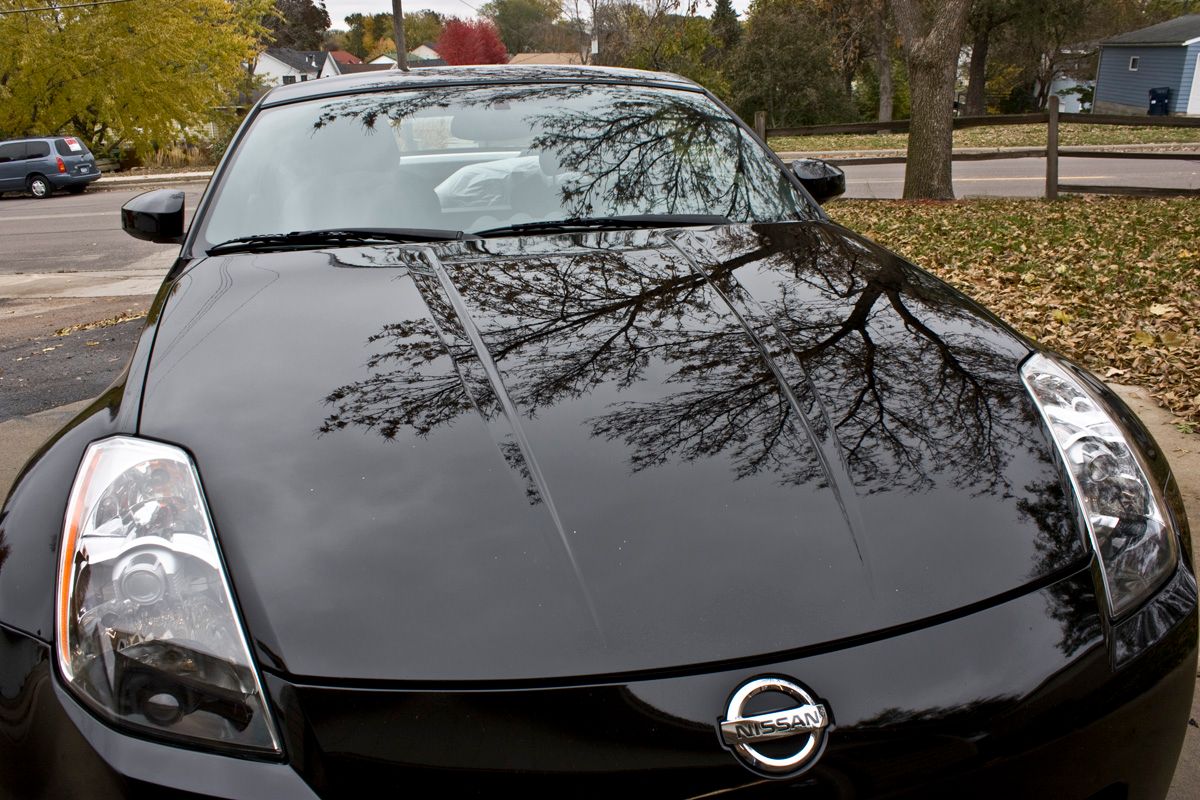
Process for the paint correction was M105 using orange LC Classic pads on the PC followed by M205 using black LC Classic pads on the PC.
We started out with my roommate doing on side of the car and me working on the other side, but he wasn’t getting quite the level of correction that I was. I decided to change things up and have him follow me with the M205 while I worked the M105. Since I finished before him I helped out with the M205 and touched up a few areas that needed a little more work. It took 2 good passes with M105 to get the level of correction we achieved.
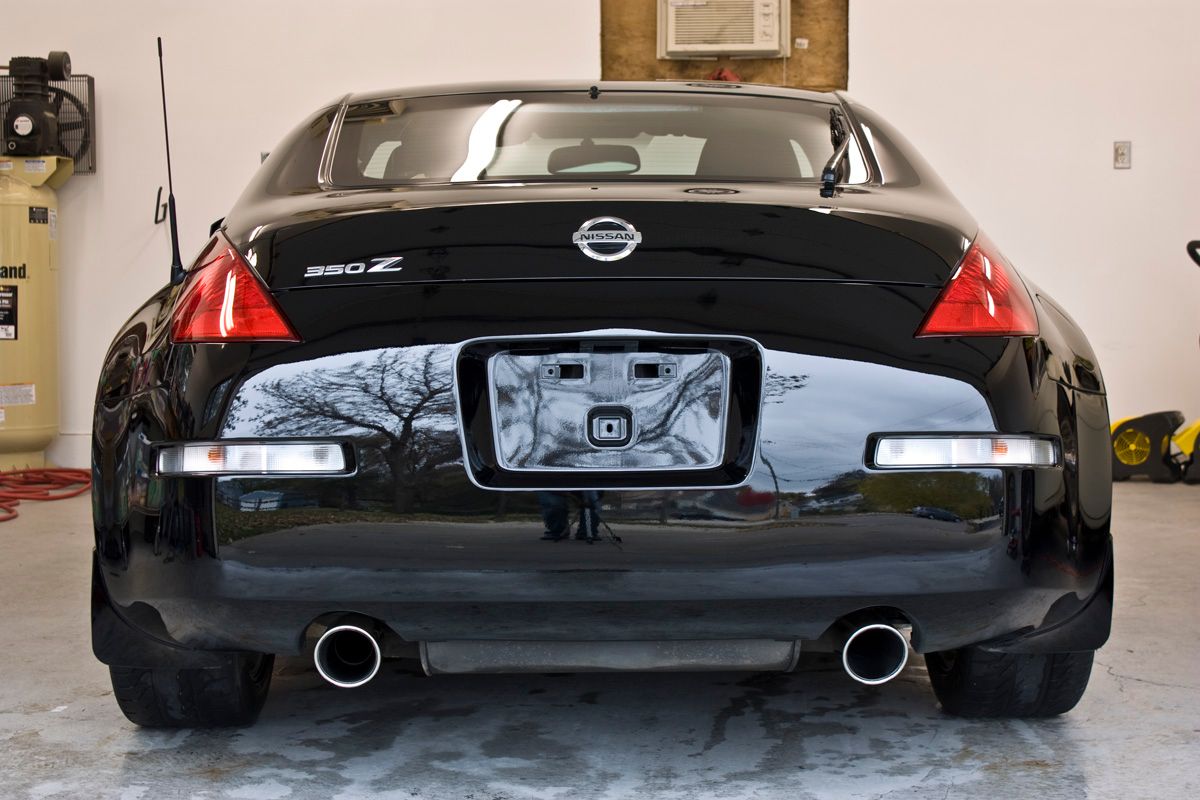
LSP was Blackfire Wet-Diamond (x2)
Now I tend to think there are three basic types of car owners out there. You have the freaks like us who spend hours after hours making sure are vehicles are flawless in everyway. Then there are the basic car owners who like to keep there cars pretty clean for the most part. You may see them washing their vehicle in the driveway on a warm summer day, using Dawn for soap, or maybe even taking it through the local gas station car wash. Lastly you have the types of owners like my roommate, who just happens to own this lovely 350Z! These are the owners who have NEVER washed or waxed a car in their life! Cars are nothing more than a mode of transportation to them.
In my roommate’s defense, it’s not like he doesn’t want the car to look nice. He simply didn’t understand how to care for it, nor has he ever really wanted to spend the time doing it. He literally has never hand washed a car in his life! He always ran it through the auto washes and never understood how bad they were for the cars finish.
Having lived with me for over 2 years now, and seeing all of the transformations that have come out of my shop, I think he has finally become a “car guy”. He recently asked me if I could show him how to correct the paint on his car, and how to keep it looking nice, to which I gladly accepted!
As you can see the car was covered in dirt/mud to start with, having gone through a muddy field the week prior at some Halloween haunted trail. I chose to pre-soak the car in P21S TAW to loosen all the dirt. I then pressure washed the car really well and washed using the 2BM and some Meguiars Gold Class soap. A round detail brush was used around the emblems and all cracks to remove the dirt which had accumulated over the years.
The wheels on the car were toast! My roommate drives this car hard with LOTS of gas and LOTS of break! There were some signs of curb rash, and the paint was flaking off and bubbling all over. I simply cleaned them with some Wheel Brightener and various brushes, but really didn’t spend too much time on them.
After washing you can clearly see the car is covered in heavy cob-webbing, lots of RIDS, bird bomb etching, door dings, tree sap etching…
The paint on the car felt like 80 grit sand paper after washing! This thing was definitely going to need some serious claying! We used 3M clay on the car, which was the most aggressive I had on hand and Last Touch as lube.
This was the clay after doing just the front fender!
Though it did not show real well in the pics, the headlights were cloudy and pitted. I sanded them down with some 2000 grit and polished with M105 and an orange LC pad via the rotary, followed by some M205 on a black LC pad.
Process for the paint correction was M105 using orange LC Classic pads on the PC followed by M205 using black LC Classic pads on the PC.
We started out with my roommate doing on side of the car and me working on the other side, but he wasn’t getting quite the level of correction that I was. I decided to change things up and have him follow me with the M205 while I worked the M105. Since I finished before him I helped out with the M205 and touched up a few areas that needed a little more work. It took 2 good passes with M105 to get the level of correction we achieved.
LSP was Blackfire Wet-Diamond (x2)
 If I get a chance I will try and get some before the car goes into storage.
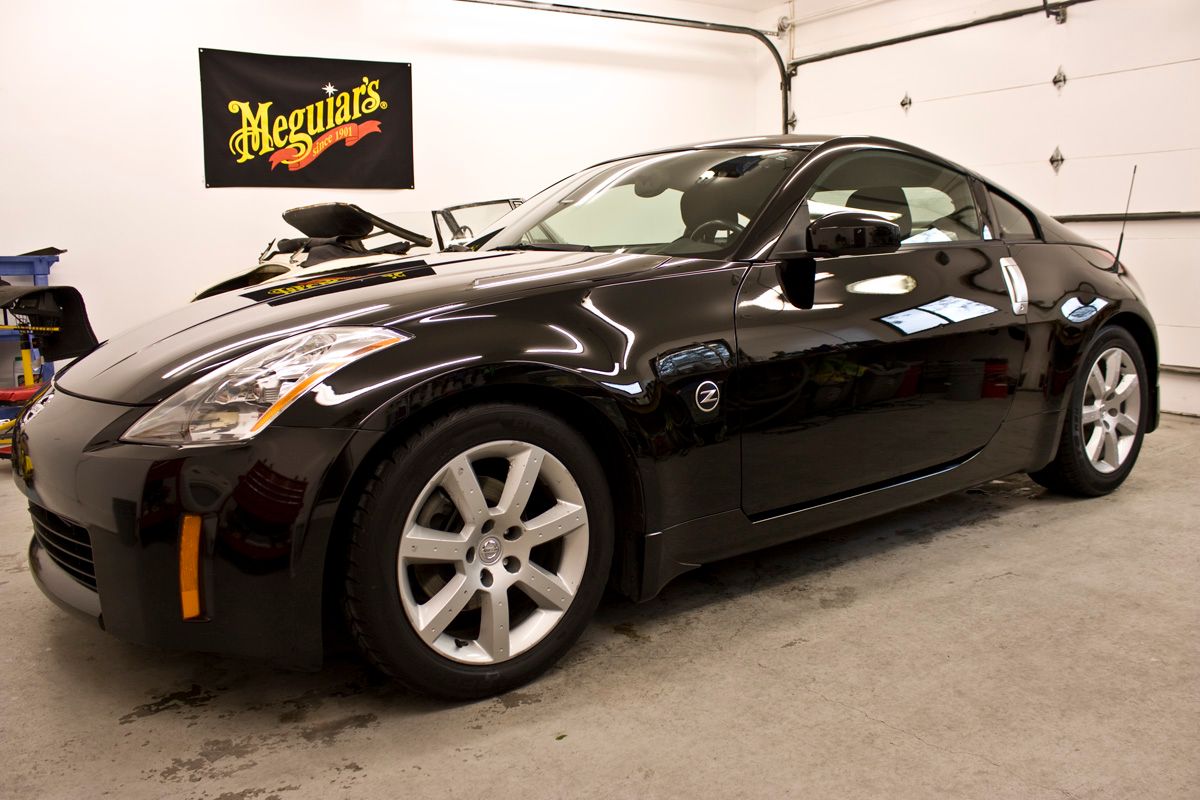


")
 rops:
rops:

") Fantastic turn around on that Z. Had a question though, could you please elaborate on how you got all the dried up/crusty water sports and wax buildup within the emblems? Should I just use cotton Q tips dipped in some cleaner? I know you mentioned a detail brush, but what kind? And how is that strong enough to remove the buildup without scratching paint? I would imagine, a "soft" brush would simply deform when you apply pressure.
Fantastic turn around on that Z. Had a question though, could you please elaborate on how you got all the dried up/crusty water sports and wax buildup within the emblems? Should I just use cotton Q tips dipped in some cleaner? I know you mentioned a detail brush, but what kind? And how is that strong enough to remove the buildup without scratching paint? I would imagine, a "soft" brush would simply deform when you apply pressure.