Marc08EX
New member
- May 10, 2008
- 4,108
- 0
Hi everyone! The owner's ride was looking sweet but the headlights were pretty worn out. He wanted his headlights restored to like new condition. I didn't know what the condition was going into it and when I arrived, it was looking pretty bad.. The headlights were in extremely rough shape and the scratches were pretty deep. I told the owner that I will definitely be able to improve it but it would not be perfect.
Products Used:
3M 1200 grit sand paper
3M 2000 grit sand paper
3M Blue Painter's Tape
Meguiar's G100 / 3.5" LC Backing Plate
Meguiar's M105 / LC Orange Pads
Meguiar's PlastiX / Meguiar's Foam Pad
Meguiar's NXT 2.0 Tech Wax
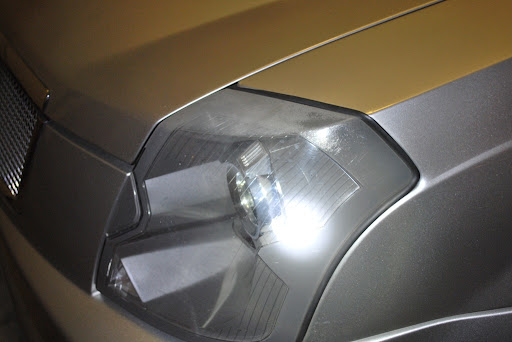
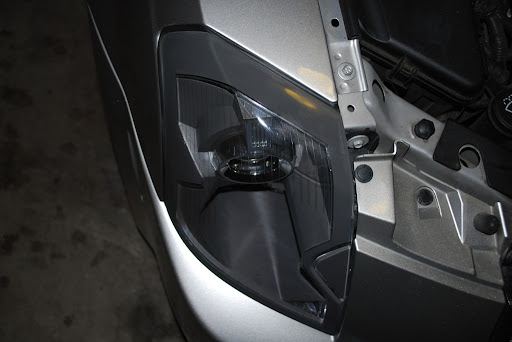
Here are some before pictures of the headlights:
Driver Side:


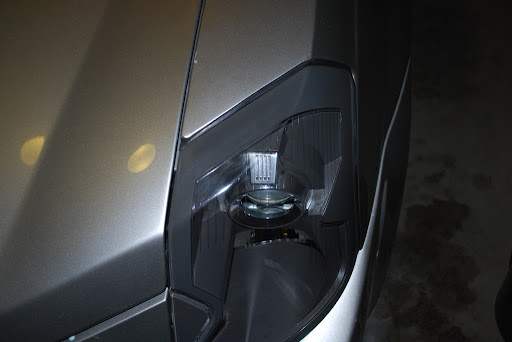
Passenger Side:


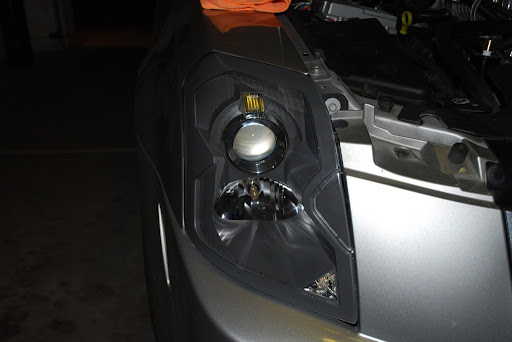
I first taped up the surrounding paint areas and opened the hood in order to protect the paint. I wetsanded the headlights with 1200 grit sand paper then followed it up with 2000 grit. Here's a picture of 1 headlight sanded down:

There were so many deep scratches that could not be removed. I think that I would crack the headlight case if I use a coarser sandpaper and sand into it more. I told the owner that this is the point where I felt it was safe to stop. It was GREATLY improved but it wasn't perfect. You be the judge
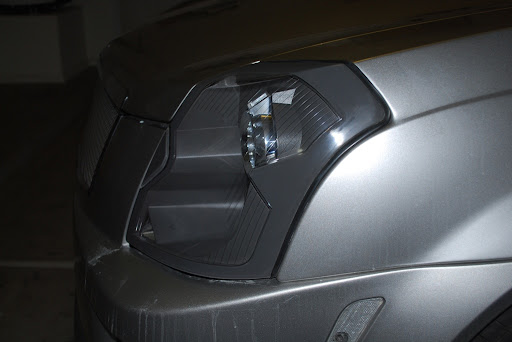
After completing the sanding step, I polished the headlights with M105 with a LC orange pad hooked up to my Meguiar's G100. This was followed up with PlastiX applied via a foam applicator pad. The headlights were then sealed with NXT 2.0 Tech Wax after. Here are some final pictures:
Driver Side:

Passenger Side:

What do you guys think? Comments and criticisms are welcome!
Thanks for looking!
Products Used:
3M 1200 grit sand paper
3M 2000 grit sand paper
3M Blue Painter's Tape
Meguiar's G100 / 3.5" LC Backing Plate
Meguiar's M105 / LC Orange Pads
Meguiar's PlastiX / Meguiar's Foam Pad
Meguiar's NXT 2.0 Tech Wax
Here are some before pictures of the headlights:
Driver Side:
Passenger Side:
I first taped up the surrounding paint areas and opened the hood in order to protect the paint. I wetsanded the headlights with 1200 grit sand paper then followed it up with 2000 grit. Here's a picture of 1 headlight sanded down:
There were so many deep scratches that could not be removed. I think that I would crack the headlight case if I use a coarser sandpaper and sand into it more. I told the owner that this is the point where I felt it was safe to stop. It was GREATLY improved but it wasn't perfect. You be the judge
After completing the sanding step, I polished the headlights with M105 with a LC orange pad hooked up to my Meguiar's G100. This was followed up with PlastiX applied via a foam applicator pad. The headlights were then sealed with NXT 2.0 Tech Wax after. Here are some final pictures:
Driver Side:
Passenger Side:
What do you guys think? Comments and criticisms are welcome!
Thanks for looking!
")

