Robert_Conklin
New member
- Mar 21, 2011
- 24
- 0
What is this urethane mixture that you guys are talking about?
Follow along with the video below to see how to install our site as a web app on your home screen.
Note: This feature may not be available in some browsers.
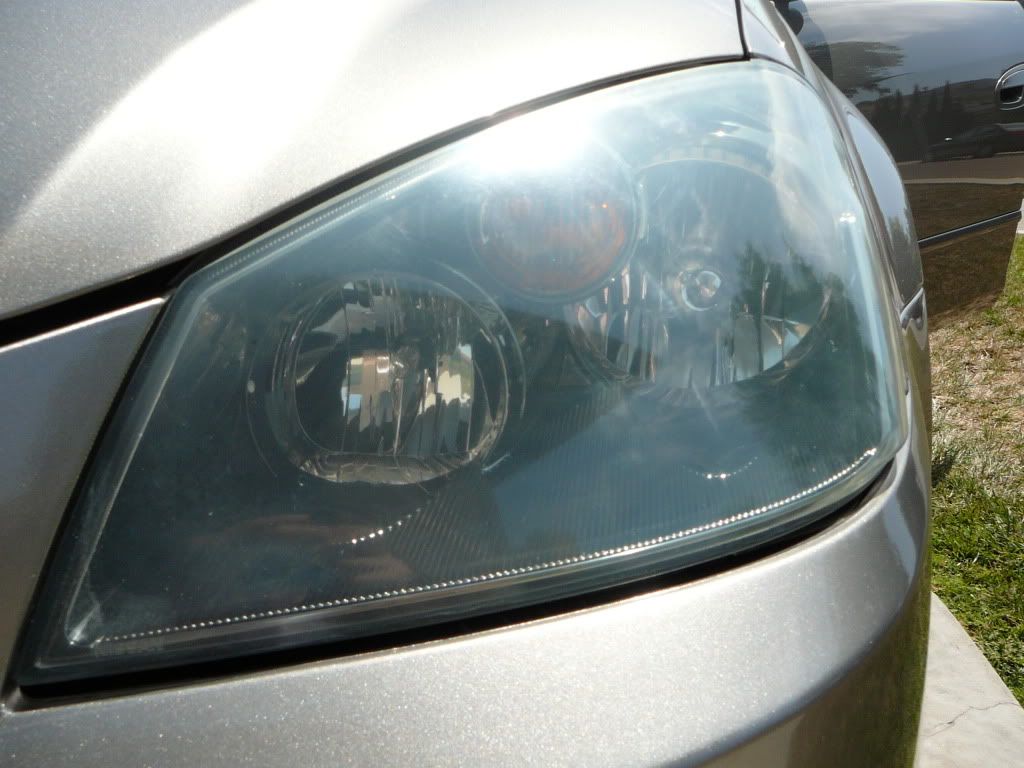
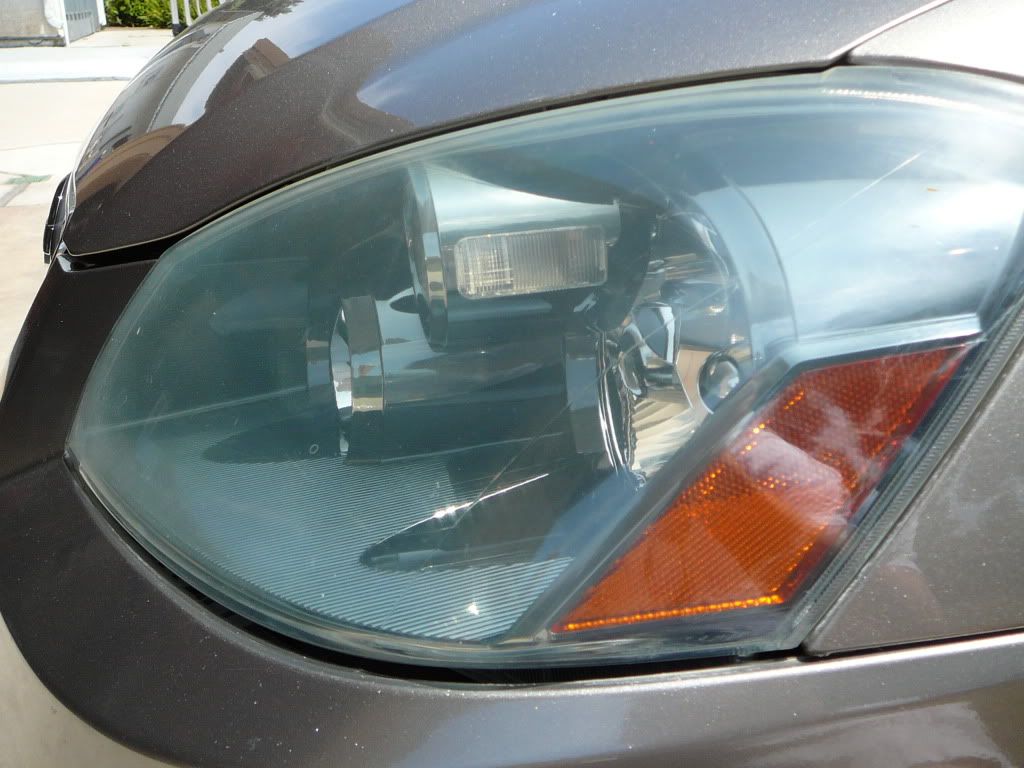
Heres some before and afters for you guys to check out. I may or may not redo this down the line. But as it is. I am very happy!
What is this urethane mixture that you guys are talking about?
It takes practice to lay down the spar. I still miss spots every now and then. You just have to wipe it off quickly before it dries with mineral spirits. If it dries, it's easy to remove with 1500. Then do 3000 and redo. (just my take on it)
Hi all,
Just tried the spar/min on a donor light it looked great,but seemed to take a long time to dry in 84 degree weather. I thought it was an even mix, but could there have been too much mineral spirits? The next day it was dry, but seemed to scratch easily also. Have you had this problem?
Lou
I charge $40 for two headlamp lenses. If they want seperate turn signal lenses....it's more. This does also works great on stop lamp lenses. I did a buddy of mine's old chevy truck stop lamp lenses and they came out awesome. He was overjoyed! I've been hand sanding every step now and found a great website with wet/dry sandpaper for $15.00 a box of 50 sheets (9' X 11")
Can you let me know what this website is? I have been having a hard time finding anything over 2000 and even then it is fairly expensive. Even the auto paint suppliers here only have 2000.
Also, I have noticed other people in different posts saying that they only go as high as 2000 and then do the coating but when I do it it seems to be a little foggy still. Could that be because I am starting at 500 hook and loop with a mouse? That's all I have to work with to get the real rough areas out and then I wetsand by hand with 1000 and then 2000. Any ideas?
Thanks
Just out of curiosity, there was another tread some months ago (March) started by Barry Theal that talked about respraying headlights with clear coat. There were a couple of comments about 1K vs 2K clear which I understand from Google has to do with the hardener mix or something related to curing. My question is can you use the clear coat spray from Wally World like the Duplicolor or Rustoleum, etc and if so how would it compare to the urethane/ms mix or Opticoat in longevity? Is the spray can clear about the same as the "real stuff" and is it compatible with plastic?
if you have not said it alredy what did u use ur equipment/ productDon't ya just love the clarity of the finished product! Good work.
if you have not said it alredy what did u use ur equipment/ product
not recommended. having an added heat sources can cause the urethane to blister.Hi to all!
Wonder if using a hair dryer speeds up the drying time of the urethane application.
Jb silver

I do believe it does vary from makes and models I also believe on how long Oxidation is built up an the headlight through out the years with nothing being done about it can make a world of difference check out my new thread here in Show and ShineDoes anyone feel like maybe the different car makes/models may have different variations of hardness/softness to their headlamp lens composite materials? It sure seems like some are harder or easier than others to remove sanding marks/swirls. Anyone?
So i decided to restore this headlight i found in the trash can. someone decided to buy a new headlight and decided to throw this one out thinking it had no hope. since ive had a few new ideas on how to restore headlights i thought this would be the perfect candidate for the job. now here is the thing that is going to surprise most of you all. I did absolutely NO POLISHING on this headlight at all. Yes you read that right, NO POLISHING. i didnt whip out no compound, no pads, no buffer. All i used was Sandpaper and helmans spar urethane and mineral spirits. that is all i used.
process:
wet sand with 800 grit.
wet sand with 1000 grit.
wet sand with 1500 grit.
wet sand with 2000 grit.
wet sand with 3000 grit.
wipe the lense with mineral spirts to clean the sanding residue.
wipe the urethane at 1:1 with mineral spirits.
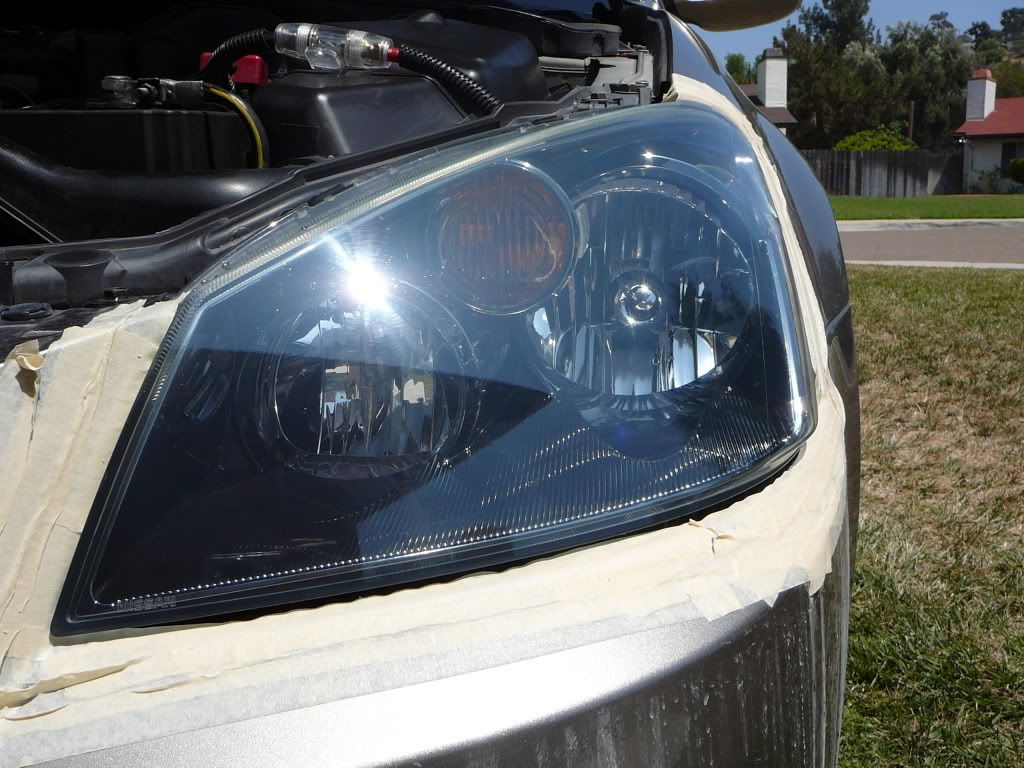
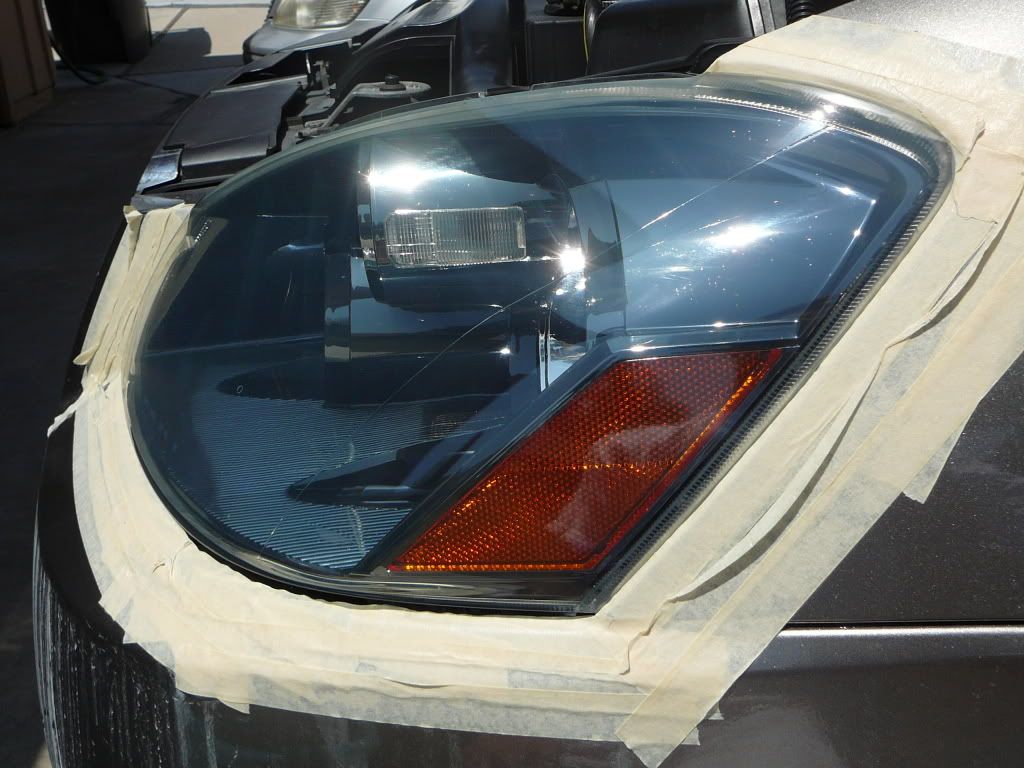
i wasent expecting it to look all that great since i was just testing to see how this looked but the results left me far more than amazed. ill let the pictures do the speaking now:


My thoughts:
Personally i think this is a very good alternative of doing this. In the thread where hotrod introduced this idea he updated everyone with the headlights he did. BUT he did compound and polish out the headlights first....THEN applied the urethane mixture. If i correctly remember he updated up to two years and it still looked awesome. Now here is my take on why i think this is a whole lot better idea than polishing and then wiping the urethane mixture. Take this for an example, when a painter is going to paint your car he doesn't buff out the car first to a perfect shine AND then sprays over it right? no. he first sands the paint and then paints and clears on top of it. That same method applies here. Having sanded the headlight up to 3000 grit there were still sanding scratches. super fine microscopic left from 3000 grit. SO when i wiped the urethane mixture, its laying on top of these scratches and "biting" or "holding on". see how this is similar to the example of painting a car? Its the same when i just need to clear a hood for instance. i dont spray clear over a nice shiny buffed hood. I first sand it with 1000 grit and then spray the clear, this way the clear has something to "hold on" to. This is why i think this method is better. its just like prepping a car for paint or clear, you sand it in order for the paint or clear to grab on well. same here, i applied the urethane mixture on top of the sanded headlight so i believe it will hold on alot better. now most of you are probably thinking that if there are any scratches visible. the answer is no. i spent quite a good time on 1000grit removing all the 800 grit scratches. i spent a good amount of time on each finishing grit to achieve a perfect finish.
any thoughts and comments are more than welcome! :dblthumb2: