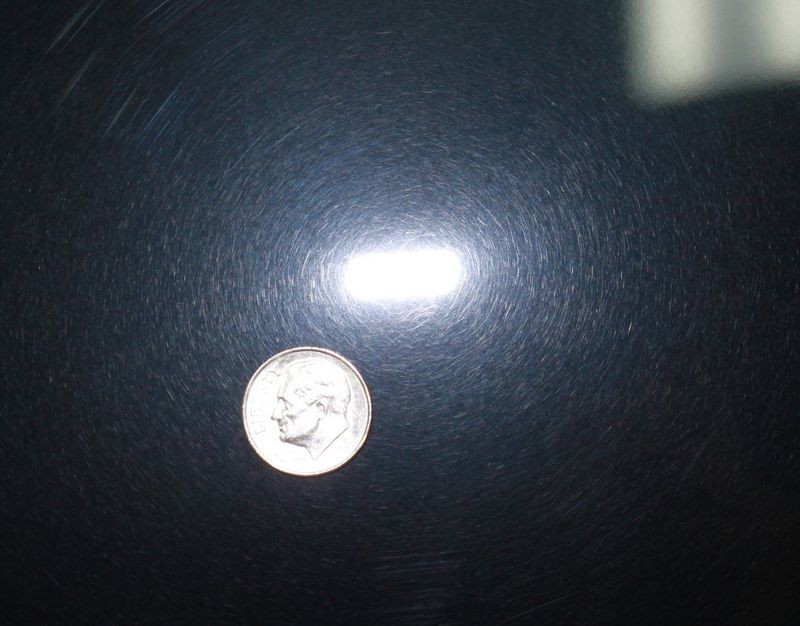
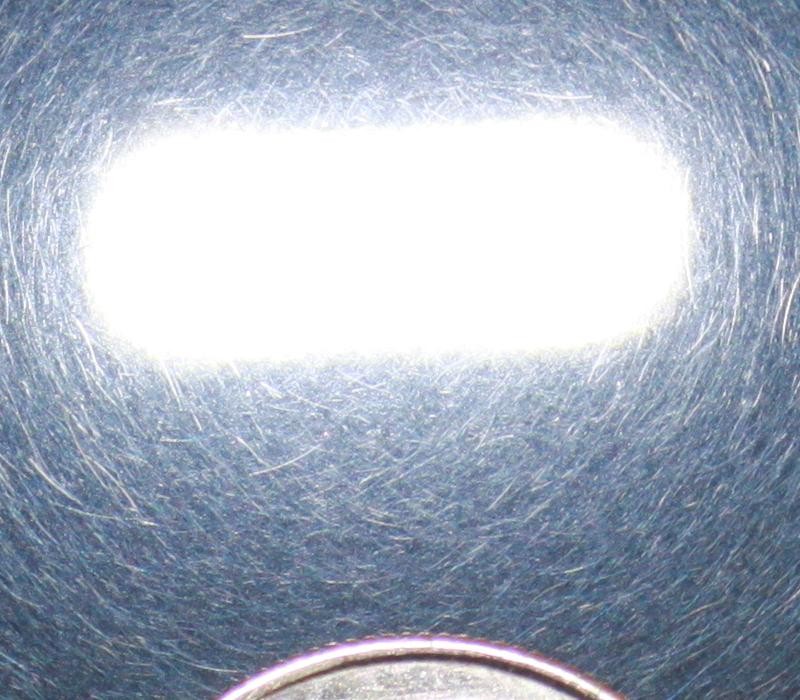
Well, a while back I did some of my first paint correction I've ever done on my black Z06. Used a Porter Cable random orbital with Lake Country pads. I used some Wizards swirl remover to get rid of the swirls, then followed that up with Klasse All in One, then the Klasse sealer. After that I waited about 6-8 hours and applied Collonite Insulator Wax. The car looks great in the shade, or in the flourescent lights in the garage, but out in the direct sunlight I have some cloudiness in the paint. I'm not sure if I applied too much of one of the products, or didn't wait long enough in between certain products. I thought the cloudiness might go away after a couple washes, but it hasn't after about 4 washes.
I've used the Collonite insulator wax previously on my black truck, as well as my black boat, and never had any problems. I'm suspecting one of the Klasse products may have done it, but I'm just not sure. I've also used the Wizard's swirl remover before on my truck, followed up directly by the Collonite Insulator wax, and didn't have a problem then. So, the 2 Klasse steps are really the only new product in the mix here
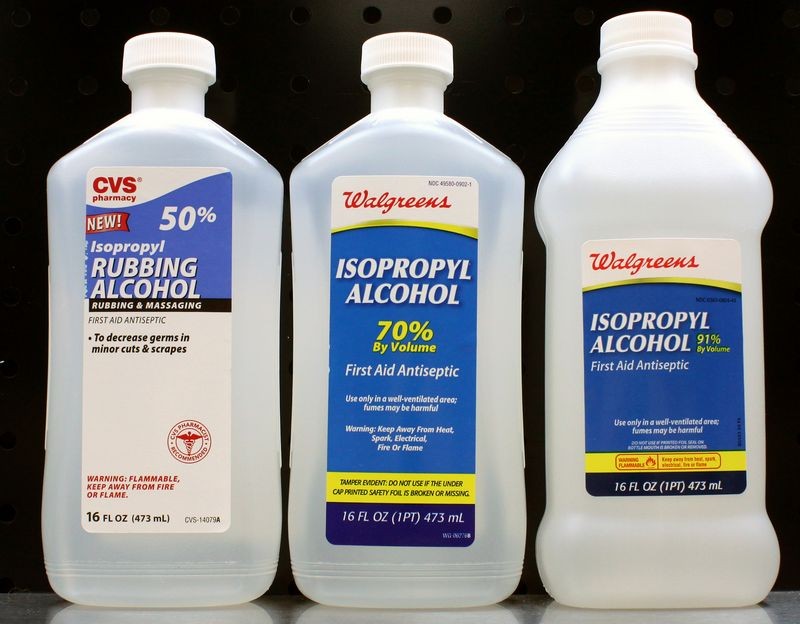
Is there a product I could use to strip all the wax and Klasse sealer off, and then re-apply just the wax? Does anyone have any other suggestions?
I've used the Collonite insulator wax previously on my black truck, as well as my black boat, and never had any problems. I'm suspecting one of the Klasse products may have done it, but I'm just not sure. I've also used the Wizard's swirl remover before on my truck, followed up directly by the Collonite Insulator wax, and didn't have a problem then. So, the 2 Klasse steps are really the only new product in the mix here
Is there a product I could use to strip all the wax and Klasse sealer off, and then re-apply just the wax? Does anyone have any other suggestions?

")