Here's what you need to get into machine polishing - Recommendations for a beginner by Mike Phillips

:bump:

Except for switching out the Griot's G9 for the older model, the Griot's 6" Random Orbital Polisher, this how-to article is just as accurate today as it was the day I wrote it.


Review: Griot's G9 - 9mm Orbit Stroke Random Orbital Polisher by Mike Phillips


Griot's G9 - 9mm Orbit Stroke Random Orbital Polisher

Griots_G9_El_Camino_000b.JPG


:)
 
More....


Read this too....


Backing Plate Swap - 5 inch backing plate for the Griot's Garage G9


For everyone purchasing a Griot's Garage G9 random orbital polisher, (either from Autogeek or somewhere else), it comes from the factory, (in the box), with a 6" backing plate. I'm telling you straight-up, this tool has the POWER to turn and churn any 6" and larger pads that you attach to this size backing plate.

BUT - the way my mind thinks is like this,

After purchasing the tool, the next thing you're going to do is start investing money into pads. Smaller diameter pads fit modern car body panels better. That's simply a fact. So before investing your hard earned money in 6" and larger diameter pads, bite the bullet and get the Griot's 5" backing plate and THEN start investing in 5.5" and 6" buffing pads.

I guarantee you - you will appreciate this as time goes by.


Here's my personal G9 - given to me by Griot's. I tend to put my name on all my work tools for 2 reasons,

1: So if someone steals any of the tools they'll remember where they stole it from and who.

2: It's in my contract that I can keep all prototypes and new tools given to me by tool companies. I have a nice collection to date.


In the below picture you can also see the 5" backing plate compared to the factory installed 6" backing plate.

Griots_5_inch_G9_Backing_Plate_001.JPG


:)
 
Thanks for this post Mike. This is very informative and helped me prepare for starting out with my G9 coming in. I was hoping to see coverage on cleaning the pads too but I understand that more of a maintenance topic rather then an application. I’m sure I’ll find a write up on that shortly by searching.
 
Thanks for this post Mike. This is very informative and helped me prepare for starting out with my G9 coming in.

I was hoping to see coverage on cleaning the pads too but I understand that more of a maintenance topic rather then an application. I’m sure I’ll find a write up on that shortly by searching.


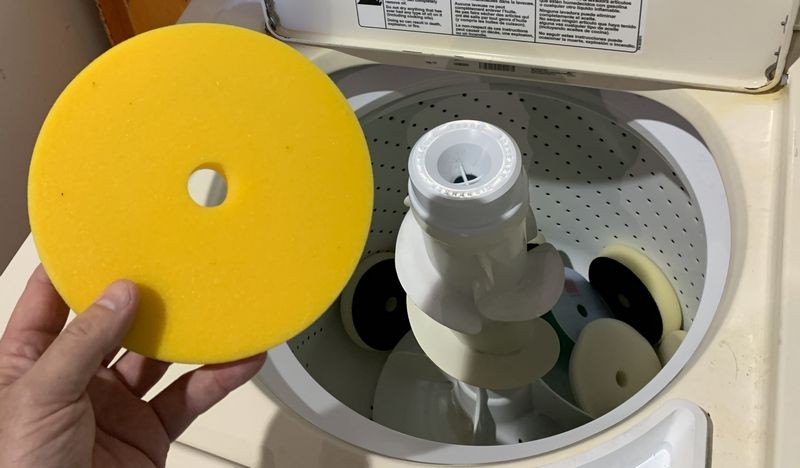
Around here we use pads on such a grand scale that the only time-effective way to clean all our pads is in a normal washing machine and dryer. I show this in a photo-documentation of what it's like to take one of my classes.


From this class...

Pictures: 2020 September 3-Day Detailing Bootcamp Class


From page 2 of the thread,

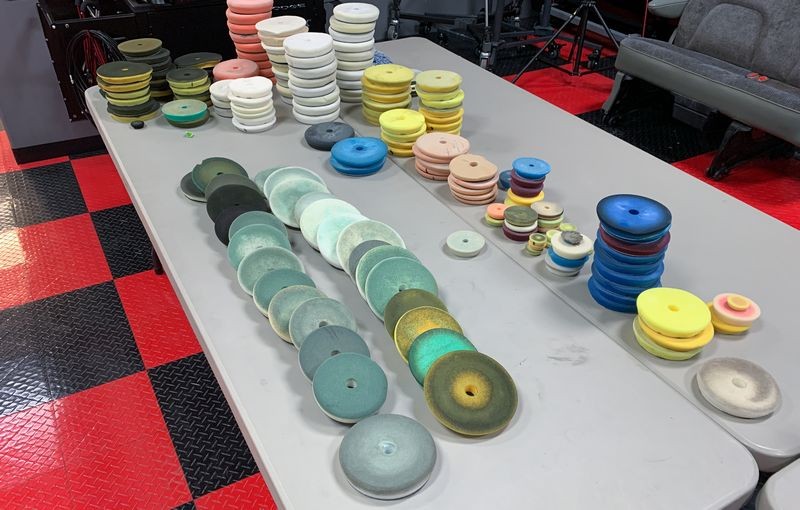
Here's the single stage paint on some of the pads the classed used before I throw them into the washing machine.

Single_Stage_Green_003.JPG


Single_Stage_Green_002.JPG


Single_Stage_Green_001.JPG


As I type it's the Wednesday after the 3-day class. On Monday we do IDA Skills Validation Testing, (Phase II), and then the Boss gives me Tuesday off to recharge my batteries, then Wednesday I return to work and start playing catch-up. First thing I do is start doing paper work. Things like expense reports, new product inventory forms, profit & loss worksheet and forms for the IDA Skills Validation tests.

While I'm getting paper work caught up I also start laundry. The washing machine and dryer can be going while I do desk work and it's MUCH BETTER to wash buffing pads and microfiber towels as soon as possible.

During the class I was asked this question....

Can you re-use buffing pads used for Single Stage Paint?


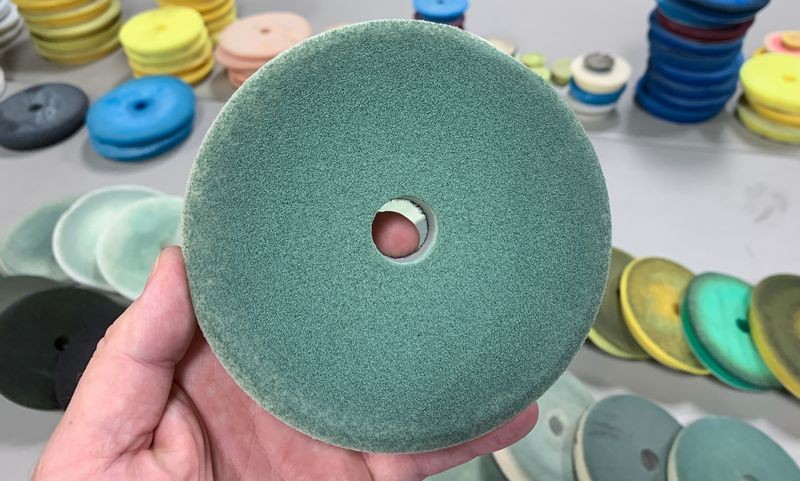
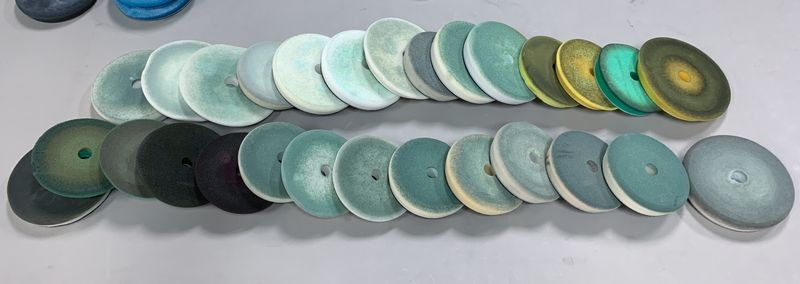
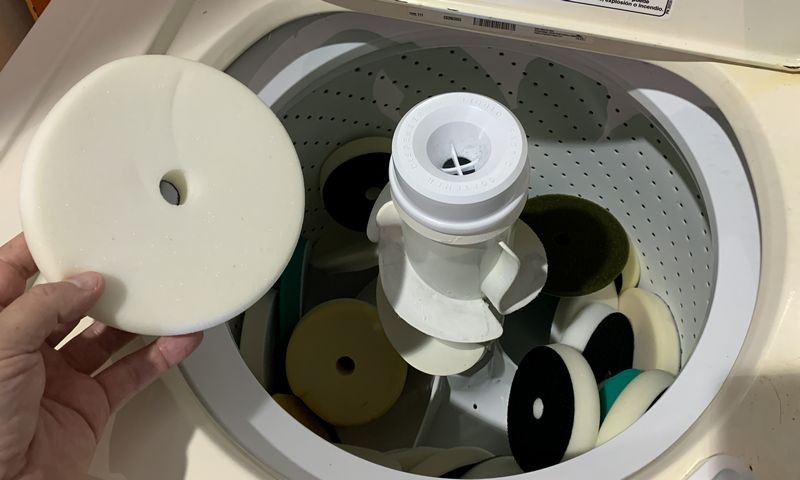
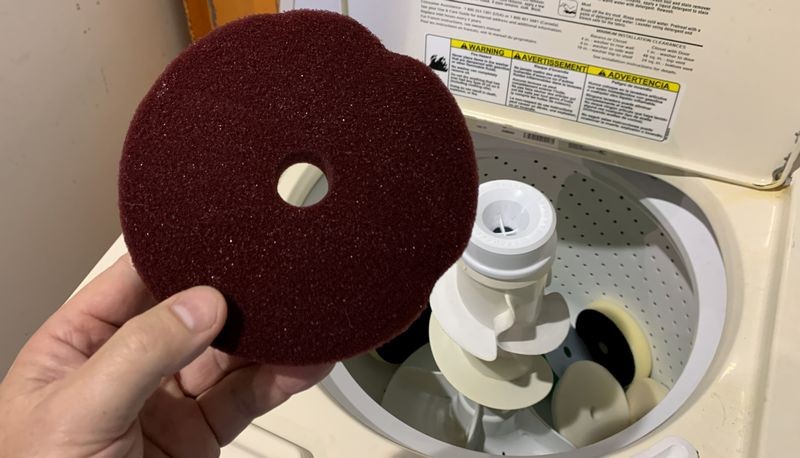
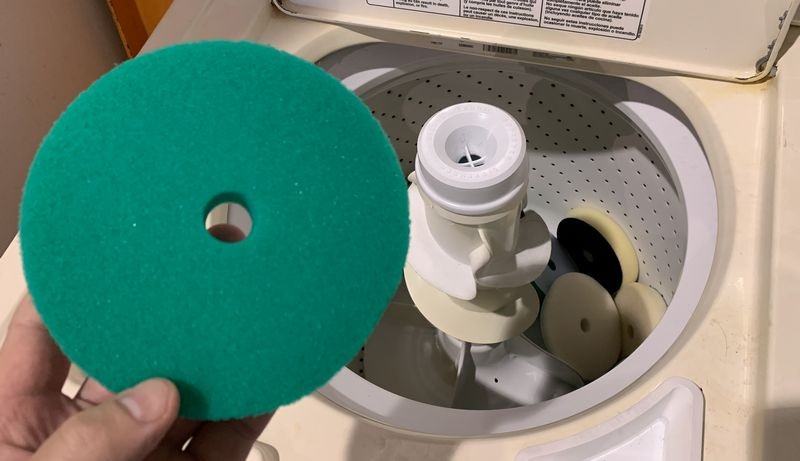
My answer was "yes". Then today, if you look above this post you'll see the buffing pads with green single stage paint on them. Below is how these exact same pads look after washing and drying.

Here's the same pads you see above with GREEN paint on them as they come out of the old school Agitator style washing machine. Impressive.

Single_Stage_Green_004.JPG


Single_Stage_Green_005.JPG


Single_Stage_Green_006.JPG


Single_Stage_Green_007.JPG


Single_Stage_Green_008.JPG


Single_Stage_Green_009.JPG


Single_Stage_Green_010.JPG


Here I've laid them out to the best of my ability like you see in the BEFORE picture above in post #16

Single_Stage_Green_011.JPG


There's even MORE pictures showing all the pads washed after this class on page 2


And from last year's boat class...


Pictures: 2020 Boat Detailing Class - SOLD OUT!

Here’s just one aspect of clean-up

Washing the gel-coat out 24 RUPES Wool Cutting Pads.

f7ed39e55a268b196f92b920bf0a9e06.jpg


988ff330c6e7f60e3cb36d36f1312ec0.jpg


ed7eef07311ad325c319b62e2fe96b96.jpg


380ee1d3fdd8d29a72b61580f5b8f737.jpg


858fc9345992137bc5afb1ebf624da94.jpg


310bdee7c4ee097221d3e11d29ff707a.jpg


fdcd729dce7fd4e9efb0545a233f90a0.jpg


a6ee6645499fffda4fe08767aa2e5a0e.jpg


I then blew them off using the Tornador Air Blowout Gon and laid them out to air dry.

63d7e2618f811a84ca5e652f0bf4e8c0.jpg


540560bea43c25f44964054149d8c043.jpg


Back to cleaning up the Training Academy.


:)
 
And more....


Just last week, at LIVE Detailing Class we do every Thursday starting at 3:00pm Eastern Time, Jason Brennan from Lake Country Pads was our guest and he demonstrates how to use the NEW Lake Country System 4000 Deluxe Pad Washer


Check it out here...


This new design works incredibly well. Plus - you're always using CLEAN water to clean the pads, not recycled water, which means you're always injecting the dirty pads with dirty water.


Lake Country System 4000 Deluxe Pad Washer


:)
 
Back
Top