How do I handle roof ridges?

dnobel

New member
Joined
Apr 21, 2012
Messages
39
Reaction score
0
The roof of my Toyota SUV has raised parallel ridges running down the back (please see the photo below). I plan to polish the vehicle with a DA using 5.5" pads (the only size I have), but am not sure how to approach the area with the ridges. The paint on the roof is in pretty good shape, so I don't expect to have to do more than apply a light polish/finishing glaze before the sealer. All suggestions appreciated.

Thanks!

Hit it like you would any other area and just let the machine walk through the valleys. If you have an interface pad that would help, but not necessary
 
Definitely get some type of scaffolding so you can work effectively and safely.


We use these and they work great...

WernerAluminumWorkPlatform.jpg


Tall panels like the roof...
54Ford83.jpg


Even work for lower panels...

54Ford80.jpg


:xyxthumbs:
 
Did this SUV a while back, it was in pretty bad shape, just do like Flash said and let your pad glide in and out of the valleys between the ridges. I knocked out the roof on this using 5.5" CCS pads and a GG 6" DA Polisher with no problems at all...


KISS Detail - Extreme Makeover - Toyota Highlander


The paint is chalky and dull with extreme oxidation on the horizontal surfaces. There's absolutely no gloss, slickness or shine left in the paint.

1eoWhite001.jpg


While John was working below, I tackled the roof which was just as dull and oxidized as the hood... we poured off some XMT 360 from the XMT 360 which is available in larger sizes like a quart bottle into a couple of Autogeek Squeeze Bottles to make it easier to dispense product.

1eoWhite018.jpg


1eoWhite019.jpg


Here you can see the gloss and clarity have been restored...
1eoWhite020.jpg


1eoWhite021.jpg


The roof is now just as smooth and shiny as the lower portions... you can see the gloss on the gloss points.. (the ribs and any curves)
1eoWhite027.jpg


Before there was zero reflectivity... now you see the Flex logo from the banner on the wall reflecting off the hood with excellent DOI for white paint.

DOI - Distinction of Image
1eoWhite028.jpg


:xyxthumbs:
 
Mike and Flash: Many thanks for the quick and detailed responses!

Mike, I will look into the scaffolding. It looks like it would be very handy for lots of places where a step ladder would be second best.
 
Mike and Flash: Many thanks for the quick and detailed responses!

Mike, I will look into the scaffolding. It looks like it would be very handy for lots of places where a step ladder would be second best.


That unit Mike is showing comes from Lowes. Its normally priced @ 40.00 Once or twice a year you can catch it for 20.00. It has a weight limit of 225

Make sure you have the safety latches in place. I almost broke my neck on it when I first got it
 
Just to note, if you have the 5.5" Lake Country Flat pads, they are tapered and run down the valleys on roofs like this just fine and if you focus a little attention on the sides of the ridges you'll do fine removing oxidation and road grime build-up.

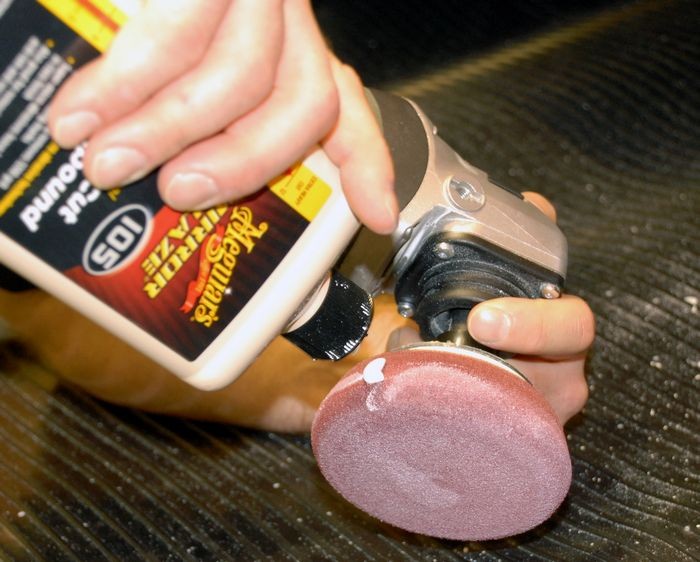
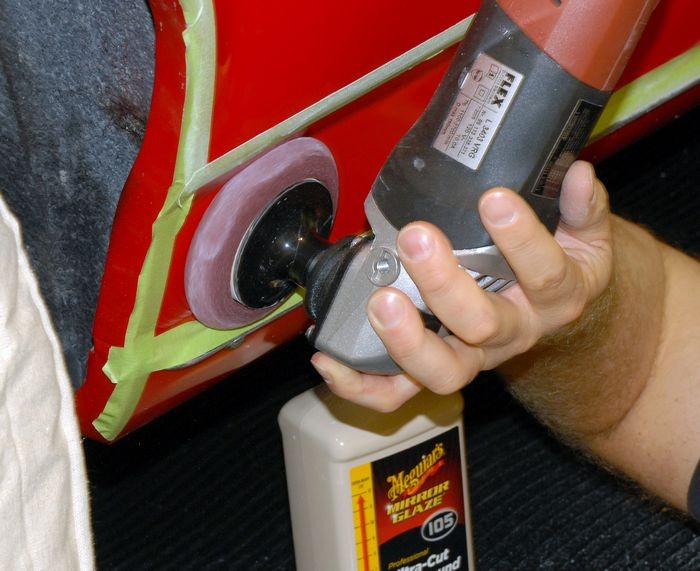
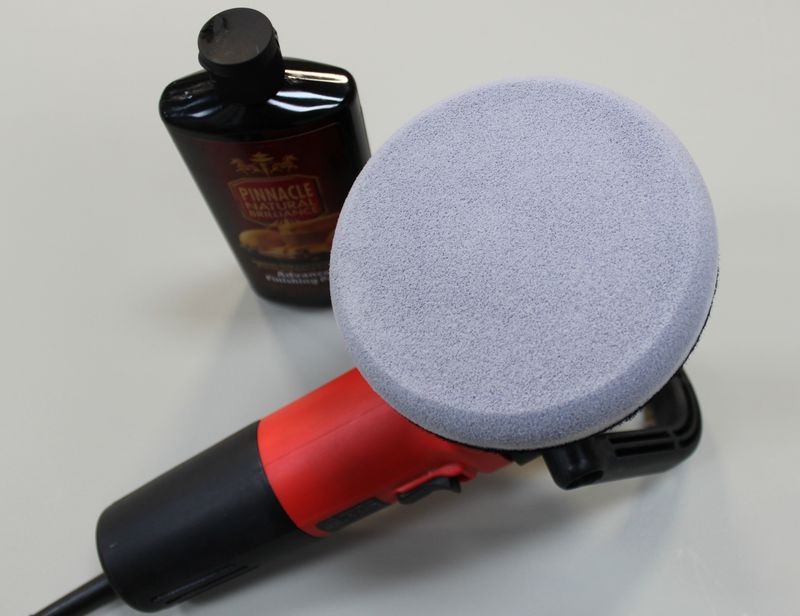
Be sure to prime the side of your pad like I show here of a pad on the rotary,

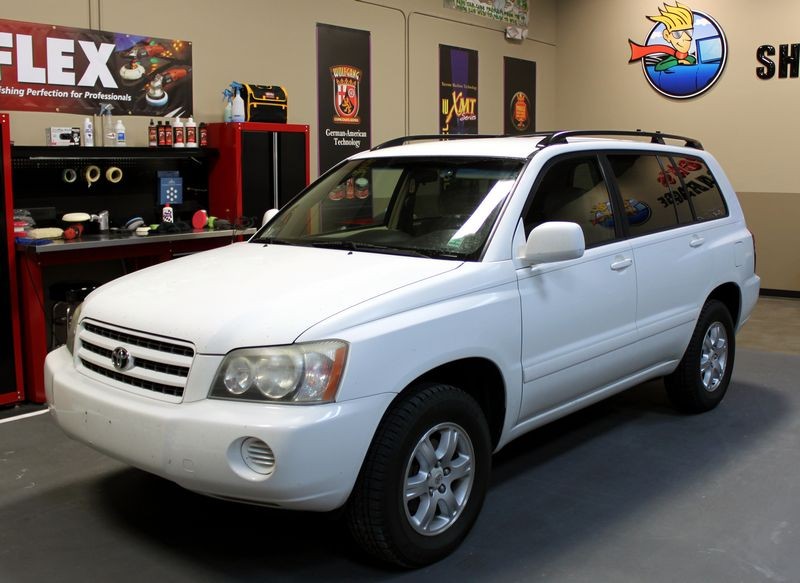
If it has paint... it gets polished...

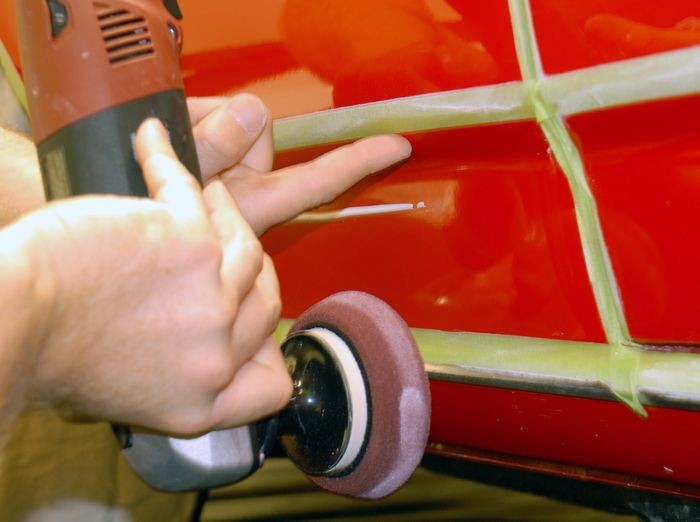
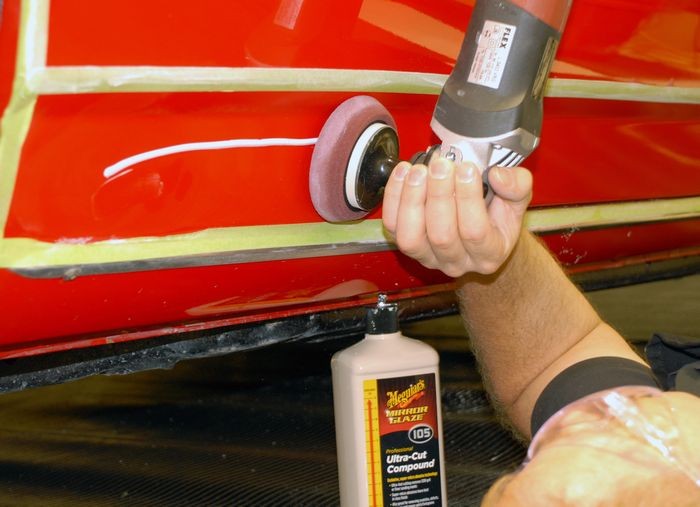
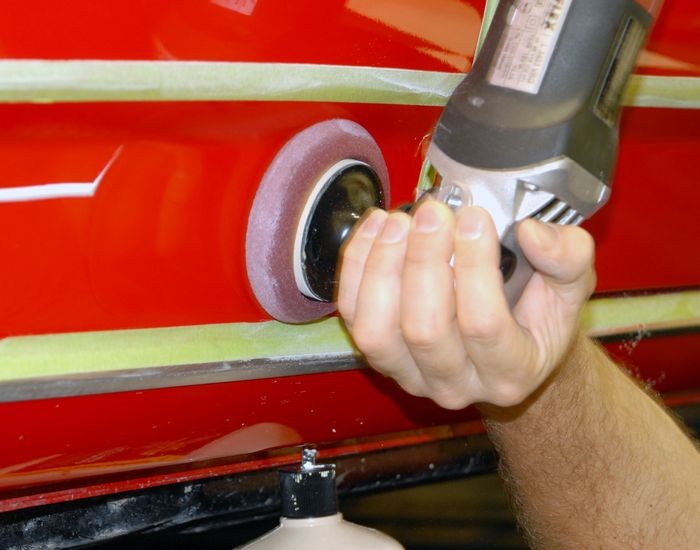
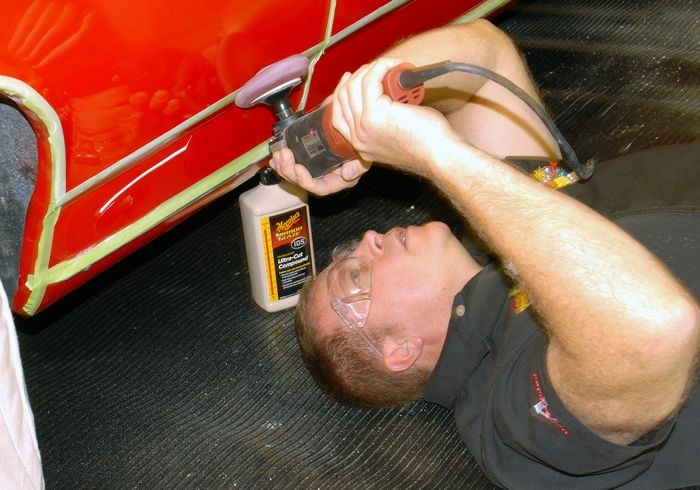
Here's a little tip, anytime you're buffing next to an adjacent panel and it's possible you could run the vertical or side edge of your pad into the paint, lubricate it by working some of the product you're using on the face of the pad onto and into the foam. This will help to keep from generating too much heat and burning the paint and also in the case of these lower panels, help me to remove some of the sanding marks on the angled section.
WorkingLowerSections004.jpg


WorkingLowerSections005.jpg


WorkingLowerSections006.jpg


WorkingLowerSections007.jpg


It's this little long thin section I'm trying to improve and protect.
WorkingLowerSections008.jpg


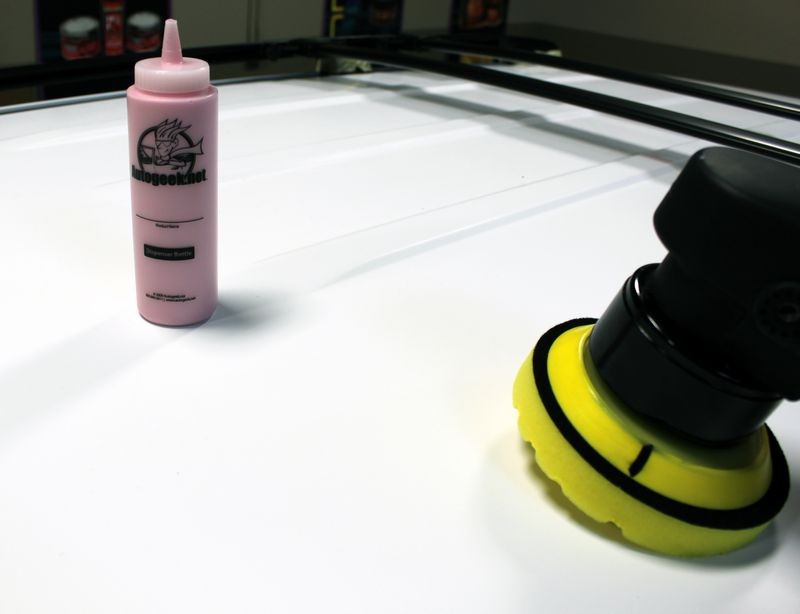
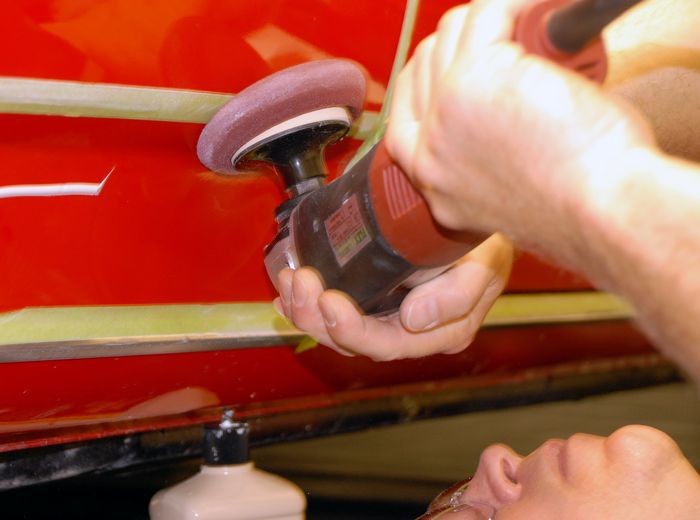
Picking up just a portion of the bead of product using the 10 @ 10 technique and then working it over a portion of this panel.
WorkingLowerSections009.jpg


WorkingLowerSections010.jpg


WorkingLowerSections011.jpg


WorkingLowerSections012.jpg


WorkingLowerSections013.jpg


WorkingLowerSections014.jpg


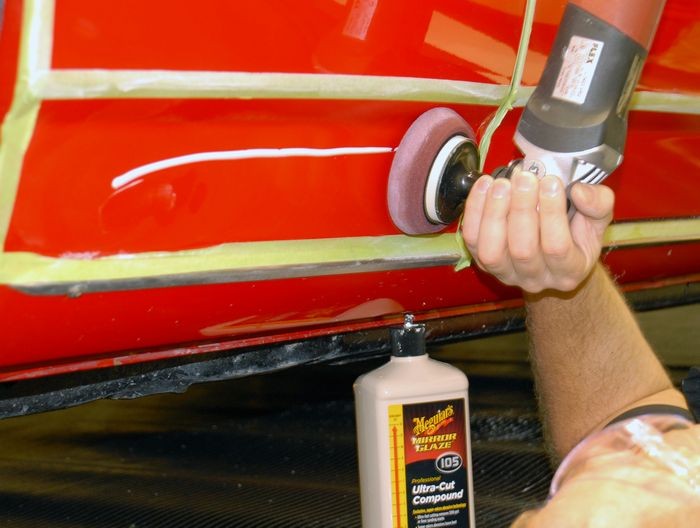
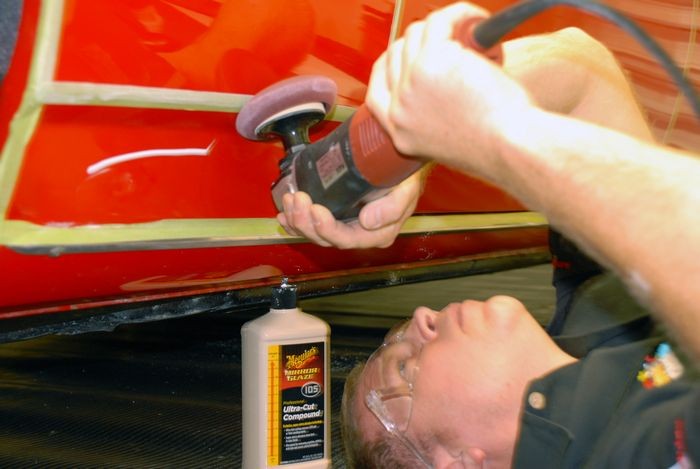
Note the safety glasses... don't want any splatter in my eyes...
WorkingLowerSections017.jpg


After removing the sanding marks in the front portion of that panel I picked up my bead and tackled the rear portion...
WorkingLowerSections018.jpg


WorkingLowerSections019.jpg


My personal preference is not handle, if there is a handle I actually like a Stick Handle as I can quickly and easily either remove it or move it from side to side depending upon how it works best for the panel.
WorkingLowerSections020.jpg


WorkingLowerSections021.jpg


Much better...
WorkingLowerSections026.jpg


And in this article, here,

How to prime a foam pad when using a DA Polisher


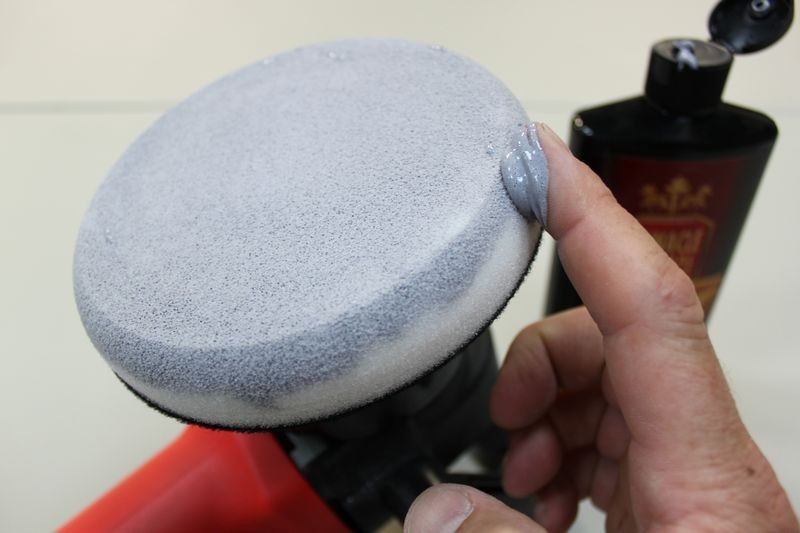
As an option you can also prime the outer edge. This helps if you're buffing around convex curves or around panels that the edge of your buffing pad may come into contact with, like spoilers, side mirror housings, curved panels etc.

PrimingPad06.jpg


PrimingPad07.jpg


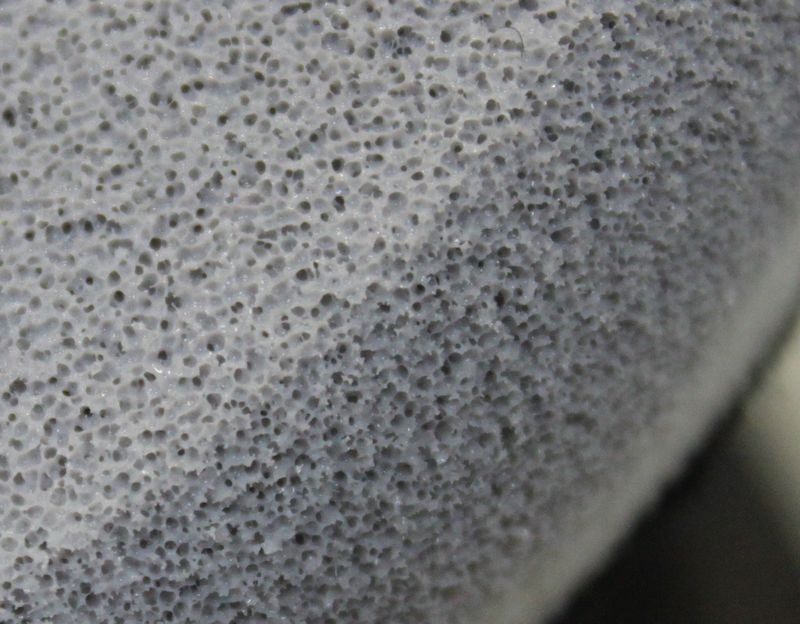
Primed and ready to add "Working Product" to.
PrimingPad09.jpg


PrimingPad08.jpg


Adding "Working Product" to the primed pad
Some people will recommend 3 to 4 pea size drops of product as the proper amount of product to use and this can be correct for concentrated products or working small sections and if you follow this advice make sure you are not under-lubricating the surface being worked.

Pea size drops of product
PrimingPad10.jpg


PrimingPad11.jpg


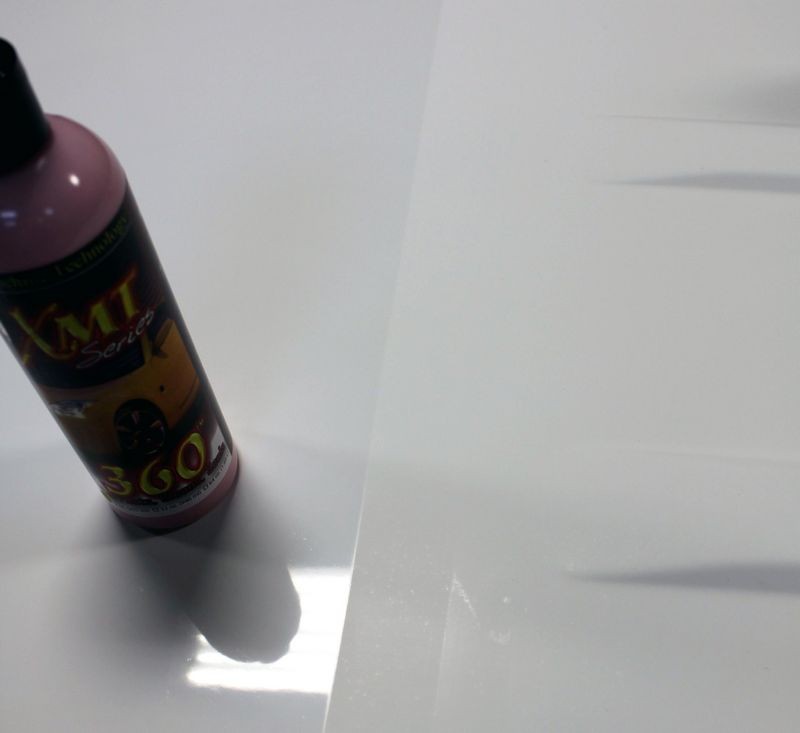
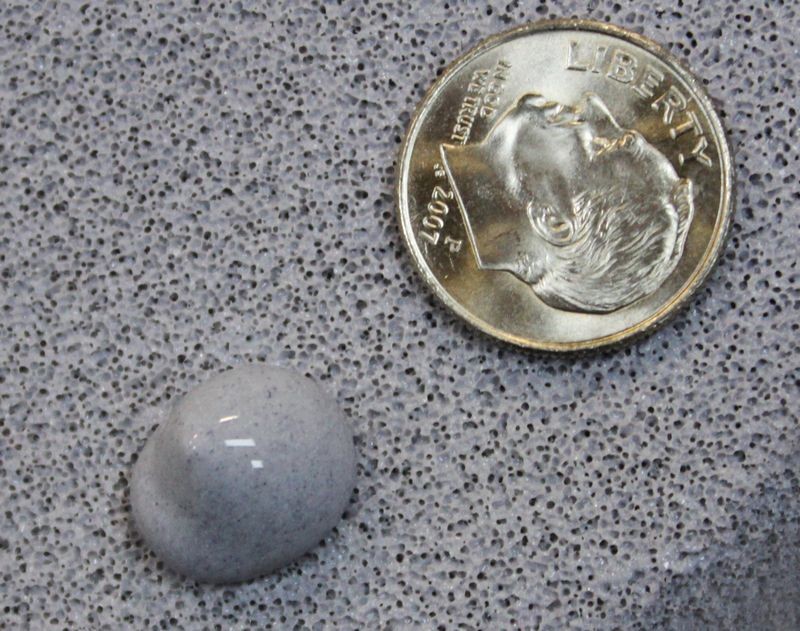
For some products and paint conditions, you may want more product on the surface working for you. Here's an example of dime size drops of product.

Dime size drops of product
PrimingPad12.jpg


PrimingPad13.jpg


:xyxthumbs:
 
That unit Mike is showing comes from Lowes. Its normally priced @ 40.00 Once or twice a year you can catch it for 20.00. It has a weight limit of 225

Make sure you have the safety latches in place. I almost broke my neck on it when I first got it

Thanks for the tips! :dblthumb2:
 
Mike: Wow, that is terrific instructional material. The photos are a great help.
 
Mike: Wow, that is terrific instructional material. The photos are a great help.


A picture says a thousand words....


We try to hard to provide you a reason to share AGO with your all your car buddies.

  • Stellar forum members always willing to help
  • Family friendly environment
  • Incredibly helpful information resources and videos

Good luck with your project...


:xyxthumbs:
 
Back
Top