Continued.....
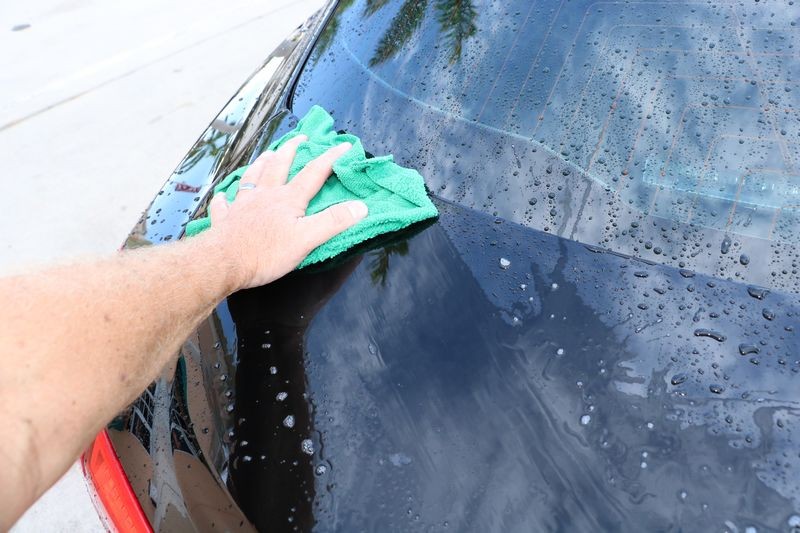
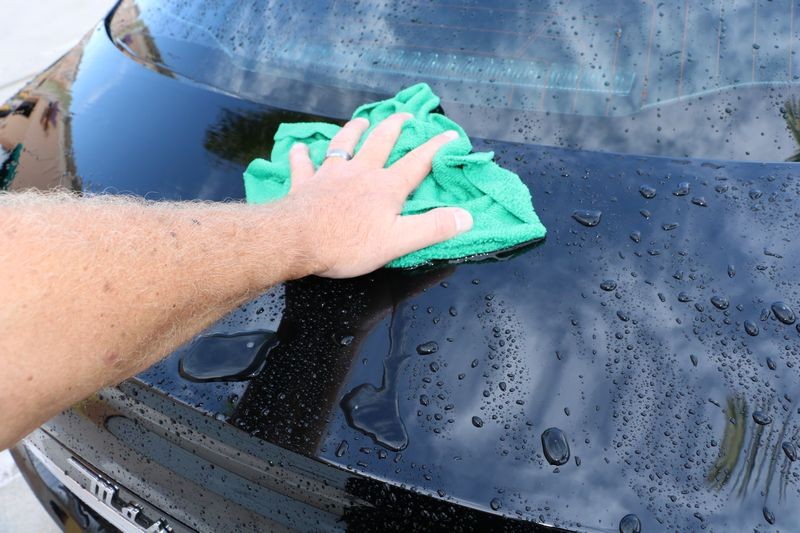
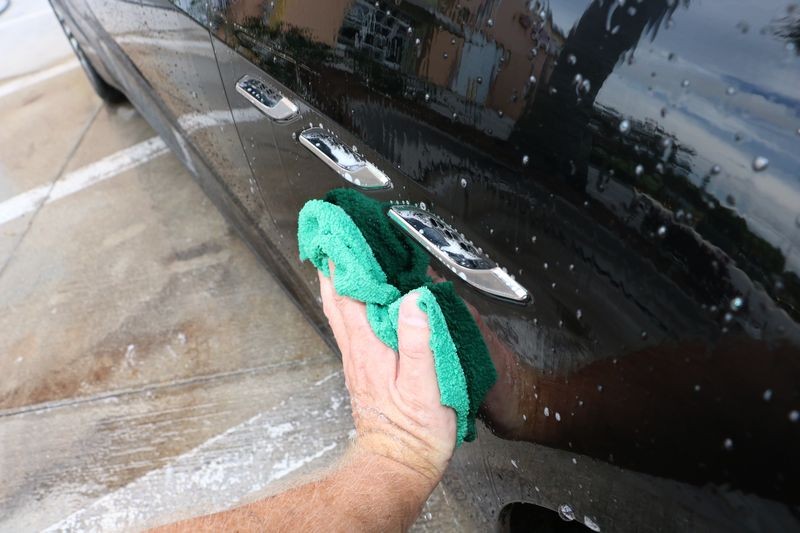
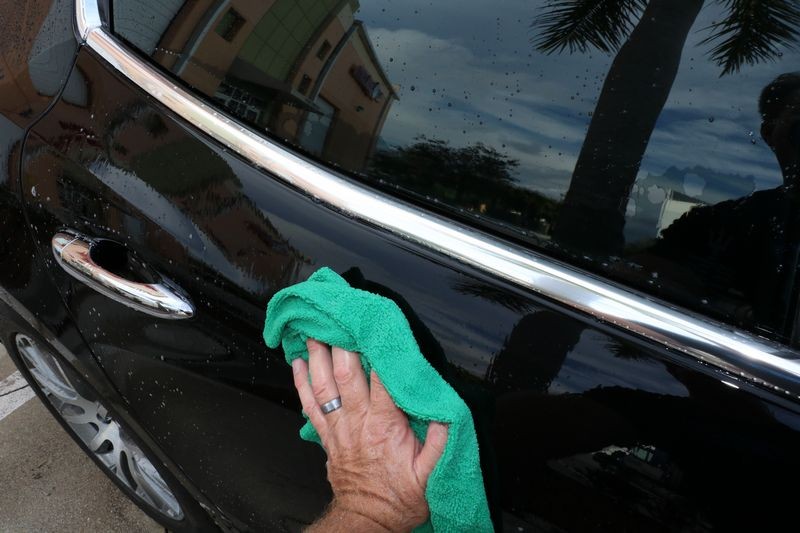
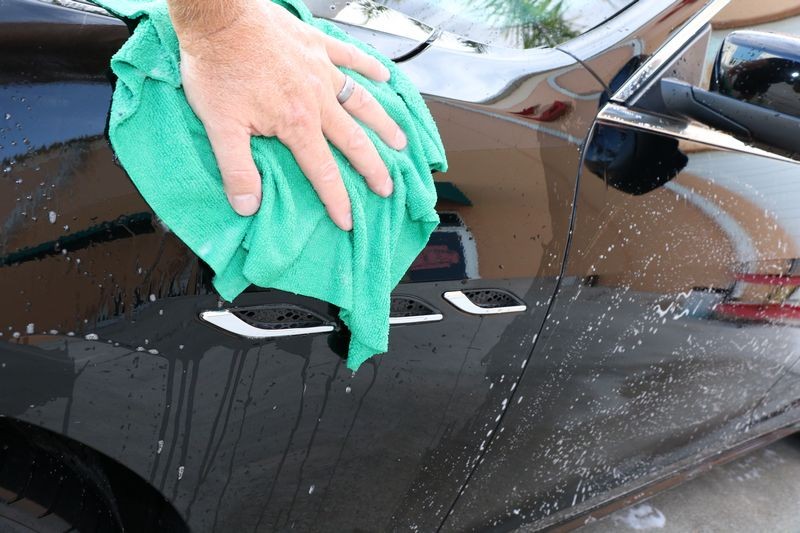
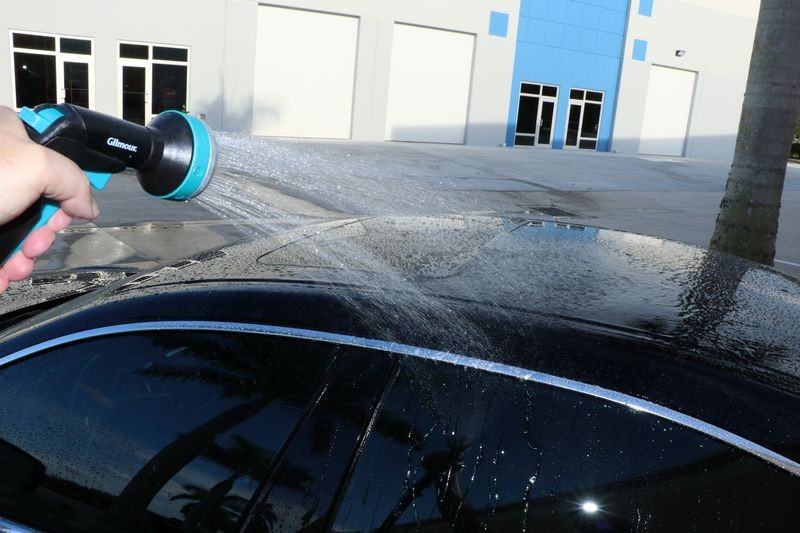
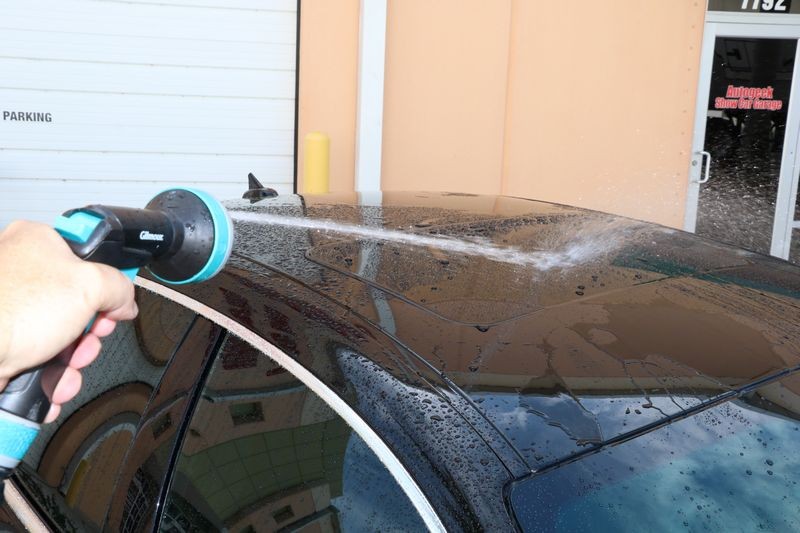
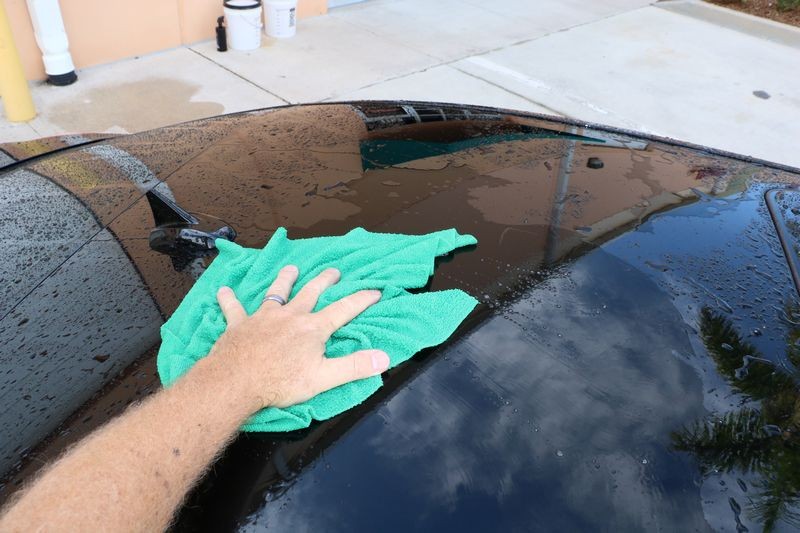
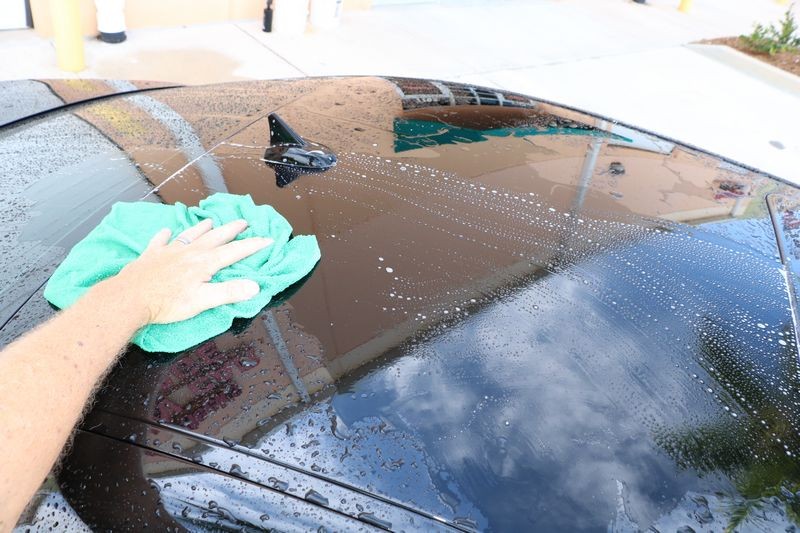
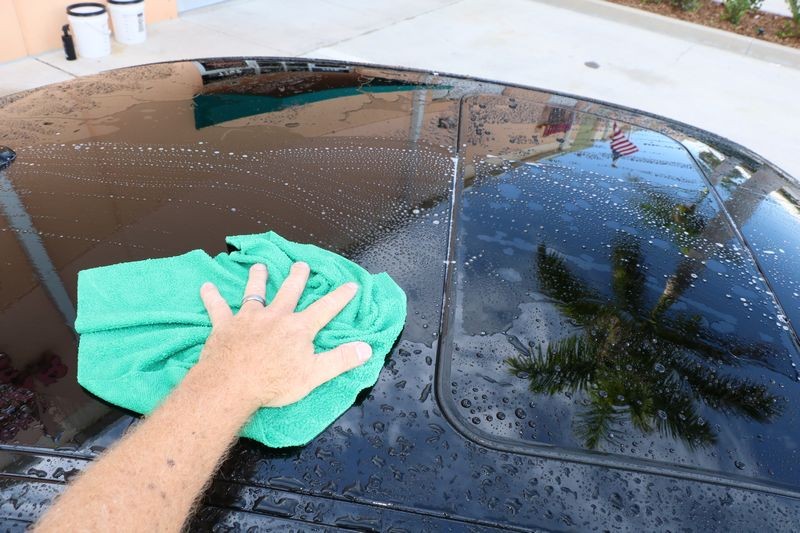
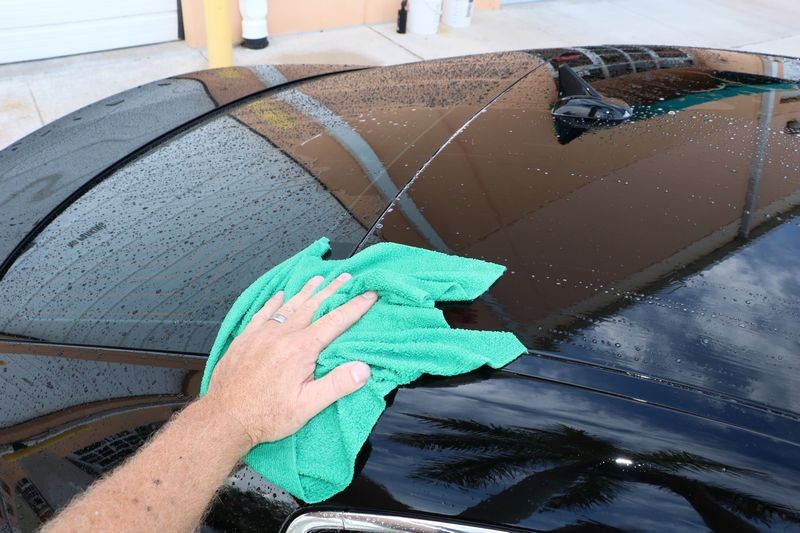
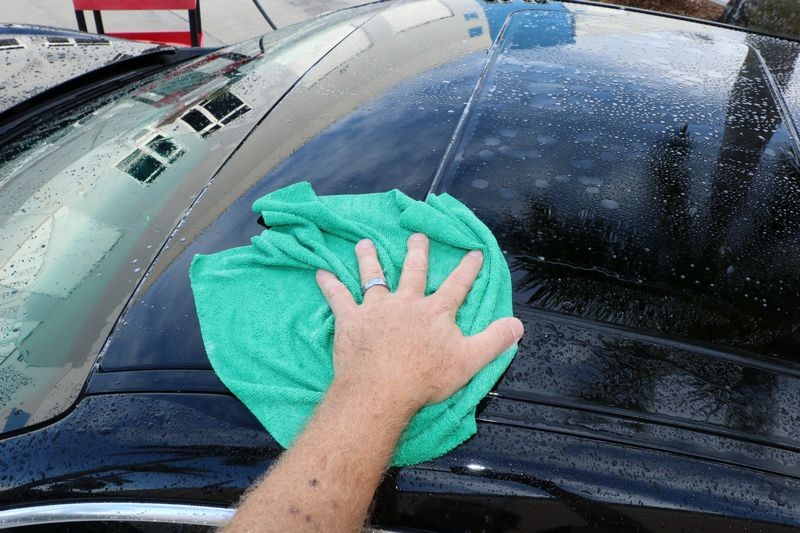
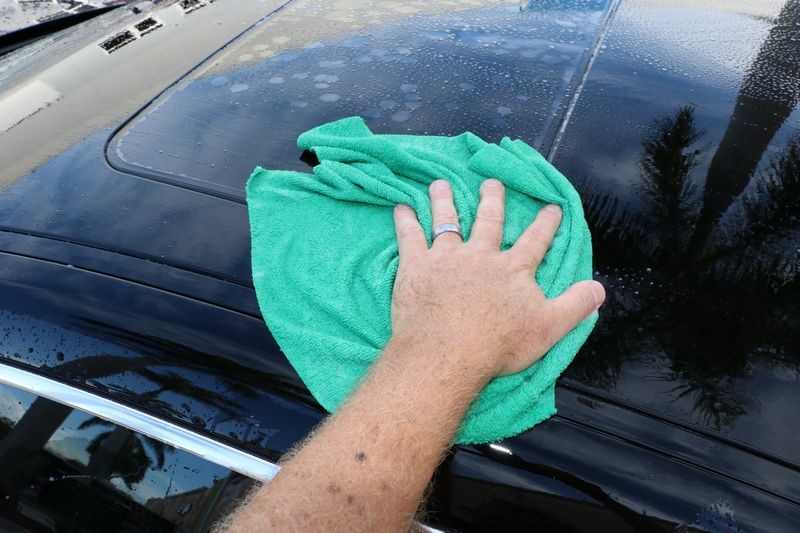
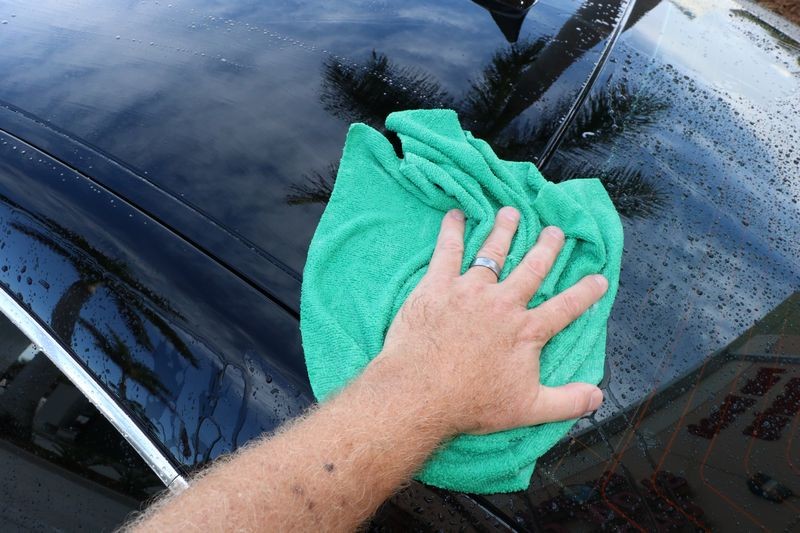
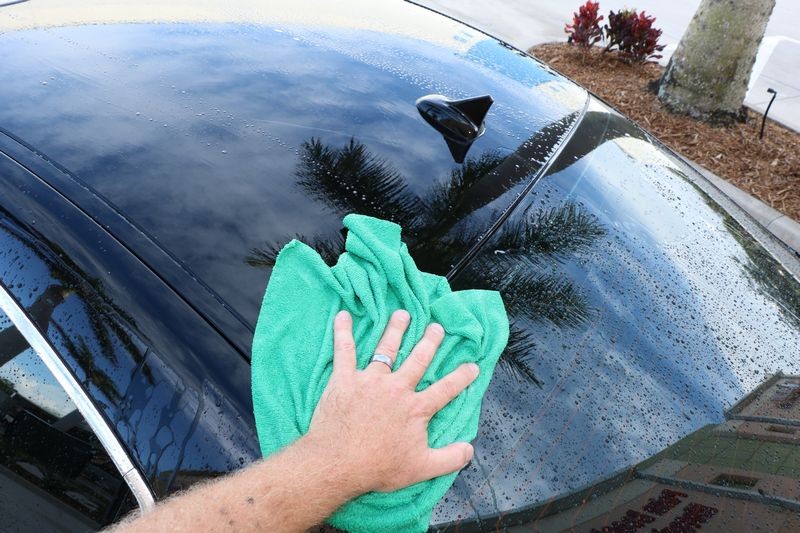
Washing the car
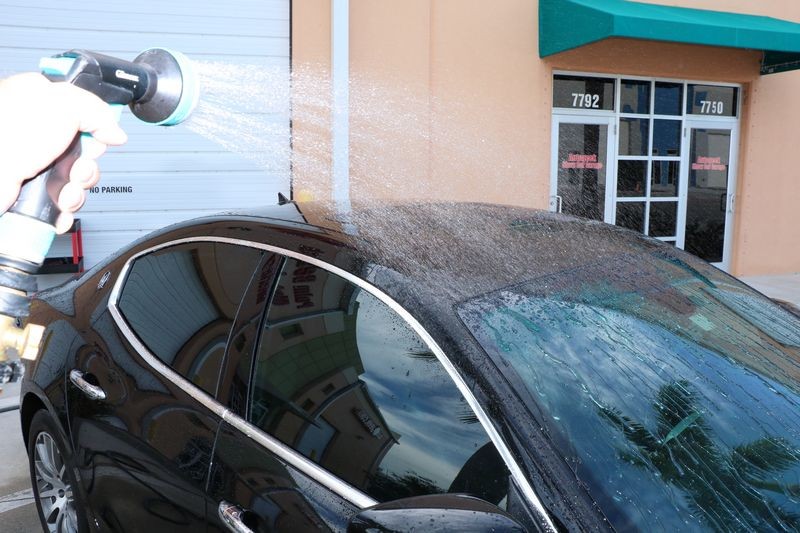
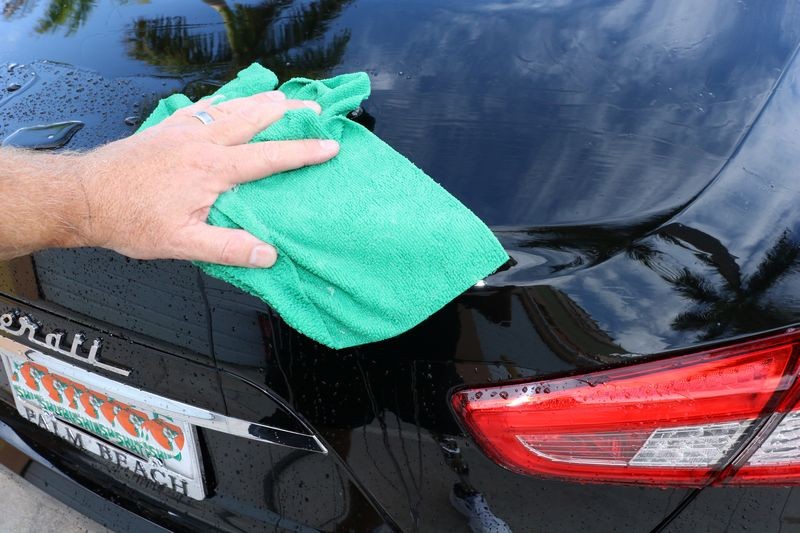
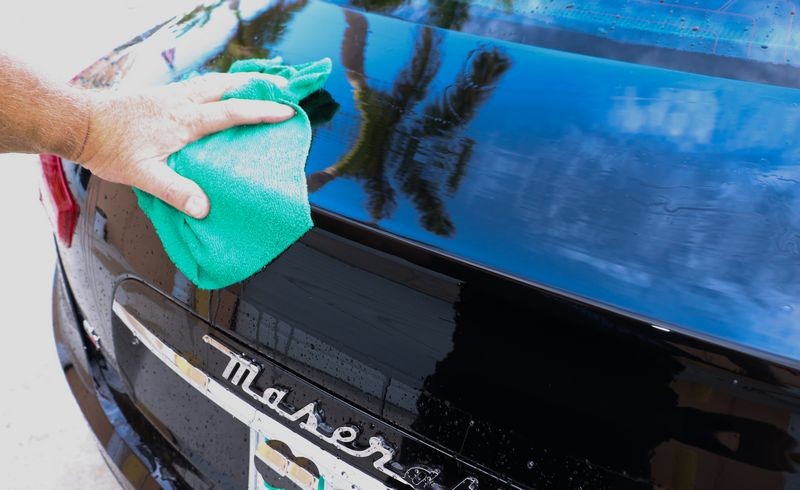
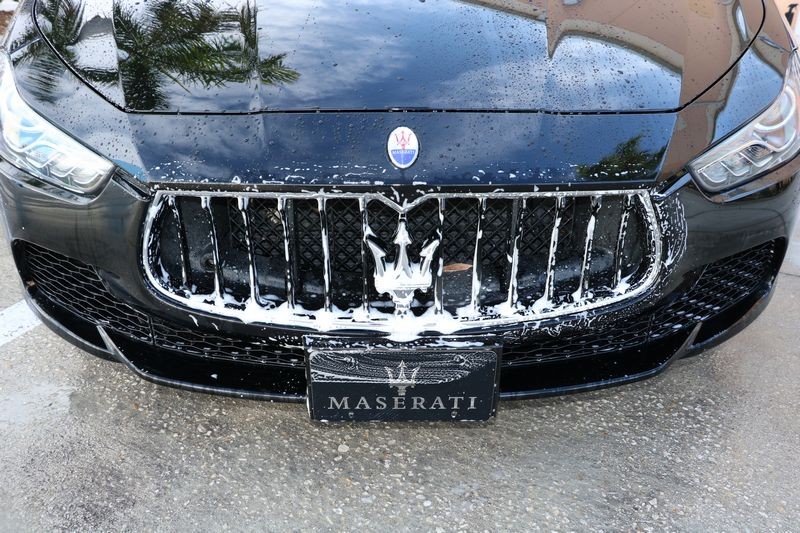
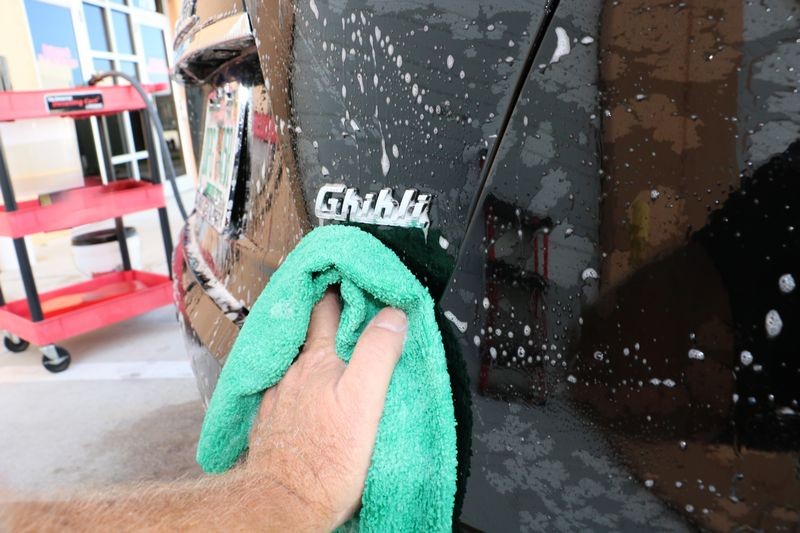
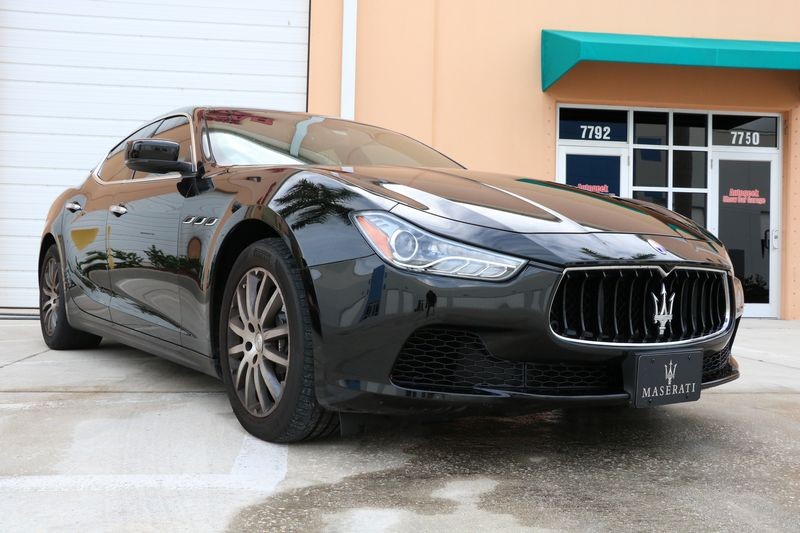
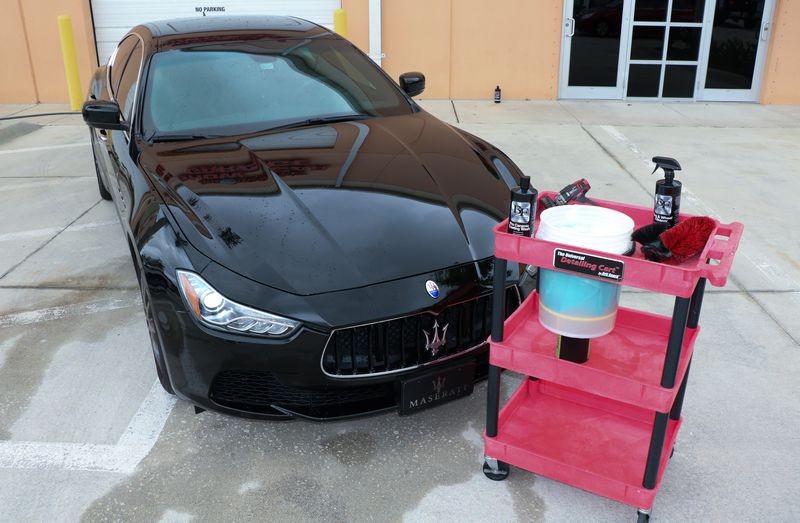
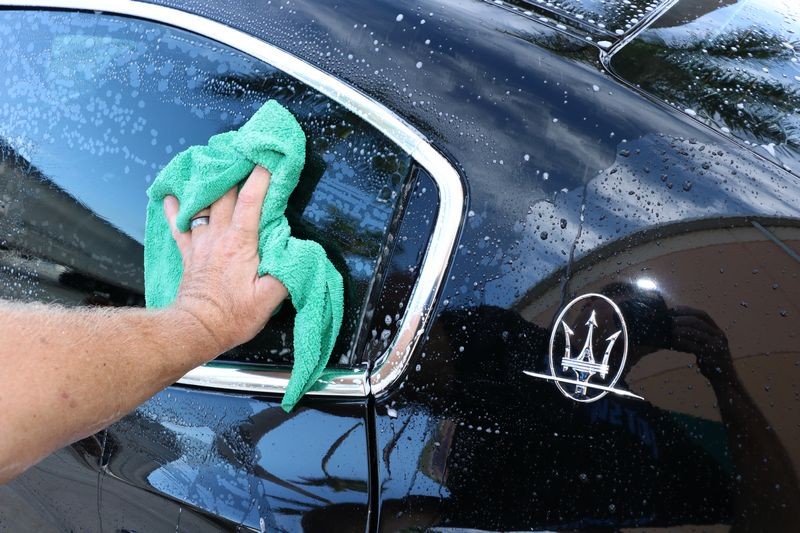
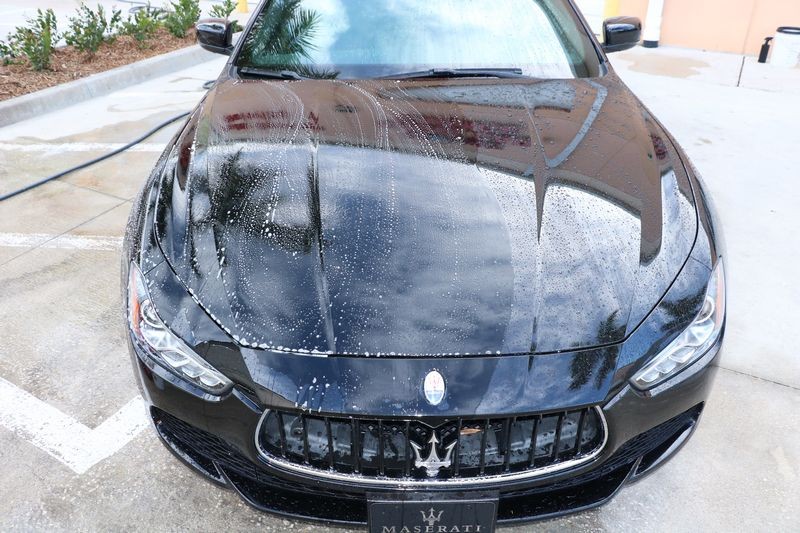
Here's my demo car for this article on how to wash a ceramic coated car. This is a 2014 Maserati Sports Coupe that I coated with BLACKFIRE Pro Ceramic Coating a few months ago. Now she's dirty.
2014 Maserati Sports Coupe
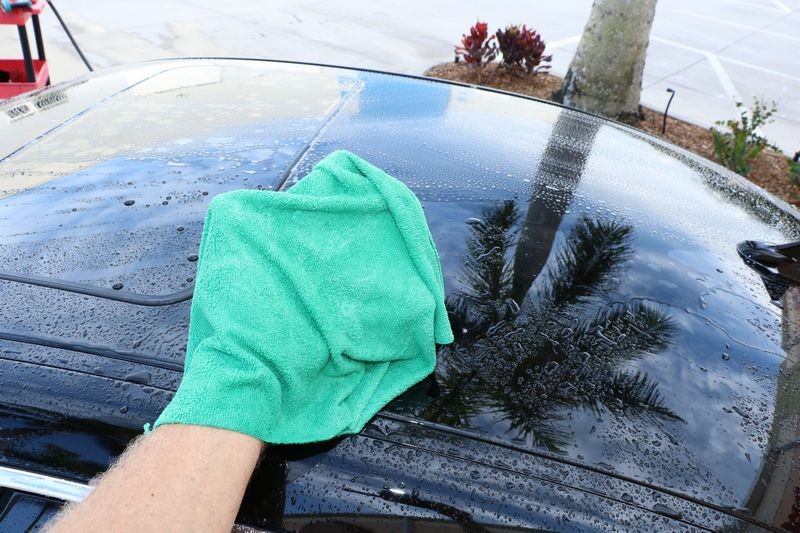
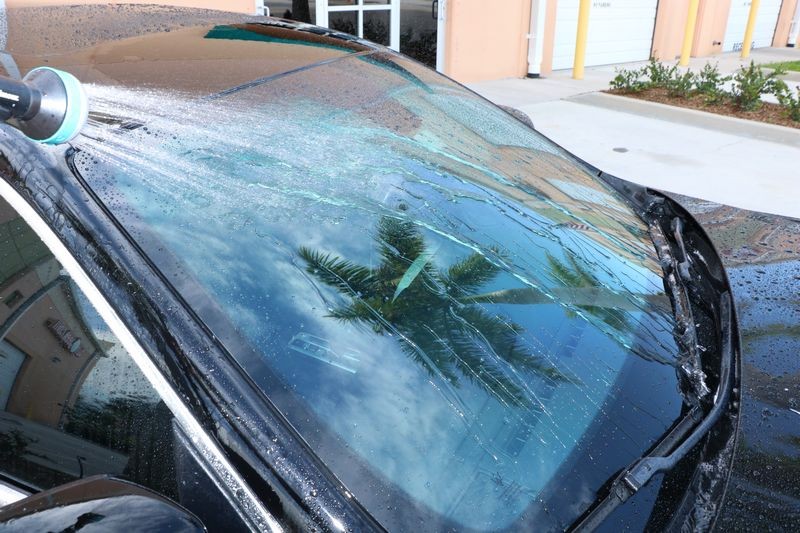
Dirt and topical water spots that has accumulated on the paint and glass....
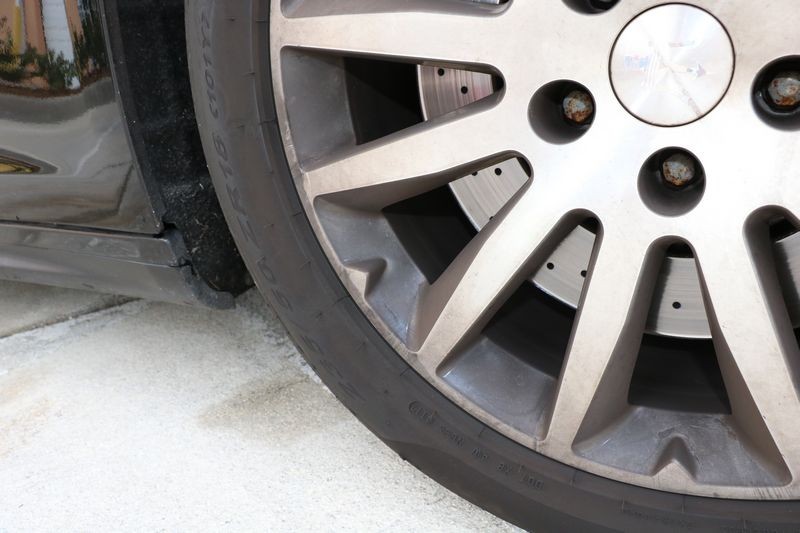
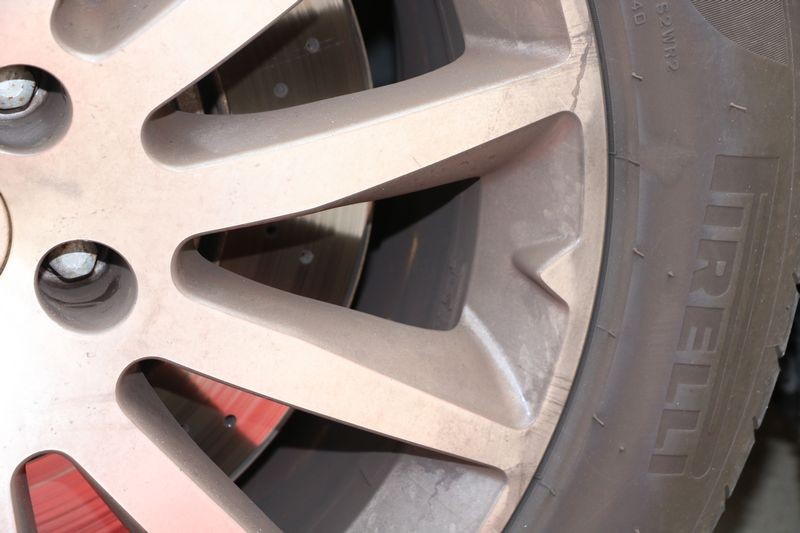
Dirty wheels and tires...
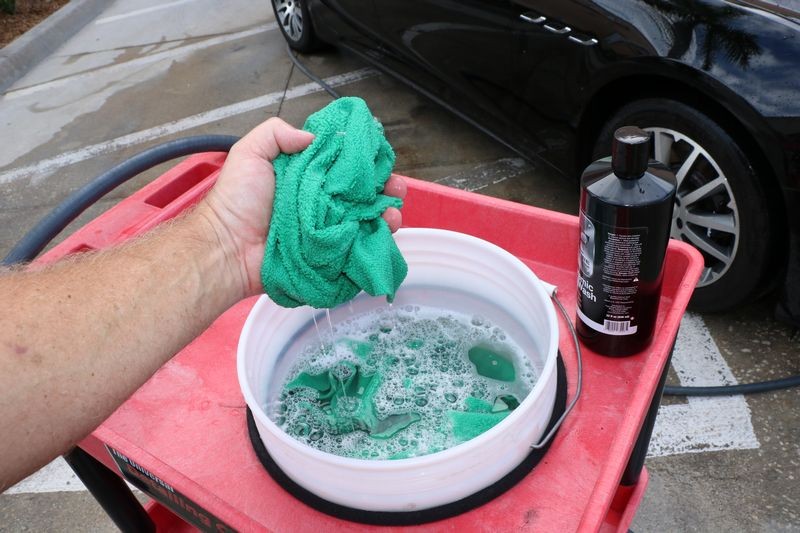
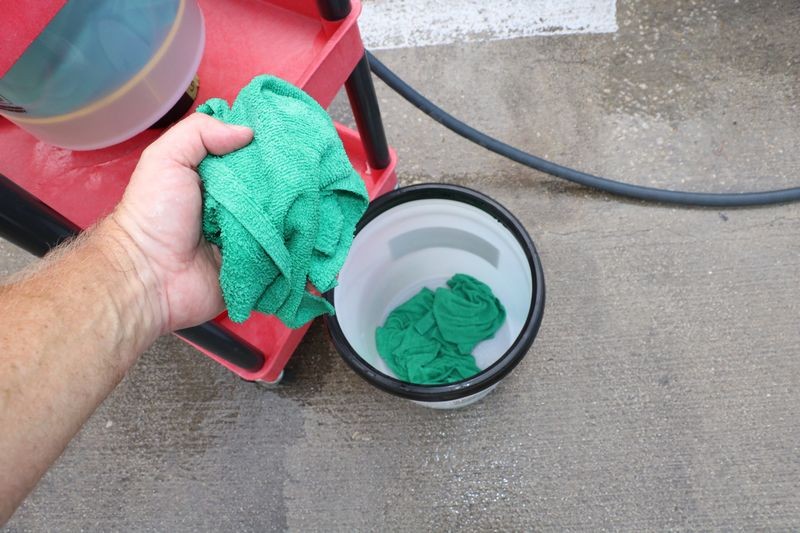
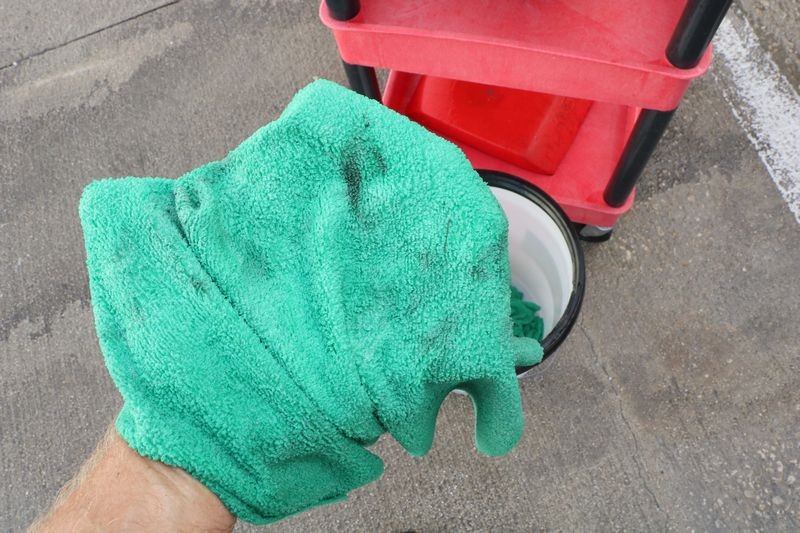
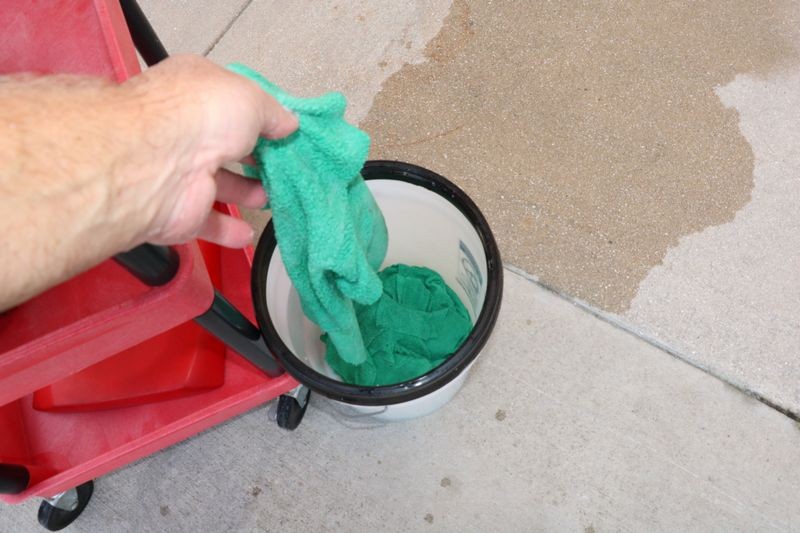
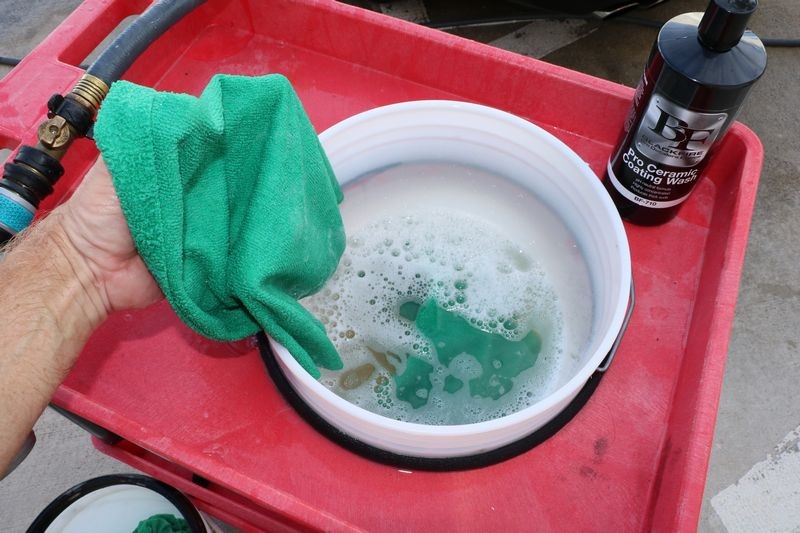
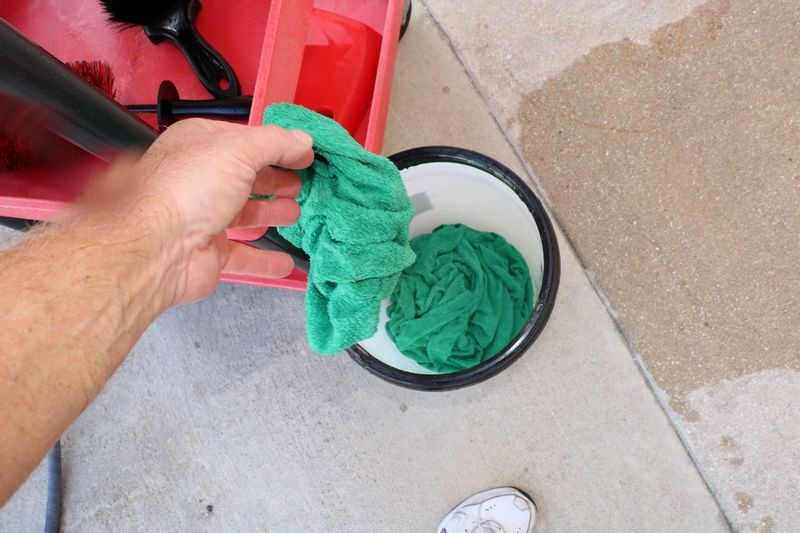
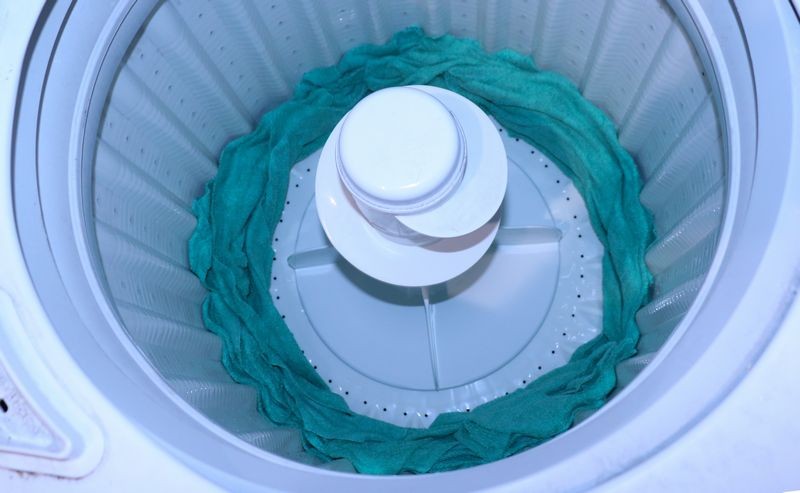
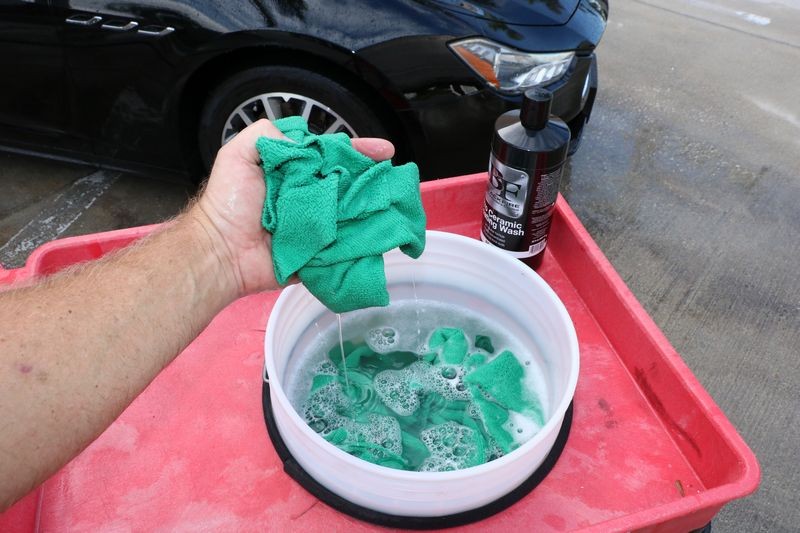
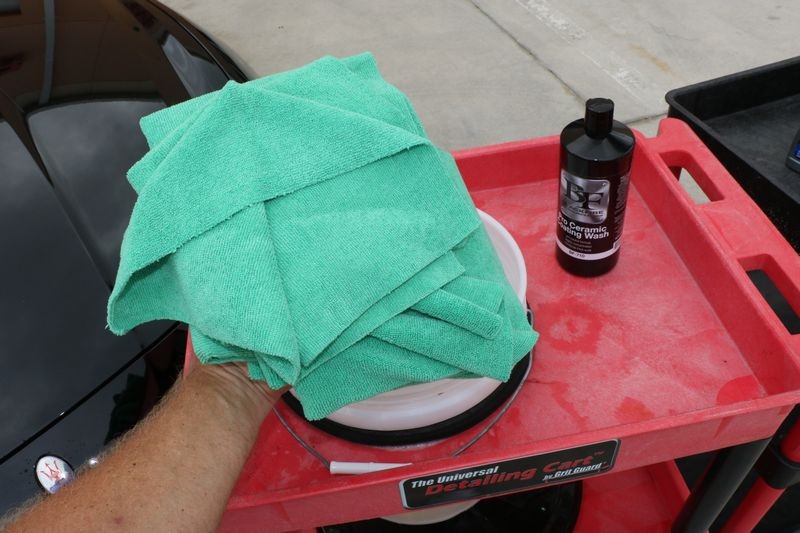
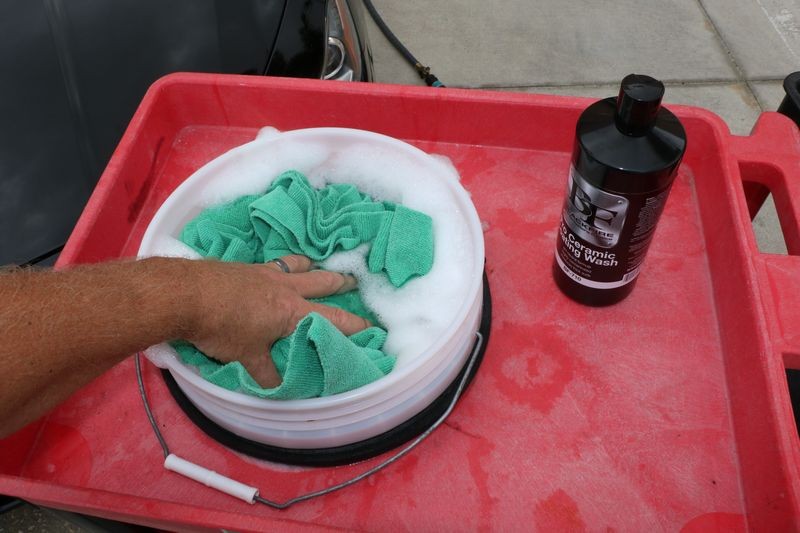
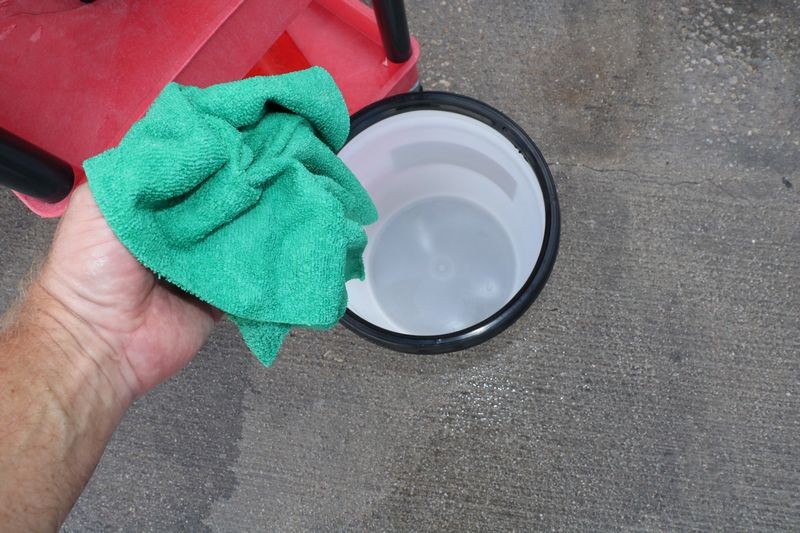
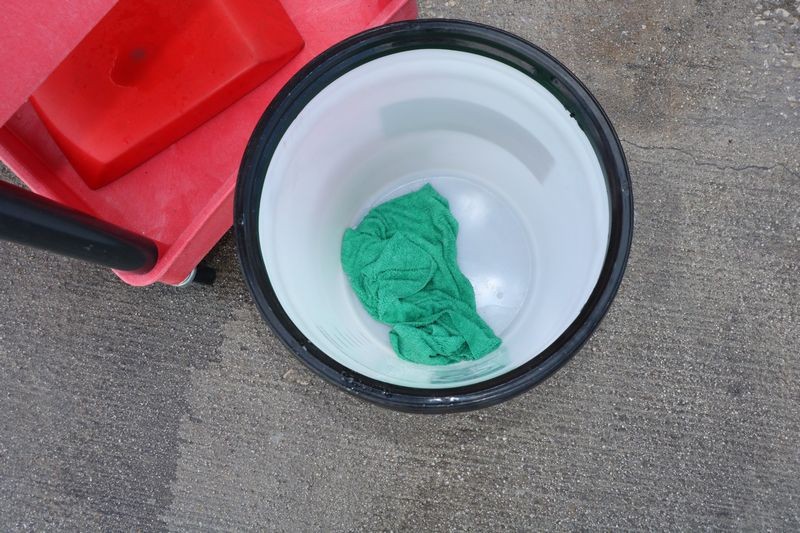
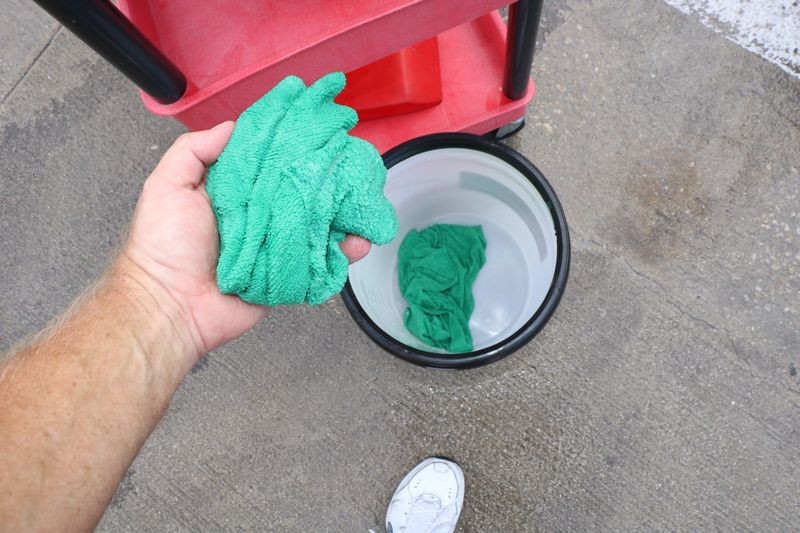
Dunk your towels
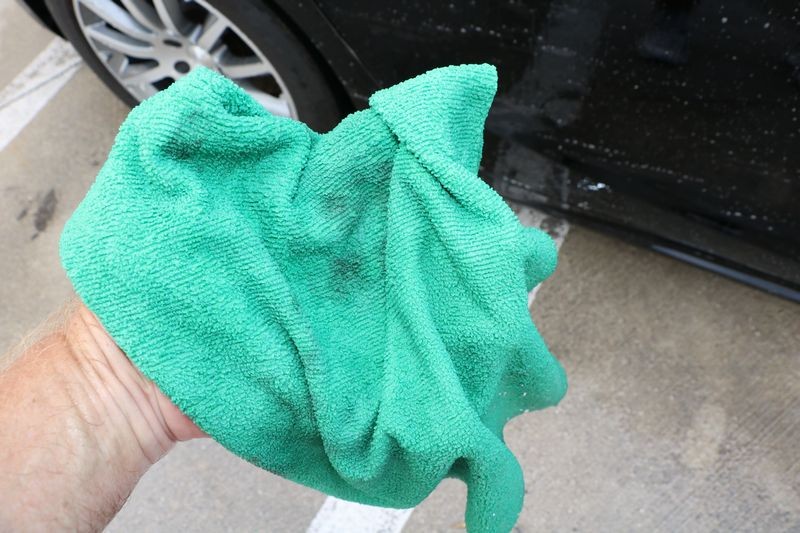
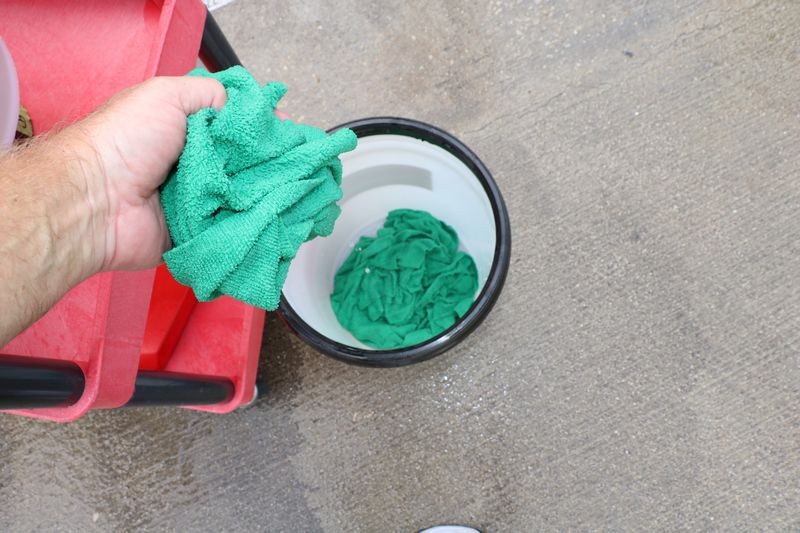
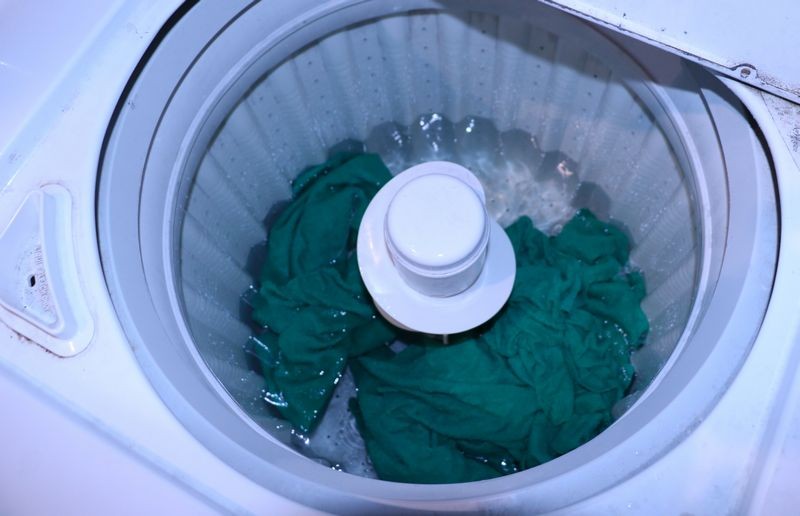
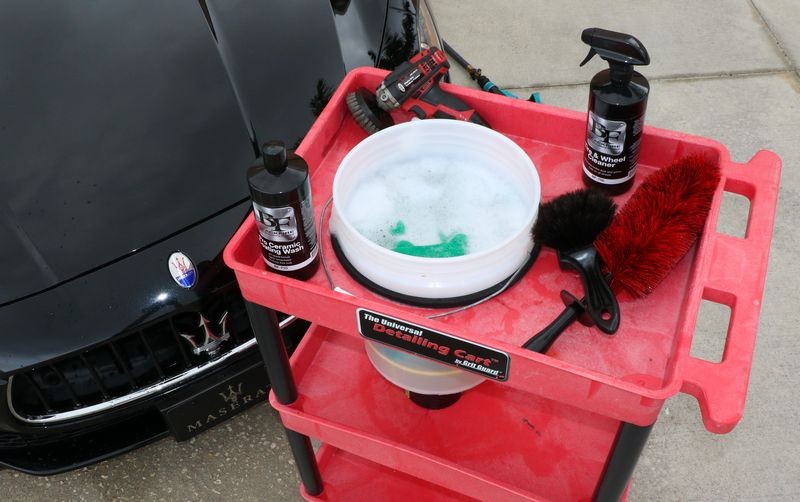
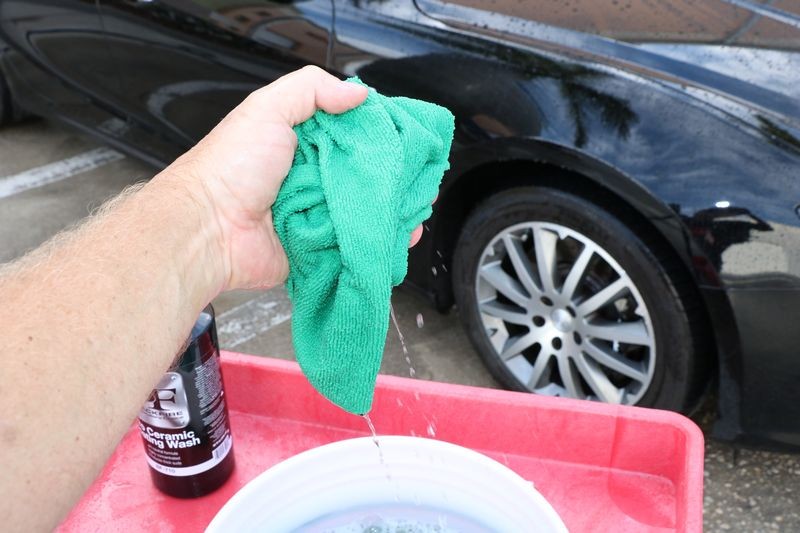
I've already mixed up my car wash solution so I'm going to place all 12 of my clean and inspected microfiber towels into the bucket. I dunk them into the wash solution and just let them soak while I wash the wheels and tires.
Top Ten Favorite Tools = Grit Guard Universal Detailing Cart
Here you can see how handy the
Grit Guard Universal Detailing Cart is as it gives me a place to store all my tools, brushes and products.
Most important, with the hole cut out in the top shelf to hold my 5-gallon bucket, when I do go to wash the car I don't have to BEND OVER each time I need to get to the wash bucket. I show this cart in all my classes. I'll explain why at the end of this article.
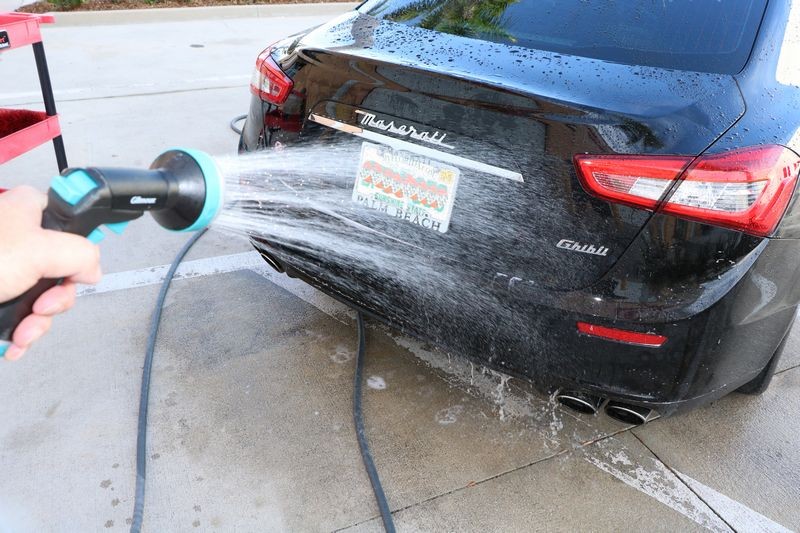
Wheels and Tires FIRST
I know all the big car wax brands usually put out some kind of fluff on their website on how to wash and wax a car so their customer's have a starting point to use their products. Most if them, if not all of them say the same thing when it comes to washing a car.
Start at the top and work your way down
That is so wrong. But it's also typical for instructions written by someone that either has
zero passion for car detailing or is primarily as salesperson. In all my life and in all my classes as well as any article, book or video I've ever had control over, I share my approach and that is,
Start first with the wheels and tires.
Here's why,
IF - and notice both letters in the word IF are capitalized, IF you normally and regularly keep your wheels and tires clean and I don't have to introduce you to a
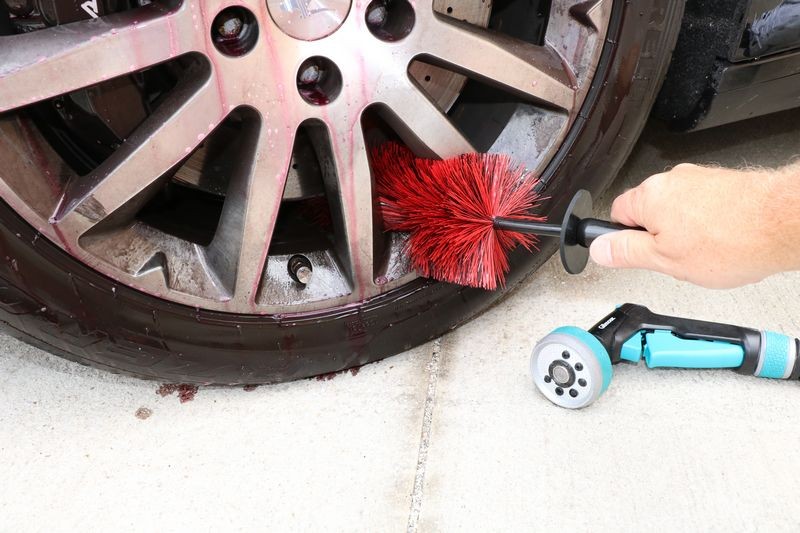
Speedmaster Wheel Brush or a
Wheel Woolies Wheel Brush, then at a minimum it takes you at least 15 minutes to clean and rinse each wheel and tires on your car. Let's do the math.
15 minutes x 4 wheels and tires = 1 hour
Now follow me, if you
DON'T normally and regularly clean your wheels and tires and you have know idea what a
Speedmaster Wheel Brush is or a
Wheel Woolies Wheel Brush, (not to mention the other tools I'm going to show you), then my guess is your wheels and tires are neglected and extremely dirty with built-up brake dust and road grime. To really get wheels in this condition clean it's going to take a lot longer than 15 minutes per wheel. In fact you could spend 30 to 45 minutes per wheel to get them as clean as the wheels and tires on my cars.
So in a perfect car maintenance world, (that's my world), if it's going to take me 1 hour to clean and rinse my wheels and tires this means I DON'T want to wash the car first because this means after washing and then rinsing the car off, the water will be sitting on the car for
1 HOUR while I get on my butt and clean all 4 wheels and tires.
In that hour - some of the water or more specifically,
water drops are going to dry and leave
water SPOTS in the paint and on the glass and actually everything. Water spots on paint are one of the WORST types of paint defects there are to remove. In most case you have to machine polish the paint to remove them. If you live where there's some really icky and corrosive junk in your city water or well water then water drops that dry on your car can leave what I term
Type II Water Spots and in most cases these will require machine compounding to remove. That's a lot of work and it means you're going to remove some
measurable amount of clearcoat paint off your car. All these are negatives and if you start with the wheels and tires first you can simply avoid the entire problem.
Make sense?
Now I've been teaching detailing classes for 32 years as I type this in the year 2019 and know some of you are going to say,
What if I dry the car off?
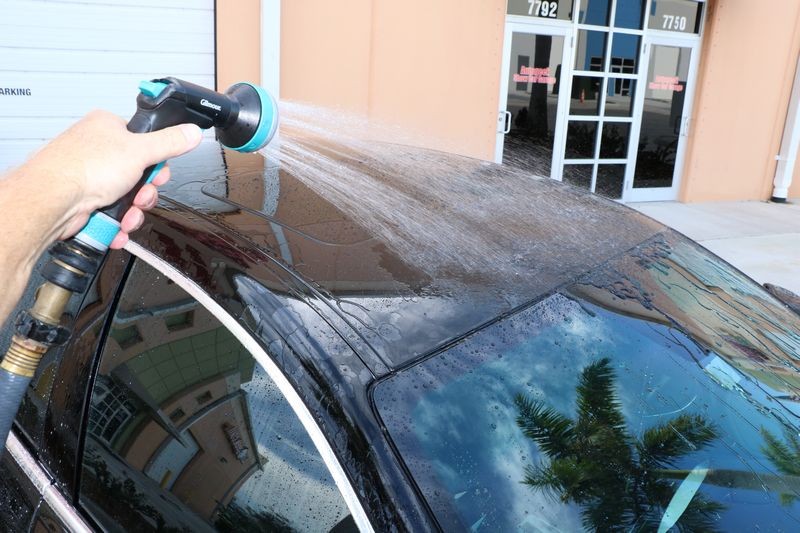
That works, you can start at the top and after washing the car, (or truck or suv, etc.,), you can dry off all the water but here's the deal. I also teach people to
work smarter not harder in all my
classes and here's how that applies when washing your car.
If you wash and dry the car and then wash the wheels and tires, when you rinse the wheels and tires you're going to get nearby body panels wet again and now you're repeating steps. That is, when you go to dry off body panels a second time you are
repeating steps and thus wasting time and energy.
Go that direction if you want but I'm telling you from experience, the best approach is to simply start with your wheels and tires, get this over with and then start at the top and work your way down the car. Besides avoiding water spots you get the dirtiest part of the wash job over with first and when your give the car a final rinse you'll be able to
RE-RINSE the wheels and tires and this is important because while you were washing the vehicle the wheel cleaner and everything it loosened in and around the wheel will
POOL to lower parts of the wheel via GRAVITY and you'll have a second opportunity to flush all this junk off.
Big Picture Detailing
The order in which you wash your car is relative. That is, it doesn't matter to the car or the process which order you tackle the various areas to be cleaned, what's more important is to have a system in place that gets the car clean while avoiding problems and reduces time, energy and steps.
That's my approach, use if you like, if you don't - it doesn't matter to me, I'm just the guy that writes in-depth articles about all this car detailing stuff trying to help you.. :cheers:
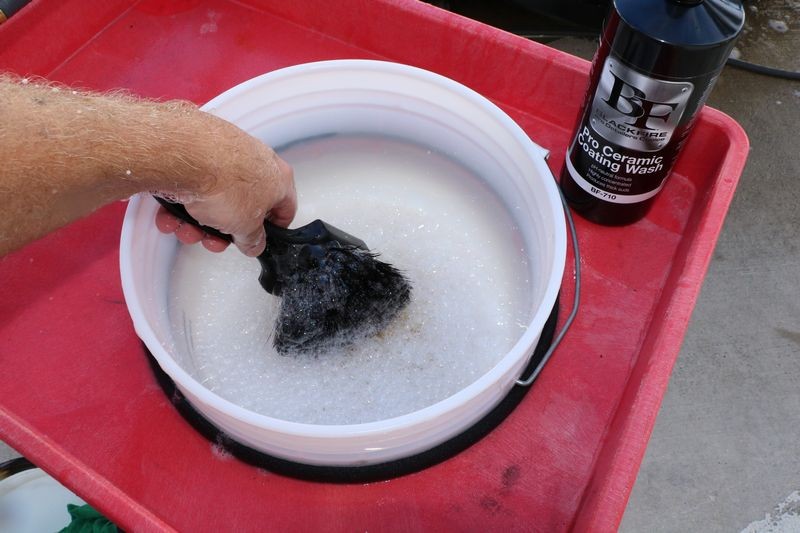
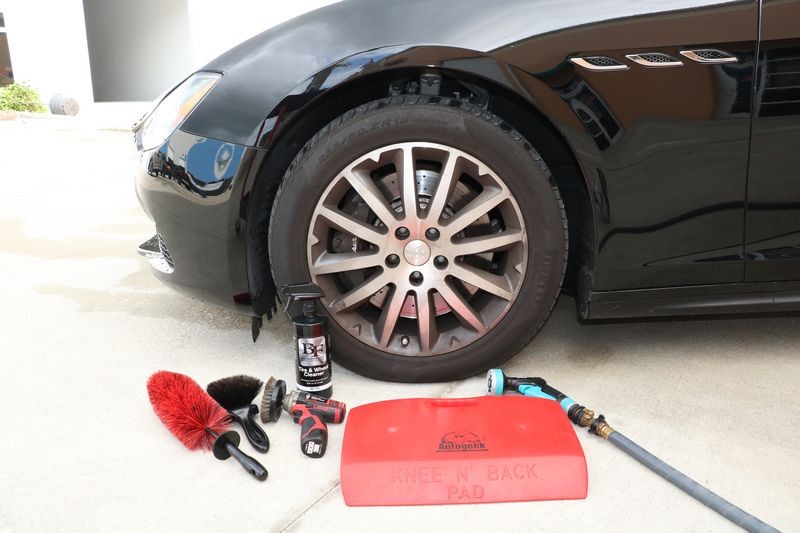
Cleaning Wheels & Tires
For this demo I'm using BLACKFIRE Tire & Wheel cleaner with a few favorite brushes. Pick a brand that you like and trust and repeat these steps.
Autogeek Knee N' Back Pad
Note the
Autogeek Knee and Back Pad? Not only is this more comfortable to sit on (for 15 minutes or longer), when washing wheels and tires it also keeps your pants (and you) from having to sit in a puddle of water.
Wheels first and then rinse
I always wash wheels first but it's not super critical which you clean first. By washing the wheels first and rinsing and then washing the tires, when I go to rinse the tires I have a second chance to rinse the wheels. This helps insure any wheel cleaner and the brake-dust it loosens is flushed thoroughly off the wheels and out of all the nooks and crannies. Later when you rinse the car you'll have a THIRD opportunity to rinse the wheels. I guarantee you - a car washed by Mike Phillips is SUPER CLEAN.
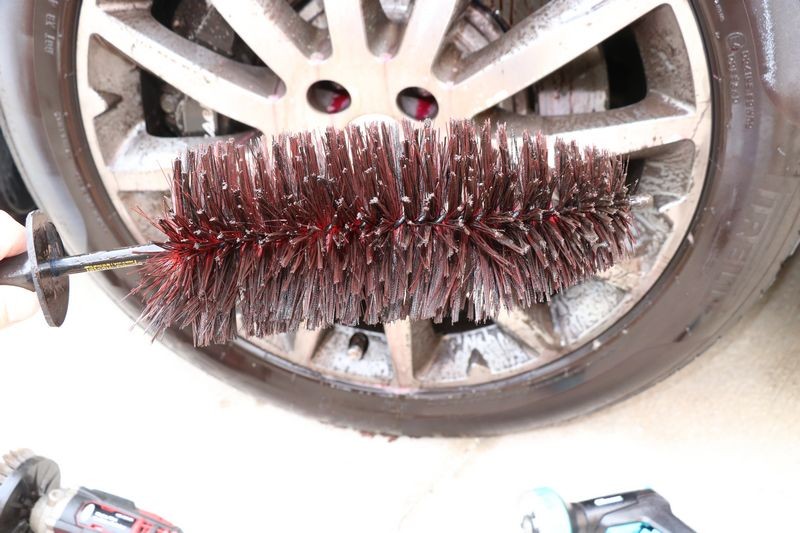
Speedmaster Wheel Brush
This brush is so handy for getting the barrel of your car's wheels clean and also around the brake caliper and even behind the spokes.
With a great wheel cleaner you can get your car's wheel super clean.
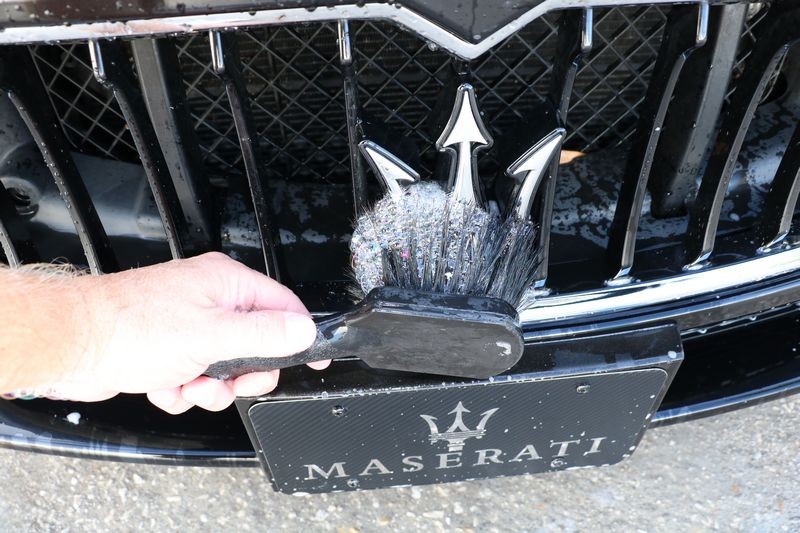
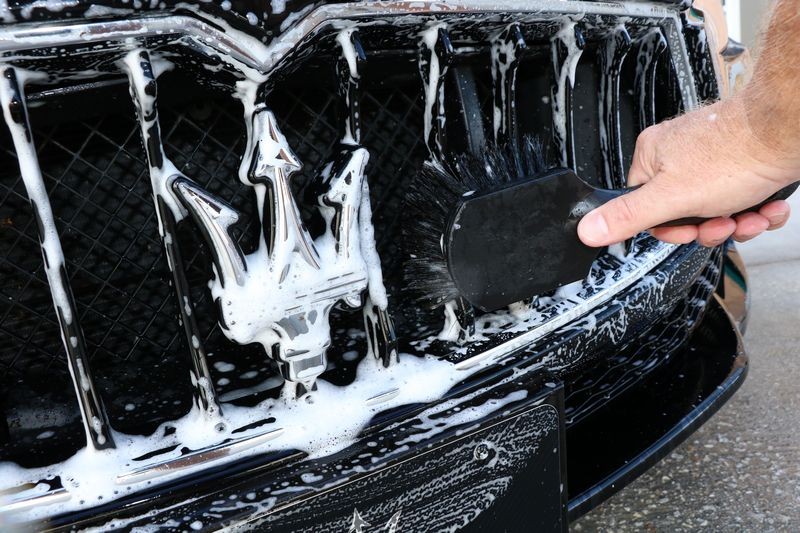
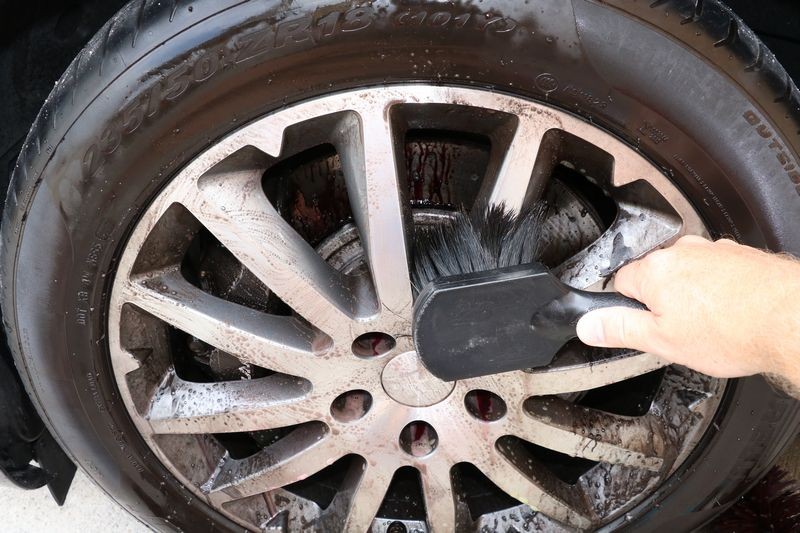
Wheel Woolies Boar's Hair Black Wheel Face Brush
This is another of my Top 10 Favorite Tools. Love this brush. The bristles are 2" long and not so soft or limp they are useless but not so coarse or stiff they don't clean well. The bristles are the perfect balance of just right for any cleaning job. I also use this brush a lot for engine and engine compartment cleaning.
Scrubbed wheel ready to rinse...
BOOM! Now that's a clean Maserati wheel!
Tire cleaning
Next I spray the BF Tire and Wheel cleaner onto the tire sidewall.
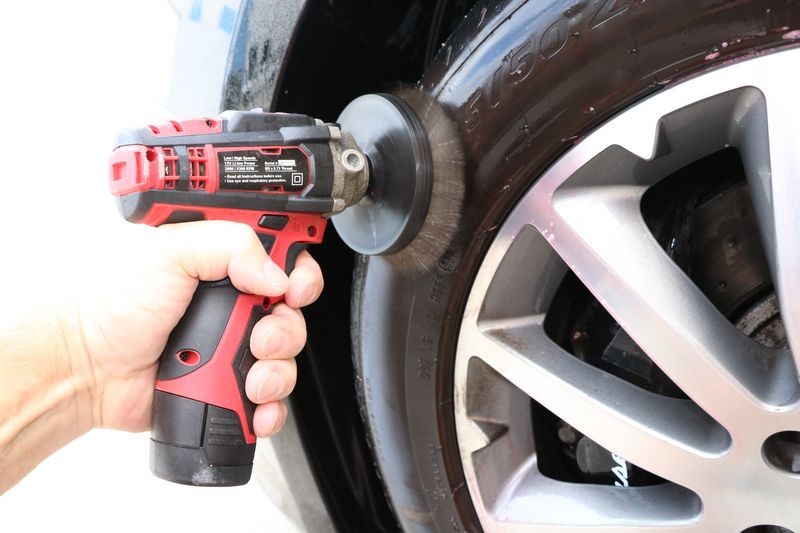
Tire cleaning by machine
Any tire brush will work but I tend to machine scrub all the tires on all the cars I detail. Pictured below is the
Mighty Mini with a
Cyclo Grey Ultra Soft Upholstery Brush attached to it and this works really well. Now days I use the
FLEX Cordless PE14 Rotary Polisher with a
Heavy-Duty DA Carpet Brush (Long Bristles) attached to it. Note both tools are cordless so there's no shock hazard when working around water.
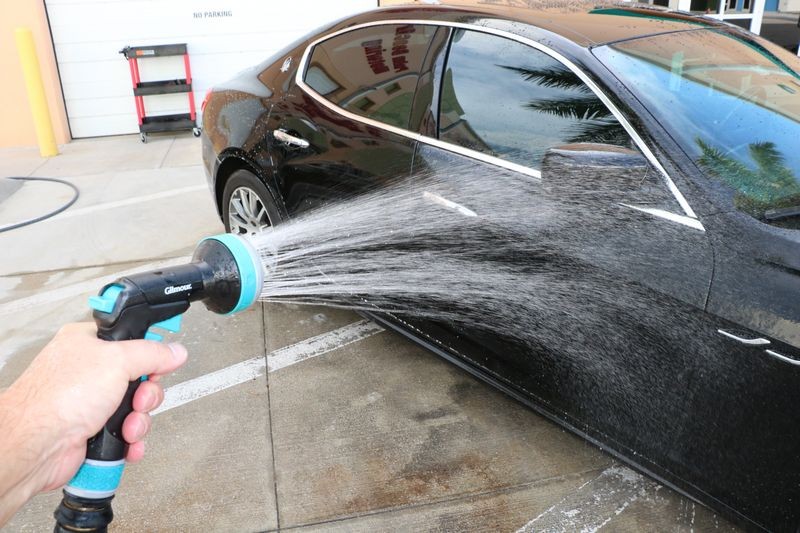
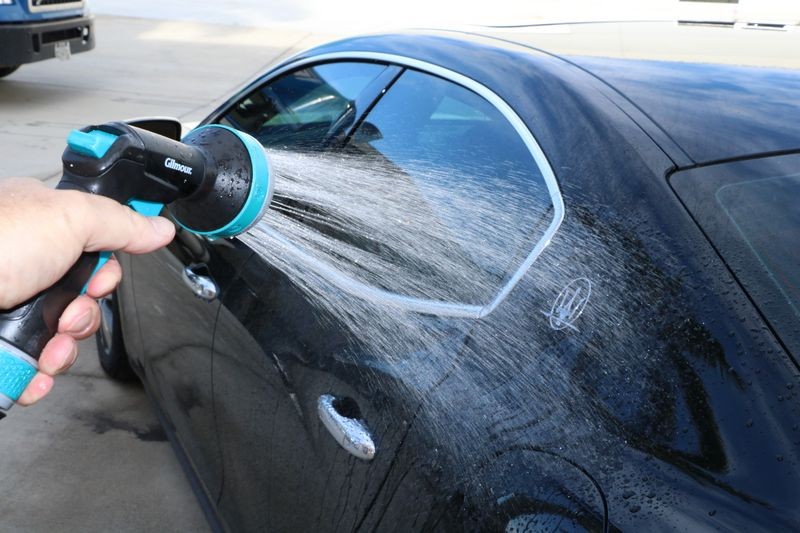
") Rinsing Tires
Rinsing Tires
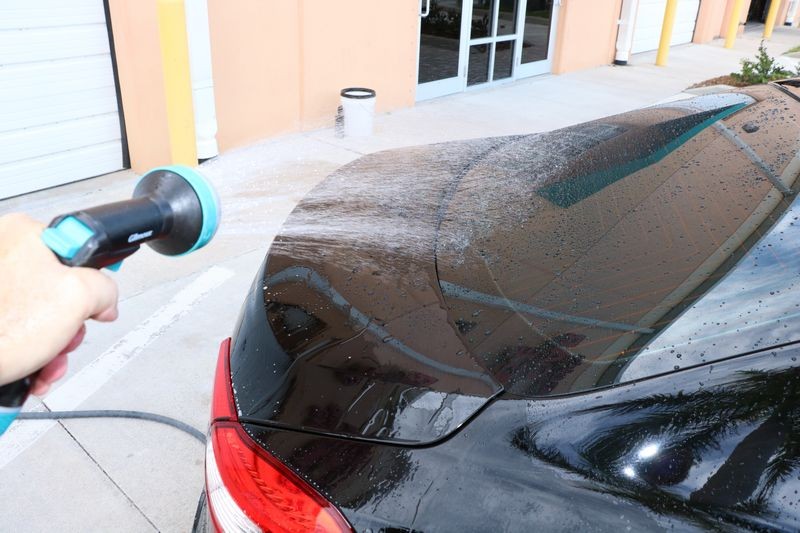
Note how the water gets on the surrounding body panels - this is what I was talking about above in the section on the order in which to wash your car.
Best Practice - Clean your brushes immediately
After washing your wheels and tires RIGHT NOW - rinse off your wheel and tire brushes. They already have cleaner on them from the process so they will wash and rinse off easily. Don't be lazy and let all the gunk that is on and in the bristles dry as this makes cleaning them more difficult and takes longer. Just do it!
Speedmaster Wheel Brush rinsed off and ready to store until needed again...
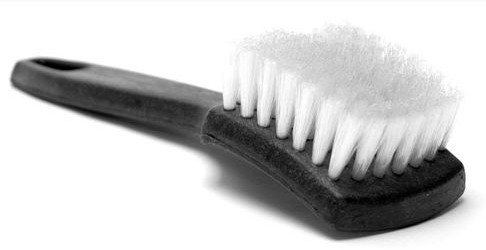
Hand Tire Brush Recommendation
If you're looking for a good tire scrubbing brush to work by hand, I like this one. There's a science to the bristle length and note how the bristles on this brush are short? This enables you, your hand and your arm to more easily get in there and SCRUB brown tires clean.
TUF SHINE Tire Brush
Dedicated Tire Cleaner Recommendation
If you have really ugly tires, either super brown from year of neglect or some brand of really slimy tire dressing you want to get off, here's the best dedicated tire cleaner.
The Tuf Shine Tire Cleaner


 icture: