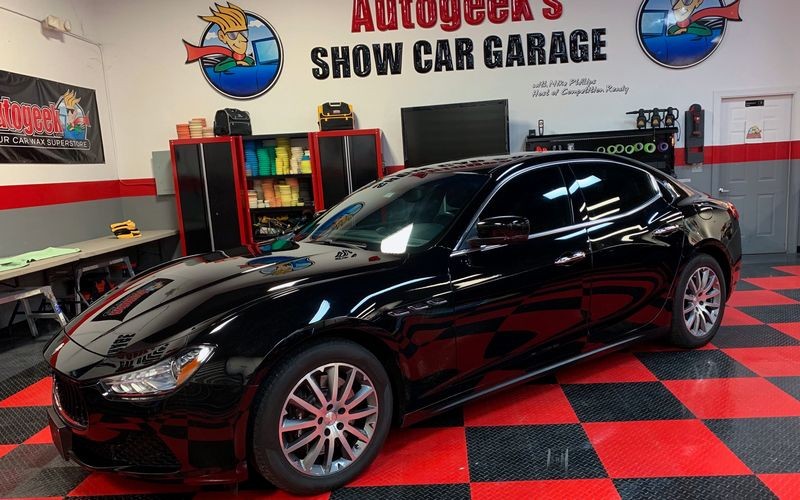
Bumping this thread since it was nice out this holiday week and I thought I'd give this method a try.
I appreciate that you not only tried this technique but took the time to share your thoughts... - thank you.
")
While I'm no stranger to the towels in a bucket method for a rinseless wash, it never really crossed my mind to do so for a normal bucket wash with shampoo. While it's basically the same technique I noticed a few things:
-With a good shampoo the towels get very slick and glide easily over the paint. While this makes it easy to keep a light touch, it also makes it difficult to keep the towels folded in a square.
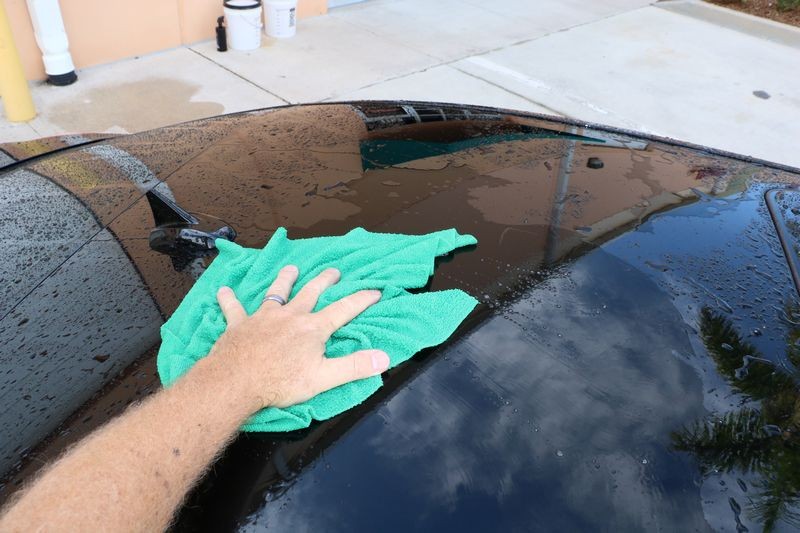
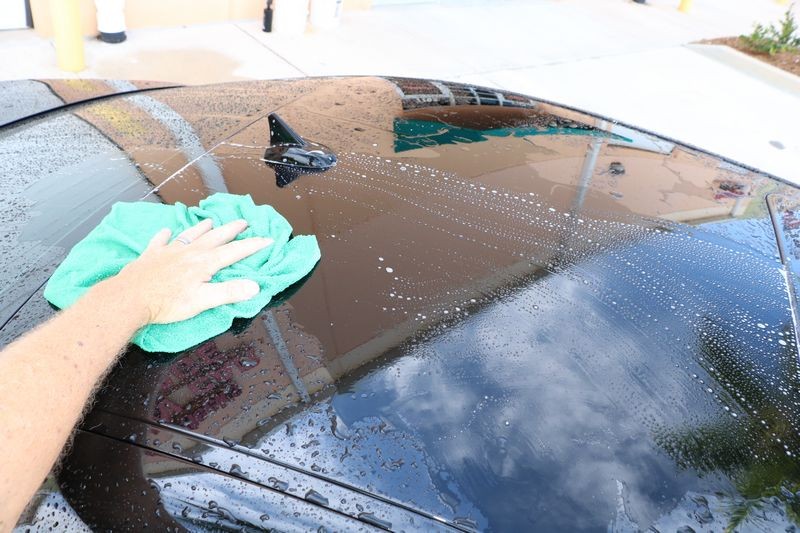
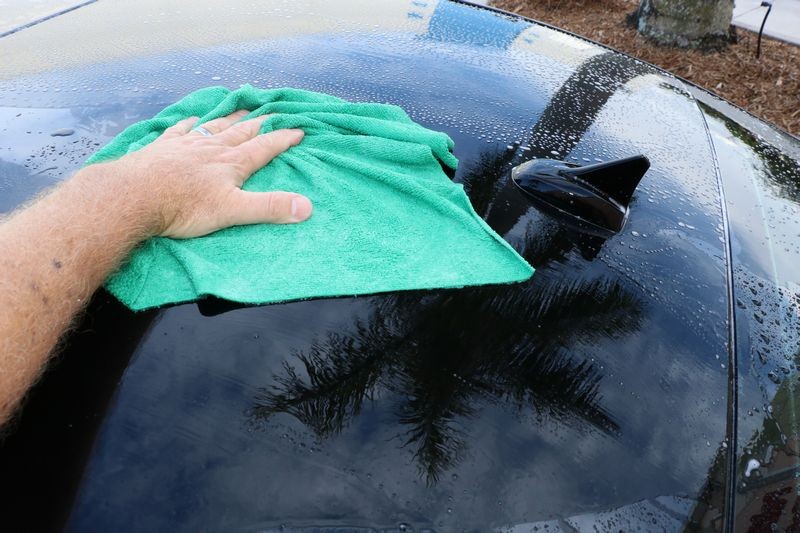
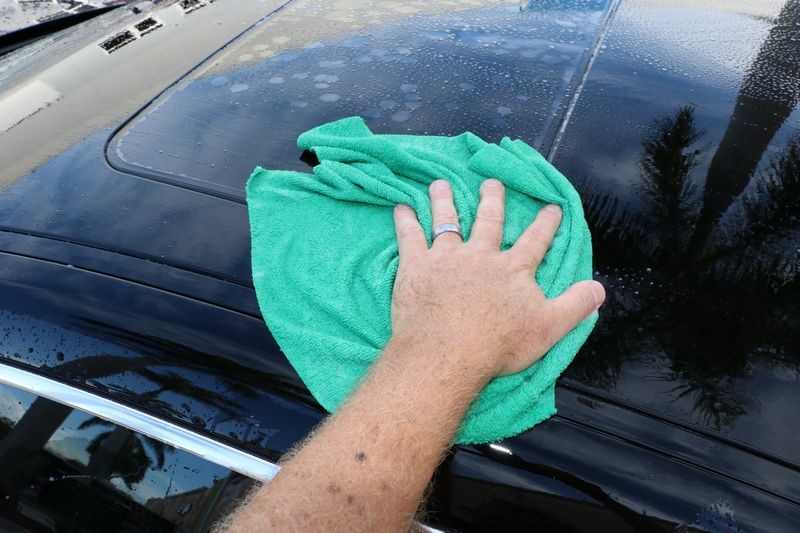
My style as shown in the pictures, I don't fold the towels. For horizontal panels, I lay the towel out flat and use ONE SIDE for one side of the panel, and then flip to the other side to do the other side of the panel. I show this for the roof.
This way any dirt on the first side is not rubbed over the second side.
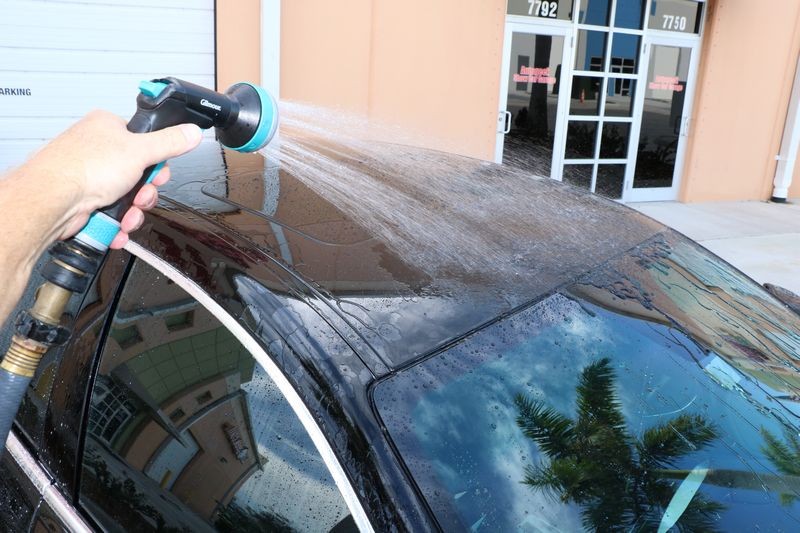
Washing the roof and all the side glass
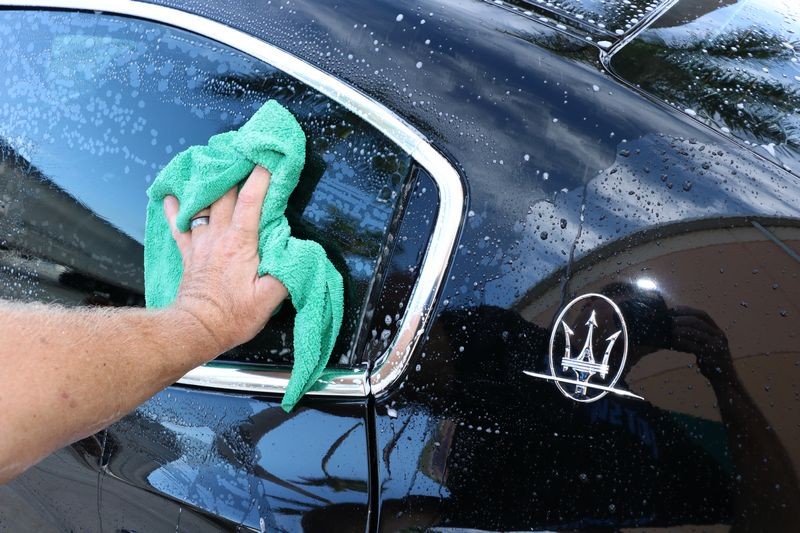
While you only use one towel per body panel the side glass on your vehicle is NOT scratch-sensitive like your car's paint. You can figure how what works best for and your vehicle but for me, I try to wash the entire roof and then wash the windshield, back window and side glass all at one time and then rinse.
Looks like this,
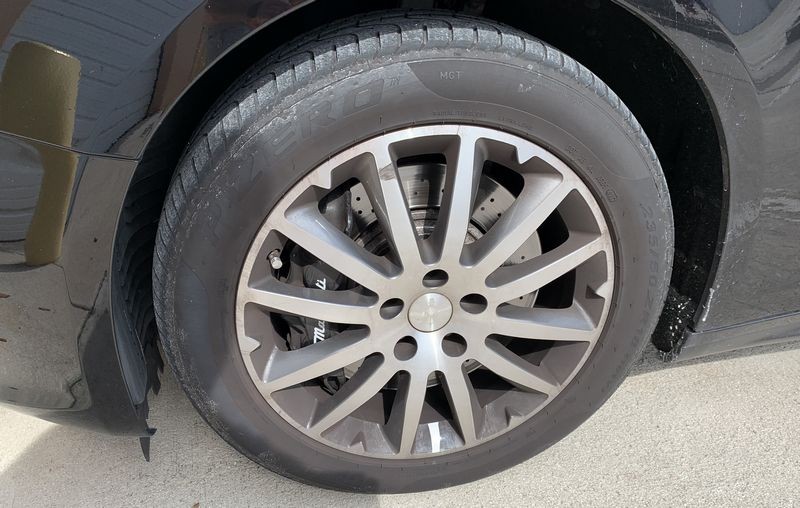
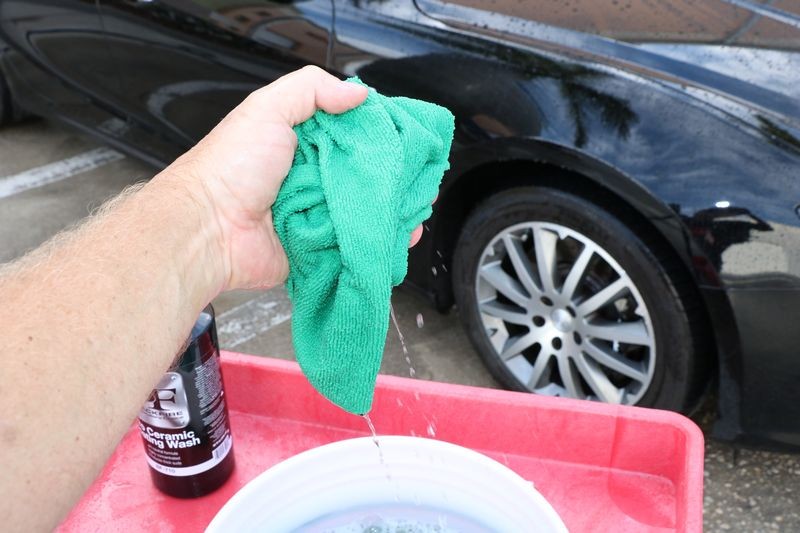
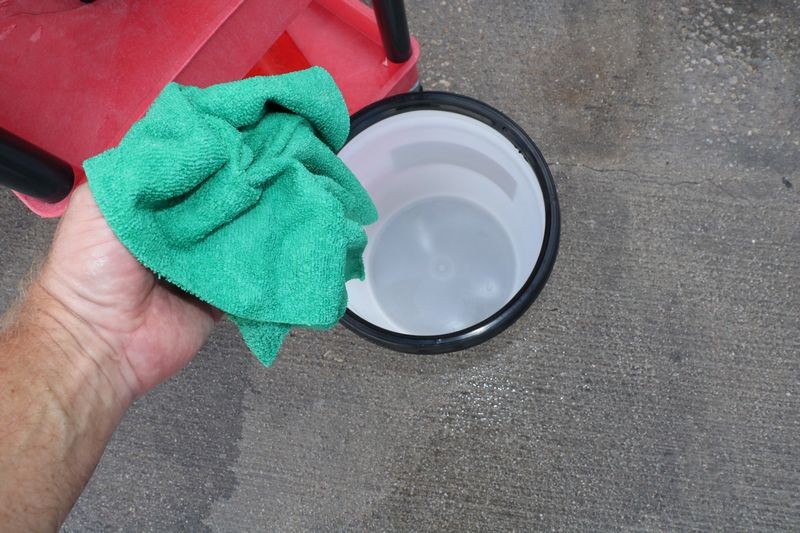
Grab a microfiber towel out of your wash bucket. Remember these have been soaking in the soap solution since before you washed the wheels and tires.
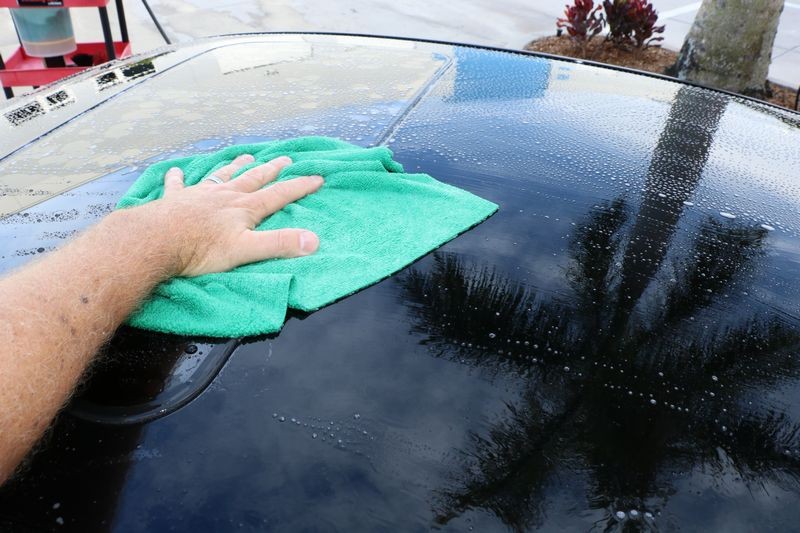
Starting at the top
This is me washing the passenger side of the roof and at the same time taking a picture using my trusty, dusty Canon T6i - not bad huh? I photographed this entire project. Everyone here at Autogeek is always so busy that I have to play the part of my own photographer.
I start in the MIDDLE and work my way outward. I only make one or two passes as I work from the middle to the outside of the panel. If you move the towel or a mitt OVER AND OVER A PANEL this is called SCRUBBING - not washing and you will loosen the dirt on the panel and then rub it into the paint and cause swirls and scratches. Think about it!
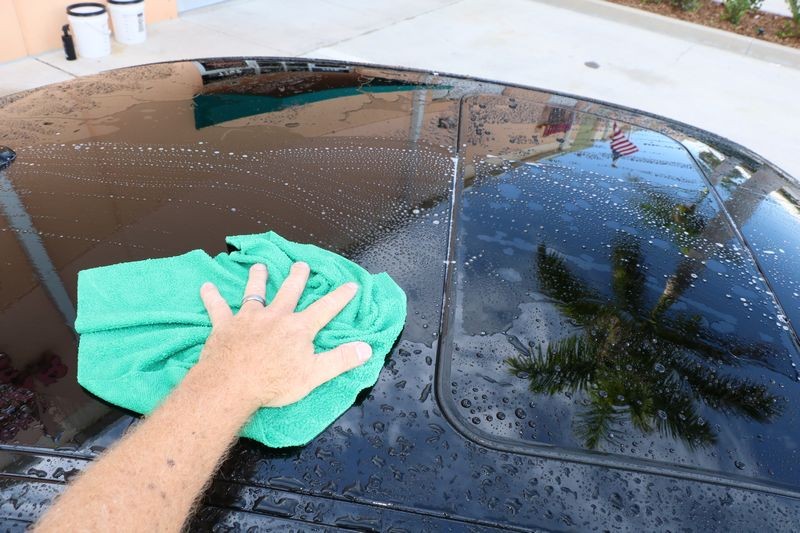
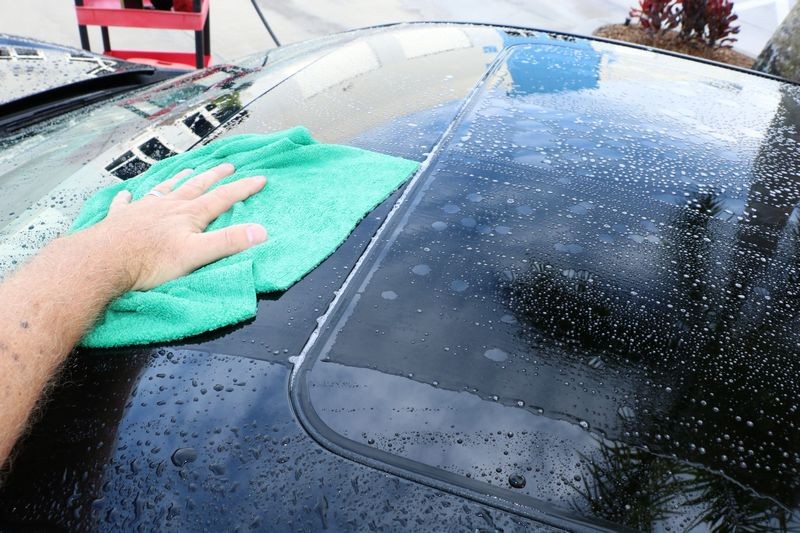
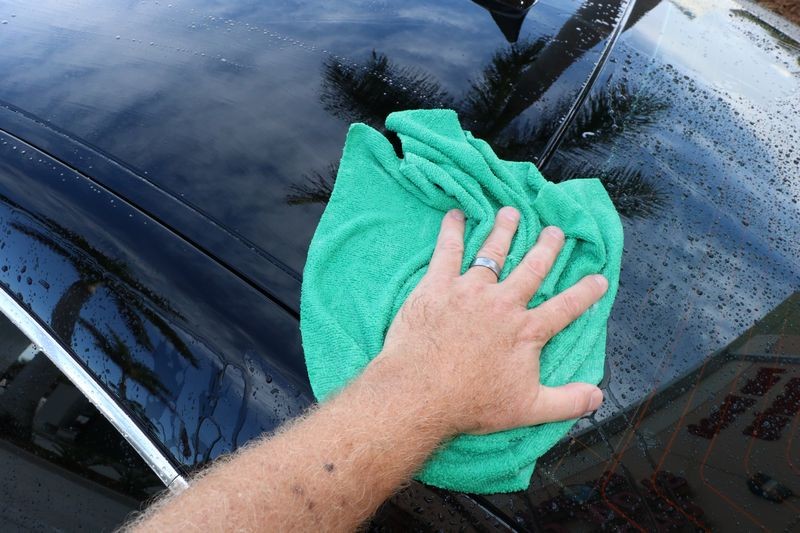
Now I've moved to the driver's side and repeat, starting in the middle and working my way to the outside of the roof.
Done with the passenger side of the roof
I've moved to the driver's side and have flipped my towel over to the clean side.
Repeat - starting at the middle of the roof and making minimum front to back wipes so as not to scrub the paint.
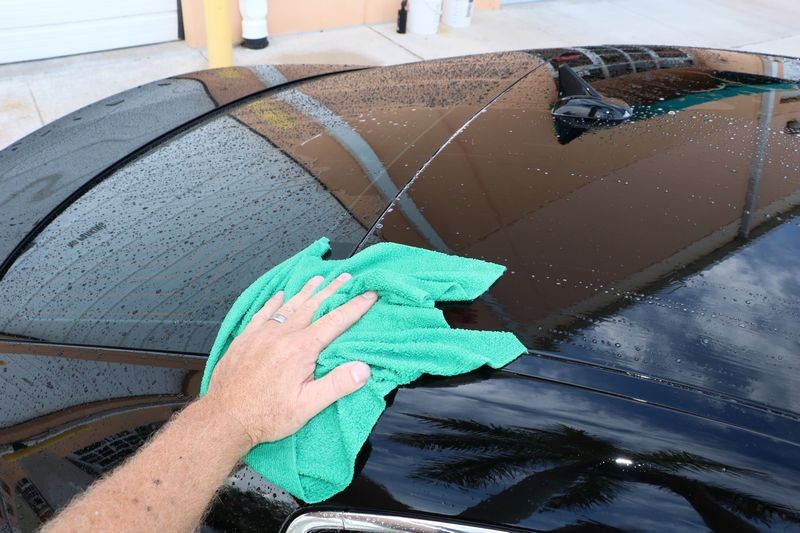
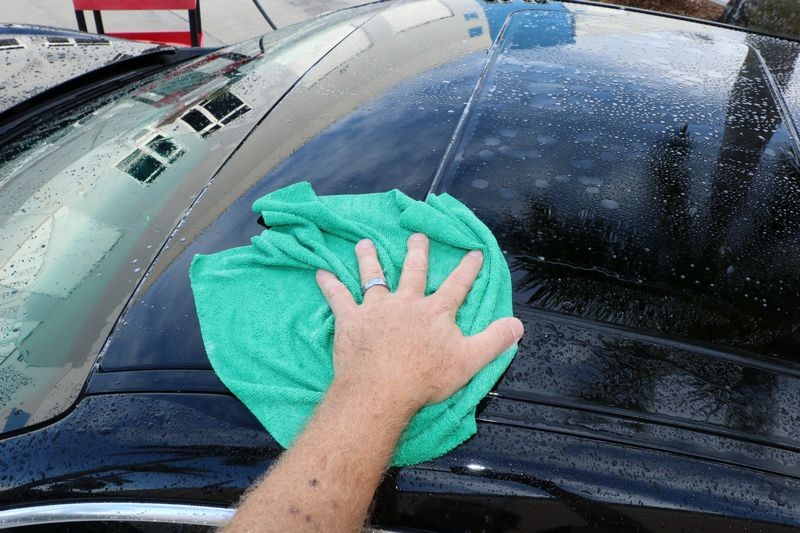
I have finished washing the driver's side of the roof in this last picture....
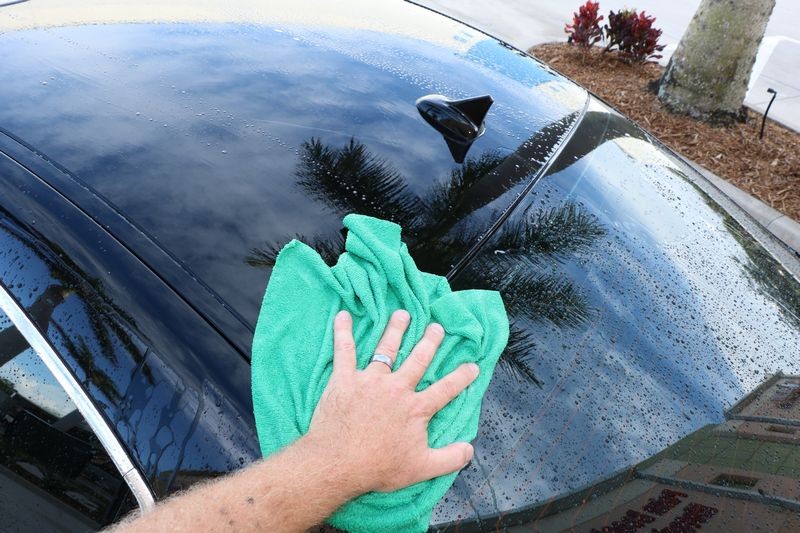
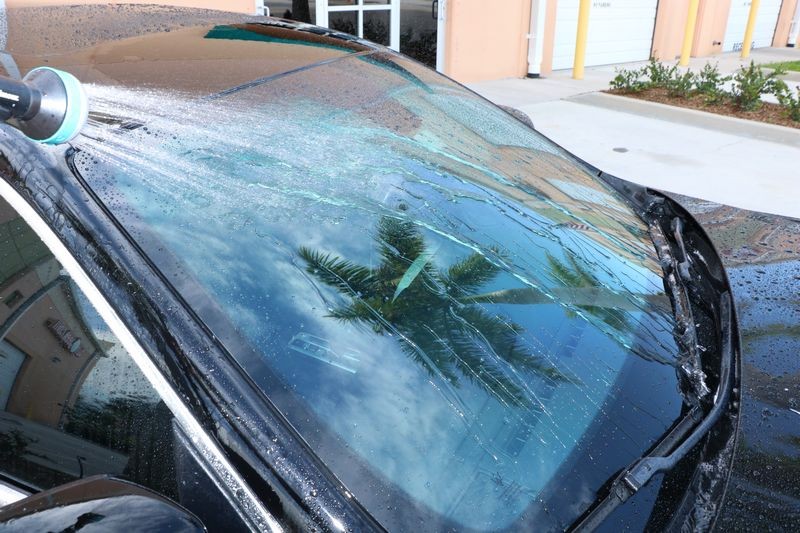
Now I quickly wash all the glass....
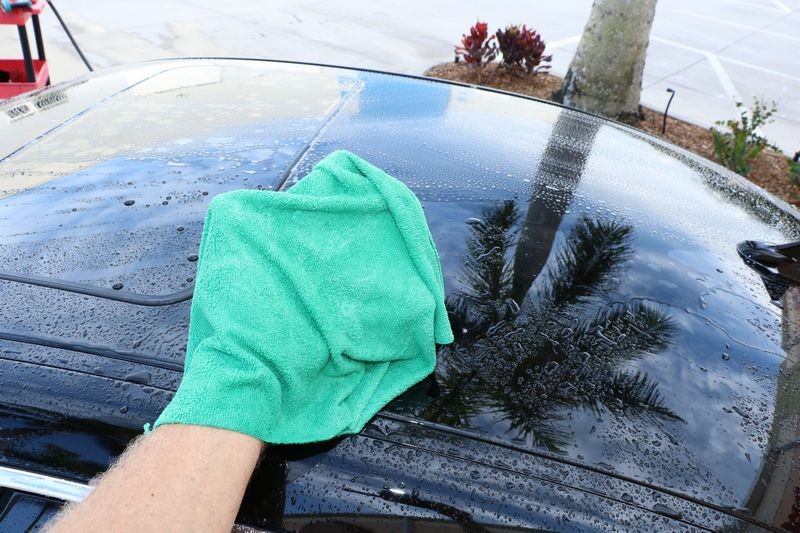
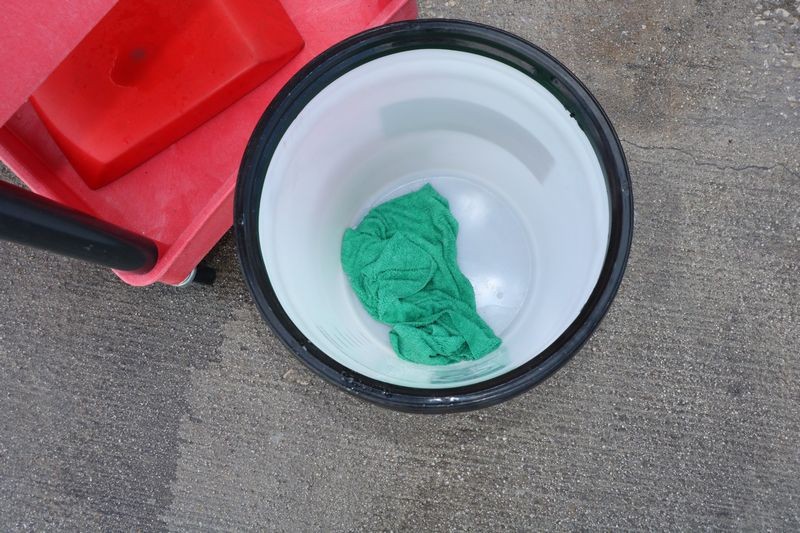
Here's towel #1 going into my CLEAN dirt towel bucket.
And now I'm rinsing the roof and all the side glass....
Chances are VERY GOOD by using this technique the roof is clean and I have not instilled any swirls and scratches.
And just to note - that's a LOT OF ONE HANDED PICTURE TAKING

icture:
I think Mike is onto something using edgeless towels
Right before the Christmas break, (it's now December 29th), I walked by the aisle where the Forrest Green Edgeless Towels I like are stocked and it was
EMPTY
Someone must read what I say and trust me? Even though I'm not a YouTube Influencer. :laughing:
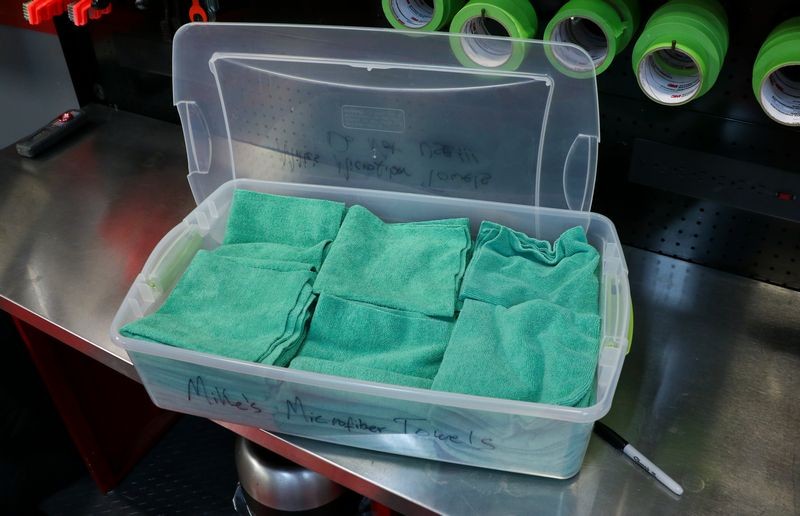
Store in a clean place
If you don't have a clean cupboard to dedicate for towel storage then get some type of storage container that has a lid. Think of your towels as
TOOLS. Take care of your tools like a Master Mechanic takes care of their tools.
-It takes about the same time as a normal 2 bucket wash. While you're not wasting time rinsing a wash mitt, with a towel you can get around emblems, behind door handles, and in crevices easier so I think I naturally spent a little more time in these areas.
KISS - Keep it Simple Simon - which also makes if fast and easy.
-If you're in the shade, you might only have to walk around the car once to wash it (excluding wheels).
I agree. Depends on shade, heat and wind.
Sometimes it's cool out right now but windy and the wind will dry the soapy water off.
-You (should) use less shampoo. I started off filling my measuring cup to its usual mark then remembered I only need a gallon or two of water to cover the towels, whoops. This could be a perk for those of you who use pricey coating or Si02 shampoos.
Good point.
If you're clever and work clean you could even cap the bucket and use it again on the next wash.
Another good point and something I do.
All and all good experience and I think I'll give it another go the next wash :xyxthumbs:
Thanks for sharing....
I'm also teaching this technique in my Ceramic Coating class at Mobile Tech Expo in a few weeks.
It's class #5 of 8 classes this year.
2020 Mobile Tech Expo Class Schedule for Education Day on Thursday in Orlando, Florida
2:00pm to 2:50pm
5: How to chemically strip paint and install a ceramic paint coating PLUS how to properly wash a ceramic coated vehicle.
There is a LOT of confusing on the correct way to chemically strip urethane clearcoats and even urethan single stage paints. There’s even more confusion on how to correctly install a ceramic paint coating. This class will not only clear-up all the confusion, but it will also take all the mystery out of the process. You will learn how simple the coating process should be so you can decrease wasted time, work faster and at the end of the day, make higher profits per hour. You will also learn the secret to avoiding mistakes to get it right the first time. PLUS – the MOST IMPORANT tool you need no matter what brand of coating you install.
This class will also show you the bubba-proof, common sense way to wash a ceramic coated car using a simple process that you can share with all your customers to protect and preserve your hard work while educating your customer so they don’t put swirls and scratches back into their freshly coated car. Keep your customers happy while protecting your reputation and professional business image.
How to correctly chemically strip paint and then install a ceramic paint coating
How to correctly wash a car with a ceramic paint coating