How to wash, polish and wax your RV or Motorhome

  • Thread starter Thread starter Mike Phillips
  • Start date Start date
M

Mike Phillips

Guest
How to wash, polish and wax your RV or Motorhome


cclassrv.jpg


I received an e-mail with some questions about how-to take care of the exterior of smaller, C Class RV's

With the permission of April, I've posted her inquiry here to our forum with my answers and links to products that will make the job of cleaning, polishing and maintain an RV faster and easier while maximizing the owners time, efforts and investments.


Originally Posted by April
Hi Mike,

I'm writing an article for Small RV Life with recommendations on how to care for small RV's, especially now when love bugs are already out.

I like how your Autogeek.net site as well as your AutogeekOnline.net discussion forum offers help and education and would like to offer a guide of sorts to my readers, including links to specific products, or maybe some kits that contain a collection of product to tackle RV specific projects.

Here are some of my questions, which may take more than one article to present adequetly...


Hi April,

Here at Autogeek we carry over 60 brands with thousands of products all of which work great and our customers all have their favorites. Too keep things easy, I'll try to show examples from just a few lines of products and if your readers have any questions or want more information about the below products or any other products we carry then I encourage them to call our Customer Care Hotline where our expert staff is always available to help.


Originally Posted by April
1. What are steps throughout the year, like a calendar, of regular RV care maintenance? What are the recommended products and equipment?

Because of the large size of most RV’s, most owners will want to take regular care of their RV but use high quality products so the work is done right the first time and thus will endure over time. Things like using a quality wax or sealant on the exterior pays off because it will last longer and protect longer so the owner doesn’t have to wax the RV as often.

Again, due to the size of most RV’s, even small RV's, washing and waxing an RV can take a day or a couple of days depending upon what’s involved and most RV owners would rather do it right the first time so they won’t have to do this type of maintenance often.


Exterior RV Maintenance
With that said, where the RV is stored and how the RV is stored are HUGE factors as to when to perform maintenance.

If you live in a wet climate, like my parents who live in Florence, Oregon, it rains a lot and my Dad like to machine apply a coat of wax to his RV twice a year, once at the end of summer before the rainy season sets in and then a second time in the spring before summer temperatures begin to climb.

If you live in Arizona, rain is not a concern but exposure to the harmful UV rays from the sun, plus dirt and dust in the air caused the windy conditions are factors that must be addressed.


A good rule of thumb for either geographical and environmental regions is to wash your RV as often as needed to maintain a clean appearance and wax your RV at least once a year or more often, like twice a year as this will ensure the exterior doesn’t deteriorate plus looks new throughout the year.


Washing
For washing RV’s, you want to use non-detergent washes formulated to clean without stripping previously applied waxes and/or paint sealants and also because they are less harsh to gel-coat surfaces which can become dried out when using a detergent like dish soap. When gel-coat has become dried-out it will oxidize more readily, so it’s very important not to wash gel-coat finishes with detergent soaps.

Another option is to use a waterless wash, with a waterless wash you spray a heavy coat of product onto the surface and then wipe the surface clean. A quality waterless wash will hyper-lubricate the surface to prevent instilling scratches while cleaning and then wipe off to a bright shine.


Recommended products
Many of these products are from our Detailer's Pro Series line of professional grade products but they are completely compatible with materials and coatings used in the assembly of RV's.

DPShampoo.jpg

Detailer’s Pro Series Auto Bath Shampoo

xtremefoamformula.jpg

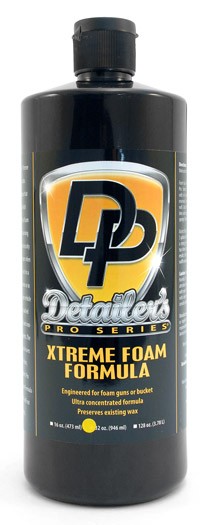
Detailer’s Pro Series Xtreme Foam Formula Shampoo - For use with Foam Guns
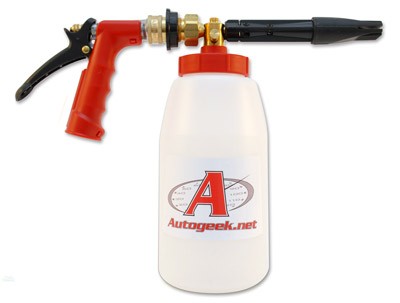

AGFoamGun.jpg

Autogeek's Foam Gun - For use with a Garden Hose
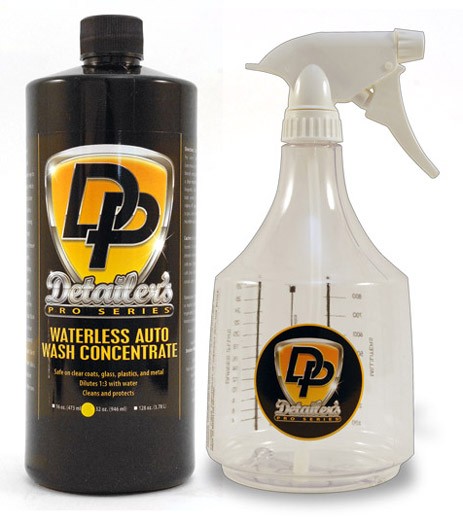

WaterlessWashConcentrate.jpg

Detailer’s Pro Series Waterless Wash Concentrate & Secondary Detail Spray Bottle


10inchboarshairbrush.jpg

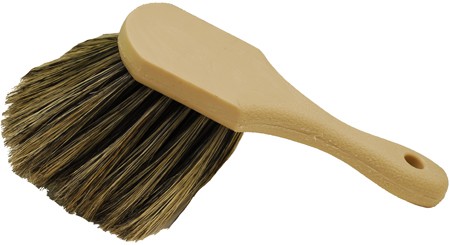
10" Montana's Boar's Hair Brush - More Styles & Sizes of Montana's Boar Hair Brushes
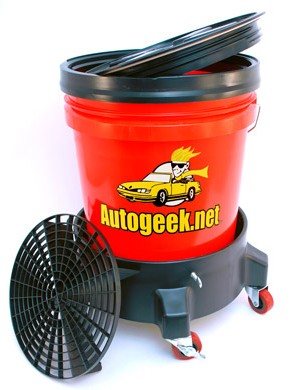

5gallonbucketGGDolly.jpg

5-Gallon Bucket with Grit Guard and Dolly with Lid


extendablehandle.jpg

Extendable Handle


Dress and protect tires
The rubber used to make tires is actually very complex in its composition. To help prevent weathering and cracking, the rubber formula includes an ingredient called antiozonant. As your tires rotate under speed, the antiozonant works its way out to the surface of the sidewall to replenish old antiozonant. When this antiozonant is exposed to the atmosphere, the ozone in the air turns the antiozonant on your tire brown.

That's why you see tires turn brown, it's a chemical reaction between the life-extending ingredient antiozonant deteriorating when it meets ozone. To restore a dark, black look to your tires all you need to do is scrub the sidewall with a safe, but effective cleaner to remove the brown residue also called blooming, and then apply a tire dressing.


DPCleansAll.jpg

Detailer's Pro Series Cleanse-All Exterior Cleaner
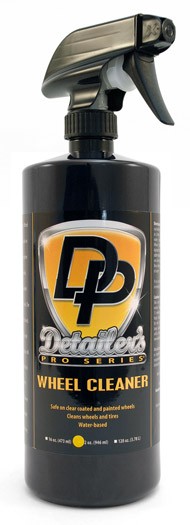

DPWheelCleaner.jpg

Detailer's Pro Series Wheel Cleaner


DPWheelCleaner.jpg

Detailer's Pro Series Gloss Tire Gel


FlexFoamTireDressingApp.jpg

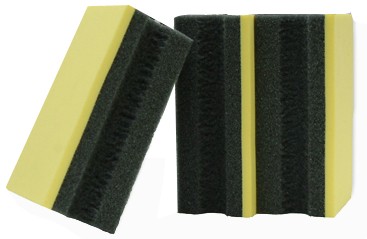
Cobra Flex Foam Tire Dressing Applicators 3 Pack


DaytonaSpeedMaster.jpg

Daytona Speed Master Wheel Brush


lugnutbrush.jpg

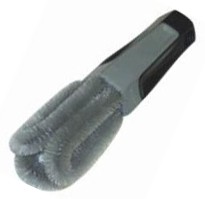
Lug Nut Brush


FoamFingerPockets.jpg

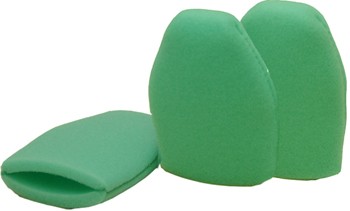
Finger Pockets - 3 Pack


8inchboarshairwheelbrush.jpg

8 inch Montana Original Boar’s Hair Wheel Brush


TireWheelBrushes.jpg

Utility Tire & Wheel Brushes


smile.gif
 
Re: RV Exterior Maintenance Guide

Continued...


Waxing
A good choice for protecting the exterior is to use what is called a Cleaner/Wax, that is a wax that will clean, polish and protect in one step. One-step products are popular for large items like RV’s and Boats because it takes too long and requires a lot of extra work to do a multiple-step process such as using a dedicated cleaner, a dedicated polish and then follow with a dedicated non-cleaning wax.

If your RV has a neglected finish, that is it shows signs of oxidation, swirls and scratches, which is especially common to RV’s with gel-coat finishes, (which oxidize easily), then a quality product for this is the Pinnacle XMT 360 Cleaner/Wax which is formulated for machine application with easy to use tools like the Porter Cable 7424XP. The XMT 360 is available in both 16 ounces and 32 ounce options

If your RV has an automotive clear coat finish in excellent condition, (common to high end RV’s), then a long lasting paint sealant like Detailer’s Pro Series Poli-Coat Paint Sealant which is available in both 16 ounces and 32 ounces for large items like RV’s.


Typically you’ll need at least a half a dozen polishing pads to restore a neglected RV finish with a cleaner/wax. You can wash these pads and re-use them but from a "time" point of view, it will be a lot faster to replace a pad that has become dirt with oxidation and wet with product with a clean, dry pad then it will be to wash and dry the pad for re-use.

If you're working on an RV and the exterior finish is in new or excellent condition, then you can probably get away with 2-3 pads to machine apply a paint sealant to an RV with a clear coat finish.

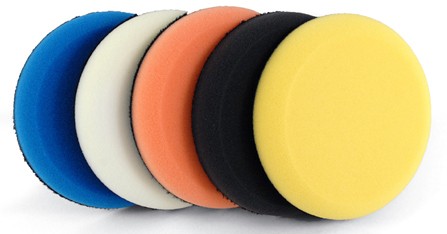
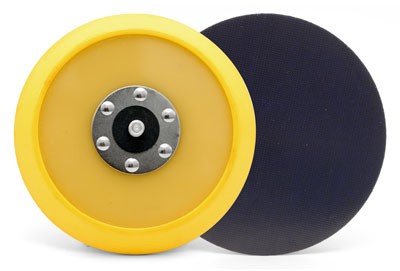
The Porter Cable 7424XP is lightweight and easy to use and takes all the work out of applying wax but it doesn't come with a backing plate so you'll need to get one separately, and you'll also want to stock up on some "Polishing" pads, in the Lake Country Line of pads these are the "white" foam pads and they are very versatile yet safe to use.


PorterCable7424XP1.jpg

Porter Cable 7424XP


5_5inchfoampads.jpg

Lake Country 5.5” Foam Polishing Pads


backingplate.jpg

Lake Country 5” Backing Plate


April said:
2. What are steps to take for bug removal for Class C RV’s where there is the automobile finishes of the bumper/hood, and then the gel-coat, fiberglass, decals, etc of the coach? Does this approach apply to tar and sap as well?

Bug Splatter should be removed as soon as possible because the acids inside the bug can actually etch clear coat paints and stain gel-coat surfaces. If the bug splatter has dried then the best way to remove it is to first soften it with water and products specifically made to dissolve and remove dried bug splatter.


DiamonditeBugEraserKit.jpg

Diamondite Bug Eraser Kit


PBBugSquash.jpg

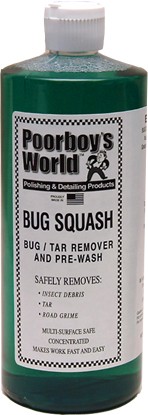
Poorboy's World Bug Squash


safescrubbugtarpad.jpg

Safe Scrub Bug & Tar Pad


Removing tar usually requires a solvent that will dissolve the tar so it can be wiped off without harming gel-coat or painted surfaces.


tarminator.jpg

Tar Remover


Removing tree sap can often be done by using a tar remover but different types of trees emit different types of tree sap and different types of tree sap can either come off easily or with great difficulty. If someone runs into problems removing Tree Sap from their RV we recommend they either call us or post their questions to our RV forum here,

AutogeekOnlineForum.jpg

Autogeek Discussion Forum


April said:
3. How can an average RV owner clean the high spots, in particular the cab-over area that is subject to insects, but the where the hood is in the way of a ladder? Some had used the Black & Decker 18-volt Power Scrubber with a 14ft reach, which is now discontinued.

In order to wash, clean and wax the elevated areas of a Motorhome safely, you really need to invest in the right scaffolding that will enable you to stand and work at elevated heights. I don't recommend trying to do this kind of work using a common ladder as it's too easy to fall and get hurt.

Pressure washers are another option and work really well with the right cleaning soaps and tools like the Foam Cannon.

xtremefoamformula.jpg

Detailer’s Pro Series Xtreme Foam Formula Shampoo - For use with Foam Guns


FoamCannon.jpg

Autogeek Foam Cannon - For use with a Pressure Washer


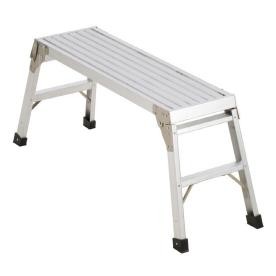
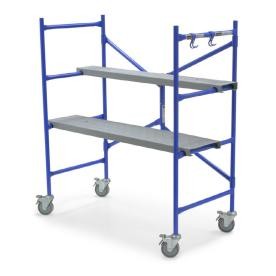
Here's are some examples of scaffolding available at your local hardware and home supply stores,

WernerAluminumWorkPlatform.jpg


WernerPortableSteelWorkScaffold.jpg


Scaffolding01.jpg


April said:
4. What are the must-haves while out on the road where there are limitations to space (length, weight and volume), and no access to a water hose?

Keeping your RV clean without access to a source of free flowing water is often a challenge; this same issue often confronts mobile detailers, people that live in apartments and condos, areas under water restrictions or in drought conditions.

The good news is there products now available just for this purpose. They work by using high lubricity cleaning solutions to loosen and remove dirt while leaving a scratch-free finish with a shiny, just detailed look.


WaterlessWashRTU.jpg

Detailer's Pro Series Waterless Auto Wash = Ready To Use


The key to getting great results using a waterless wash is to have plenty of premium quality microfiber towels handy so as you remove dirt and road grime off your RV and onto the microfiber towel, you can set dirty towels aside and switch to a new, clean microfiber towel.


3Cobra530.jpg

Cobra Supreme 530 Microfiber Towel - Pair


April said:
5. Any thoughts on Thetford’s Premium RV Black Streak & Bug Remover? Does this product strip wax? What is it comparable to in your lines?

I've never used this product but we carry comparable products.


DGblackstreakRemover.jpg

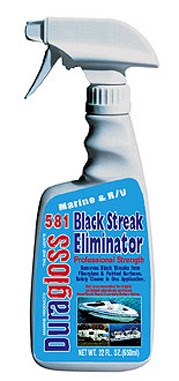
Duragloss Black Streak Eliminator


MothersBlackStreakRemover.jpg

Mothers Black Streak Remover


April said:
It is my intent is to give my readers actual useful information that they won't get everywhere else.

Thanks in advance for your help.

Regards,
April

Thank you for considering and contacting Autogeek.net as a resource for helpful how-to information for your RV audience, our Customer Care Hotline is always available to answer questions and share even more helpful videos, articles and resources for helping your readers clean, polish and protect every square inch of their RV.


:xyxthumbs:
 
Great information.

I have a question about the type of paint you find on enclosed trailers. I was told by a dealer that the paint is vey thin and is enamel. I have a customer who has one of the trailers with oxidized paint. How is the bet way to remove the oxidation and bring the shine back. The color is black by the way.

Thanks in advance.

Freddie46
 
Rv n trailers can be tricky !!dont think its like washing a car or polishing!!similar traits but alot more work!!only use martime compounds n maritime waxes!! If you want best results expect to put alot of elbows n grease!!


HERE IS A BEFORE N AFTER PIC OF SOME OF MY WORK<ENJOY
 
Great information.

I have a question about the type of paint you find on enclosed trailers. I was told by a dealer that the paint is very thin and is enamel. I have a customer who has one of the trailers with oxidized paint. How is the bet way to remove the oxidation and bring the shine back. The color is black by the way.

Thanks in advance.

Freddie46


My experience is the paint is like you describe, thin. The best and safest way to tackle anything like a trailer with thin paint is using a one step cleaner/wax with a foam pad on a simple DA polisher like Porter Cable 7424XP.


How to choose and use a one-step cleaner/wax by Mike Phillips


Lots of info in the above article.


:)
 
Rv n trailers can be tricky !!dont think its like washing a car or polishing!!similar traits but alot more work!!

That's accurate.


only use martime compounds n maritime waxes!!

Need to be careful with this advice. High-end RV's have a basecoat/clearcoat finish just like a car and most Marine compounds are way too aggressive for a thin, clearcoat finish.

Best thing to do is to start by finding out exactly what type of finish is on the RV and if it is in fact a basecoat/clearcoat finish then treat it like a brand new car.


If you want best results expect to put alot of elbows n grease!!


Or get a quality dual action polisher and let the machine do most of the work.


:xyxthumbs:
 
Would you happen to have any advice on restoring faded decals? I just purchased a Damon Intruder that has some fading on the decals on the front and a little on the right side. Will a standard polish bring it back? I'm a fairly accomplished detailer but I have no idea how to get these back - if it's even possible. The biggest DA I've got is the 7424XP and I've got a 7"/9" rotary. Hoping to be able to do it with a DA, if I need to buy one to get it looking good and keep it there, I'll definitely do that. I mainly want to bring them back as close to original as possible and hopefully protect the rest of the coach in the process. Any help would be greatly appreciated!


Sorry for the late reply, I just now found this post.

You want and need to be very careful when it comes to working on vinyl graphics, especially older graphics.

The quality of the graphics will vary from manufacturer to manufacturer.

I know I've buffed on top of vinyl graphics before where it removed the color which means if a person were to have continued buffing on the graphics it would have ruined the graphic.

On the other hand some are very resilient and when lightly buffed you can clean them up and brighten their color.

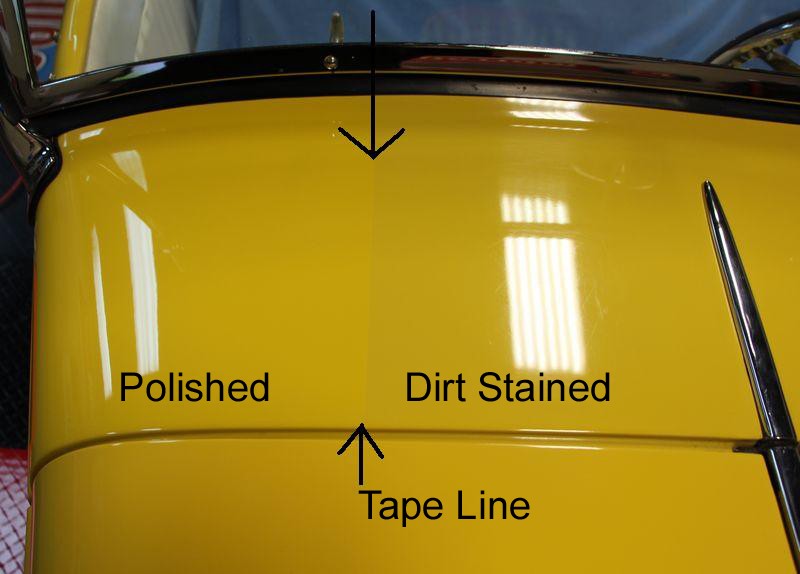
Now follow me... in the same way paint can become dirty and stained over time. Like I show in this article,


Here's why you need to polish paint...


Dirty_Old_Ford_006.jpg


The graphics on a car can also become stained with dirt.


make sense?

A few months ago I buffed out this mostly original 1978 Trans Am - the same model Burt Reynolds drove in the moving Smokey and the Bandit.

The paint on 70% of the car is the ORIGINAL single stage Lacquer paint and the screaming Eagle vinyl graphics on the hood are also the original graphics.

The paint was both stained and oxidized. Doesn't make sense that the graphics would also be stained and oxidized?

I tell you what I saw since I was standing in front of the car taking both the before and after pictures was I saw vinyl graphics that were DULL and LIFELESS before I buffed them out.

After I buffed them out the colors became brighter and more colorful. So to me, machine buffing them was a success.

Here's the pictures,


Before machine buffing
watermark.php


After machine buffing


watermark.php


I machine buffed the paint using the Rupes Bigfoot 21 with the Rupes Quarz Gloss Medium Cut Compound and the Rupes Green foam light cutting pad.

Rupes_21_030.jpg


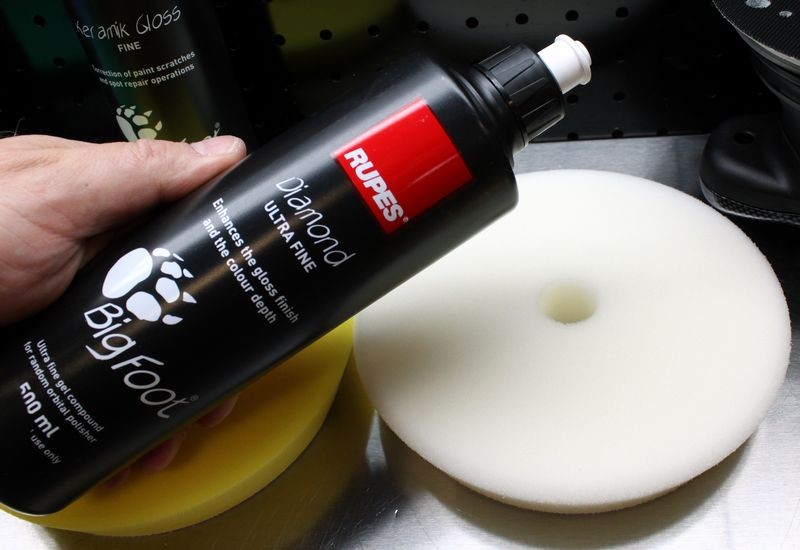
I machine buffed the graphics using the Rupes Diamond Ultra Fine Polish with the Rupes white ultra soft foam pad.

Rupes_21_032.jpg


And just to show how the original lacquer paint looked before buffing which is also an indicator as to how weathered and beat up the graphics were before buffing....


watermark.php


watermark.php


watermark.php


watermark.php


watermark.php


watermark.php


watermark.php


watermark.php


watermark.php


watermark.php


So my advice to you is to

First, be sure you're willing to risk buffing the graphics in the first place in an effort to improve them.

Second, test an ultra fine cut polish and a super soft foam buffing pad to an inconspicuous area.

Third, use a dual action polisher of some type and be gentle.


Hope that helps...


:)
 
Recently I buffed out the hood and hood only on the COPO Camaro Bruno Massel races and to clean, brighten and protect the graphics on the hood I used the Rupes Bigfoot 21 with the super ultra soft white foam polishing pad and the NEW & Improved Diamond Ultra Fine Polish.

watermark.php


watermark.php


You can find that thread here,

COPO Camaro - Flex vs Rupes - Carbon Fiber Hood Extreme Makeover


watermark.php


:)
 
37ft 5th wheel RV,truck is Black Volvo770 semi.I used Griots sealant on both about 11/2-2yrs ago.Both sit outside (Colorado)
Trailer has mostly gel coat,it has some black streaks,using Griots #2 polish and Griots DA,they are not coming out.Oxidation either.

Would a one step cleaner,wax sealant work to redo the units or do I have to remove the previously applied sealant...(whew).
Thanks for any recommendations.
 
37ft 5th wheel RV,truck is Black Volvo770 semi.I used Griots sealant on both about 11/2-2yrs ago.Both sit outside (Colorado)
Trailer has mostly gel coat,it has some black streaks,using Griots #2 polish and Griots DA,they are not coming out.Oxidation either.

Might have to get more aggressive if the black streaks have penetrated deep into the gel-coat. Our spray on black streak remove might work but because gel-coat is porous my guess is the stain has penetrated too deep for a wipe on, wipe off type product and you'll have to abrade the surface.


Would a one step cleaner,wax sealant work to redo the units or do I have to remove the previously applied sealant...(whew).


No need to remove any previously applied sealant with a special process or product.

A quality one-step cleaner/wax will remove what's left of any old sealant or wax while at the same time, clean, polish and protect.

Check these products out,


McKee’s RV Black Streak Remover - 32 ounce


Voted the best RV black streak remover!

Black_Streak_Remover_32.jpg


McKee’s RV Black Streak Remover is a non-abrasive chemical cleaner that is formulated to quickly and effortlessly remove black streaks from fiberglass, gel coat, painted and metal surfaces. This powerful cleaner begins dissolving black streaks on contact, removing the unsightly stains they leave on your RV’s exterior surfaces. McKee’s RV Black Streak Remover requires very little, if any, rubbing. Simply spray on and rinse off – it’s that easy!


Black streaks plague all RVs!


McKee's RV Black Streak Remover works in seconds and requires minimal effort!
Black streaks are an issue that plagues all RV owners, and they’re something you cannot avoid. Fortunately black streaks are easy to remove with the right product – McKee’s RV Black Streak Remover. The chemists at McKee’s RV managed to formulate a powerful cleaner that requires very little, if any, rubbing. Thanks to a formula that doesn’t rely on harsh acids and high-octane cleaners, McKee’s RV Black Streak Remover will leave your existing wax coating intact.

Black streaks are the result of staining from the runoff of dirt, grime, mildew, and other environmental contaminants from the roof of your RV. These contaminants collect on the roof, decay over time, and rip own the sides of your RV with each rain shower. Unless you clean your RV’s roof on a weekly basis (who has time to do that?) black streaks are something you have to learn to deal with. McKee’s RV Black Streak Remover provides an easy solution for removing these unsightly streaks.

McKee’s RV Black Streak Remover is easy to use! To avoid streaks, spray from the BOTTOM to the top. Allow the cleaner to dwell for 30 seconds and then rinse off. Stubborn black streaks will require a second application along with light agitation with a brush.

Now that you’ve accepted the fact that black streaks are part of owning an RV, here are a couple tips to make them even easier to remove:
1.Regularly clean your rubber roof with McKee’s RV MPC – Multi-Purpose Cleaner.
2.Keep your RV polished and waxed. Black streaks will not penetrate the wax coating, and can easily be removed using McKee’s RV Final Step Detail Wax. Only the most stubborn black streaks will require McKee’s RV Black Streak Remover.


32 oz.

Made in USA


:)
 
The below two products are one-step cleaner/waxes, the first is light in its cleaning and the second is more aggressive for neglected surfaces.


McKee’s RV All-In-One Cleaner Wax & Sealant - 32 ounce


Cleans, polishes and seals your RV in ONE step!


All_in_One_Cleaner_Wax_Sealant_32.jpg


McKee’s RV All-In-One Cleaner Wax & Sealant is the perfect one-step solution to clean, polish and seal your RV in ONE Step! Use on new and weathered RVs – the outcome will always be the same! McKee’s RV All-In-One Cleaner Wax & Sealant removes oxidation, road film, stubborn bug splatter, black streaks, and other common contaminants that stain and discolor your RV over time. Durable UV inhibitors help prevent UV-induced cracking and fading.


Apply with a FLEX XC3401 equipped with a WHITE Polishing Pad
Your RV’s gel coat, fiberglass, or painted exterior is constantly being bombarded with environmental contaminants such as road film, acid rain, bug splatter, black streaks and accidental gas spills to name a few. McKee’s RV All-In-One Cleaner Wax & Sealant brings new life to your RV’s exterior while sealing it for long lasting protection. The aforementioned contaminants that plague your RV from life on the open road won’t stand a chance against the durable shell of protection provided by McKee’s RV All-In-One Cleaner Wax & Sealant.

McKee’s RV All-In-One Cleaner Wax & Sealant formula was created without compromises. Cleaner waxes are designed to clean, polish, and protect the surface that they are applied to. While they all strive to achieve these goals, many formulas lack in one (or more!) of these areas. That’s not the case with McKee’s RV All-In-One Cleaner Wax & Sealant. This unique formula cleans to remove embedded dirt, polishes to remove swirl marks and oxidation, and seals for long lasting protection.

RVs are BIG, and performing multiple steps can take days or even weeks! Whether your RV is brand new or showing signs of oxidation and fading, save time and money by detailing it in one step with McKee’s RV All-In-One Cleaner Wax & Sealant. Apply by hand or machine – you’ll never find a RV cleaner wax or all-in-one polish that is easier to apply and remove. We guarantee it!

McKee’s RV All-In-One Cleaner Wax & Sealant is formulated for gel coat, fiberglass, clear coat, chrome, aluminum, and stainless steel finishes. Regardless of the surface, All-In-One Cleaner Wax & Sealant will polish and seal it with protection and shine that lasts for the long haul.

32 oz.

Made in USA


On McKeesRV.com

McKee’s RV All-In-One Cleaner Wax & Sealant - 32 ounce


Below is the more aggressive cleaner/wax.


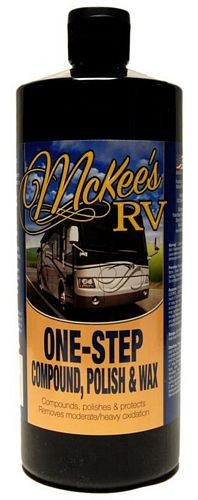
McKee’s RV One-Step Compound, Polish & Wax - 32 ounce


A true compound, polish and wax in one!

One_Step_Compound_Polish_Wax_32.jpg


McKee’s RV One-Step Compound, Polish & Wax is the perfect one-step solution for removing moderate to heavy oxidation to restore the gloss and color of your RV. A blend of real carnauba wax and synthetic polymers provide long lasting protection against UV rays and airborne pollutants. This zero-dusting formula is incredibly easy to apply by hand or machine. One-Step Compound, Polish & Wax can be used to restore the gloss and color on gel coat, fiberglass, and painted surfaces.


Apply with a FLEX XC3401 equipped with an ORANGE Light Cutting Pad

mckee-rv-one-step-1.jpg


Not everyone has the time or the desire to perform a traditional 3-step compound, polish, and wax to restore the gloss and color of their RV. Advancements in surface care enhancement technology have made 3-step processes like the one described above unnecessary in many cases. McKee’s RV One-Step Compound, Polish & Wax replaces the need for a separate compound, polish, and wax. It does it all saving you time and money!

Forget everything you know about other so-called one-step polishes and compounds because McKee’s RV One-Step Compound, Polish & Wax is a game changer. Formulated using an advanced blend of diminishing abrasives, chemical cleaners and a durable synthetic wax, McKee’s RV One-Step Compound, Polish & Wax is a time-saving solution to a task that used to take multiple steps over the course of several days.

The secret to the immense cutting and finishing abilities of One-Step Compound, Polish & Wax lies in its abrasive technology. Featuring diminishing abrasive technology, the abrasives found in One-Step Compound, Polish & Wax start out large and progressively get smaller as you polish the surface. Simply put, this amazing one-step polish cuts like a compound and finishes like a polish, providing the best of both worlds. Its built-in synthetic wax provides protection that lasts the long haul.

McKee’s RV One-Step Compound, Polish & Wax coats your RV with a durable shell of synthetic wax that provides months of protection against the elements of nature. Bug splatter, black streaks, road film, dirt, and oil will wash off with ease. The only thing that sticks is the shine!

32 oz.

Made in USA


At McKeesRV.com

McKee’s RV One-Step Compound, Polish & Wax - 32 ounce


:xyxthumbs:
 
OK,received the Pinnacle XMT 360 last PM.Started waxing RV today..
Gelcoat and no matter how long I run the orbital on it,it will not disappear and needs to be buffed off.It does not buff off easy..The Gelcoat is cleaned up and shiny but taking a long time.
I am using Griots 6" orbital with Griot's orange pad...Any ideas?
This thing is 37ft long and 8.5 high.Mostly ladder work..It does look nice where I have been but difficult to buff off..Thank you


May I make a suggestion?

Rent some scaffolding. Working on a ladder is fine for small areas, but the whole thing is a bear to say the least.

Much more safe and the feeling of NOT falling is worth its' weight in gold.

Bill
 
Thanks,will look into renting scaffold..Pull this thing with a Volvo 770 tractor..it's 13'2" high(Black) Scaffold would be nice there also.Thanks again
 
Gelcoat and no matter how long I run the orbital on it, it will not disappear and needs to be buffed off.

I'm sorry, but I don't understand the above sentence.

Especially in context with the below sentence.

Do you mean,


OXIDATION and no matter how long I run the orbital on it, it will not disappear and needs to be buffed off.


BLACK STREAKS and no matter how long I run the orbital on it, it will not disappear and needs to be buffed off.


It does not buff off easy..

The Gelcoat is cleaned up and shiny but taking a long time.

Here you're saying the gel-coat is cleaned up and shiny but taking a long time but in the first sentence it reads like you're saying the opposite? I'm trying.... but not quite sure I understand where you need help?


I am using Griots 6" orbital with Griot's orange pad...Any ideas?

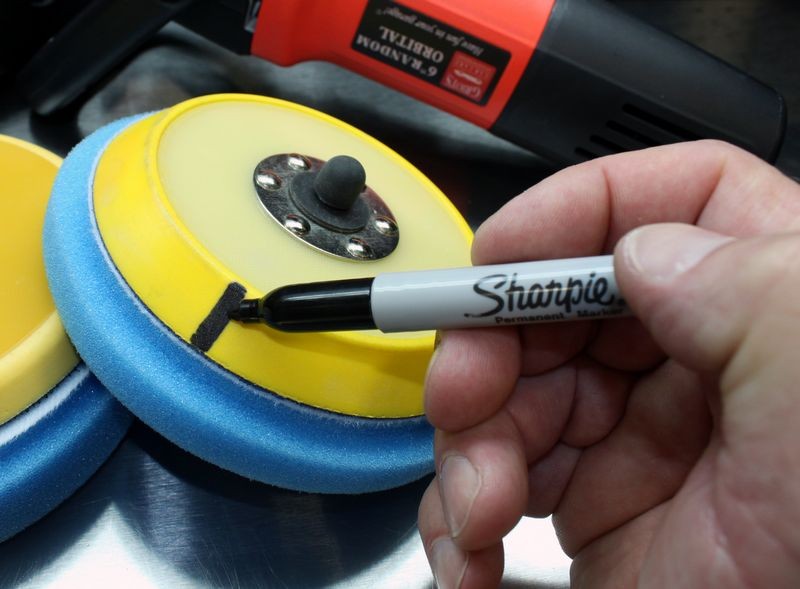
Did you mark your backing plate with a black mark and is the pad rotating when you apply pressure?

See this article,

Video: Mark your backing plate to make it easy to see pad rotation

MarkYourBackingPlate01.jpg


This thing is 37ft long and 8.5 high.Mostly ladder work..It does look nice where I have been but difficult to buff off..Thank you

IF you're trying to remove oxidation then you want to use the product heavy or wet. That means you use a lot of product so you have plenty of liquid (chemicals and abrasives on the surface working for you).

Most of the time when people talk about waxing something they say lay down a thin coat. That's not how it works when using a one-step cleaner/wax to remove oxidation. Totally different process.

As you remove oxidation it mixes with the cleaner/wax and makes a gummy mess and thus... hard to wipe off.

Use more product and work smaller sections and then wipe off immediately.

As for how to do this type of work faster?

Get a Flex 3401.


:)
 
I'm in the middle of teaching our 3-day detailing class so no more time for the forum. Was typing these replies out while taking a lunch break.

One more article for you, lots of info on how to use a cleaner/wax.


How to choose and use a one-step cleaner/wax by Mike Phillips


Back to the class, next up we'll be buffing out a 1950 Ford Custom.... the orange one in the picture below.


watermark.php


Just to note... I do cover how to correctly use one-step cleaner/waxes in my classes.


:)
 
The below was forwarded to me via e-mail?


Fuzzyp said:
Thanks for the answers....

I apologize for the confusion in my question...

The directions state to apply until product disappears...that didn't happen.

I had to buff of after application..It did clean up the Gelcoat well.
I guess where I questioned was the claim "One Step". It was not that. No complaints just wondering if I was doing something wrong ie,wrong pad or ???..

Thanks for the reply..

No black streaks, just the products does not disappear it needs to be buffed off. It works fine then


Okay, now I understand.

You were applying the Pinnacle XMT 360 which is a one-step cleaner/wax.

The directions state to buff the product till it disappears and when you followed the directions the product did not disappear and instead you had to wipe the residue off the surface by hand.


Got it!


Here's the deal. I didn't write the directions for this cleaner/wax. If I had they would probably need a small booklet to go with the bottle as I tend to over-write.

While the directions may work for some cars in some situations, (and in your case you're working on an RV), in reality, like I share in the article I included the link to above, in reality anytime you're using a one-step cleaner/wax on a neglected finish you want to use the product HEAVY or WET.

This means use a LOT of product because you want a LOT of liquid on the surface working for you. The liquid, (the wax) is doing these things,

  1. Cleaning
  2. Abrading
  3. Polishing
  4. Loosening
  5. Lubricating
  6. Sealing
That's a lot to ask from a product and it's also why you want to use the product heavy, or wet.

As for buffing till it disappears. That isn't going to happen on an oxidized RV.

First - You're removing dead, oxidized gel-coat. This gel-coat you're abrading off has to go somewhere. It's not simply going to disappear on it's own.

It's normal to have to wipe this residue off by hand.

The only time you would be able to buff a cleaner/wax till it disappears is if the surface is in GREAT condition and you only use a LITTLE BIT of wax.

Second - Even then, as you work around the vehicle, your pad is going to get wet with product and leave behind a film that has to be wiped off by hand.

I'm actually NOT a fan of the buff till the product disappears recommendation because when the product disappears you're losing lubrication, (the liquid is gone), and this can lead to micro-marring of the surface.

In fact, in my how-to book and on this forum I have an article on this topic.

Wet Buffing Technique


And to better explain what's happening at the surface level when you're buffing and why you will have to not only wipe the residue off the surface but also clean your buffing pad, here's this article.

Why it's important to clean your pads often...


Hope that helps.... sorry for the confusion on my part. Glad to hear your RV detail came out good.


:dblthumb2:
 
Back
Top