Overall all three were a success.
I started out with a pinnacle wash followed by zaino clay for the bad spots (around the wheels and front end) and sonus clay on the rest. I used wolfgang lube.
When the claying was done I went onto DR Colorchip. My car had some road rash on the front bumper and also on the fenders behind all of the tires. The Dr Colorchip worked great on the road rash, but the front bumper is in pretty bad shape anyway. It has some stress cracks in the paint from a run in with a deer. The whole Dr Colorchip process took about 3 hours.
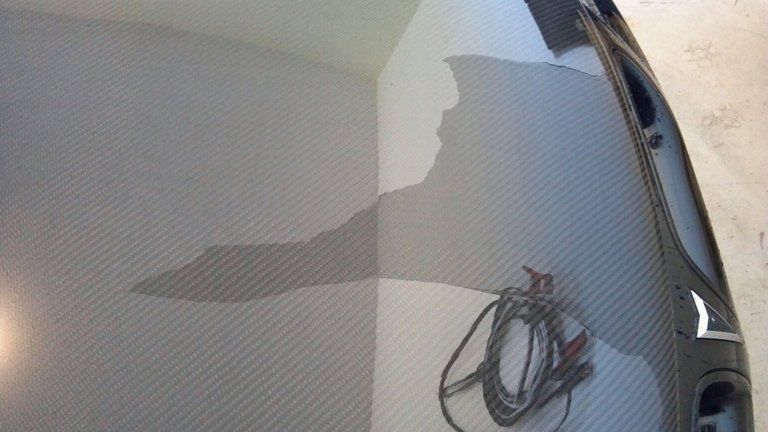
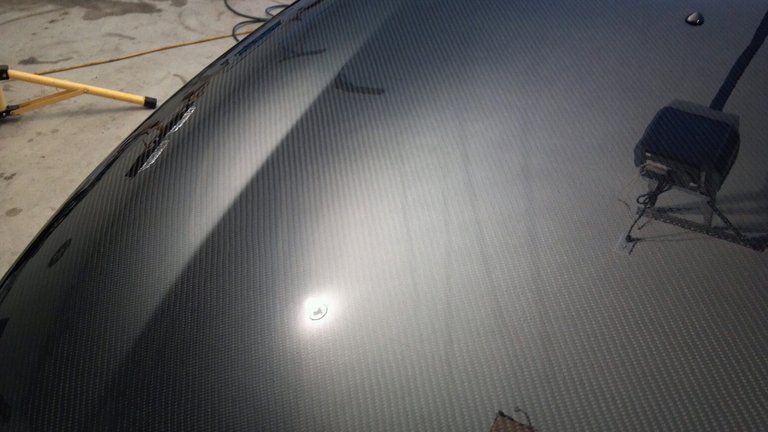
Then I began the correction process on my paint using my old PC. I really never let it get too bad so I was able to tackle it with pretty mild products. I used menzerna PO106FA on a 4" white spot pad on the bad areas, and used PO106FA on a red 5.5" sonus pad for the rest of the car. The red 5.5 really has no cutting power so I was just working the polish. Everything turned out good except for the carbon fiber hood. This is my first time polishing it as it is only a few months old. There were lots of RIDS that I did not want to mess with. Since it is carbon fiber they aren't noticeable anyway.
I then attempted to jewel the paint with PO85RD and a blue LC smartpad. While I do not know if this worked or not it did seem to add something to the finish. I feel it was worth it.
I then pulled it out for a quick wash. Then back to the garage for an IPA wipedown. Now it's time for the Opticoat 2.0.
I have read write up's and watched videos and it seems everyone has their own way of doing this so I jumped in on the trunk lid. I did this in my garage with my shop lights aimed at the ceiling. This put a nice white reflection across the surfaces of my car so that I could keep track of the streaks and try to keep everything in check.
I started on the trunk lid by doing half of it to get a feel for it. Then I moved onto the roof and by the time I was done with half the roof I had a good feel for it. I ended up doing the whole car 2x and the windows 1x. I used about 4CC or whatever the unit is of the product.
I was hesitant about using the applicator that they supplied but I did anyway. In the past using this type of applicator with waxes caused very light micromaring on the delicate soft black paint...lol. And when I was all done and pulled it out into the sunlight I see that this one did too. Next time I will try a microfiber applicator which I have always used on sealants in the past.
When I pulled it out for inspection after I was all done there were a few high spots from where the opticoat flashed and hardened without me knocking it down. I was able to use some PO85RD and a hand applicator with light pressure and get rid of these. I do not know if it removed the opticoat or not but when I do the camry in a few weeks I will touch up these areas on my car.
Anyway overall everything seemed to be a success. The whole process took about 25 hours over 4 days.
Well here are some pictures.
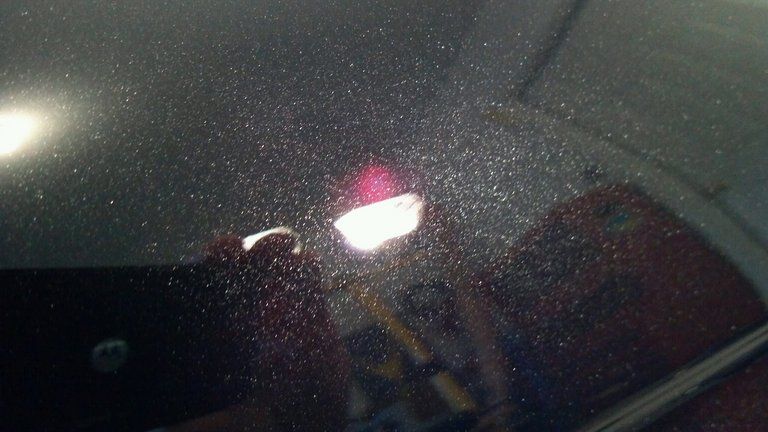
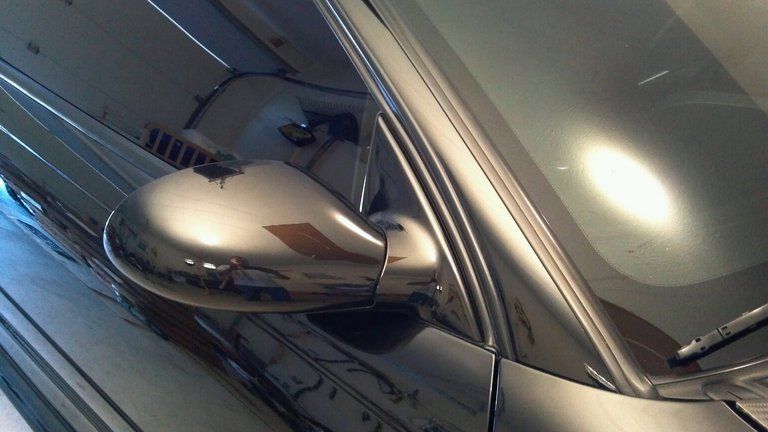
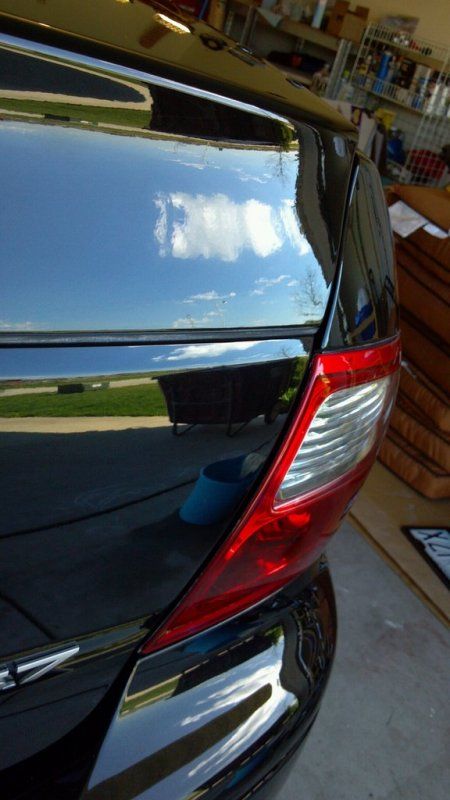
Naked paint.
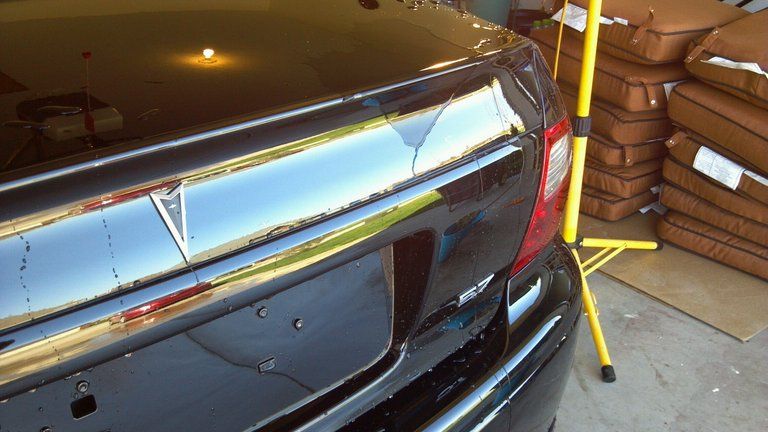
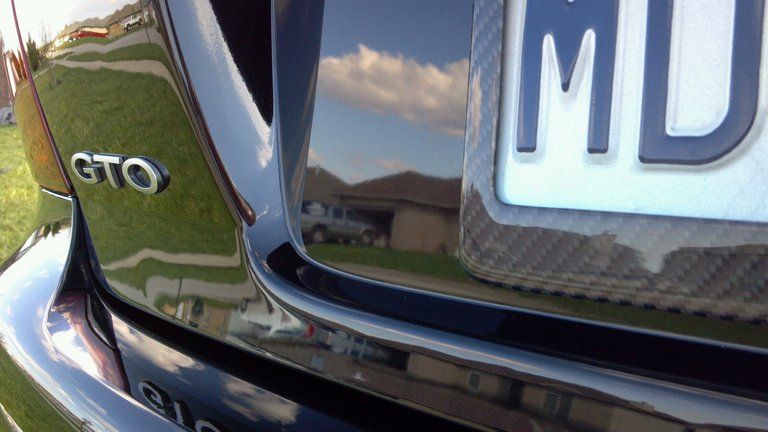
I sure do hate cleaning around these emblems...they always get so nasty.

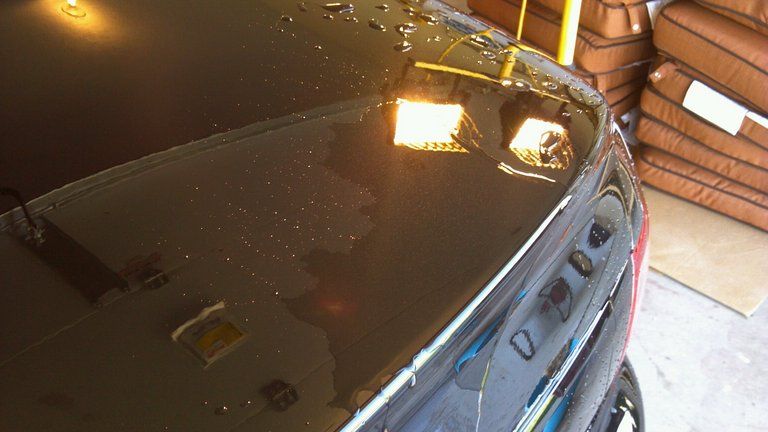
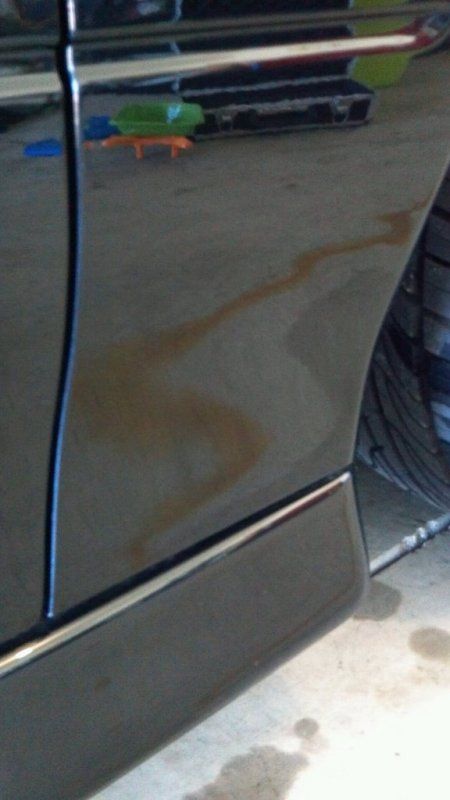
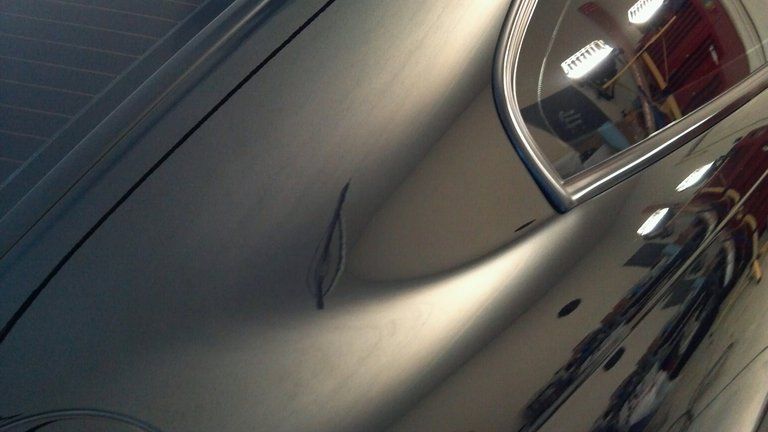
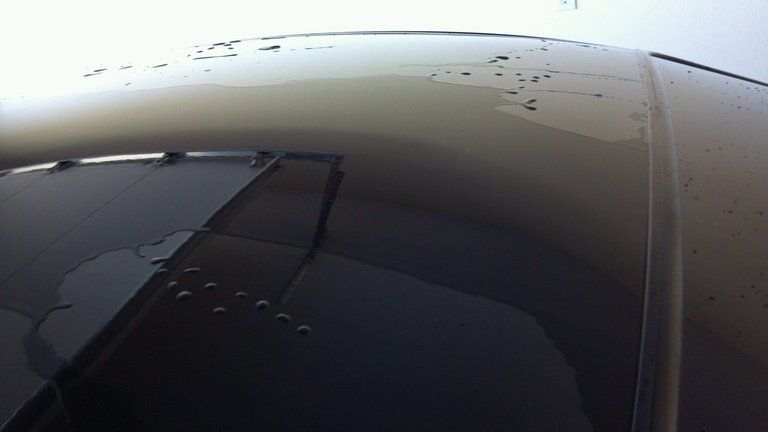
Naked paint does weird things with water.
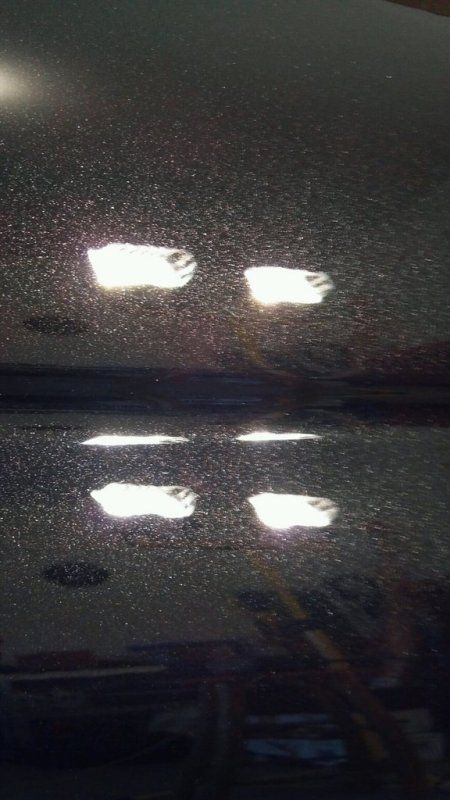
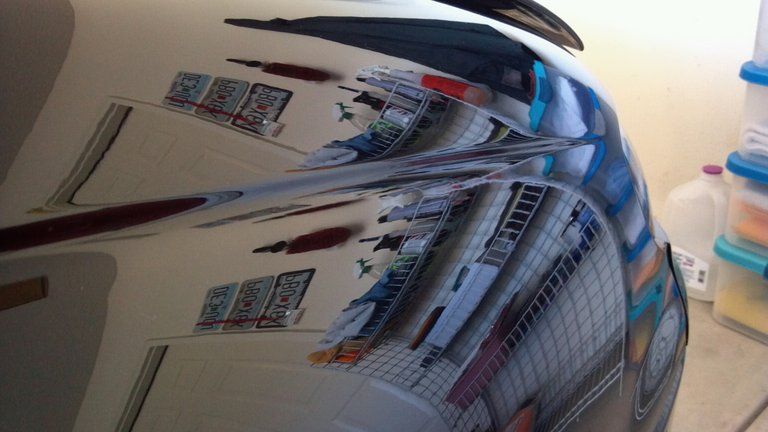
Any my IPA wipedown is complete.
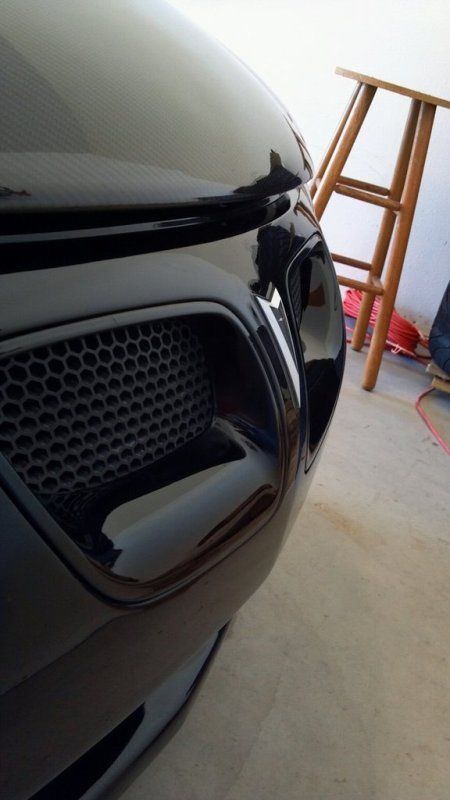
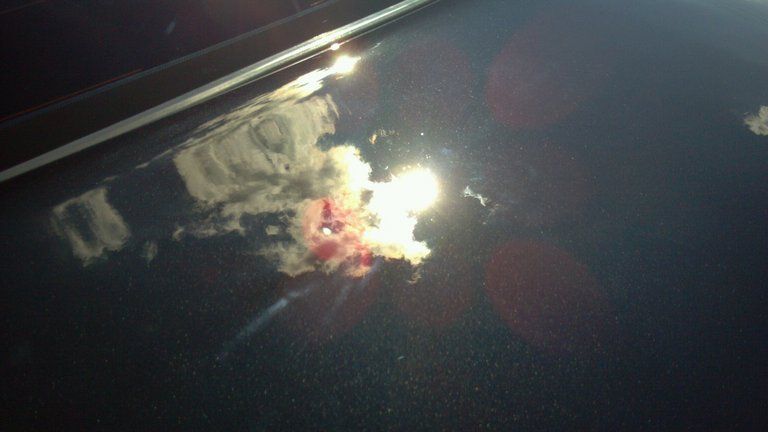
This area had a lot of road rash...Dr color chip worked as advertised.
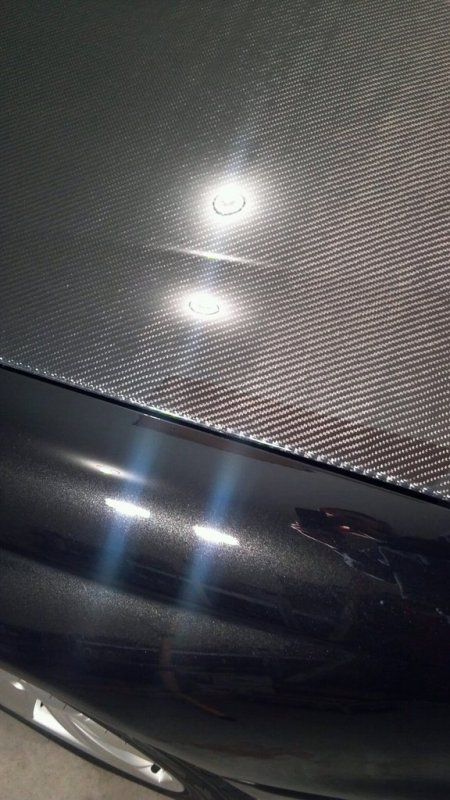
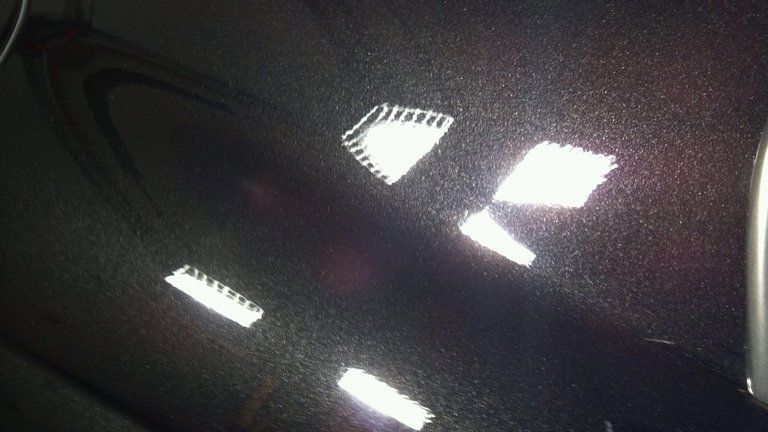
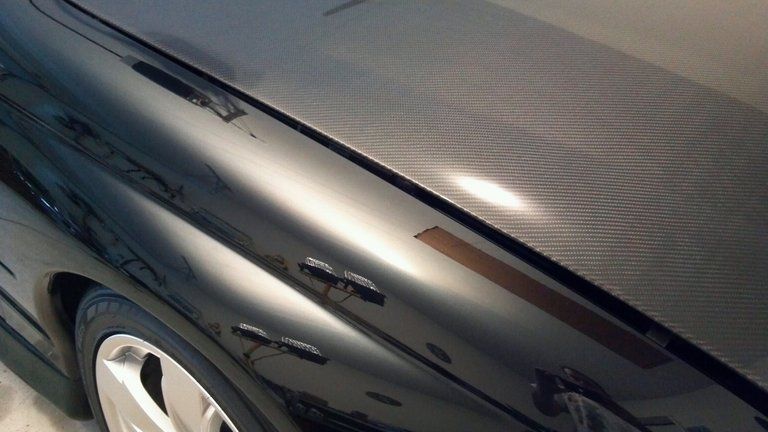
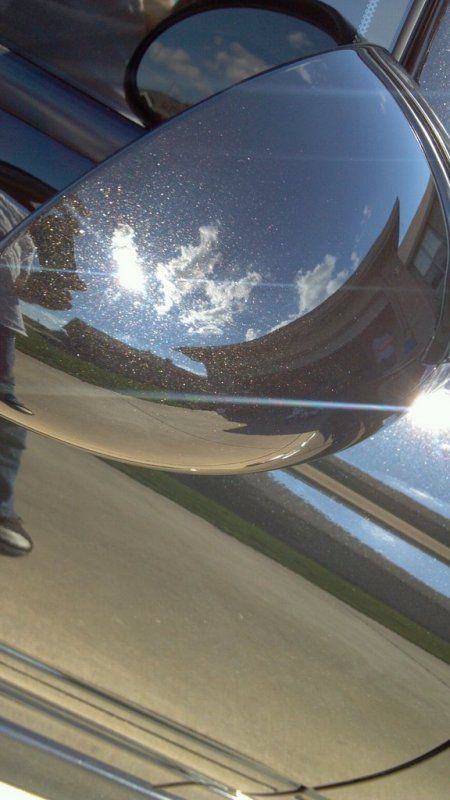
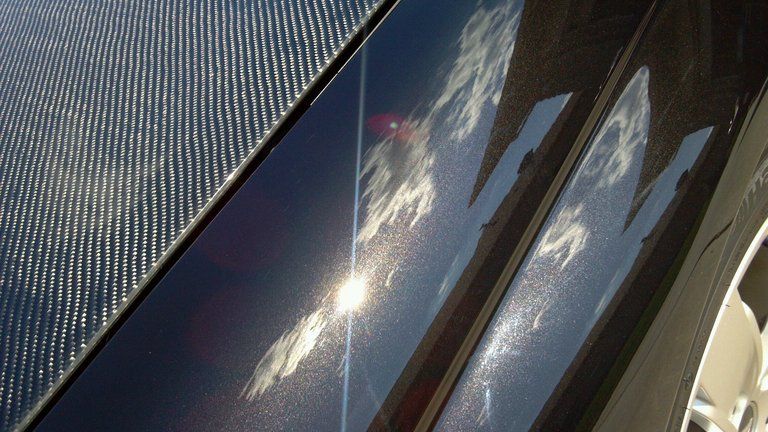
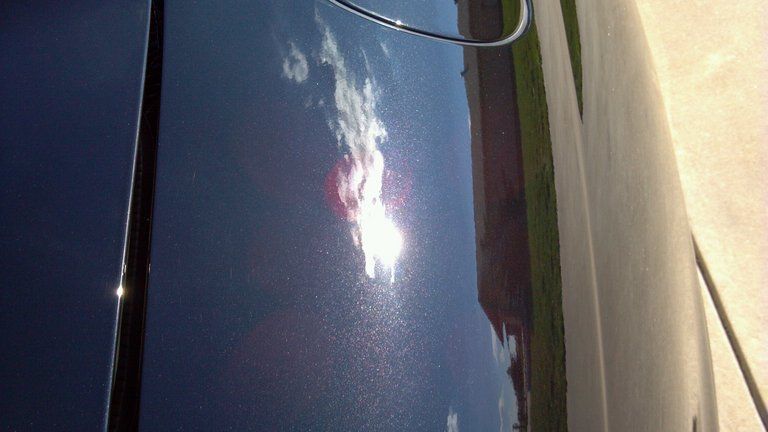
And opticoat is done. I have never seen the paint "glow" like this before.

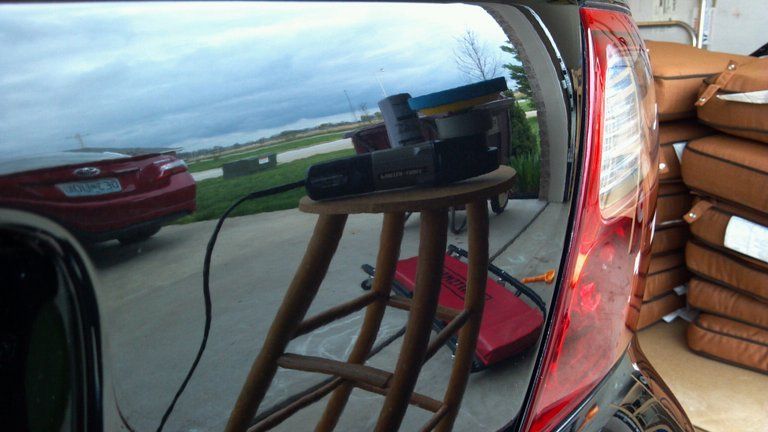
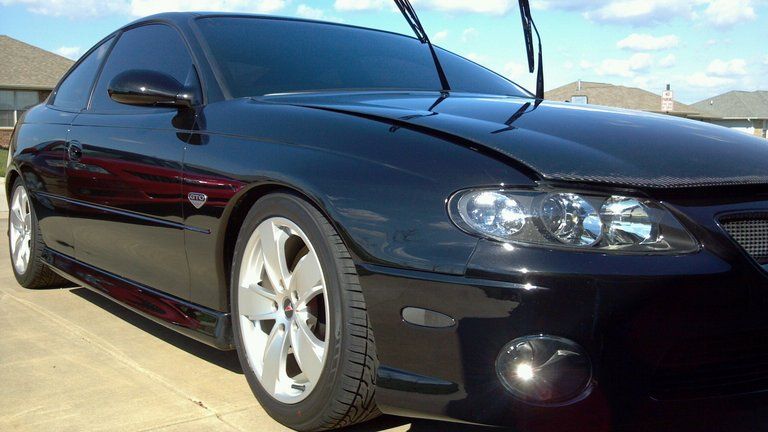
And a few outside shots. I rolled the car out to take these. I was going to pull the car somewhere else and take more but my battery was dead. LOL.

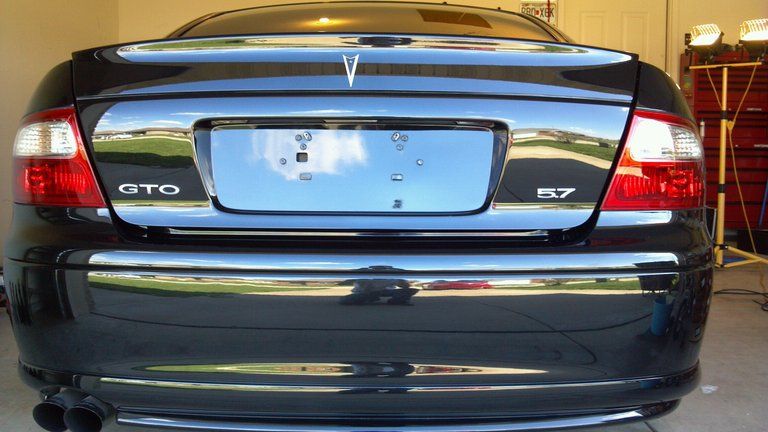
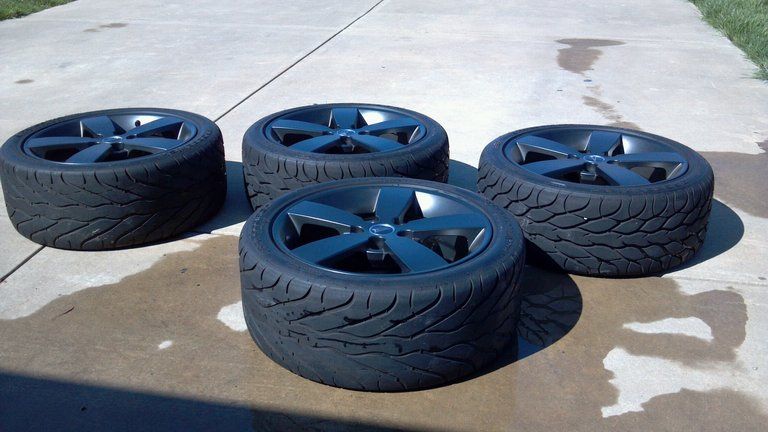
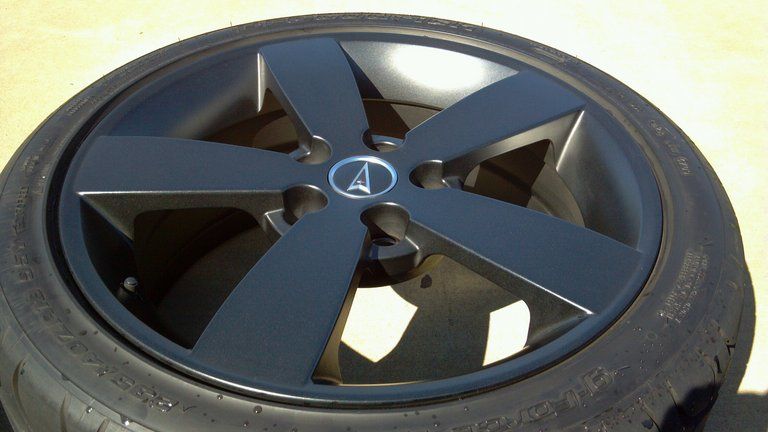
Oh, and I am still rocking the stock 17's cause they are cool lol. Disregard the headlight armor install gone bad. I am going to redo that soon. I am also going to change back to the powdercoated 18's soon.
And I got more carbon fiber cause I am a ricer.
Well thanks for reading my very long thread LOL.
I started out with a pinnacle wash followed by zaino clay for the bad spots (around the wheels and front end) and sonus clay on the rest. I used wolfgang lube.
When the claying was done I went onto DR Colorchip. My car had some road rash on the front bumper and also on the fenders behind all of the tires. The Dr Colorchip worked great on the road rash, but the front bumper is in pretty bad shape anyway. It has some stress cracks in the paint from a run in with a deer. The whole Dr Colorchip process took about 3 hours.
Then I began the correction process on my paint using my old PC. I really never let it get too bad so I was able to tackle it with pretty mild products. I used menzerna PO106FA on a 4" white spot pad on the bad areas, and used PO106FA on a red 5.5" sonus pad for the rest of the car. The red 5.5 really has no cutting power so I was just working the polish. Everything turned out good except for the carbon fiber hood. This is my first time polishing it as it is only a few months old. There were lots of RIDS that I did not want to mess with. Since it is carbon fiber they aren't noticeable anyway.
I then attempted to jewel the paint with PO85RD and a blue LC smartpad. While I do not know if this worked or not it did seem to add something to the finish. I feel it was worth it.
I then pulled it out for a quick wash. Then back to the garage for an IPA wipedown. Now it's time for the Opticoat 2.0.
I have read write up's and watched videos and it seems everyone has their own way of doing this so I jumped in on the trunk lid. I did this in my garage with my shop lights aimed at the ceiling. This put a nice white reflection across the surfaces of my car so that I could keep track of the streaks and try to keep everything in check.
I started on the trunk lid by doing half of it to get a feel for it. Then I moved onto the roof and by the time I was done with half the roof I had a good feel for it. I ended up doing the whole car 2x and the windows 1x. I used about 4CC or whatever the unit is of the product.
I was hesitant about using the applicator that they supplied but I did anyway. In the past using this type of applicator with waxes caused very light micromaring on the delicate soft black paint...lol. And when I was all done and pulled it out into the sunlight I see that this one did too. Next time I will try a microfiber applicator which I have always used on sealants in the past.
When I pulled it out for inspection after I was all done there were a few high spots from where the opticoat flashed and hardened without me knocking it down. I was able to use some PO85RD and a hand applicator with light pressure and get rid of these. I do not know if it removed the opticoat or not but when I do the camry in a few weeks I will touch up these areas on my car.
Anyway overall everything seemed to be a success. The whole process took about 25 hours over 4 days.
Well here are some pictures.
Naked paint.
I sure do hate cleaning around these emblems...they always get so nasty.
Naked paint does weird things with water.
Any my IPA wipedown is complete.
This area had a lot of road rash...Dr color chip worked as advertised.
And opticoat is done. I have never seen the paint "glow" like this before.
And a few outside shots. I rolled the car out to take these. I was going to pull the car somewhere else and take more but my battery was dead. LOL.
Oh, and I am still rocking the stock 17's cause they are cool lol. Disregard the headlight armor install gone bad. I am going to redo that soon. I am also going to change back to the powdercoated 18's soon.
And I got more carbon fiber cause I am a ricer.
Well thanks for reading my very long thread LOL.
 rops:
rops: