lawrenceSA
New member
- Feb 7, 2012
- 1,713
- 0
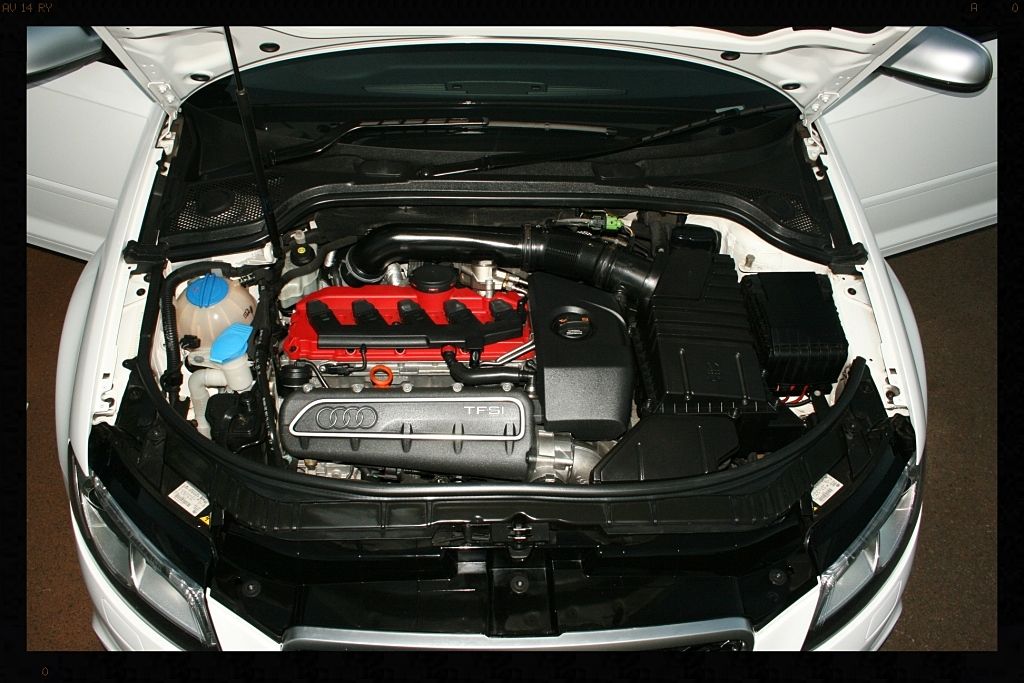
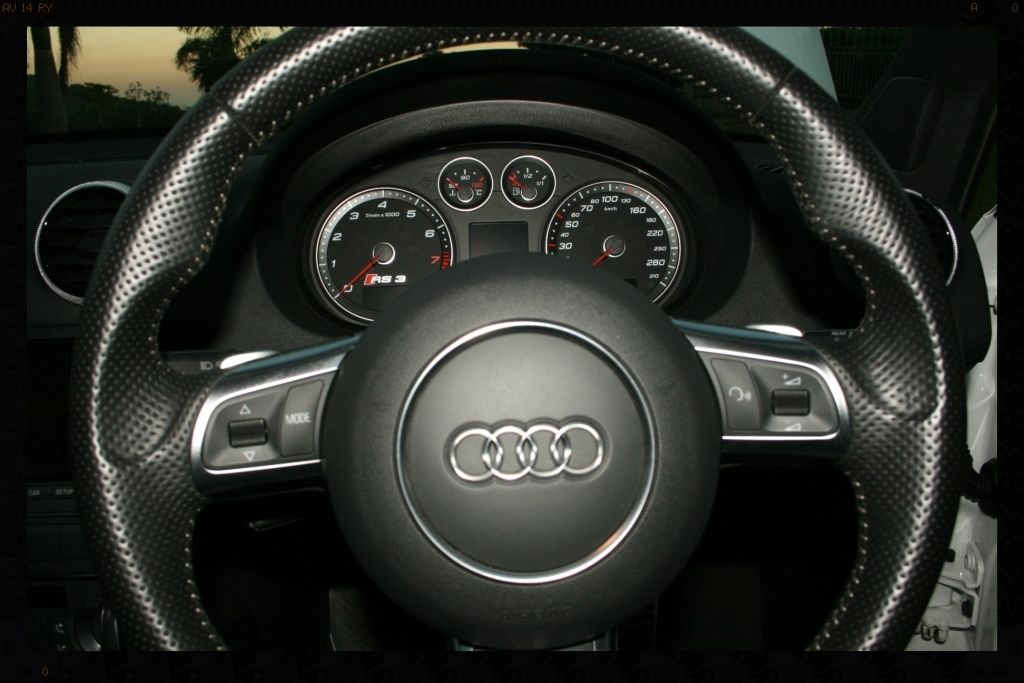
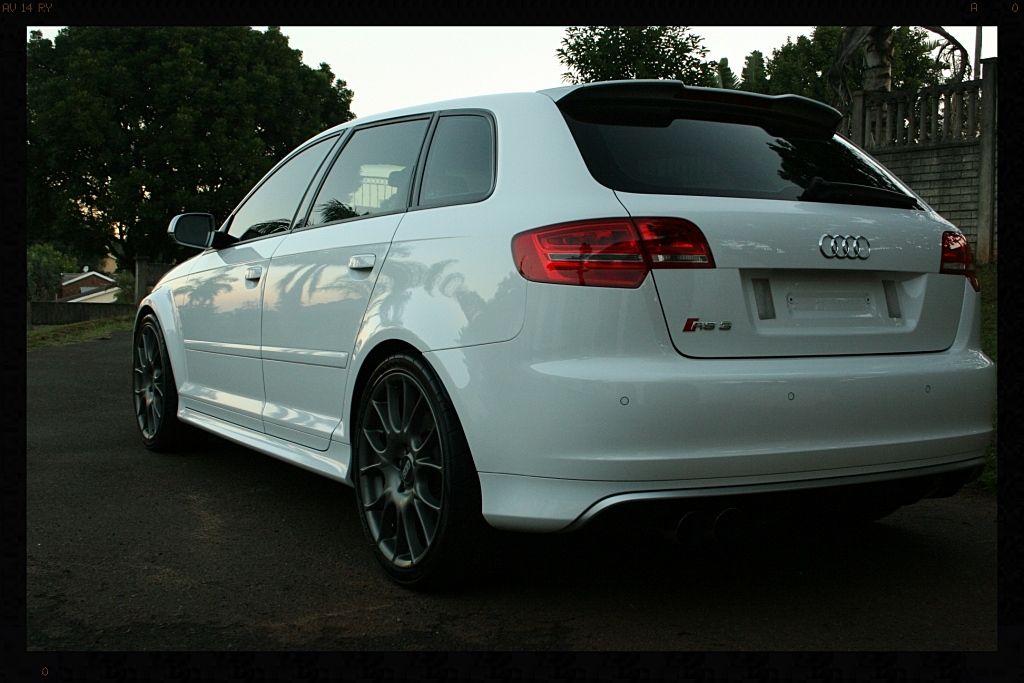
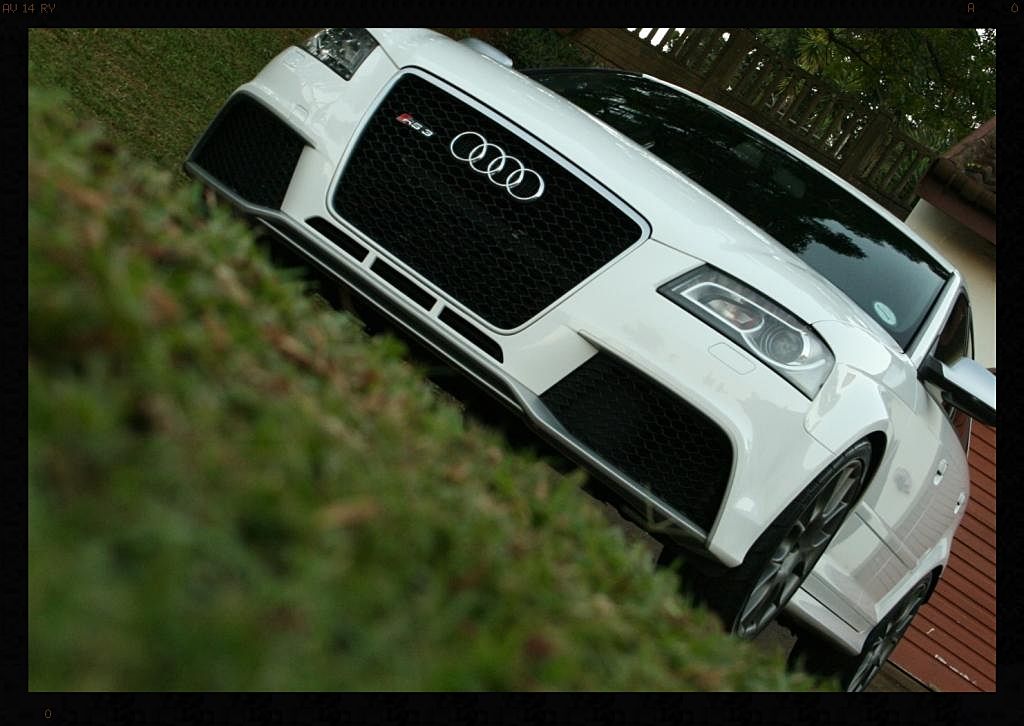
Ok so the first thing I need to say is…. WOW…. What a car… for a VAG nut like me it was a real privilege to be afforded the opportunity to work on this car, never mind getting to drive it (yes starting it and reversing it out the garage is considered driving it ok  :lol: )…. But seriously even just starting it up and listening to that 5 cylinder motor had me drooling all over myself….300wkw, 4WD, 0-100kmh in 2.8sec, 11.6 ¼ mile, 0-200kmh in 12 sec….. hell yeah!
One day when I am big. :drool:
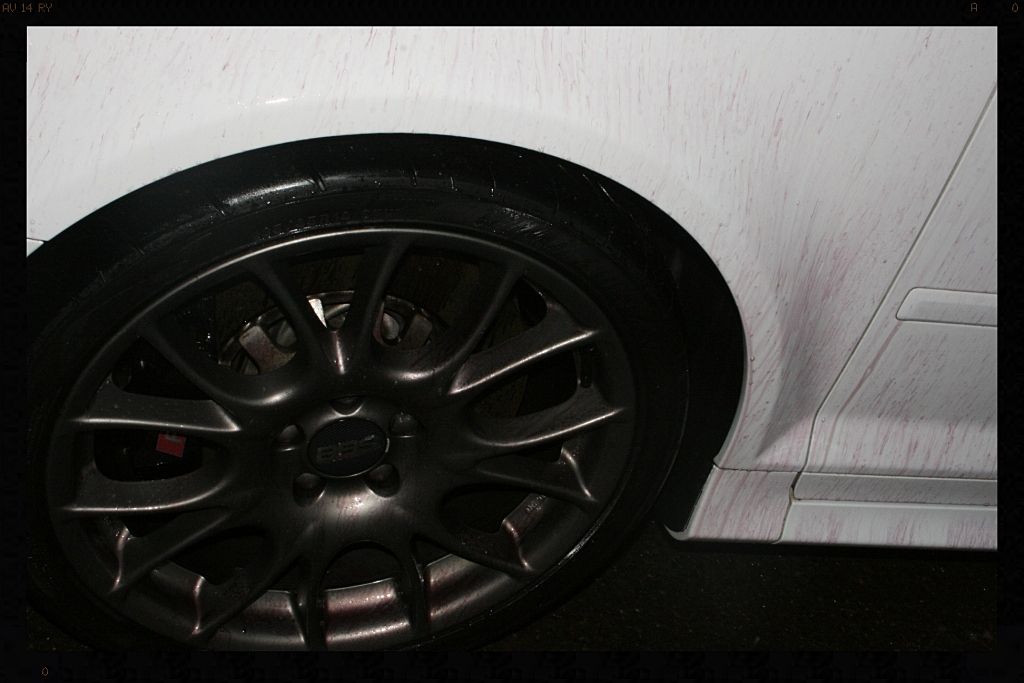
Originally the plan was to get cracking on this on Friday evening however due to some unforeseen circumstances, the owner was only able to drop it off with me on Saturday morning. We spent a while chatting about the plans for the car, which currently sleeps outside and is not always subjected to a proper 2BM wash etc. Two key things discussed were that 1) the car has a ceramic clear coat and 2) that the owner would like to coat it with some Opti-coat in the near future. The agreed plan of action therefore was to focus on removing the bonded and embedded contaminants and to restore some level of shine to the paint, whilst being as gentle as possible in the process, and to then provide some protection to the paint. If anything, a more correction focused detail will happen when he is ready to Opti-coat - surface prep is the key to success with coatings and once the coating is applied, it is not coming off in a hurry. I was also asked not to wash the wheels as they were due to go for a full refurb soon, but somehow it just felt wrong detailing a car and leaving them wheels dirty, so they were cleaned and tires dressed anyway.
Some information on the Ceramic Clear coat. Before I worked on my first car with a ceramic clear coat I did some research on the technology and came across a very interesting post on another forum. In that post reference was made to a Dr. David Ghodoussi (who has either worked for, or consulted for the majority of automotive paint manufactures and is more than qualified to talk about paint chemistry) having confirmed the following:
“After the "cerami"clear top coat is sprayed, the nano particles of Fumed Silica (SiO2), which are synthetically engineered, migrate to the top 0.2 mils of the clear coat as it is curing. If you remove this portion of the clear layer of paint, the paint under it will be much softer and will not polish out or react the same way the nano particle portion did or would. You will at some level have compromised the finish on the car
And then From PPG.com
CeramiClear Clearcoat - PPG's CeramiClear® clearcoat was the first clear coat to use nanoparticle technology to achieve a previously unattained level of scratch, mar, and etch resistance. This patented technology creates a hard, silica-like surface that provides superior resistance to damage caused by day-to-day use, car washes, and environmental hazards such as acid rain and tree sap. While this technology is currently employed as a two-component liquid clear coat, PPG is very close to commercializing a one-component version for use in automotive assembly plants.
There is not much to work with, and what you have is VERY hard – hard enough that even the removal of only light swirls took around 14 hours.
So let’s move on to the detail itself:
Products used:
Cyclo CM30
Sonax Extreme Wheel Cleaner
Autofinesse Iron-Out
Chemical Guys Maxi Suds II
Meguiars Gold Class Shampoo
Autofinesse ObliTARate
Clay Magic (Blue) Clay
ONR
Menzerna PF2500
Meguiars Ultimate Compound
Lake Country Orange CCS Pads
Lake Country White CCS Pads
Menzerna Black Finishing Pads
Meguiars Deep Crystal Paint Cleaner
Poor Boys White Diamond
Collinte 845
Meguiars NXT All Metal Polish
Meguiars Dash and Trim Foam
Autoglym Fast Glass
SmartWax Smart Leather
Chemical Guys Bare Bones
C-Thru
A multitude of brushes, MF Cloths and foam applicator pads
HP Washer, Foam Cannon, Wet 'n Dry vac/blower
Painters Tape
Saturday - 08:00 to 23:30
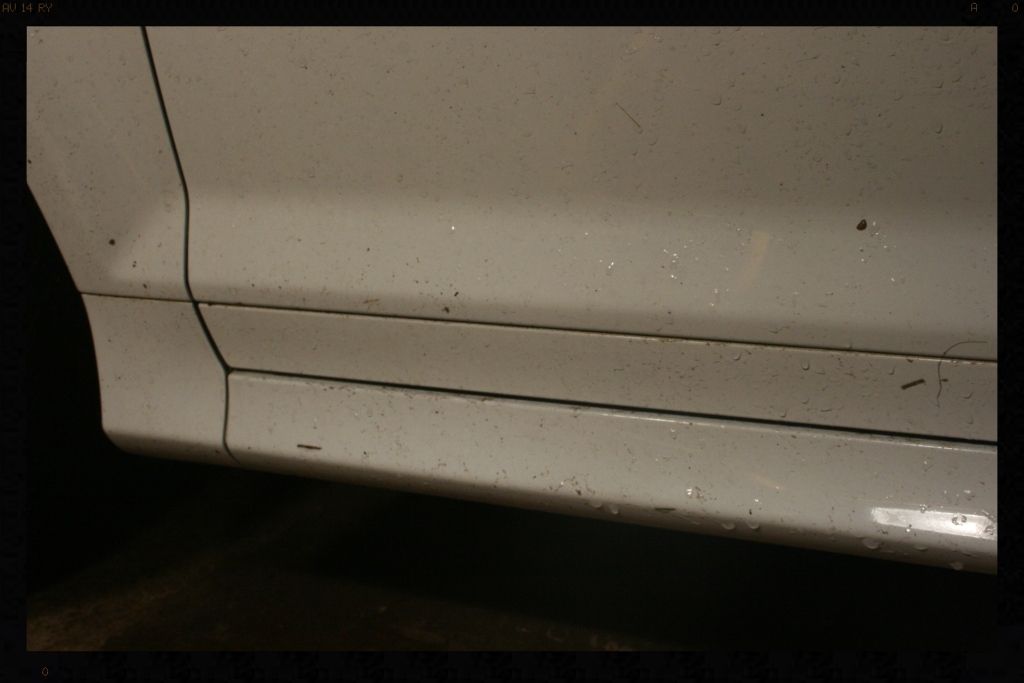
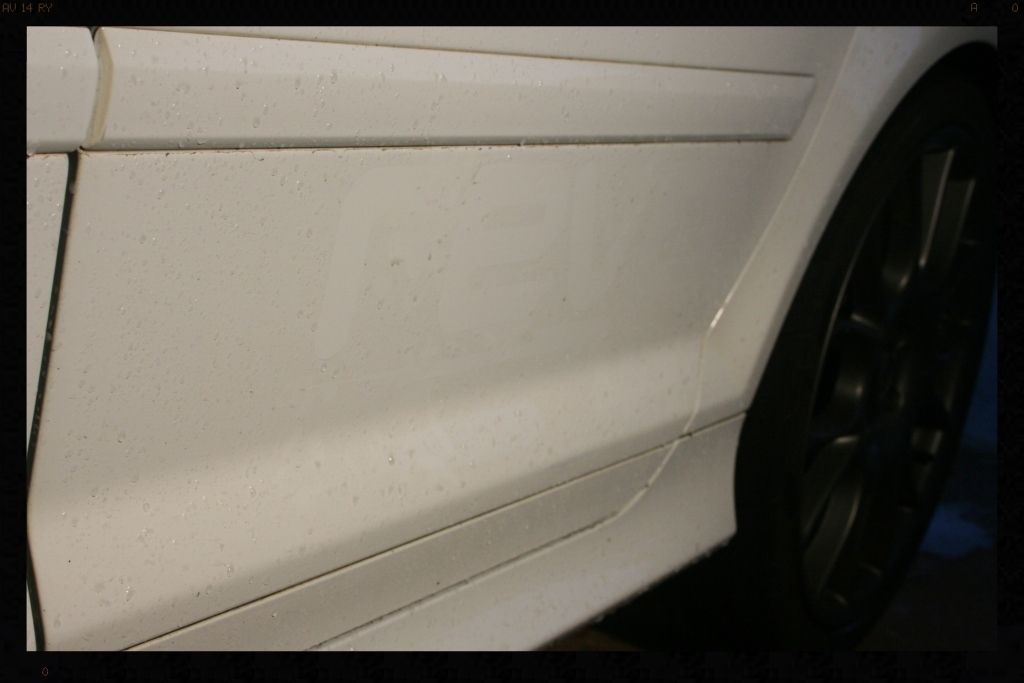
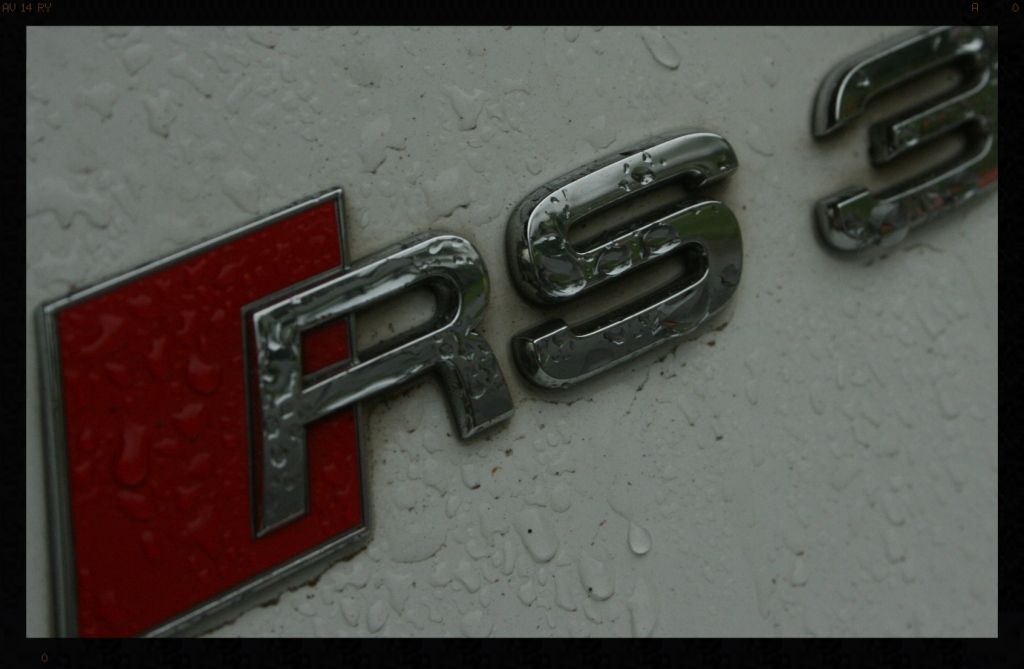
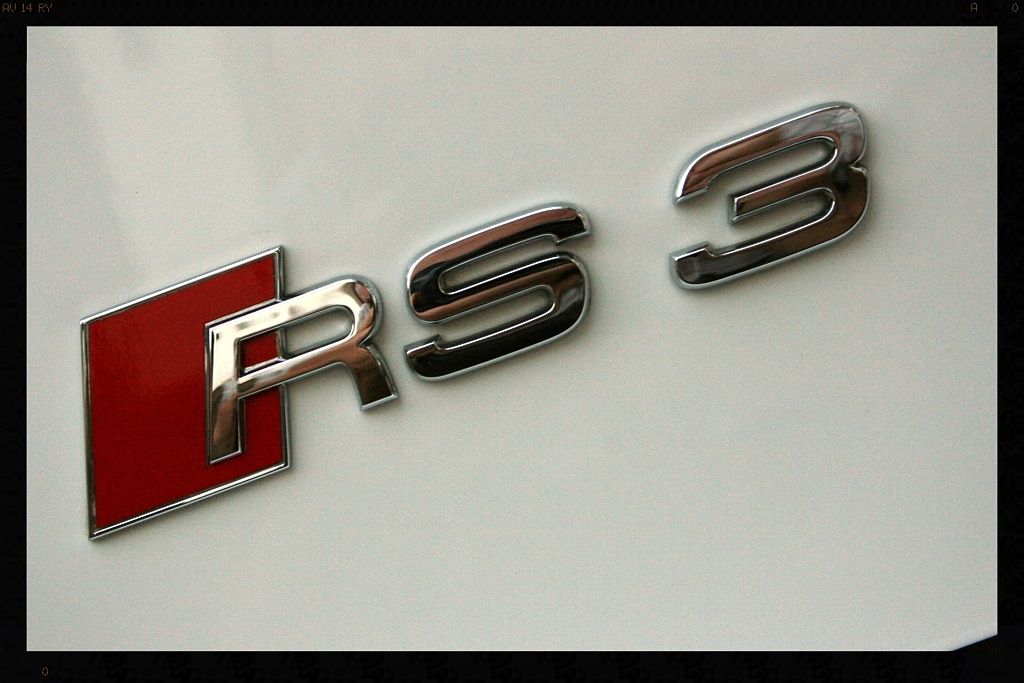
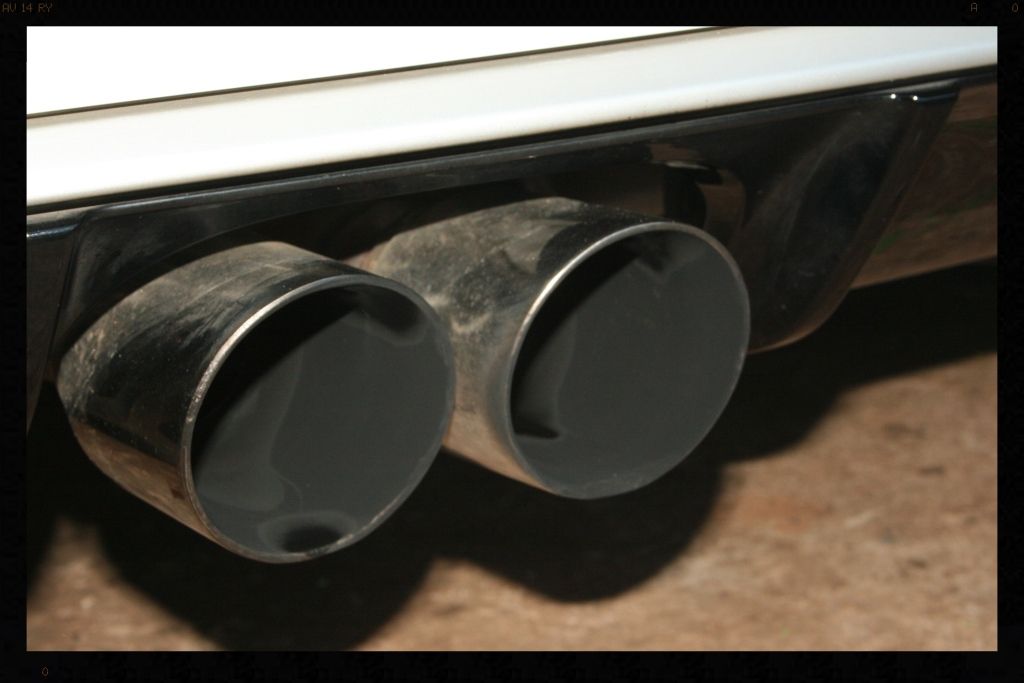
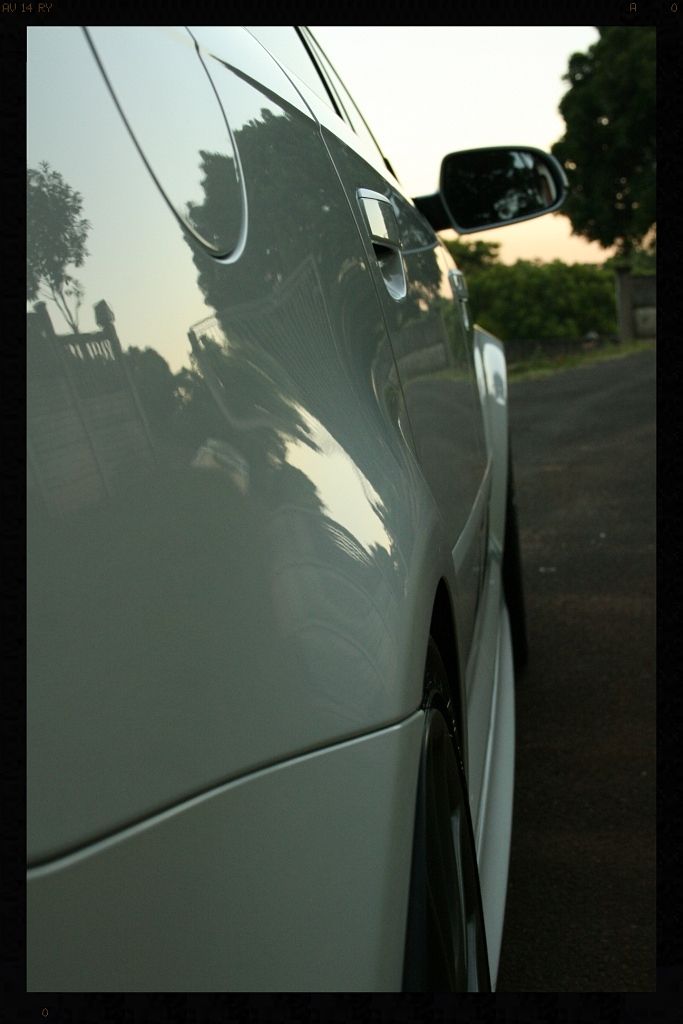
A few random pics of the surface dirt present on the car on arrival
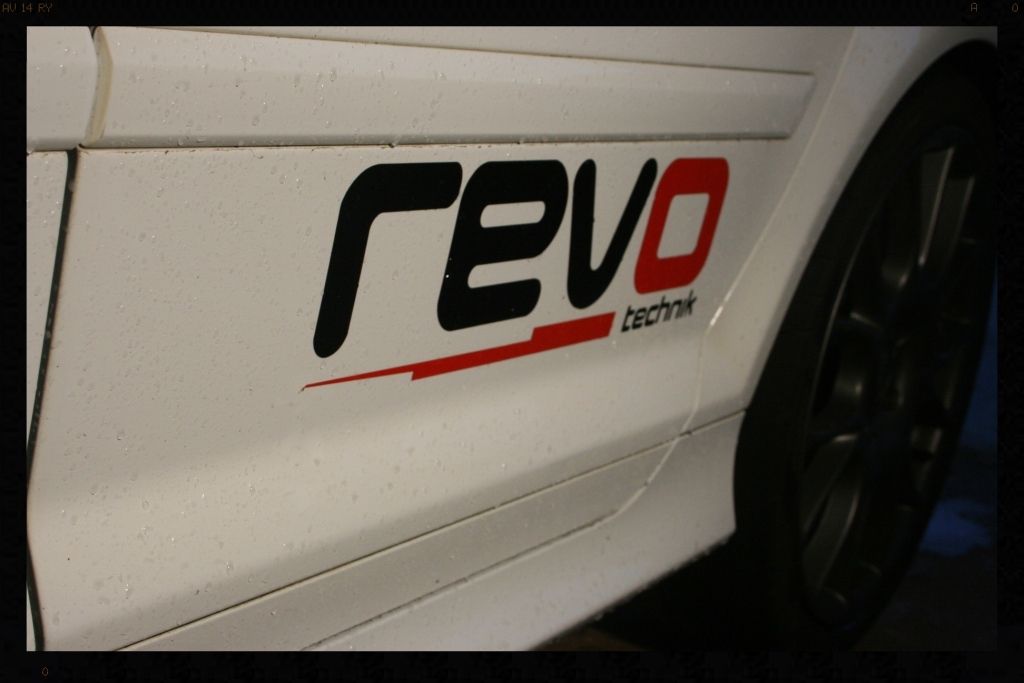
Anyone living in Durban will know that we had horrid, cold rainy weather on Saturday morning and so the first thing I started with was removing some of the ‘signage’ from the car in the confines of a (relatively) warm garage – the vinyl came off without any scratching or any residue being left on the paint.
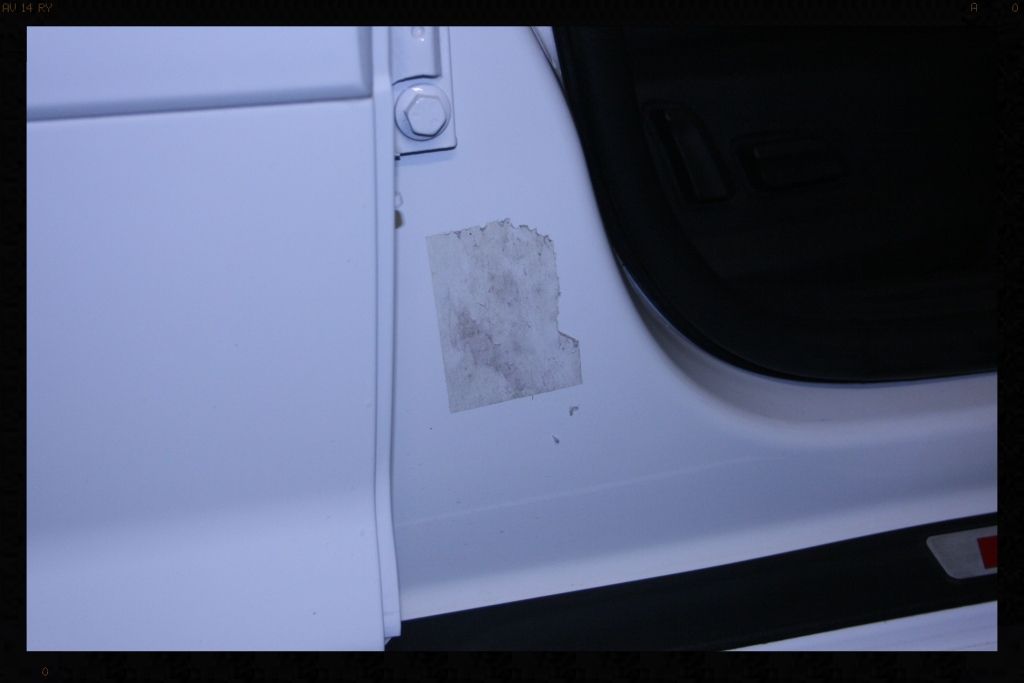
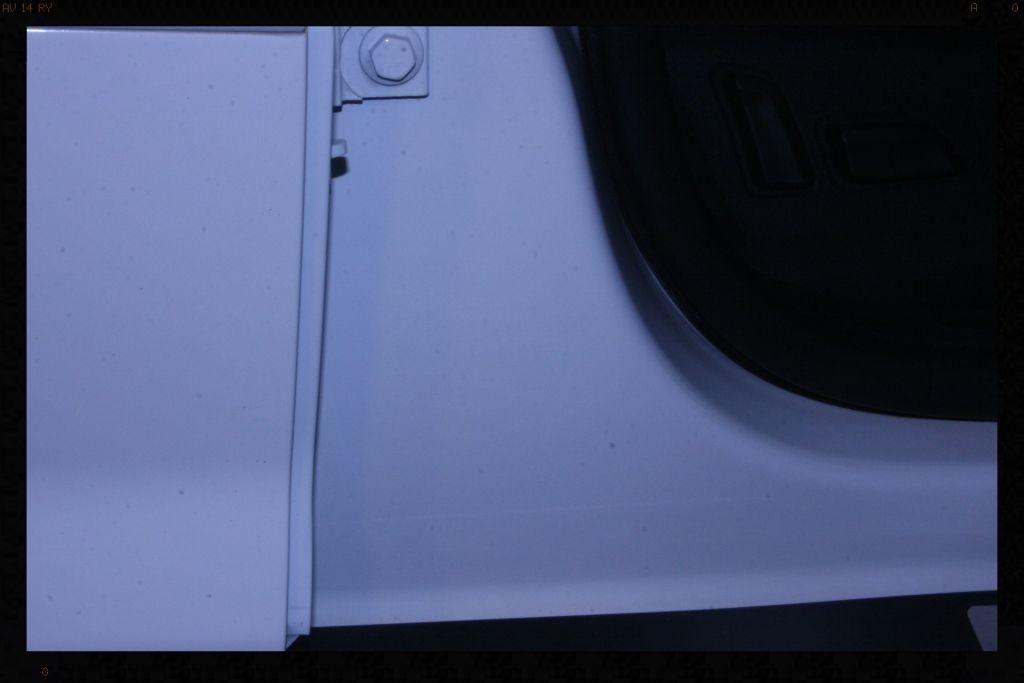
I then also removed the remains of a sticker - apologies for getting the 'white balance' on these 2 shots all wrong (I had the camera set up for taking pics under the halogens and then forgot to switch back to 'florescent' before snapping these)
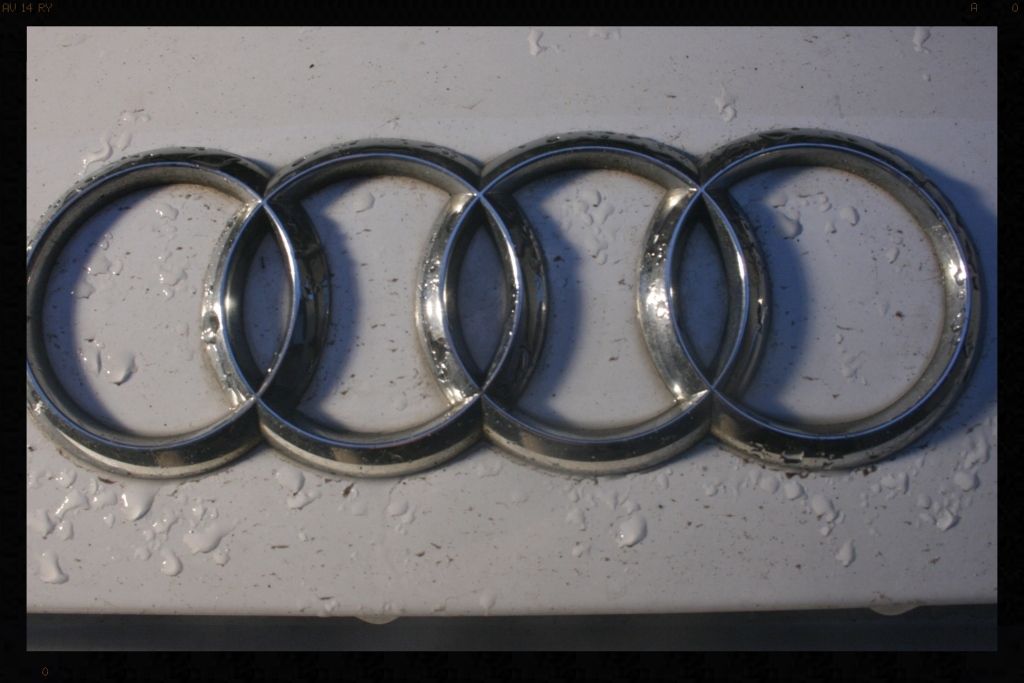
I then moved the car outside to wash the wheels (I wasn't even supposed to wash :lol: ) and to scrub the tires clean. Once this was done I got to work on the badges/emblems, door/boot jambs, inside the petrol cap, around window rubbers and other body seams etc… basically all the areas often neglected in a usual maintenance wash. This was followed by a pre-wash with the foam cannon and a full 2BM wash - no pics were taken as it was raining rather heavily.
Wheels before
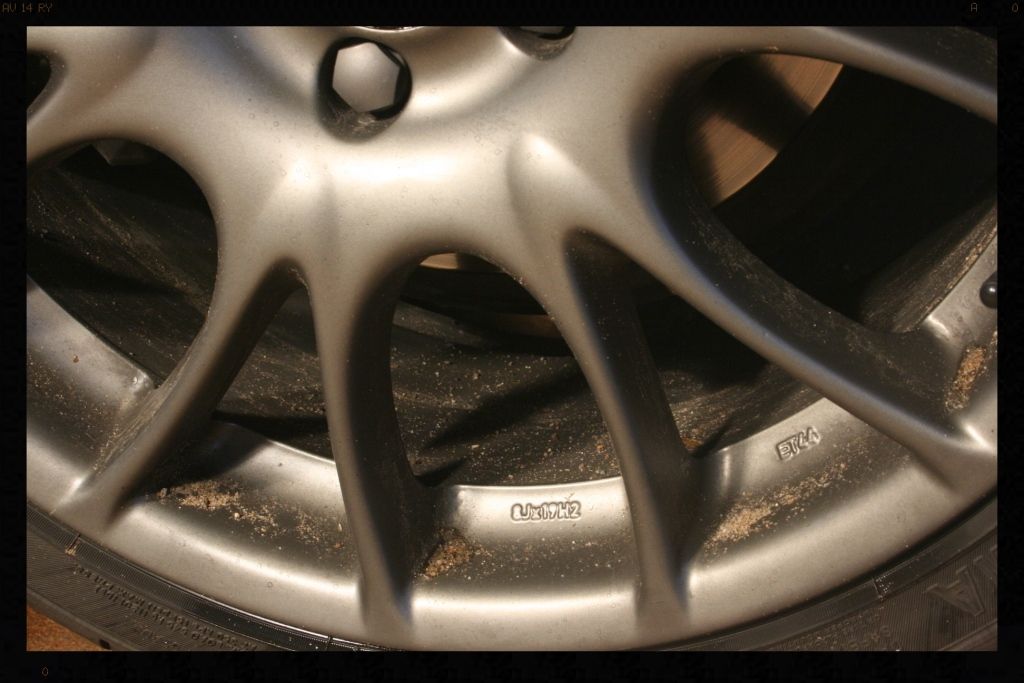
Sonax at work on the wheels
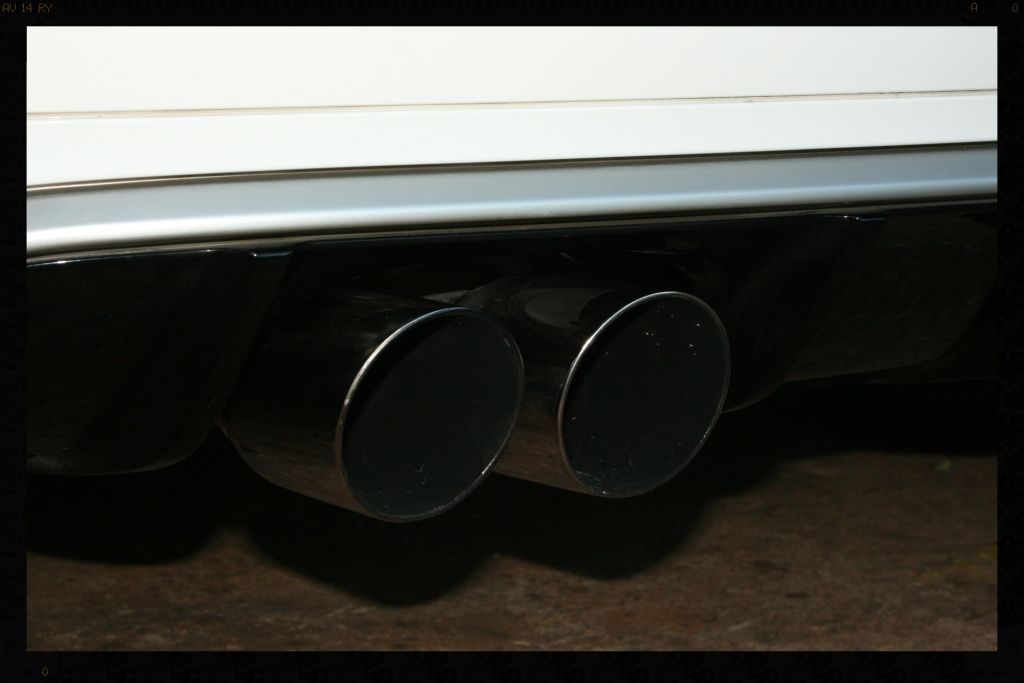
Before
After
Back in the garage I got to work on the engine bay, which was subjected to a waterless wash and was then dressed. No before pics (sorry)
I then got to work removing all the tar off the car and was surprised at how little came off. Next up though was the iron decontamination and given that it was still raining quite heavily I did not want to apply the iron remover in the rain to a wet car, instantly diluting it, so instead I applied it IN the garage, to all the painted and glass surfaces….anyone who has worked with the product will appreciate how unpleasant it smelled in the garage for a while thereafter. Then it was back into the rain for a solid 15 minutes of rinsing off the iron remover.
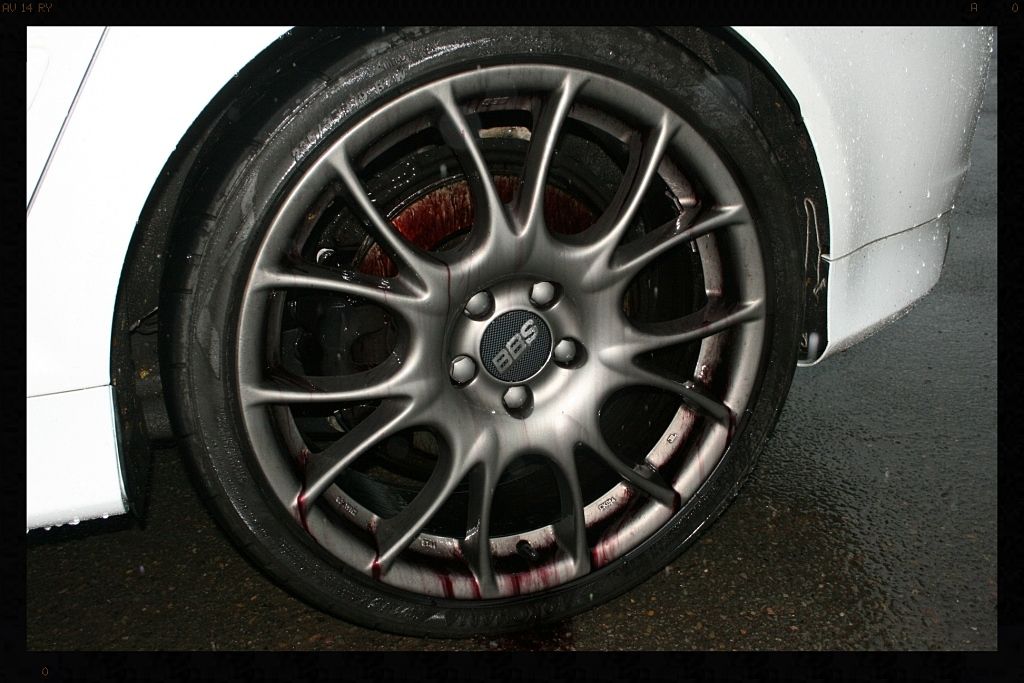
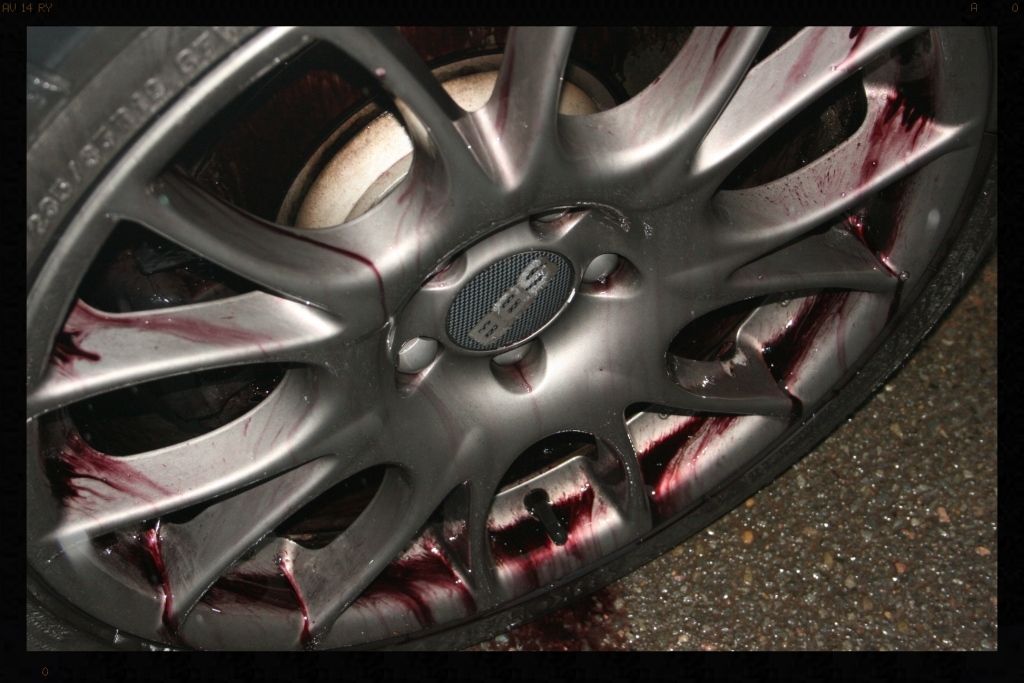
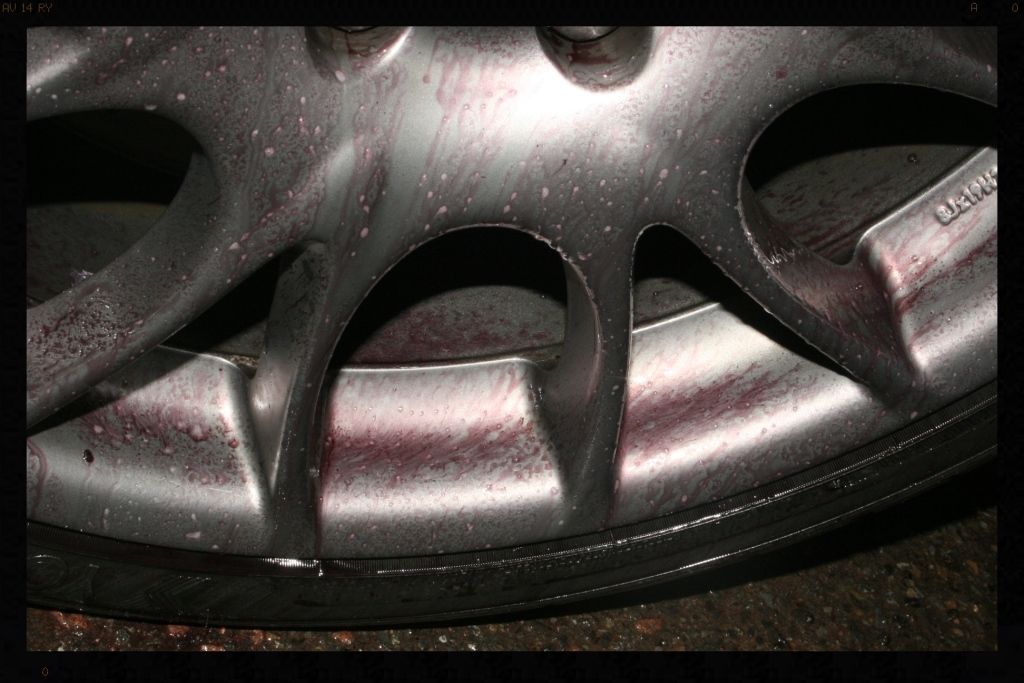
Thanks to the rain, the iron remover started running/diluting immediately the car was pulled outside, and so these 'bleeding' pics aren't nearly as impressive as what I saw in the garage upon application
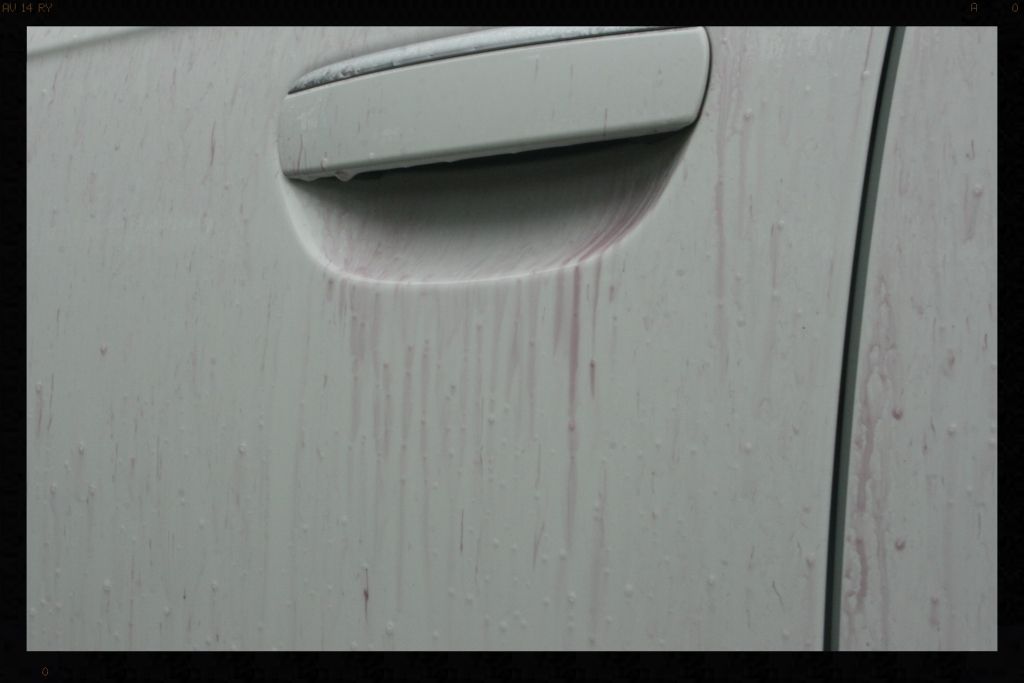
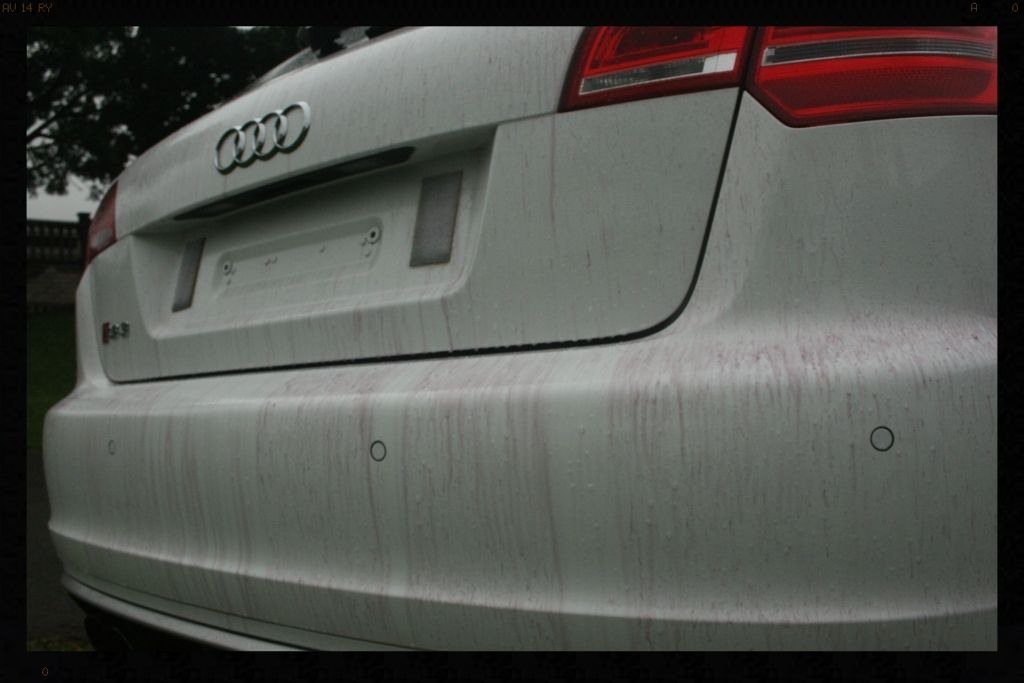
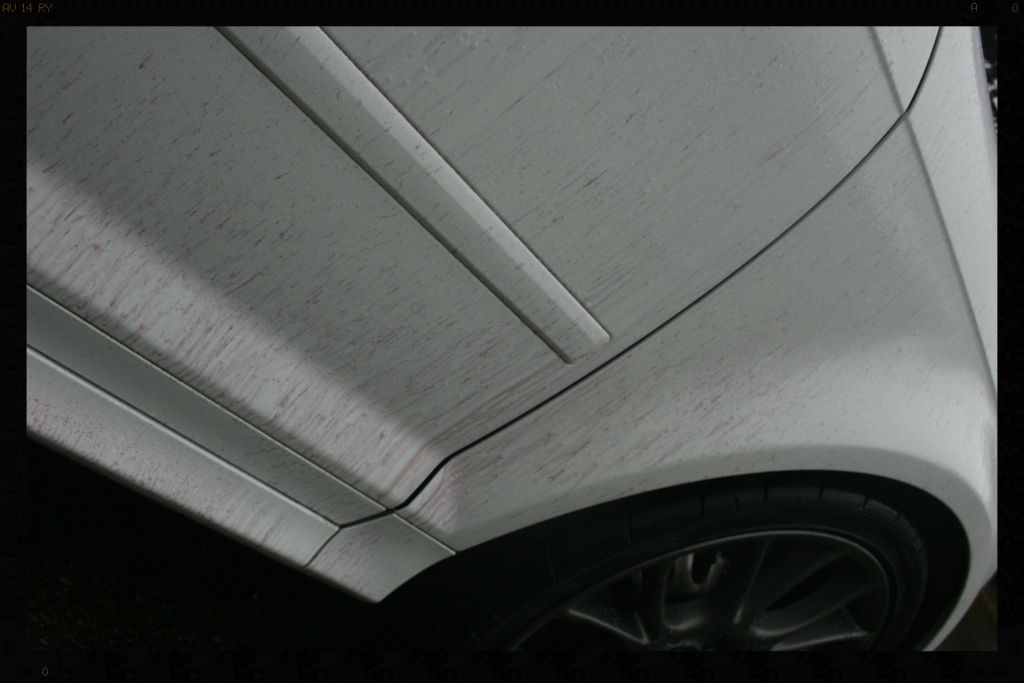
Despite a good cleaning with the Sonax Extremem, the AF Iron Out still found plenty contamination to react with
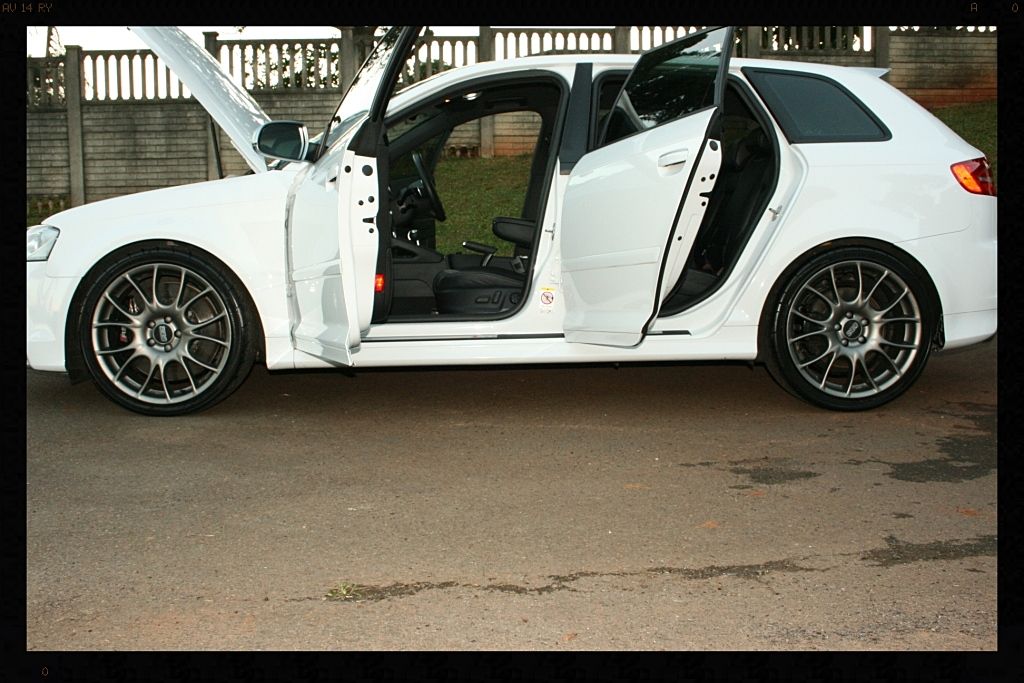
With all the tar and iron off the paint it was time to remove the remaining contamination through claying. This proved to be a rather long exercise with probably some of the worst contamination I have dealt with…. Following the full decontamination of the paint, it was already starting to look a whole lot better – the cream colour has disappeared leaving behind only a nice bright white.
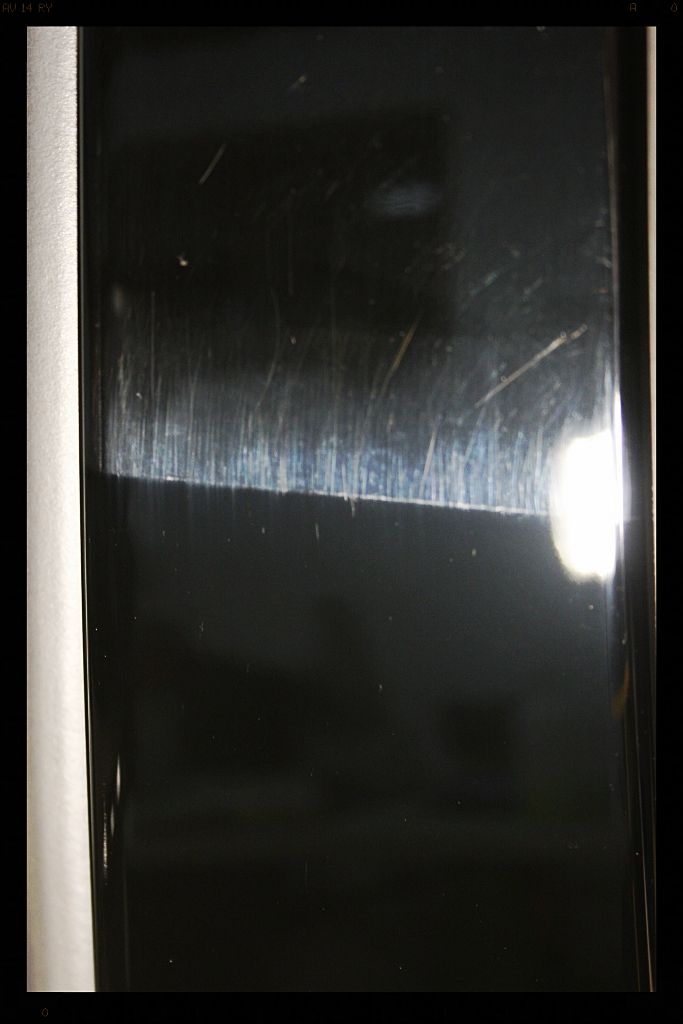
I then commenced with polishing out the paint. As mentioned earlier, 2 things in the forefront of my mind were ‘saving’ as much of the 0.2mils of clear coat as possible and trying to remove some of the defects from the hard paint. With that in mind I settled on Menz PF2500 on an orange pad, with 4 passes at 5.5 with moderate pressure and 2 passes at 4 with a light pressure.
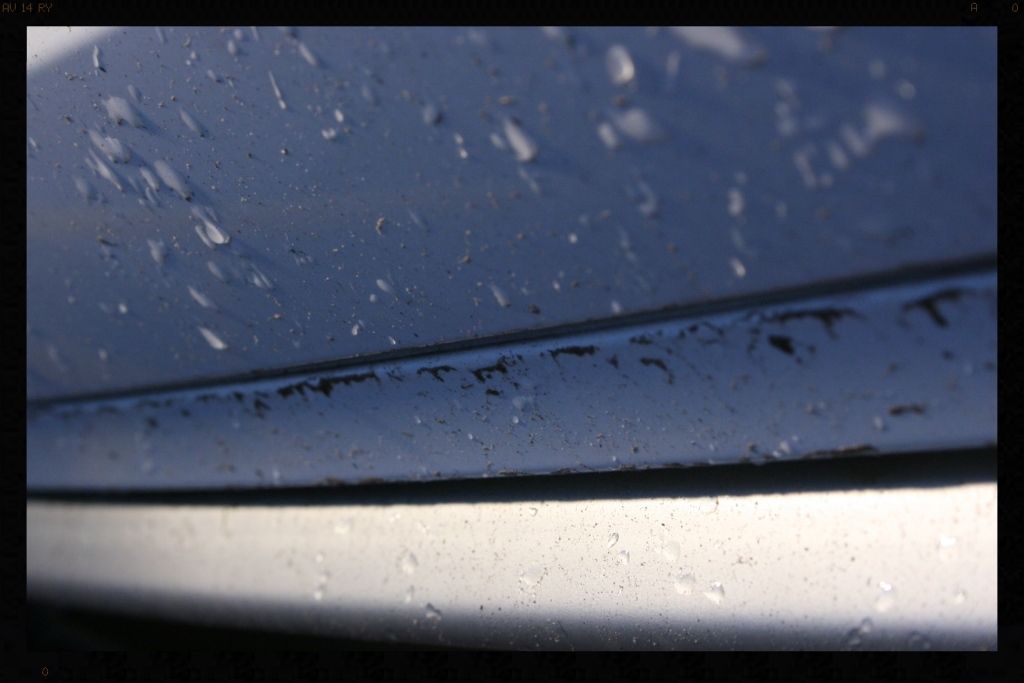
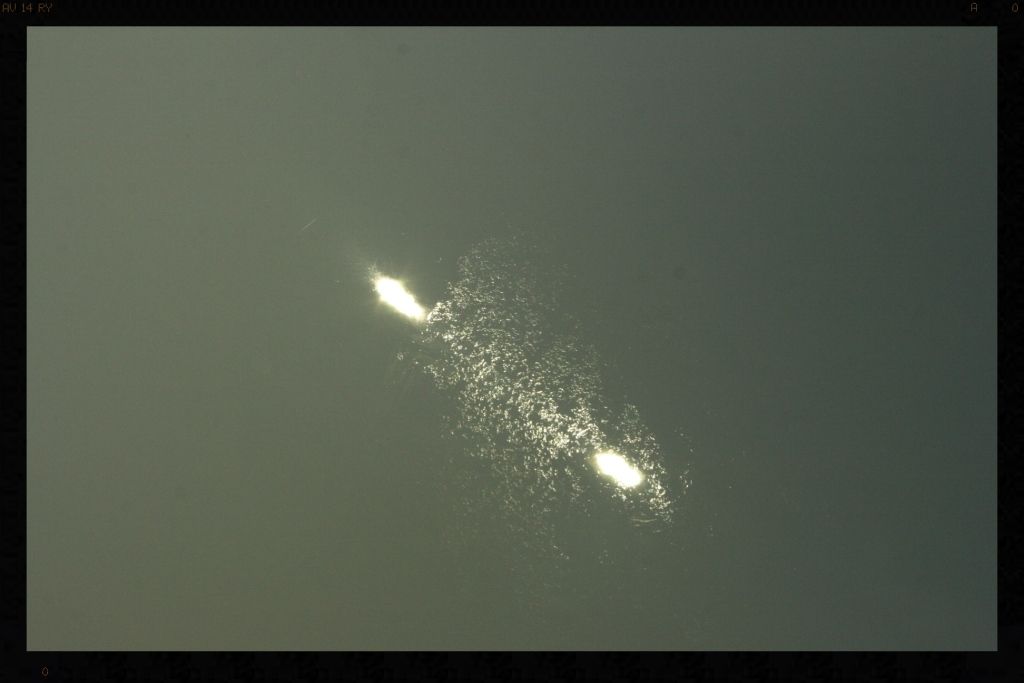
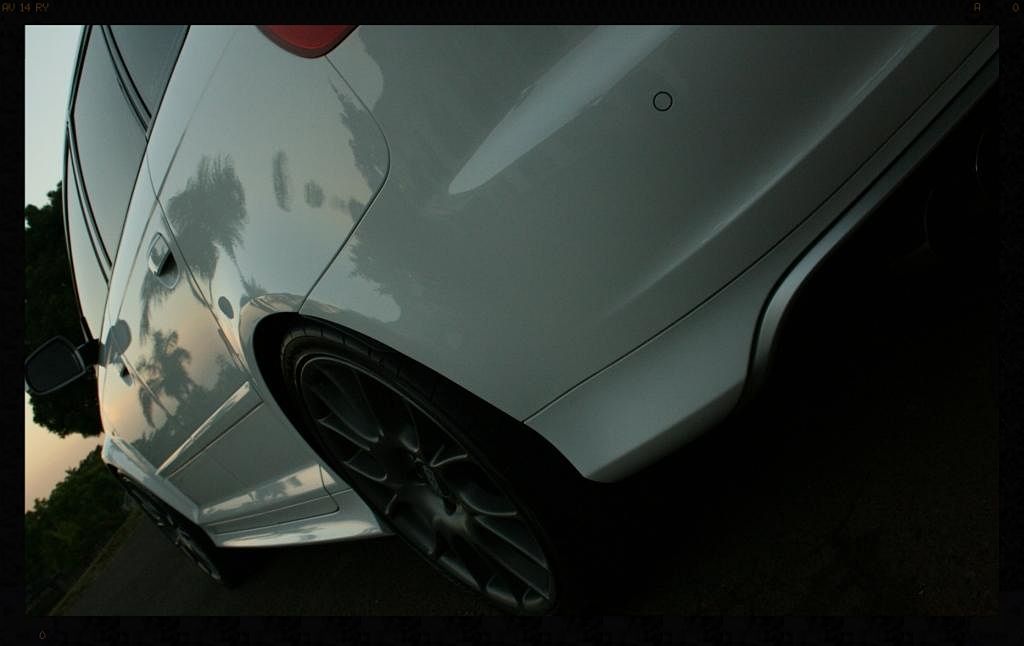
This is the sort of damage to the paint I was dealing with.
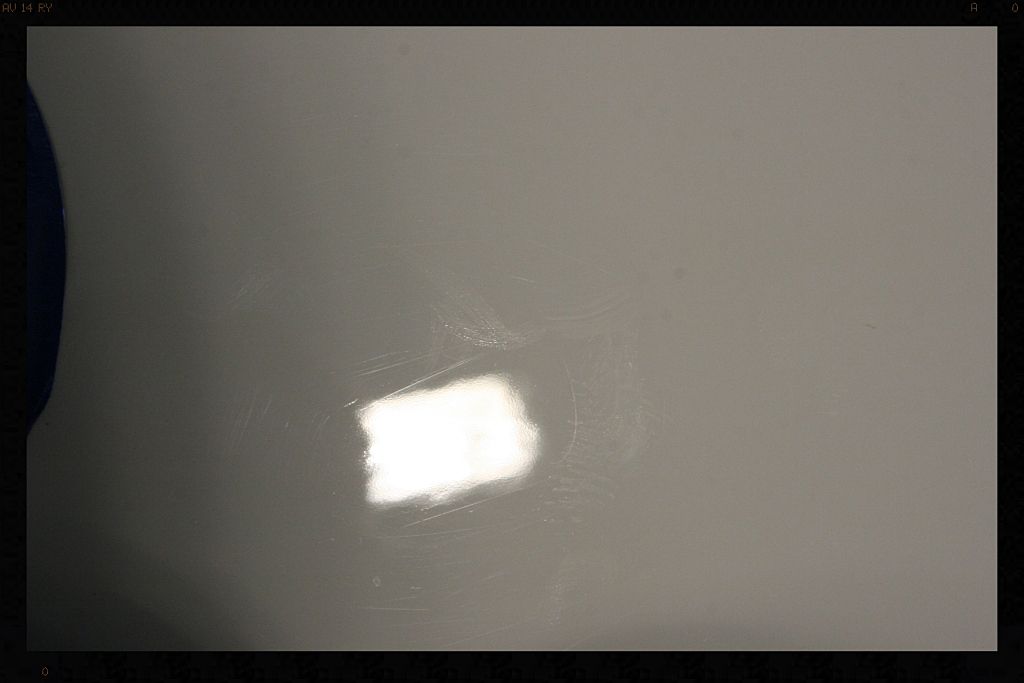

Along the way I came across some rather sever etching on the right side front fender, presumably from a bird dropping....fortunately it is only visible in certain light and even then, only when you are actually looking for it.
Polishing continued well into Saturday evening with me eventually calling it a night just before midnight.
:lol: )…. But seriously even just starting it up and listening to that 5 cylinder motor had me drooling all over myself….300wkw, 4WD, 0-100kmh in 2.8sec, 11.6 ¼ mile, 0-200kmh in 12 sec….. hell yeah!One day when I am big. :drool:
Originally the plan was to get cracking on this on Friday evening however due to some unforeseen circumstances, the owner was only able to drop it off with me on Saturday morning. We spent a while chatting about the plans for the car, which currently sleeps outside and is not always subjected to a proper 2BM wash etc. Two key things discussed were that 1) the car has a ceramic clear coat and 2) that the owner would like to coat it with some Opti-coat in the near future. The agreed plan of action therefore was to focus on removing the bonded and embedded contaminants and to restore some level of shine to the paint, whilst being as gentle as possible in the process, and to then provide some protection to the paint. If anything, a more correction focused detail will happen when he is ready to Opti-coat - surface prep is the key to success with coatings and once the coating is applied, it is not coming off in a hurry. I was also asked not to wash the wheels as they were due to go for a full refurb soon, but somehow it just felt wrong detailing a car and leaving them wheels dirty, so they were cleaned and tires dressed anyway.
Some information on the Ceramic Clear coat. Before I worked on my first car with a ceramic clear coat I did some research on the technology and came across a very interesting post on another forum. In that post reference was made to a Dr. David Ghodoussi (who has either worked for, or consulted for the majority of automotive paint manufactures and is more than qualified to talk about paint chemistry) having confirmed the following:
“After the "cerami"clear top coat is sprayed, the nano particles of Fumed Silica (SiO2), which are synthetically engineered, migrate to the top 0.2 mils of the clear coat as it is curing. If you remove this portion of the clear layer of paint, the paint under it will be much softer and will not polish out or react the same way the nano particle portion did or would. You will at some level have compromised the finish on the car
And then From PPG.com
CeramiClear Clearcoat - PPG's CeramiClear® clearcoat was the first clear coat to use nanoparticle technology to achieve a previously unattained level of scratch, mar, and etch resistance. This patented technology creates a hard, silica-like surface that provides superior resistance to damage caused by day-to-day use, car washes, and environmental hazards such as acid rain and tree sap. While this technology is currently employed as a two-component liquid clear coat, PPG is very close to commercializing a one-component version for use in automotive assembly plants.
There is not much to work with, and what you have is VERY hard – hard enough that even the removal of only light swirls took around 14 hours.
So let’s move on to the detail itself:
Products used:
Cyclo CM30
Sonax Extreme Wheel Cleaner
Autofinesse Iron-Out
Chemical Guys Maxi Suds II
Meguiars Gold Class Shampoo
Autofinesse ObliTARate
Clay Magic (Blue) Clay
ONR
Menzerna PF2500
Meguiars Ultimate Compound
Lake Country Orange CCS Pads
Lake Country White CCS Pads
Menzerna Black Finishing Pads
Meguiars Deep Crystal Paint Cleaner
Poor Boys White Diamond
Collinte 845
Meguiars NXT All Metal Polish
Meguiars Dash and Trim Foam
Autoglym Fast Glass
SmartWax Smart Leather
Chemical Guys Bare Bones
C-Thru
A multitude of brushes, MF Cloths and foam applicator pads
HP Washer, Foam Cannon, Wet 'n Dry vac/blower
Painters Tape
Saturday - 08:00 to 23:30
A few random pics of the surface dirt present on the car on arrival
Anyone living in Durban will know that we had horrid, cold rainy weather on Saturday morning and so the first thing I started with was removing some of the ‘signage’ from the car in the confines of a (relatively) warm garage – the vinyl came off without any scratching or any residue being left on the paint.
I then also removed the remains of a sticker - apologies for getting the 'white balance' on these 2 shots all wrong (I had the camera set up for taking pics under the halogens and then forgot to switch back to 'florescent' before snapping these)
I then moved the car outside to wash the wheels (I wasn't even supposed to wash :lol: ) and to scrub the tires clean. Once this was done I got to work on the badges/emblems, door/boot jambs, inside the petrol cap, around window rubbers and other body seams etc… basically all the areas often neglected in a usual maintenance wash. This was followed by a pre-wash with the foam cannon and a full 2BM wash - no pics were taken as it was raining rather heavily.
Wheels before
Sonax at work on the wheels
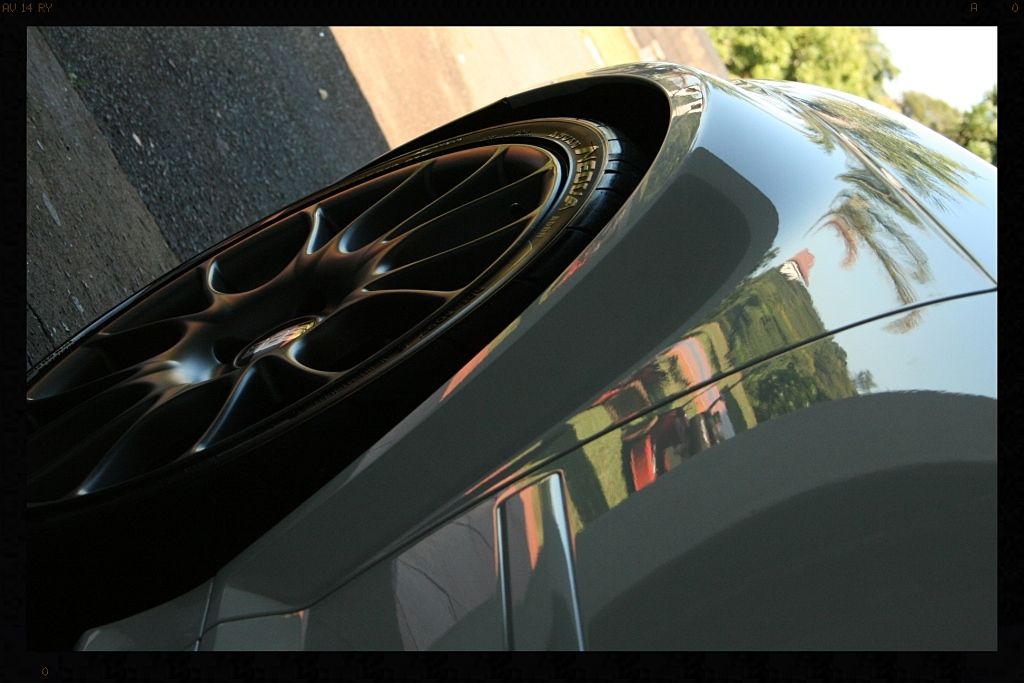
Before

After
Back in the garage I got to work on the engine bay, which was subjected to a waterless wash and was then dressed. No before pics (sorry)
I then got to work removing all the tar off the car and was surprised at how little came off. Next up though was the iron decontamination and given that it was still raining quite heavily I did not want to apply the iron remover in the rain to a wet car, instantly diluting it, so instead I applied it IN the garage, to all the painted and glass surfaces….anyone who has worked with the product will appreciate how unpleasant it smelled in the garage for a while thereafter. Then it was back into the rain for a solid 15 minutes of rinsing off the iron remover.
Thanks to the rain, the iron remover started running/diluting immediately the car was pulled outside, and so these 'bleeding' pics aren't nearly as impressive as what I saw in the garage upon application
Despite a good cleaning with the Sonax Extremem, the AF Iron Out still found plenty contamination to react with
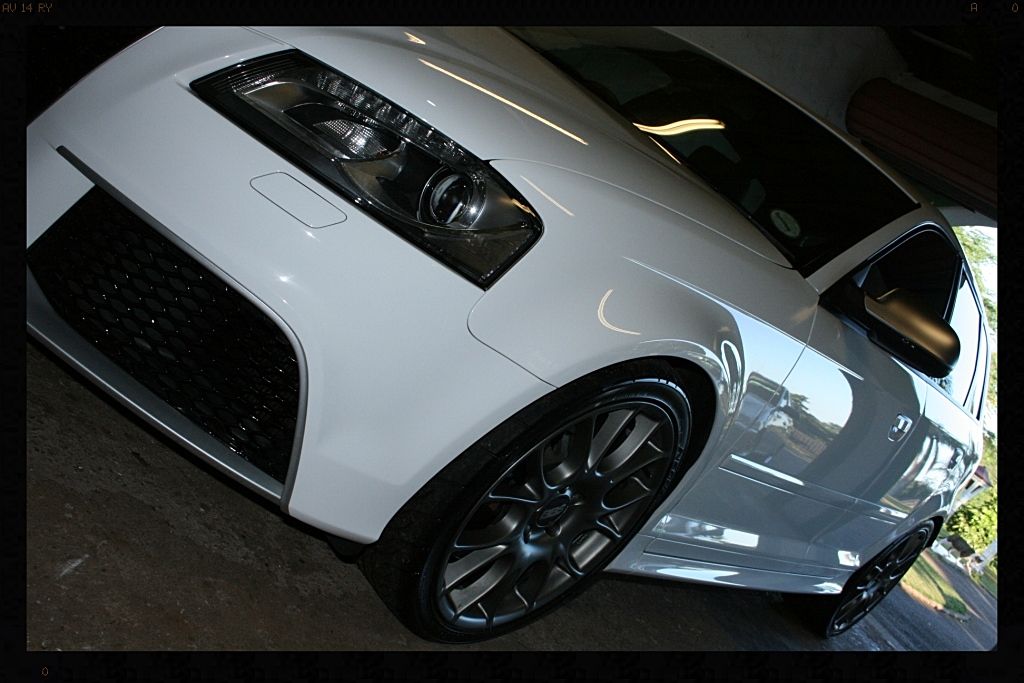
With all the tar and iron off the paint it was time to remove the remaining contamination through claying. This proved to be a rather long exercise with probably some of the worst contamination I have dealt with…. Following the full decontamination of the paint, it was already starting to look a whole lot better – the cream colour has disappeared leaving behind only a nice bright white.
I then commenced with polishing out the paint. As mentioned earlier, 2 things in the forefront of my mind were ‘saving’ as much of the 0.2mils of clear coat as possible and trying to remove some of the defects from the hard paint. With that in mind I settled on Menz PF2500 on an orange pad, with 4 passes at 5.5 with moderate pressure and 2 passes at 4 with a light pressure.
This is the sort of damage to the paint I was dealing with.
Along the way I came across some rather sever etching on the right side front fender, presumably from a bird dropping....fortunately it is only visible in certain light and even then, only when you are actually looking for it.
Polishing continued well into Saturday evening with me eventually calling it a night just before midnight.

")
