sullysdetailing
New member
- Mar 7, 2009
- 1,963
- 0
Great Job Mike
Follow along with the video below to see how to install our site as a web app on your home screen.
Note: This feature may not be available in some browsers.
Oooops..sorry. That's not exactly what i meant. Sorry for the confusion. What i meant was that the Unigrit # categories for cutting are also the same as those of regular sandpapers. Like if i were to use it by hand, 3000 megs Unigrit cuts the same as 3000grit of 3m sandpaper.
:dblthumb2:
")
It would apply when comparing Unigrit to Unigrit but probably not when comparing conventional wet/dry paper to Unigrit. Even if a conventional paper is #2000 and you compare to #2000 Unigrit, they are going to cut differently because of the control over particle size and distribution.
A paper that has more precise control over particle size and distribution is going to cut faster, usually longer and leave behind a more controlled sanding mark pattern than a paper with less control over it's particle size and distribution of particles over the working surface of the paper or interface medium.


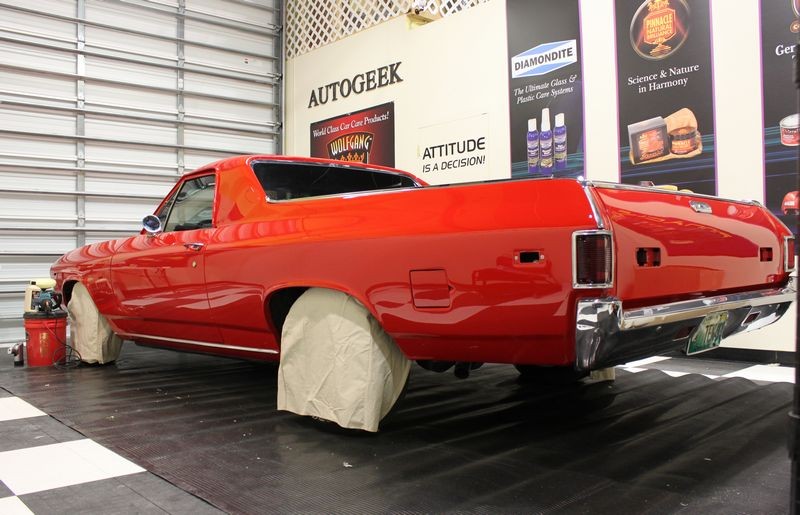


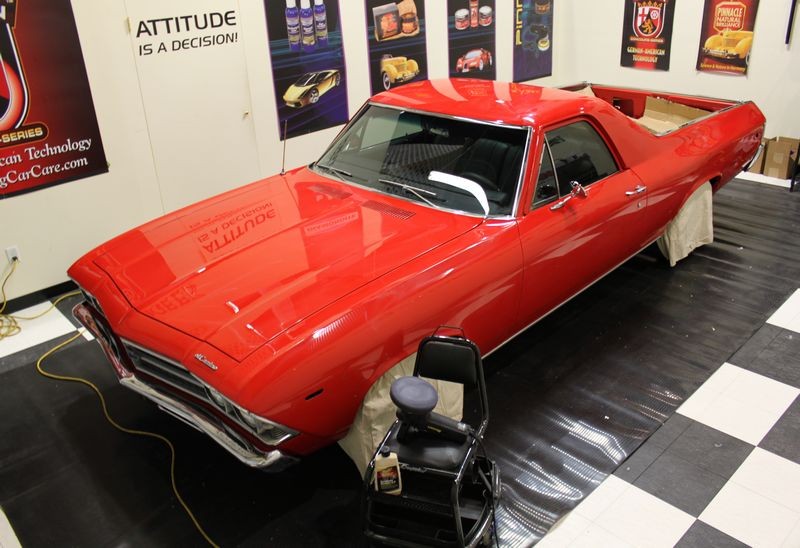


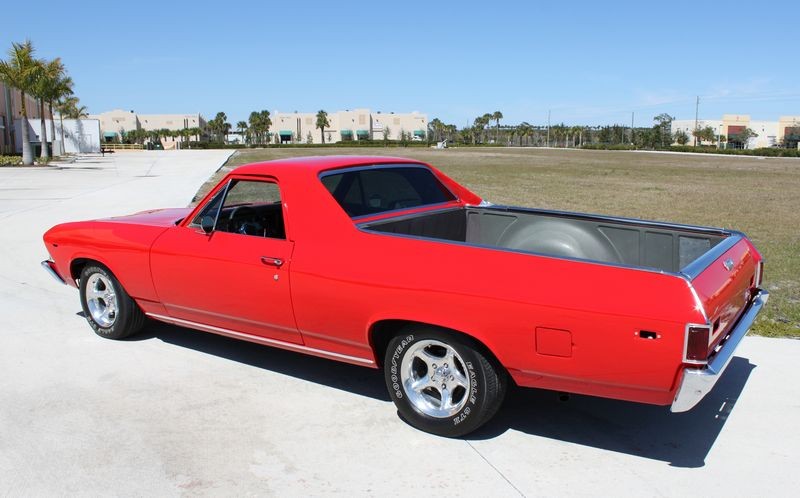


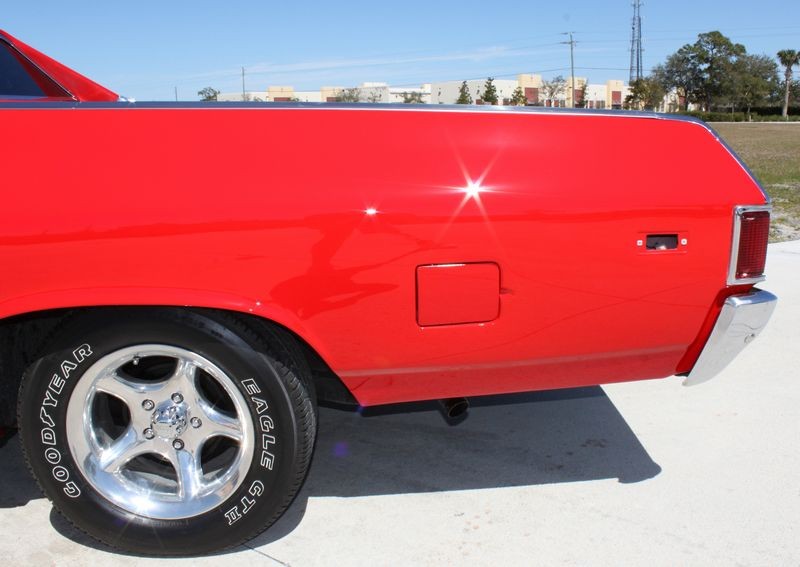


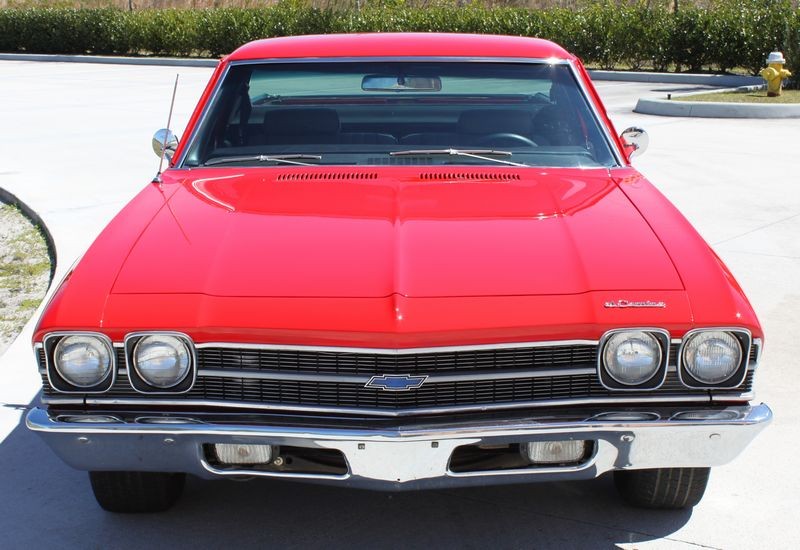
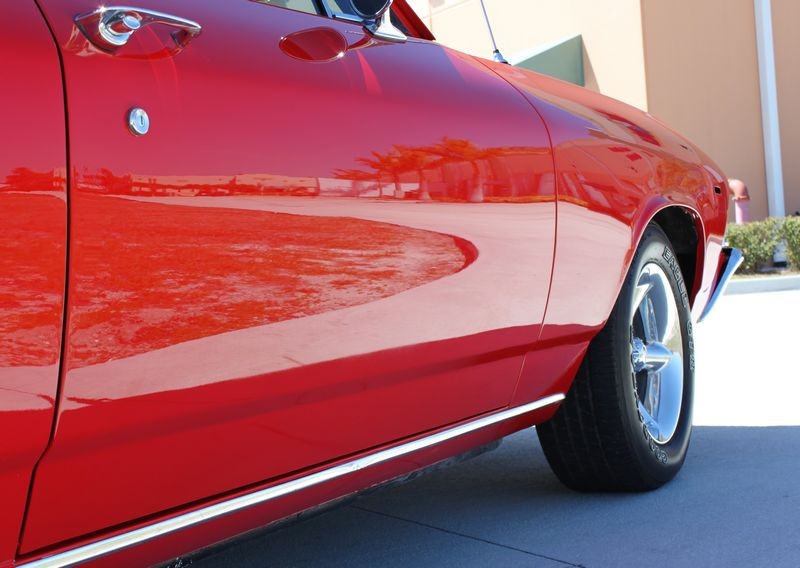

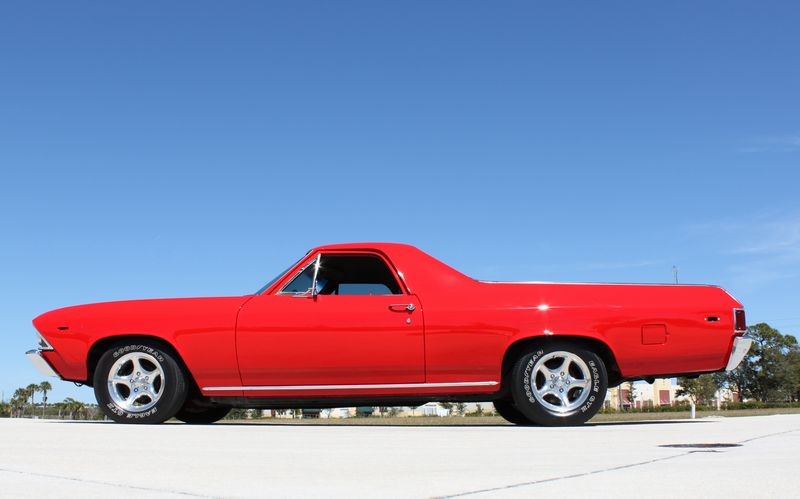
Nice job Mike. Love the El Camino, is that your car or a customers car?
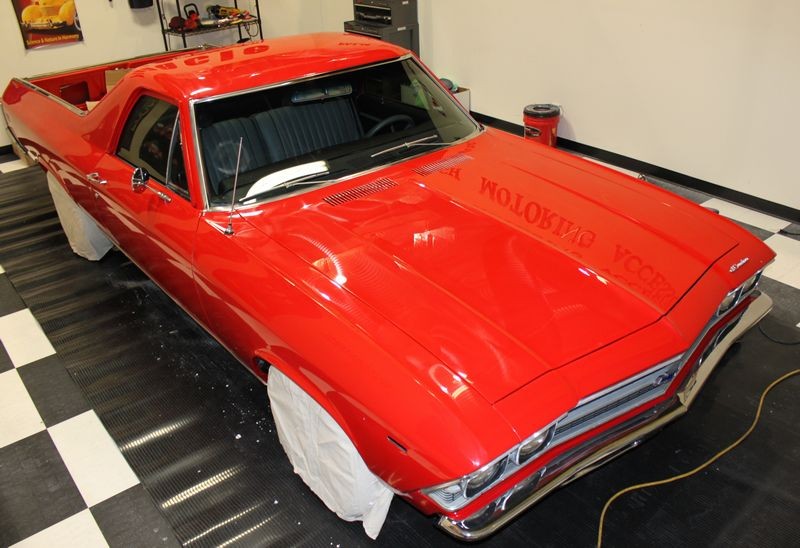
What did you use on those tires? those nice deep rich looking tires really compliment the awesome work you did on the paint.
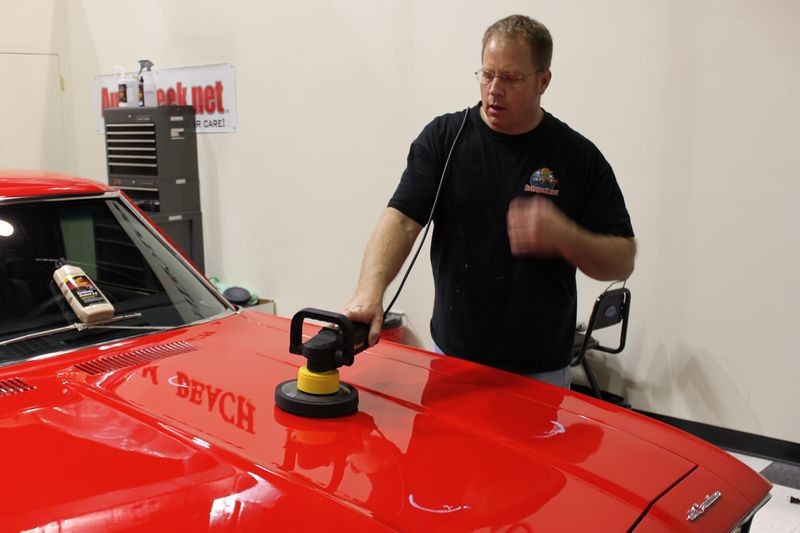
Stuff like this just makes me more and more excited to get my hands on the DA!
I think he will flat out be floored, this car looks showroom new!Owner will be astonished!

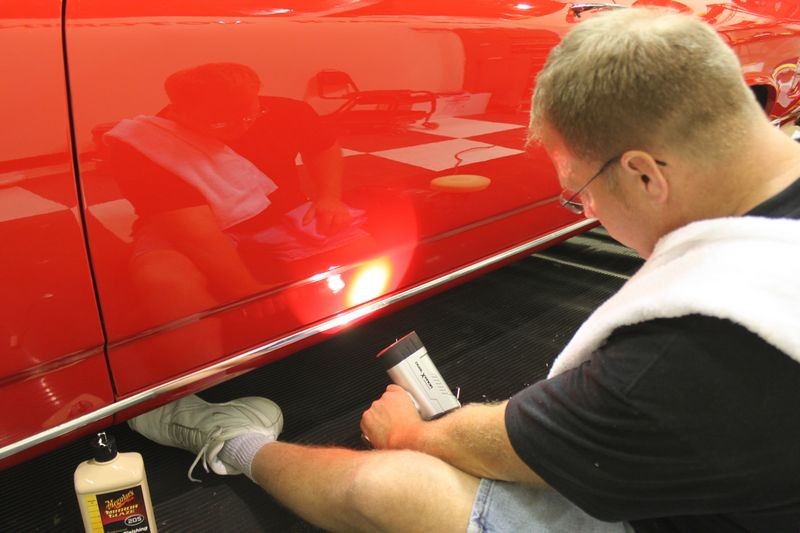
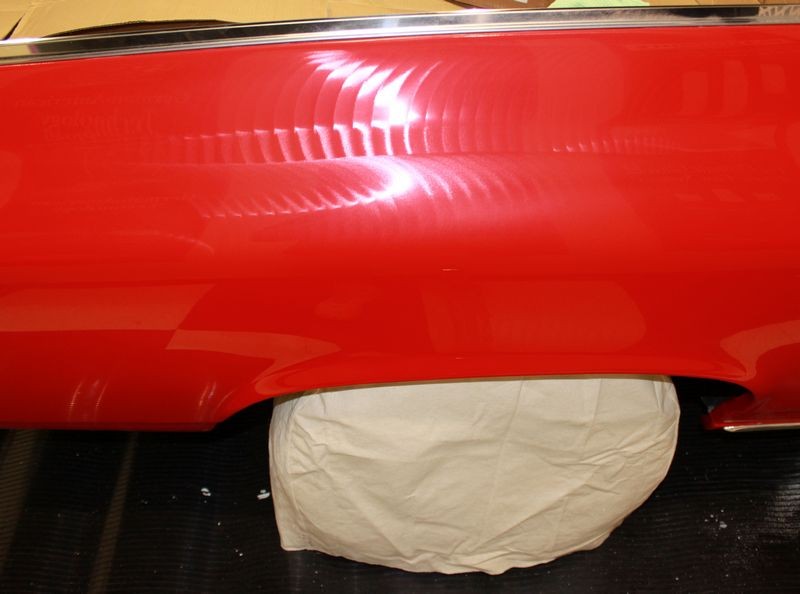
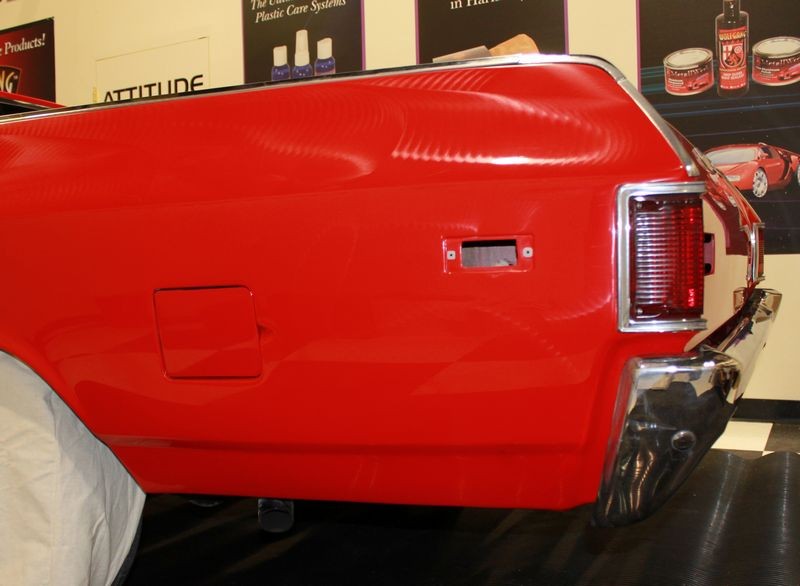
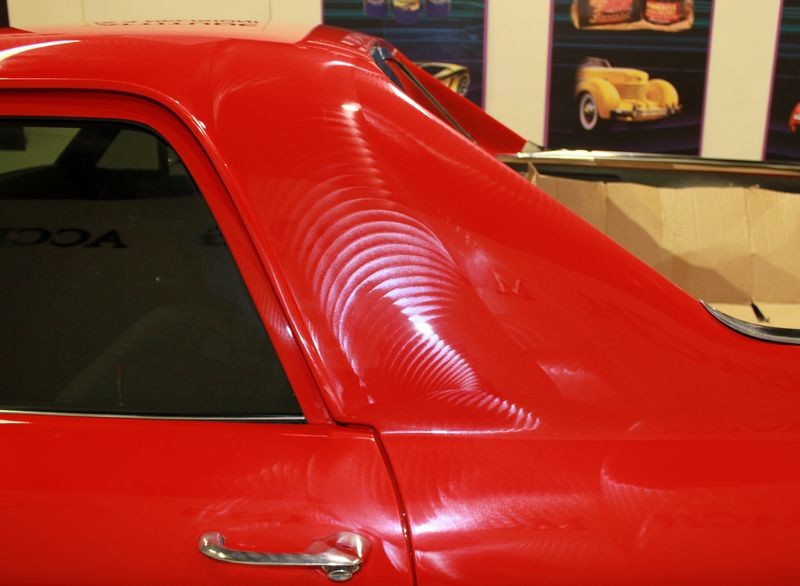
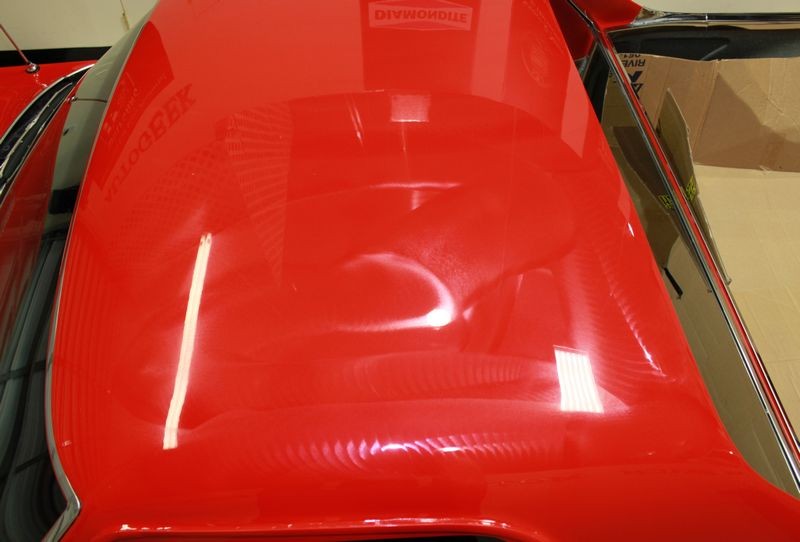
It has Post-it notes on it right now as it sits in the AG Garage that say, "Don't Touch", because even fingerprints show up easily to the eyes.

It would apply when comparing Unigrit to Unigrit but probably not when comparing conventional wet/dry paper to Unigrit.
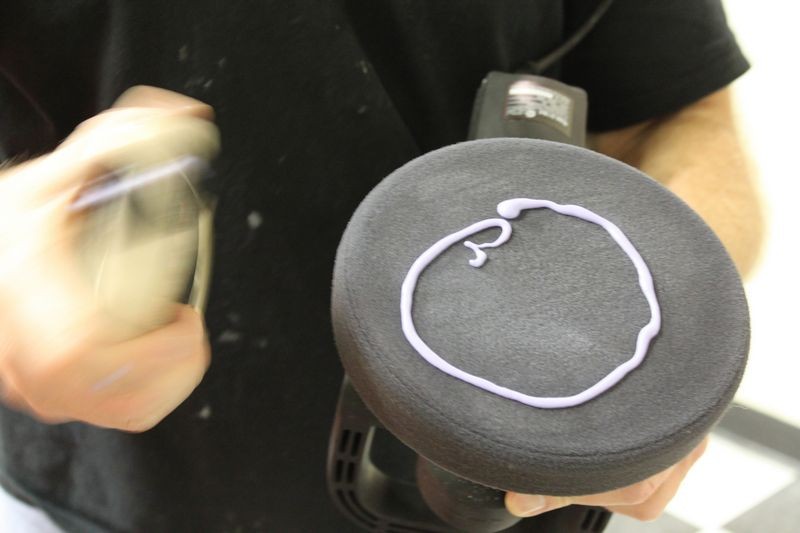
I would think that the new Unigrit foam finishing discs might even be a tiny bit less aggressive than just the Unigrit sandpaper itself without the foam backing. For example 3000 grit Unigrit foam finishing disc vs. 3000 grit Unigrit sandpaper. Would you agree? Maybe the difference is hardly noticeable, but I was just curious what you thought or if you have even compared the two, foam backing vs no foam and both grits being equal?
Thanks.


I guess my next question would be in what case would someone choose the Unigrit foam backed disc over the Unigrit film disc (no foam)? With both grits being equal what are the advantages and disadvantages of one type over the other? Just trying to better undersatand them.
Thanks
Does AG sell the foam finishing discs and anything else needed to attach to the DA?WOW! I have to get those, this'll make my life so much easier. Thanks for the quick reply (that was fast)!
Since you mentioned it cuts through paint quite fast eventhough it's just 3000grit, would you equate it to a regular sandpaper with 2000 grit as far as cutting is concerned? Or it cuts that fast because you're damp sanding?
I've wetsanded with 2000grit then 2500grit then applied compound and polish, all by hand, but it just takes forever to finish a whole car.