lawrenceSA
New member
- Feb 7, 2012
- 1,713
- 0
Products used:
Cyclo CM30
Turtle Wax Intensive Wheel Cleaner
Autofinesse Iron-Out
Chemical Guys Bare Bones
Chemical Guys Maxi Suds II
Meguiars Gold Class Shampoo
Autofinesse ObliTARate
Clay Magic (Blue) Clay
ONR
Meguiars Ultimate Compound
Meguiars Ultimate Polish
Lake Country Orange CCS Pads
Lake Country White CCS Pads
Lake Country Green Polishing Pads
Menzerna Black Finishing Pads
Chemical Guys Blacklight
Chemical Guys V7
Collinte 845
Meguiars NXT All Metal Polish
Smartwax Smart Dressing
C-Thru
A multitude of brushes and MF Cloths and foam applicator pads
HP Washer / Foam Cannon / Wet 'n Dry vac
Day 1 - Friday
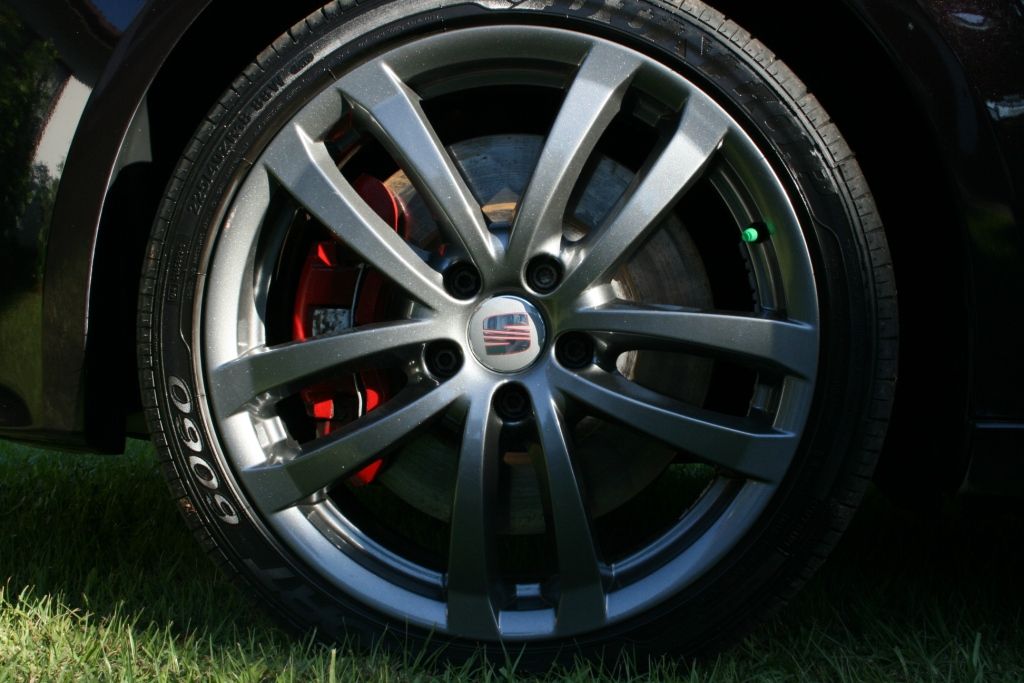
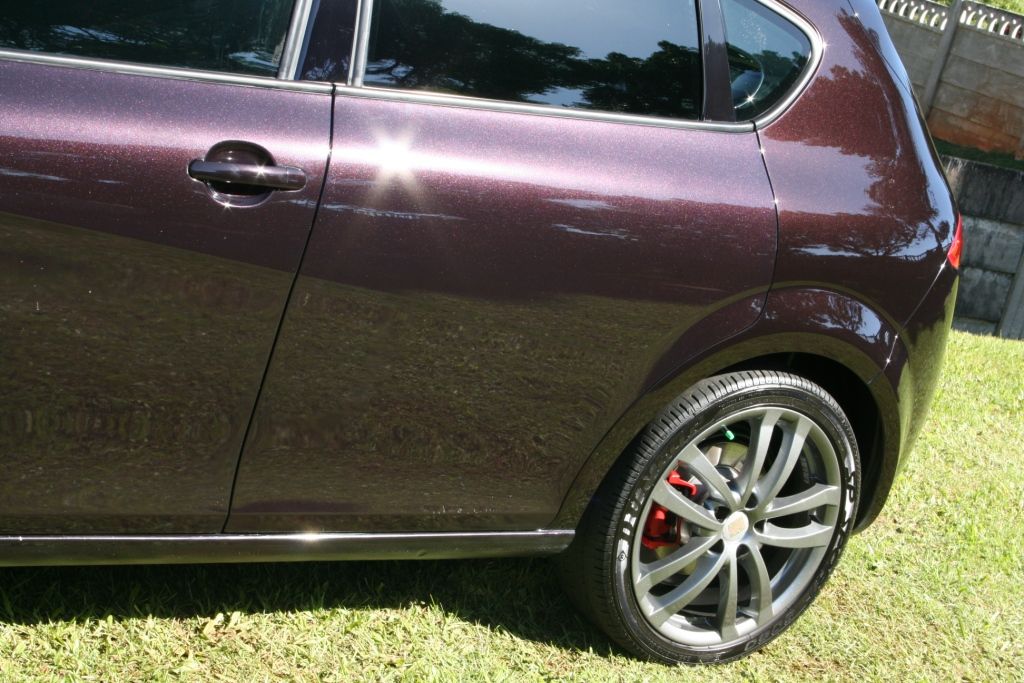
Wheels, brake calipers and arches
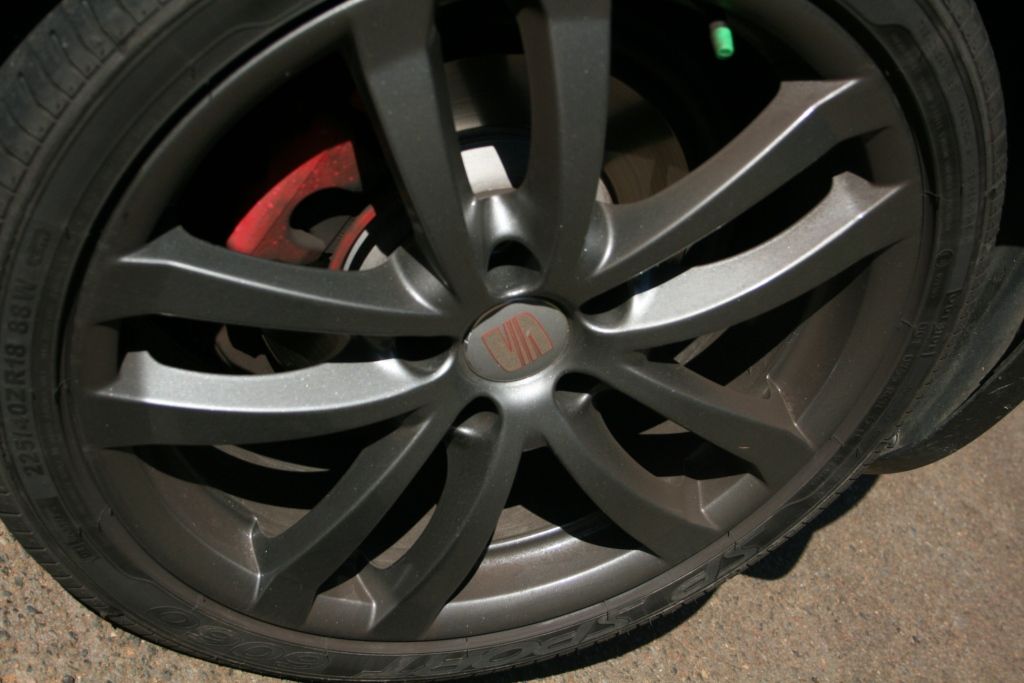
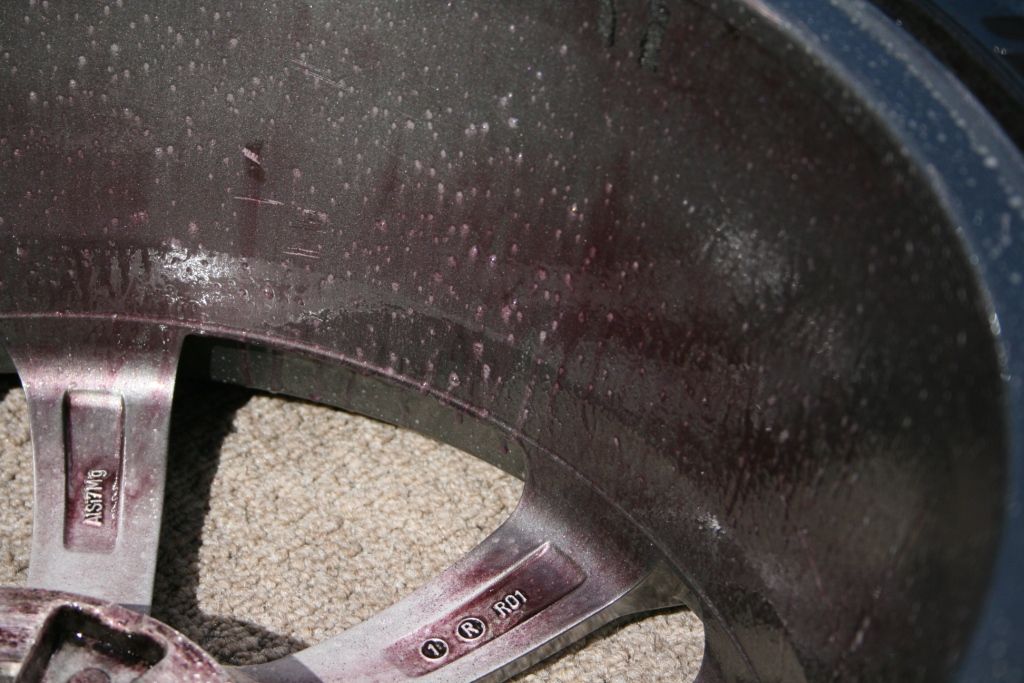
The owner had these wheels refurbished recently however as you can see there is already a significant buildup of brake dust on them, and the calipers are in need of a full refurb, however a proper cleaning would suffice for now.
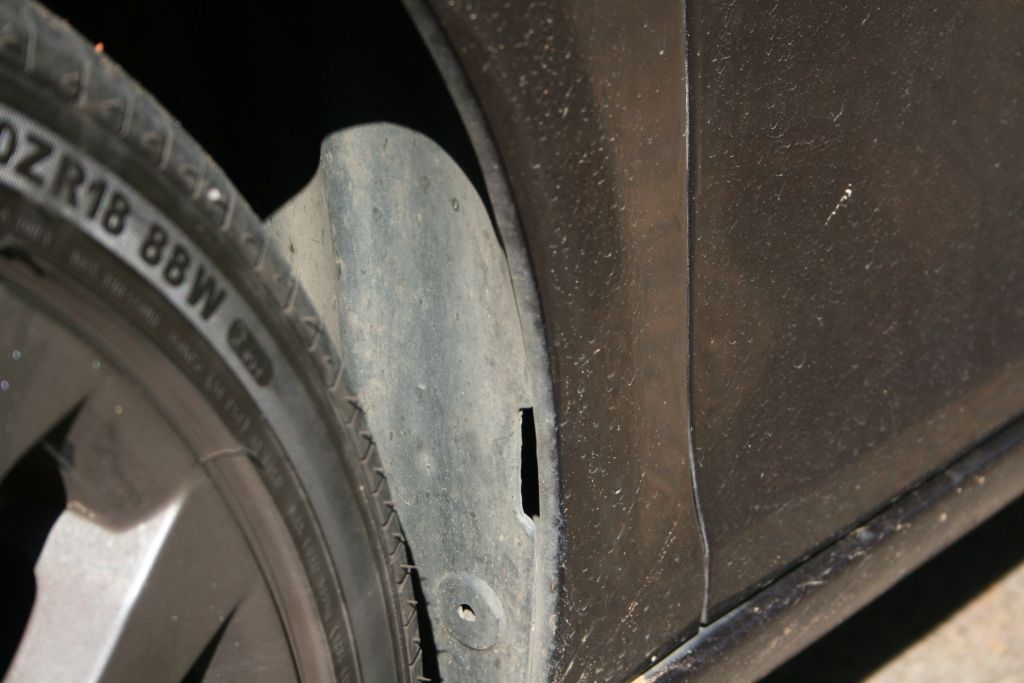
Here you can see the buildup of dirt in the arches (as well as the surface dirt on the car)
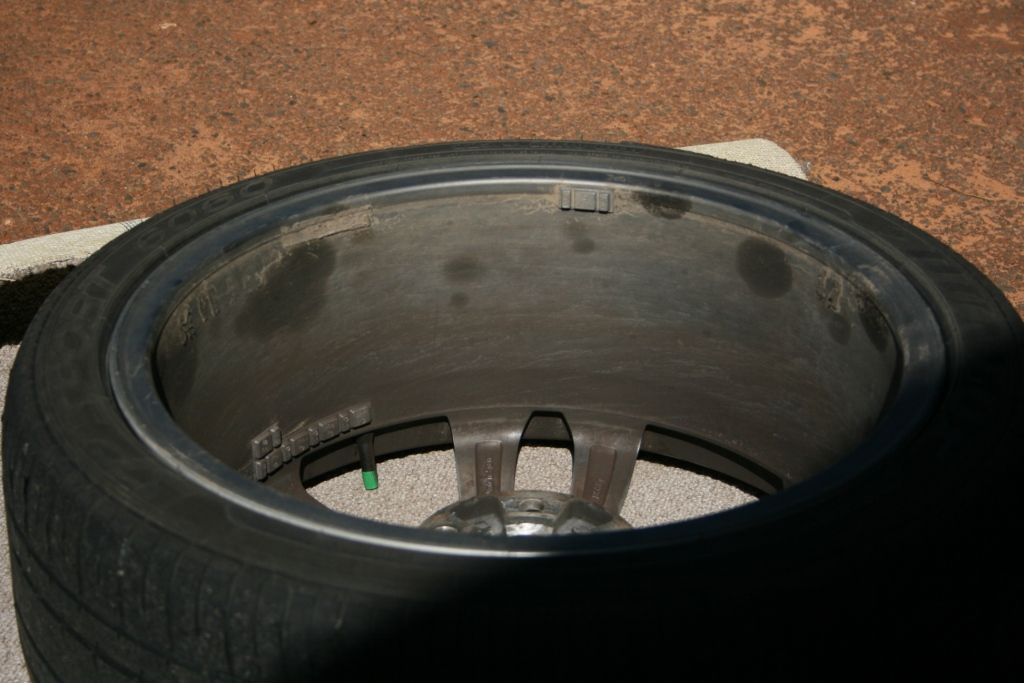
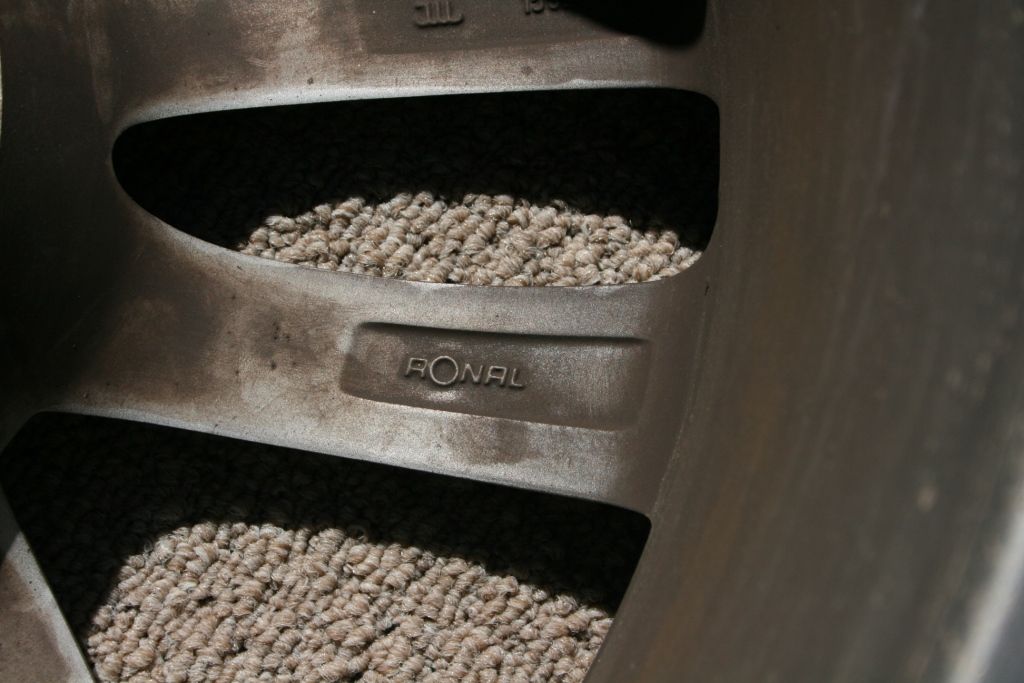
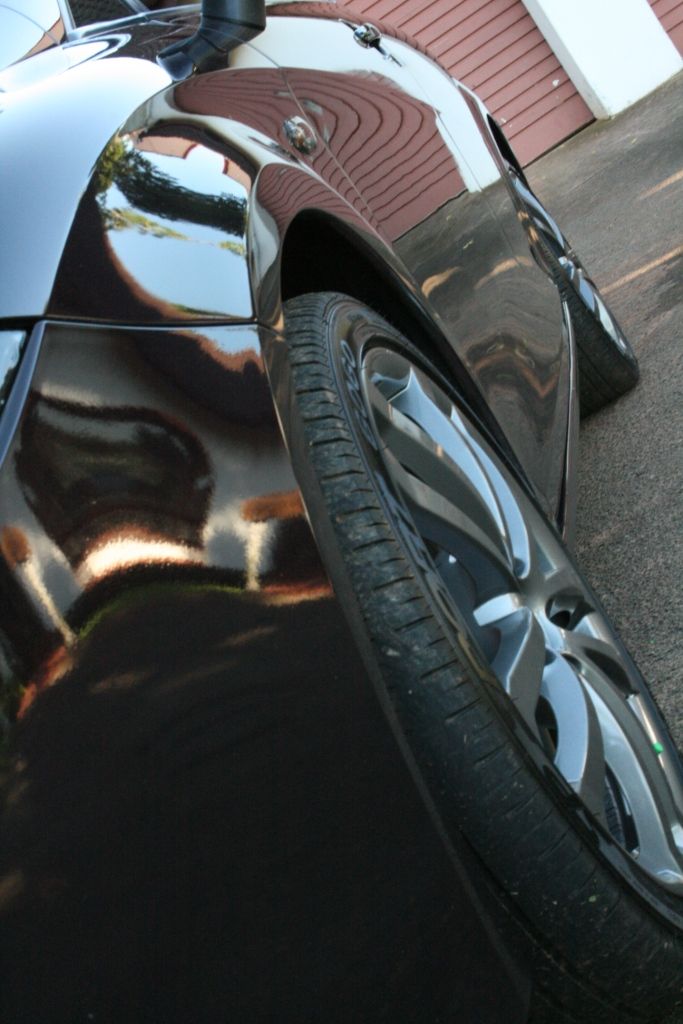
The wheels were removed from the car to reveal a fair amount of dirt, road grime, tar and iron deposits.
After a thorough cleaning of the wheels and tires all the tar spots were removed and the wheels treated to a full iron decontamination

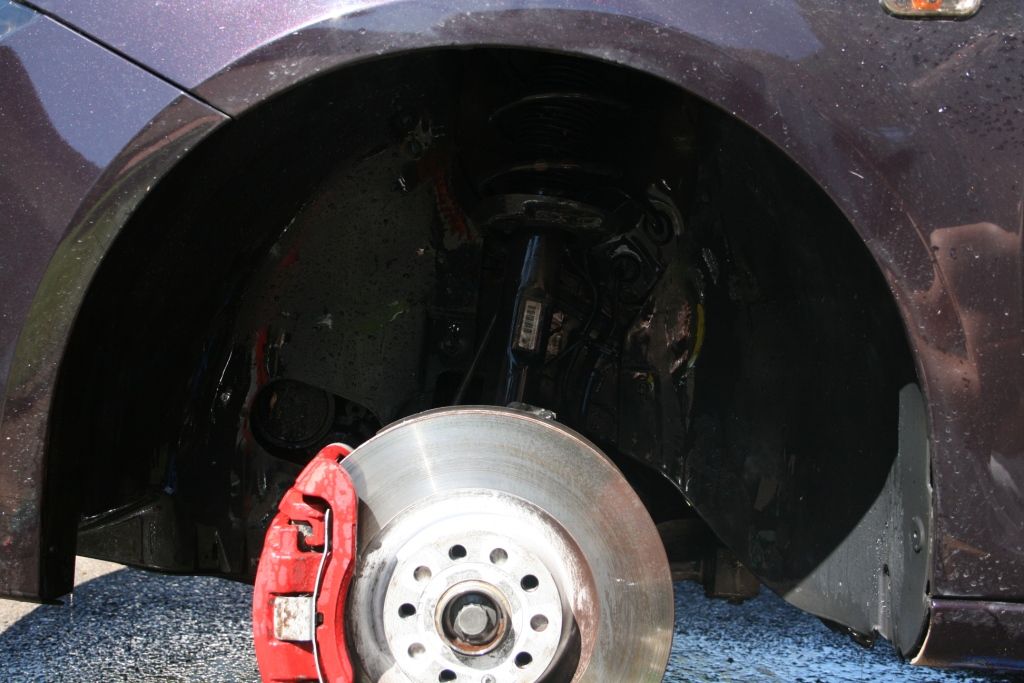
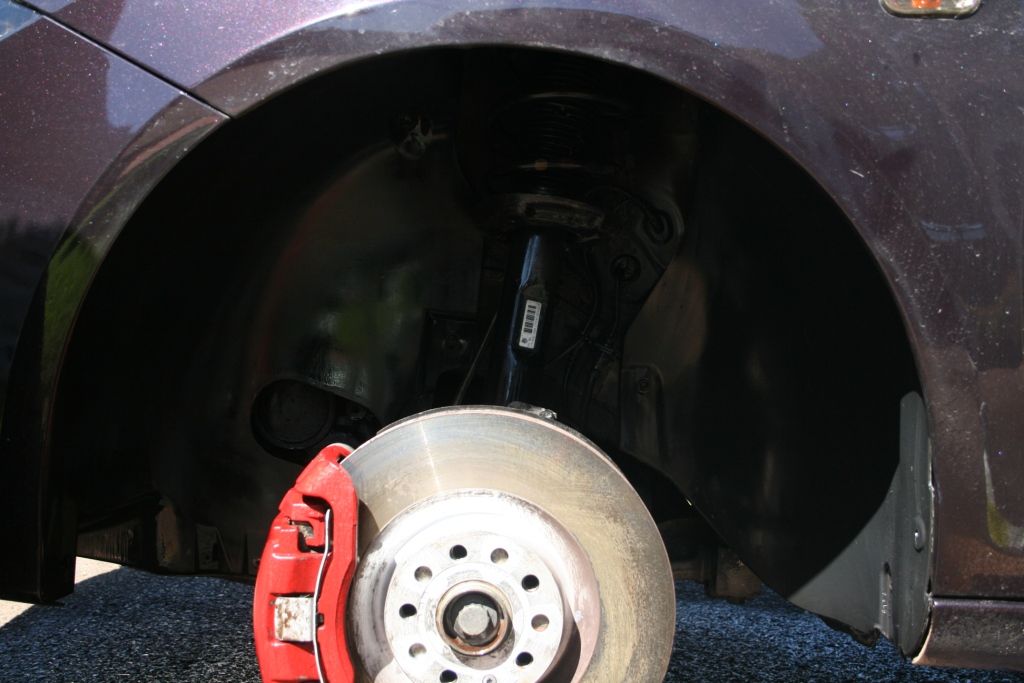
Next the wheels arches
Before
After being cleaned
After Dressing
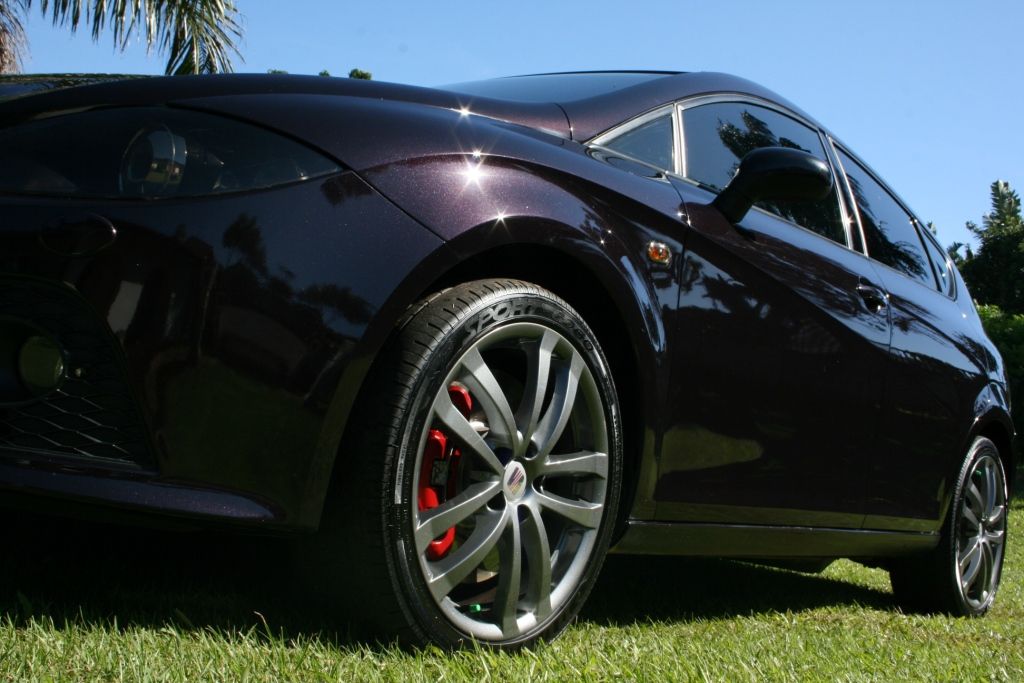
Each wheel was then sealed for protection before being put back on the car
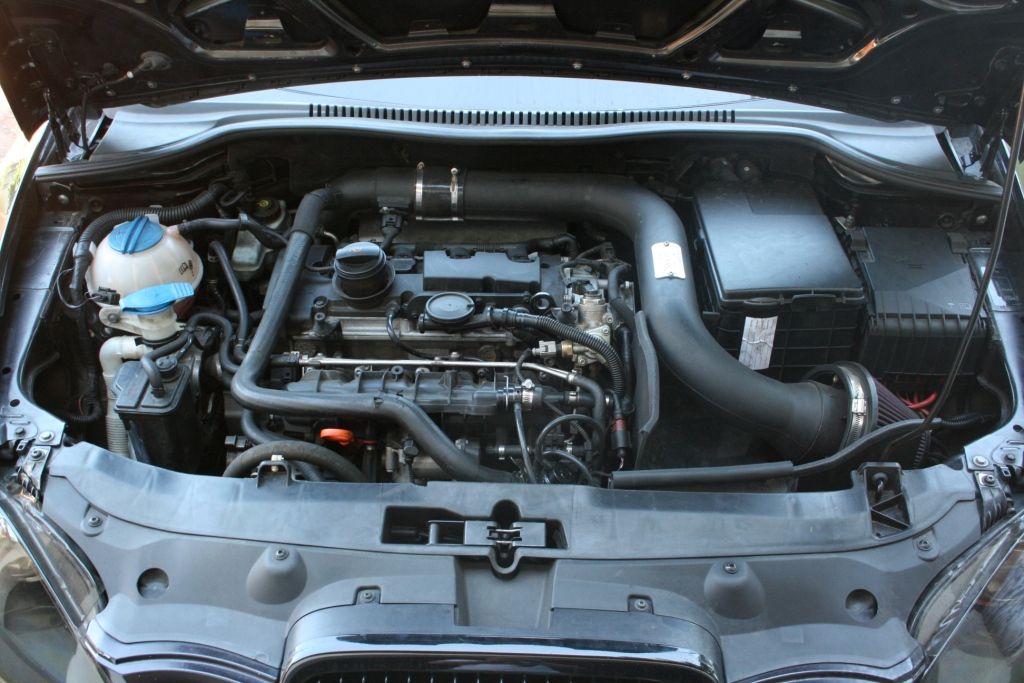
Engine Bay
All loose dirt/dust was blown out the engine bay before the alternator and coilpacks were sealed off. A thoroughly cleaning was performed and the engine bay then dressed.
Before
After

Wash and decontamination
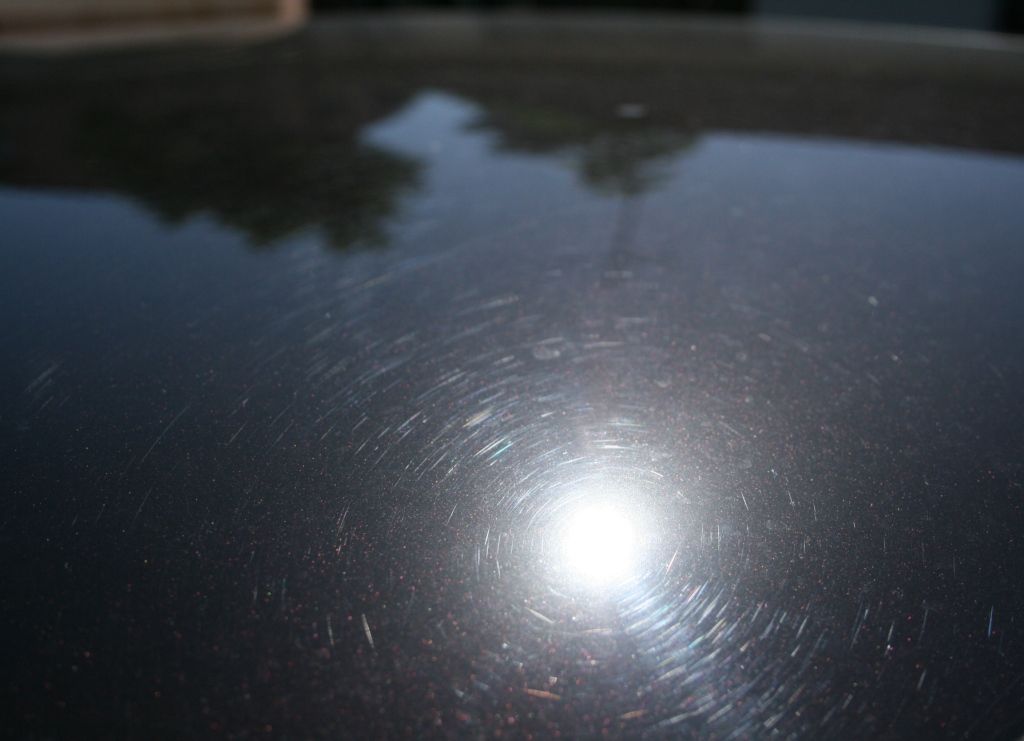
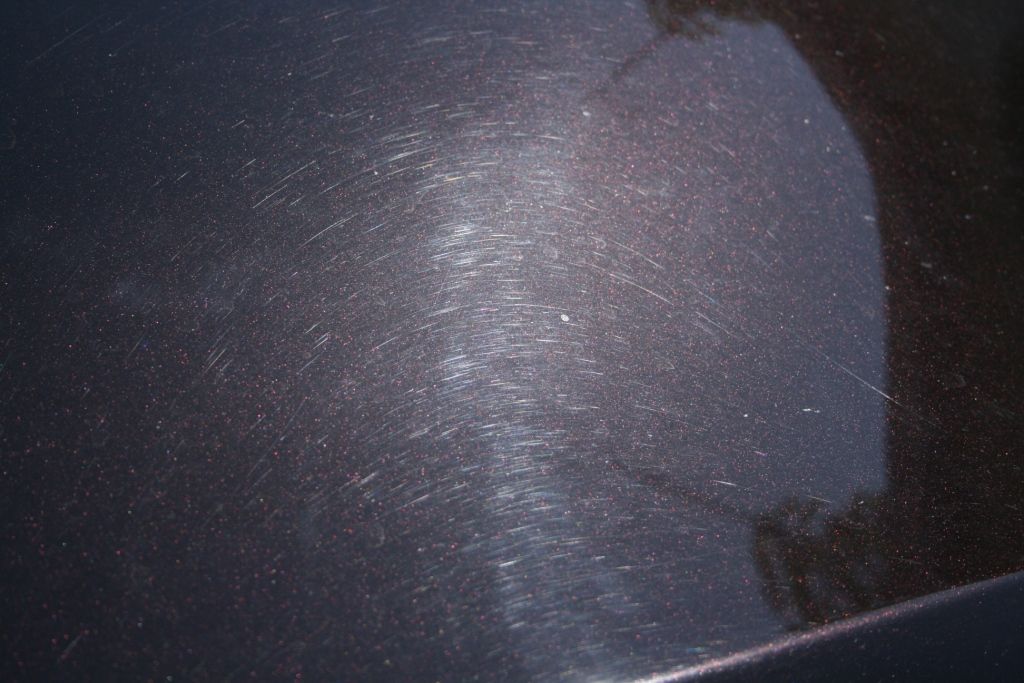
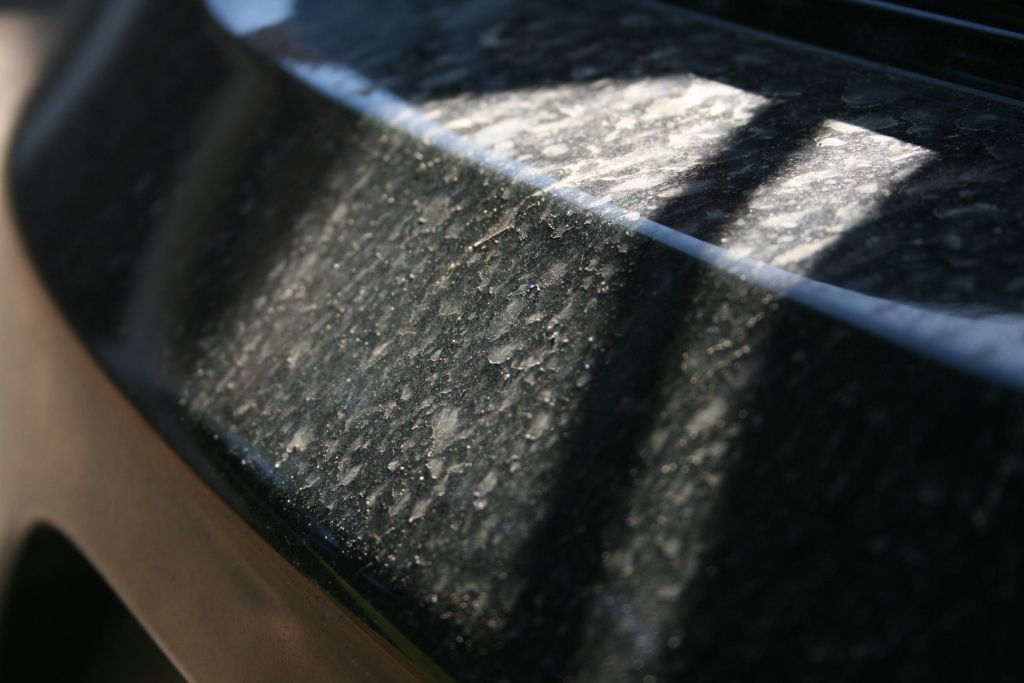
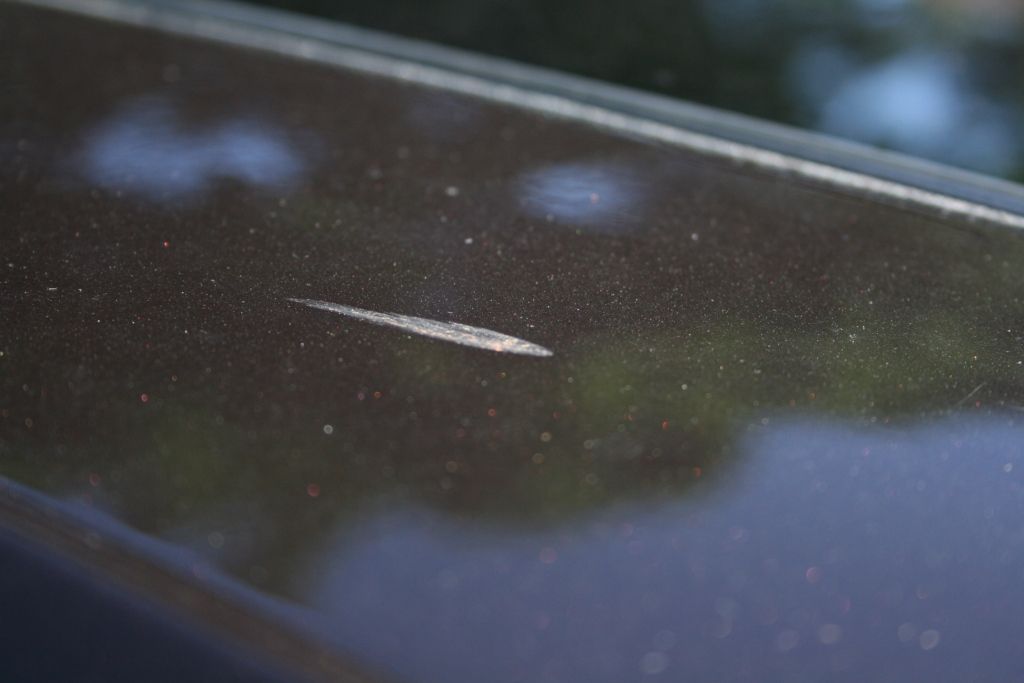
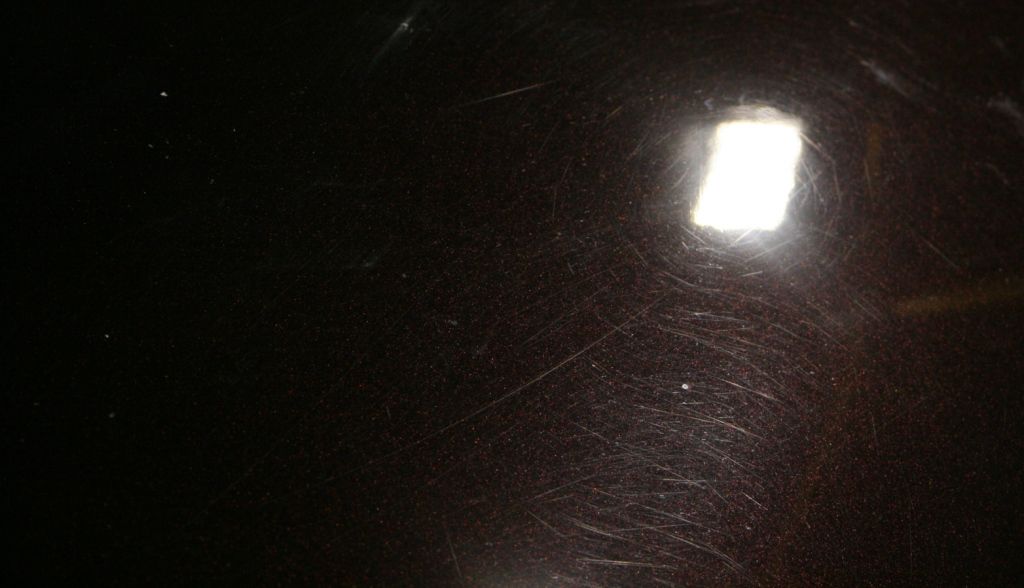
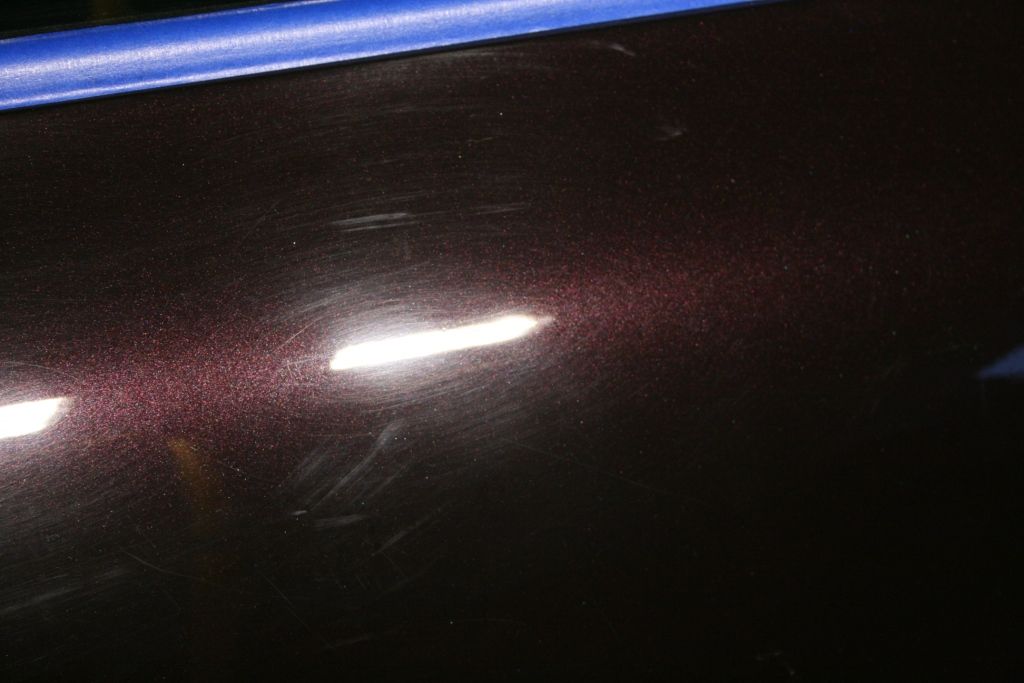
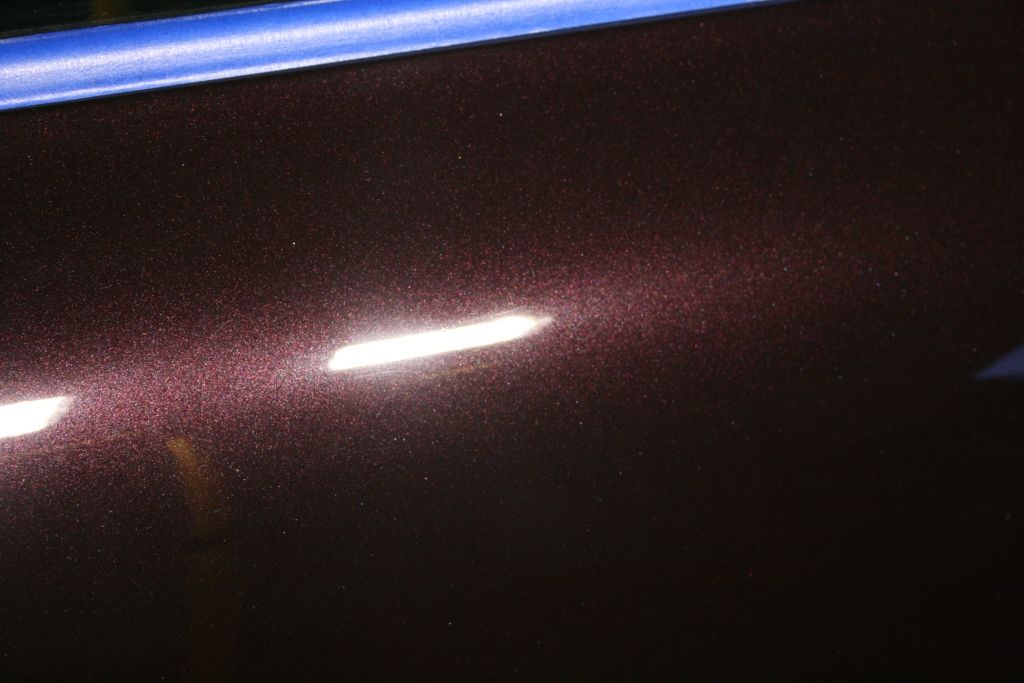
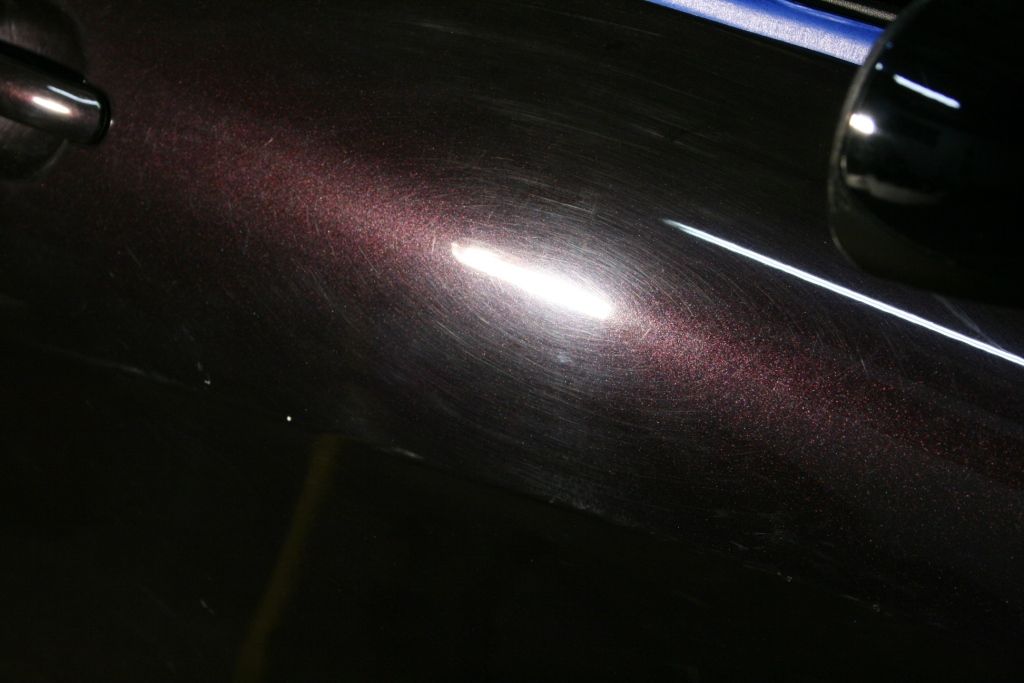
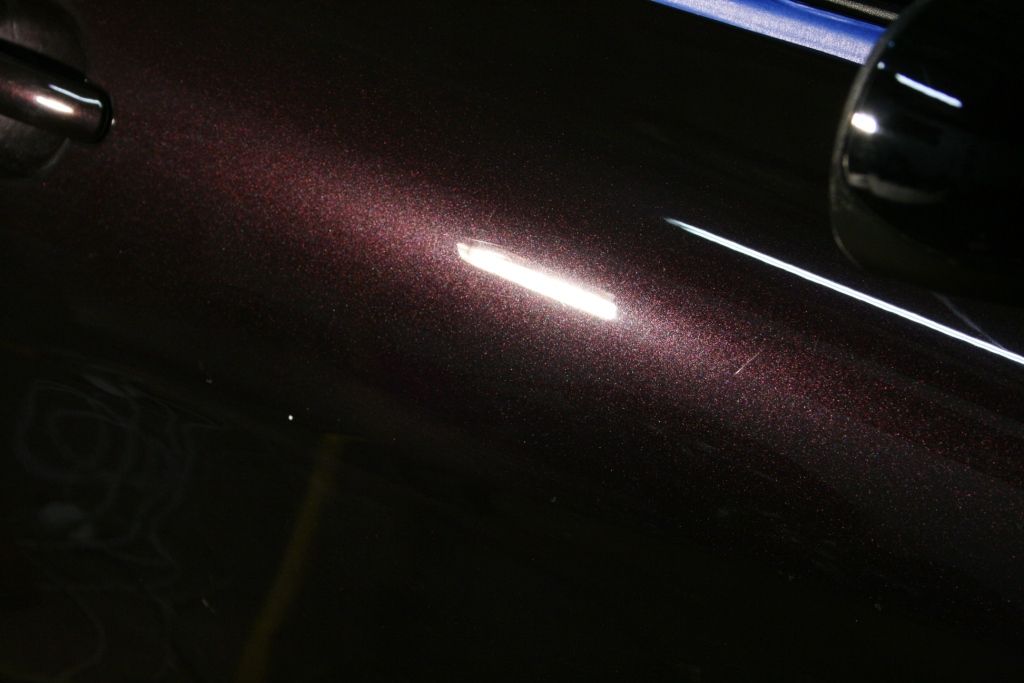
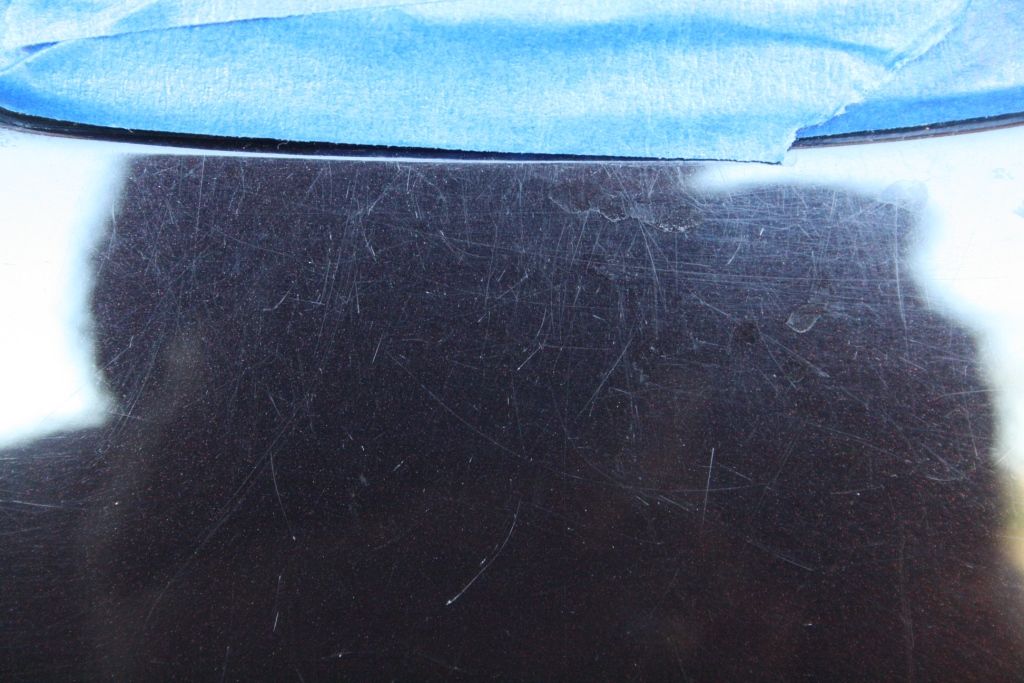
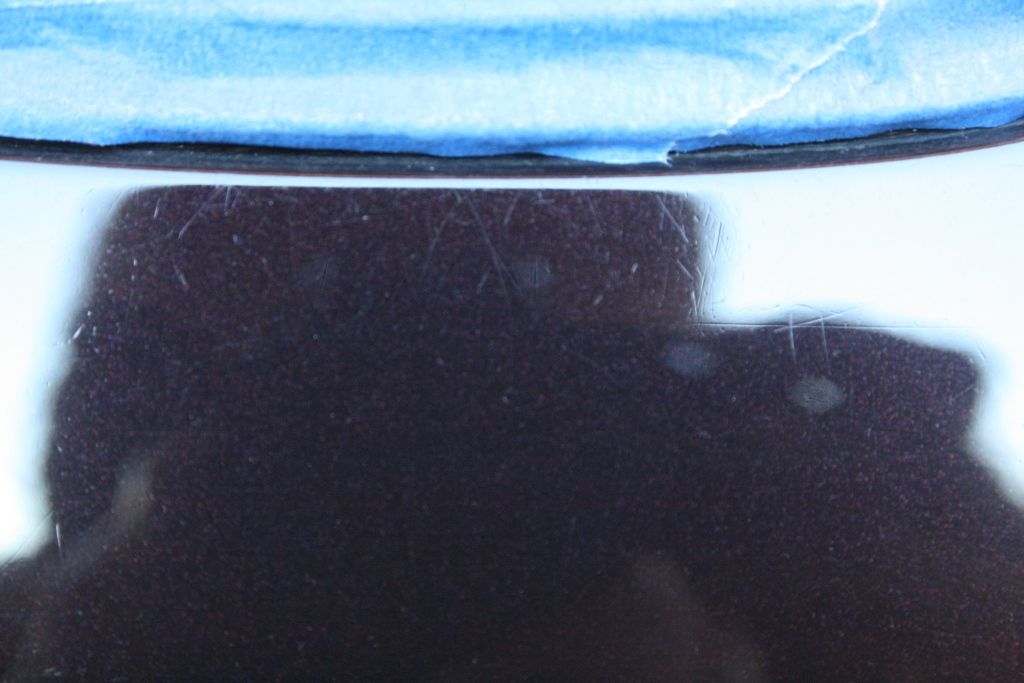
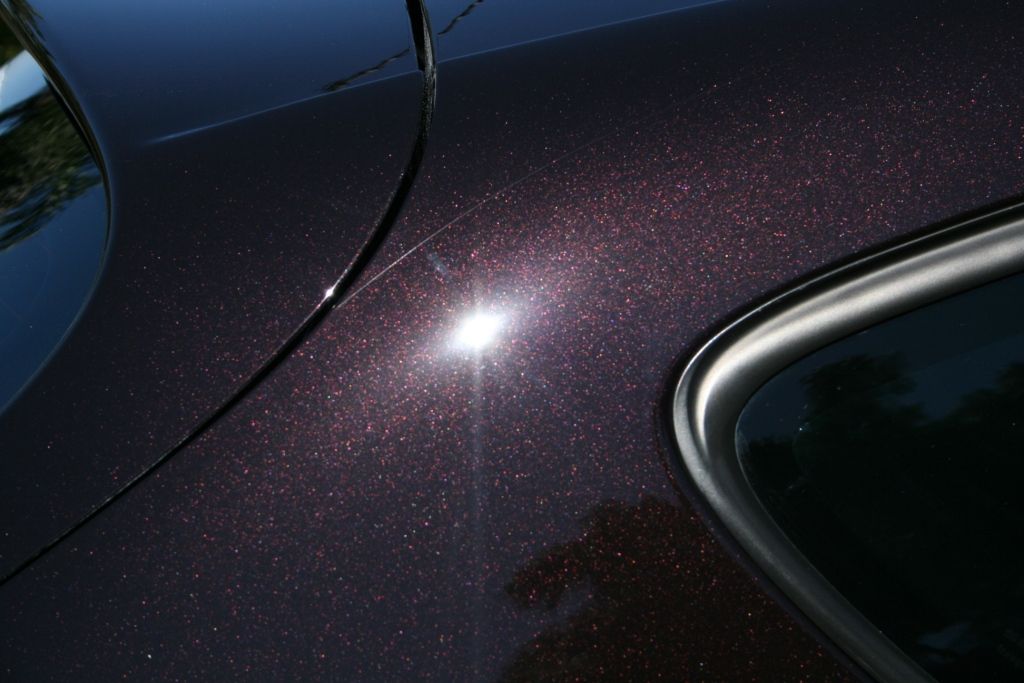
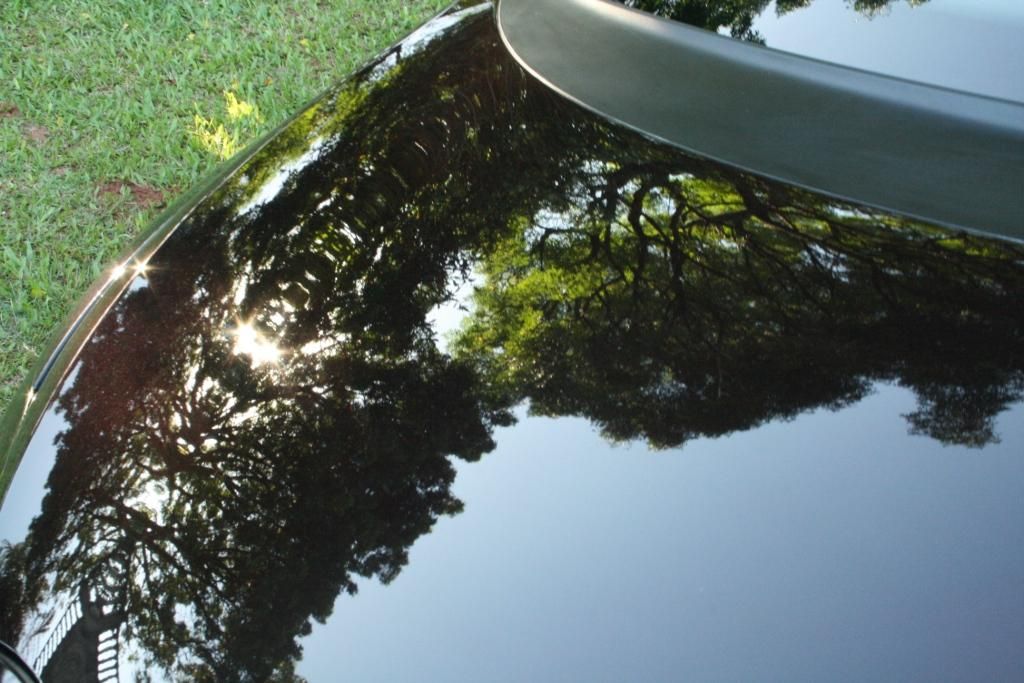
Before commencing with the wash I took a few pictures of damage to the paint, in the sun
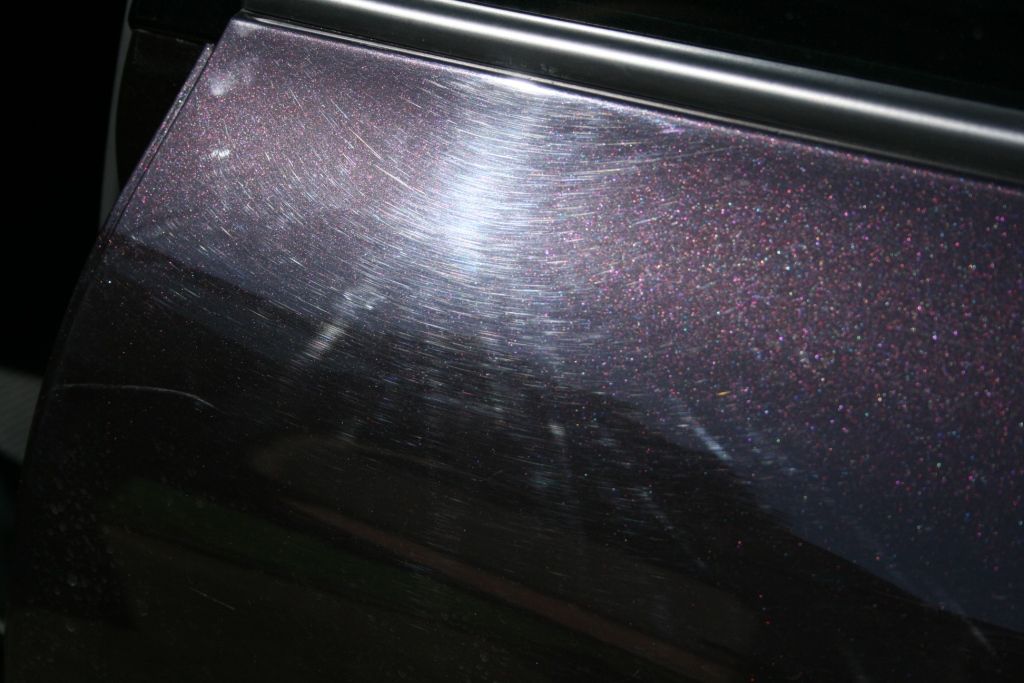
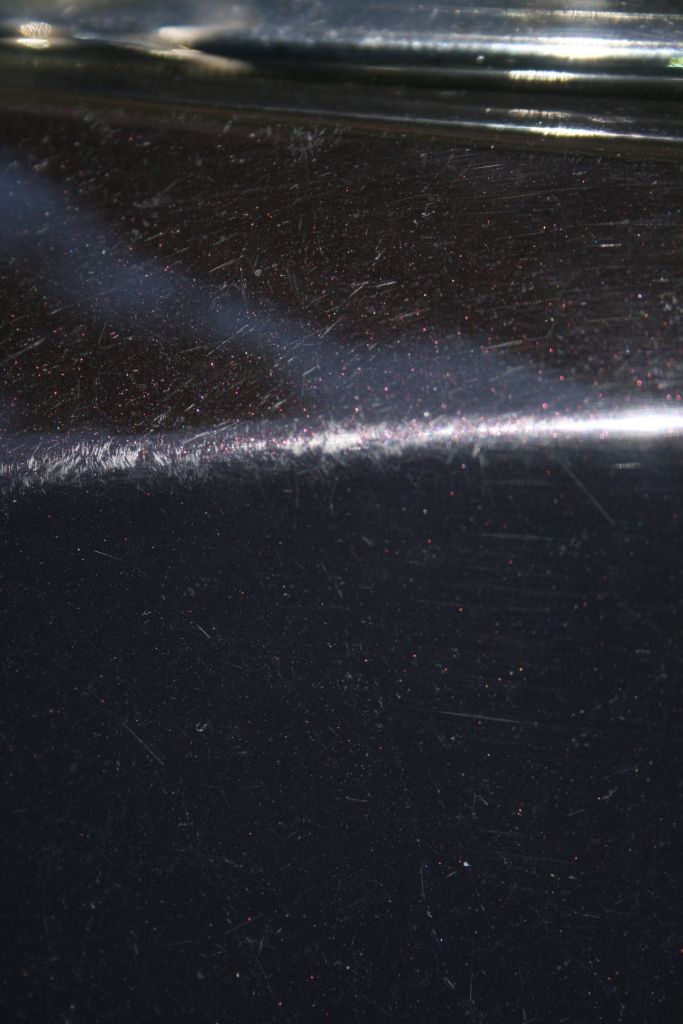
As can be seen in this picture, the raised edges have taken some serious abuse over time (leaving minimal clear coat to work with)
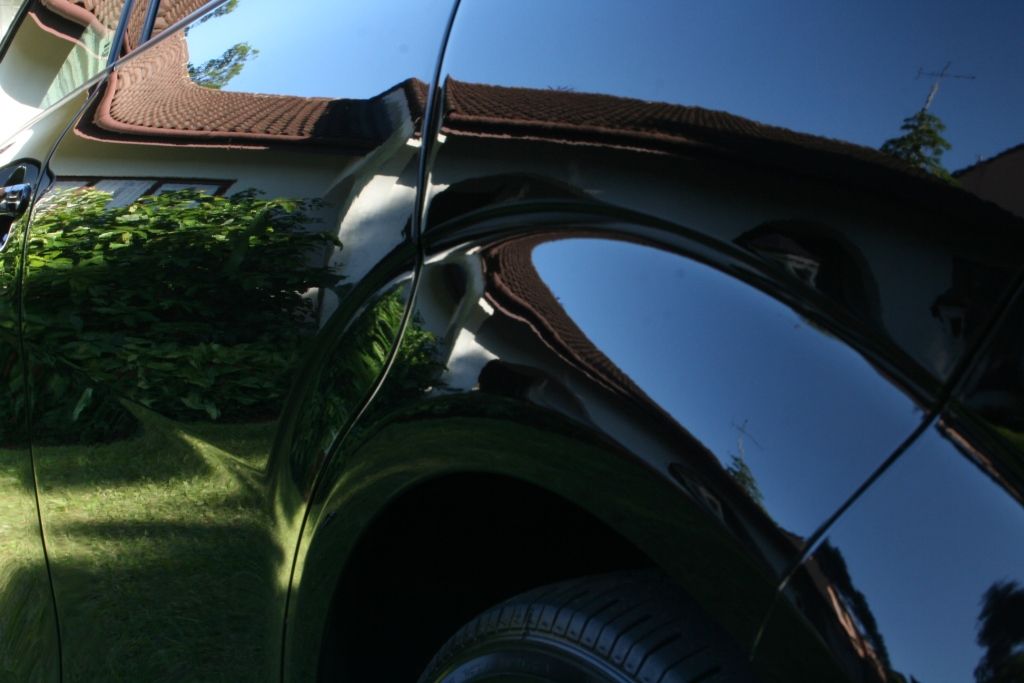
The front end

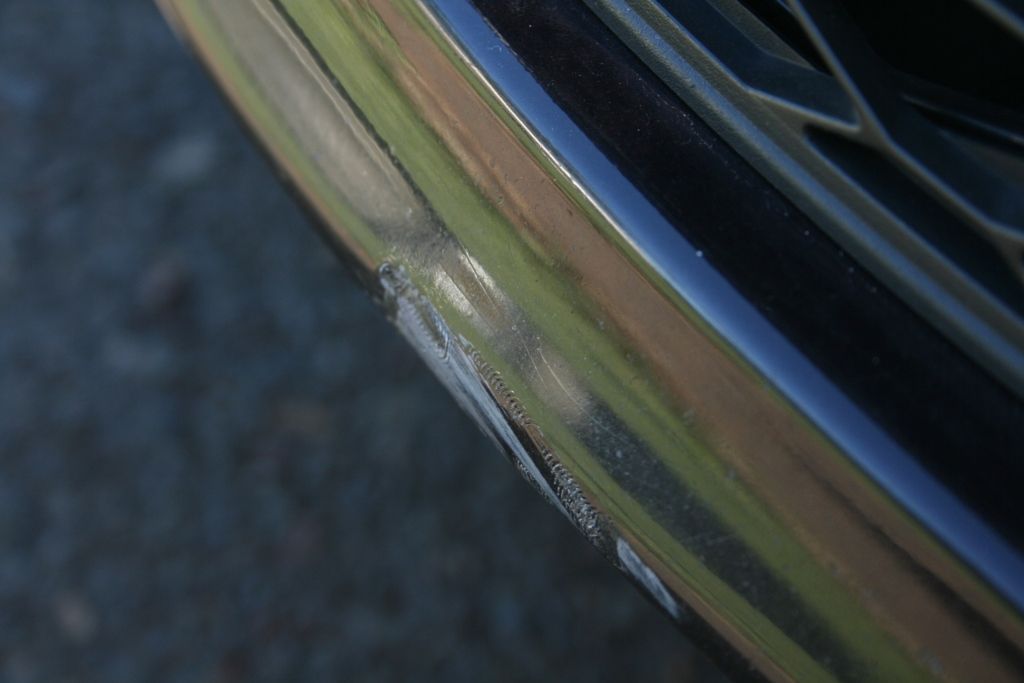
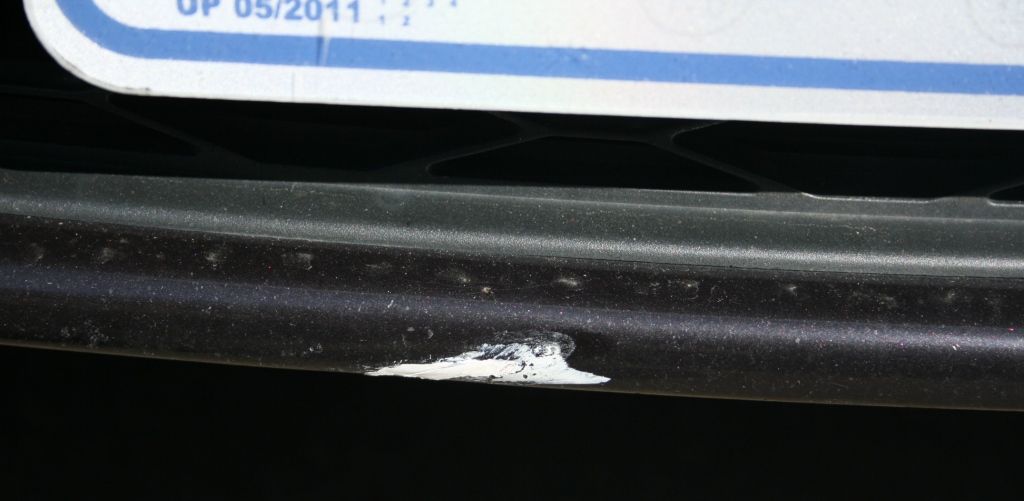
Showing some damage to the front bumper
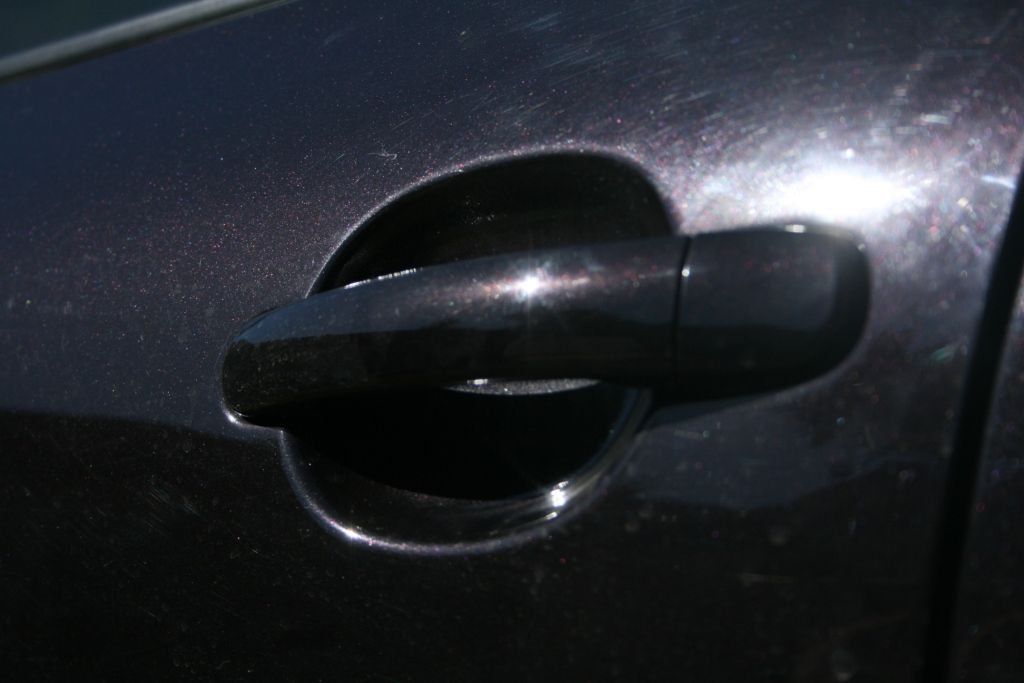
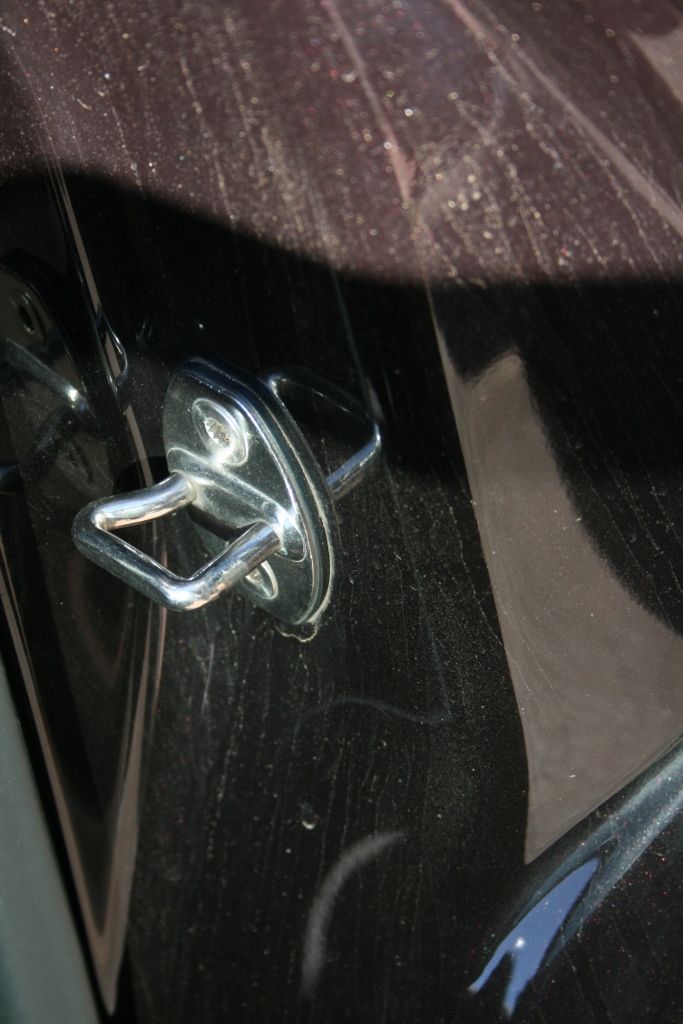
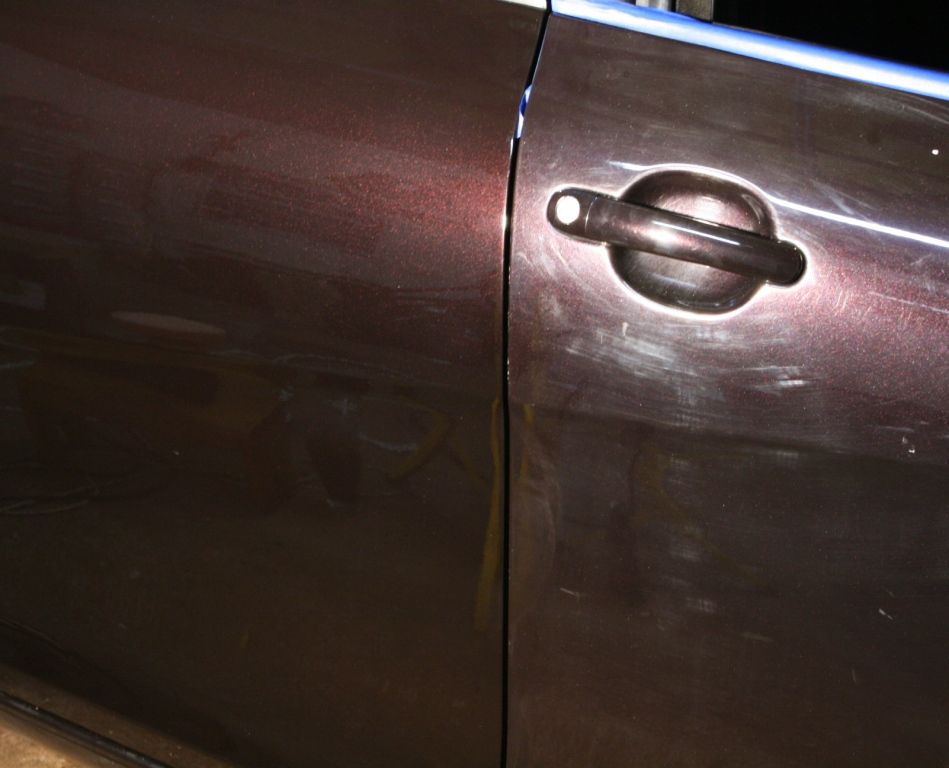
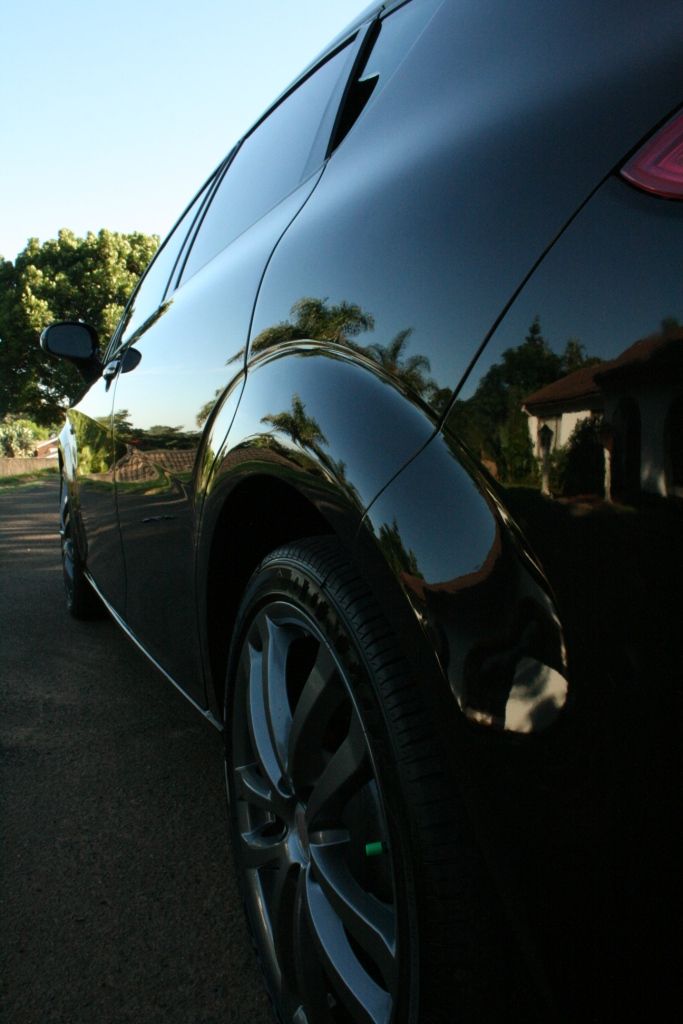
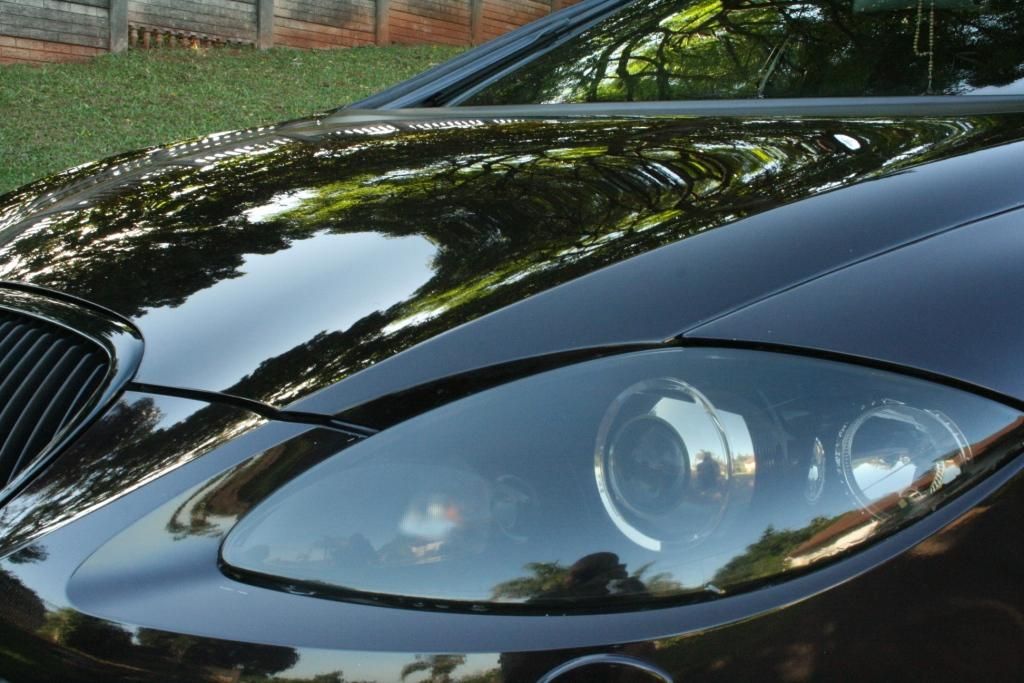
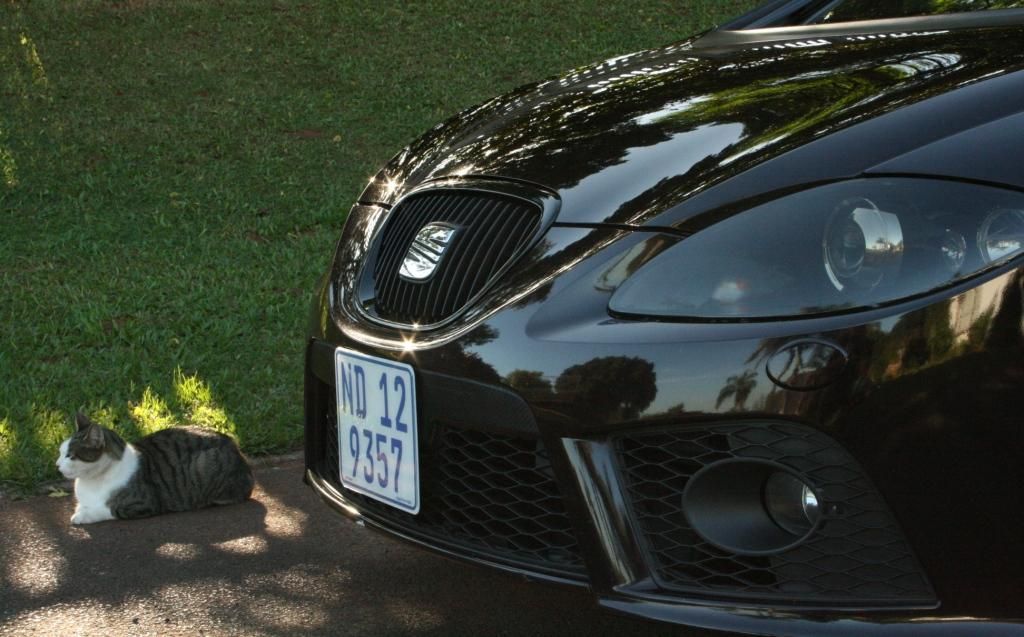
Surface dirt

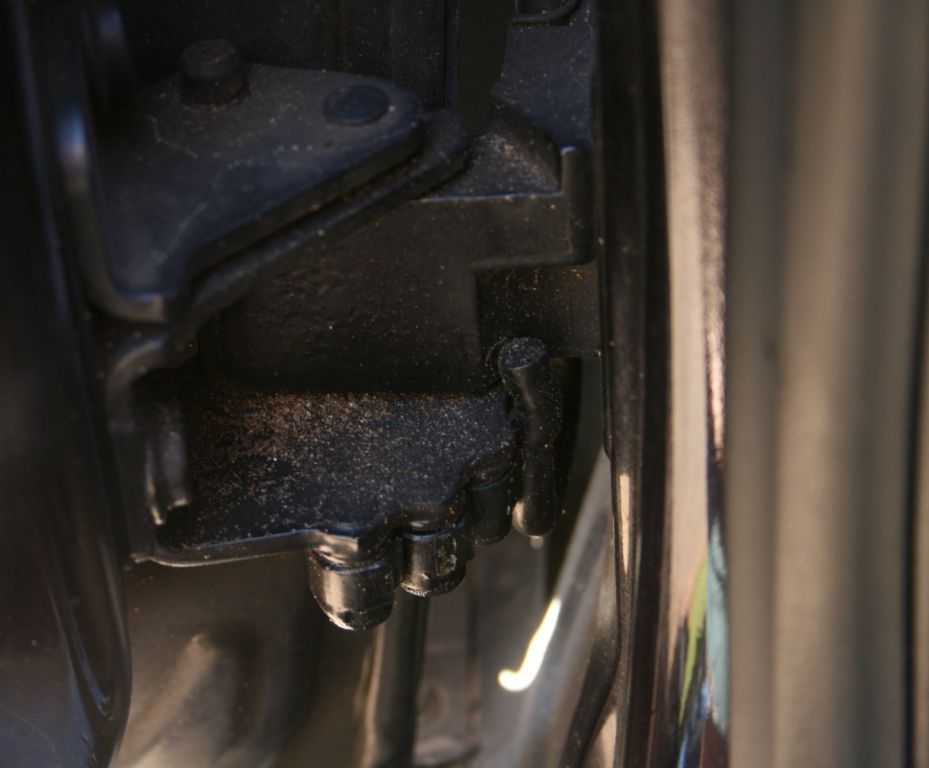
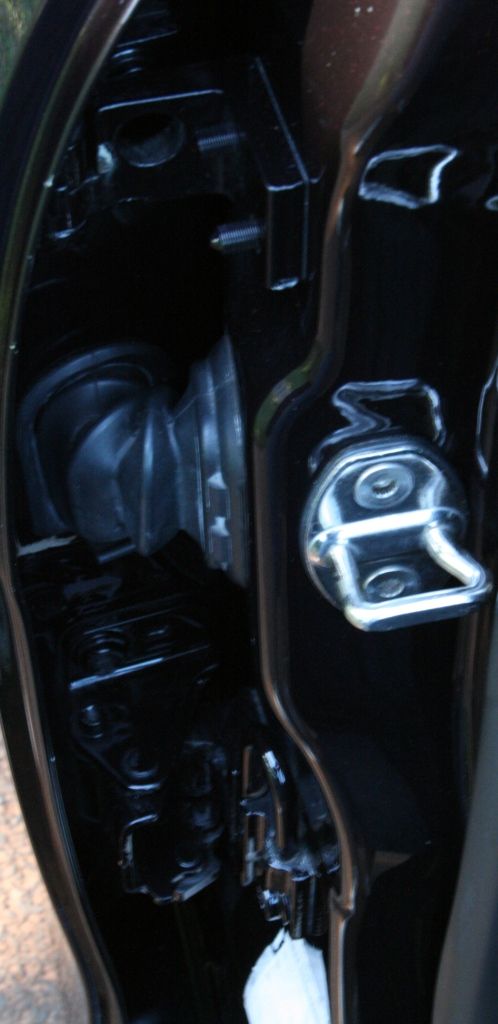
Dirty door jambs
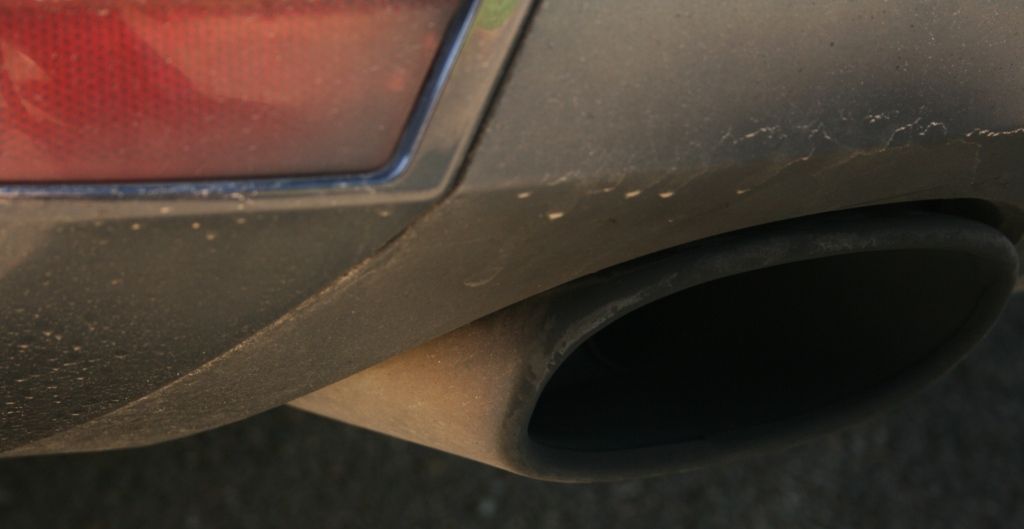
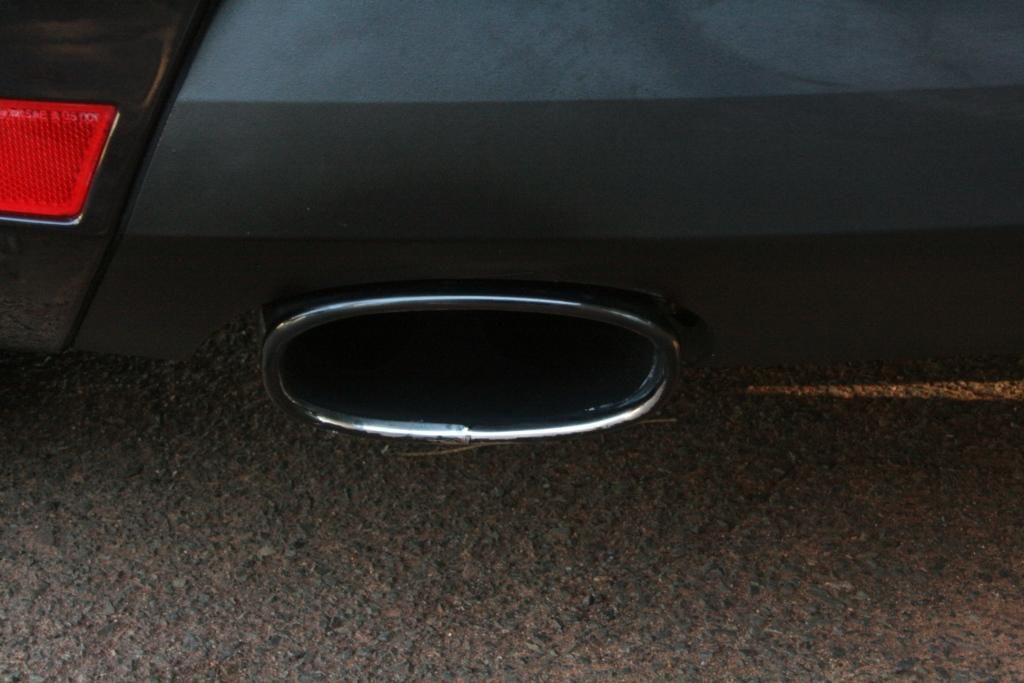
Dirty Exhaust
All the surface dirt was washed off and any previous protection stripped off the paint. In and around all the boot/door jambs, petrol cap, window seals, badges etc was then thoroughly cleaned. The car was then rinsed and dried in preparation for tar removal. Once the tar has been removed the entire car including the windows was subjected to a full iron decontamination. *** as a side note this was my first time using Autofinesse's Iron Out (I usually use Iron-x) and can say that it worked equally as well, if not better (it tended to foam a little more on agitation than the Iron-X - something I find very beneficial especially when cleaning wheels)***
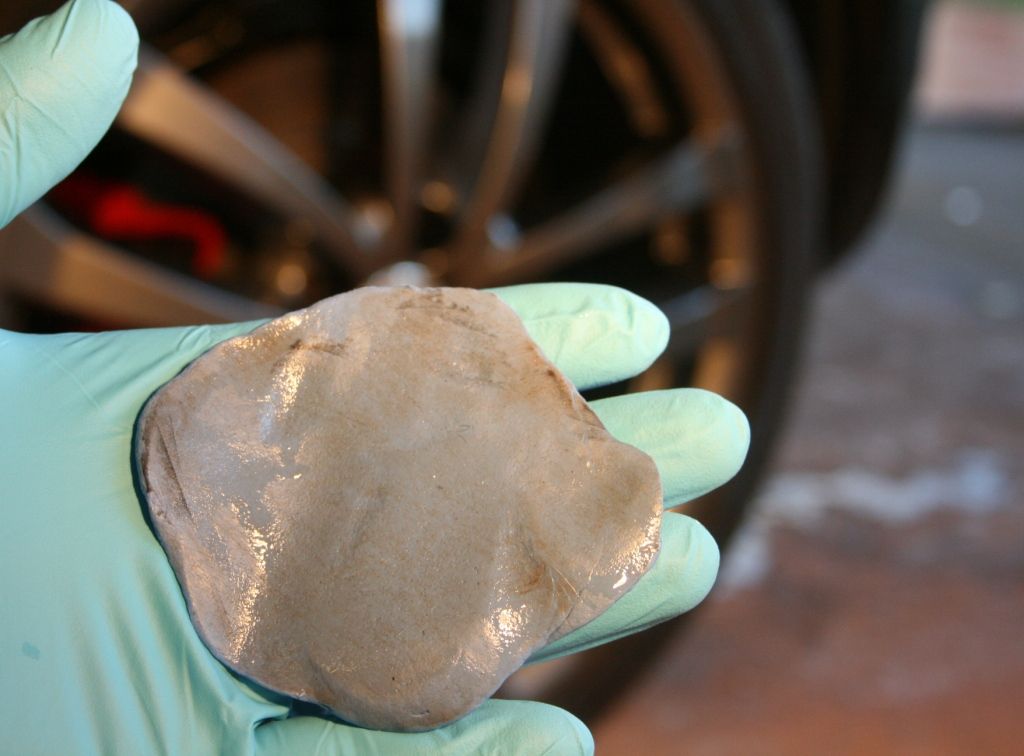
After properly rinsing the car I set about claying the paintwork and glass surfaces. The amount of contamination was pretty 'normal' (this car is garaged at home and parked under cover during the day)
Cyclo CM30
Turtle Wax Intensive Wheel Cleaner
Autofinesse Iron-Out
Chemical Guys Bare Bones
Chemical Guys Maxi Suds II
Meguiars Gold Class Shampoo
Autofinesse ObliTARate
Clay Magic (Blue) Clay
ONR
Meguiars Ultimate Compound
Meguiars Ultimate Polish
Lake Country Orange CCS Pads
Lake Country White CCS Pads
Lake Country Green Polishing Pads
Menzerna Black Finishing Pads
Chemical Guys Blacklight
Chemical Guys V7
Collinte 845
Meguiars NXT All Metal Polish
Smartwax Smart Dressing
C-Thru
A multitude of brushes and MF Cloths and foam applicator pads
HP Washer / Foam Cannon / Wet 'n Dry vac
Day 1 - Friday
Wheels, brake calipers and arches
The owner had these wheels refurbished recently however as you can see there is already a significant buildup of brake dust on them, and the calipers are in need of a full refurb, however a proper cleaning would suffice for now.
Here you can see the buildup of dirt in the arches (as well as the surface dirt on the car)
The wheels were removed from the car to reveal a fair amount of dirt, road grime, tar and iron deposits.
After a thorough cleaning of the wheels and tires all the tar spots were removed and the wheels treated to a full iron decontamination
Next the wheels arches
Before
After being cleaned
After Dressing
Each wheel was then sealed for protection before being put back on the car
Engine Bay
All loose dirt/dust was blown out the engine bay before the alternator and coilpacks were sealed off. A thoroughly cleaning was performed and the engine bay then dressed.
Before
After
Wash and decontamination
Before commencing with the wash I took a few pictures of damage to the paint, in the sun
As can be seen in this picture, the raised edges have taken some serious abuse over time (leaving minimal clear coat to work with)
The front end
Showing some damage to the front bumper
Surface dirt
Dirty door jambs
Dirty Exhaust
All the surface dirt was washed off and any previous protection stripped off the paint. In and around all the boot/door jambs, petrol cap, window seals, badges etc was then thoroughly cleaned. The car was then rinsed and dried in preparation for tar removal. Once the tar has been removed the entire car including the windows was subjected to a full iron decontamination. *** as a side note this was my first time using Autofinesse's Iron Out (I usually use Iron-x) and can say that it worked equally as well, if not better (it tended to foam a little more on agitation than the Iron-X - something I find very beneficial especially when cleaning wheels)***
After properly rinsing the car I set about claying the paintwork and glass surfaces. The amount of contamination was pretty 'normal' (this car is garaged at home and parked under cover during the day)


")