lawrenceSA
New member
- Feb 7, 2012
- 1,713
- 0
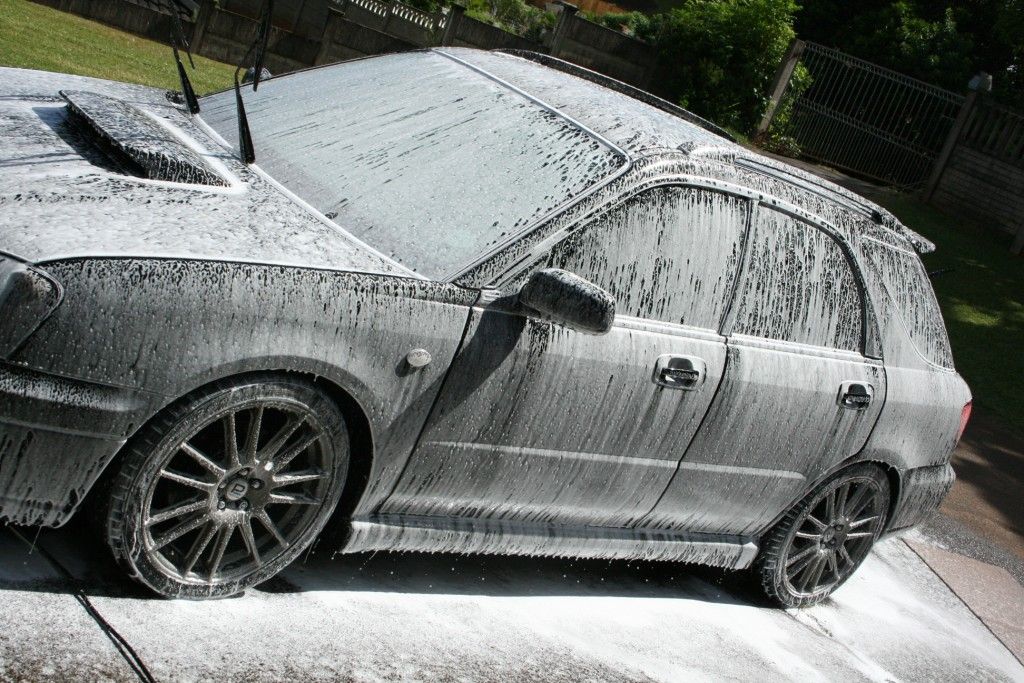
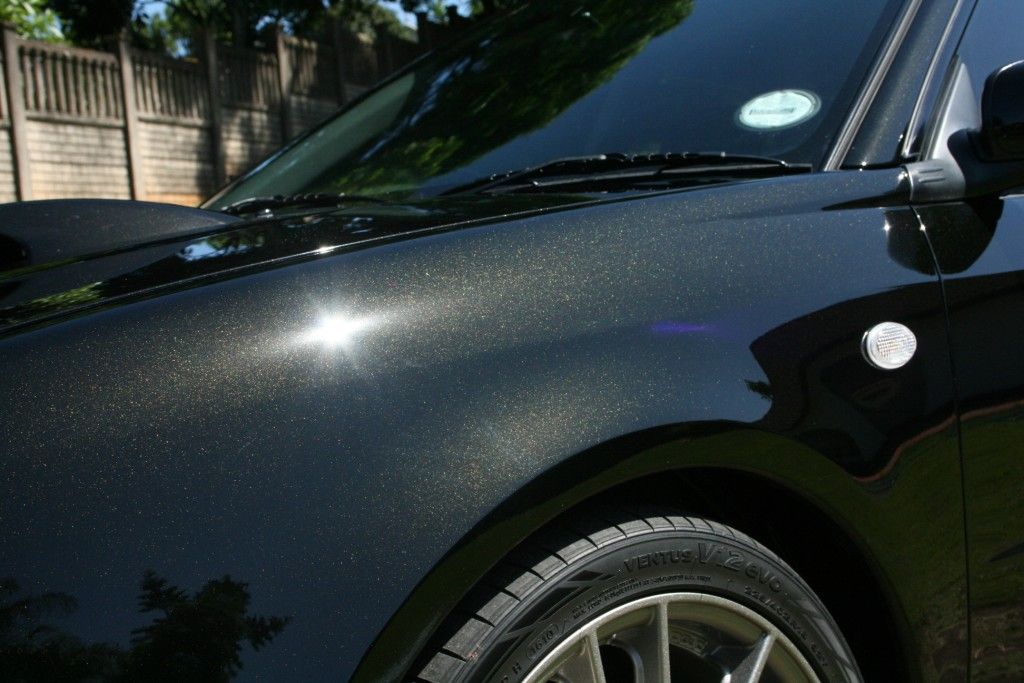
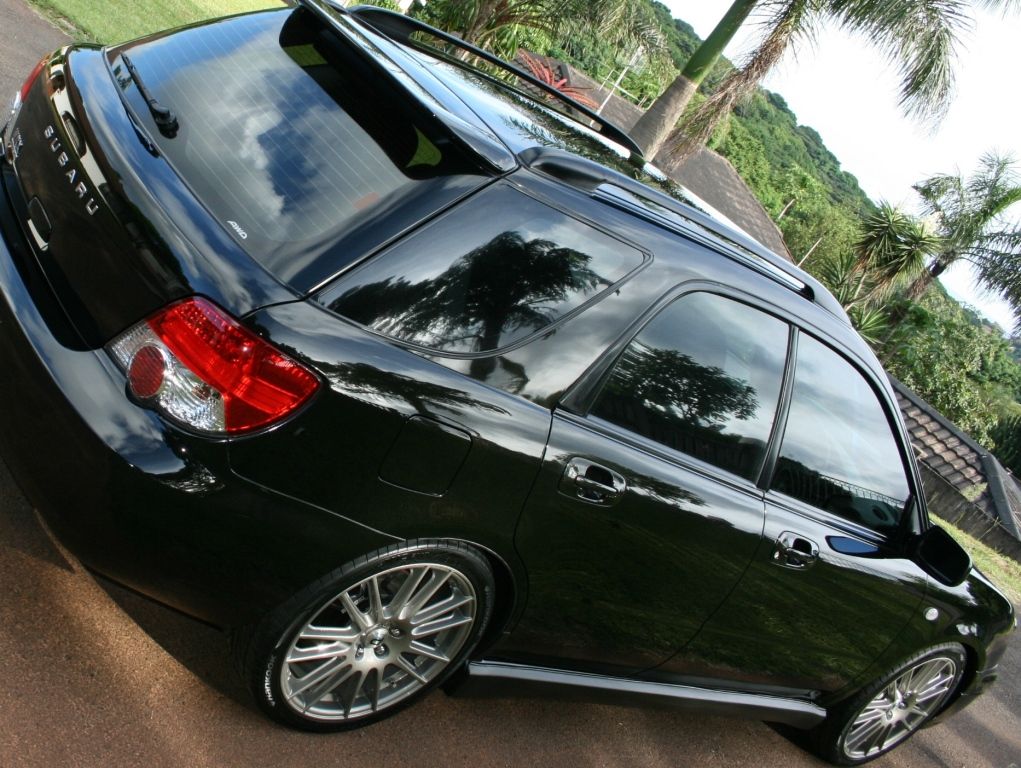
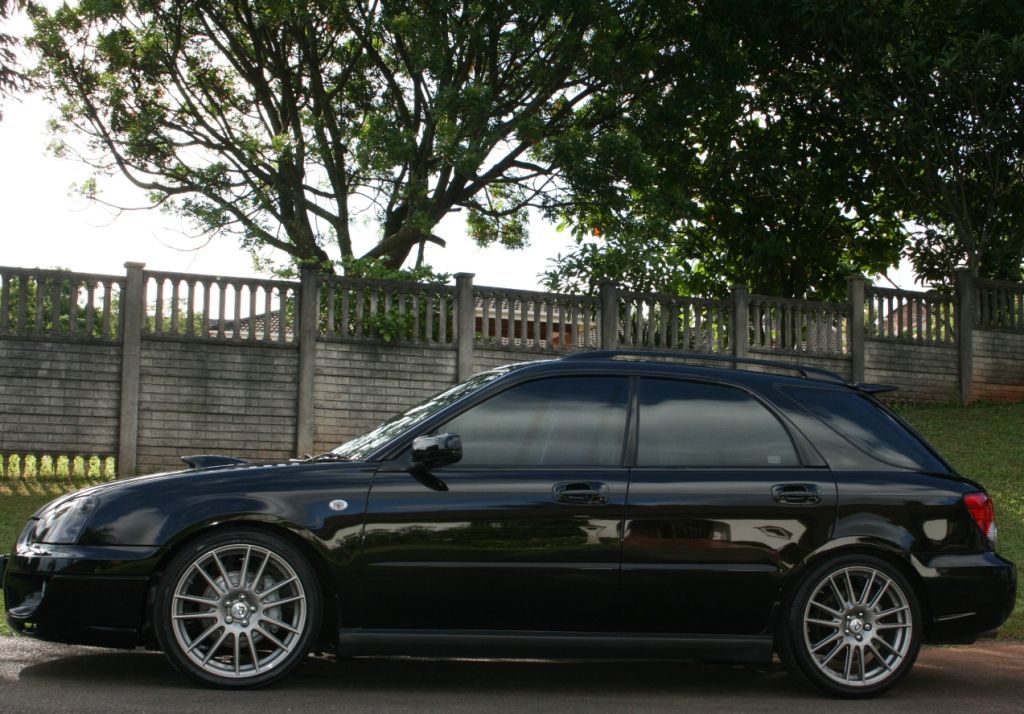
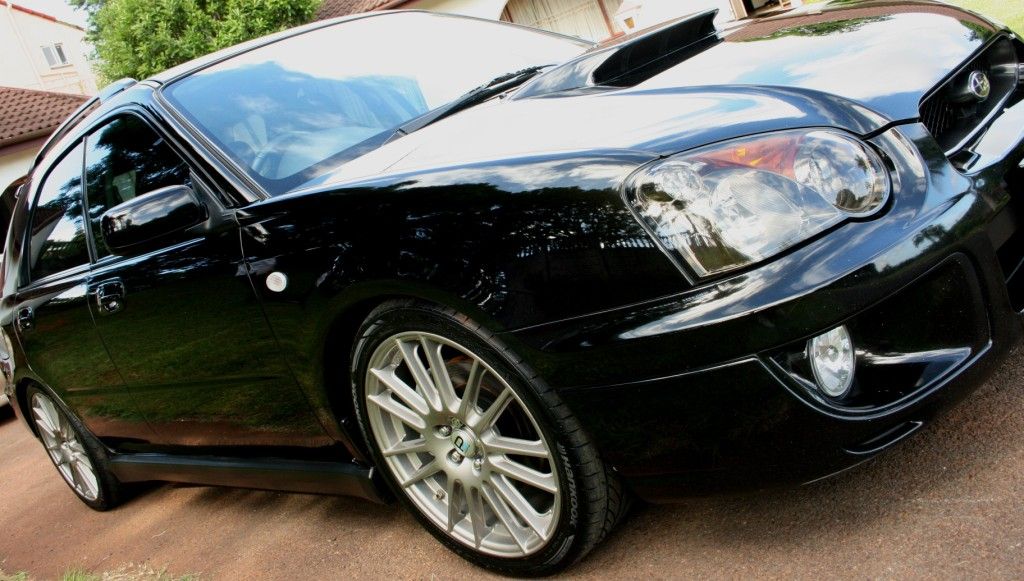
Ever since I was a kid I have always had a strong attraction to Scoobies - The sound, their rally heritage, their presence on the street... they just seem so damn right! and so I was thrilled when the owner took me for a (short) drive around the block in it :driving: ... certainly not enough to stretch her legs and exploit the more than 250wkw available, but enough to let me know I would LOVE to own one. The closest I will come though is probably the 28.5 hours I spent detailing it this weekend
:hurray:
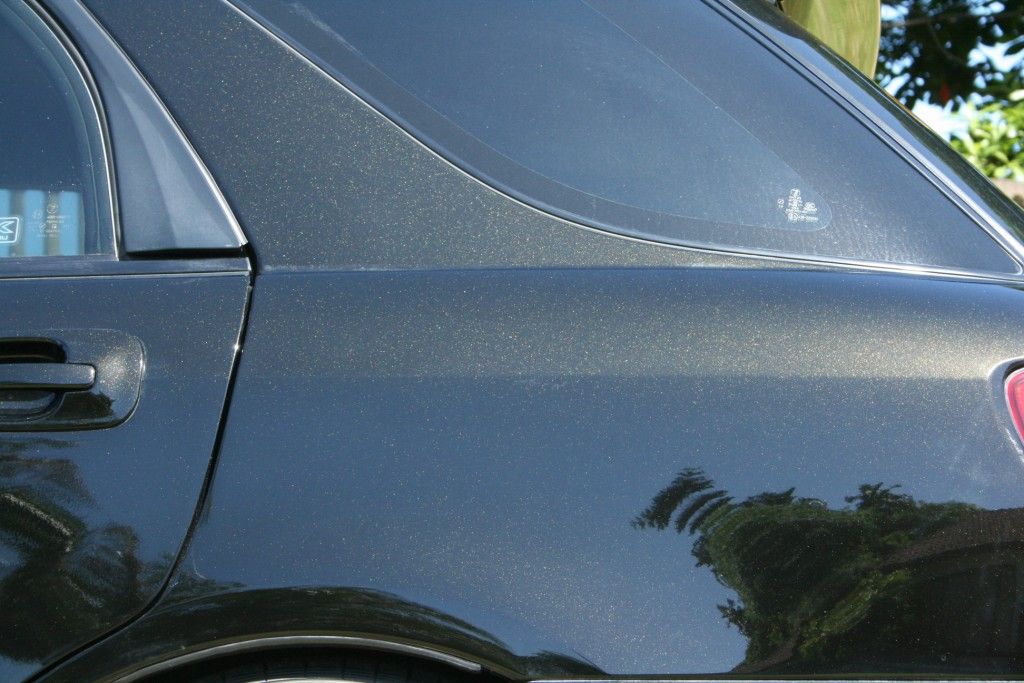
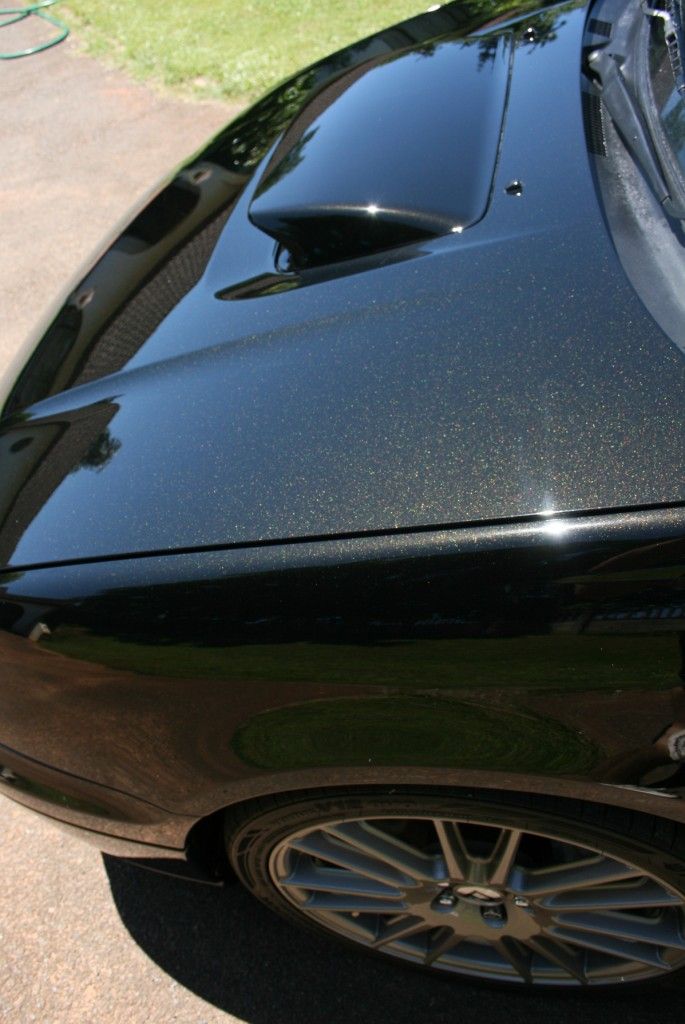
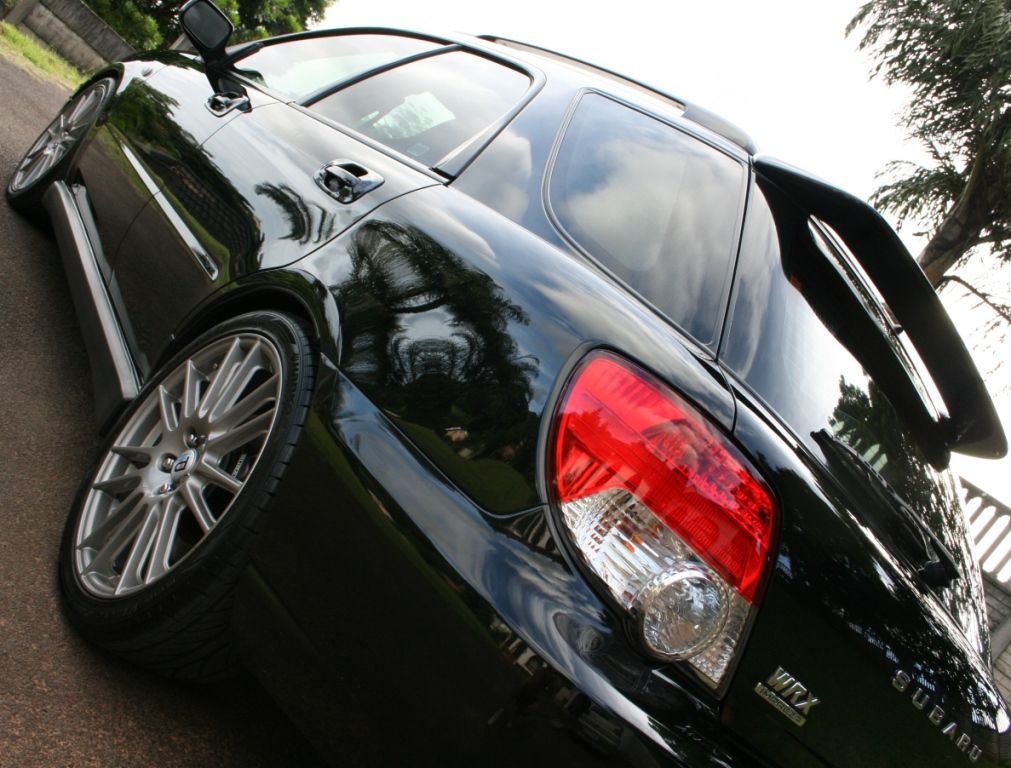
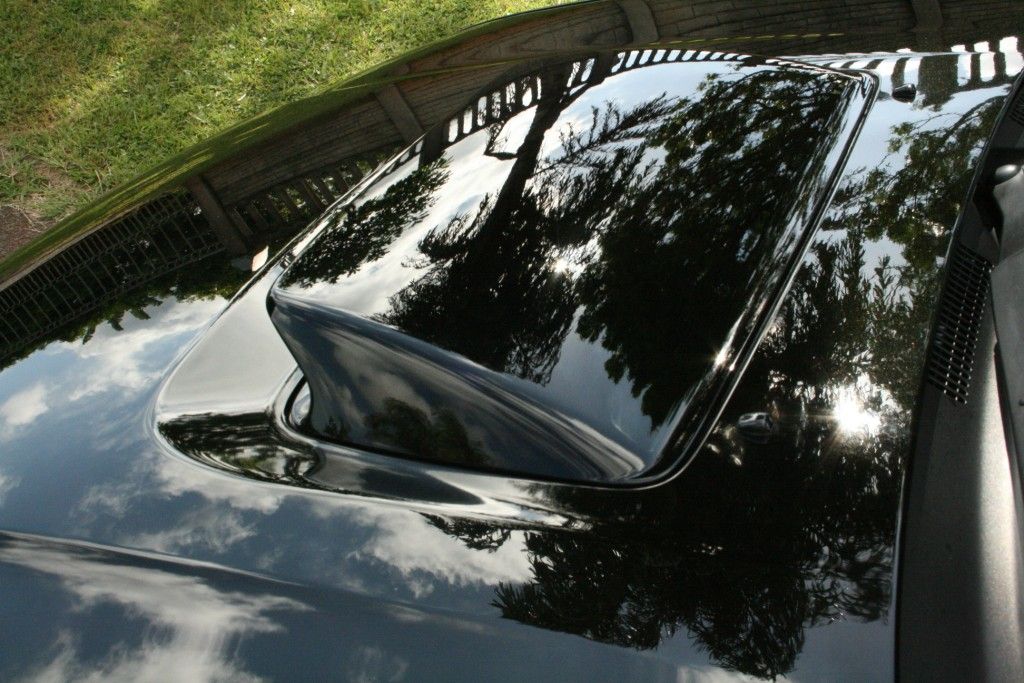
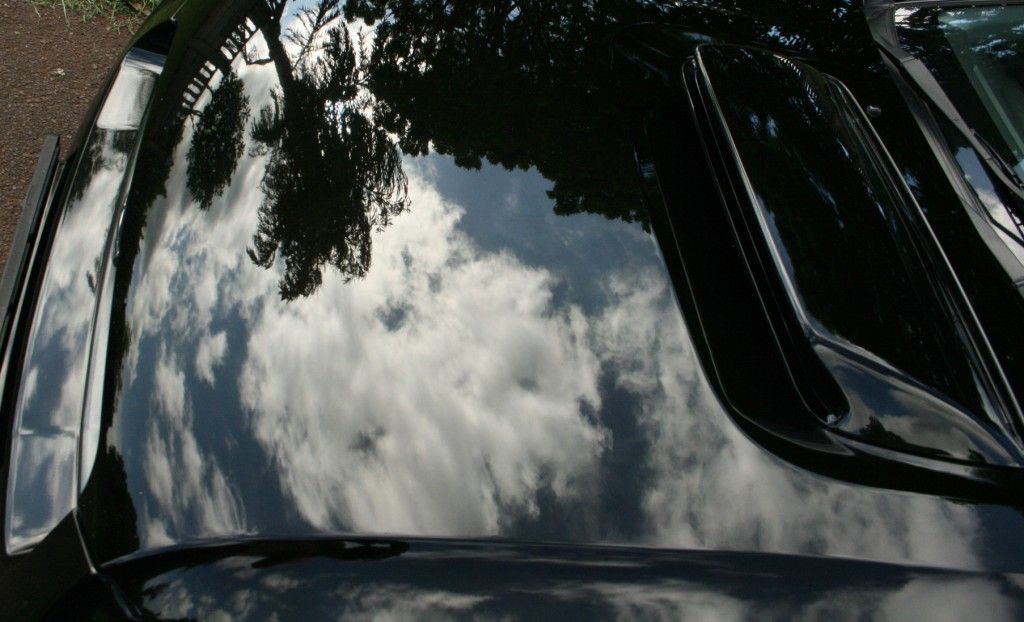
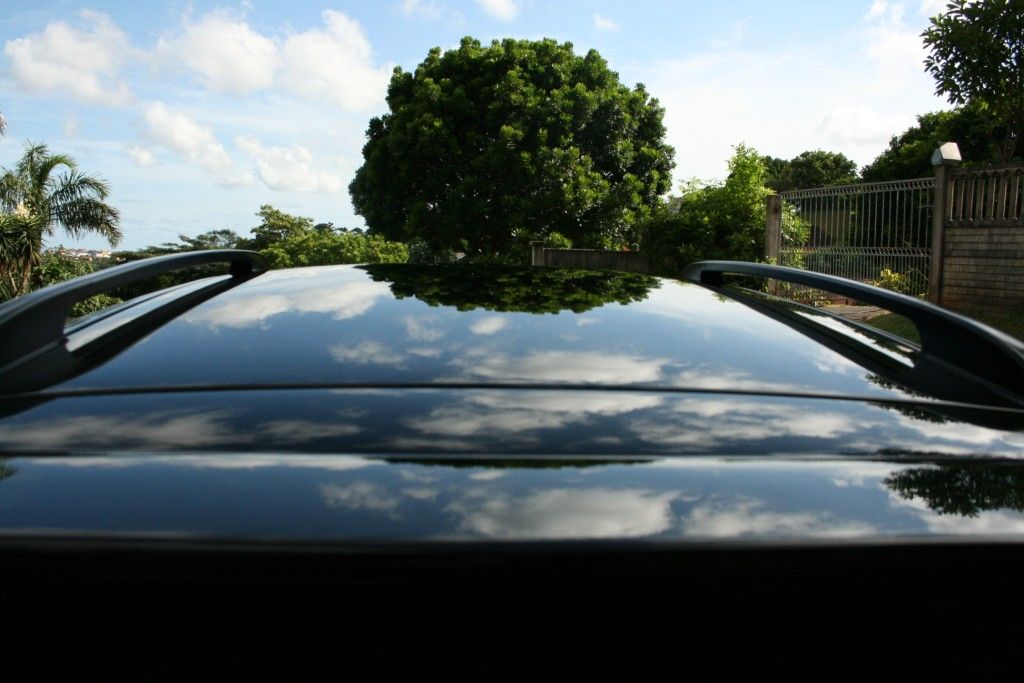
I knew before the detail even started that this Java Black Subaru would be soft.... just how soft.... well that I was not prepared for but more on that later.
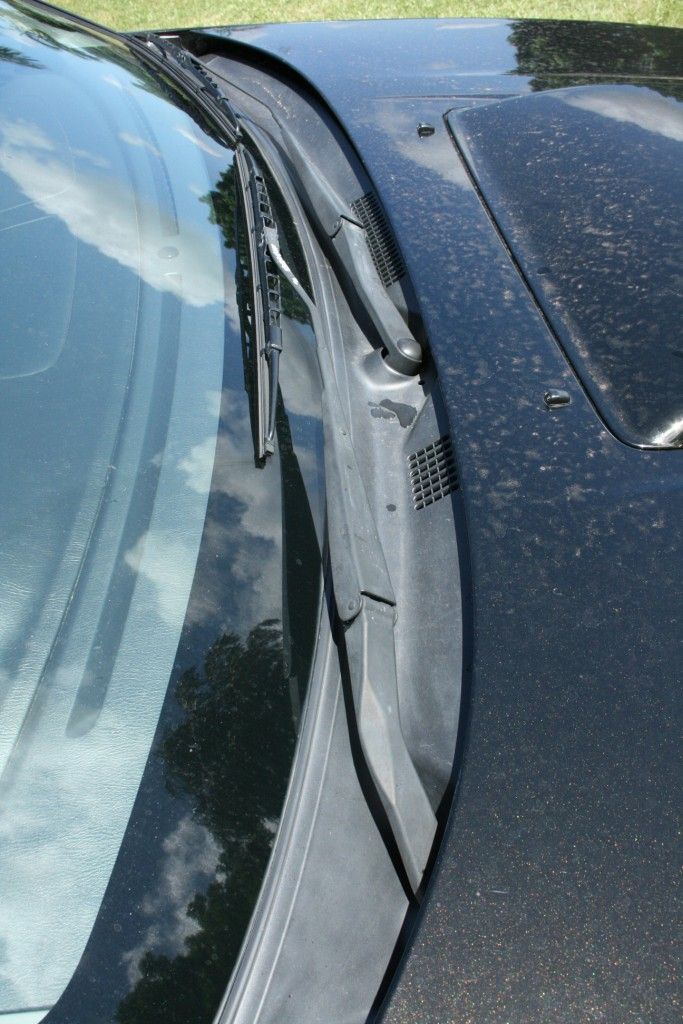
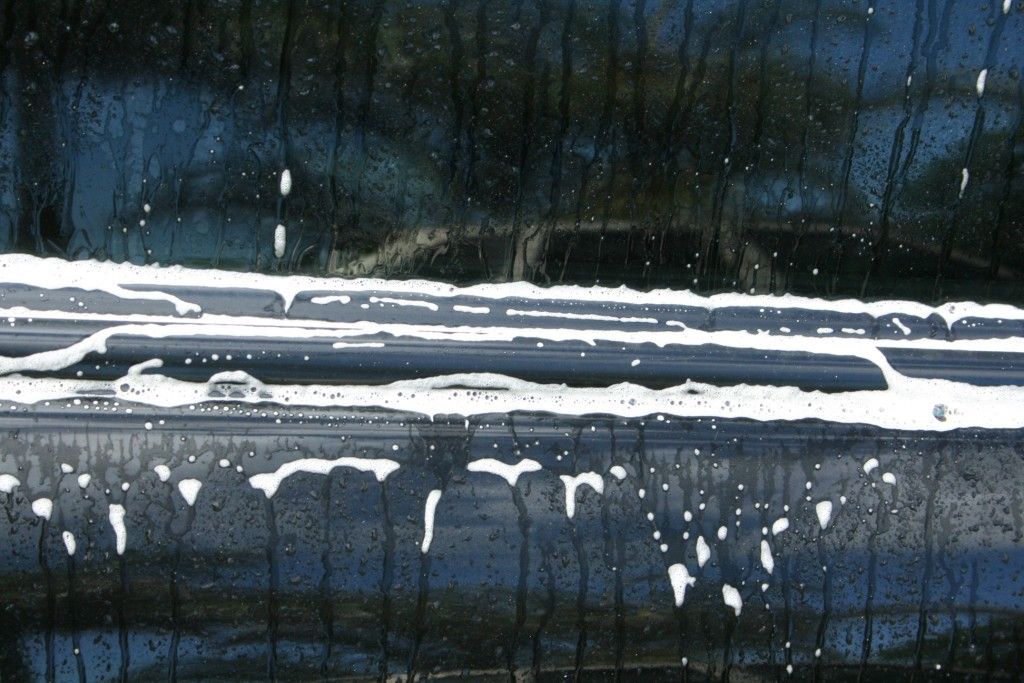
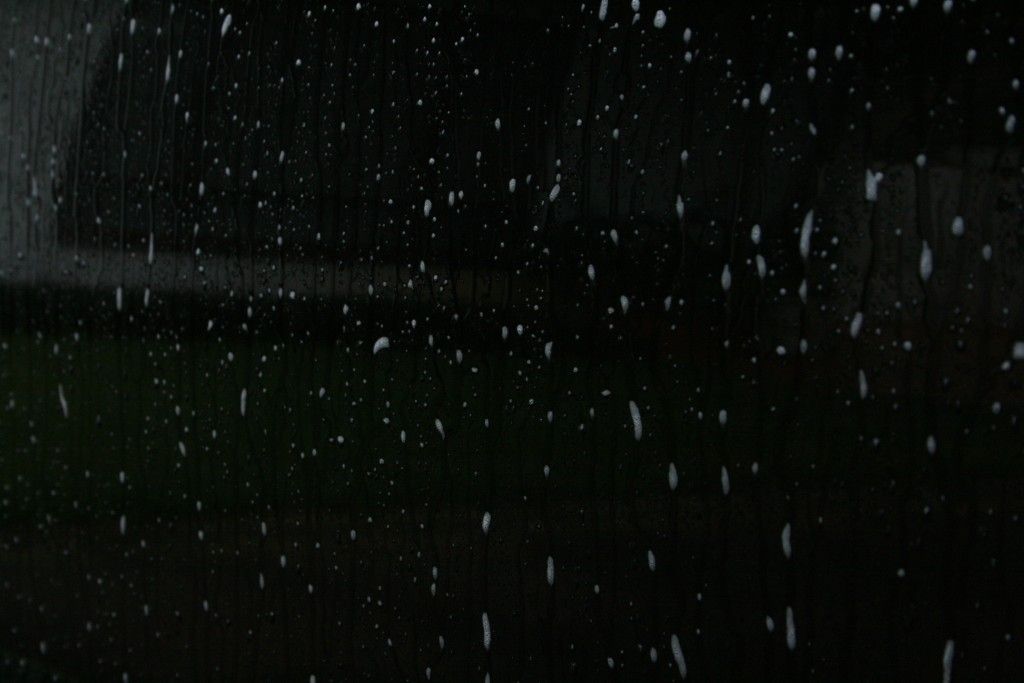
So the vehicle was dropped off on Friday and I got to work trying to remove some serious hard water spots from the windows of the vehicle. These have been present for a long time and are a real sore point for the customer.
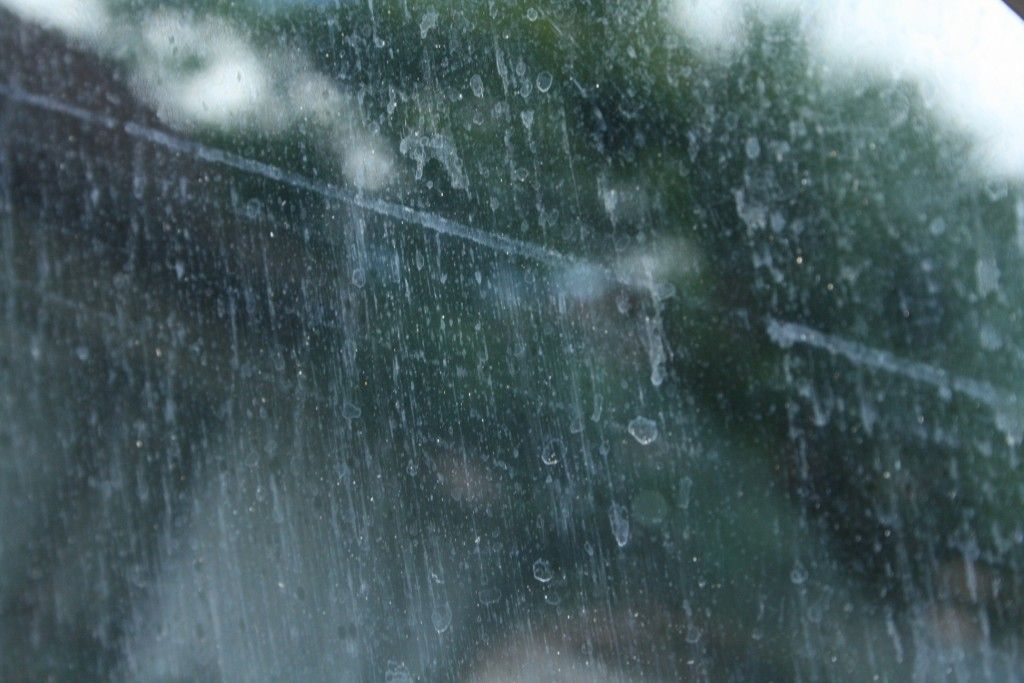
I had done some research into the removal of water spots and the preferred method is to use a product called cerium oxide in combination with a felt pad on a machine polisher. Unfortunately I was unable to secure these products in time for the detail and had to try some alternative methods, none of which worked. These included soaking paper towel in white vinegar and pasting it on the window and allowing it to dwell overnight (the vinegar helps to break down the minerals in the water spots) using a glass cleaner, a dedicated glass polish from Autoglym, claying with fine grade and medium grade clay and even Meguiars cleaner wax.

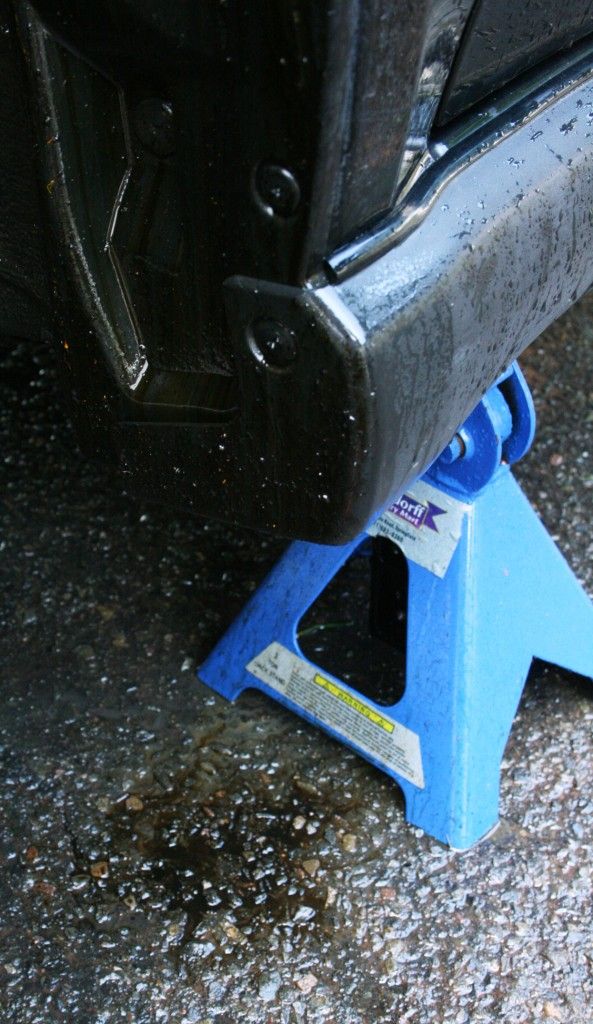
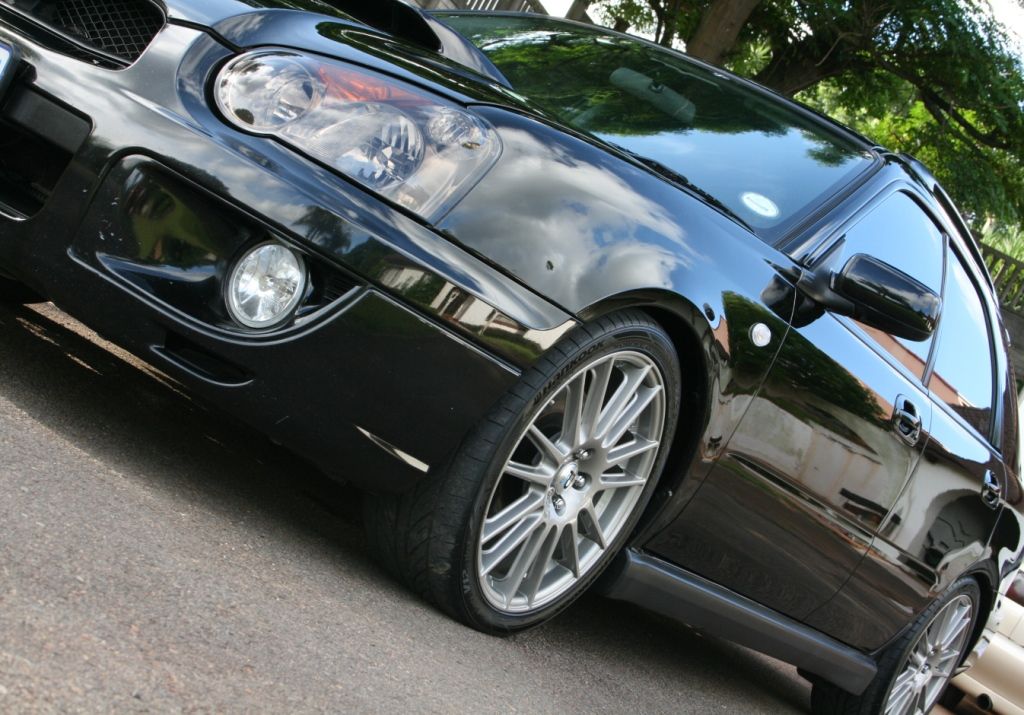
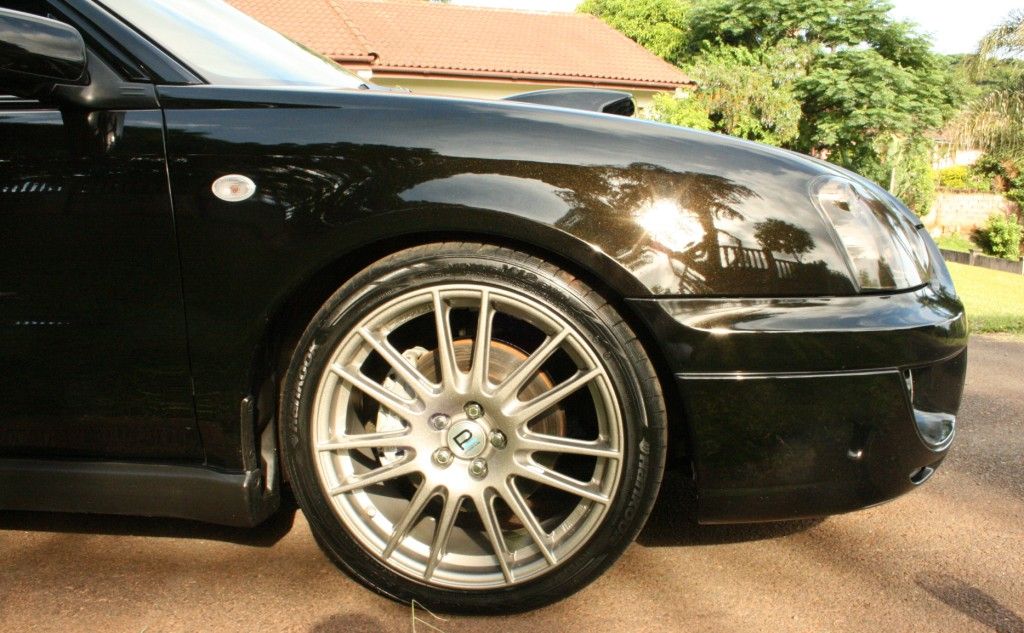
Saturday morning started at first light with getting the car up on jack stands and the wheels off.

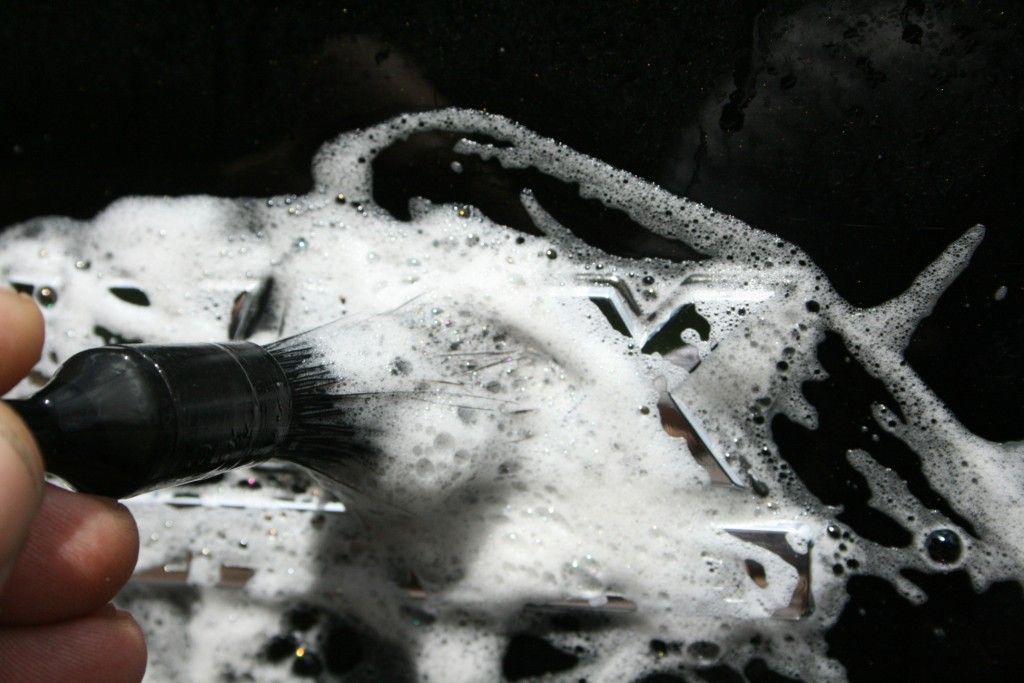
The usual surface dirt was present and this was first rinsed off before the tires were scrubbed clean using Cyclo CM30. Various brushes were then used to clean the wheels using Turtle Wax Intensive Wheel Cleaner.
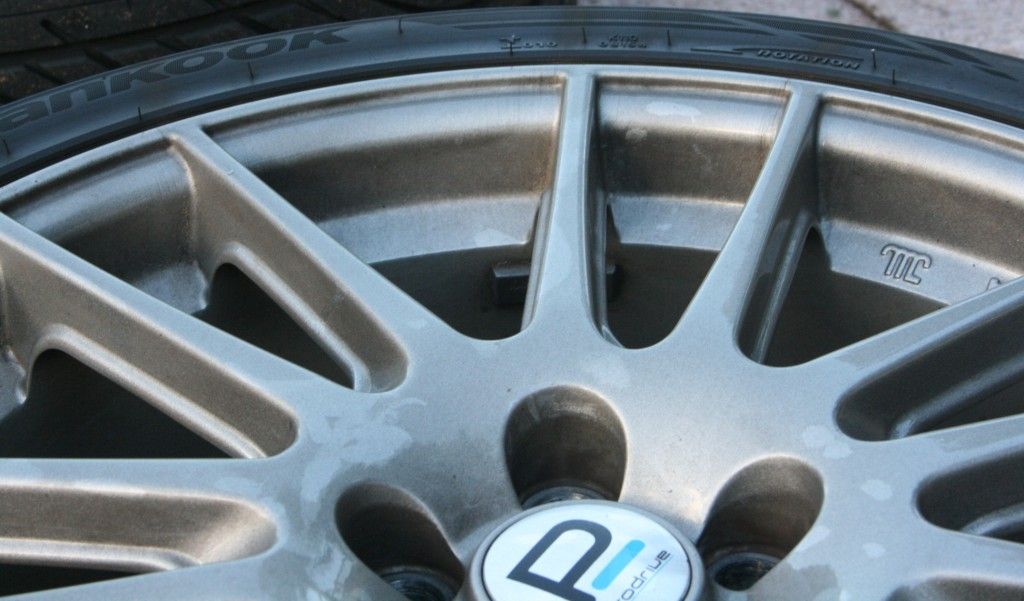
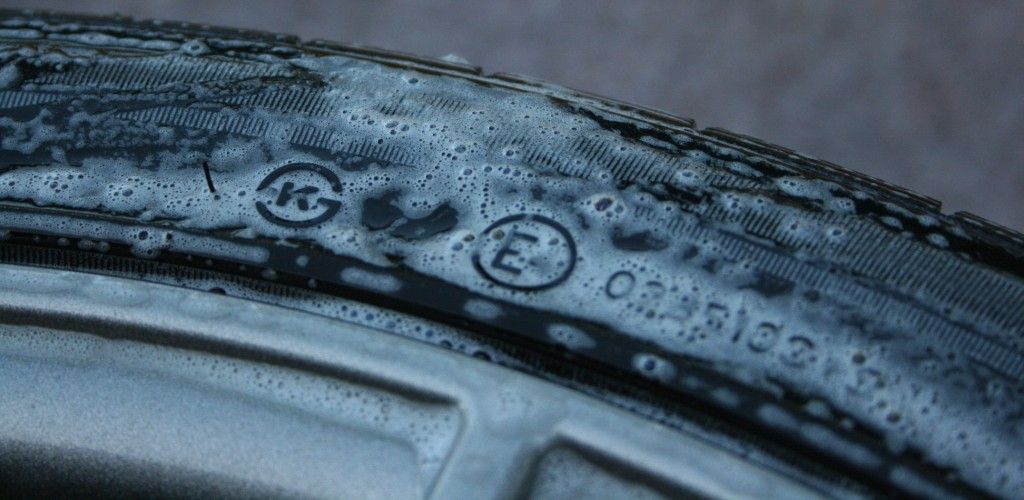

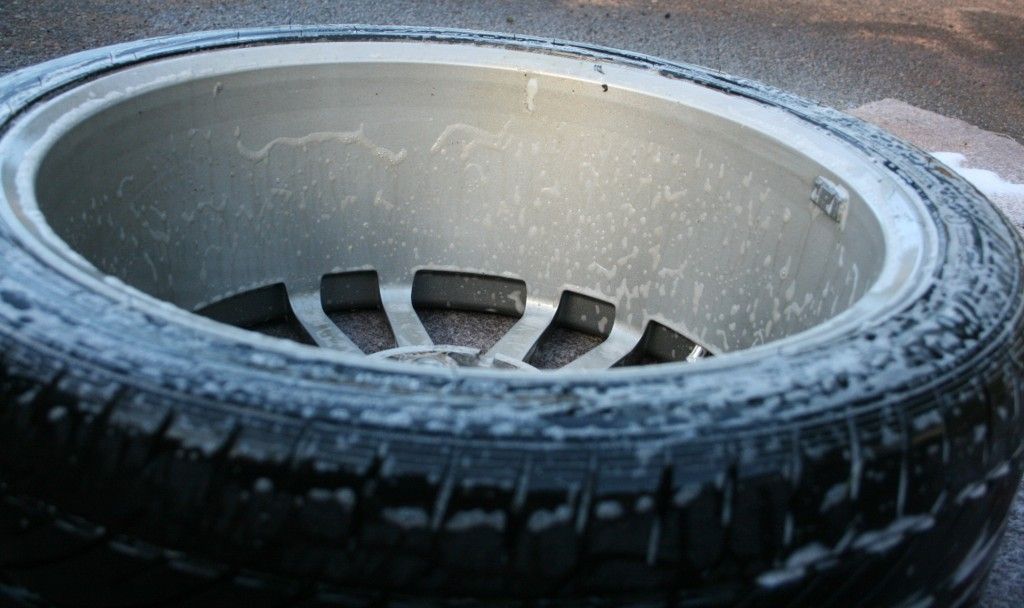
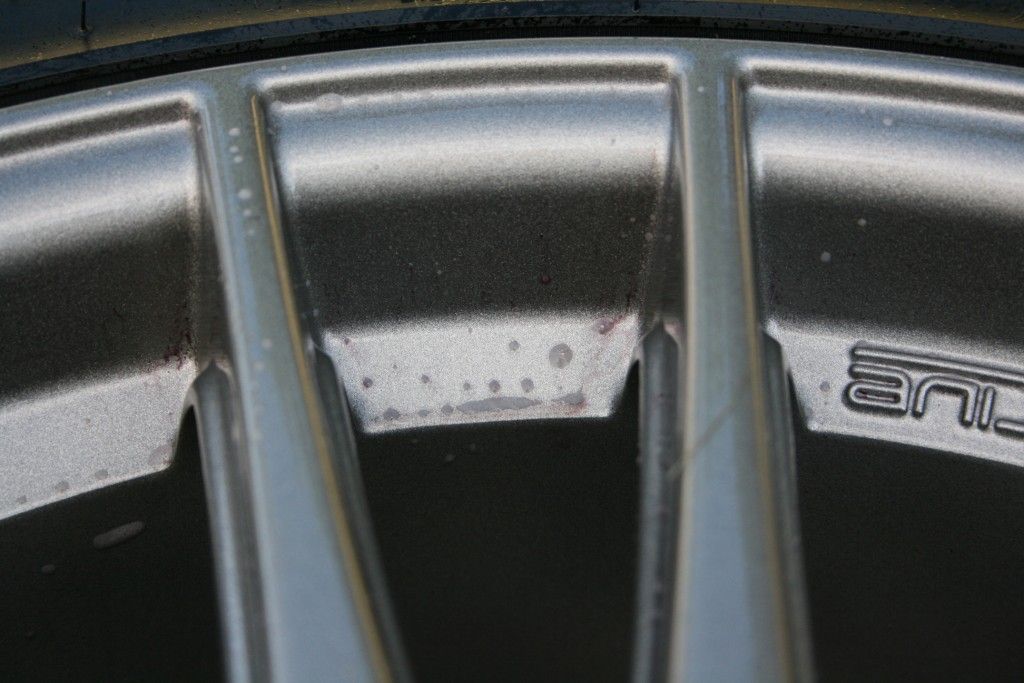
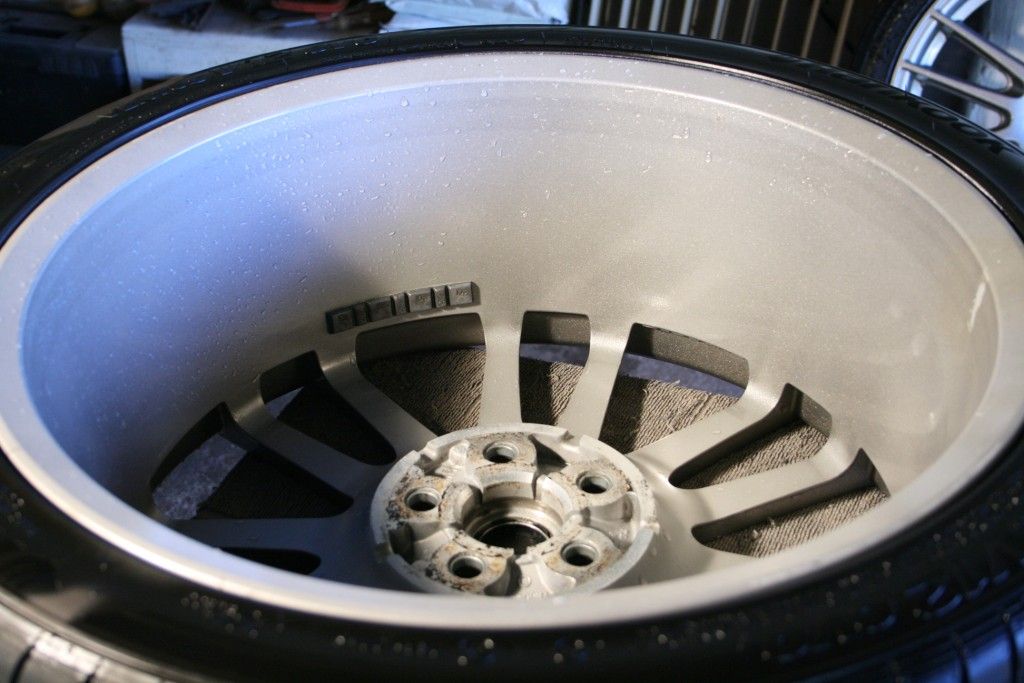
The barrels of the wheels contained a lot of tar deposits and these were cleaned off using Autoglym Intensive Tar Remover - the faces had minimal tar deposits and these too were removed.
I then set about removing the iron deposits using Iron-x from both the faces and barrels of the wheels (and the wheel nuts) and was impressed with how little iron contamination was present.
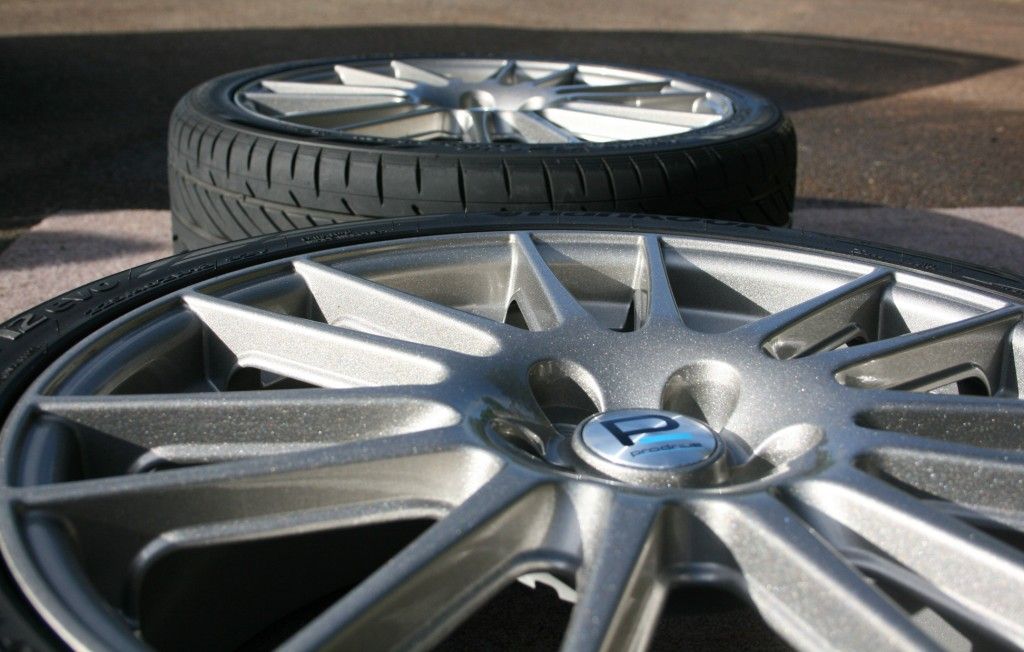
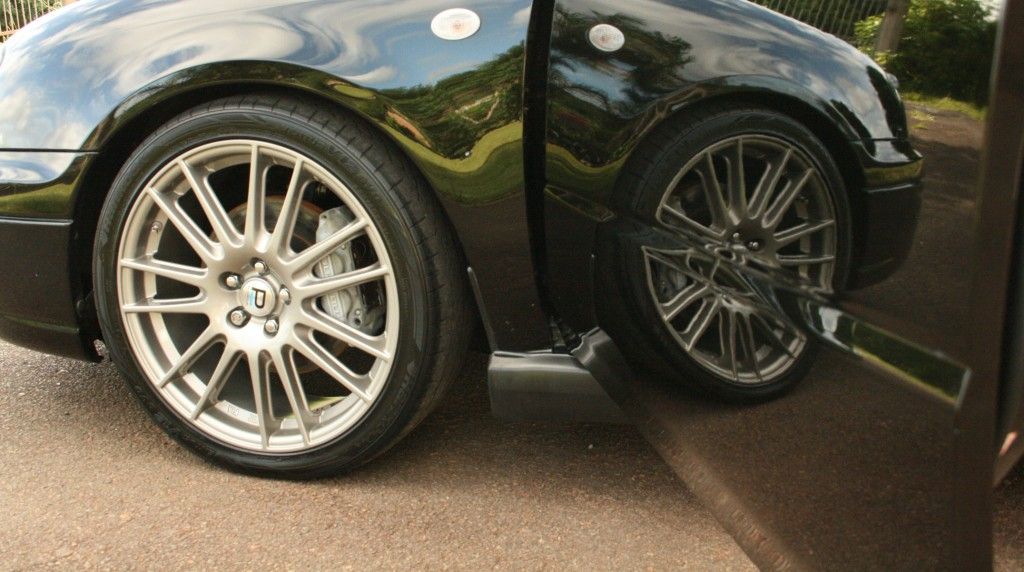
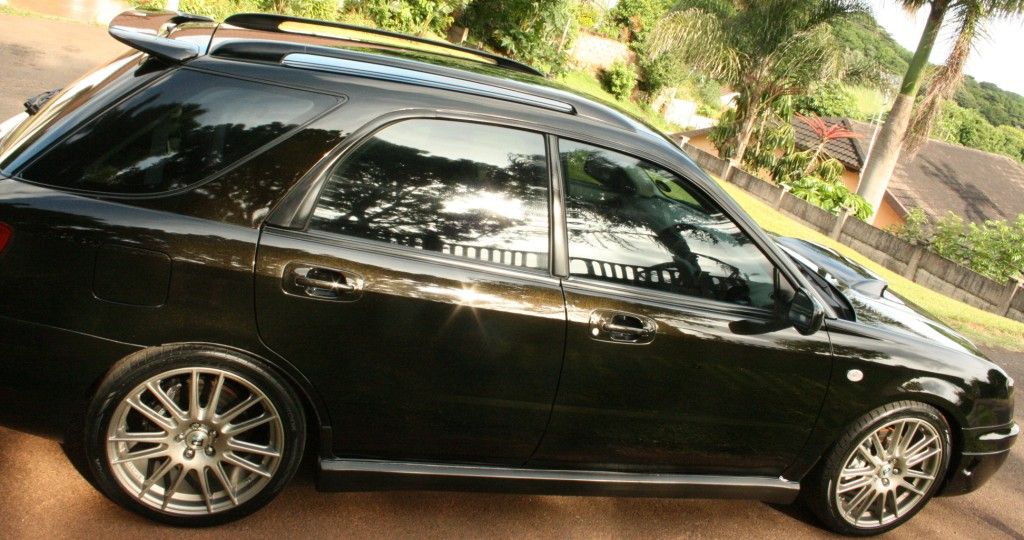
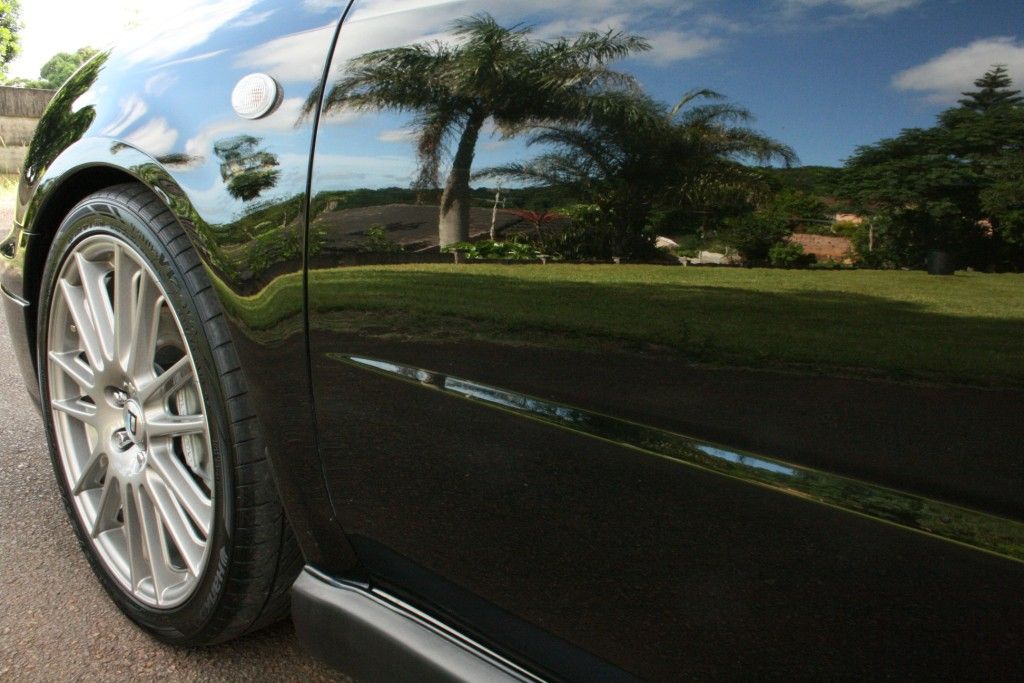
I now had perfectly clean wheels and began polishing them using a Lake Country uniball attached to a drill, with Meguiars All Metal Polish. The rims were then sealed using 2 coats of Collinite 845.
The wheel arches were then cleaned out using various brushes and Cyclo CM 30
Rear before
Rear After
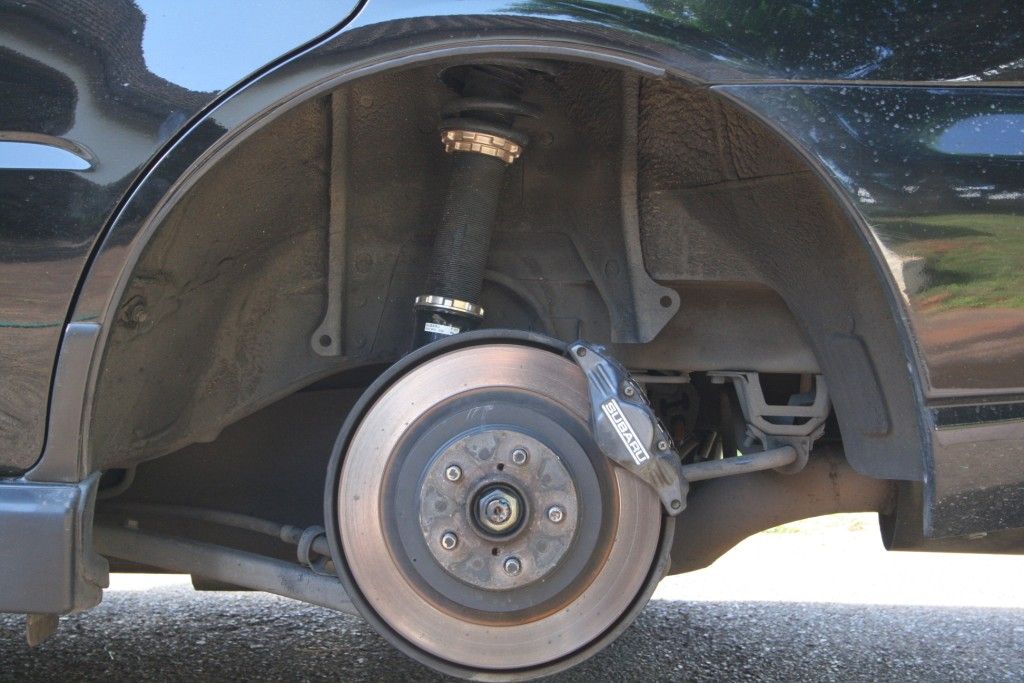
Front Before
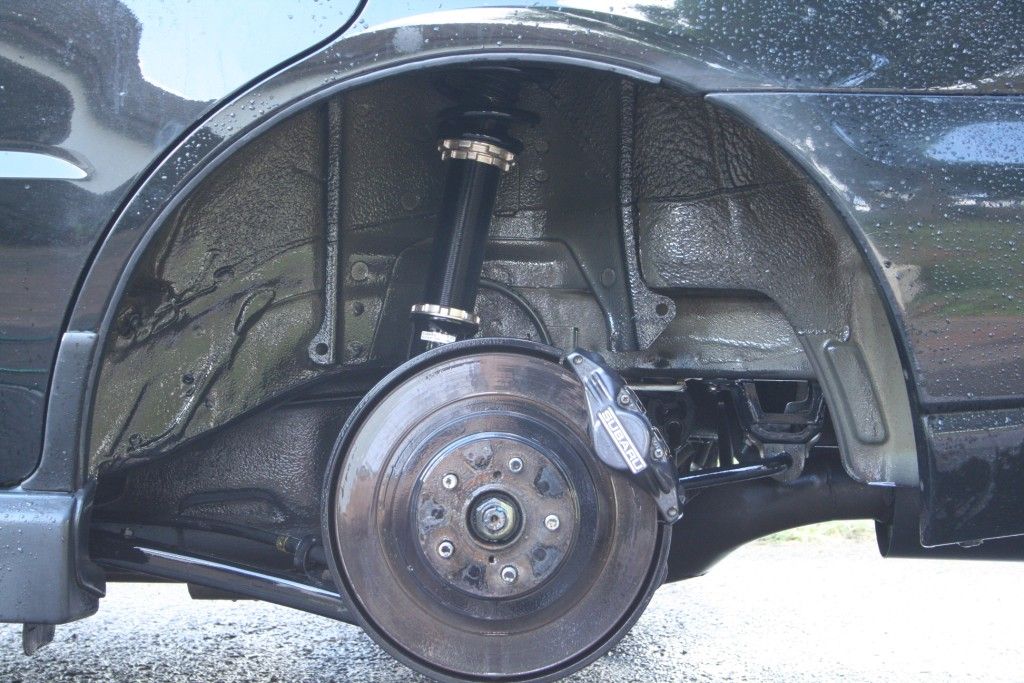
Front During
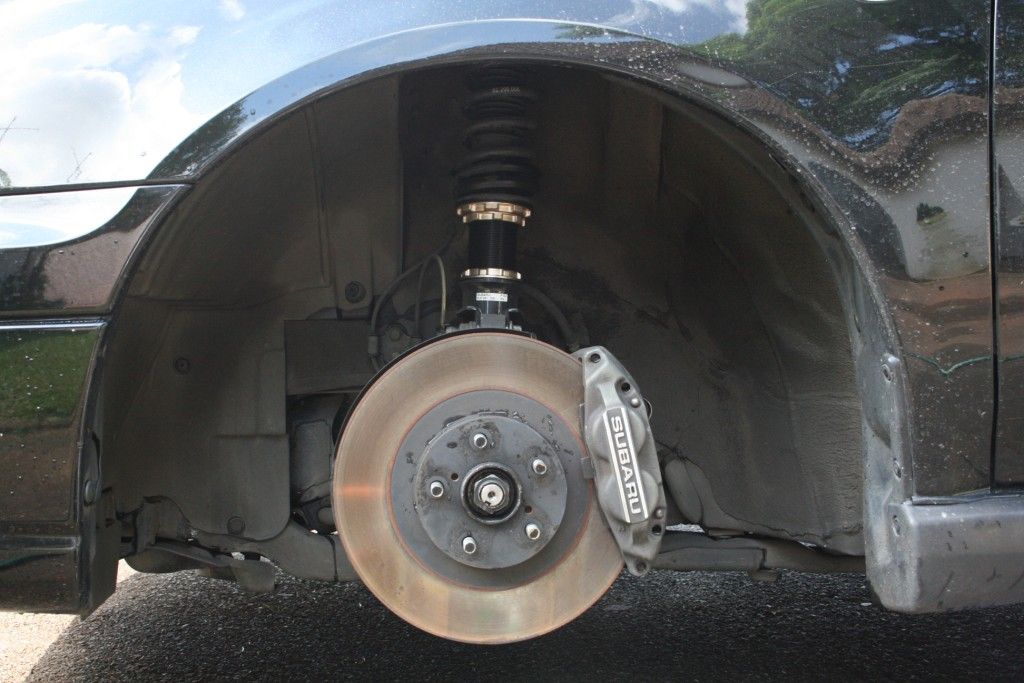
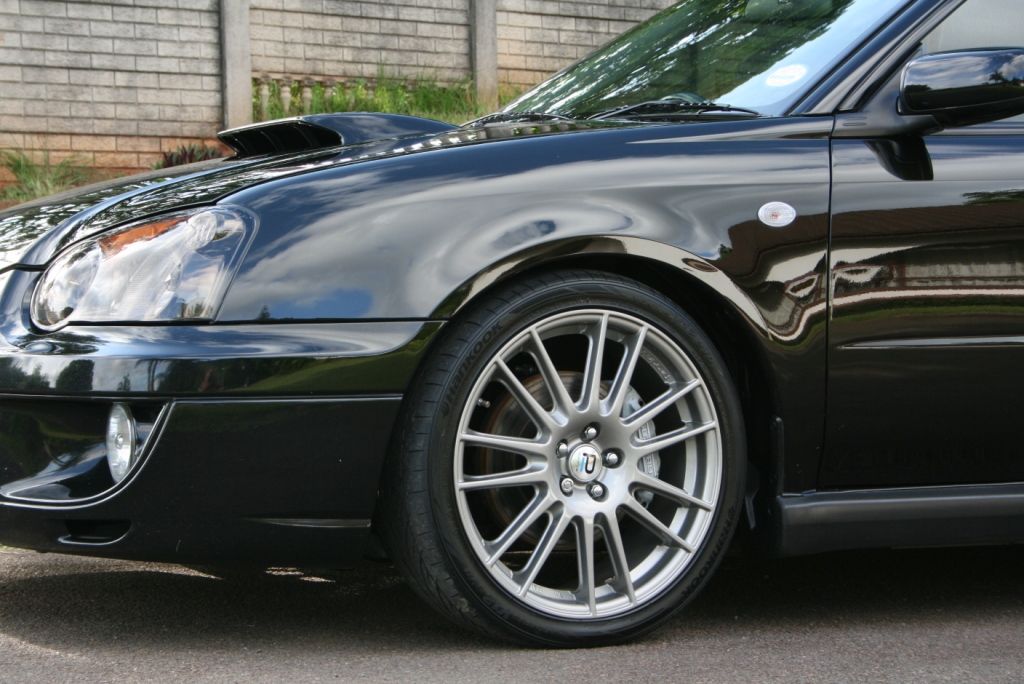
Front After
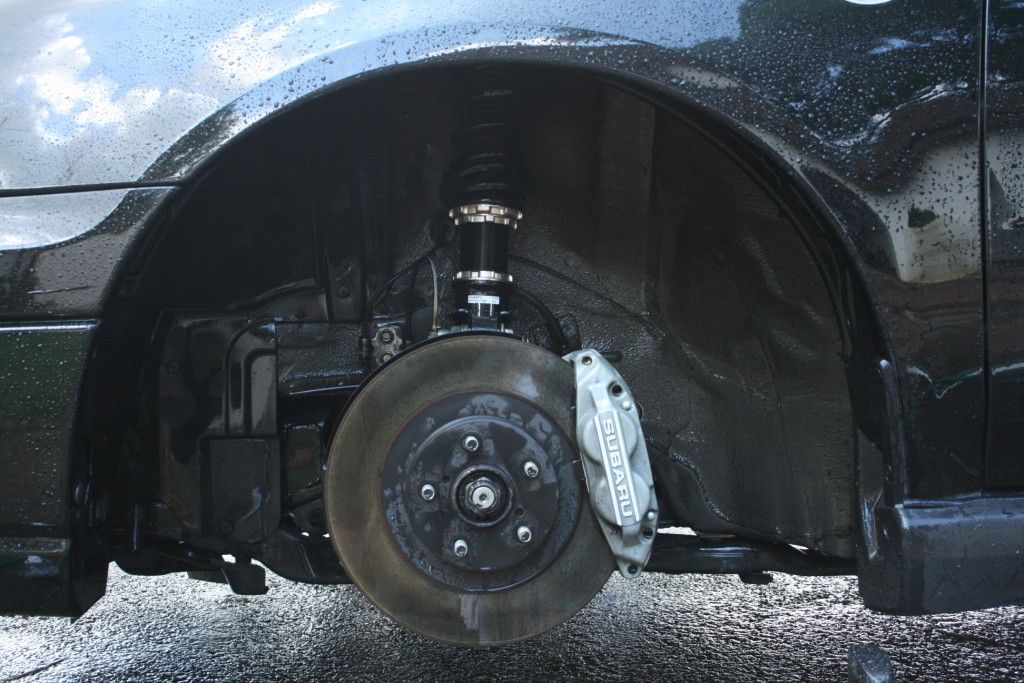
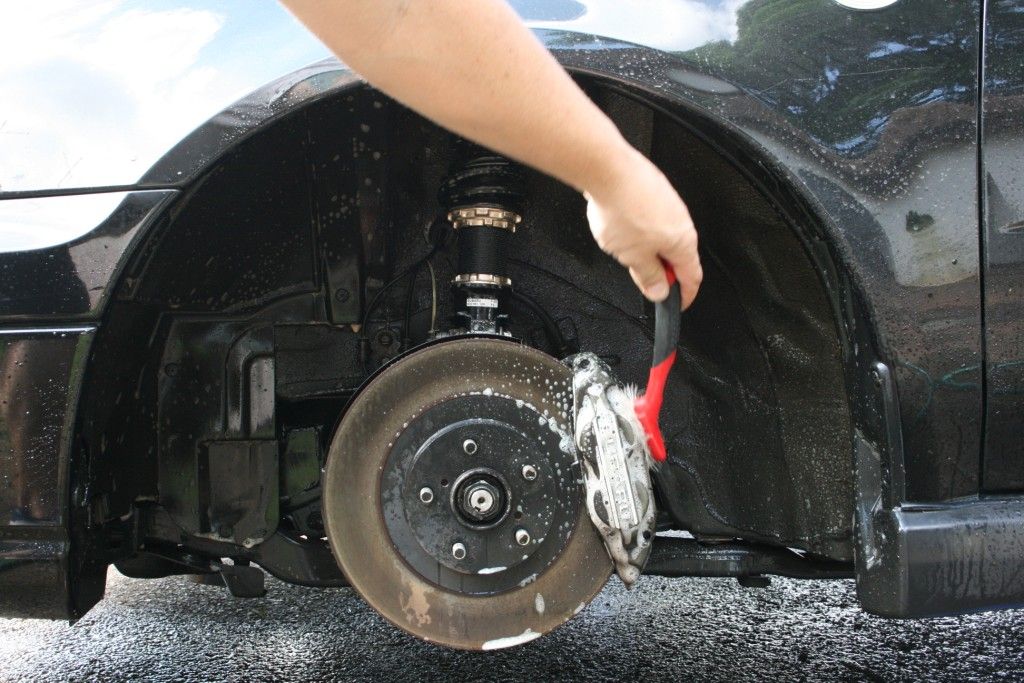
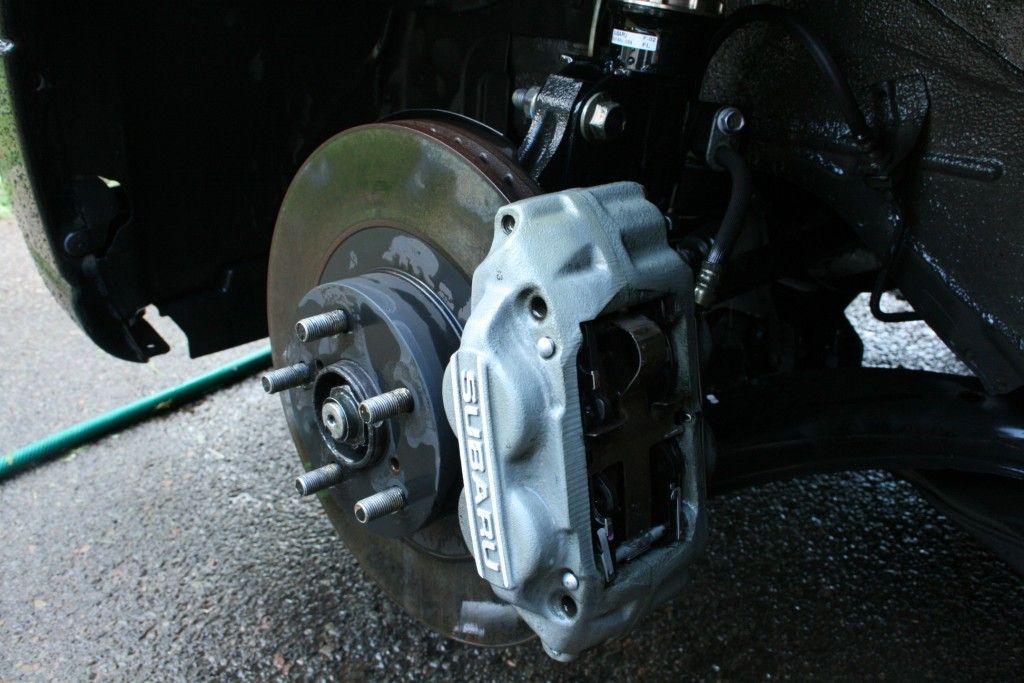
Brake caliper cleaned
The amount of tar (and rubber) present in the wheel arches was perhaps indicative of some hard launches :lol: )
The wheels were then refitted ending stage one of the detail some 6 hours after it commenced.
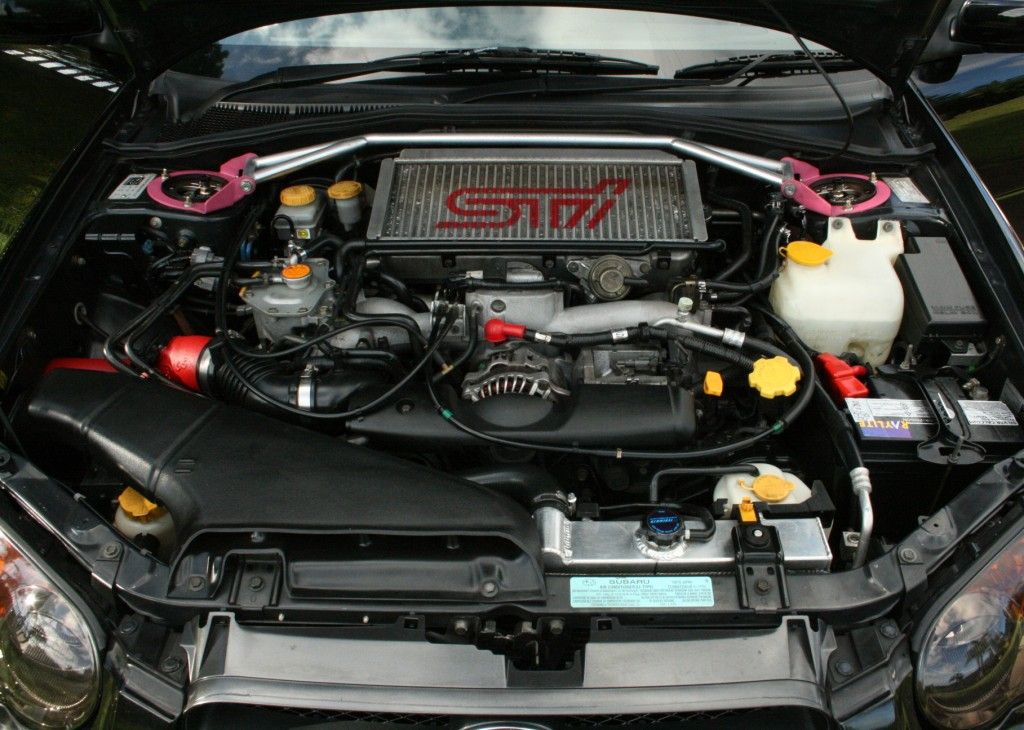
I then gave the engine bay a very quick 'spruce up'... no serious washing, certainly no water - mainly just a lite wipe down and treatment of all the plastic bits with Chemical Guys Bare Bones
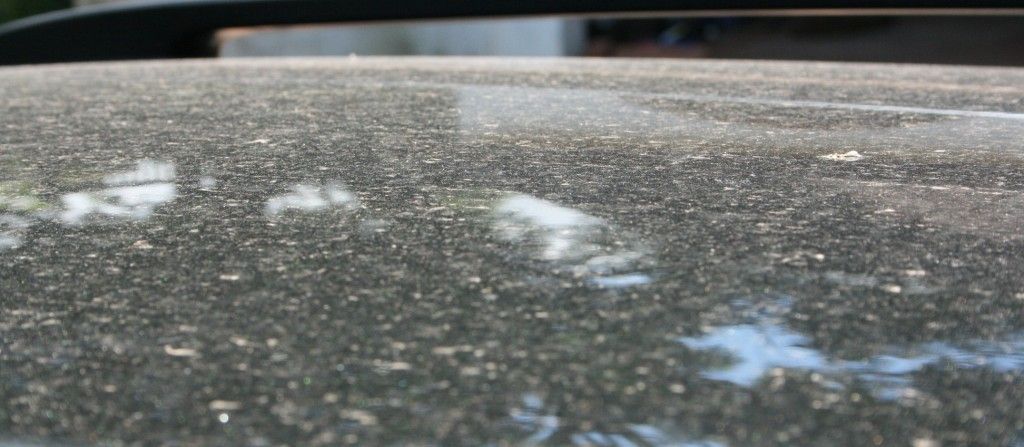
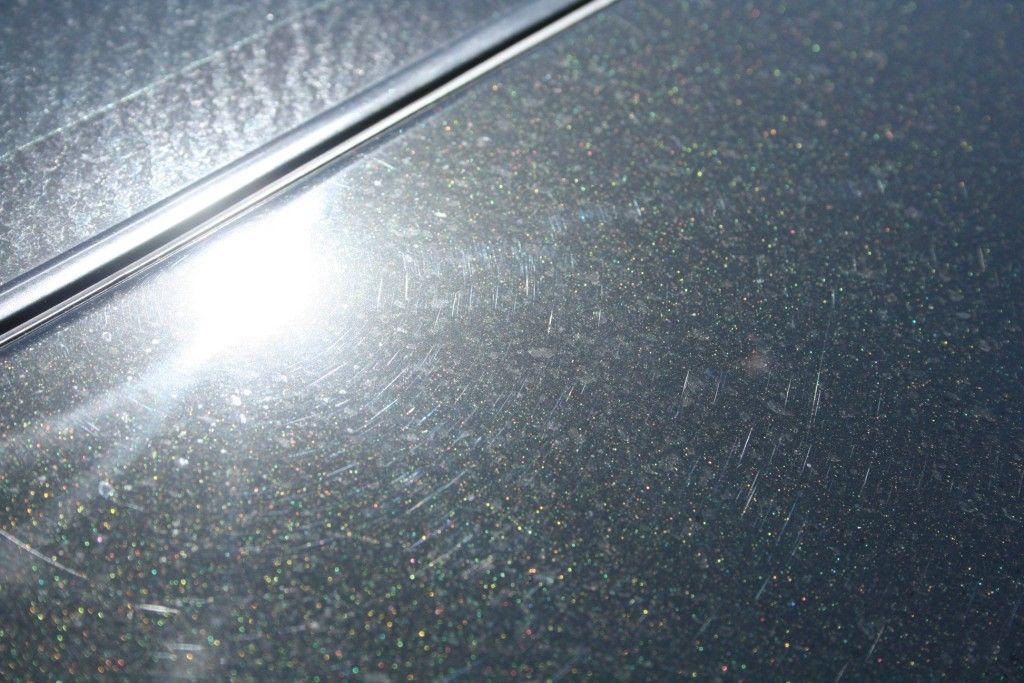
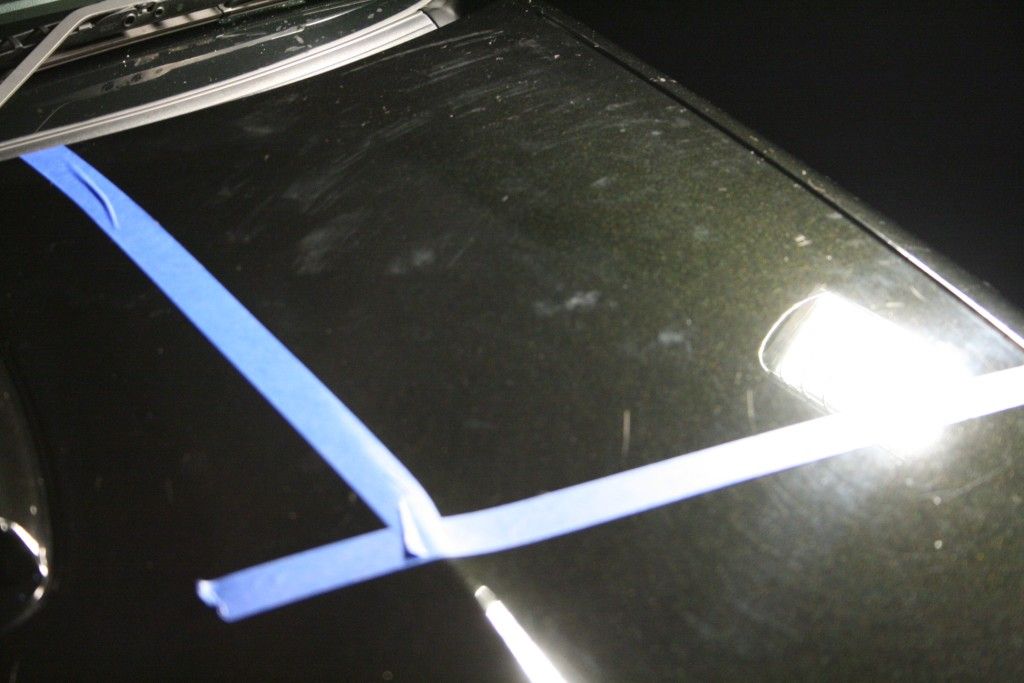
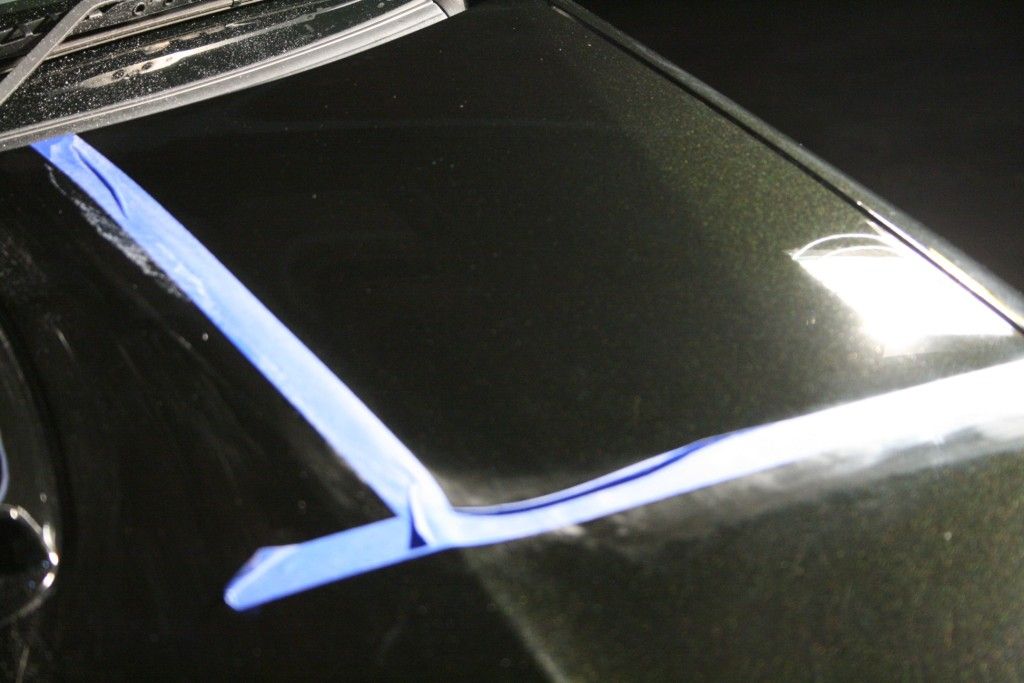
I then set about taking some pics of the condition of the paint
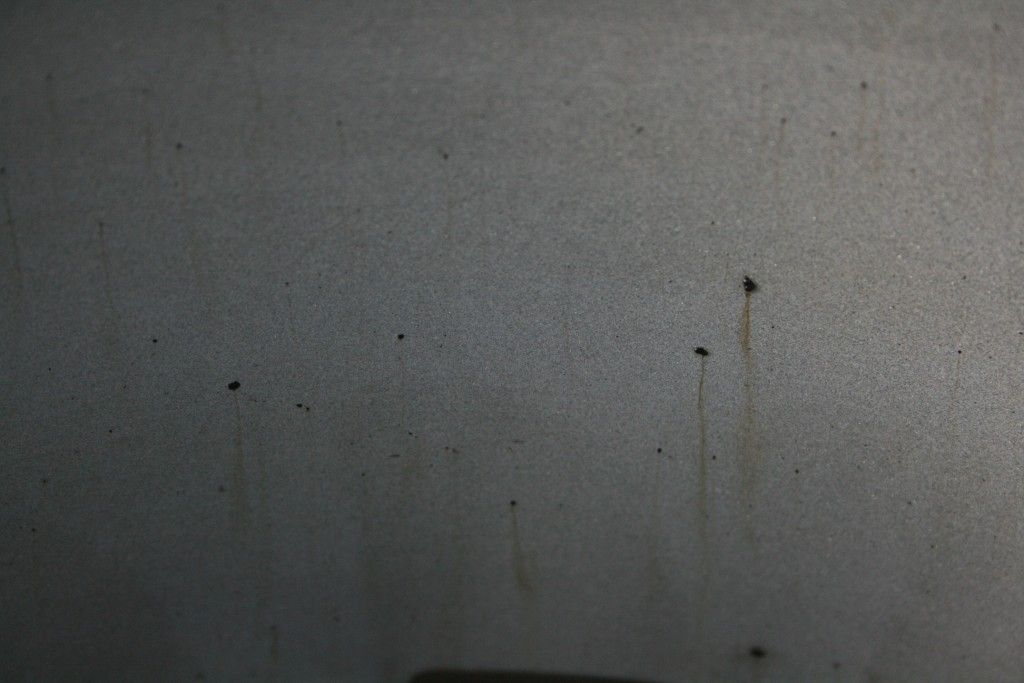
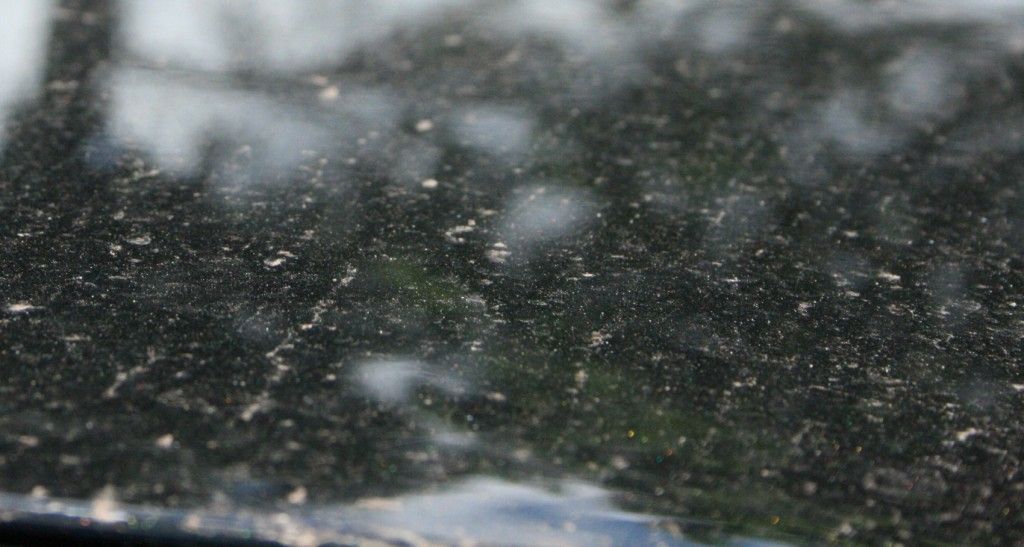
Surface dirt
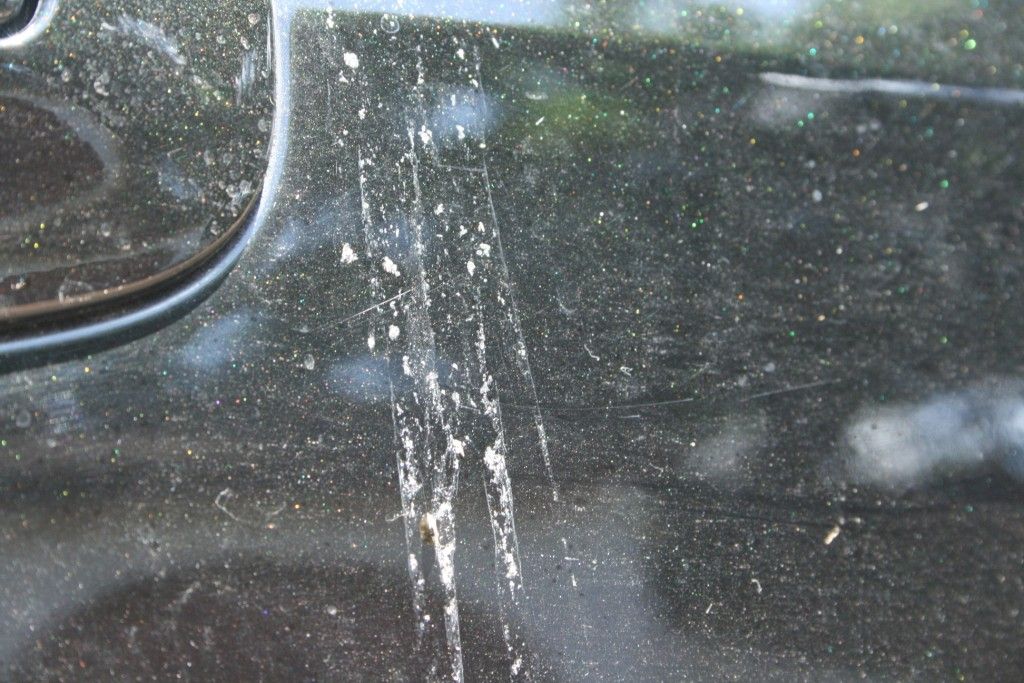
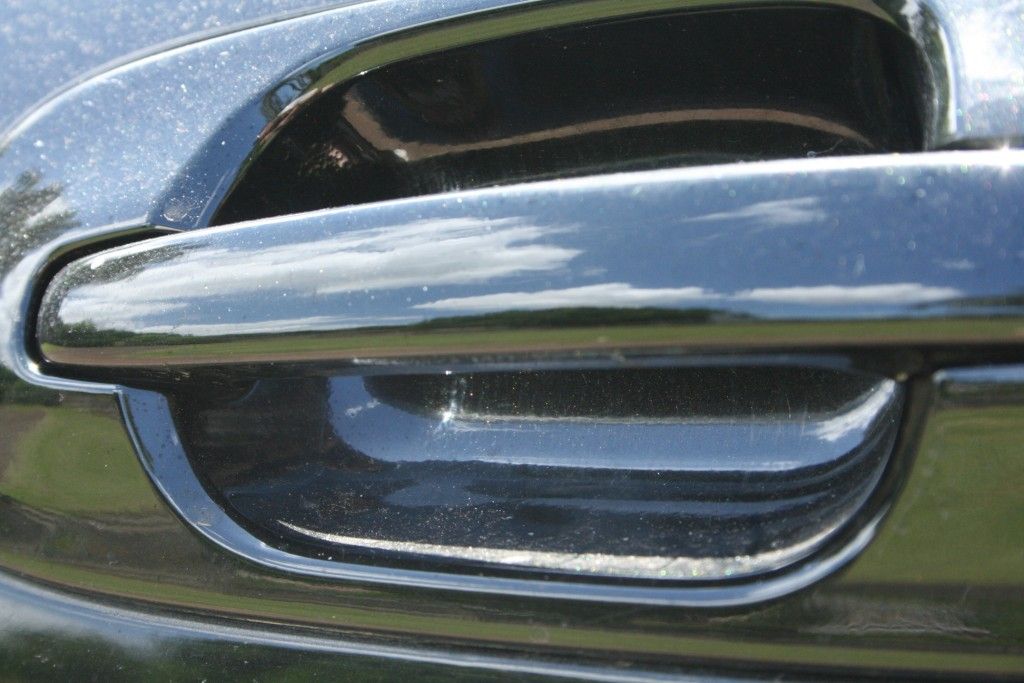
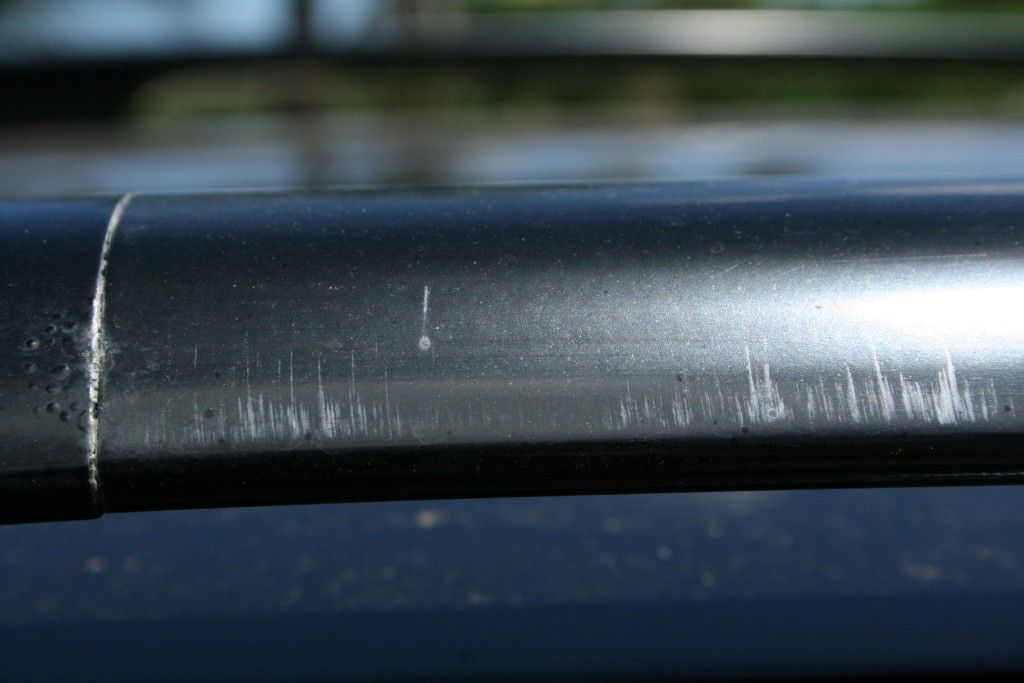
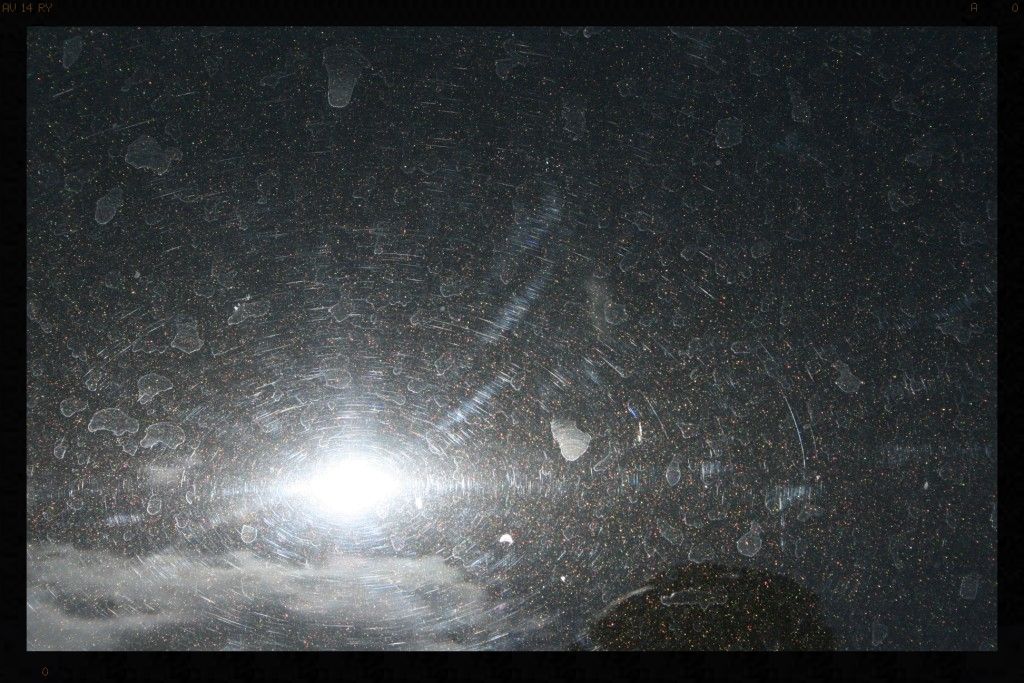
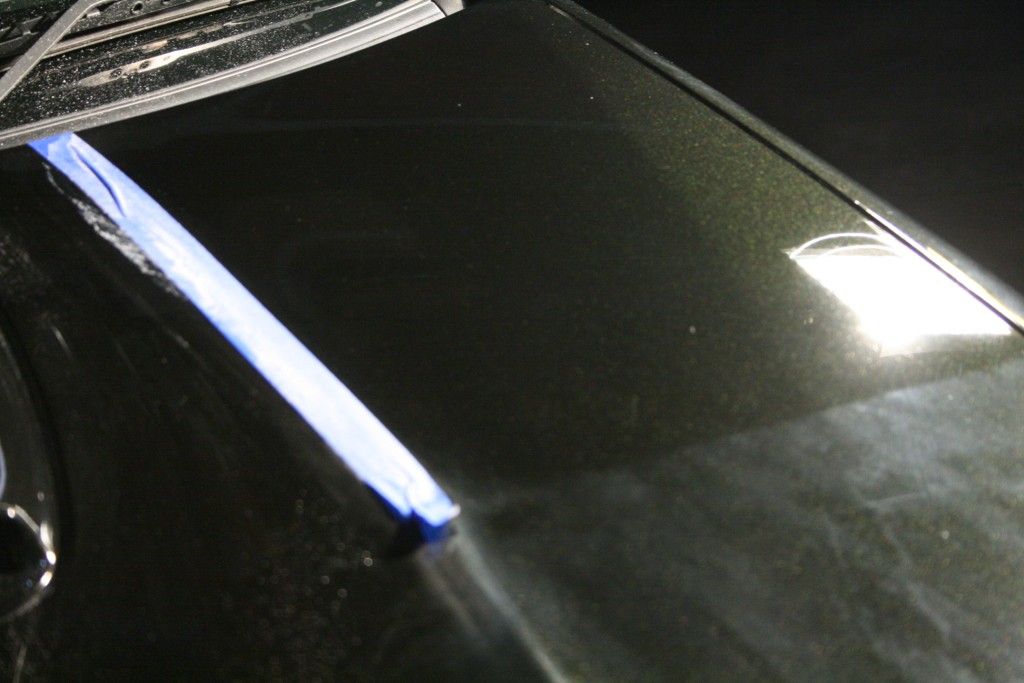
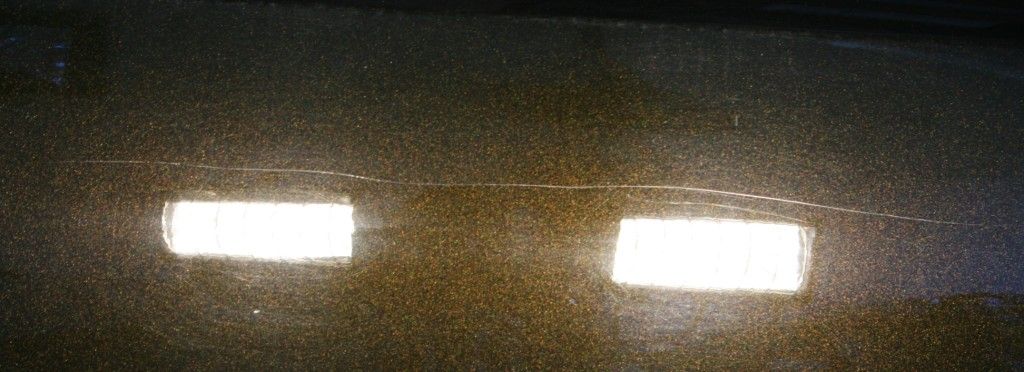
Swirl Marks
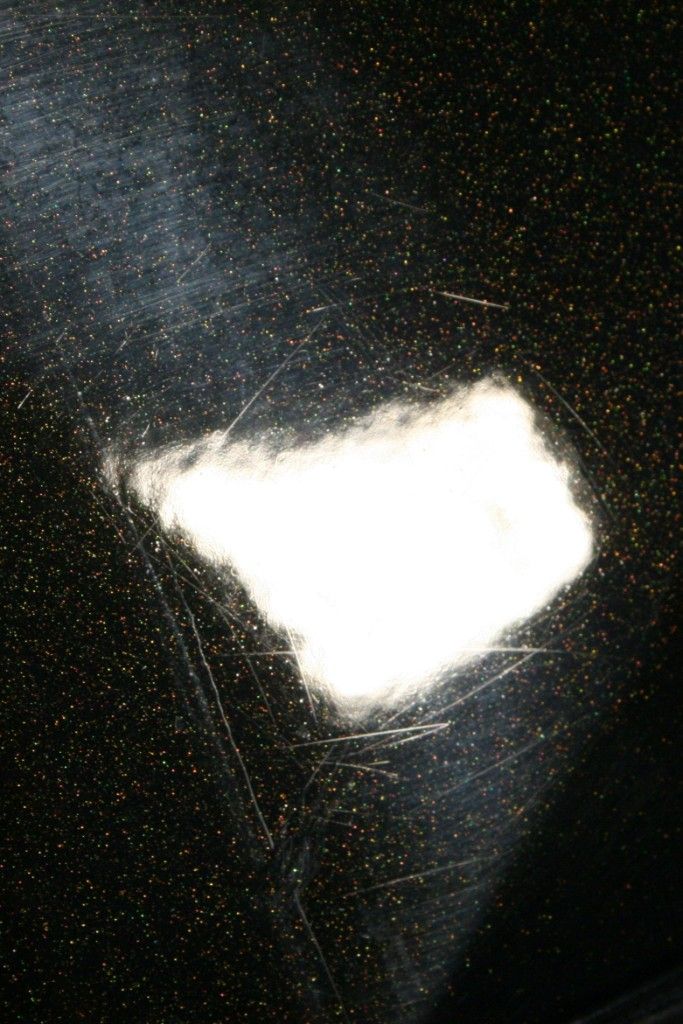
A very deep scratch

:hurray:
I knew before the detail even started that this Java Black Subaru would be soft.... just how soft.... well that I was not prepared for but more on that later.
So the vehicle was dropped off on Friday and I got to work trying to remove some serious hard water spots from the windows of the vehicle. These have been present for a long time and are a real sore point for the customer.
I had done some research into the removal of water spots and the preferred method is to use a product called cerium oxide in combination with a felt pad on a machine polisher. Unfortunately I was unable to secure these products in time for the detail and had to try some alternative methods, none of which worked. These included soaking paper towel in white vinegar and pasting it on the window and allowing it to dwell overnight (the vinegar helps to break down the minerals in the water spots) using a glass cleaner, a dedicated glass polish from Autoglym, claying with fine grade and medium grade clay and even Meguiars cleaner wax.
Saturday morning started at first light with getting the car up on jack stands and the wheels off.
The usual surface dirt was present and this was first rinsed off before the tires were scrubbed clean using Cyclo CM30. Various brushes were then used to clean the wheels using Turtle Wax Intensive Wheel Cleaner.
The barrels of the wheels contained a lot of tar deposits and these were cleaned off using Autoglym Intensive Tar Remover - the faces had minimal tar deposits and these too were removed.
I then set about removing the iron deposits using Iron-x from both the faces and barrels of the wheels (and the wheel nuts) and was impressed with how little iron contamination was present.
I now had perfectly clean wheels and began polishing them using a Lake Country uniball attached to a drill, with Meguiars All Metal Polish. The rims were then sealed using 2 coats of Collinite 845.
The wheel arches were then cleaned out using various brushes and Cyclo CM 30
Rear before
Rear After
Front Before
Front During
Front After
Brake caliper cleaned
The amount of tar (and rubber) present in the wheel arches was perhaps indicative of some hard launches :lol: )
The wheels were then refitted ending stage one of the detail some 6 hours after it commenced.
I then gave the engine bay a very quick 'spruce up'... no serious washing, certainly no water - mainly just a lite wipe down and treatment of all the plastic bits with Chemical Guys Bare Bones
I then set about taking some pics of the condition of the paint
Surface dirt
Swirl Marks
A very deep scratch


")