lawrenceSA
New member
- Feb 7, 2012
- 1,713
- 0
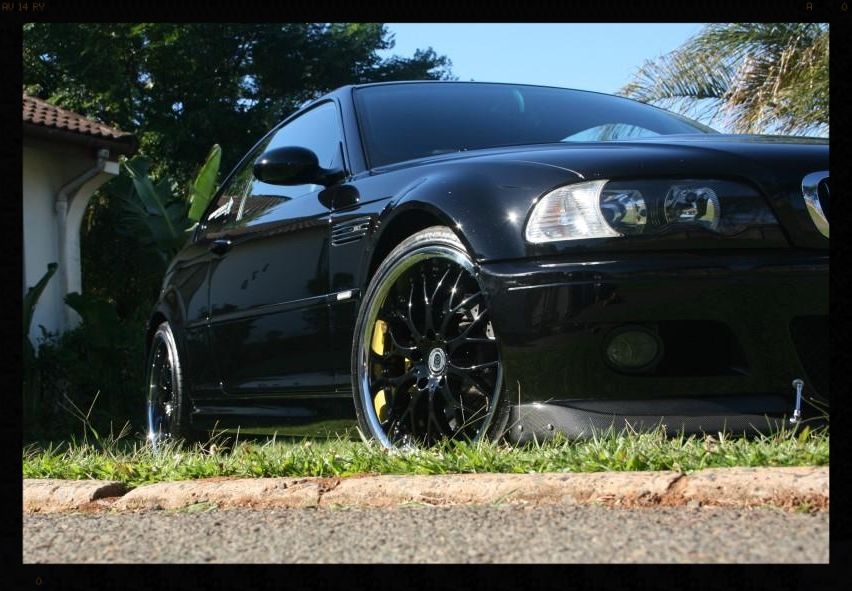
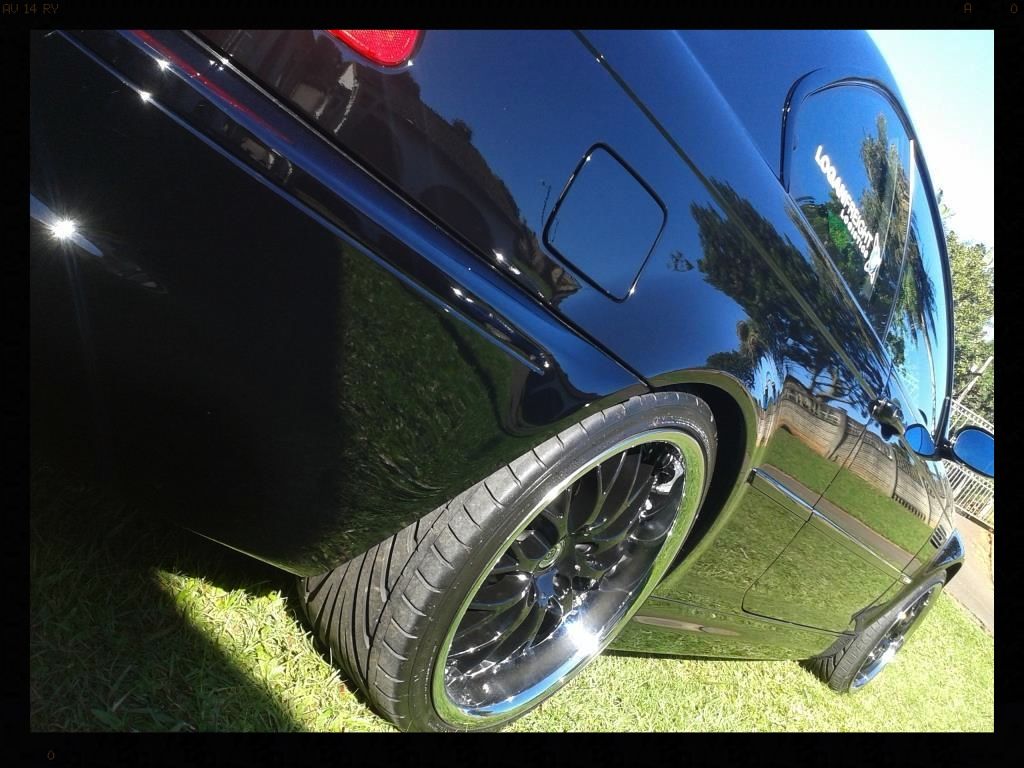
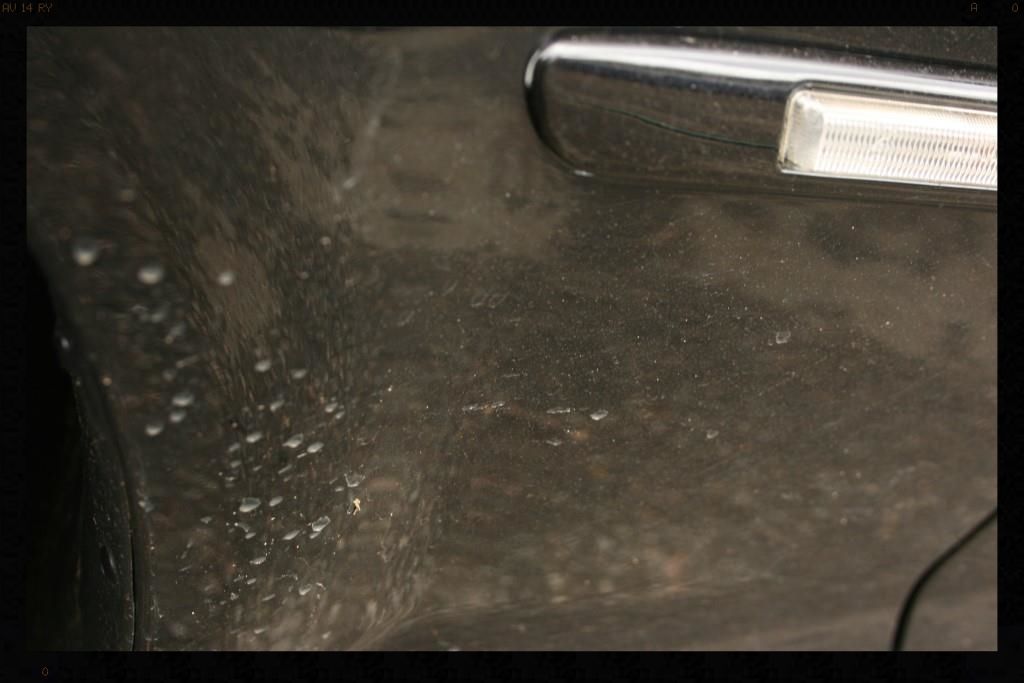
This particular car is a 2003 model with the current owner having owned it since 2005 - unfortunately the many years of improper care showed. The car has a special place in the owners heart and with me being on leave at the time it was a unique opportunity to work under no time constraints and rekindle the love he has for the car, by slowly bringing her back to her former glory over the course of a week.
I have been looking to a detail like this ever since I started doing this :grin:
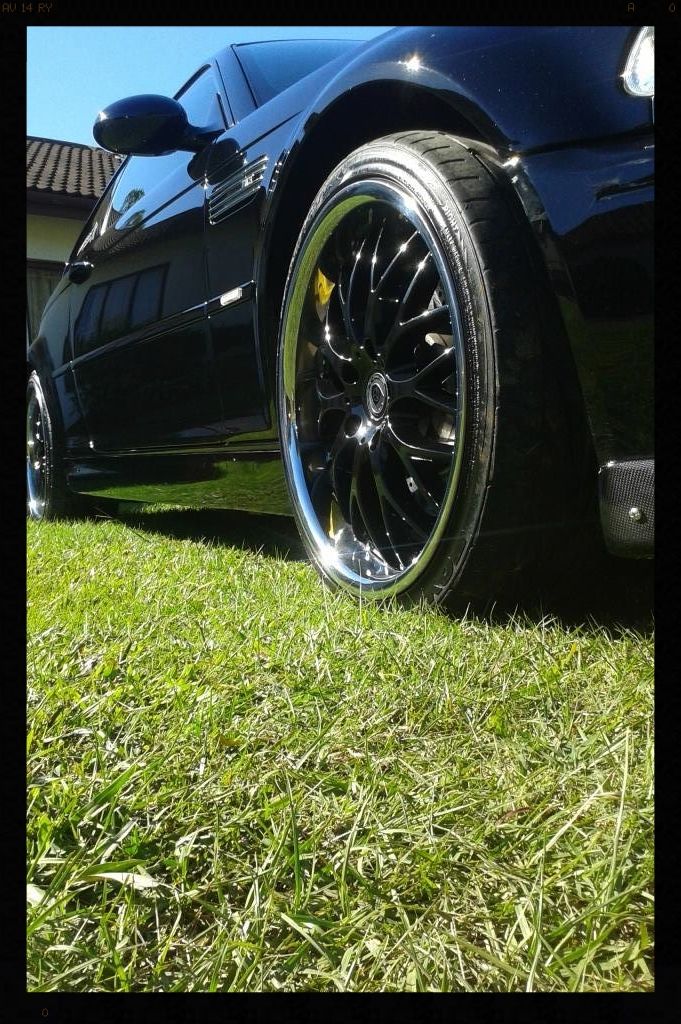
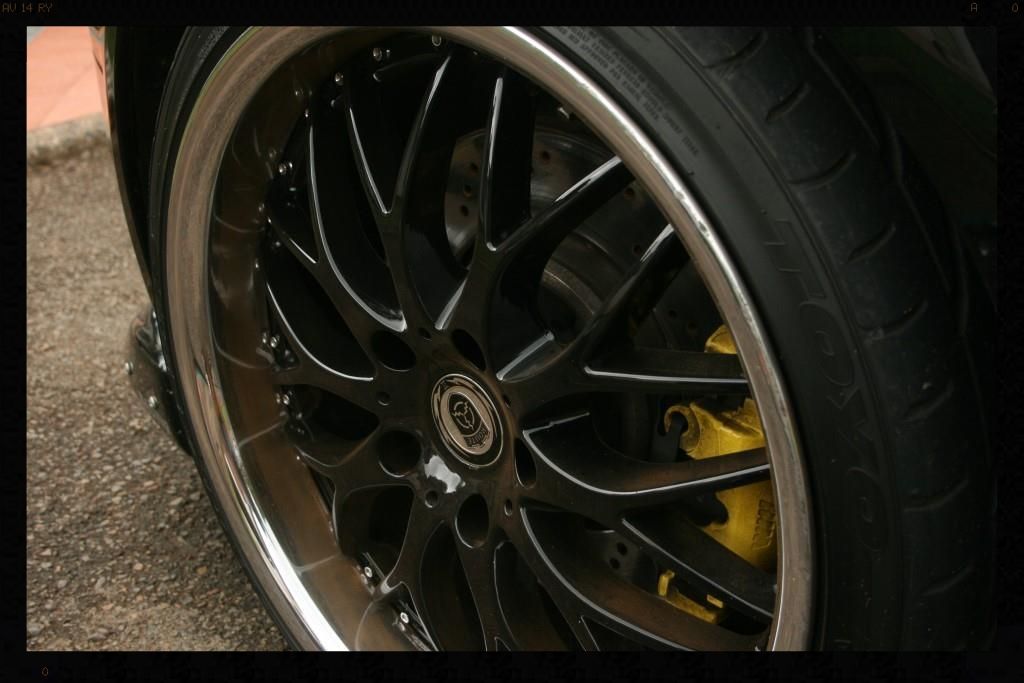
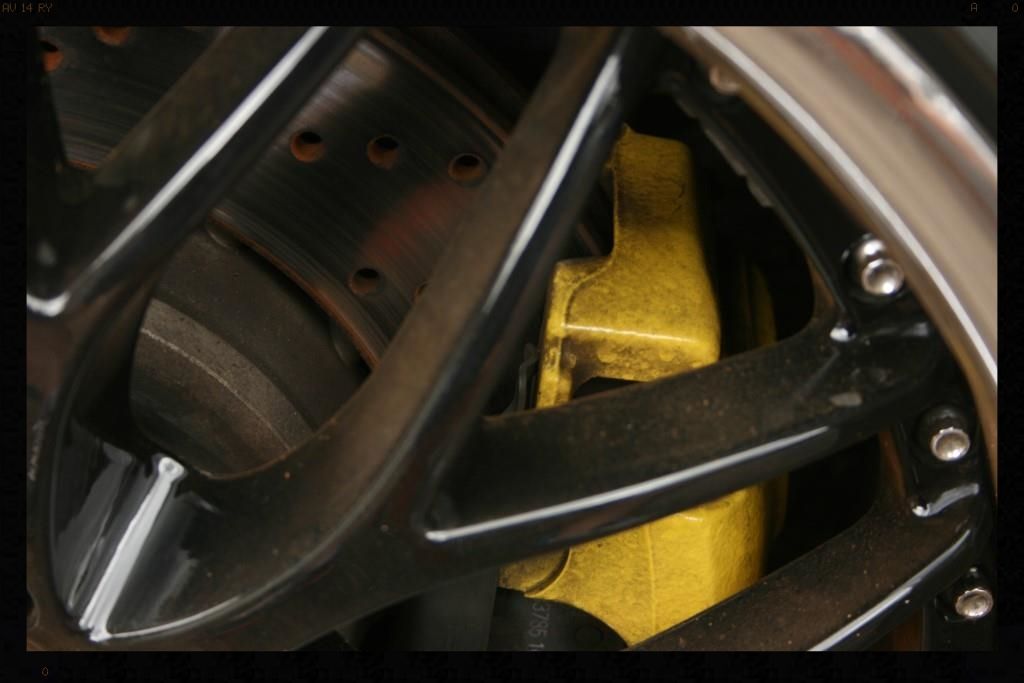
Day 1 - Wheels, arches and brake calipers
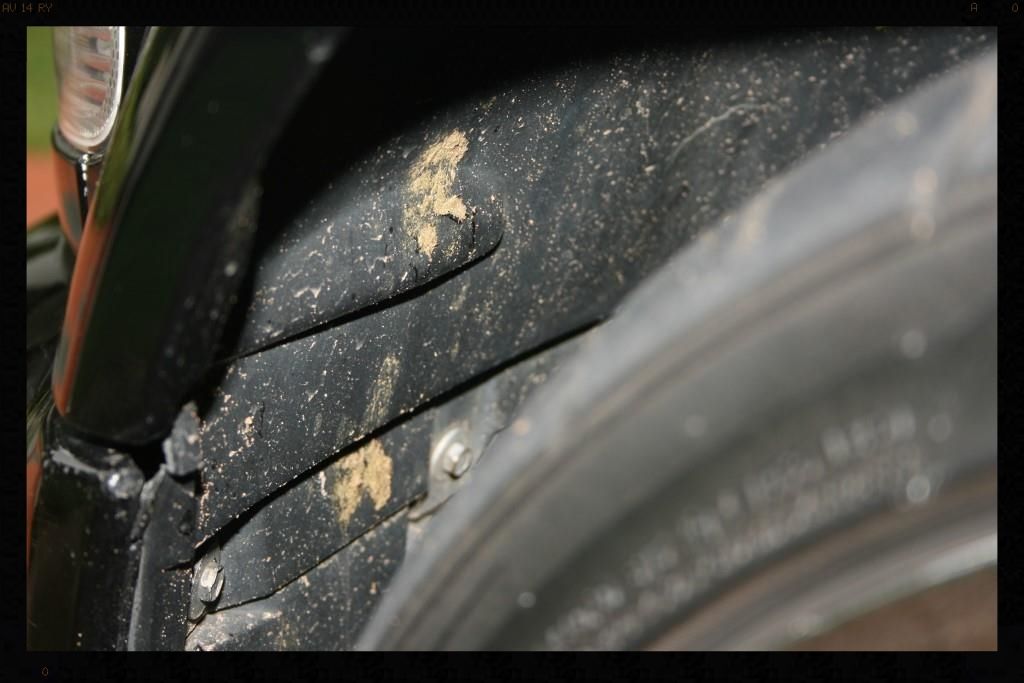
Arches: Rinsed with a HP washer, sprayed with Cyclo APC via a foaming trigger head and allowed to dwell and then agitated with a Mothers Fender Well Brush. This was followed with another HP Rinse. The arches would later be dressed with Glossworx Extreme Tyre Shine - a product I am liking more and more for this application - simply spray and walk away.
Tires: Cleaned with Glossworx Wheel and Tire Cleaner and a Mothers Tire Brush and later dressed with 2 coats of Optimum Optibond Tire Gel 12 hours apart.
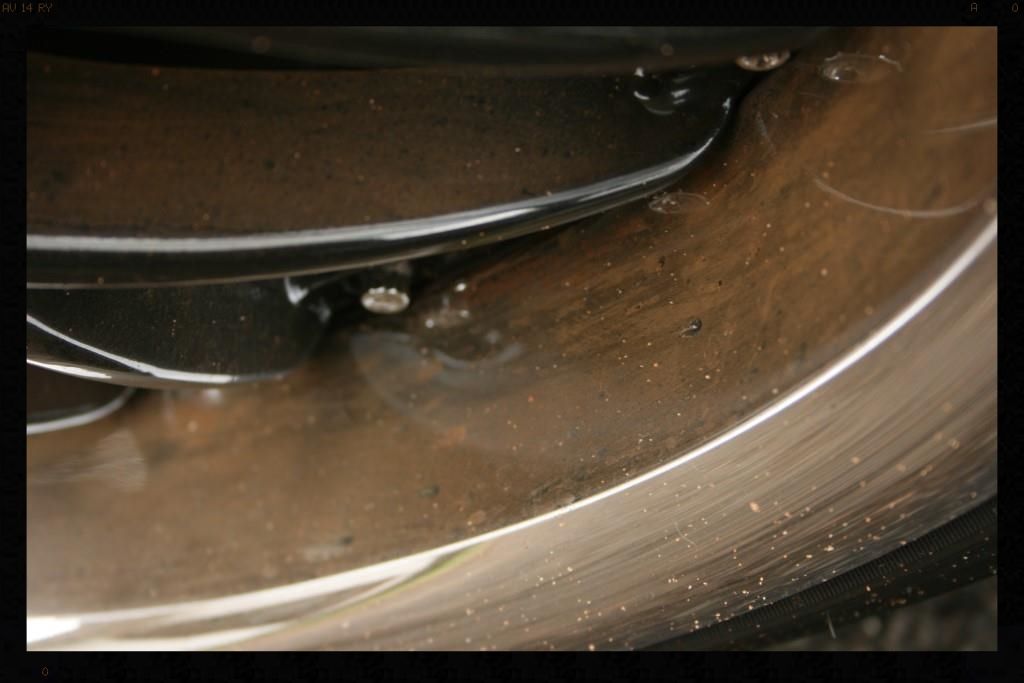
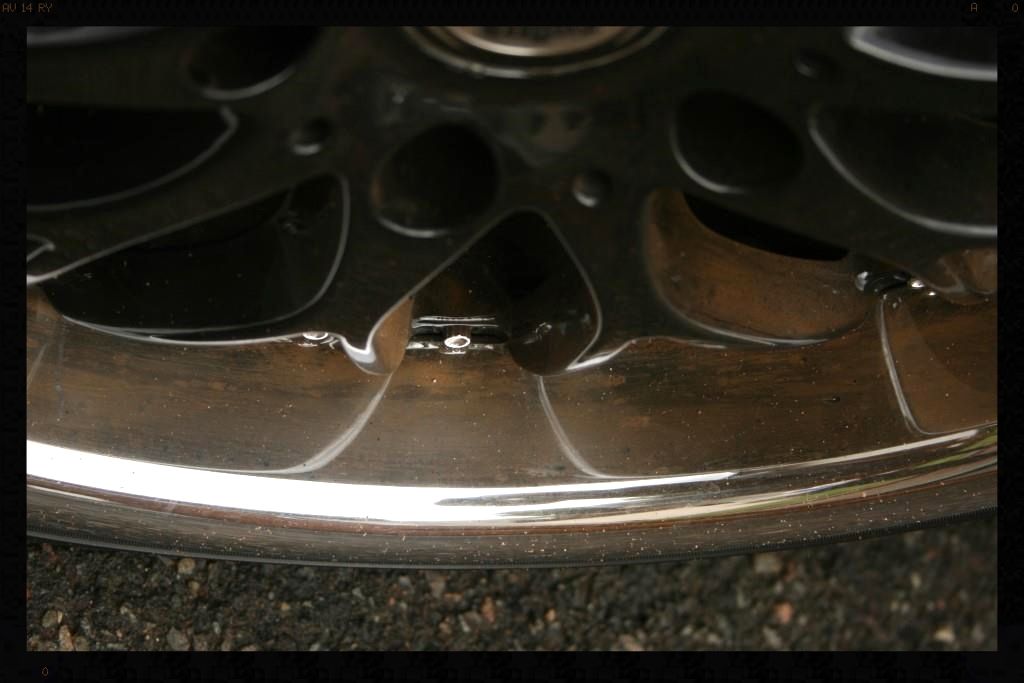
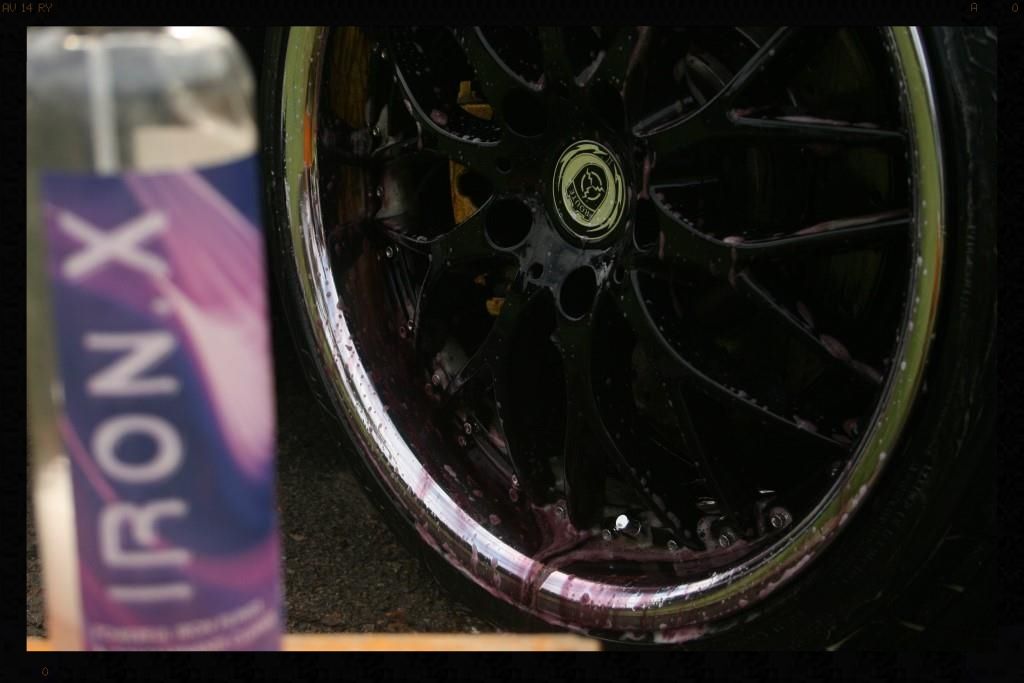
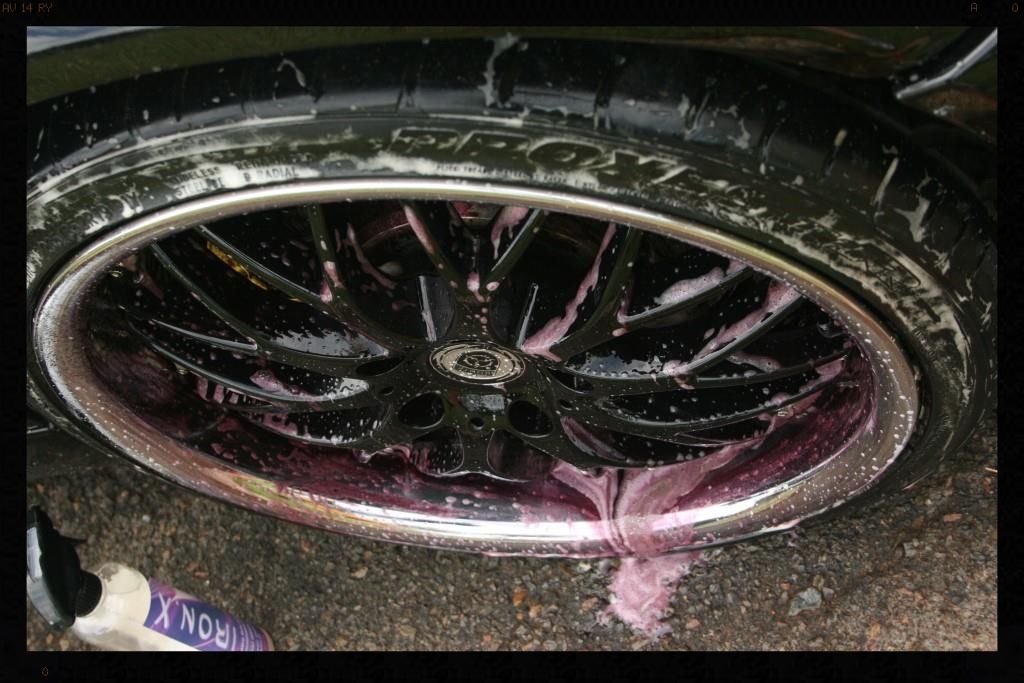
Wheels: Rinsed with a HP washer then cleaned using AF Imperial Wheel Cleaner and a Daytona Jnr and various Valet Pro Boar Hairs brushes and dried. The wheels were then thoroughly sprayed with AF Iron Out which was agitated after being allowed to dwell for a few minutes, using the same brushes, and then thoroughly rinsed and dried them. I then used Valet Pro Citrus Tar & Glue Remover to remove any tar spots - whilst it works a bit slower than other tar removers, it does not contain many of the harmful chemicals, and so has found a place in my detailing arsenal. The wheels were then sprayed with Cyclo APC via foaming trigger and this was left to dwell in order to ensure there were no remaining residues. They would then be sprayed down when the car was pre-foamed as a final clean. The wheels would later be sealed with Menzerna Powerlock
Brake Calipers: Rinsed with a HP washer, sprayed with Cyclo APC via a foaming trigger head and allowed to dwell and then agitated with a Valet Pro Boars Hair Brush. This was followed with AF Iron out to help remove some of the stubborn brake dust. The calipers would later be sealed with Menzerna Powerlock.
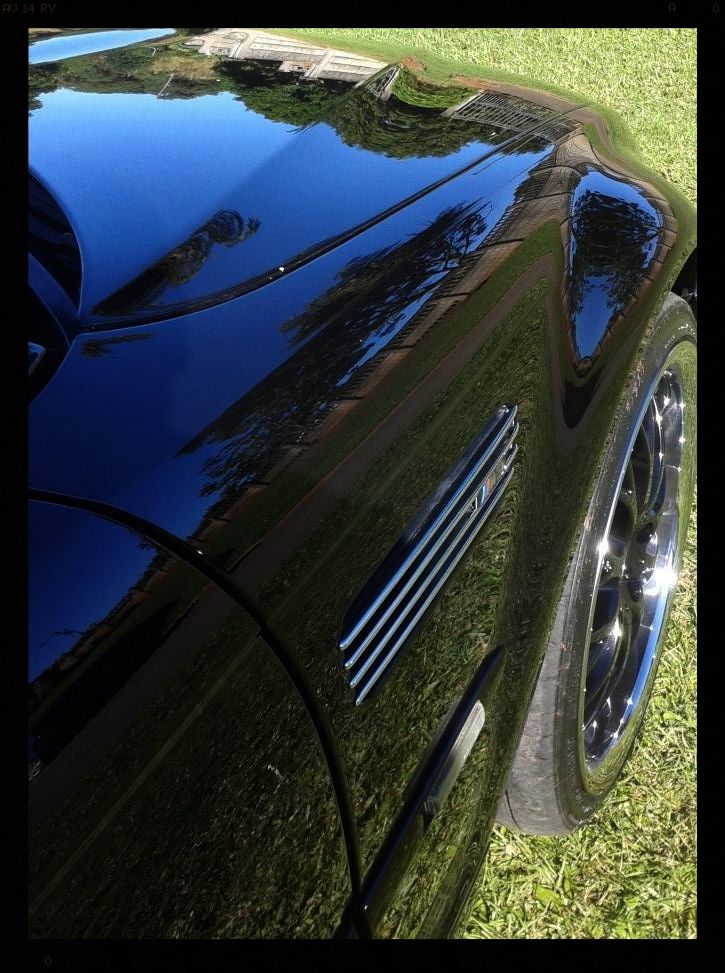
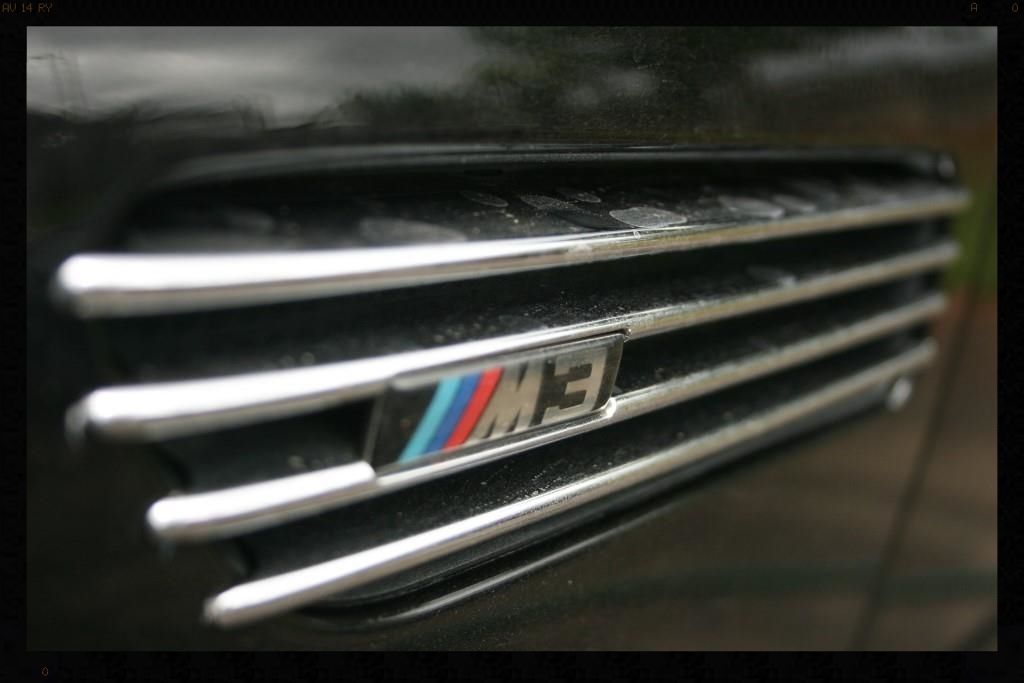
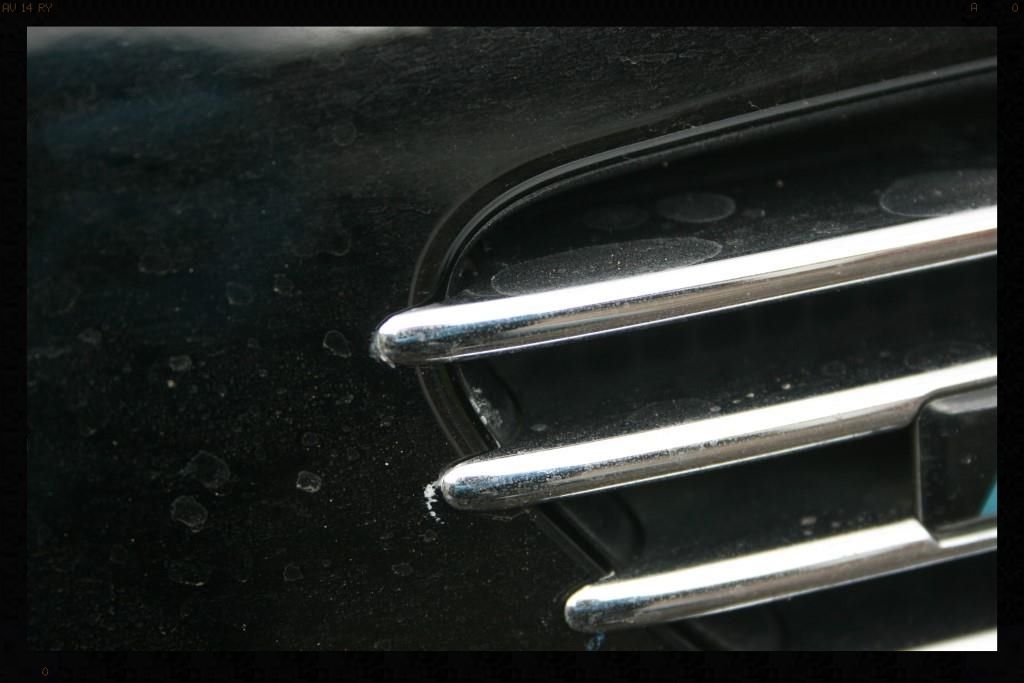
A few pics. Notice the visible tar spots in the 3rd picture. And for the record, the Iron-X bottle actually contains Autofinesse Iron Out - I usually purchase Iron Out in 5L bottles and needed a spray bottle with a chemical resistant sprayer, which the Iron-x bottle has.
Day 2 - Wash Engine Bay, Door Shuts, Boot Shut, Inside Fuel Flap and Car
Engine Bay: Sprayed with Cyclo APC via a foaming trigger head, agitated with Valet Pro Brushes then HP Rinse (mist setting) and dried out with compressed air. The bay was then dressed using Shield Sheen
Door shuts, window rubbers, fuel flap, badges: Cleaned using Cyclo APC with Valet Pro brushed and then HP Rinsed
Wash: Prefoamed using Chemical Guys Maxisuds II via foam cannon followed by a 2BM wash with Lambswool wash mitts and Glossworx Shampoo. The car was then rinsed.
Dry: ONR at QD strength with WW Drying towels and compressed air
Day 3 - Decontamination and test spots
First the car was sprayed with ample AF Iron Out which was allowed to dwell before being thoroughly rinsed. I then used Valet Pro Citrus Tar & Glue Remover to remove any tar spots and re-foamed the car and rinsed and dried it before beginning claying, which was done using Autoglym Fine Grade clay and Glossworx Clay Lube, which worked really well, but I was not particularly fond of the smell - it is not bad, just not nice either.
Test Spots Once the paint was clean I was able to commence test spots.... I had the luxury of trying out a few combinations including D300 on Meguiars MF Pad for the first time. Ultimately I settled on the following:
Compounding: Menzerna FG400 on a Hydro-Tech 5.5 Inch Cyan Pad and on LC 4" Orange CCS Pads for the initial defect removal which included a lot of RIDS and in some really bad areas I had to repeat this step.
Initial Polish:Menzerna SF4000 on a Hydro-Tech 5.5 Inch Tangerine Pad and on LC 4" White CCS Pads
Refining Polish:Chemical Guys Blacklight on a Hydro-Tech 5.5 Inch Crimson Pad and on LC 4" Grey CCS Pads
Note: On the Carbon Fiber Sections Menzerna PF2500 with a LC 4" White CCS Pad was used for correction and these were then protected using the Chemical Guys Pete's 53.
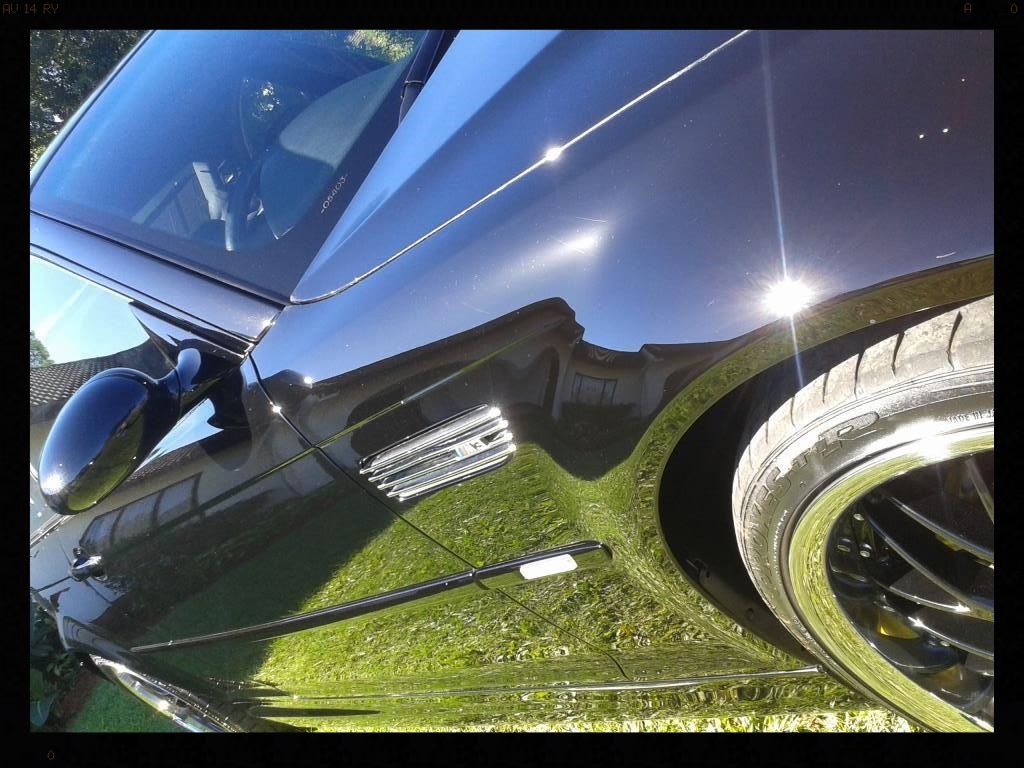
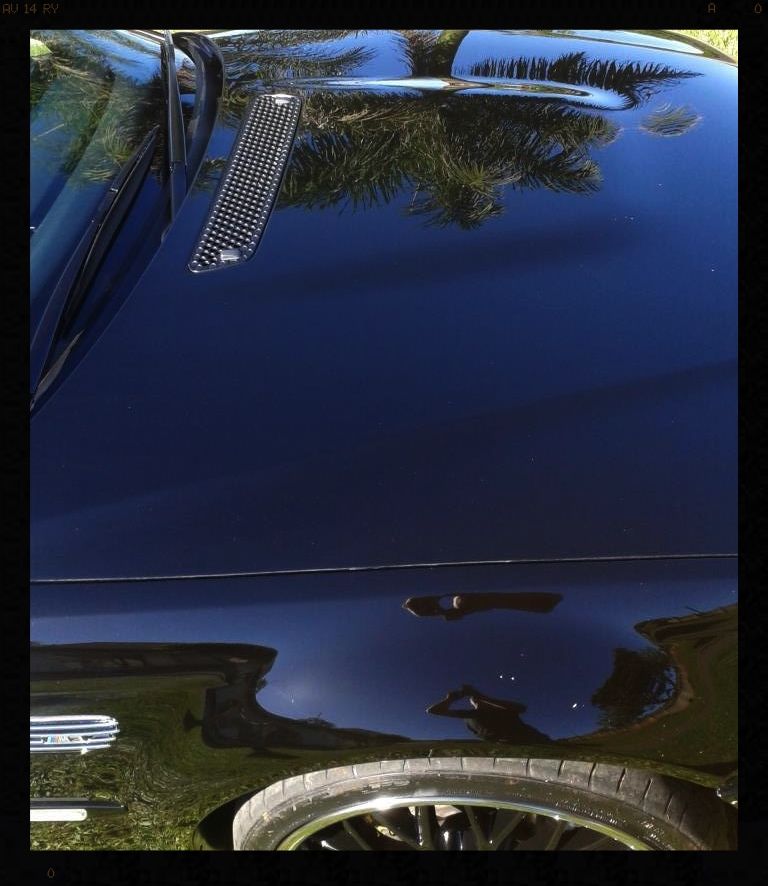
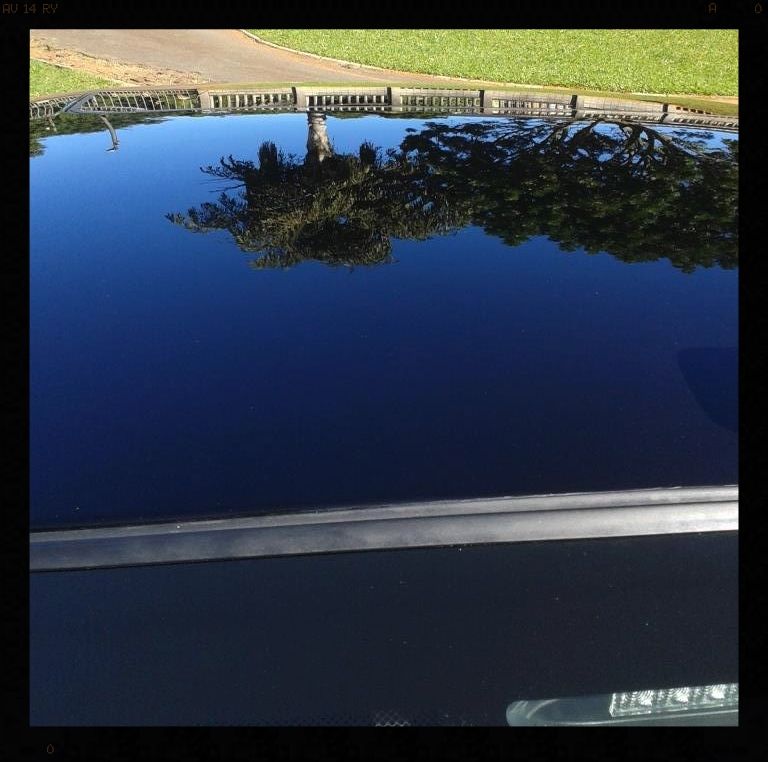
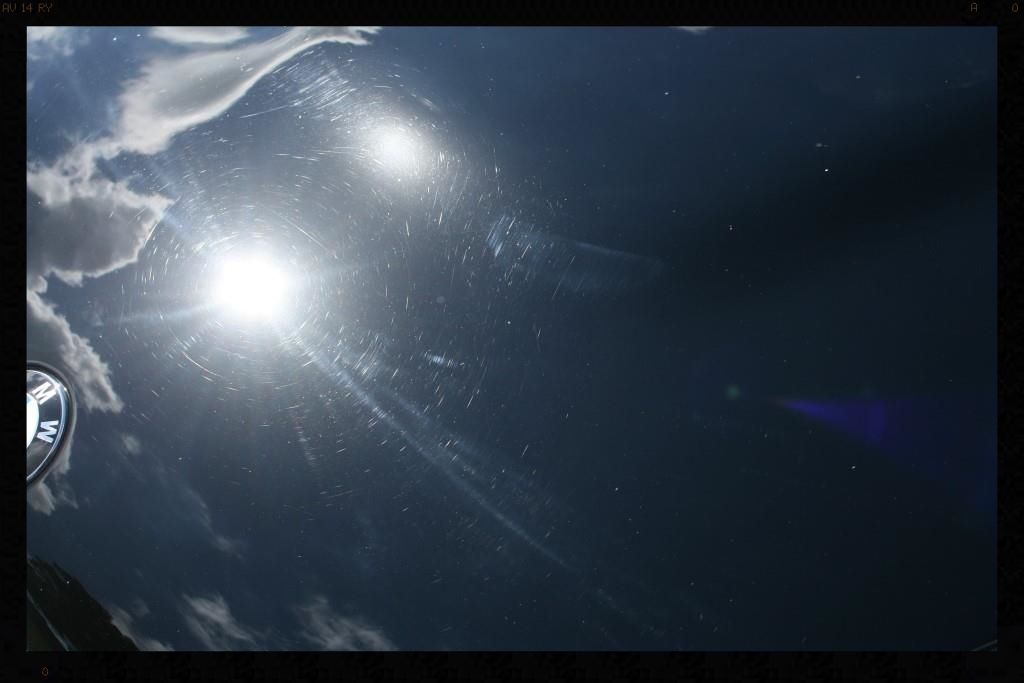
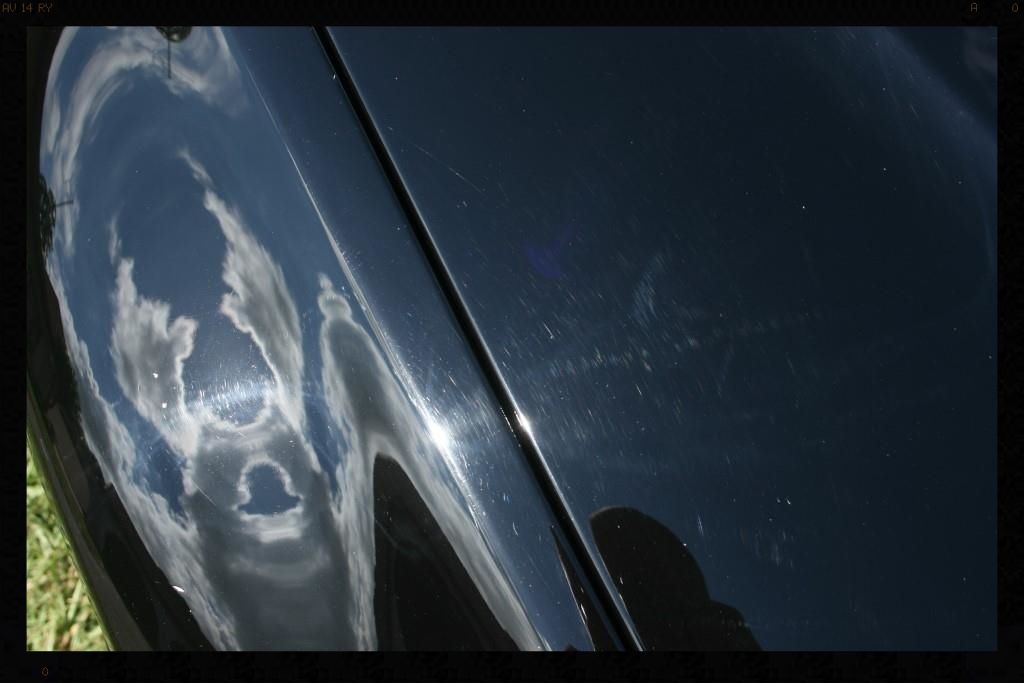
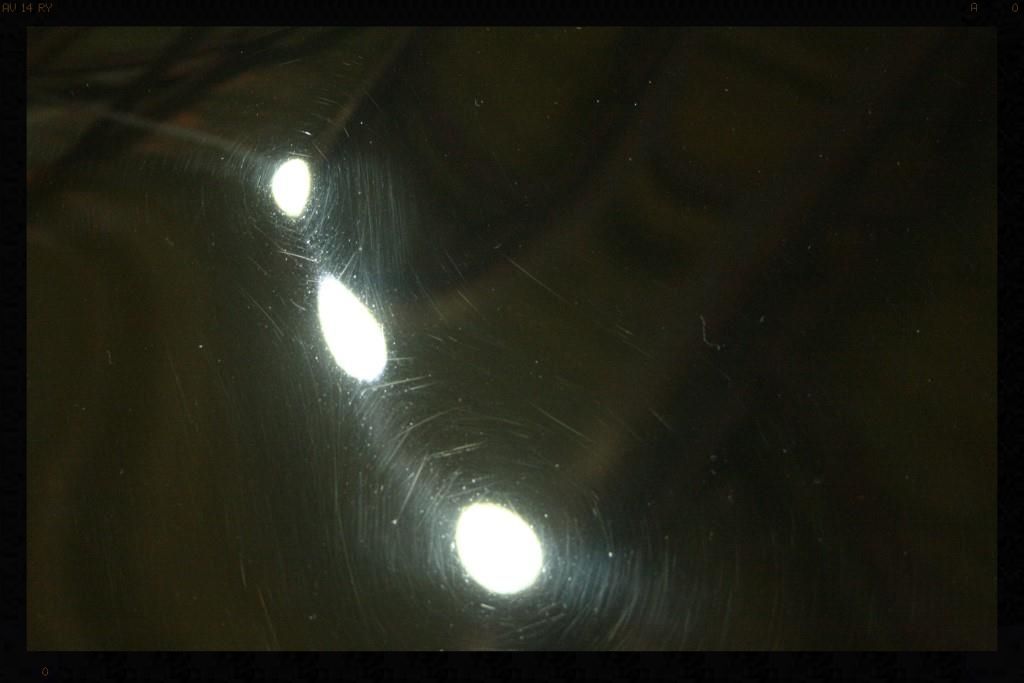
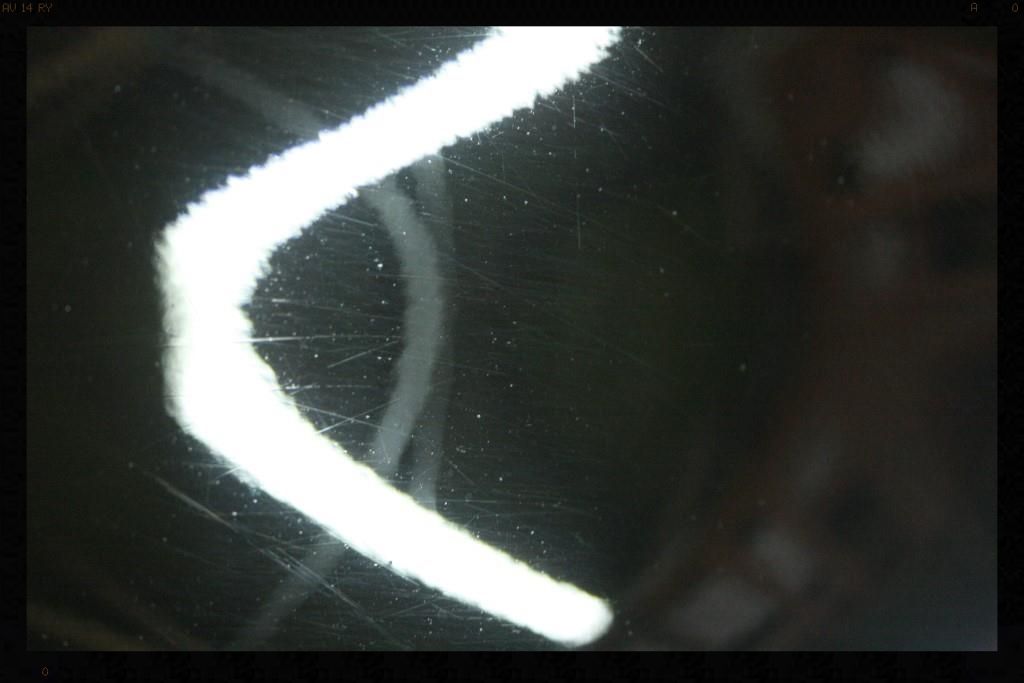
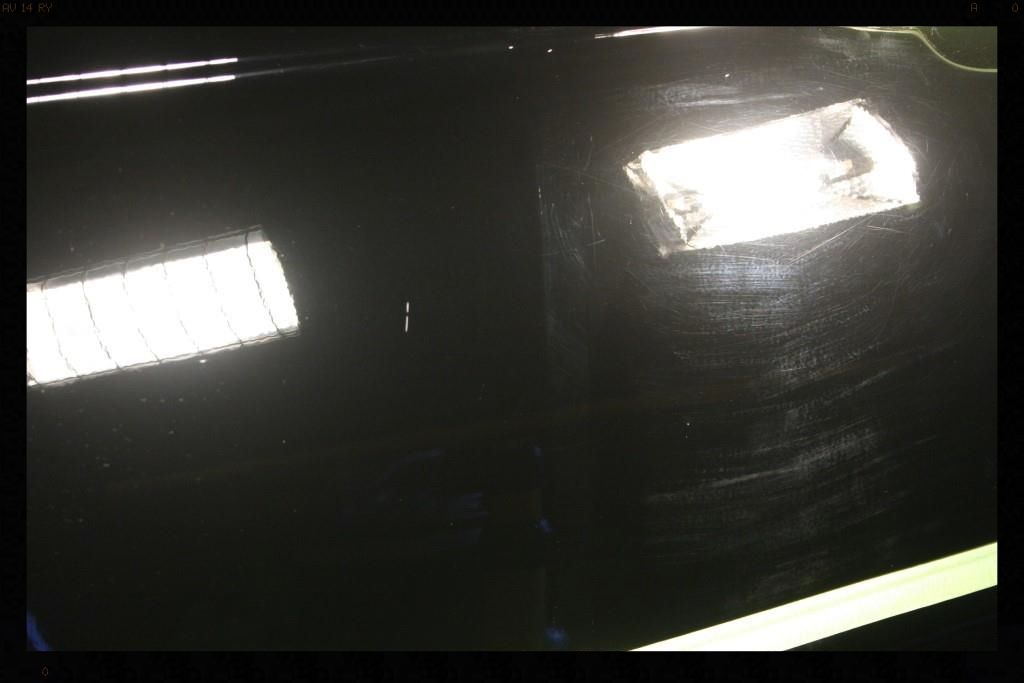
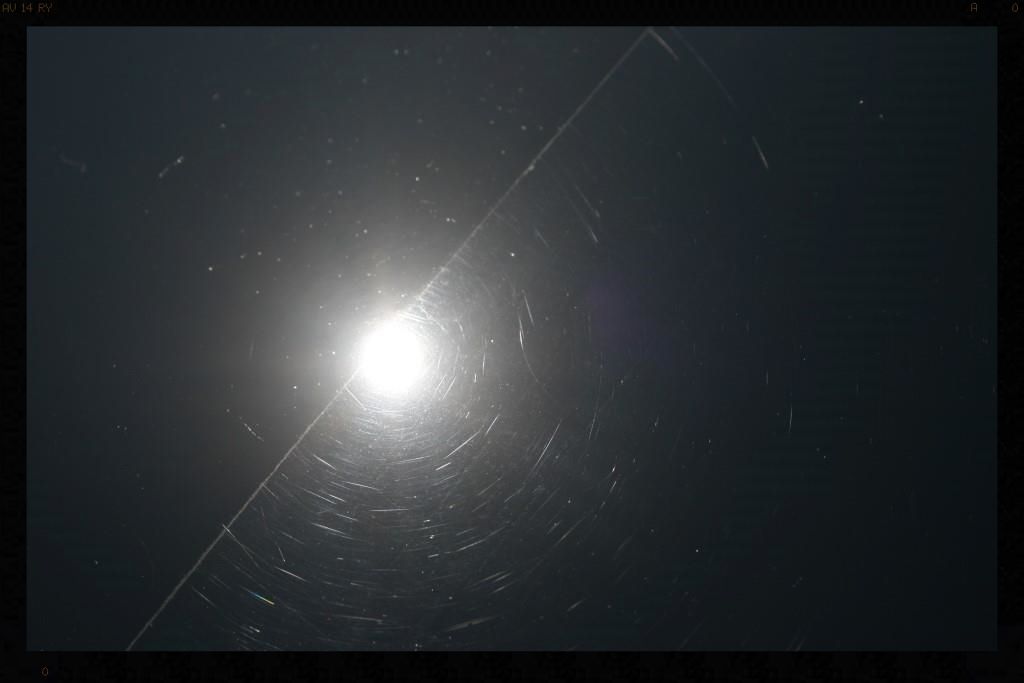
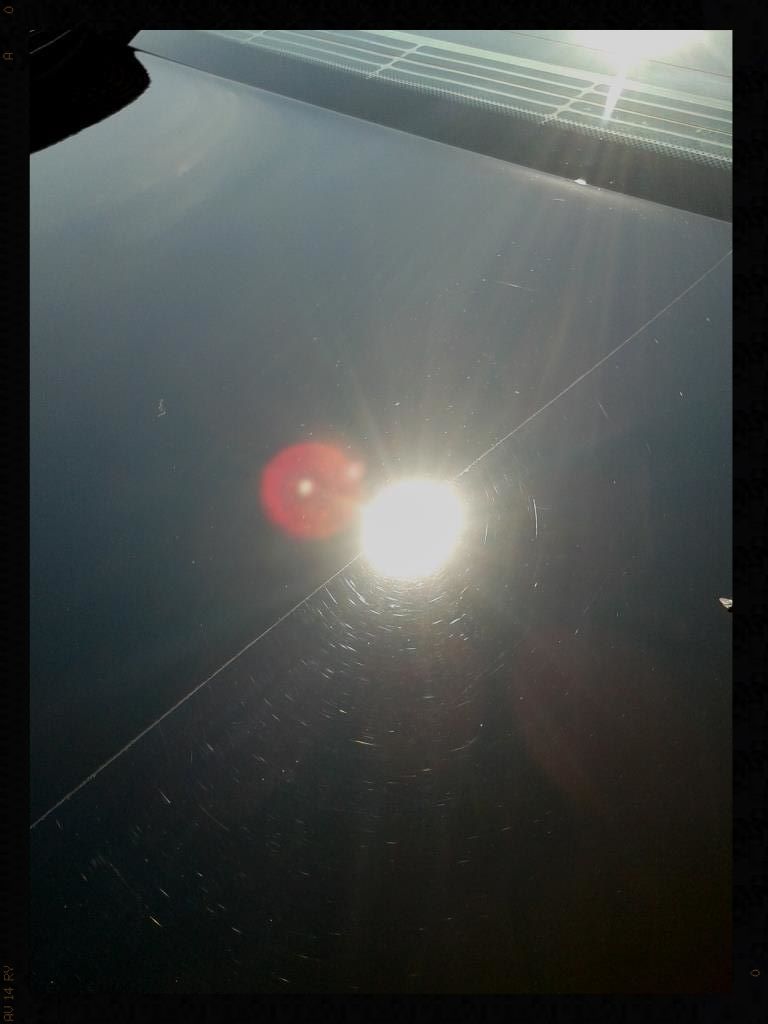
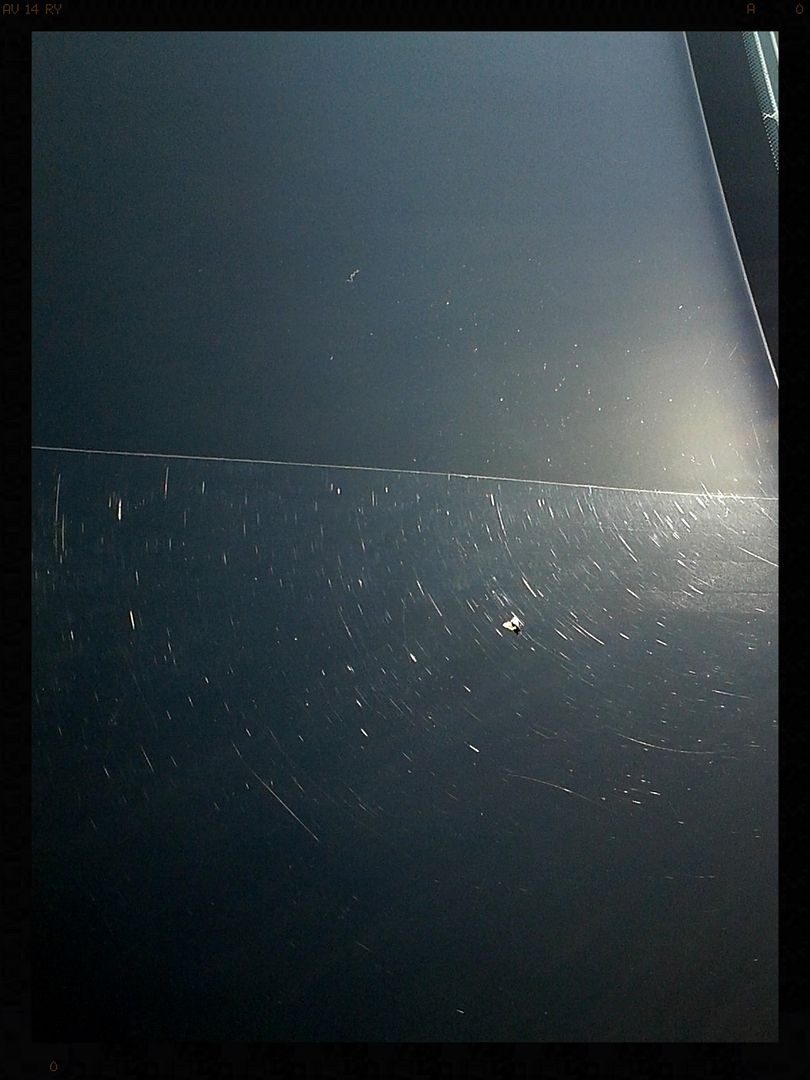
Days 4, 5 and 6 - Paint correction
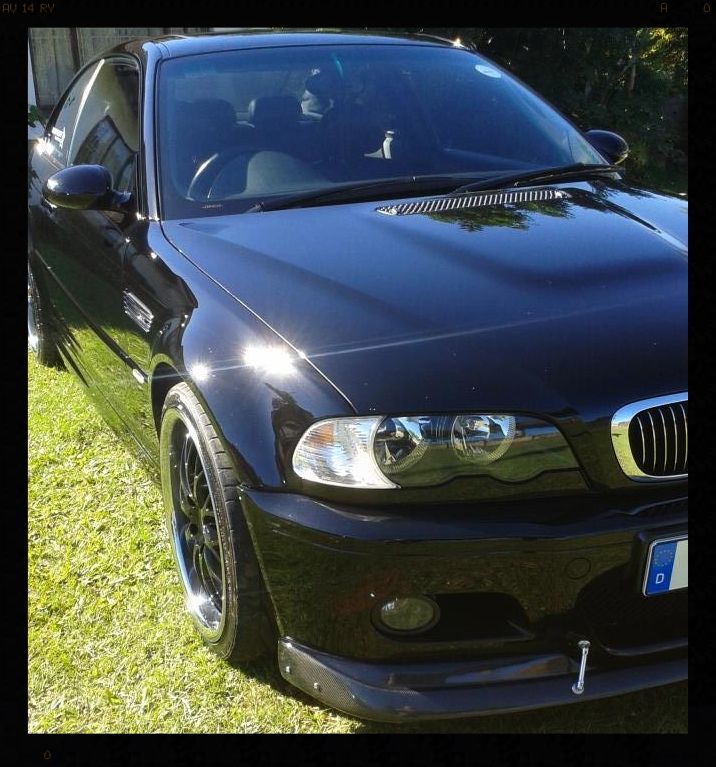
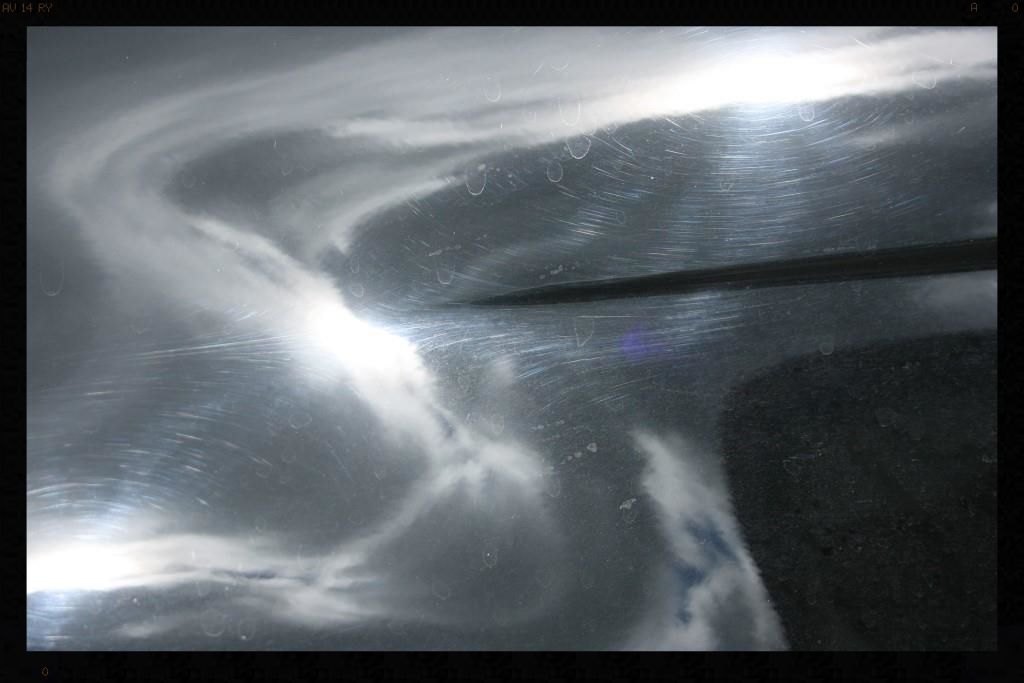
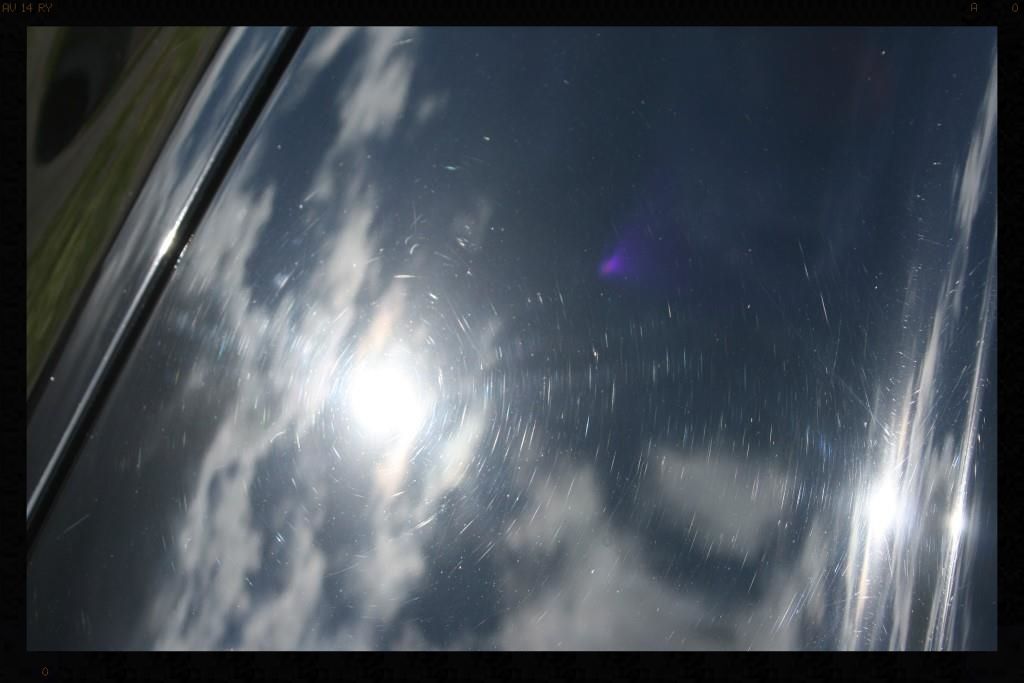
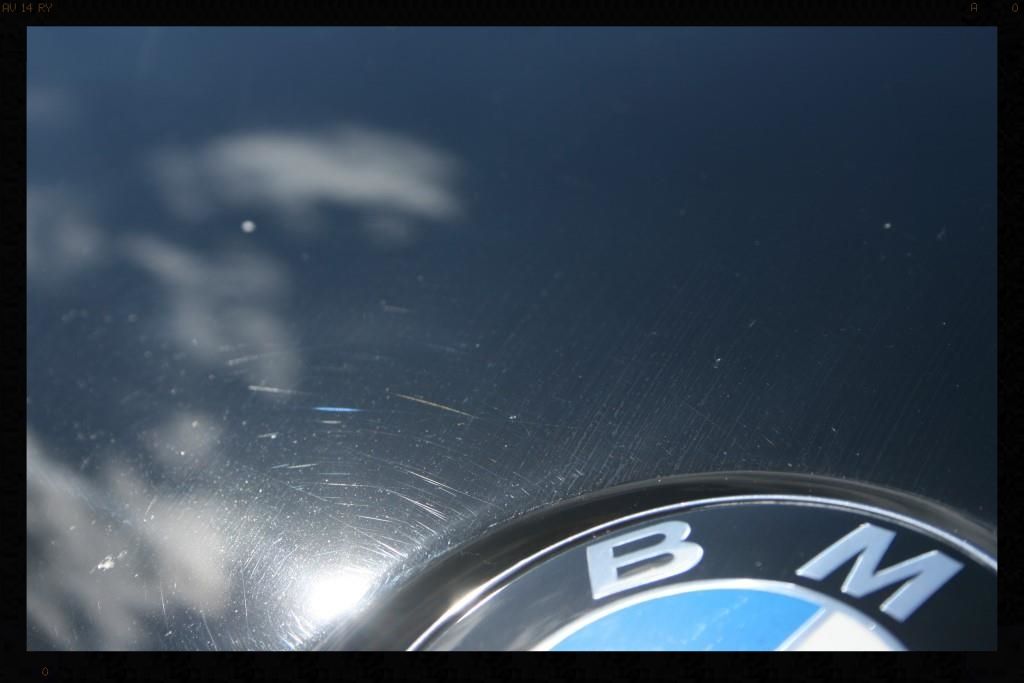
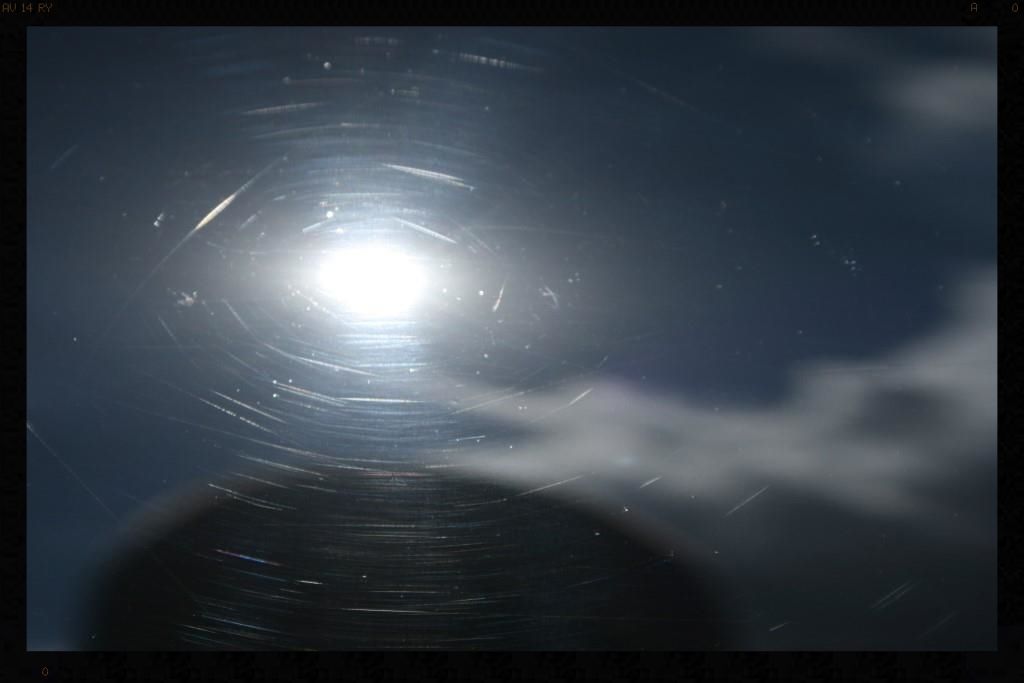
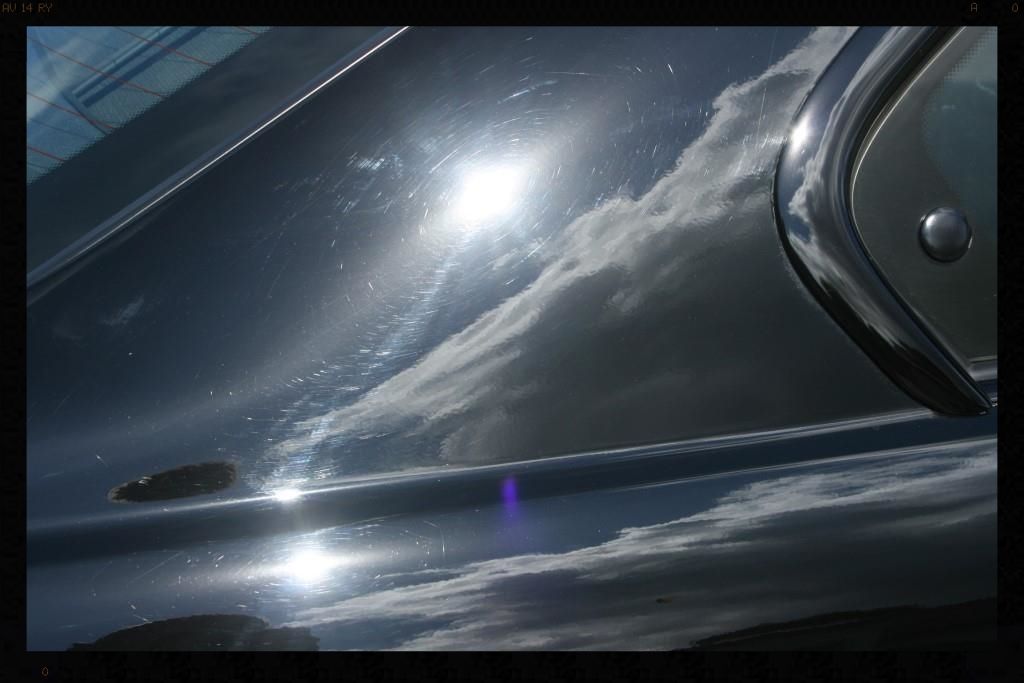
Over the next 3 days countless hours were spent correcting and refining all the painted and carbon fiber surfaces. This is what I started with

During

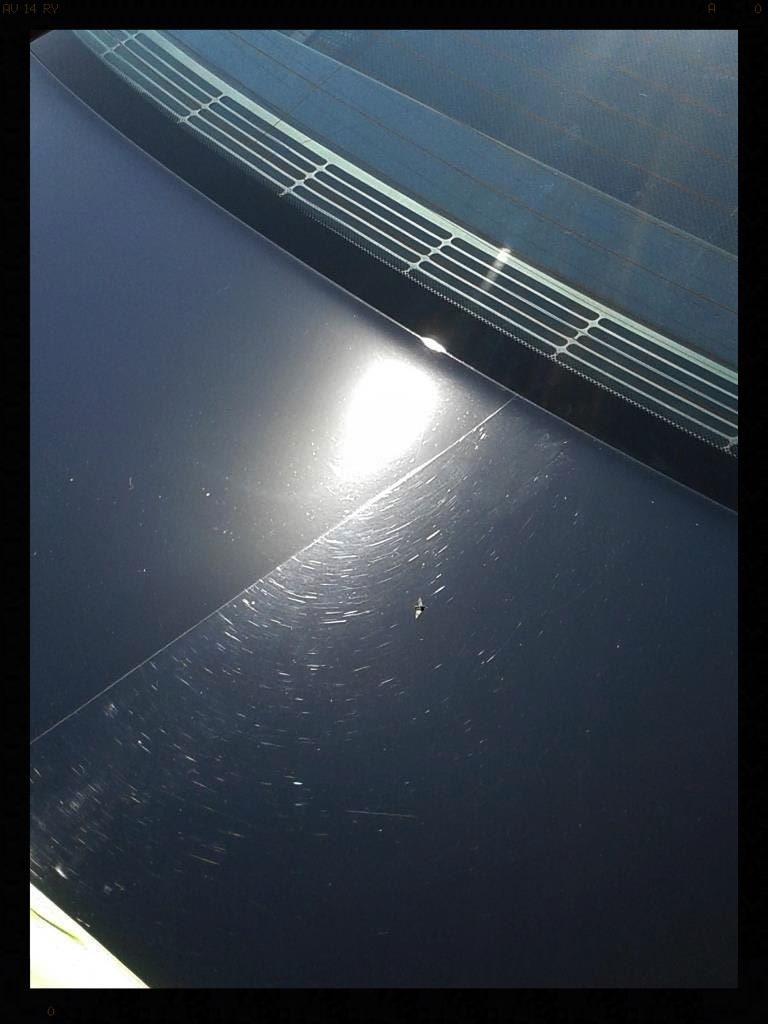
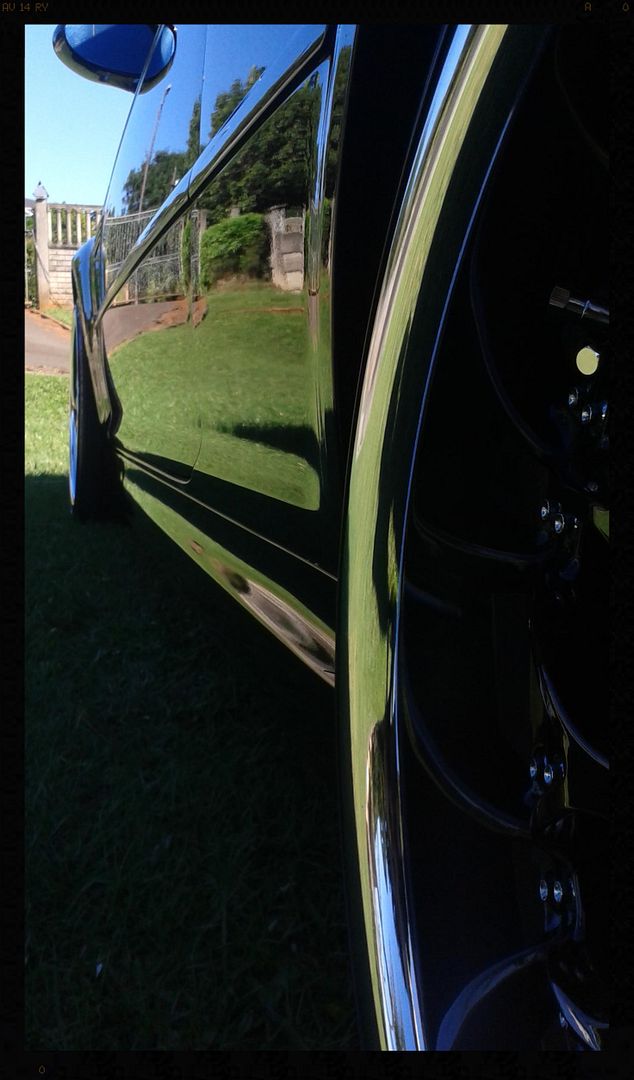
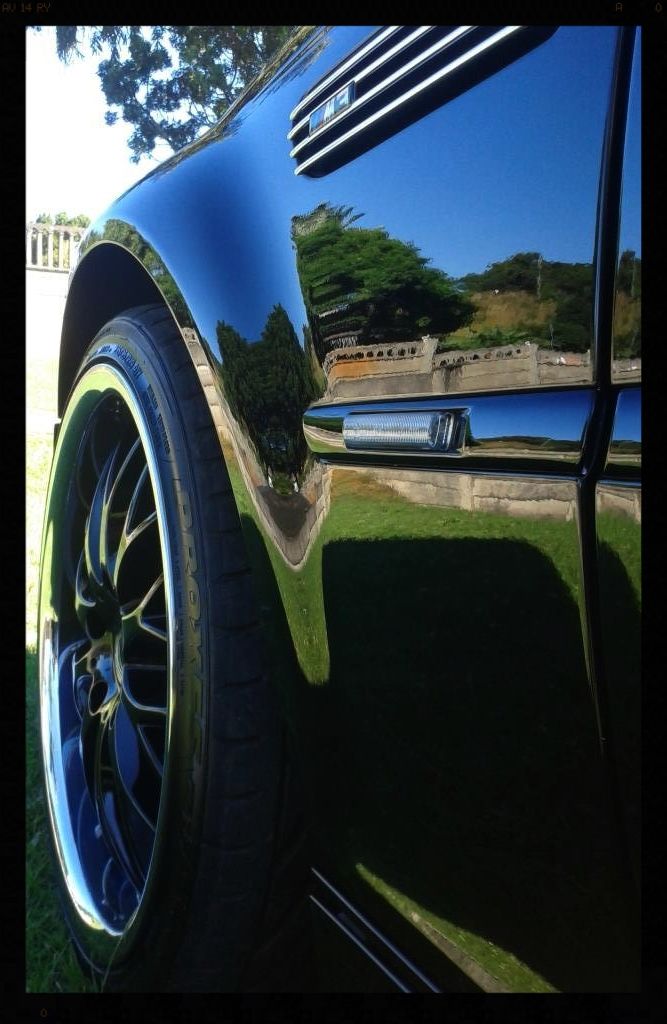
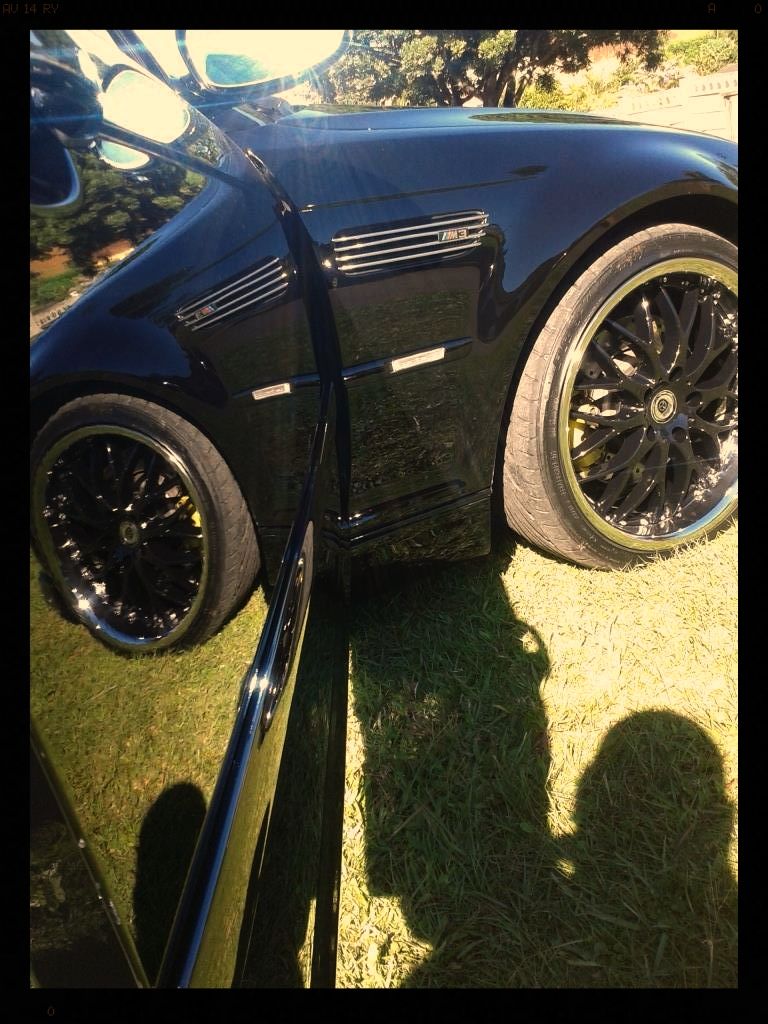
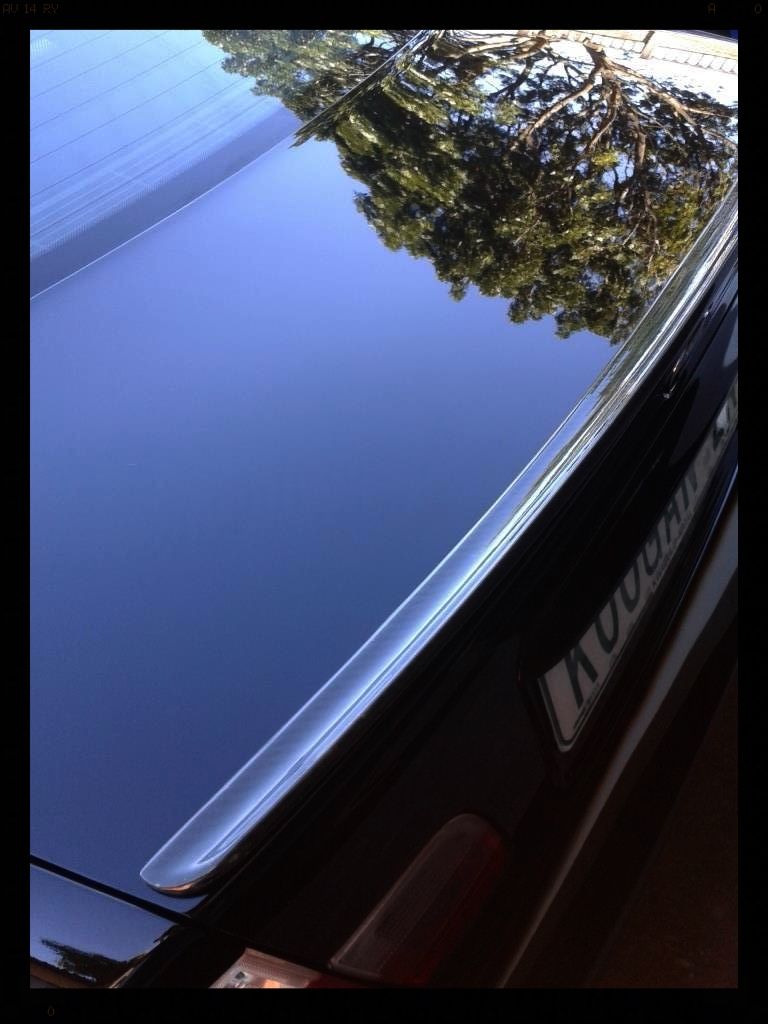
After
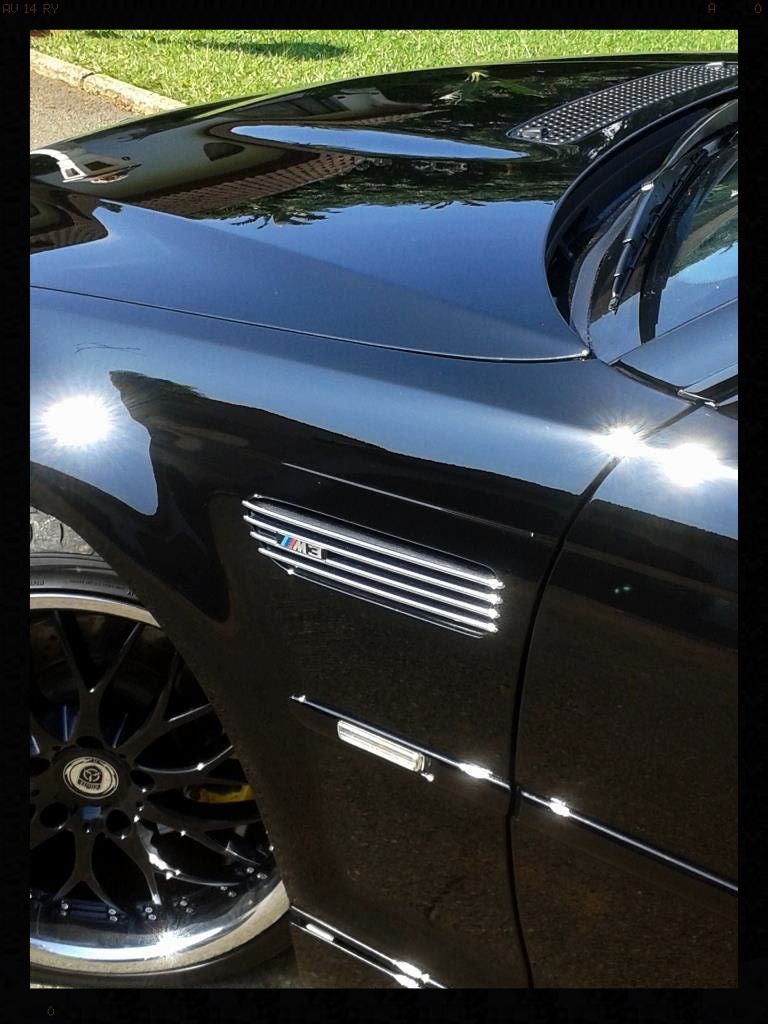
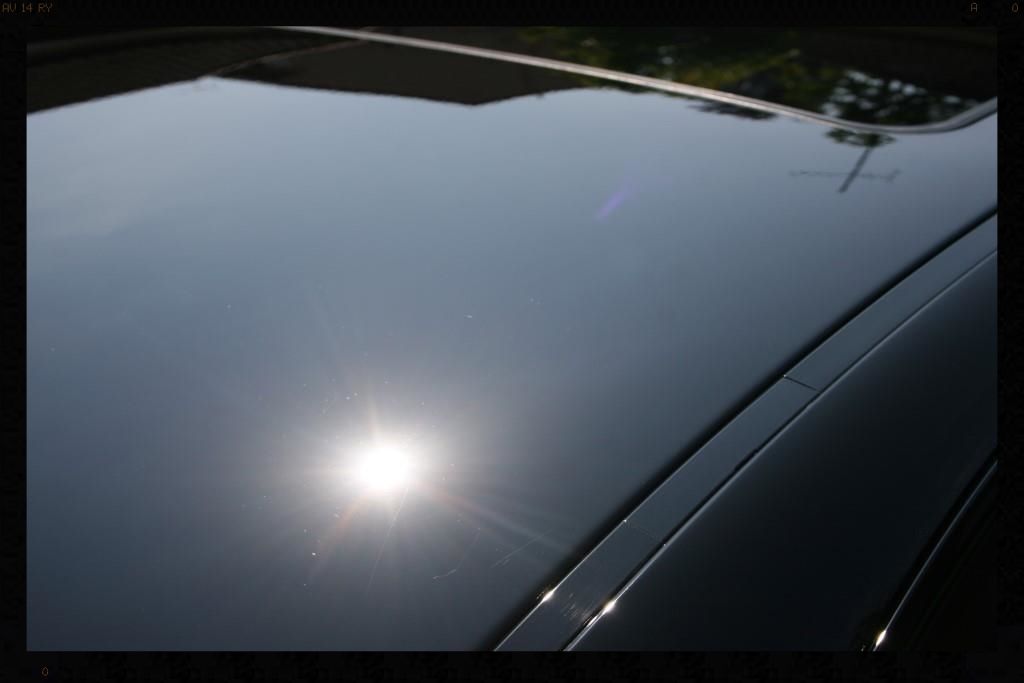

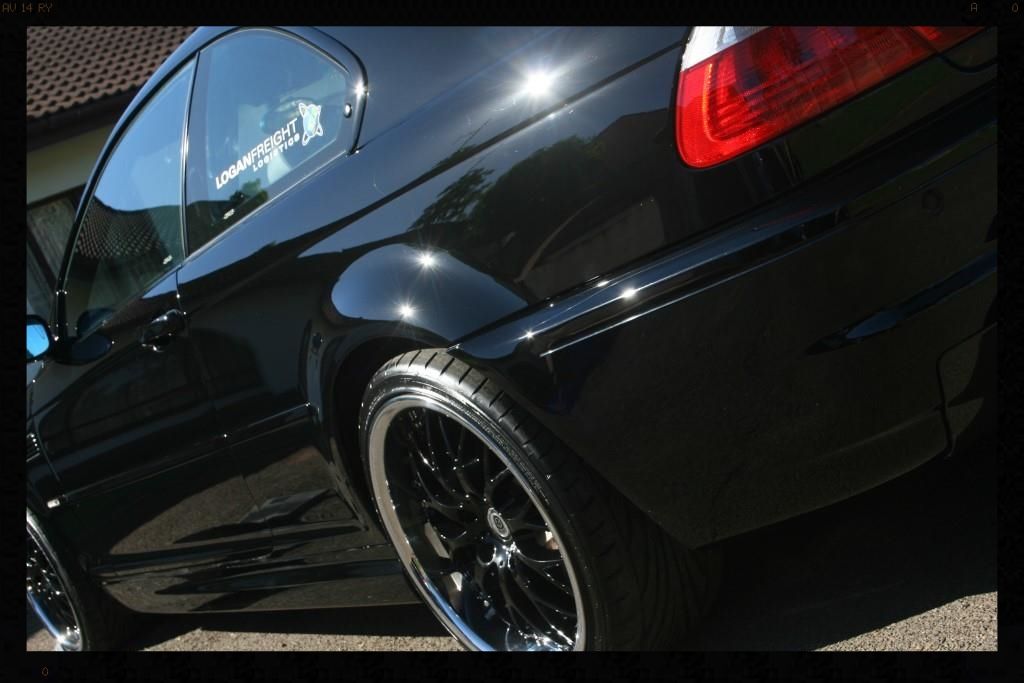
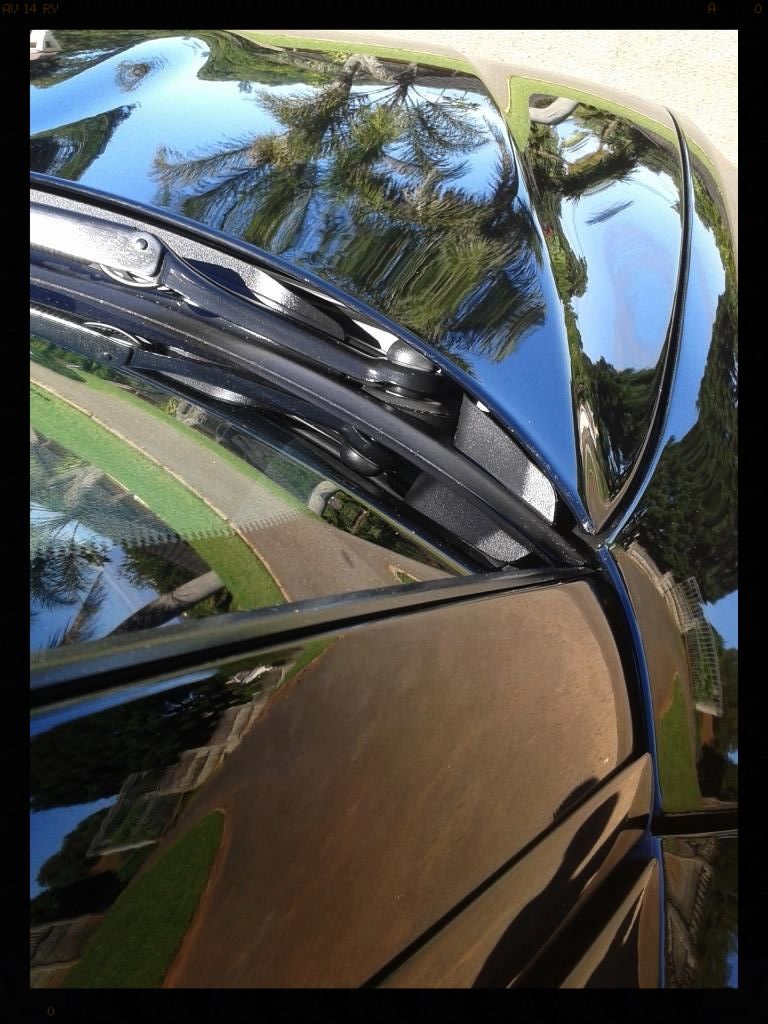
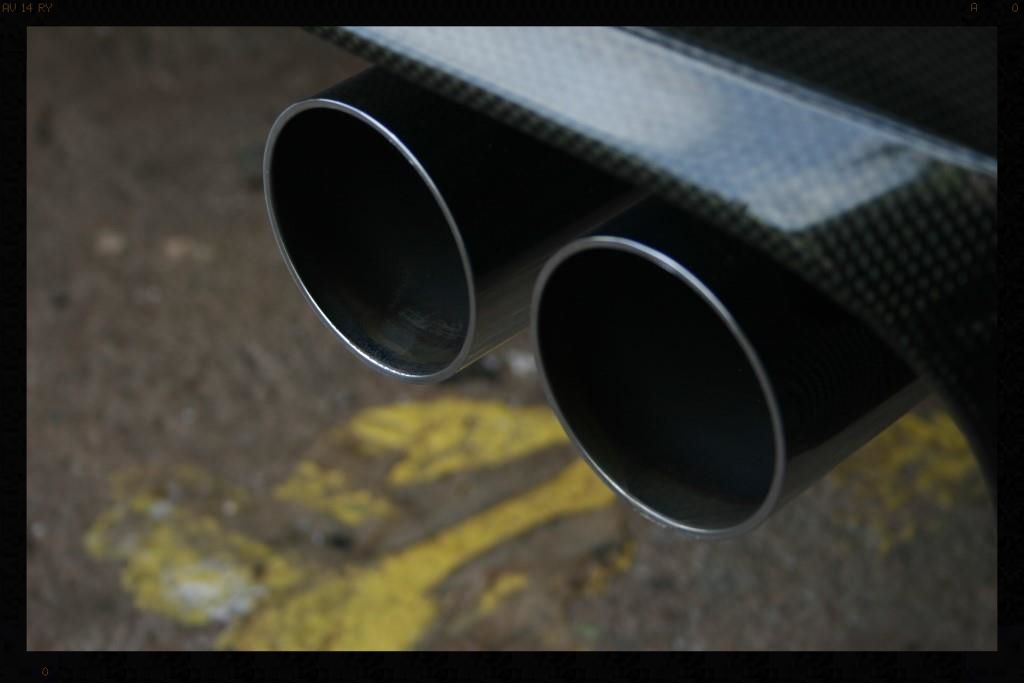
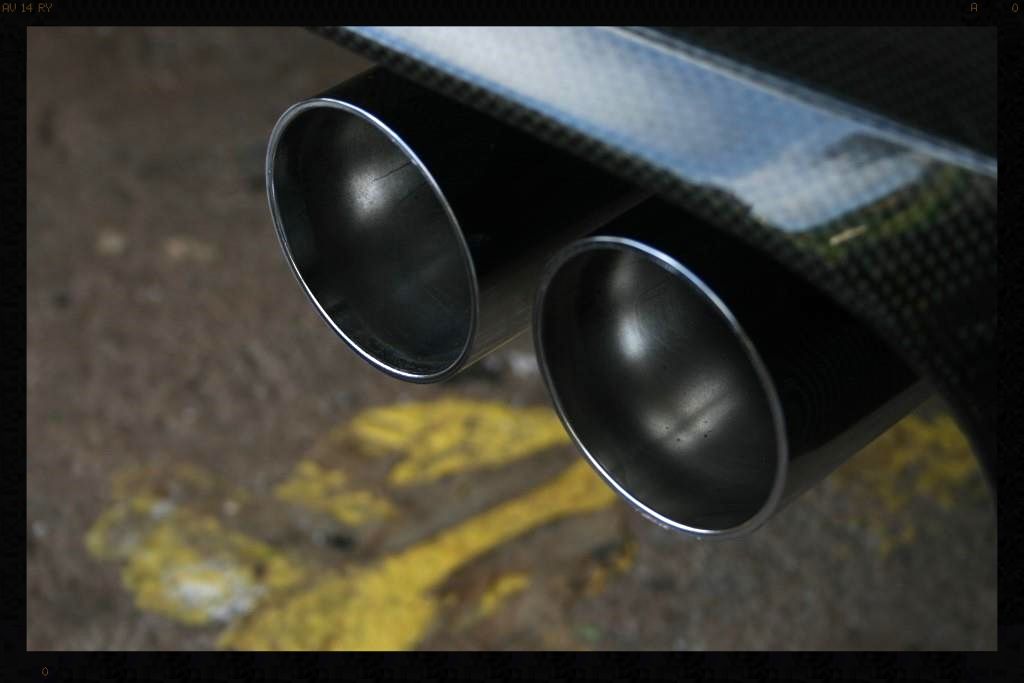
Day 7 - Protection, Interior, Glass, Trim, Exhaust Tips
Protection: 2 Coats of Pete's 53 by hand
Glass : Autoglym Fine Grade Clay / ONR at clay lube strength / Autoglym Fast Glass / StreakFree Microfiber Glass Cleaning Cloth
Door rubbers, plastic trim : Shield Heavy Duty Vinyl and Rubber Cleaner / Collinite 845
Interior: Blown out with compressed air / Vacuum / dash and trim wiped down
Leather: Glossworx Leather Cleaner / Various brushes / Damp wipe down / Compressed Air dry / Glossworx Leather Conditioner.
Exhaust tips: Cyclo CM30 APC / Various brushes / Autofinesse Mercury Metal Polish / Mothers Powerball Mini

I have been looking to a detail like this ever since I started doing this :grin:
Day 1 - Wheels, arches and brake calipers
Arches: Rinsed with a HP washer, sprayed with Cyclo APC via a foaming trigger head and allowed to dwell and then agitated with a Mothers Fender Well Brush. This was followed with another HP Rinse. The arches would later be dressed with Glossworx Extreme Tyre Shine - a product I am liking more and more for this application - simply spray and walk away.
Tires: Cleaned with Glossworx Wheel and Tire Cleaner and a Mothers Tire Brush and later dressed with 2 coats of Optimum Optibond Tire Gel 12 hours apart.
Wheels: Rinsed with a HP washer then cleaned using AF Imperial Wheel Cleaner and a Daytona Jnr and various Valet Pro Boar Hairs brushes and dried. The wheels were then thoroughly sprayed with AF Iron Out which was agitated after being allowed to dwell for a few minutes, using the same brushes, and then thoroughly rinsed and dried them. I then used Valet Pro Citrus Tar & Glue Remover to remove any tar spots - whilst it works a bit slower than other tar removers, it does not contain many of the harmful chemicals, and so has found a place in my detailing arsenal. The wheels were then sprayed with Cyclo APC via foaming trigger and this was left to dwell in order to ensure there were no remaining residues. They would then be sprayed down when the car was pre-foamed as a final clean. The wheels would later be sealed with Menzerna Powerlock
Brake Calipers: Rinsed with a HP washer, sprayed with Cyclo APC via a foaming trigger head and allowed to dwell and then agitated with a Valet Pro Boars Hair Brush. This was followed with AF Iron out to help remove some of the stubborn brake dust. The calipers would later be sealed with Menzerna Powerlock.
A few pics. Notice the visible tar spots in the 3rd picture. And for the record, the Iron-X bottle actually contains Autofinesse Iron Out - I usually purchase Iron Out in 5L bottles and needed a spray bottle with a chemical resistant sprayer, which the Iron-x bottle has.
Day 2 - Wash Engine Bay, Door Shuts, Boot Shut, Inside Fuel Flap and Car

Engine Bay: Sprayed with Cyclo APC via a foaming trigger head, agitated with Valet Pro Brushes then HP Rinse (mist setting) and dried out with compressed air. The bay was then dressed using Shield Sheen
Door shuts, window rubbers, fuel flap, badges: Cleaned using Cyclo APC with Valet Pro brushed and then HP Rinsed
Wash: Prefoamed using Chemical Guys Maxisuds II via foam cannon followed by a 2BM wash with Lambswool wash mitts and Glossworx Shampoo. The car was then rinsed.
Dry: ONR at QD strength with WW Drying towels and compressed air
Day 3 - Decontamination and test spots
First the car was sprayed with ample AF Iron Out which was allowed to dwell before being thoroughly rinsed. I then used Valet Pro Citrus Tar & Glue Remover to remove any tar spots and re-foamed the car and rinsed and dried it before beginning claying, which was done using Autoglym Fine Grade clay and Glossworx Clay Lube, which worked really well, but I was not particularly fond of the smell - it is not bad, just not nice either.
Test Spots Once the paint was clean I was able to commence test spots.... I had the luxury of trying out a few combinations including D300 on Meguiars MF Pad for the first time. Ultimately I settled on the following:
Compounding: Menzerna FG400 on a Hydro-Tech 5.5 Inch Cyan Pad and on LC 4" Orange CCS Pads for the initial defect removal which included a lot of RIDS and in some really bad areas I had to repeat this step.
Initial Polish:Menzerna SF4000 on a Hydro-Tech 5.5 Inch Tangerine Pad and on LC 4" White CCS Pads
Refining Polish:Chemical Guys Blacklight on a Hydro-Tech 5.5 Inch Crimson Pad and on LC 4" Grey CCS Pads
Note: On the Carbon Fiber Sections Menzerna PF2500 with a LC 4" White CCS Pad was used for correction and these were then protected using the Chemical Guys Pete's 53.
Days 4, 5 and 6 - Paint correction
Over the next 3 days countless hours were spent correcting and refining all the painted and carbon fiber surfaces. This is what I started with
During
After
Day 7 - Protection, Interior, Glass, Trim, Exhaust Tips
Protection: 2 Coats of Pete's 53 by hand
Glass : Autoglym Fine Grade Clay / ONR at clay lube strength / Autoglym Fast Glass / StreakFree Microfiber Glass Cleaning Cloth
Door rubbers, plastic trim : Shield Heavy Duty Vinyl and Rubber Cleaner / Collinite 845
Interior: Blown out with compressed air / Vacuum / dash and trim wiped down
Leather: Glossworx Leather Cleaner / Various brushes / Damp wipe down / Compressed Air dry / Glossworx Leather Conditioner.
Exhaust tips: Cyclo CM30 APC / Various brushes / Autofinesse Mercury Metal Polish / Mothers Powerball Mini