Lady in Red - 1986 Porsche - 4-Step Process

Joined
Dec 5, 2022
Messages
51,004
Reaction score
7
Lady in Red - 1986 Porsche - 4-Step Process


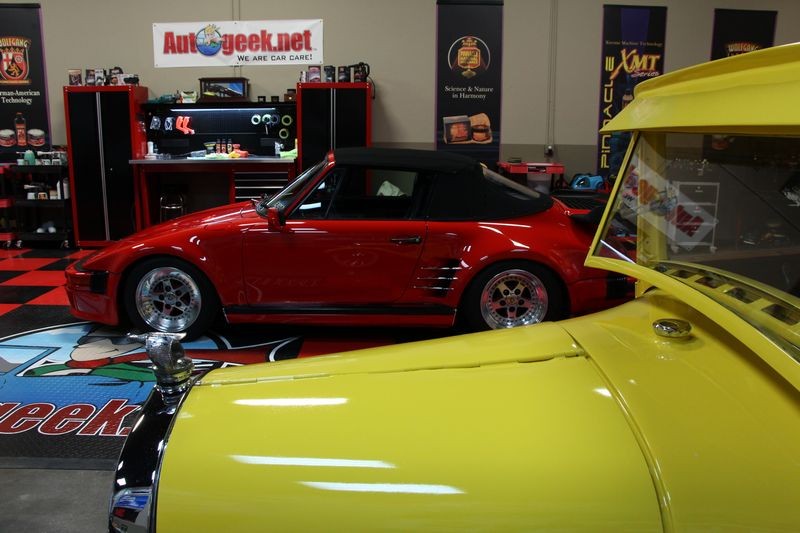
This is a 1986 Porsche 911 SC Cabriolet with Turbo Wide Body Slant Nose conversion and boxed rockers. This belongs to my buddy Mike Gelter. Mike just purchased this Porsche for himself and says he hasn't even had time to wash it since taking possession.

Mike let me borrow his Porsche for my latest detailing boot camp class to show,

  • How to clean and protect cloth tops with RaggTopp Products.
  • How to machine polish glass with Ceriglass and CarPro Rayon Pads.
  • How to clean and condition leather seats with Wolfgang Concours Series products.

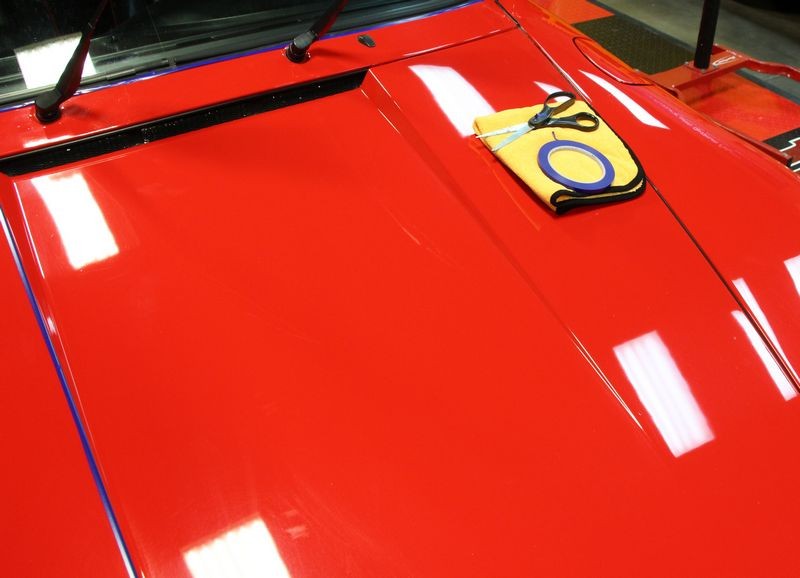
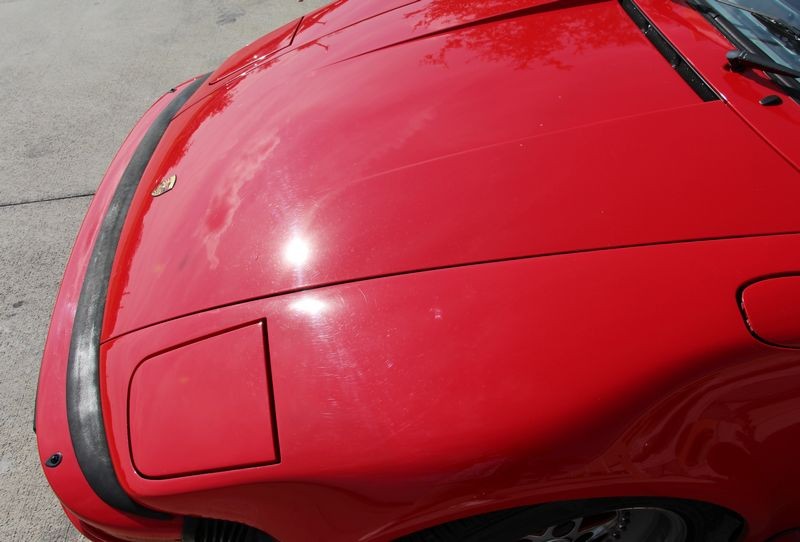
After the class was over the paint still needed some attention and that's where I took over. Here's the car as she looked when she first arrived...


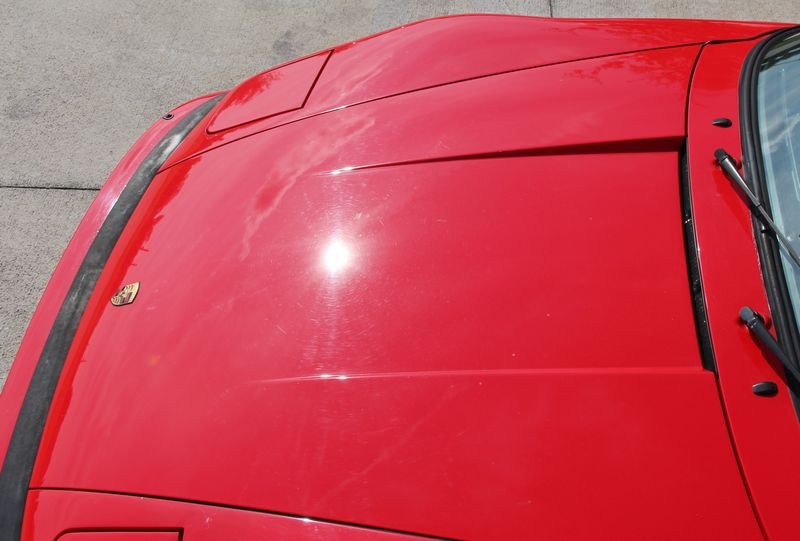
Looks pretty good in these first three shots...

1986_Porsche_911_SC_Cabriolet_007.jpg


1986_Porsche_911_SC_Cabriolet_008.jpg


1986_Porsche_911_SC_Cabriolet_009.jpg


1986_Porsche_911_SC_Cabriolet_010.jpg


1986_Porsche_911_SC_Cabriolet_010c.jpg


1986_Porsche_911_SC_Cabriolet_011.jpg


1986_Porsche_911_SC_Cabriolet_011c.jpg


1986_Porsche_911_SC_Cabriolet_012.jpg


1986_Porsche_911_SC_Cabriolet_013.jpg


1986_Porsche_911_SC_Cabriolet_014.jpg


1986_Porsche_911_SC_Cabriolet_015.jpg


1986_Porsche_911_SC_Cabriolet_016.jpg


1986_Porsche_911_SC_Cabriolet_017.jpg


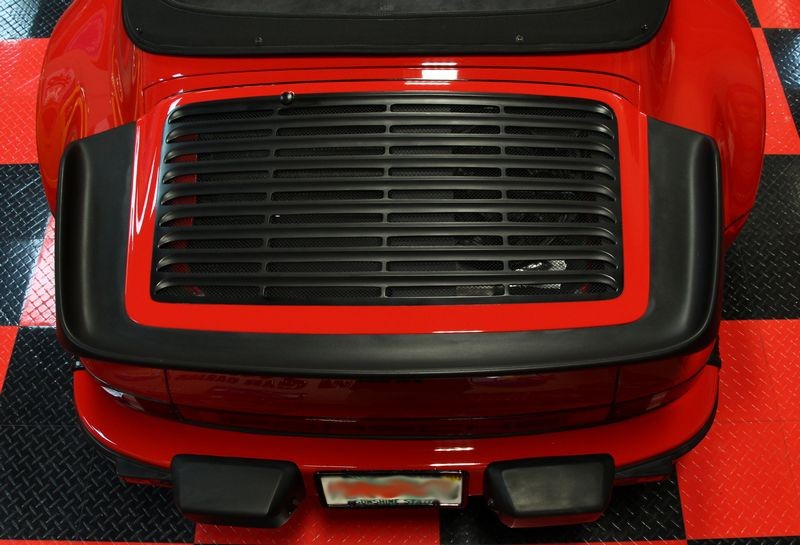
Here's the Porsche moved into the garage. Looks pretty good in a few of the shots...

1986_Porsche_911_SC_Cabriolet_018.jpg


1986_Porsche_911_SC_Cabriolet_019.jpg


1986_Porsche_911_SC_Cabriolet_020.jpg


1986_Porsche_911_SC_Cabriolet_020c.jpg


1986_Porsche_911_SC_Cabriolet_021.jpg


1986_Porsche_911_SC_Cabriolet_022.jpg


1986_Porsche_911_SC_Cabriolet_022c.jpg


1986_Porsche_911_SC_Cabriolet_023.jpg


1986_Porsche_911_SC_Cabriolet_024.jpg


1986_Porsche_911_SC_Cabriolet_025.jpg


1986_Porsche_911_SC_Cabriolet_026.jpg


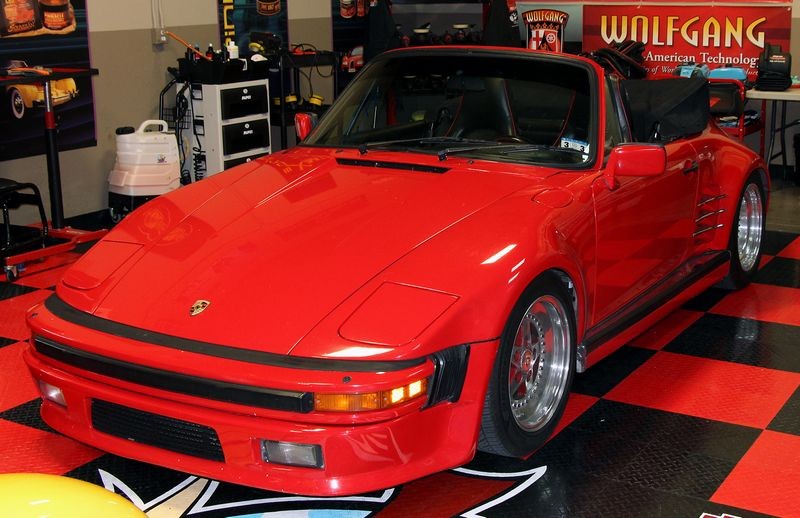
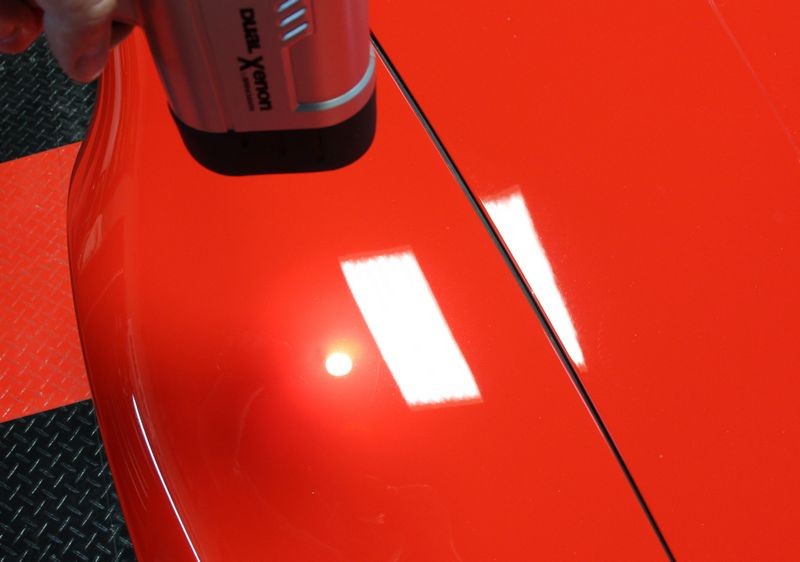
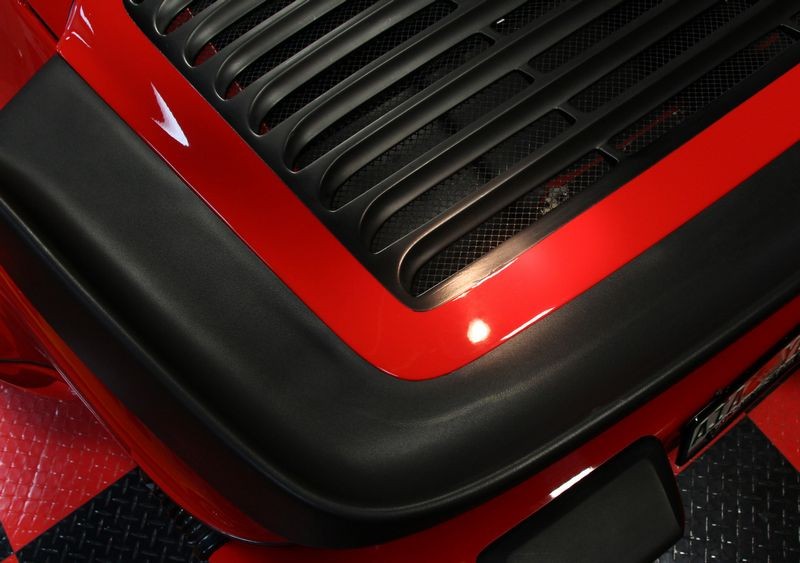
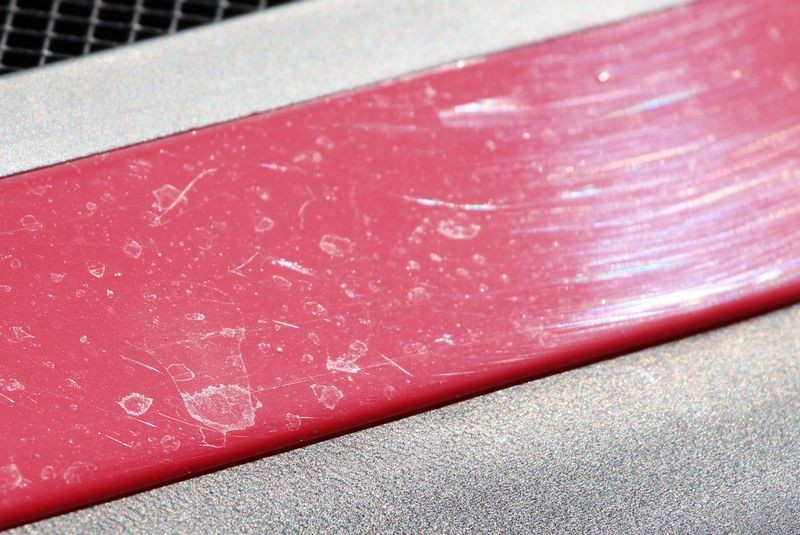
Hmmm... needs some cleaning and detailing...

1986_Porsche_911_SC_Cabriolet_027.jpg


:)
 
Here's how she looked after the detailing class, she's been washed, the seats are cleaned and conditioned and the top has a good coating of RaggTopp Protectant.

These pictures were taken on Tuesday morning...

1986_Porsche_Mike_Phillips_001.jpg


1986_Porsche_Mike_Phillips_002.jpg


1986_Porsche_Mike_Phillips_003.jpg


Ounce of prevention
Tuesday night I started prepping the car for machine polishing including running a tape-line around the cloth top to protect the weave from any compound or polish splatter.

1986_Porsche_Mike_Phillips_004.jpg


1986_Porsche_Mike_Phillips_005.jpg


A tip for buffing out Porsche 911 models
Every time I buff out one of these cars the first thing I do is look to see if the other detailers before me have already burned through the 2 distinct raised body lines on the hood. Right here where I'm pointing with my finger or anywhere down the hood.

1986_Porsche_Mike_Phillips_006.jpg


1//4" Blue Vinyl Tape by 3M
Mike is luck in that so far no one has burned through the paint anywhere and I'm not going to be the first. The remedy is to use some 3M Blue Vinyl Tape and run it down the top of the raised body line like this...

1986_Porsche_Mike_Phillips_007.jpg


1986_Porsche_Mike_Phillips_008.jpg


Tape-off and cover-up
Next I taped off as much of the rubber and plastic trim as I felt necessary or that I could get paint to stick to. I could not get tape to stick to the rubber on the whale tail.

Wheel Maskers
I also placed wheel maskers over the tires and wheels as we washed and cleaned these thoroughly at the class using Wolfgang Uber Wheel Cleaner.

1986_Porsche_Mike_Phillips_009.jpg


Baggie Test and Pinnacle Ultra Poly Clay
I felt the paint using the baggie test and it was pretty rough so I clayed before starting the machine polishing steps.

1986_Porsche_Mike_Phillips_010.jpg


Removing Swirls with Wolfgang Uber Compound
After claying I machine polished all the paint, everything, even the thin panels surrounding the whale tail and the front grill.

1986_Porsche_Mike_Phillips_011.jpg


Compounding over...
I finished the compounding step at 7:10pm and called it a day...

1986_Porsche_Mike_Phillips_012.jpg


:)
 
Results from Wolfgang Uber Compound

I took these shots after compounding with Uber Compound and BEFORE machine polishing with the Wolfgang Finishing Glaze. To me the paint looked ready to wax...


1986_Porsche_Mike_Phillips_030.jpg


1986_Porsche_Mike_Phillips_031.jpg


1986_Porsche_Mike_Phillips_032.jpg


1986_Porsche_Mike_Phillips_033.jpg


1986_Porsche_Mike_Phillips_034.jpg


1986_Porsche_Mike_Phillips_035.jpg


Wolfgang Finishing Glaze
After compounding, I re-polished each panel using Wolfgang Finishing Glaze. Didn't take any pictures as it looked as good as it does above.


Detailer's Paint Coating Prep
Next I thoroughly wiped down each panel including into all the tight areas and the long thin panels as well as complicated areas using the Paint Coating Prep to remove any polishing oils.

1986_Porsche_Mike_Phillips_036.jpg


1986_Porsche_Mike_Phillips_037.jpg


Time to wipe off...
To remove the paint coating prep I wanted to be uber careful so I wore microfiber gloves and used super soft, rolled edge microfiber towels.

1986_Porsche_Mike_Phillips_038.jpg


Coating the paint
After all traces of the paint coating prep were carefully wiped off I then used a gold finger pocket to apply the coating.

1986_Porsche_Mike_Phillips_039.jpg


25 Minutes
Don't know if it helps anyone but you can see by the pictures of the clock how long it took to apply the coating to every square inch of paint.

1986_Porsche_Mike_Phillips_040.jpg


20 minutes
After applying the coating, I carefully gave the paint a final wipe plus removed any residues out of cracks and crevices.

1986_Porsche_Mike_Phillips_041.jpg


:)
 
Here's the beauty shots...


1986_Porsche_Mike_Phillips_042.jpg


1986_Porsche_Mike_Phillips_043.jpg


1986_Porsche_Mike_Phillips_044.jpg


1986_Porsche_Mike_Phillips_045.jpg


1986_Porsche_Mike_Phillips_046.jpg


1986_Porsche_Mike_Phillips_047.jpg


Sun Shots
I can't drive a stick shift car so I can't drive the car out of the studio for the sun shots so here's some using my trusty, dusty Brinkmann Swirl Finder Light.

When Mike picks up the car, "if" it's sunny outside I'll be sure to get some sun shots as is my norm...

1986_Porsche_Mike_Phillips_048.jpg


1986_Porsche_Mike_Phillips_049.jpg


1986_Porsche_Mike_Phillips_050.jpg


1986_Porsche_Mike_Phillips_051.jpg


1986_Porsche_Mike_Phillips_052.jpg


1986_Porsche_Mike_Phillips_053.jpg


The cloth top looks brand spanking new and beads water like no tomorrow...

1986_Porsche_Mike_Phillips_054.jpg


1986_Porsche_Mike_Phillips_055.jpg


The car is now ready to race or cruise and I'll give the owner Mike a call and let him know he has a date with a lady in red.


:xyxthumbs:
 
really good and big change..
Inside after pictures?
 
Mike that looks amazing. Q for ya...during this step below did you apply by hand or machine to remove the oils?

"Detailer's Paint Coating Prep"
Next I thoroughly wiped down each panel including into all the tight areas and the long thin panels as well as complicated areas using the Paint Coating Prep to remove any polishing oils.
 
Great Job Mike! It looks awesome! Nothing like a red porsche that shines!
 
Beautiful work as always. The car has a brand new paint job thanks to you. Excellent results again.
 
Like always, awesome work MIKE:)

Thank you sir... always nice to see people appreciate not only the hard work but the pictures too...


really good and big change..

Inside after pictures?

Yes! I finished the interior, the rear plastic window, applied Tuff Shine Tire Clear Coat to the tires and polished the aluminum wheels starting at 8:00am this morning and finished at about 11:30am.

Took lots of pictures but no time to post. Have to go clean up after this project and get ready to restore the original paint on a 1956 Chevy.


1956 Chevrolet Bel Air - Original Paint


What did you use to revive that trim?

CarPro Pearl.

Have some great after shots...


Mike that looks amazing.
Q for ya...during this step below did you apply by hand or machine to remove the oils?

I did it all by hand using a gold finger pocket. I prefer to work by machine but this body style would mean switching between multiple tools and pad sizes so I just rolled up my sleeves and did it all by hand.

By "all by hand" I polished everything that was red, all the paint on the front of the grill, around the whale tail, ever portion of red paint was clayed, compounded, polished, cleaned and then coated.


Thats ridiculous Mike! Awesome turnaround man :dblthumb2:

Great Job Mike! It looks awesome! Nothing like a red Porsche that shines!

Thanks Anthony!


Beautiful work as always. The car has a brand new paint job thanks to you. Excellent results again.


I just took a video that shows the end results with the top down and then I go through all the products used for this inside and outside detail job.

No time to post any more pictures but as soon as I can carve out the time I'll share some more from this project.


:)
 
Amazing work Mike. I got some of that Wolfgang Über 3.0 when I went there last week, I got thank Andre for pushing me into buying this, amazing product, no dust and finishes it off beautifully, LSP ready.
 
Amazing work Mike. I got some of that Wolfgang Über 3.0 when I went there last week, I got thank Andre for pushing me into buying this, amazing product, no dust and finishes it off beautifully, LSP ready.


I swear... and I don't swear), I almost stopped after the Uber Compound step but because this is a super cool Porsche I only wanted to do my best work so I went ahead and re-polished with a fine cut polish if for no other reason than to maximize gloss and clarity.


This shot was taken AFTER the Uber Compound step...

(as were a number of the pictures in this article, any picture for I listed the Wolfgang Finishing Glaze in the order of steps)

1986_Porsche_Mike_Phillips_031.jpg


:)
 
Beautiful job Mike ! Curious, what pad did you use to compound, and what pad to polish ?? It must have been tough polishing such a low car.
 
Awesome Mike. I would loved to have seen the owners reaction when you unvelied that make over. That would be a cool post for future jobs.
 
Ohh so lovely!!

I'm not a huge Porsche fan but I like this one...


This is one of the most gorgeous cars I have ever seen! Mike is a magician.

Not a magician, just use good products, pads, tools and technique.


Beautiful job Mike ! Curious, what pad did you use to compound, and what pad to polish ?? It must have been tough polishing such a low car.

Foam polishing pad to polish with Uber Compound. LC Black Finising pad to polish.

As for working on low cars... yep... don't like it, causes you to have to bend over while at the same time working very carefully as you control the buffer. The only way to go is to have a lift. But you do what you have to do...


Awesome Mike. I would loved to have seen the owners reaction when you unvelied that make over. That would be a cool post for future jobs.

The owner picks it up tomorrow... I'll let you know what he thinks. He's also picking up the Model A we just finished, sanding, buffing, polishign and waxing...


Time to shut the garage down and head for home...


:D
 
Back
Top