Mike Phillips
Active member
- Dec 5, 2022
- 51,004
- 7
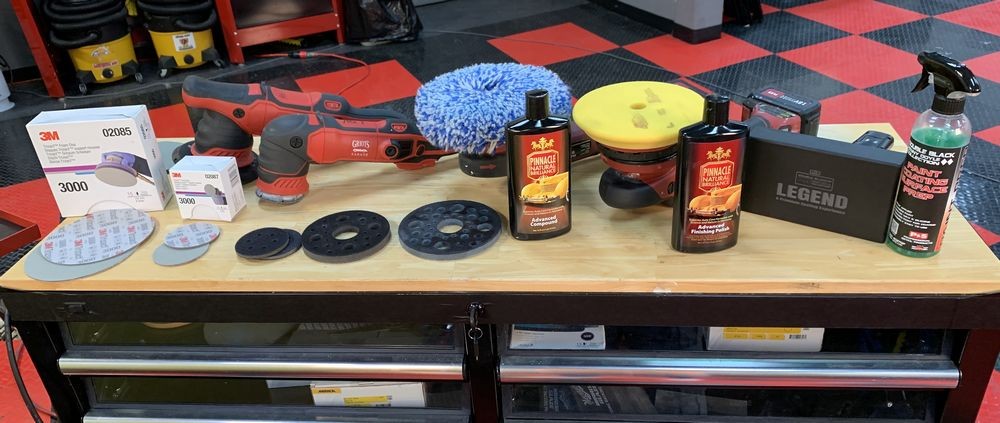
Learn to machine sand TODAY! LIVE Detailing Class at 3:00pm Eastern Time
Now that this is over, here's the YouTube version...
At 3:00pm today, Yancy and I will be going over a plethora of topics that are hard to find good information about let along video showing how it's done.
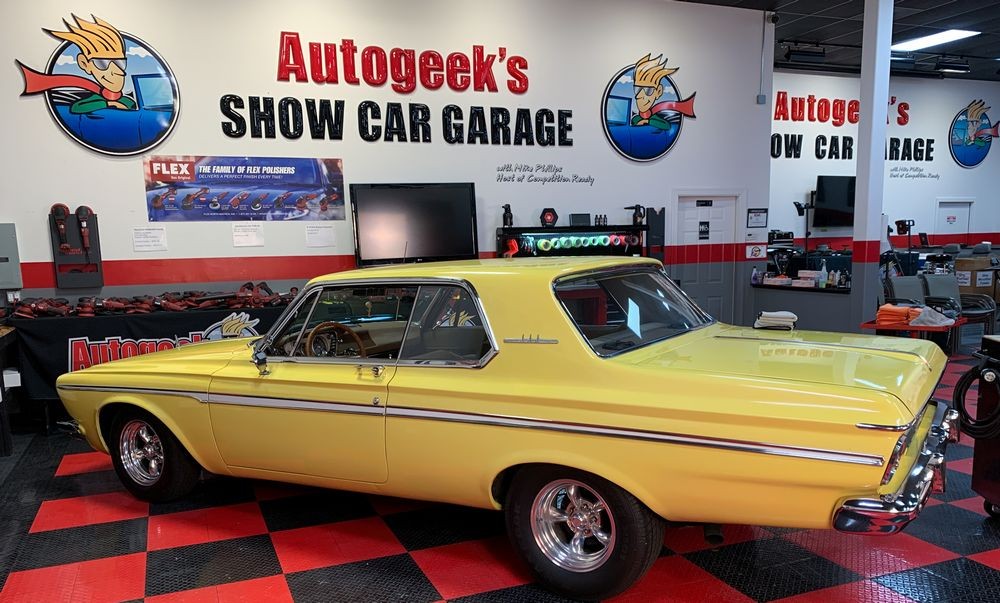
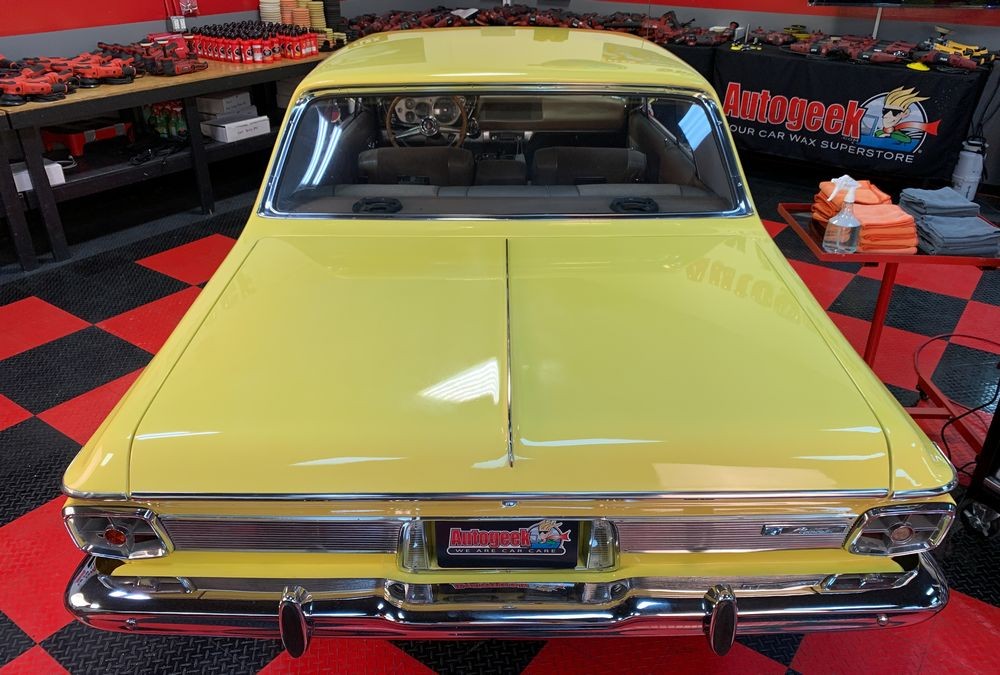
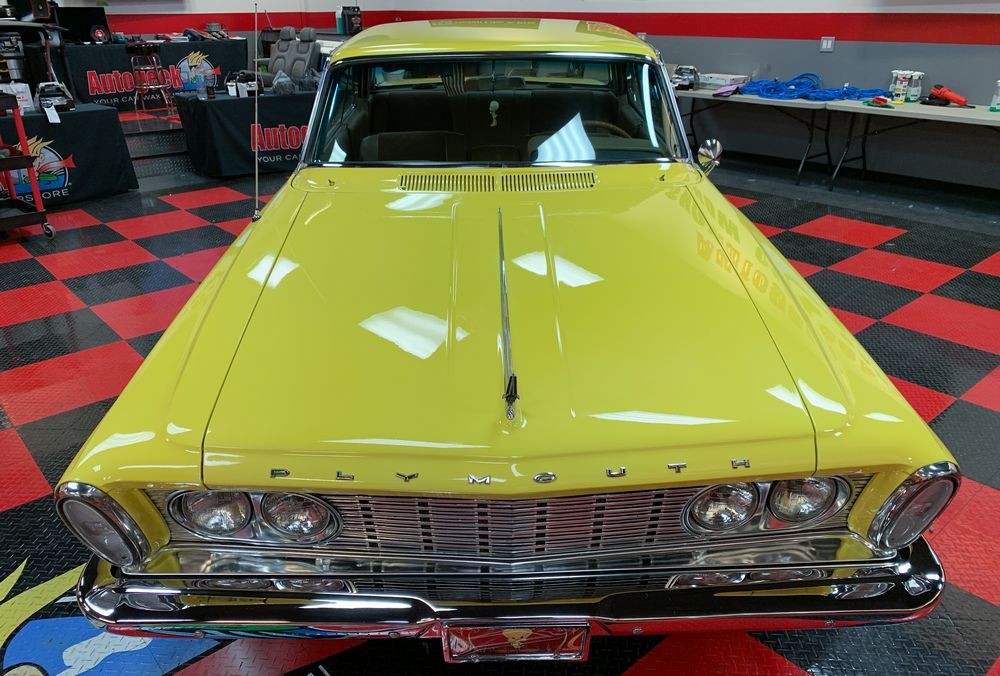
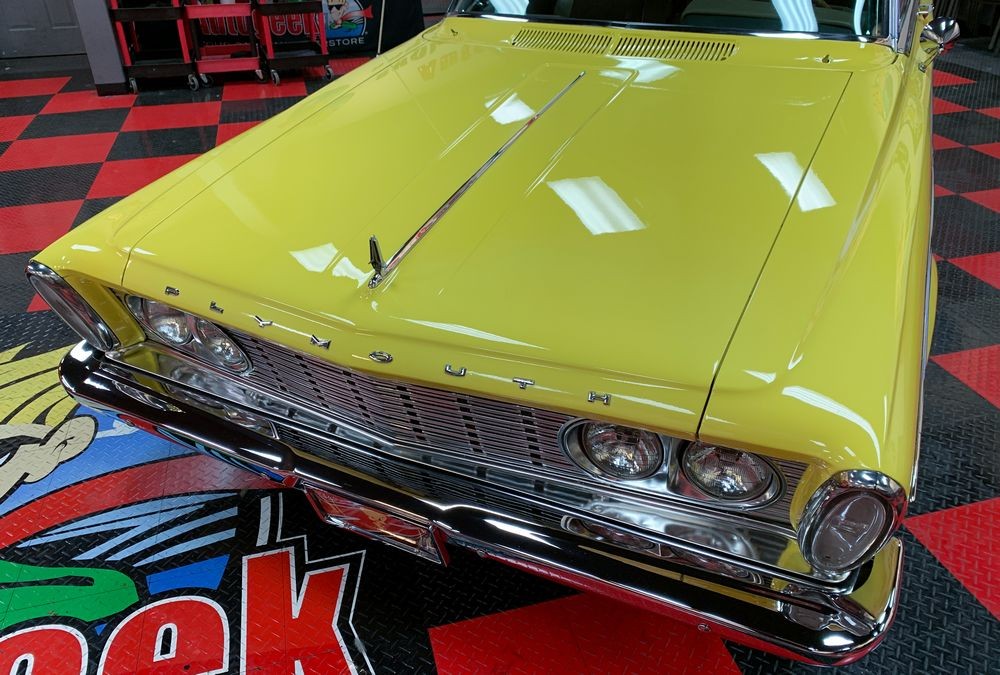
The car was here for our February 3-day class. It's a 1963 Plymouth Fury Drag Car. This car was recently repainted. There were some flaws UNDER the clear on the trunk lid so it went back and was repainted.
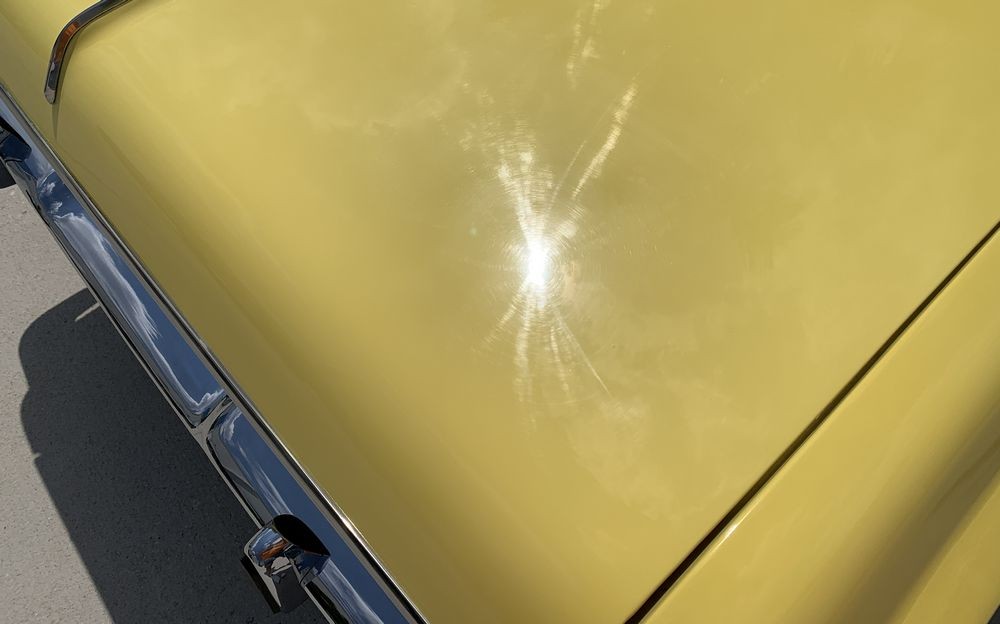
After painting, it was hand sanded and buffed. Now there is overspray over the entire car. There's residual sanding marks in the paint. There's holograms everywhere the fresh paint was buffed. No big deal, this is the norm for the body shop industry.
Turning lemons into lemonade
After seeing the results from the paintwork, I told Carlos to bring her back and I would personally fix the entire car. I also asked if it would be okay to use this project for one of our LIVE detailing classes and in his normal awesome self - he said no problemo.
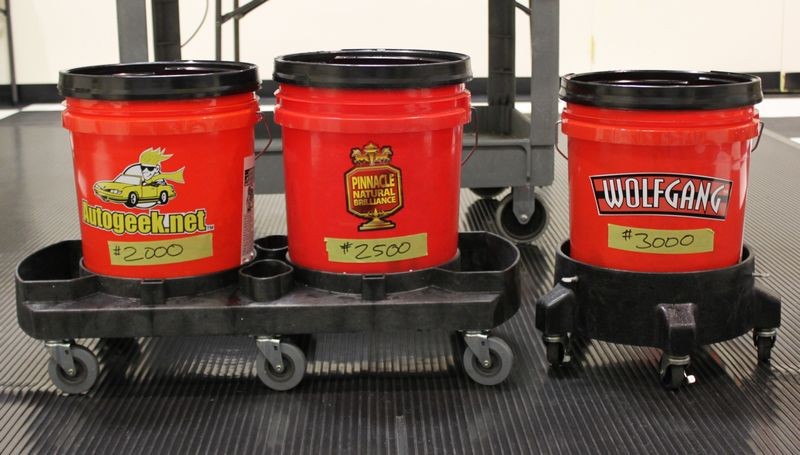
Here's the car after my 3-day class completely hand sanded and then machine sanded the entire car. (I teach wetsanding in all my classes)
From this recent class...
Pictures and Comments: 2021 February 3-Day Detailing Bootcamp Class
1963 Plymouth Fury Drag Car - Brand new basecoat/clearcoat paint job


And although the trunk lid left looking like this,
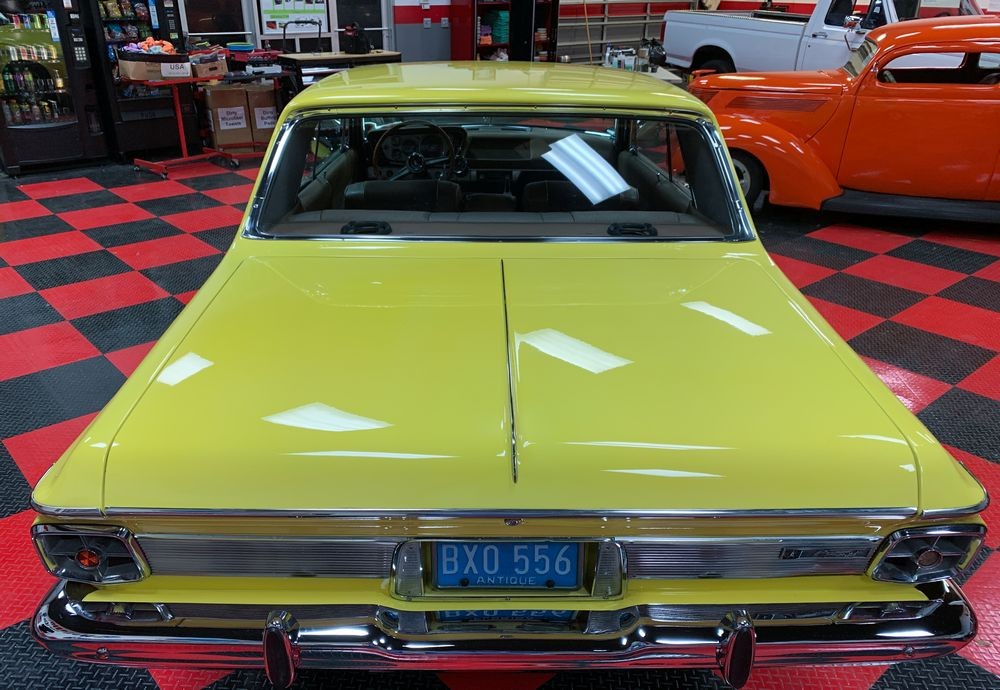
It don't look like the above any longer.
Where to go to watch?
At 3:00pm today - head over to either the Autogeek YouTube Channel or the Autogeek Facebook page and see how it's done.
YouTube - You can interact LIVE via the comments section
Facebook - You can interact LIVE via the comments section
")
Now that this is over, here's the YouTube version...
At 3:00pm today, Yancy and I will be going over a plethora of topics that are hard to find good information about let along video showing how it's done.
The car was here for our February 3-day class. It's a 1963 Plymouth Fury Drag Car. This car was recently repainted. There were some flaws UNDER the clear on the trunk lid so it went back and was repainted.
After painting, it was hand sanded and buffed. Now there is overspray over the entire car. There's residual sanding marks in the paint. There's holograms everywhere the fresh paint was buffed. No big deal, this is the norm for the body shop industry.
Turning lemons into lemonade
After seeing the results from the paintwork, I told Carlos to bring her back and I would personally fix the entire car. I also asked if it would be okay to use this project for one of our LIVE detailing classes and in his normal awesome self - he said no problemo.
Here's the car after my 3-day class completely hand sanded and then machine sanded the entire car. (I teach wetsanding in all my classes)
From this recent class...
Pictures and Comments: 2021 February 3-Day Detailing Bootcamp Class
1963 Plymouth Fury Drag Car - Brand new basecoat/clearcoat paint job
And although the trunk lid left looking like this,
It don't look like the above any longer.
Where to go to watch?
At 3:00pm today - head over to either the Autogeek YouTube Channel or the Autogeek Facebook page and see how it's done.
YouTube - You can interact LIVE via the comments section
Facebook - You can interact LIVE via the comments section