lawrenceSA
New member
- Feb 7, 2012
- 1,713
- 0
This was a special detail for me.... Not only was it the 100th full detail I have done, but I got to do it on a car I love.
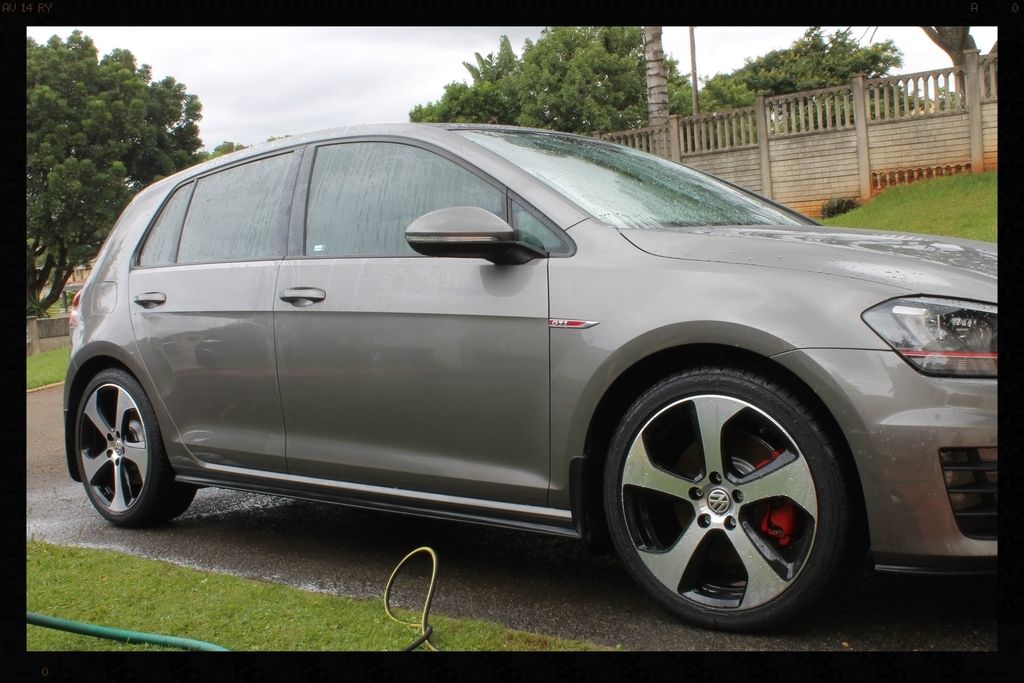
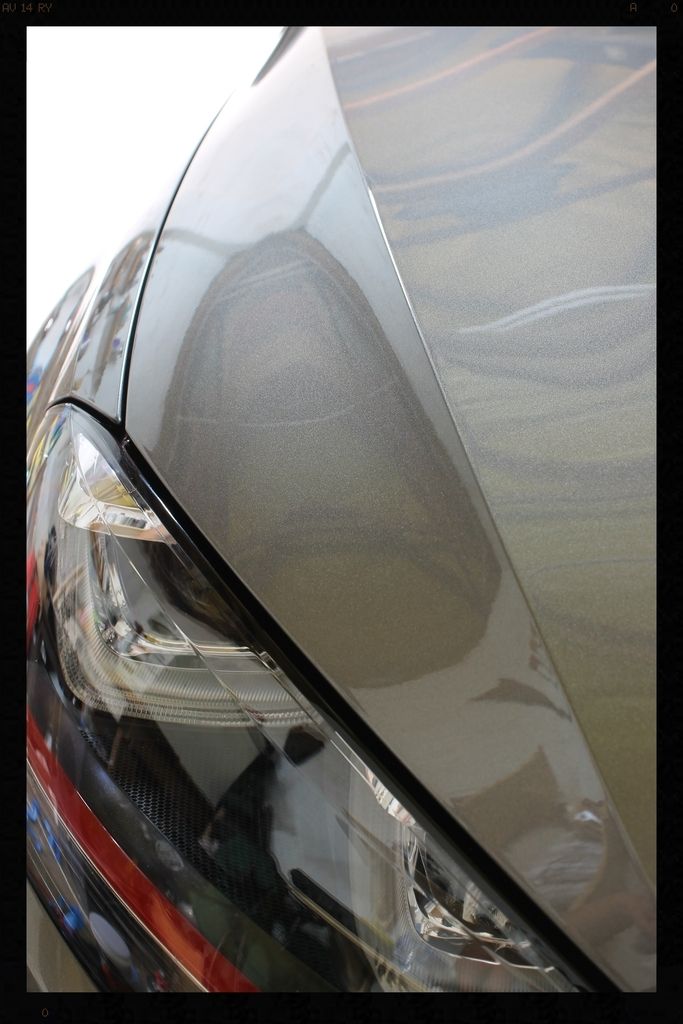
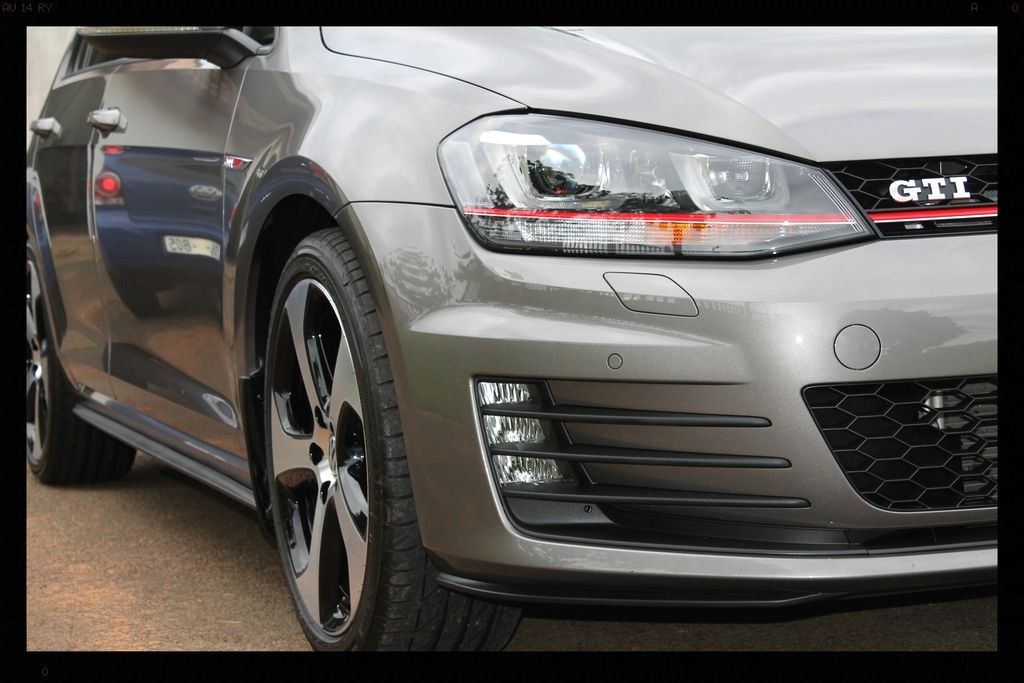
This particular one is still new with less than 6000 km on the clock. The car was dirty when it arrived, but once cleaned the paint was in fairly decent shape, but definitely needed attention. There were not many swirls, but there was some light wash marring, and unfortunately quite a bit of water spots on the bonnet and roof. Contamination was high given the age of the vehicle and the wheels were swirled quite badly, as were the b-pillars.
As always I start with the dirty stuff and progressively work clean....
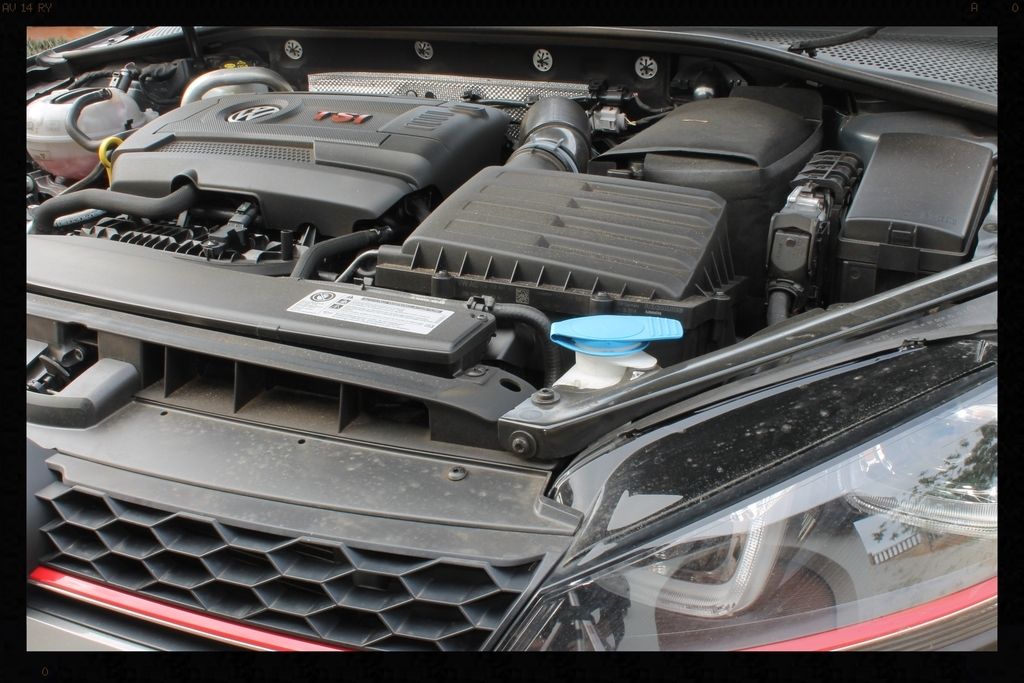
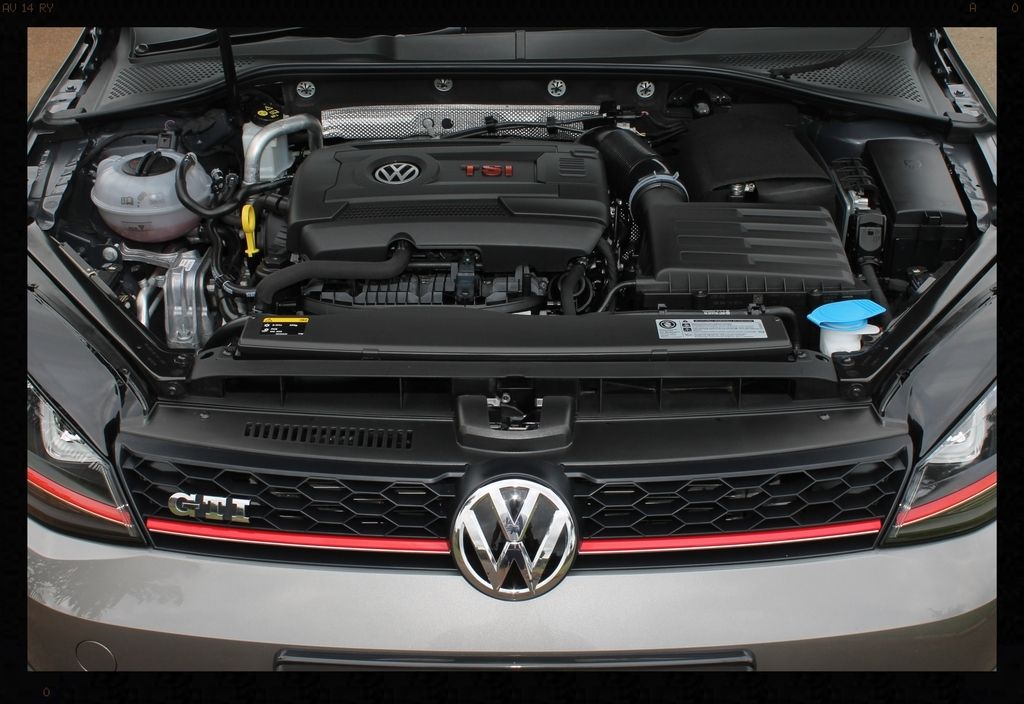
Engine Bay
Clean with Cyclo APC and various brushes and MF towels. Blown dry and protected with Aerospace 303
Before
After
Before
After
Arches
-HP rinse
-Clean with Cyclo APC using a Mothers Fenderwell Brush
-HP rinse
-Dressed with Aerospace 303
Tires
-Clean tires with Valet Pro Billbery Wheel Cleaner @ 1:6 and a Mothers Tire brush.
-HP rinse
-Repeat tire cleaning
-HP rinse
-Dressed with 2 coats of Optimum Tire Sheen 12 hours apart
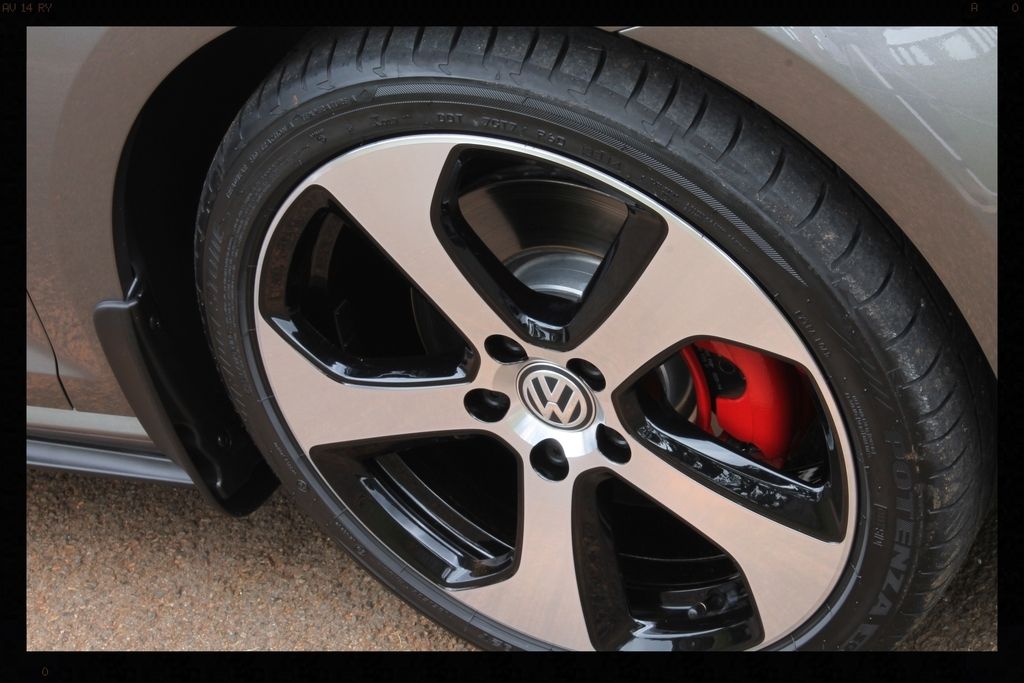
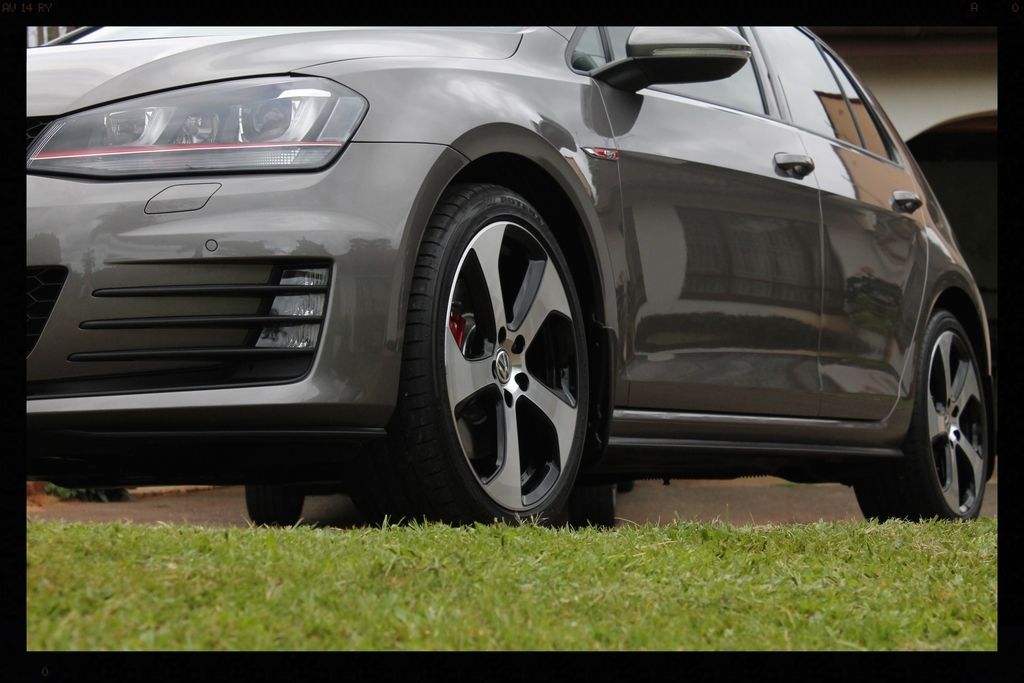
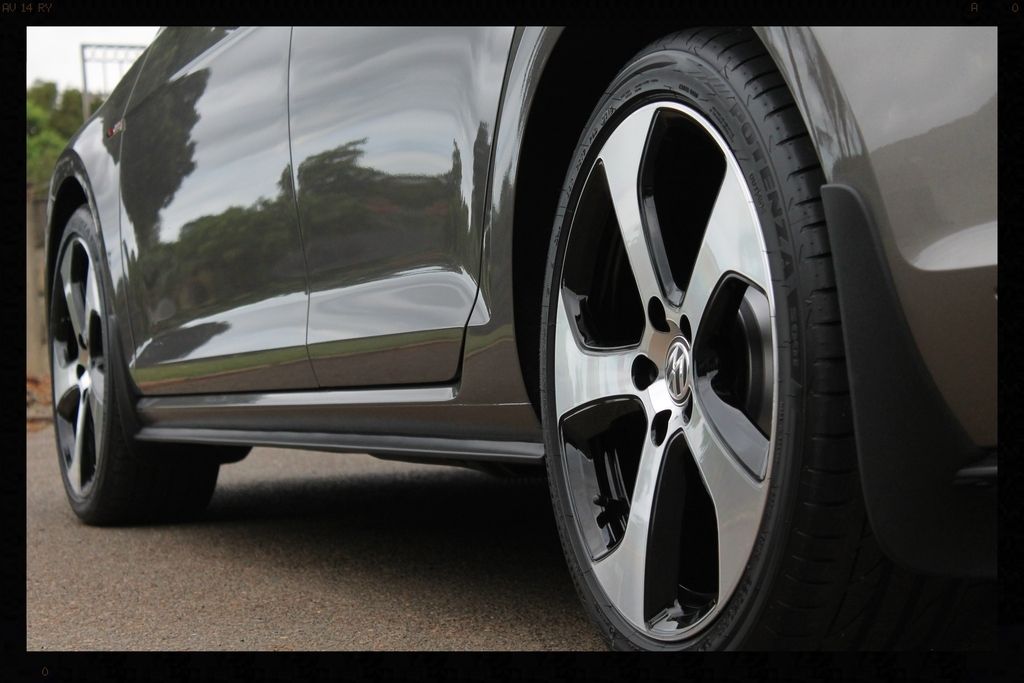
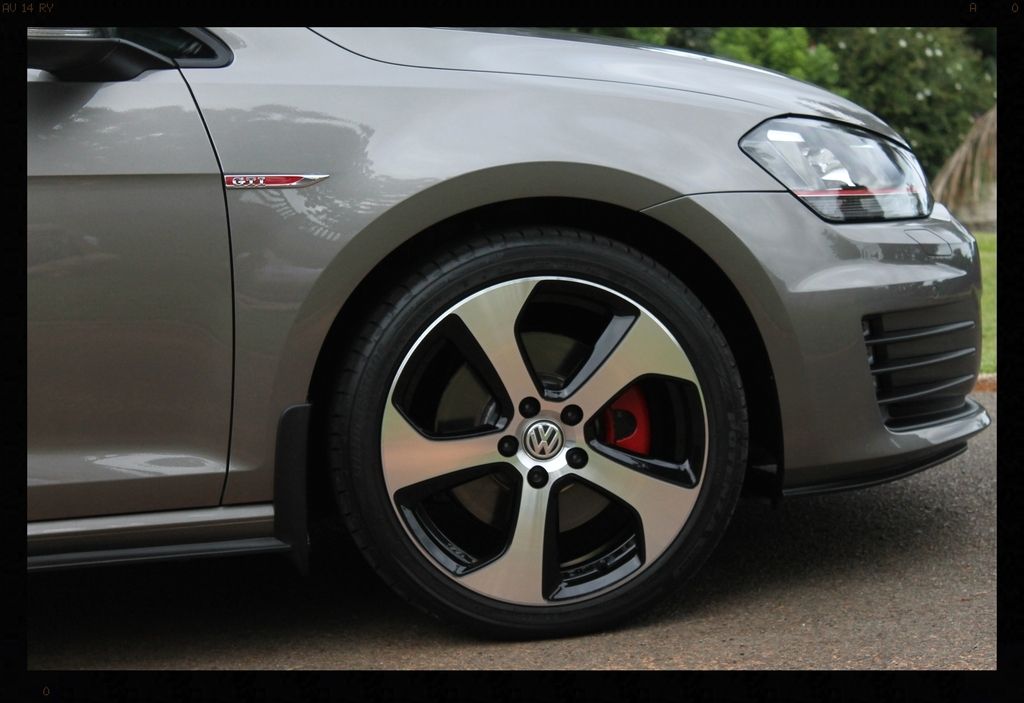
Wheels
-HP rinse
-VP Bilberry Wheel Cleaner @ 1:6, Daytona and Daytona Jnr brushes and Valet Pro Boars Hair Brushes
-HP rinse
-Dry
-Remove tar using VP Citrus Tar Remover
-Spray with APC and HP Rinse
-Dry
-Remove bonded and embedded ferrous contaminants on wheels and brake calipers with Autofinesse Iron Out, Daytona (big and small) brushes and Valet Pro Boars Hair Brushes
-HP Rinse + flood rinse
-Dry
-Polished with Meznerna FG400 and a MF applicator by hand
-Protected with Collinite #845
Before
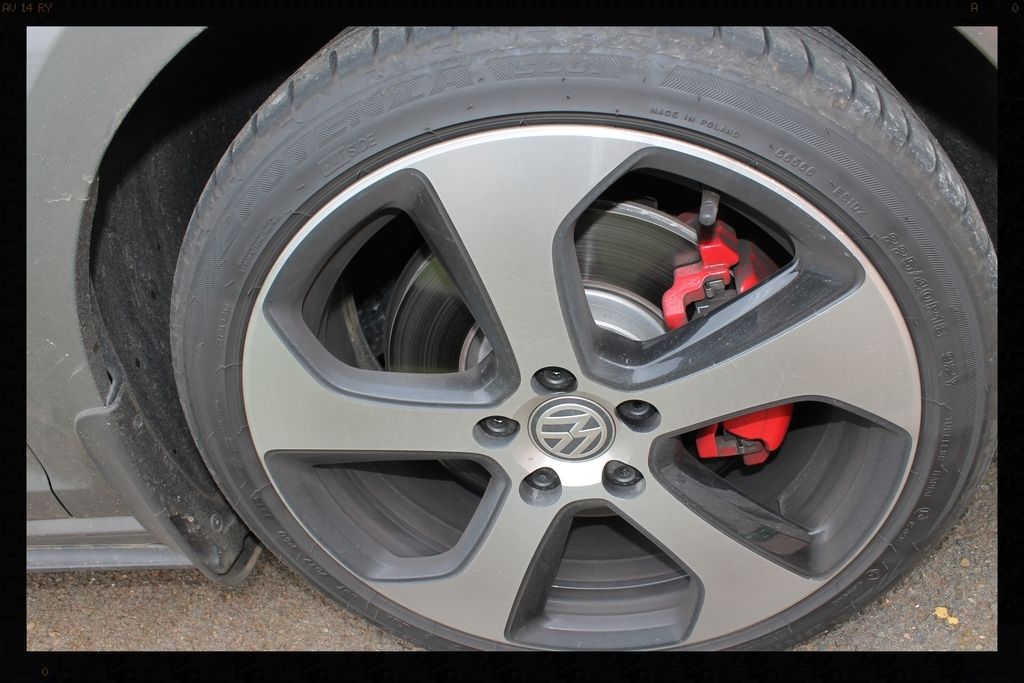
Before correction
After correction
Completed
Door/Boot Jamb/Petrol Flap
-HP rinse
-Clean with Cyclo APC and Valet Pro Boars Hair Brushes
-HP rinse
-Autofinesse Tripple
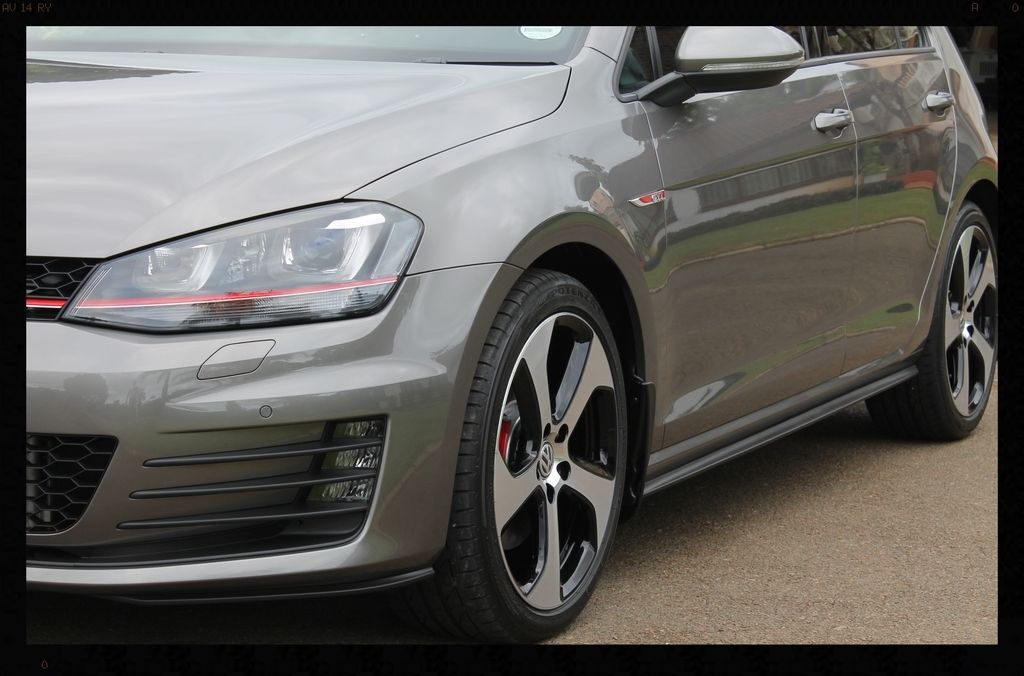
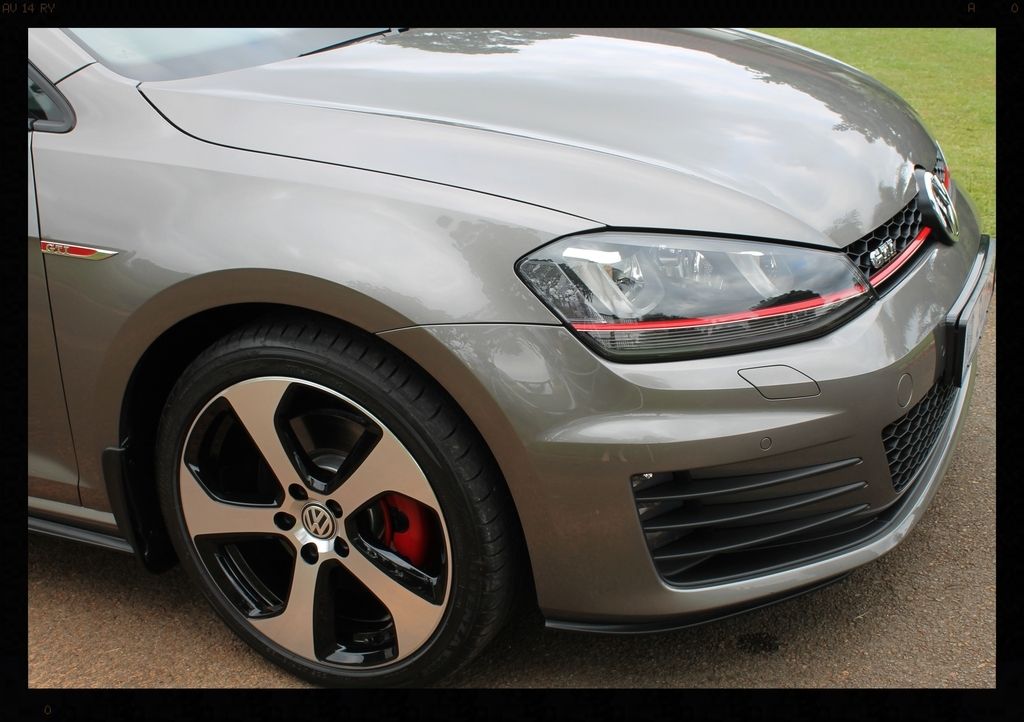
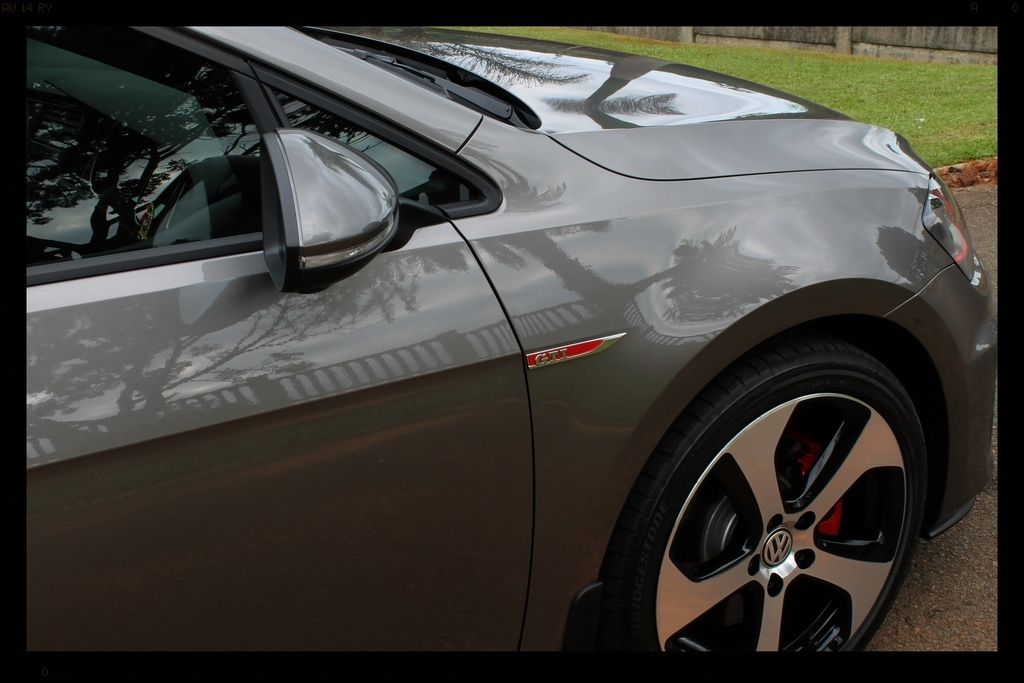
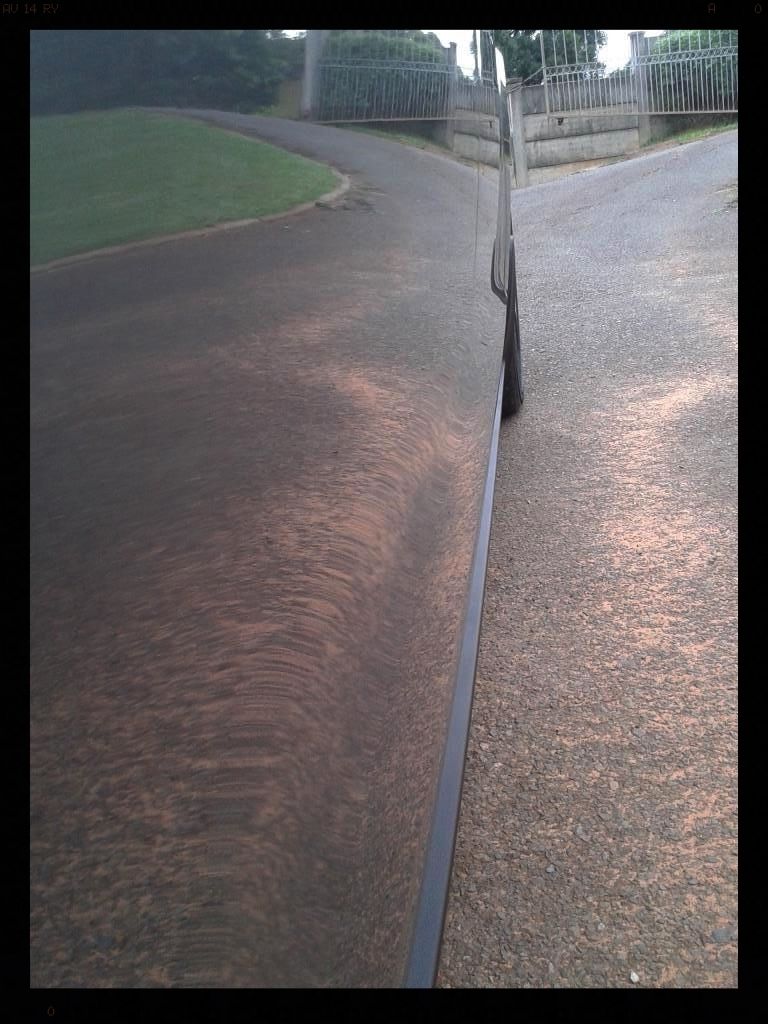
How the rest of the car looked
Wash
-HP rinse
-Gyeon Q2M Foam - mixed at 1:5 (1000ml / (5+1) = 167ml foam + 833ml warm water) / MTM Hydro / Karcher K7 .
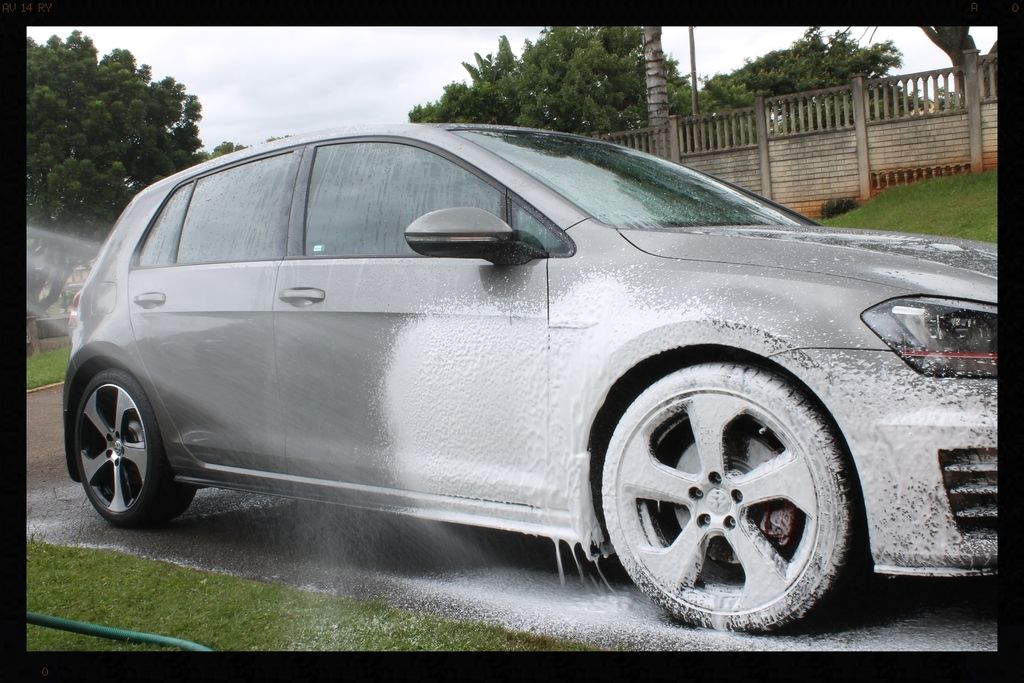
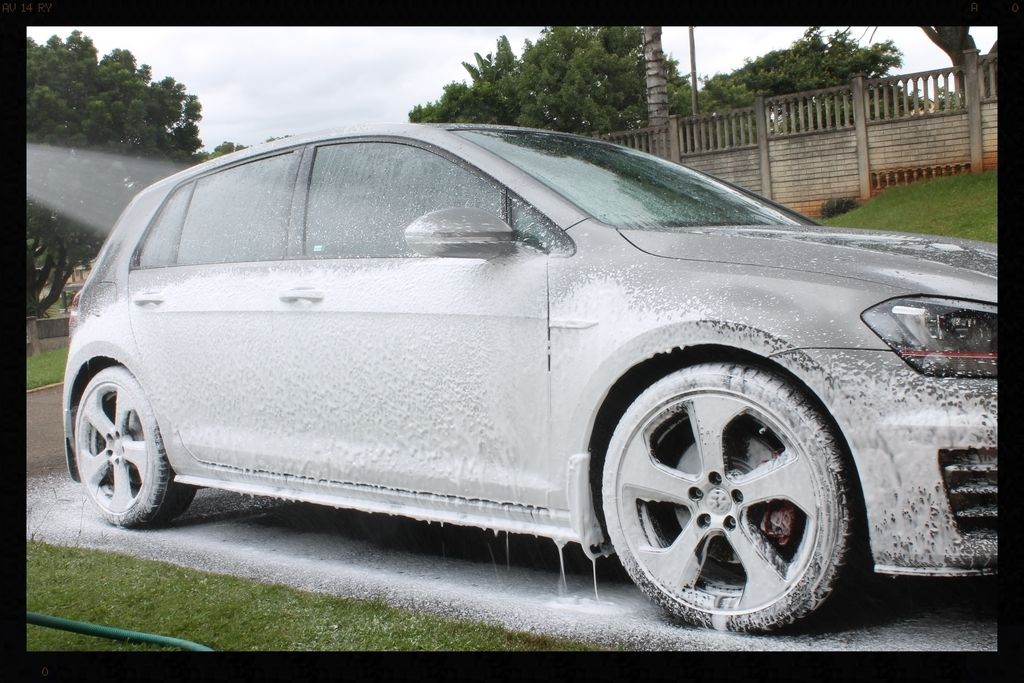
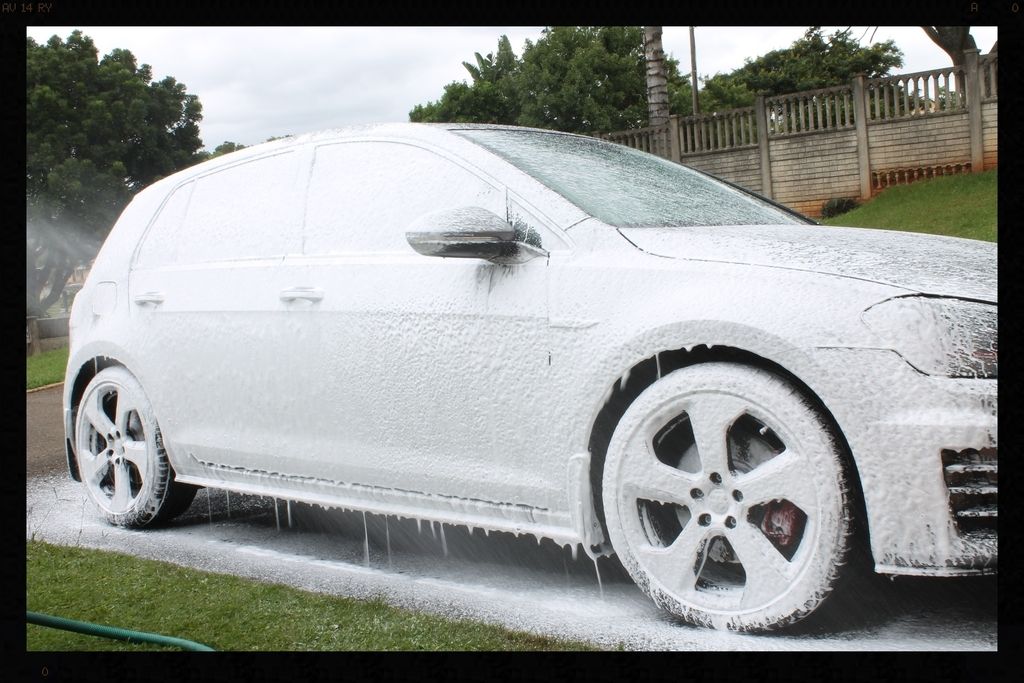
-HP Rinse
-Un-named sample shampoo
-2 Buckets
-Grit Guard
-4 x Lambswool Wash Mitts
-HP rinse
-Flood rinse
-ONR at QD ratio
-Waffle weave drying towels
Decontamination
-Shield Heavy Duty Clay / ONR
Paint correction
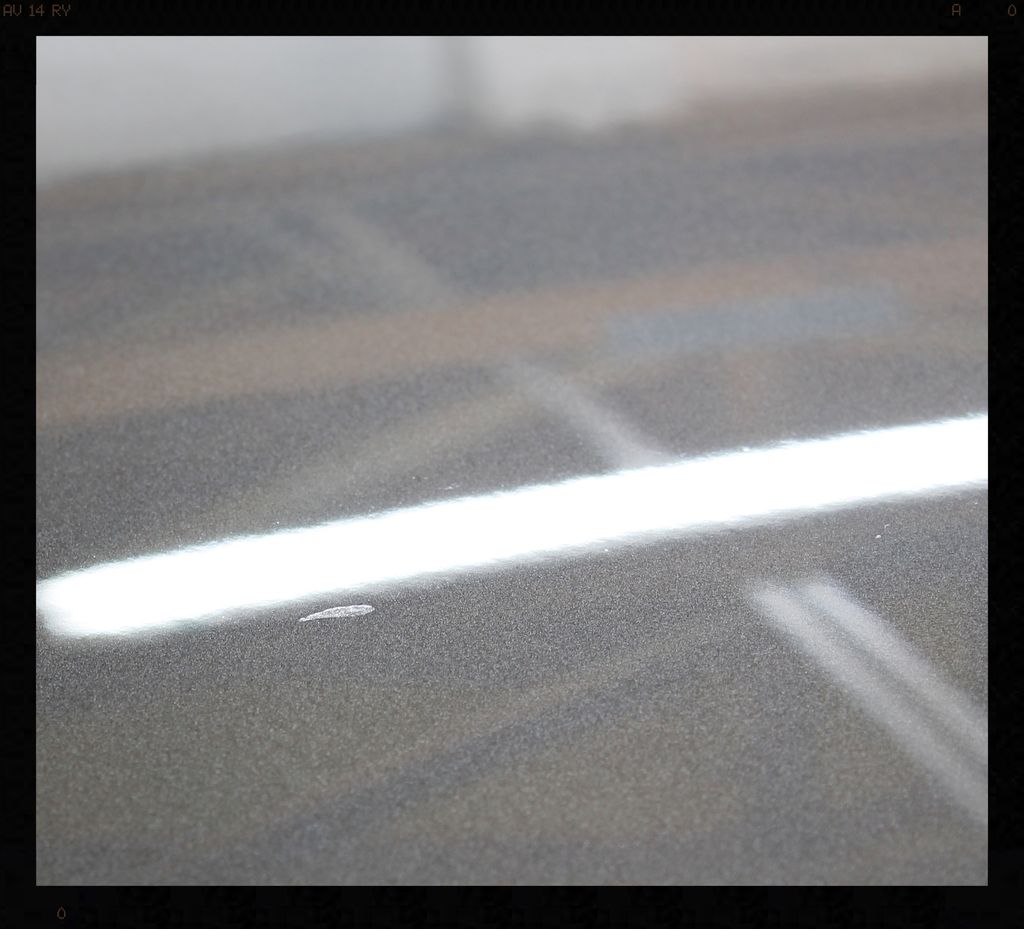
Paint Readings
-109µ to 164µ
Bumpers
-Flex 3401
-5" Lake Country Hybrid White / Menzerna 3-in-1
Door handles
-Meguiars Ultimate Compound / MF applicator
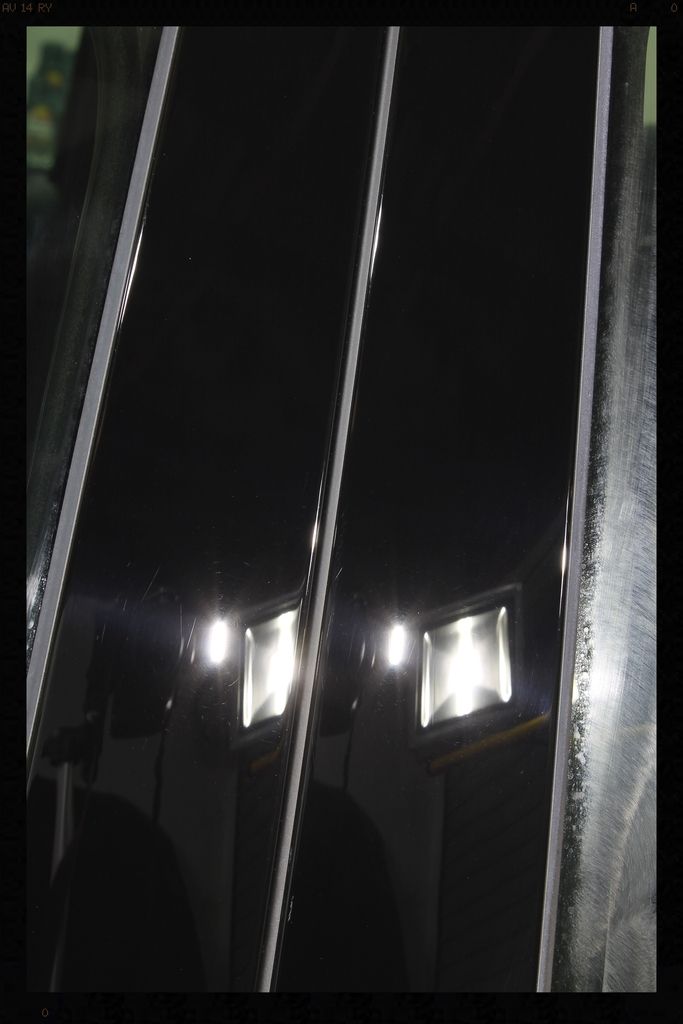
B-pillars
-Shield DA
-Menzerna PF2300
-4.5"Lake Country White
-Menzerna SF4000
-4.5"Lake Country Grey
Before
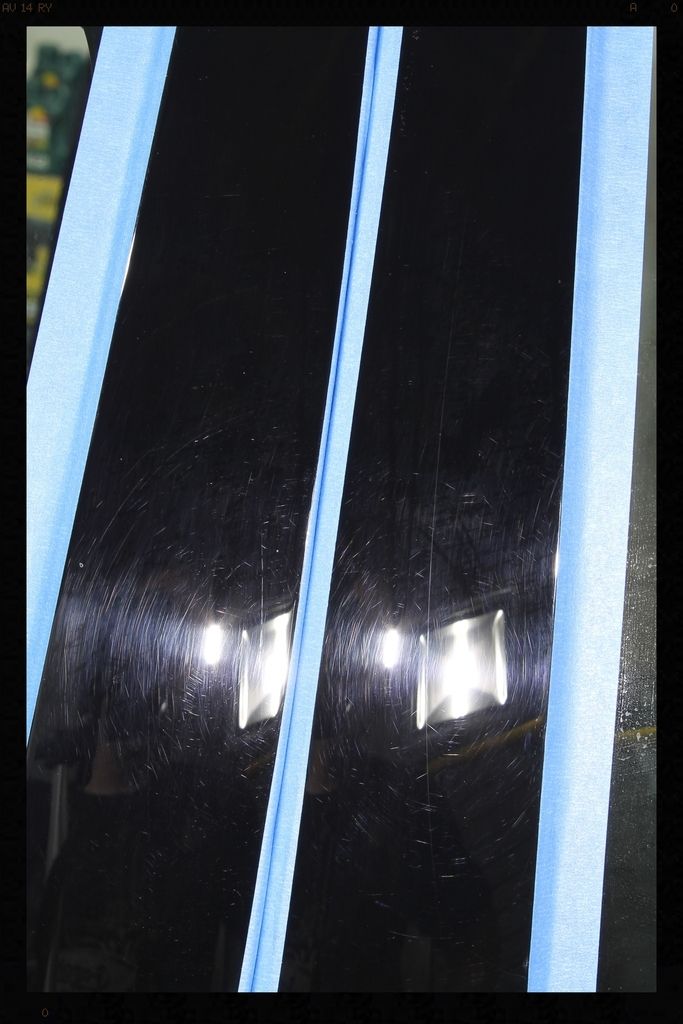
After
Plastic section around sunroof
-Flex 3401
-5" Lake Country Hybrid White / Menzerna 3-in-1
Remainder of vehicle
-Flex 3401
-6.5" and 5" Lake Country Hybrid White / Menzerna SF4000
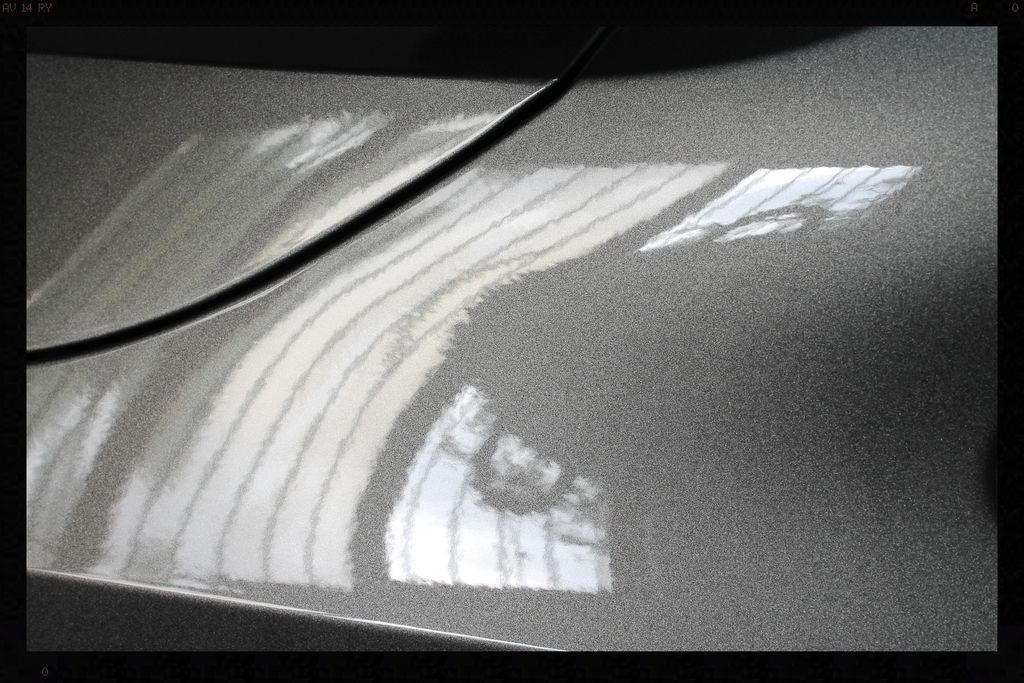
Before
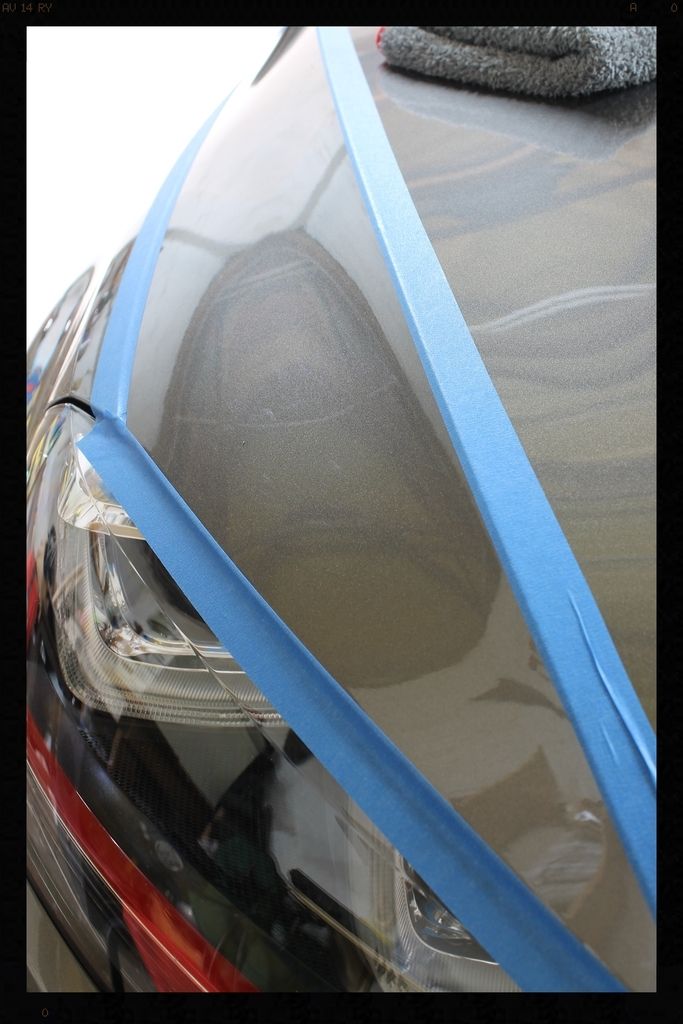
After
Before
During
After
Inspection/Pre-Sealant Cleanse
-Gyeon Prep
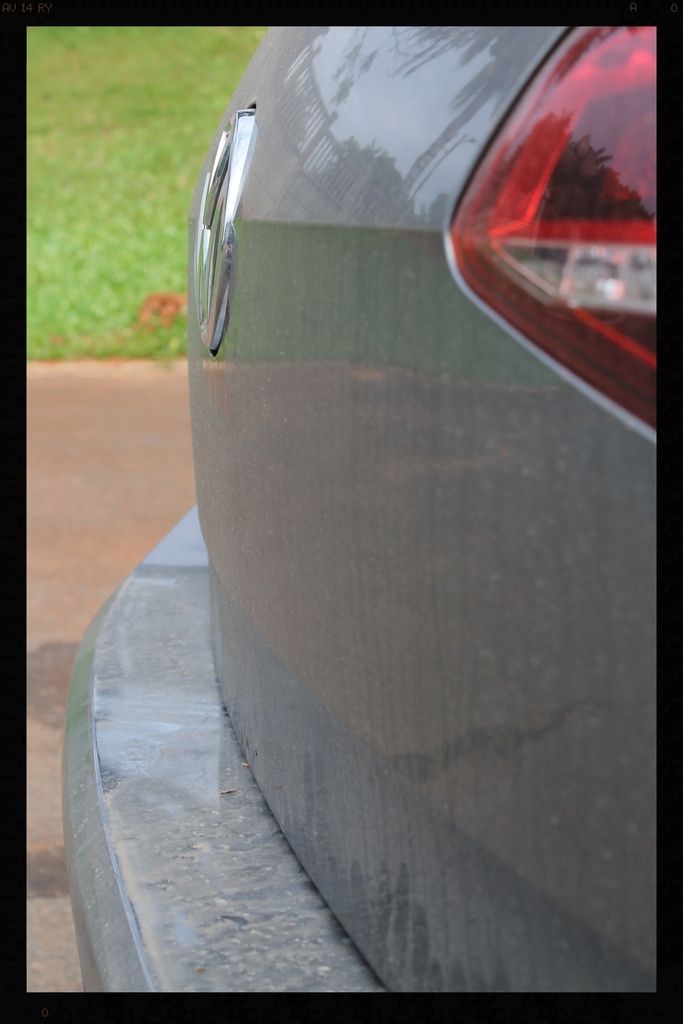
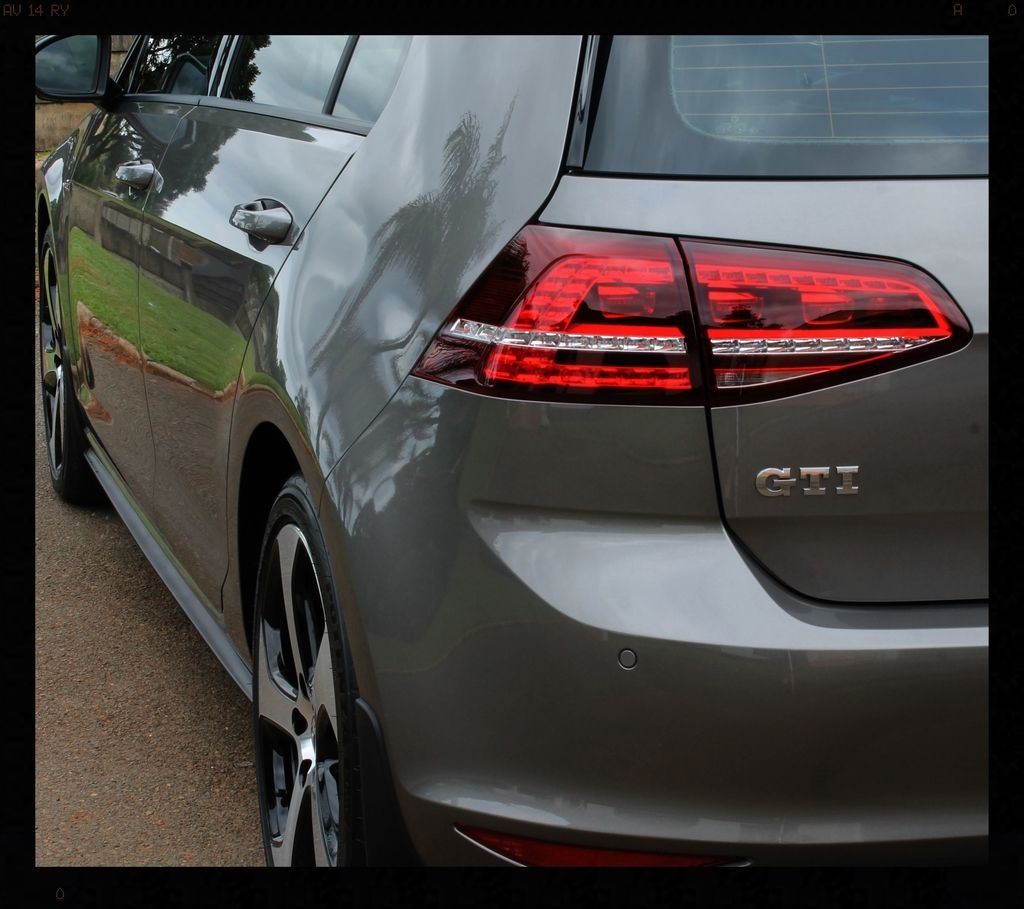
Tailights
-Flex 3401
-Menzerna PF2300
-5"Lake Country Hybrid White
Protection
-Menzerna Powerlock
-2 Coats Chemical Guys Pete's 53
Glass
-Shield Heavy Duty Clay / ONR
-Glossworx Glass Cleaner
-Wynns C-Thru
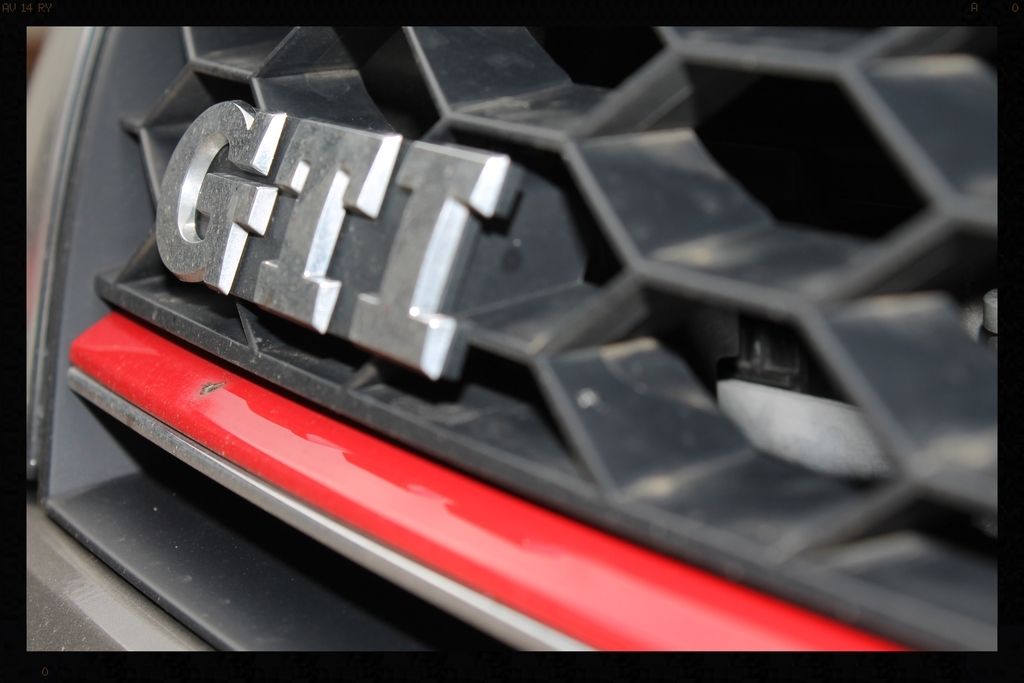
Badges
-Autofinesse Tripple
-Cotton buds
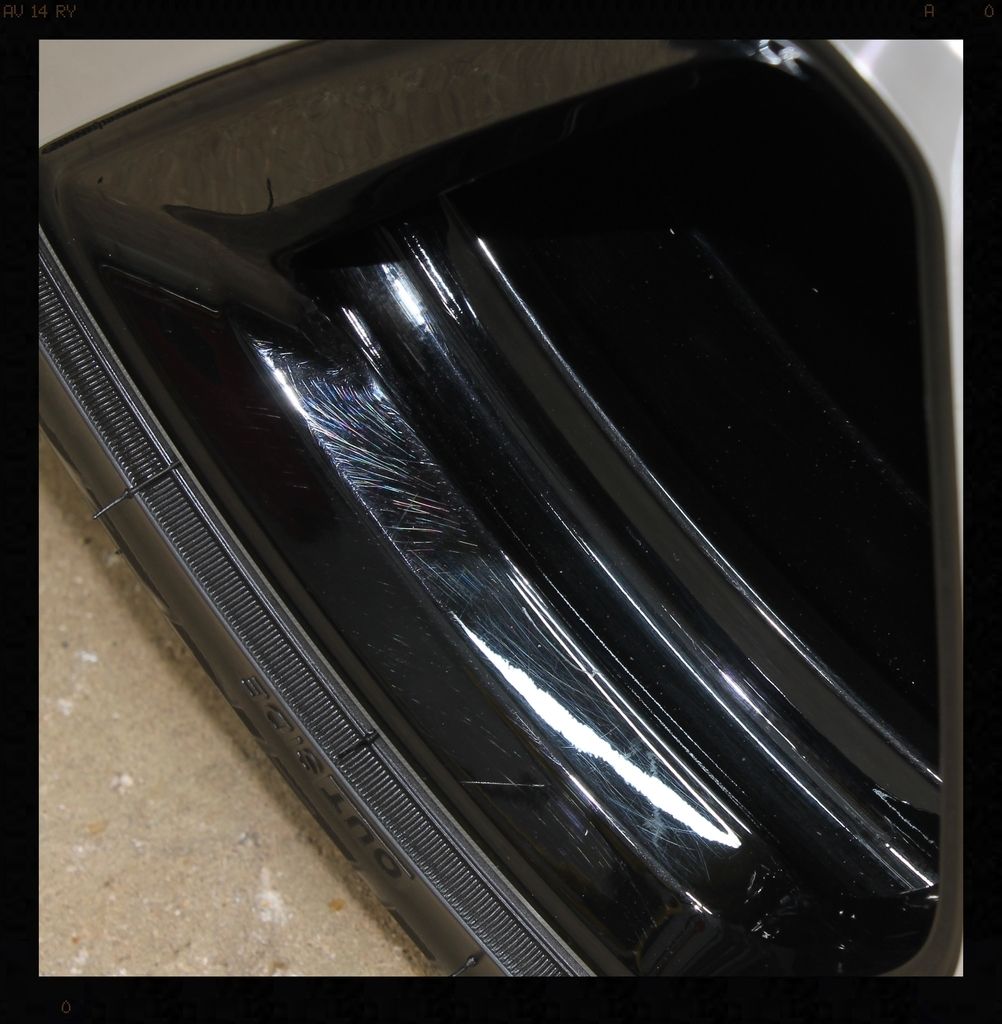
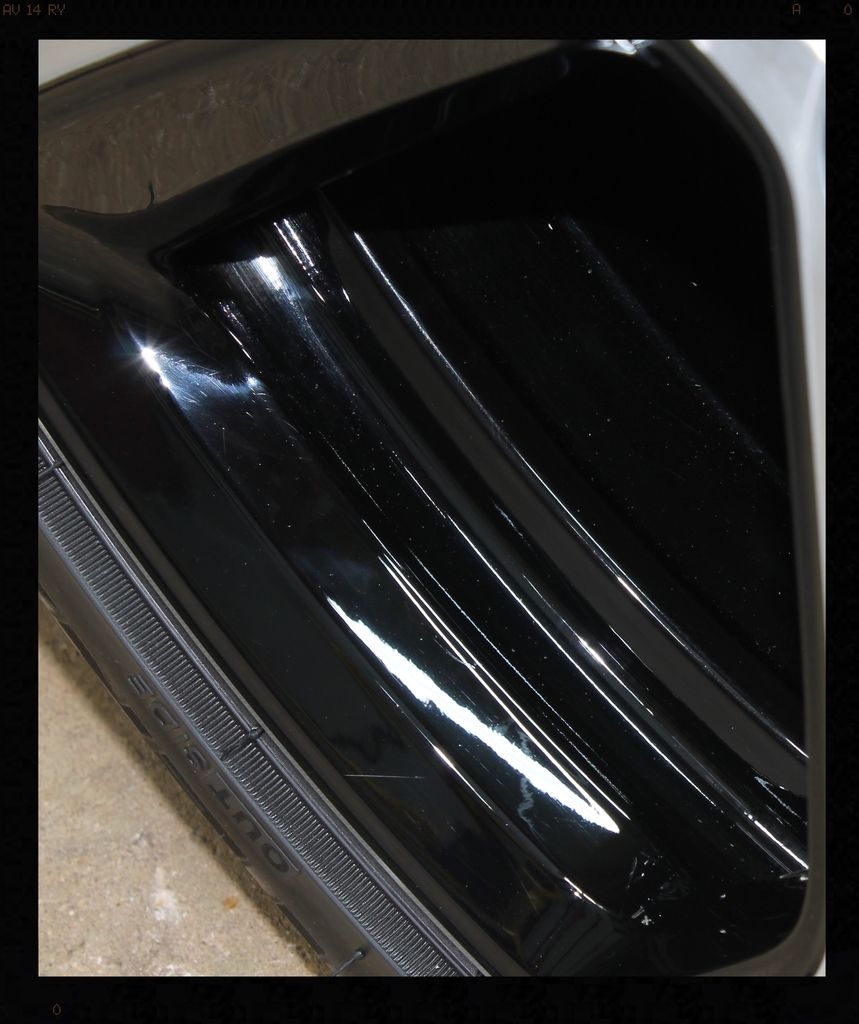
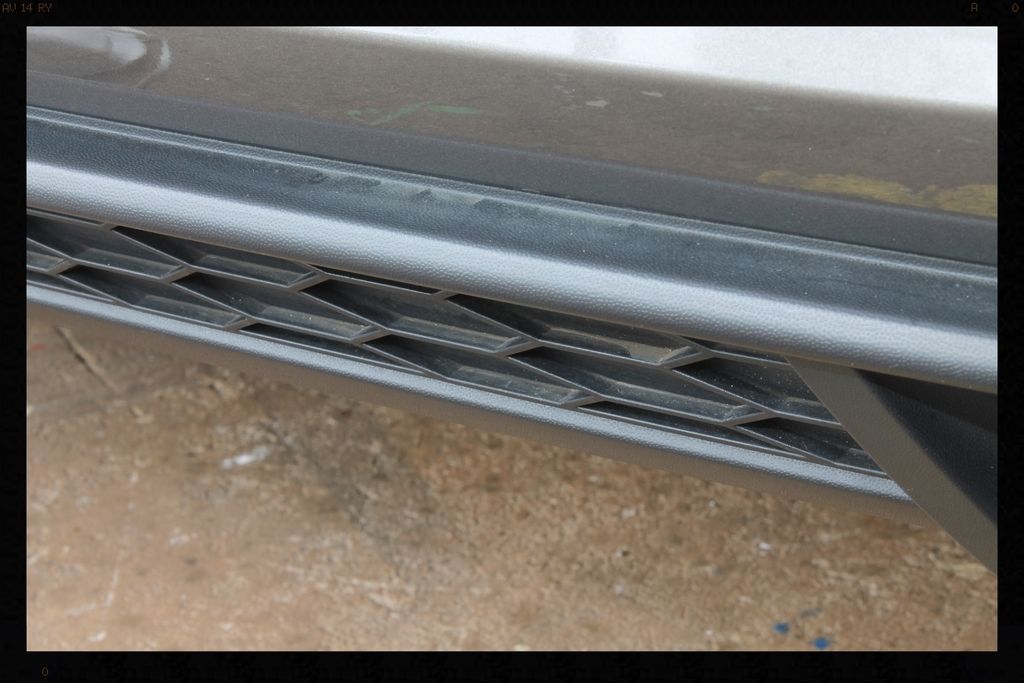
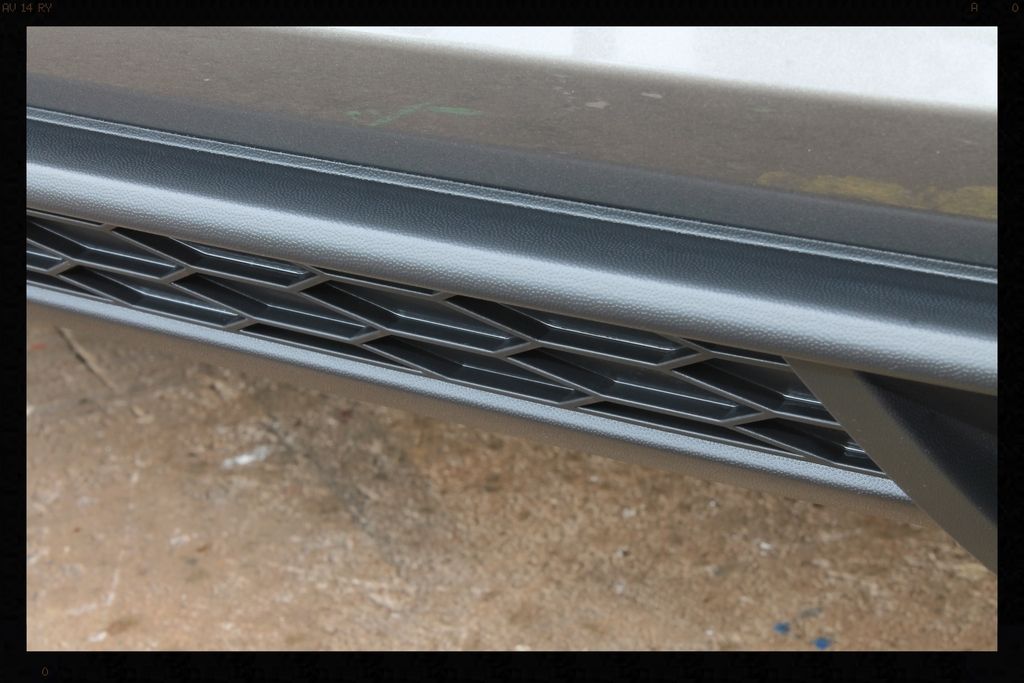
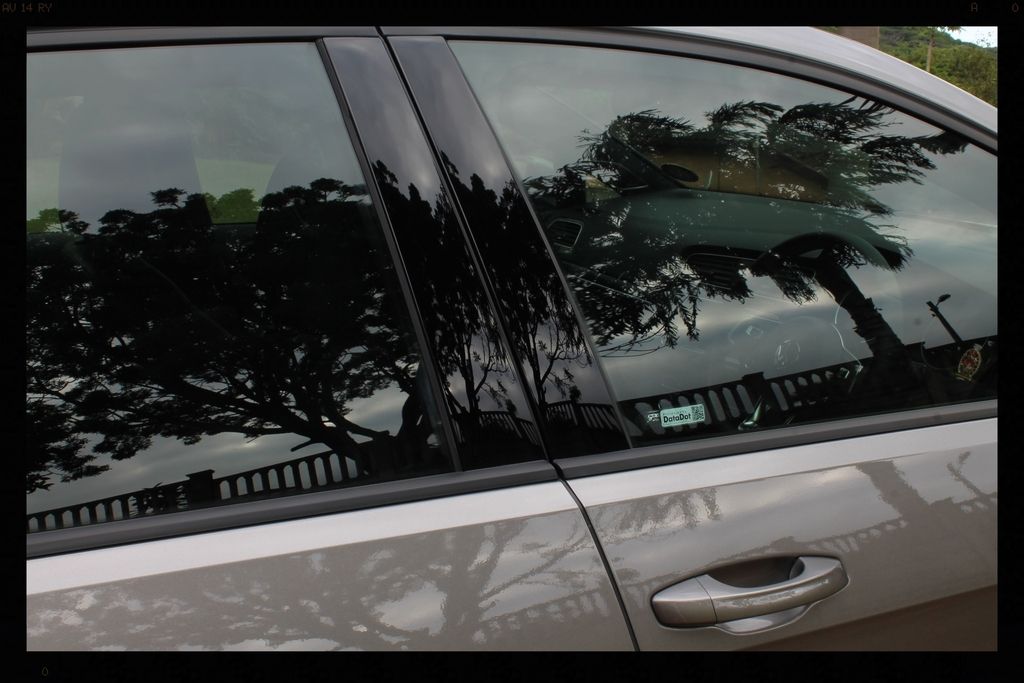
Door rubbers, window rubbers, exterior plastic trim
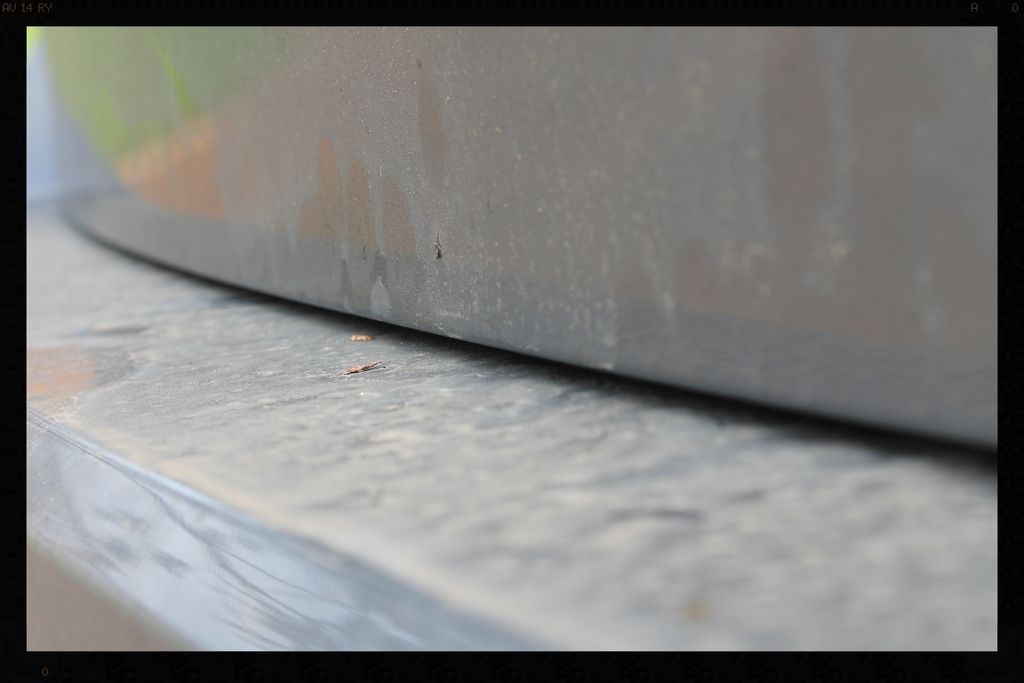
- Cleaned using Shield Heavy Duty Vinyl and Rubber Cleaner
- Protected using Aerospace 303
Before
After
Interior
-Blower
-Autofinesse Spritz
-Autofinesse Hide
-Collinite #855
-Vacuum (Flex)
Badges
-Autofinesse Tripple
-Cotton buds
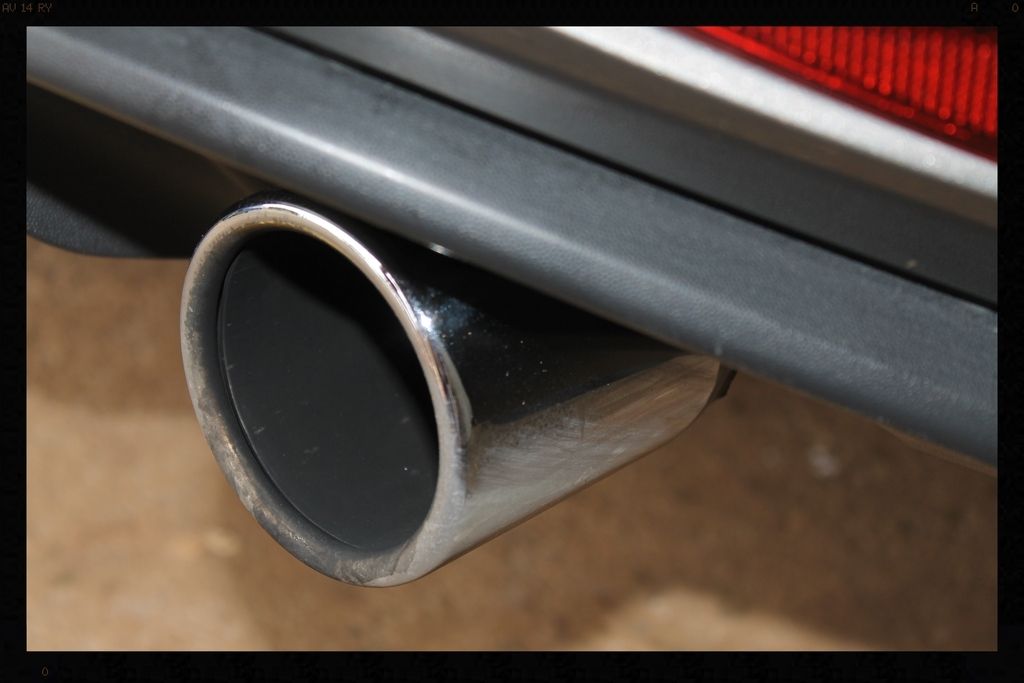
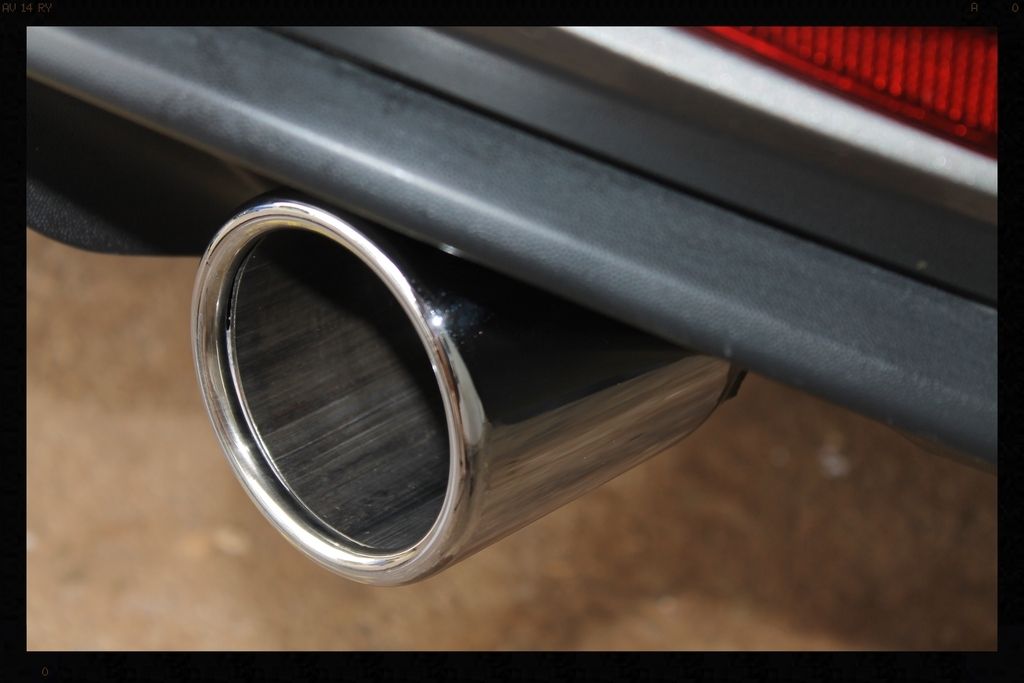
Exhaust Tips
-Menzerna Polishing Cream
Before
After
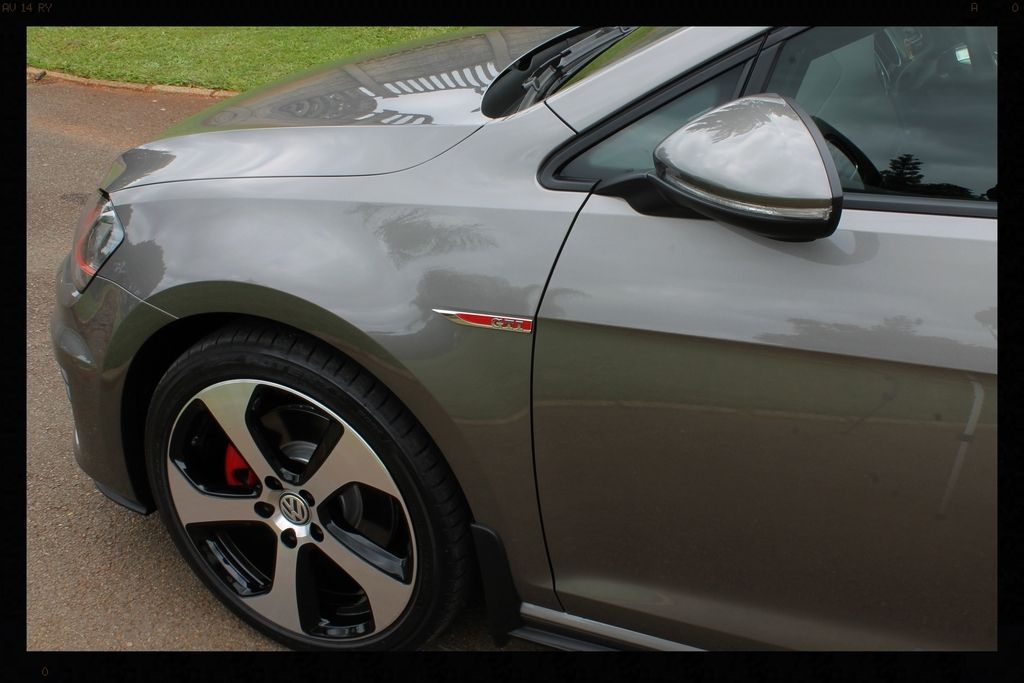
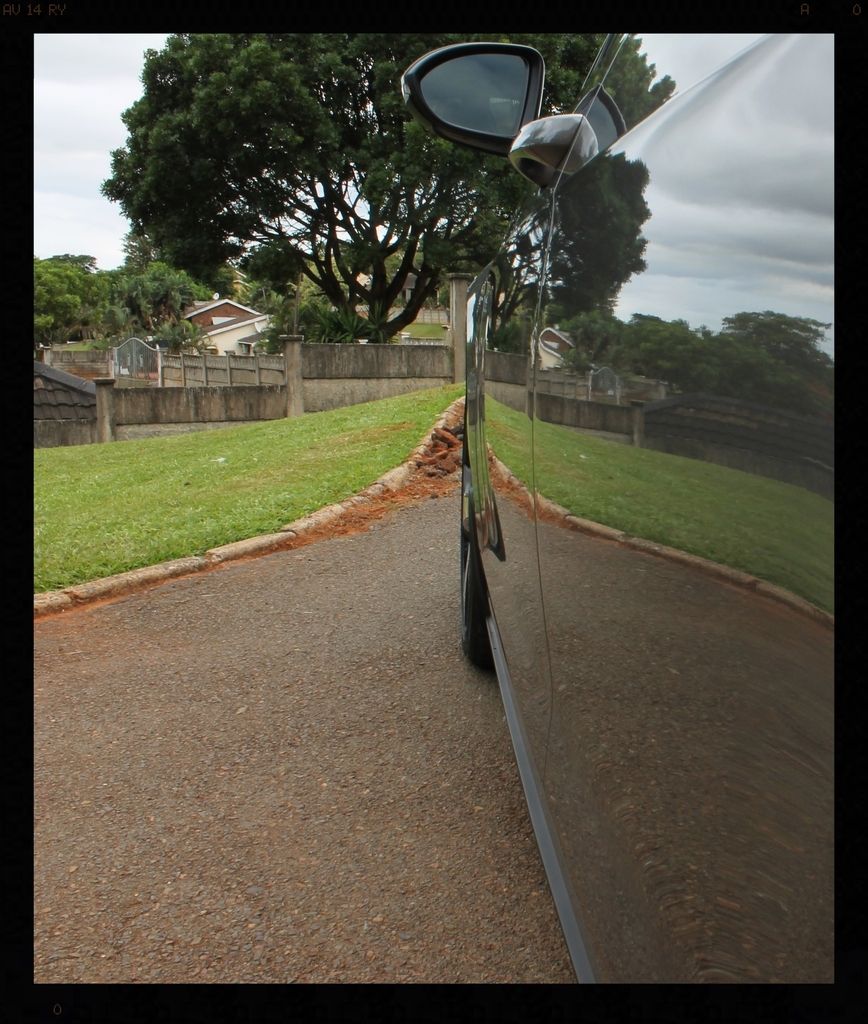
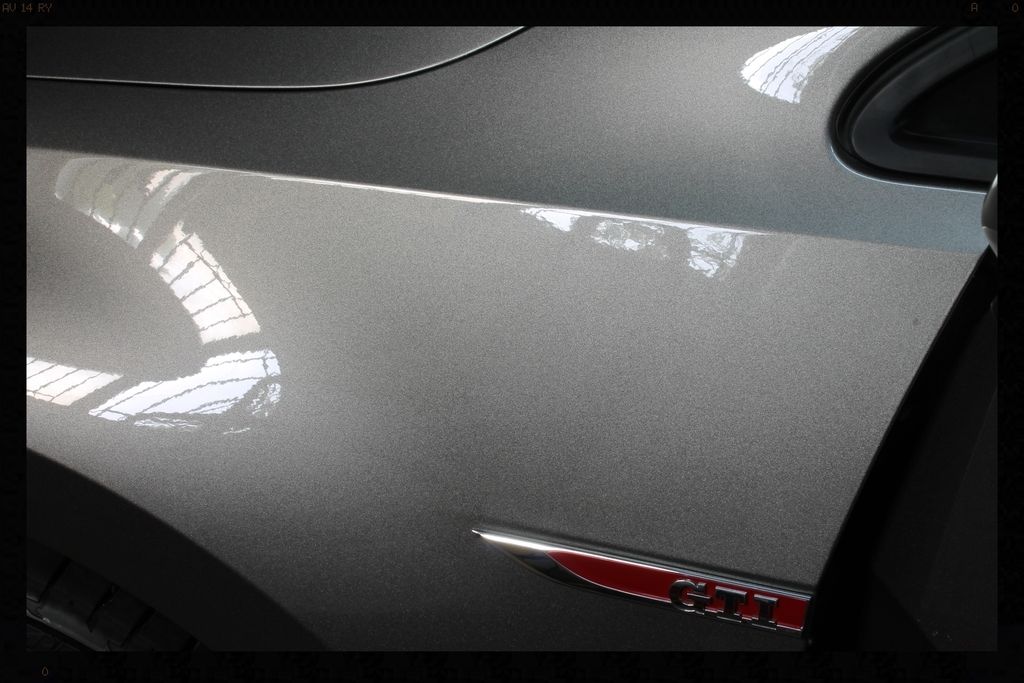
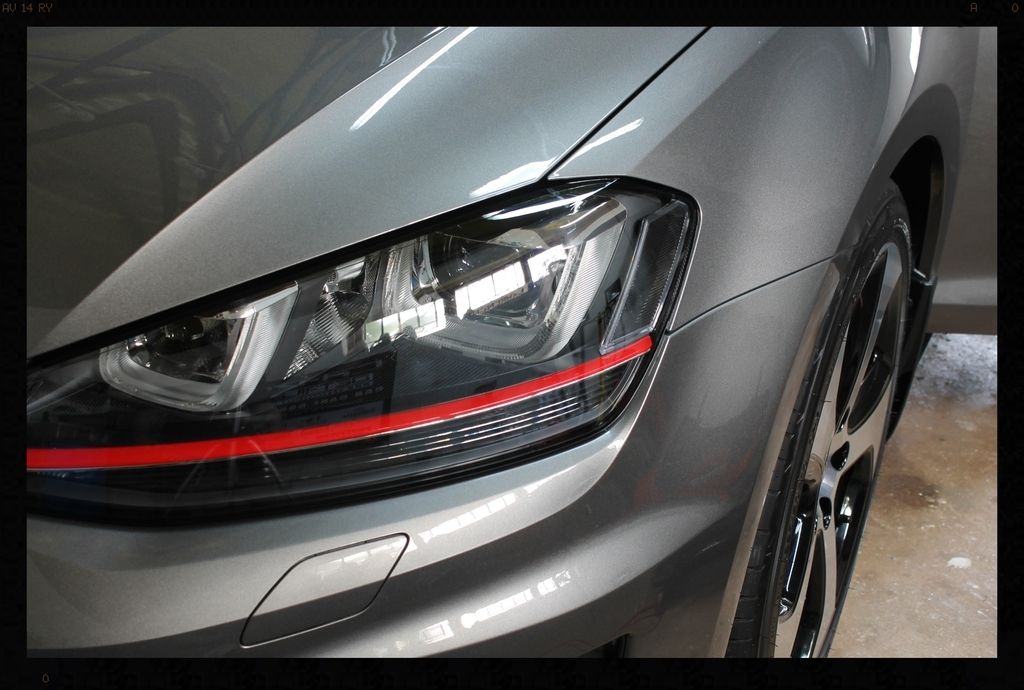
Finished pics

Total time spent = 27 hours
Thanks for looking and as always and comments or questions are welcome.
:hi:
This particular one is still new with less than 6000 km on the clock. The car was dirty when it arrived, but once cleaned the paint was in fairly decent shape, but definitely needed attention. There were not many swirls, but there was some light wash marring, and unfortunately quite a bit of water spots on the bonnet and roof. Contamination was high given the age of the vehicle and the wheels were swirled quite badly, as were the b-pillars.
As always I start with the dirty stuff and progressively work clean....
Engine Bay
Clean with Cyclo APC and various brushes and MF towels. Blown dry and protected with Aerospace 303
Before
After
Before
After
Arches
-HP rinse
-Clean with Cyclo APC using a Mothers Fenderwell Brush
-HP rinse
-Dressed with Aerospace 303
Tires
-Clean tires with Valet Pro Billbery Wheel Cleaner @ 1:6 and a Mothers Tire brush.
-HP rinse
-Repeat tire cleaning
-HP rinse
-Dressed with 2 coats of Optimum Tire Sheen 12 hours apart
Wheels
-HP rinse
-VP Bilberry Wheel Cleaner @ 1:6, Daytona and Daytona Jnr brushes and Valet Pro Boars Hair Brushes
-HP rinse
-Dry
-Remove tar using VP Citrus Tar Remover
-Spray with APC and HP Rinse
-Dry
-Remove bonded and embedded ferrous contaminants on wheels and brake calipers with Autofinesse Iron Out, Daytona (big and small) brushes and Valet Pro Boars Hair Brushes
-HP Rinse + flood rinse
-Dry
-Polished with Meznerna FG400 and a MF applicator by hand
-Protected with Collinite #845
Before
Before correction
After correction
Completed
Door/Boot Jamb/Petrol Flap
-HP rinse
-Clean with Cyclo APC and Valet Pro Boars Hair Brushes
-HP rinse
-Autofinesse Tripple
How the rest of the car looked
Wash
-HP rinse
-Gyeon Q2M Foam - mixed at 1:5 (1000ml / (5+1) = 167ml foam + 833ml warm water) / MTM Hydro / Karcher K7 .
-HP Rinse
-Un-named sample shampoo
-2 Buckets
-Grit Guard
-4 x Lambswool Wash Mitts
-HP rinse
-Flood rinse
-ONR at QD ratio
-Waffle weave drying towels
Decontamination
-Shield Heavy Duty Clay / ONR
Paint correction
Paint Readings
-109µ to 164µ
Bumpers
-Flex 3401
-5" Lake Country Hybrid White / Menzerna 3-in-1
Door handles
-Meguiars Ultimate Compound / MF applicator
B-pillars
-Shield DA
-Menzerna PF2300
-4.5"Lake Country White
-Menzerna SF4000
-4.5"Lake Country Grey
Before
After
Plastic section around sunroof
-Flex 3401
-5" Lake Country Hybrid White / Menzerna 3-in-1
Remainder of vehicle
-Flex 3401
-6.5" and 5" Lake Country Hybrid White / Menzerna SF4000
Before
After
Before
During
After
Inspection/Pre-Sealant Cleanse
-Gyeon Prep
Tailights
-Flex 3401
-Menzerna PF2300
-5"Lake Country Hybrid White
Protection
-Menzerna Powerlock
-2 Coats Chemical Guys Pete's 53
Glass
-Shield Heavy Duty Clay / ONR
-Glossworx Glass Cleaner
-Wynns C-Thru
Badges
-Autofinesse Tripple
-Cotton buds
Door rubbers, window rubbers, exterior plastic trim
- Cleaned using Shield Heavy Duty Vinyl and Rubber Cleaner
- Protected using Aerospace 303
Before
After
Interior
-Blower
-Autofinesse Spritz
-Autofinesse Hide
-Collinite #855
-Vacuum (Flex)
Badges
-Autofinesse Tripple
-Cotton buds
Exhaust Tips
-Menzerna Polishing Cream
Before
After
Finished pics
Total time spent = 27 hours
Thanks for looking and as always and comments or questions are welcome.
:hi:
")

 rops:
rops: