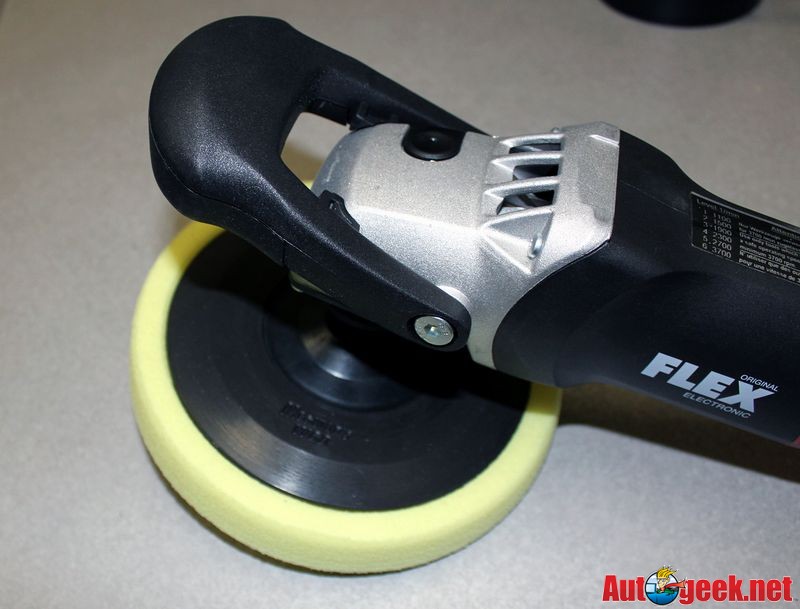
Meguiars Soft Buff 2.0 Pads

WindyCity

Member
Joined
Mar 19, 2008
Messages
480
Reaction score
0
My last order I wanted to try some new pads so I went with the meguiars soft buff 2.0 pads and I needed a new backing plate so I also purchased their backing plate as well....


Only problem is I cannot for the life of me center the backing plate and pads. It takes me numerous time just to get it close and then it still is off by a little bit.....I figured that if I bought the matching backing plate that they should line up with ease but that is not true. My other pads have a centering hole in them that you stick the plastic dowel through and it centers them right up.....But the soft buff pads do not have a hole in the middle to do this.

Anyone else have this problem with the meguiars soft buff pad/plate combo and what do you do to center them up?

"The Meguiars Mirror Glaze W68 Polisher Backing Plate has a 5/8” -11 spindle thread that fits all compatible rotary (circular) polishers. The backing plate is perfectly centered when used with Meguiars 7 Inch Soft Buff 2.0 Pads. "


Thanks!
 
I used them just this past Saturday without any problems.Have you tried using the pad/backing plate on the car yet just too see how it handles for you.
 
The backing plate snuggys right into the recessed area on the back of the foam pads with just a light touch...

Is this what you're working with?

AlignPadtoBackingPlate01.jpg


AlignPadtoBackingPlate02.jpg


:)
 
Hang tight, let me take a picture and post it...


:xyxthumbs:

Are you every away from the computer? haha, every time I get on you are on answering questions does not matter what time or day. Dont get me wrong, appreciate the service a whole lot!:props:
 
I usually have multiple browser windows open here on the forum but I'm actually not answering questions as much as I would like to but that's because I'm working on generating new content.

Haven't figured out how to type in two messages boxes at the same time yet...

:laughing:
 
I usually have multiple browser windows open here on the forum but I'm actually not answering questions as much as I would like to but that's because I'm working on generating new content.

Haven't figured out how to type in two messages boxes at the same time yet...

:laughing:

haha, it is all good. Just need to get 2 keyboards and learn to think and type two things at the same time. Now if you could get to that level we will need a video.

Anyways, sorry for getting off topic there.
 
Hey Mike I dont think my pads are fitting as snug as what you have pictured......Sorry for the poor light. Here is a couple of different views
 
Last edited:
wow thats interesting looking. I also bought a few of these pads and they lined right up like Mike posted. Think maybe you just got a unlucky sized pad?
 
I'm not sure what to tell you because in the first picture it looks pretty well aligned? Maybe just practice?

Meghan and I discussed this a few minutes ago and she passed on a tip for a technique that might help, I did my best to capture the technique with the camera.

The idea being to place the lip of the W68 Backing Plate into the inner edge of the recessed area first. Since there's no Velcro in this outer surface it won't lock your backing place firm to the pad so you can still make fine adjustments as continue to place the backing plate flush against the Velcro backing.

Like this,
AlignPadtoBackingPlate03.jpg


It's important to get the pad as centered as possible but if you aim for 100% perfection each time you place a pad on a backing plate you might spend all day trying to reach perfection and never get any buffing done.

I get it close and get to work, not that I don't try as I do but real close is usually good enough.

If you have any other Meguiar's 2.0 buffing pads try your hand at aligning these and also visually inspect even measure the diameter of the lip of the recessed area. It's possible you have a pad that's out of spec a little but I've never experienced it myself to the point is was a problem and it kept me from turning the buffer on and getting to work.

:)
 
Thanks for the replies Mike and Meghan! The pictures I posted show that they do not fit as snug as what you have posted, they are not too bad but when I start the buffer I can see a little bit of wobble to the pads. I guess I just need to know if that is ok to polish with? My last pad/ plate combo had the centering hole so this was not an issue since it was easy to line it up. Mike you probably know best if there is a little bit of a wobble to the pad will it induce any more swirls or marring? And by a little bit I mean a tiny amount that you can just see when the buffer gets going. I know the importance of a properly centered pad but how critical is it to get it perfect?
 
if there is a little bit of a wobble to the pad will it induce any more swirls or marring? And by a little bit I mean a tiny amount that you can just see when the buffer gets going. I know the importance of a properly centered pad but how critical is it to get it perfect?

It's best to get it as close to perfect as possible but that's only one factor in creating a swirl free finish. Practice getting it close and then work on all your techniques as it's everything combined that determine the end-results.

Having an open hole in the center of a pad would be a bigger concern to me then a pad that's just off a little.

Did you test your backing plate against any other Megs 2.0 pads? Or do you just have the one yellow foam polishing pad?

One thing for sure, that backing plate is sweeeeet.....


Also,

What steps will follow the rotary step?
What are you working on?
What is the goal?


:)
 
Well I finally had some fun today with all my new stuff and the pads/ backing plate worked well.....I do like the backing plate cause the velcro holds just strong enough...not too tight and not too sloppy. First time using the meg 105/205 combo and it worked really well! Only problem was trying to buff out neglected 10 year white paint on my s10. I didnt think white would be that hard to work on!!! You cant see what the heck you are doing. The truck was never cared for since it was a construction truck and the areas i did work on look awsom now! I did have to wet sand 2000 most of it because the paint was soo rough and the 105 with the red pad buffed it right out! 105 with the white kompressor pad is a dream come true as well . I cannot wait to use these products on a NON white car!
 
BTW thanks for all the help everyone!!!

I need to change the icon to thumbs up now
 
I look at my pad from above,velcro up and place the plate as precise as possible. It's never 100%,but it's never 'out' far enough to create problems. I think if you place it on as best can be,it should be fine.
 
Well, i got mine like yours too.. but it's like that after finish working 2 cars of mine. Washing machine effect?
 
Can anyone comment on the durability of these pads compared to the CCS pads? I am very discouraged after using my CCS blue and red pads to apply an AIO to 2 cars ('99 mazda 626 '95 integra) and having the surface of them already start falling apart. How well do the finishing pads hold up?
 
Finishing pads seem to last forever, the polishing pads last dozens of cars with proper maintenance, compound pad doesn't seem to last more then about 10 or so cars for me, but that might be because of improper technique :P or the abrasiveness of the compound slowly chewing at the foam, who knows :)
 
Back
Top