Mirror Detailing - Recent Work - Ford GT, '68 250SE and '11 2500 *Terrible New Conditon*

Mirror Detailing

New member
Joined
Apr 26, 2009
Messages
687
Reaction score
0
Figured I would just make one thread. Since I have been busy lately and not posting up much, figured I would throw in some of my favorite recent details from the past month or so.

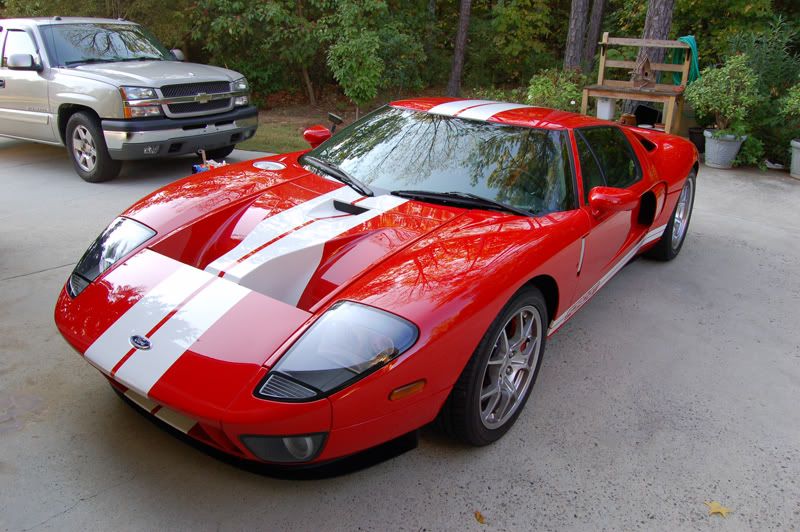
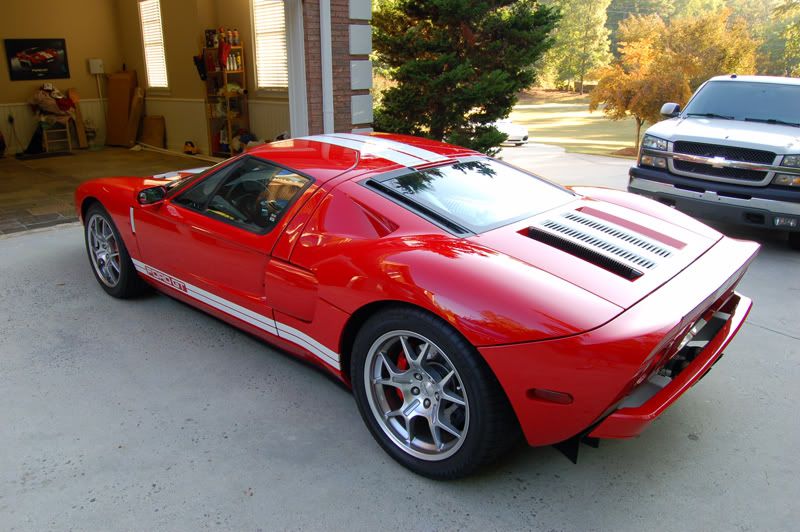
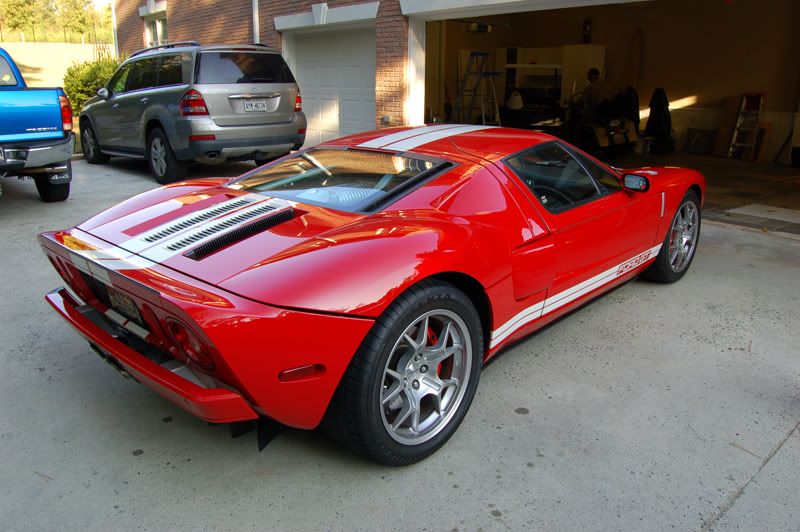
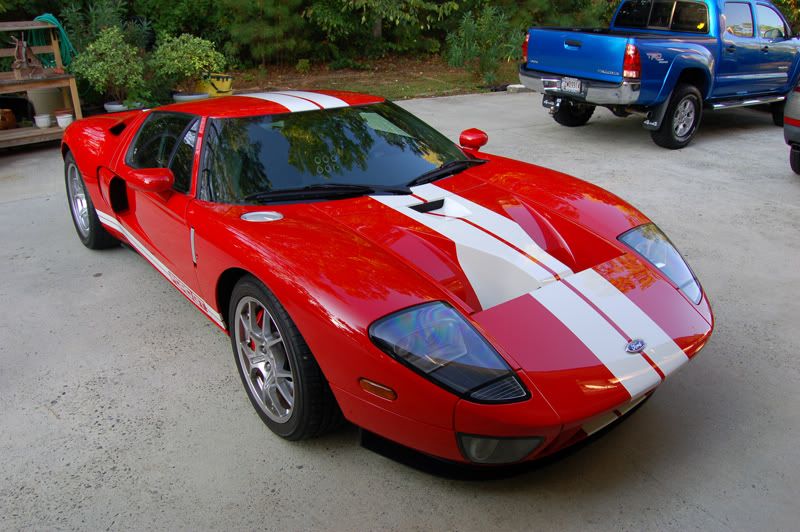
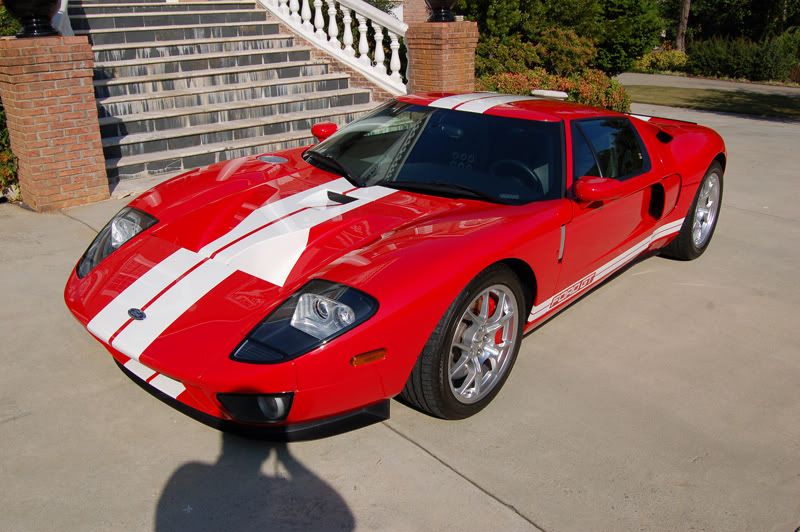
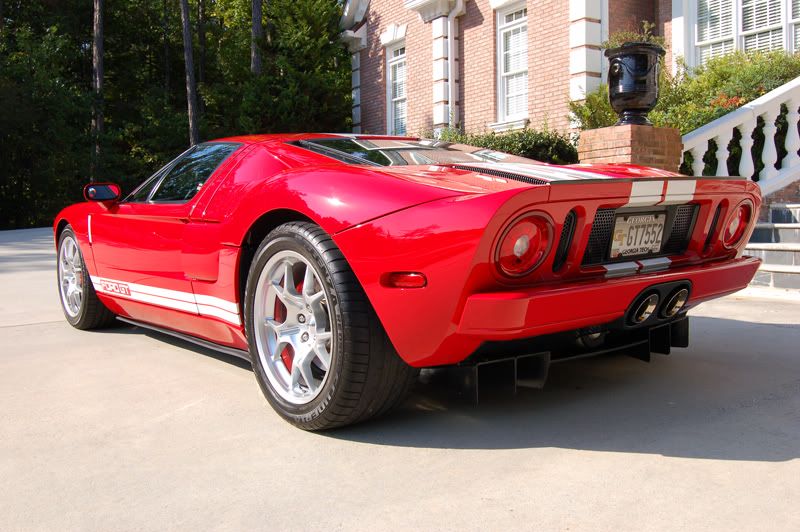
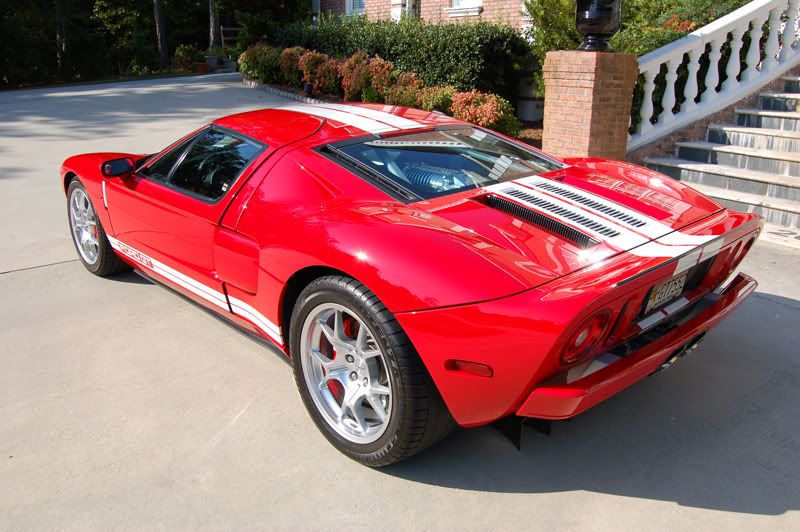
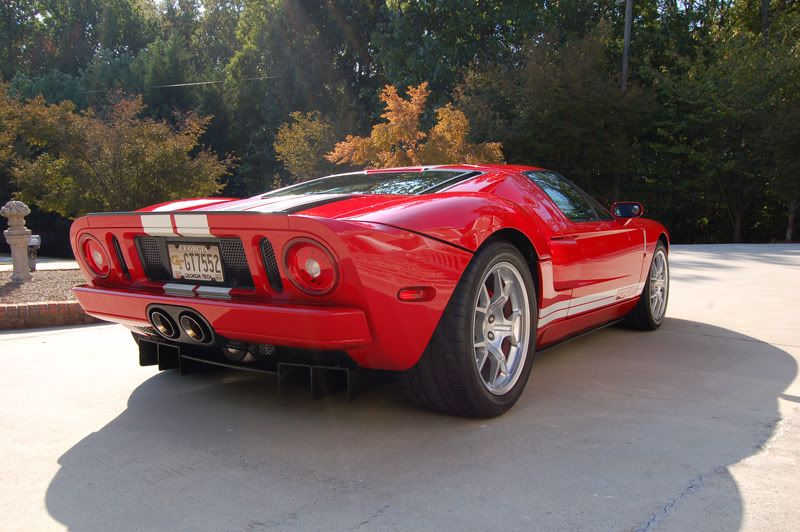
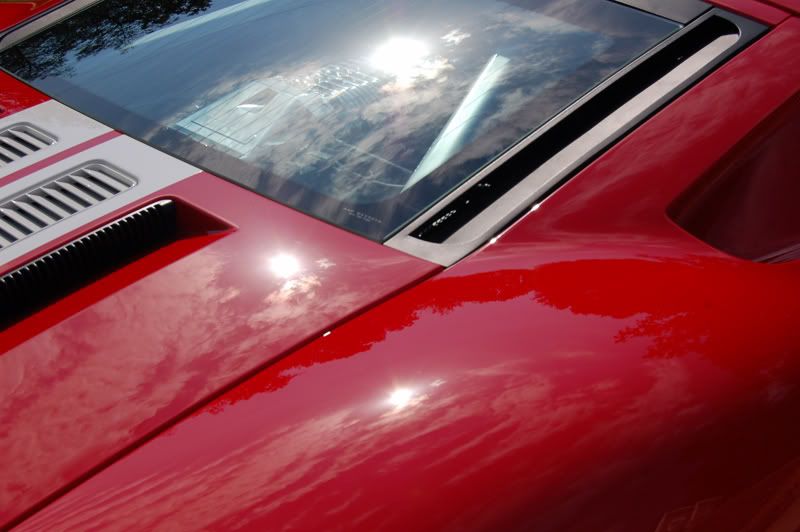
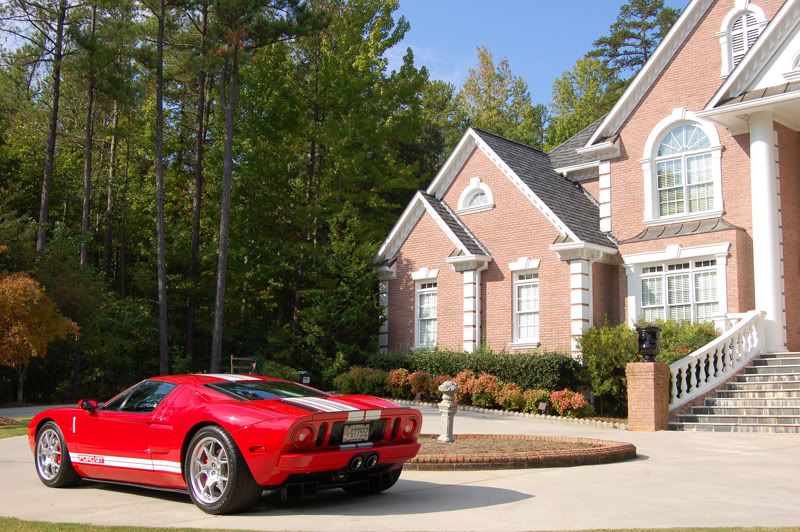
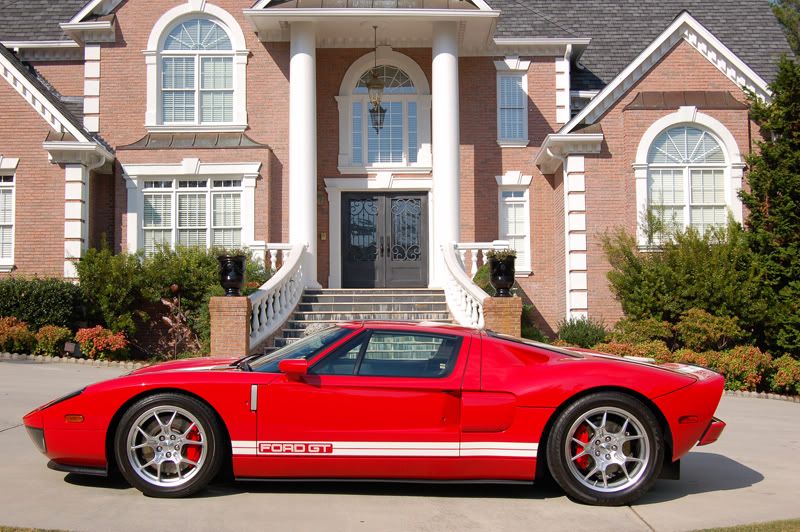
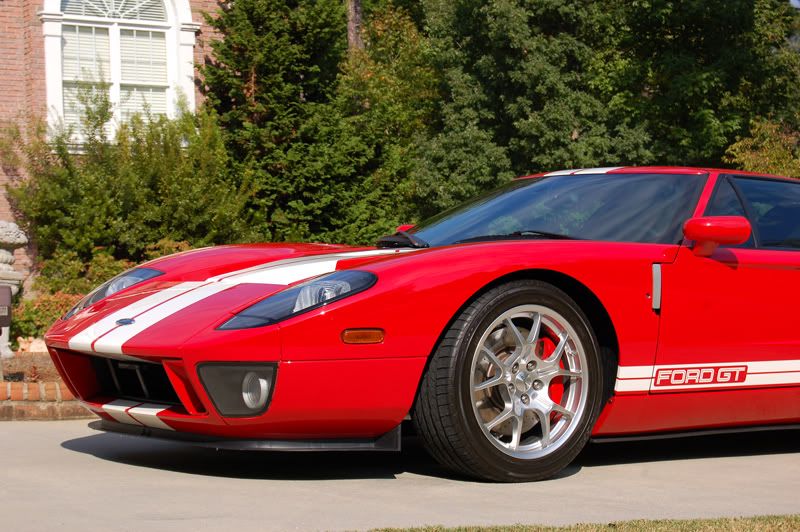
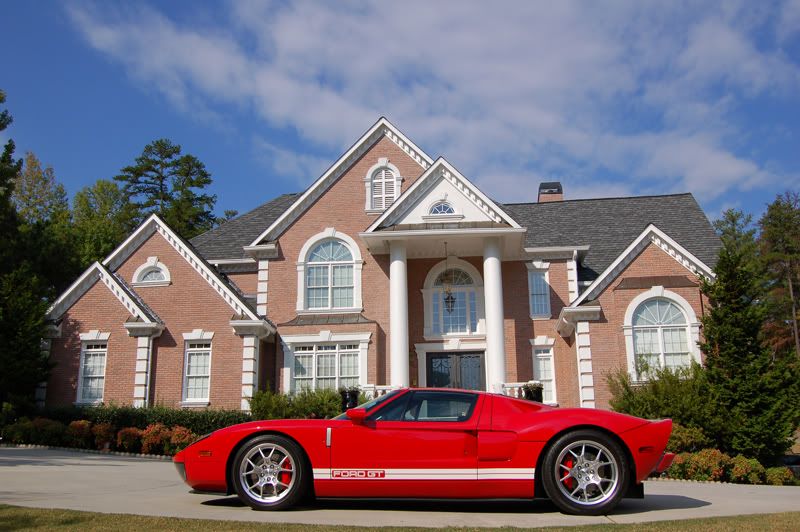
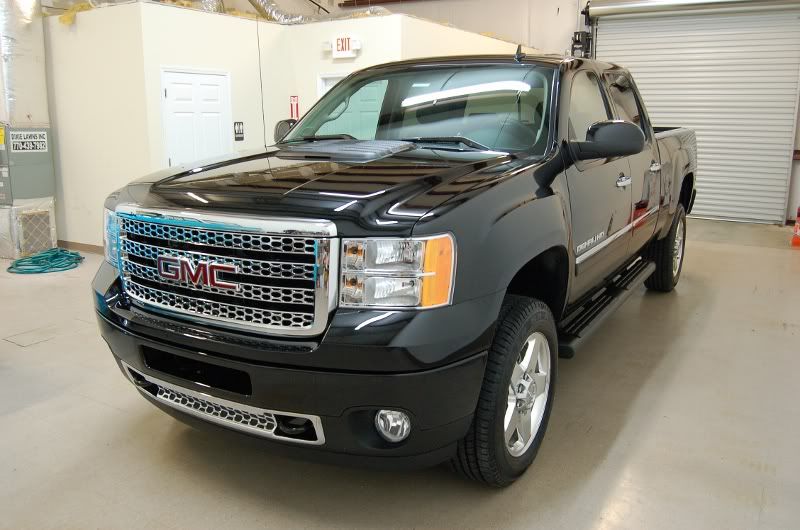
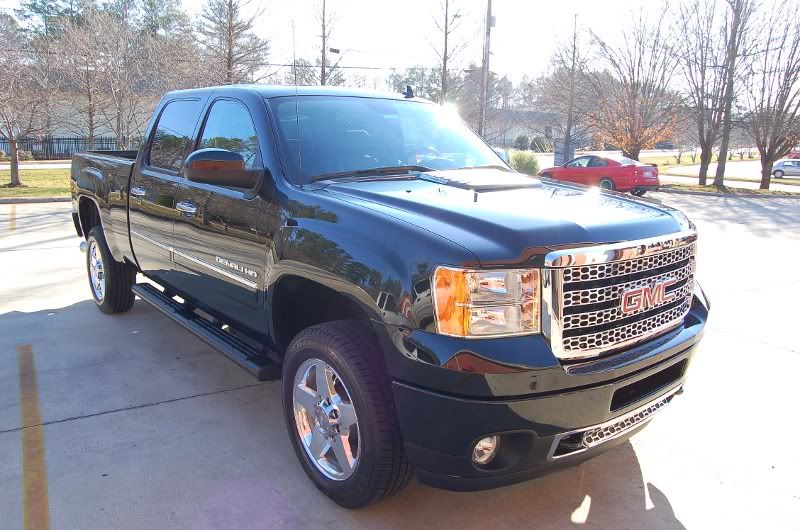
First was a Ford GT that the customer saw another Ford GT I did a month prior and wanted his done the same way.

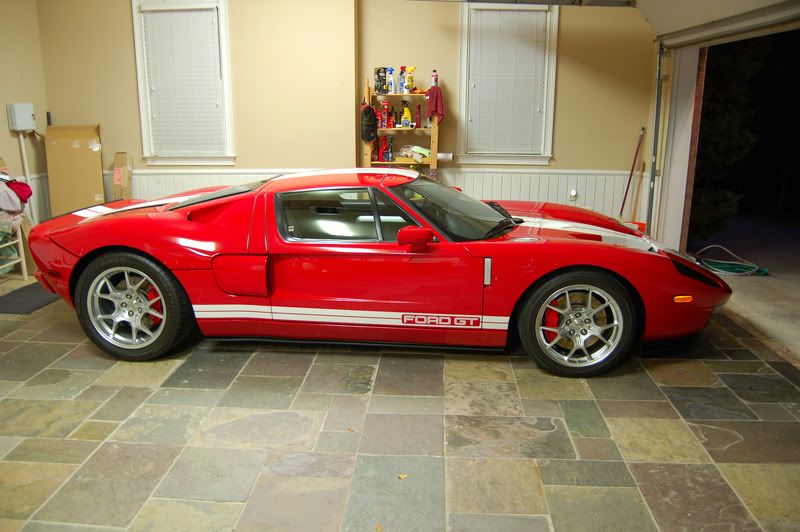
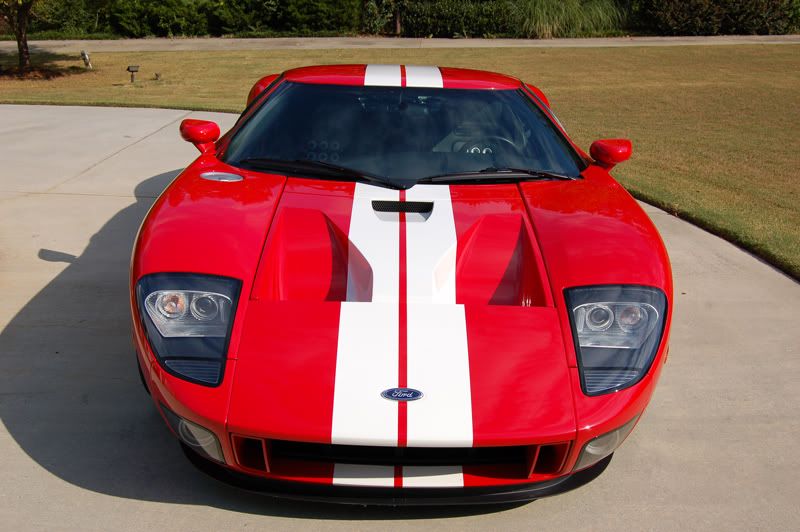
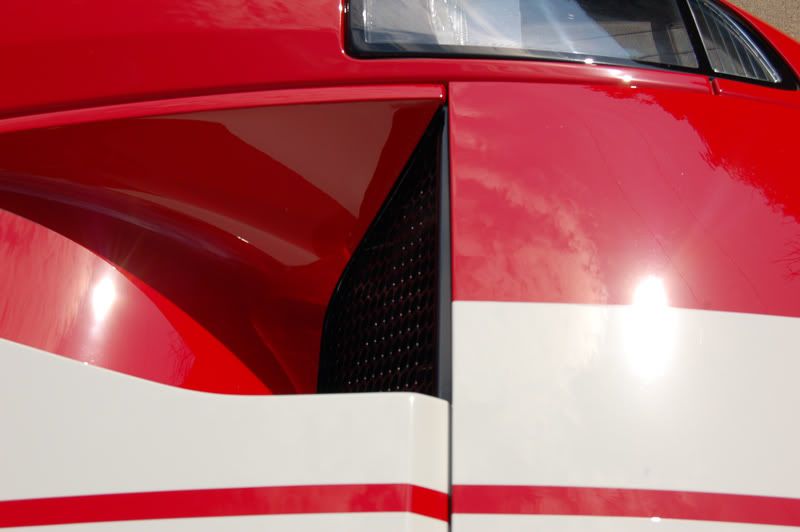
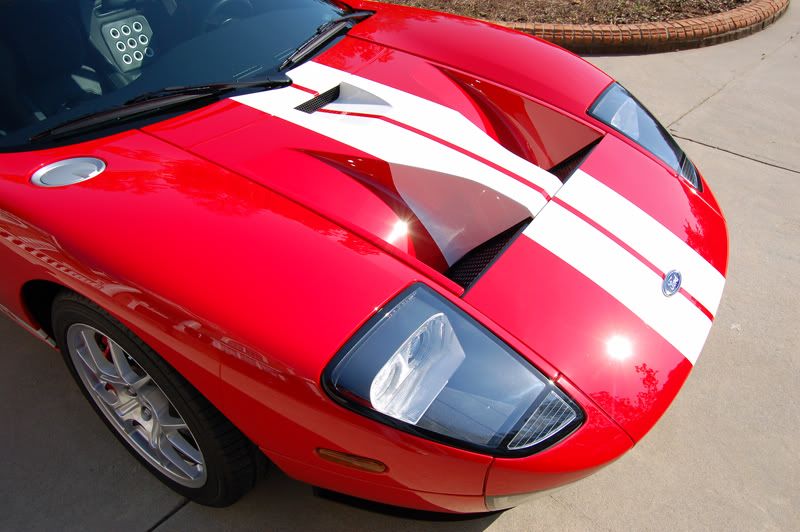
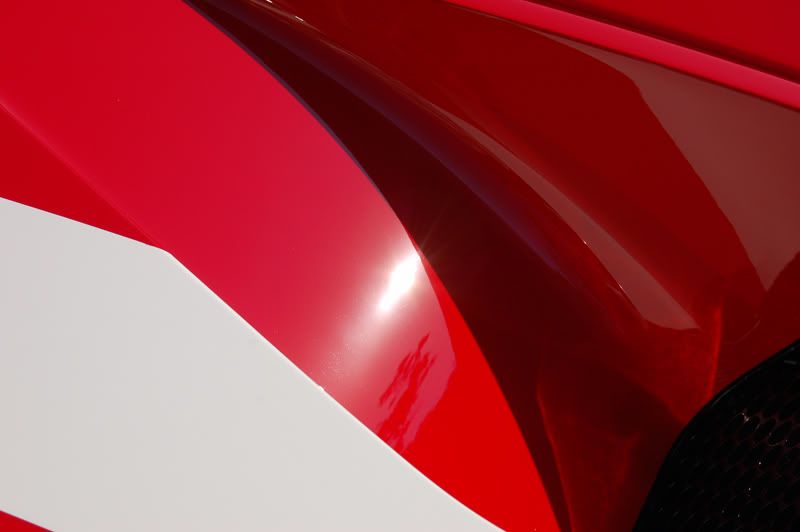
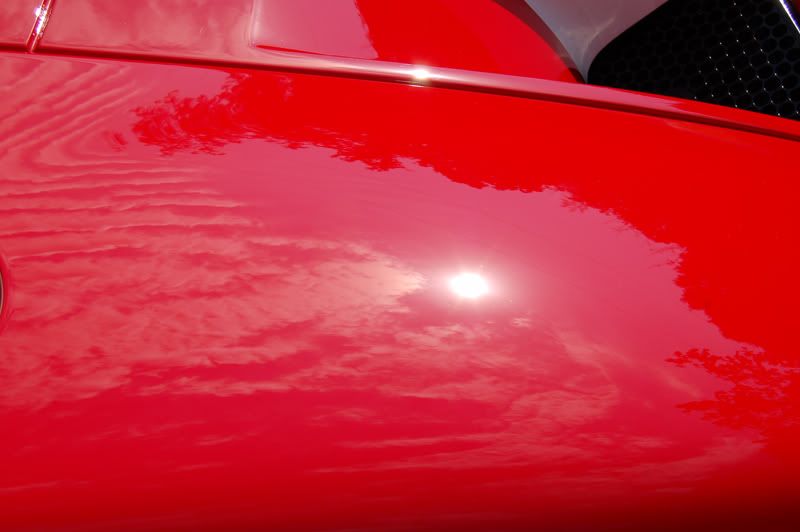
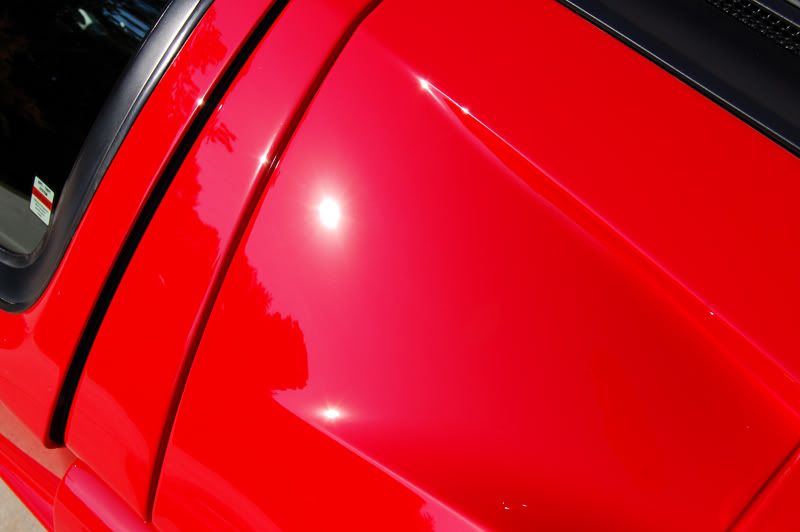
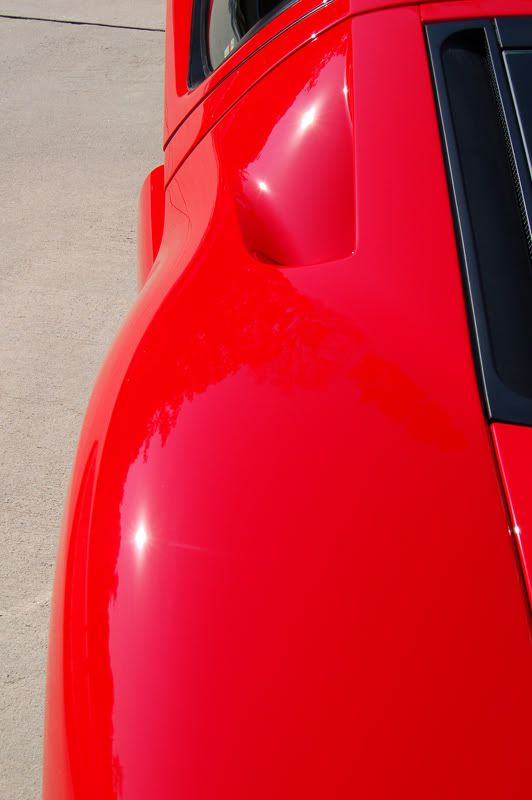
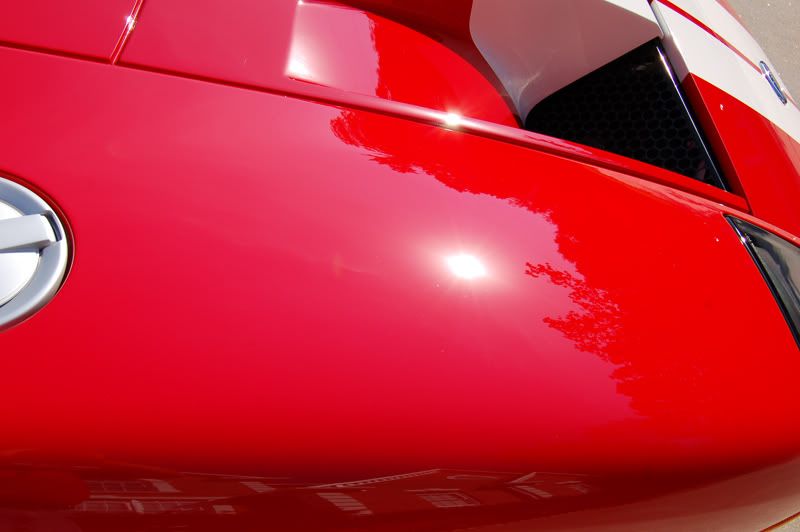
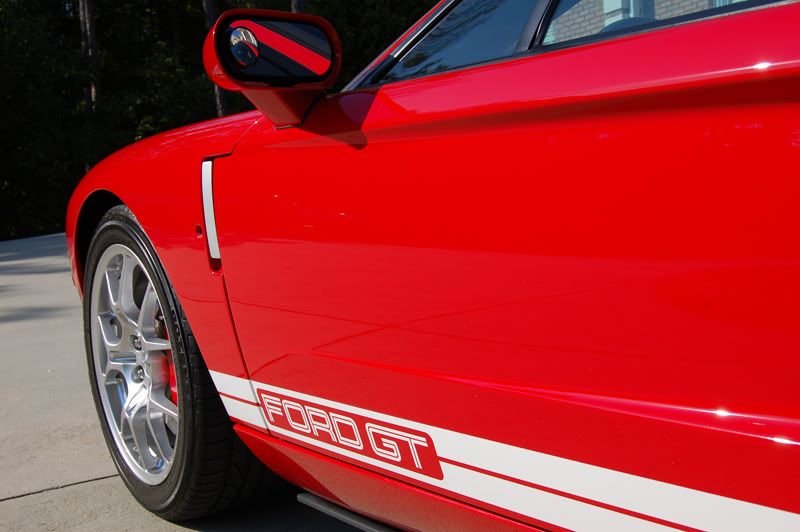
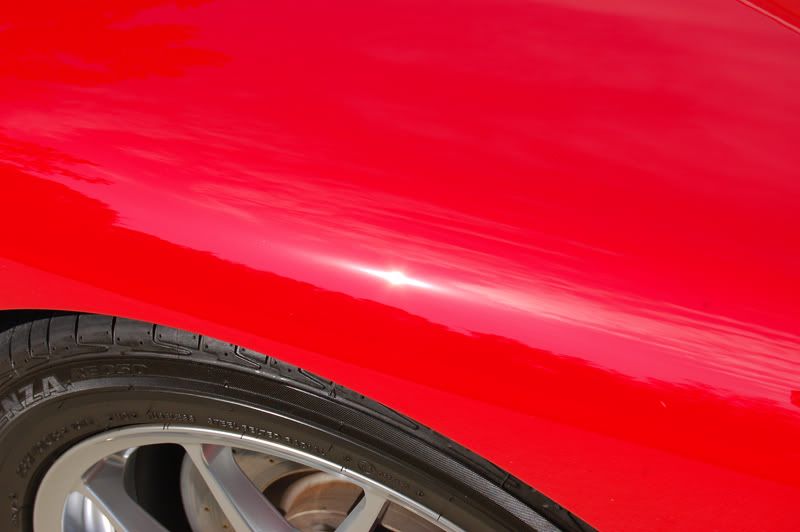
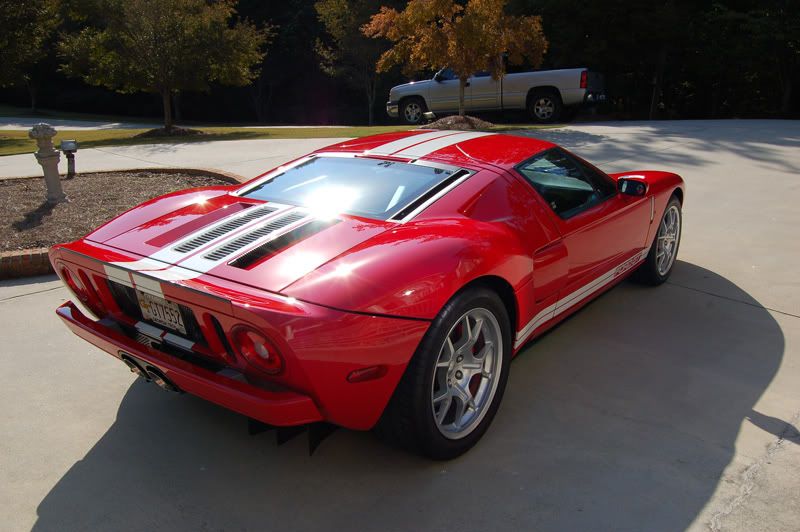
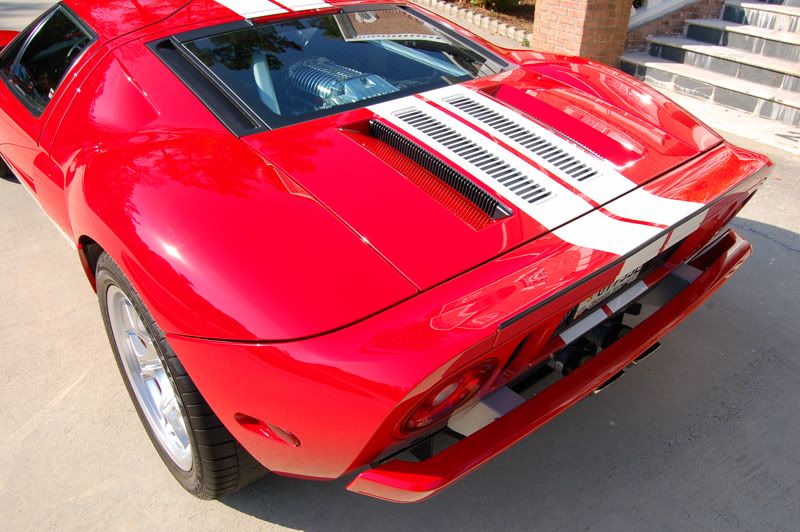
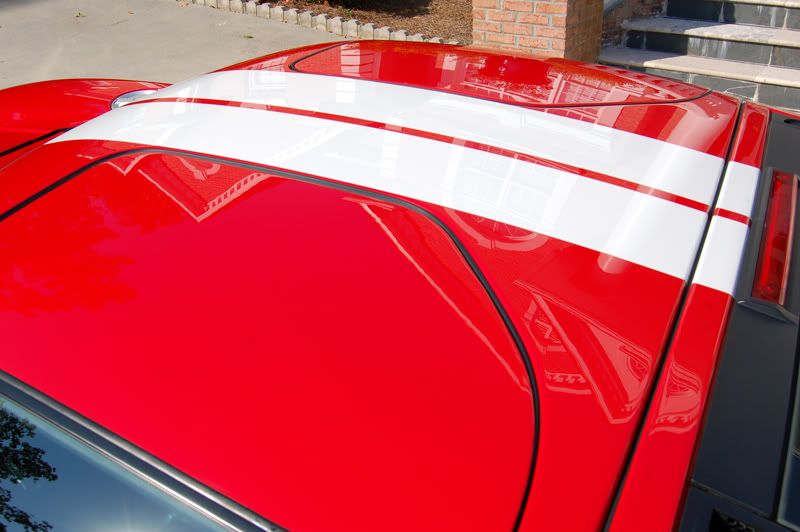
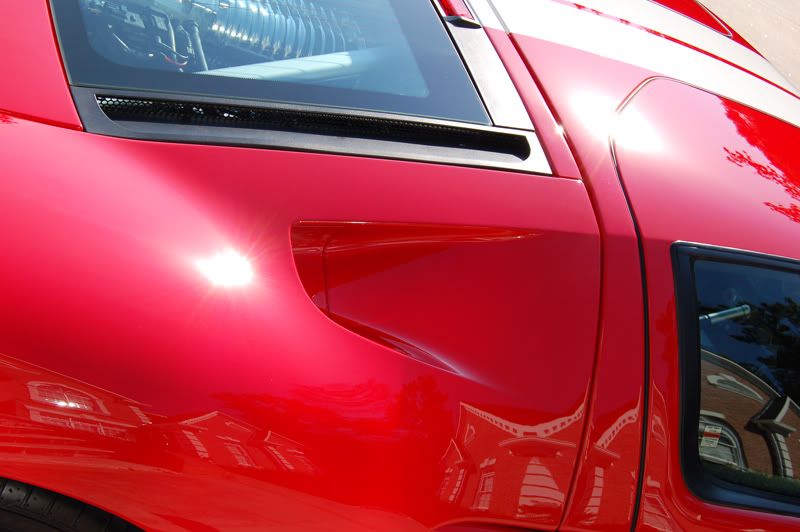
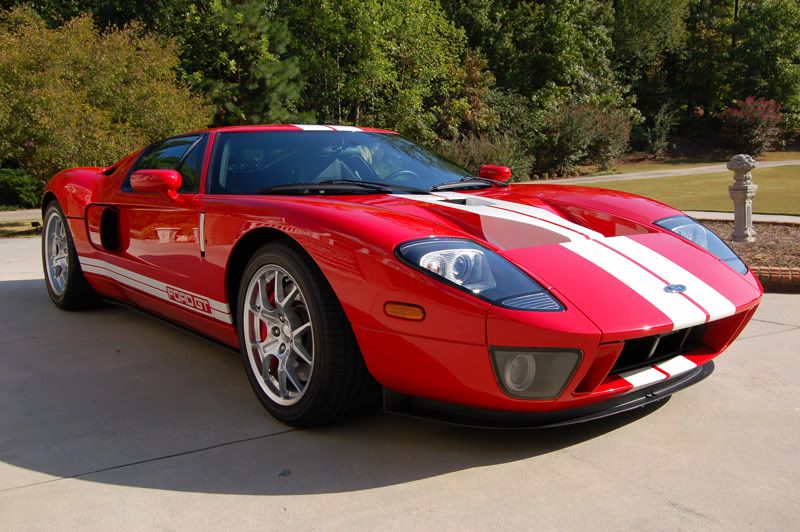
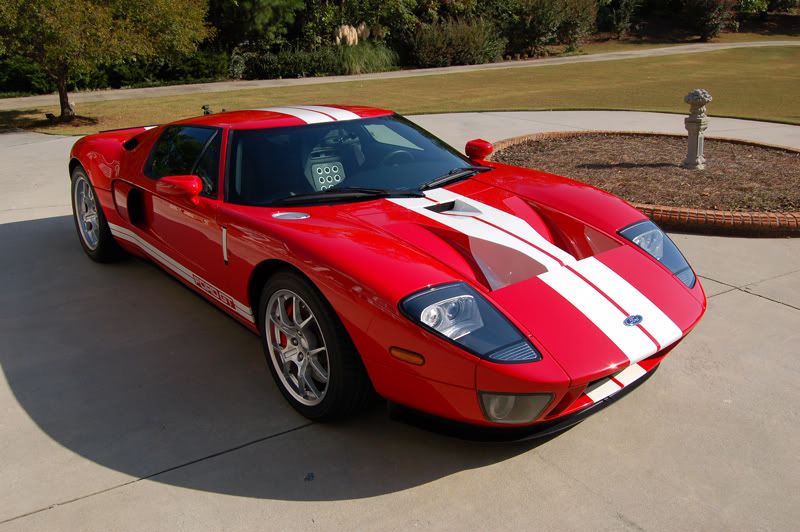
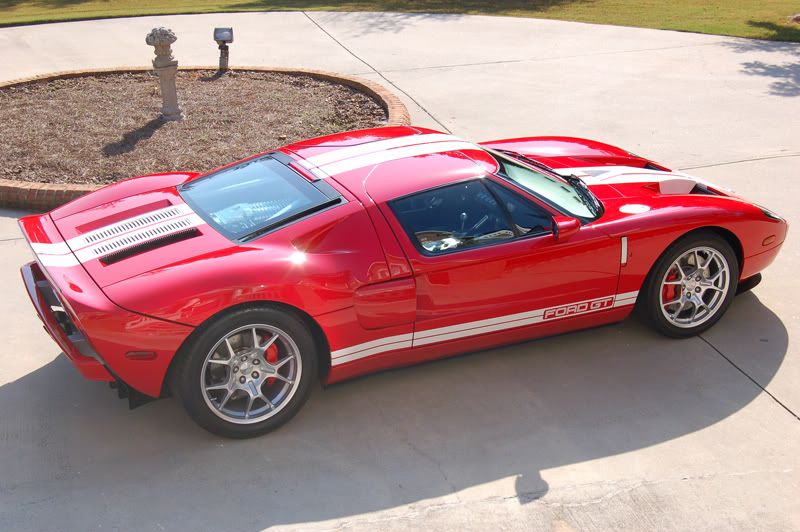
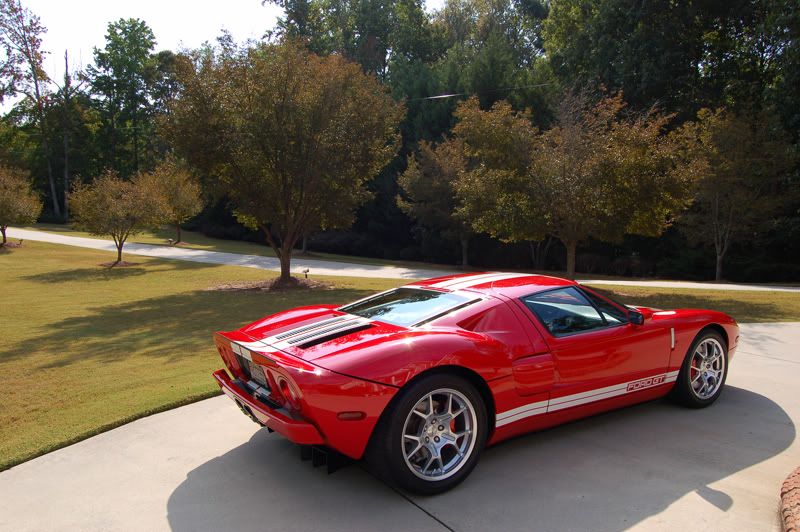
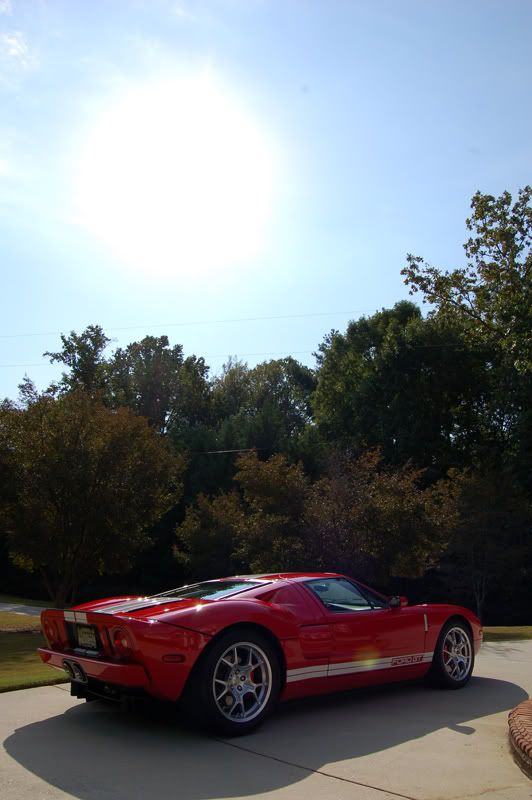
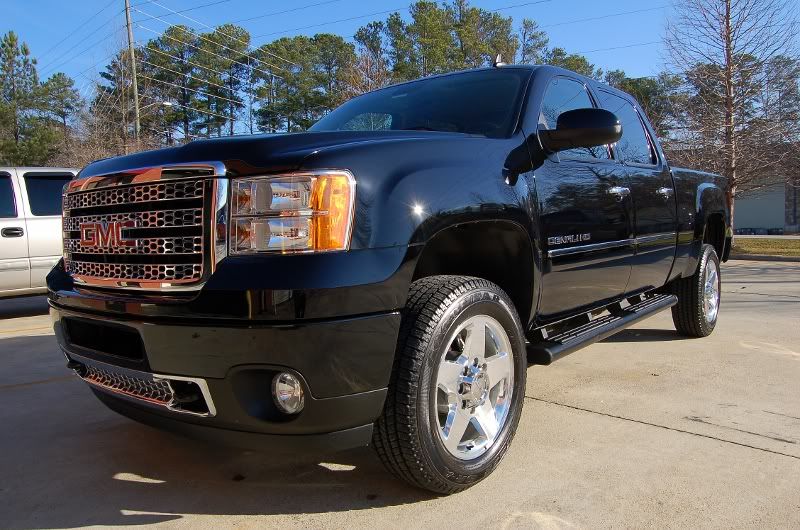
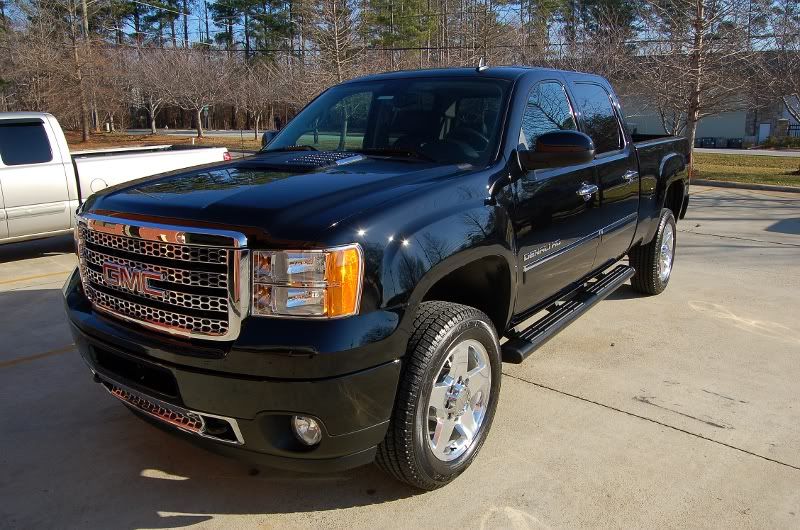
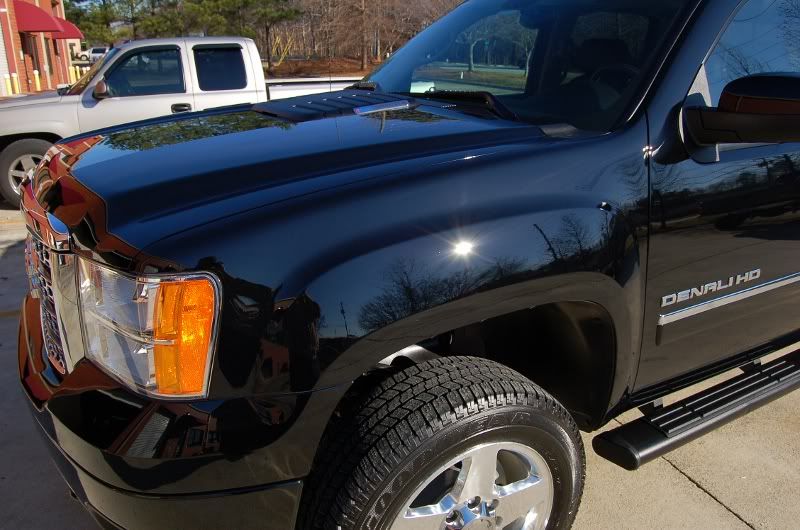
Another Ford GT I got done. Customer saw the black one I did last month and wanted his done up the same way. This is my dream car down to the exact color combo and mods. Car was not in the worse of shape. Had some minor holograms from the previous detailer and light scratces/swirls across the whole thing.

Process:

Washed w/ Citrous Wash
Wheels w/ CG Diablo Wheel Gel
Clayed w/ Pinn Ultra Poly Clay w/ ONR Lube
Dried with DI Drying Towel & Air Blower
Taped with Meguiars Tape
Buffed w/ SIP via Flex Speed 6 w/ Uber Orange Pad
Buffed w/ Micro Finish via Flex Speed 5 v/ Uber Green
Smaller Areas w/ Microfiber 3" Pads w/ D300 & M105
Smaller Areas w/ Tangerine Spot Pad w/ M205

LSP:
WIndows w/ Stoners
Sealed w/ WGDGPS
Waxed w/ Blackfire Midnight Sun
Tires w/ Nature Shine
Wheels hit w/ V7 Hybrid
Body Wiped down w/ V7 Hybrid

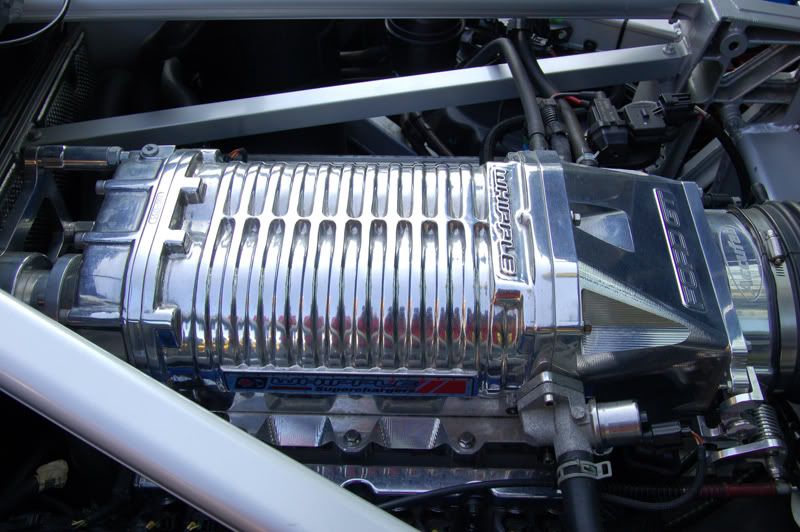
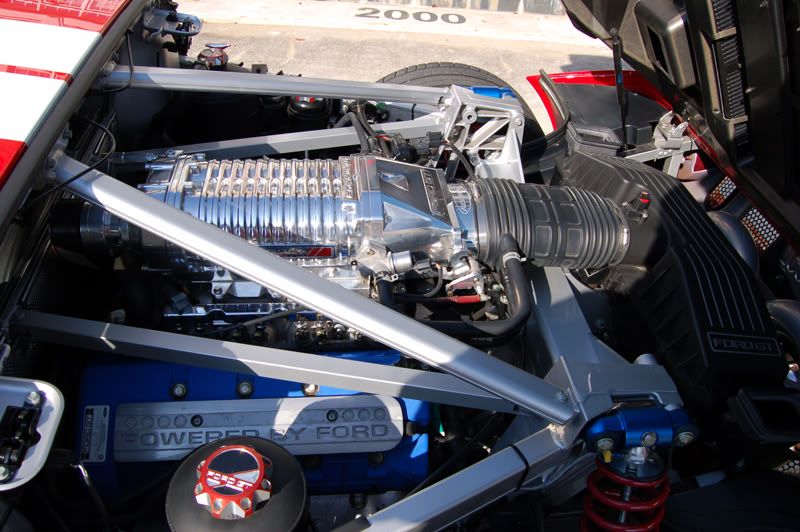
Whipple w/ M205/105 Mixture
Sealed w/ Wheel Guard

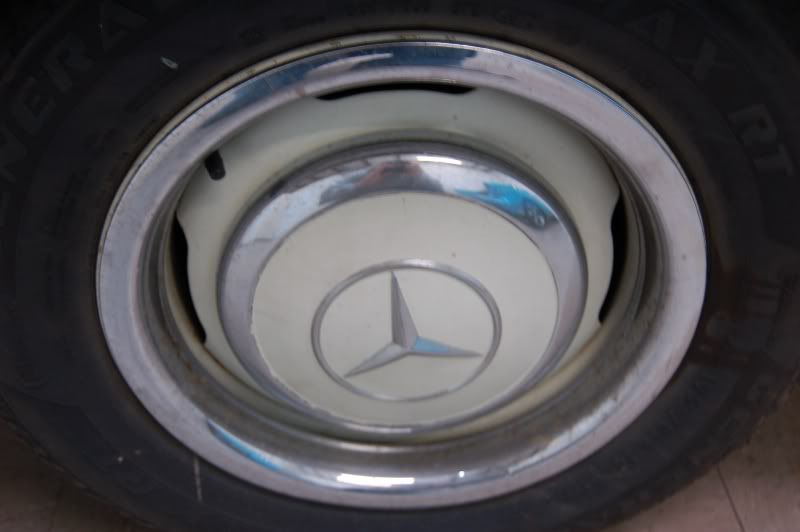
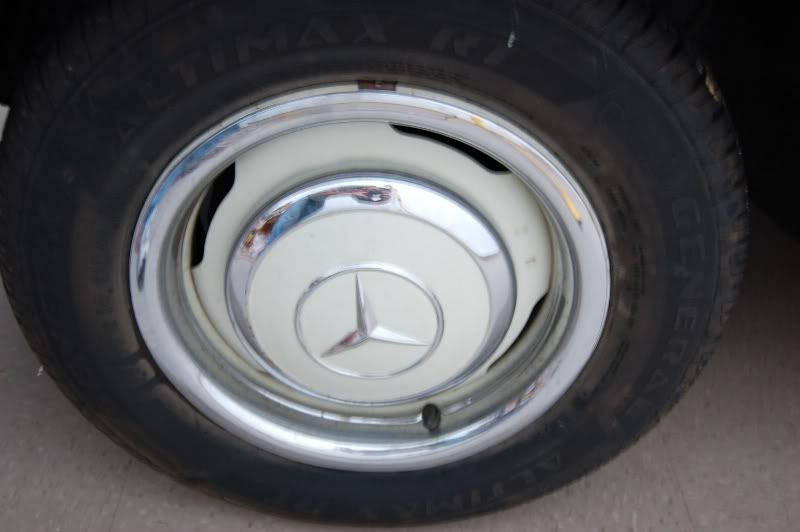
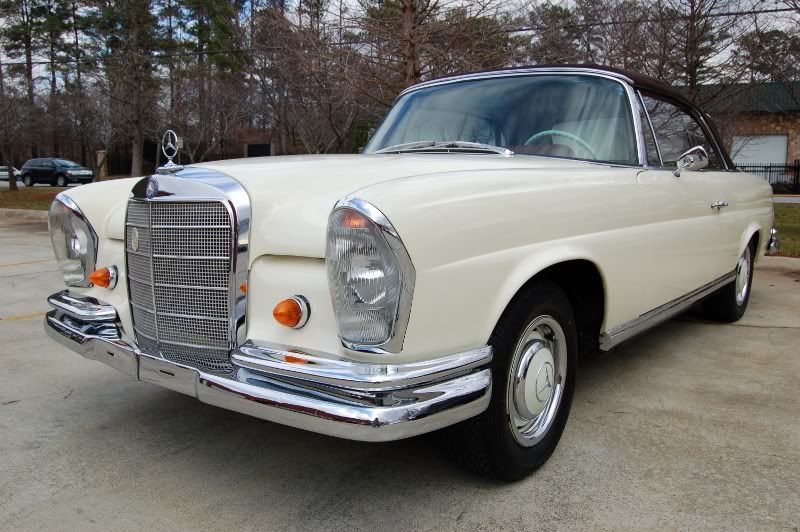
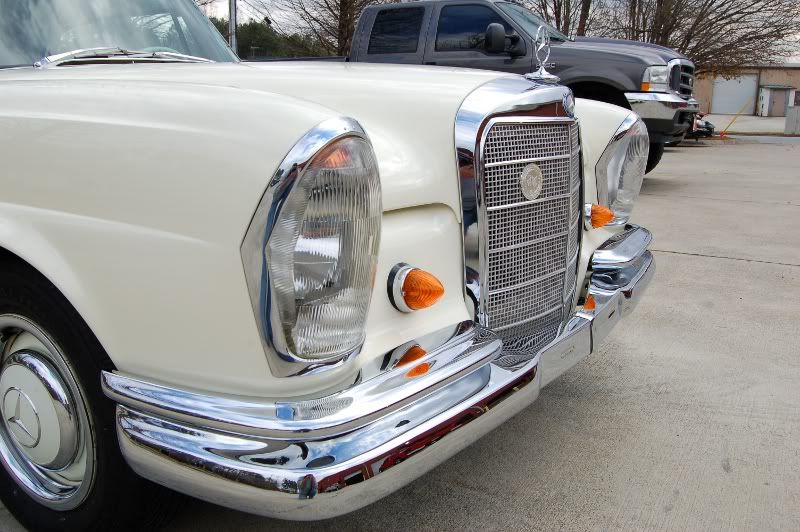
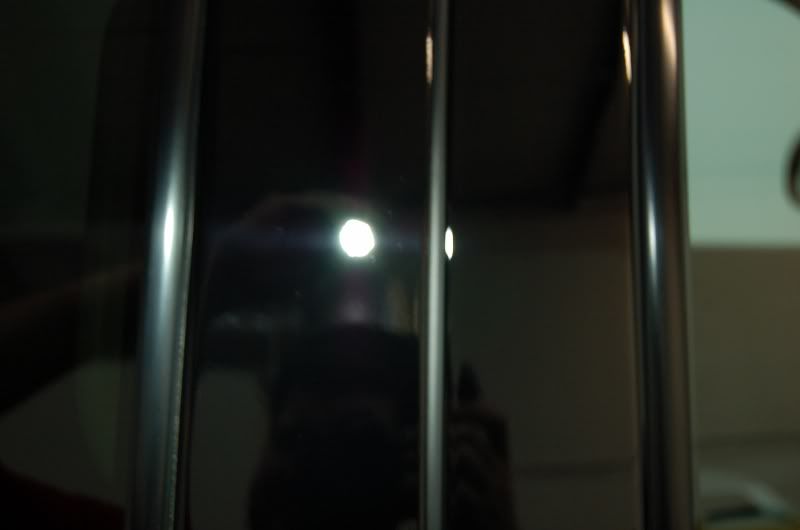
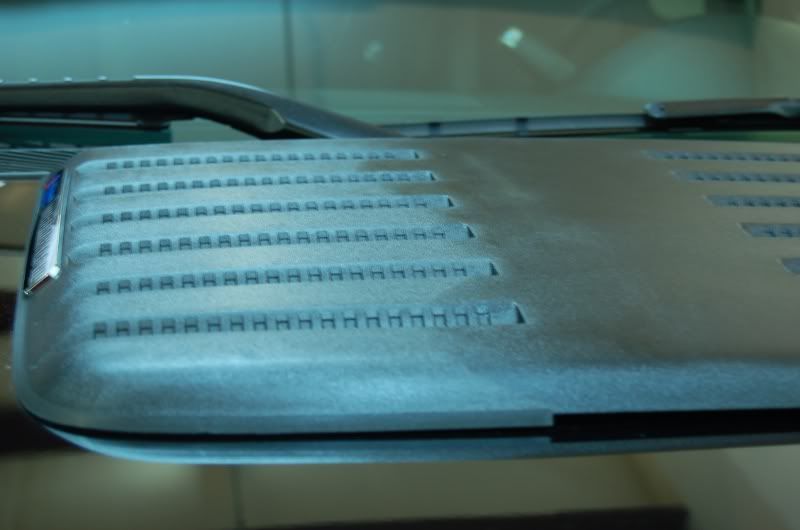
What the car looked like when I first got there. Before washing it...

DriverFrontBefore-34.jpg

DriverRearBefore-34.jpg

PassRearBefore-34.jpg

PassFrontBefore-36.jpg


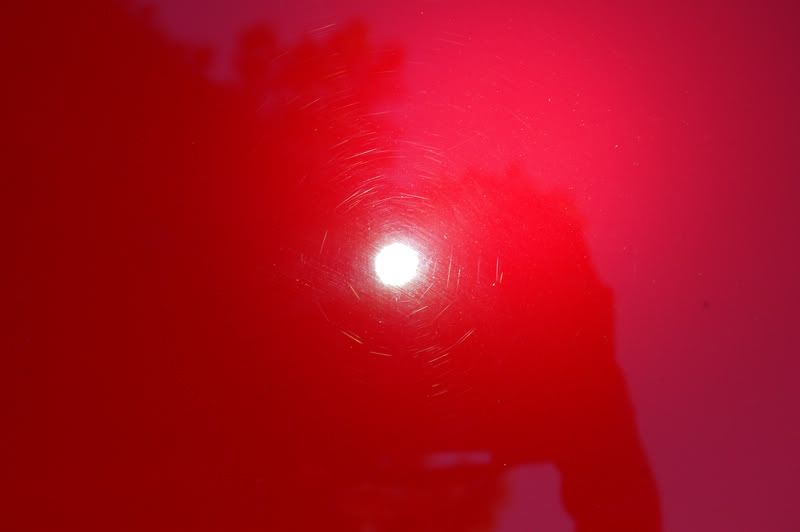
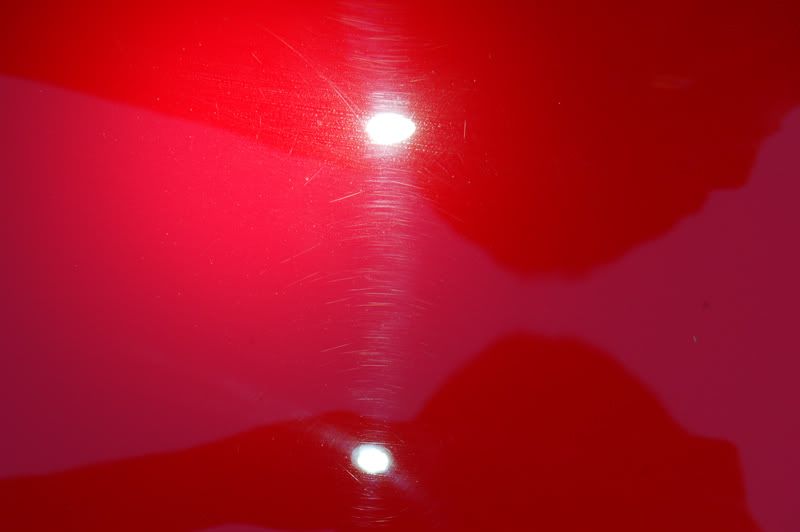
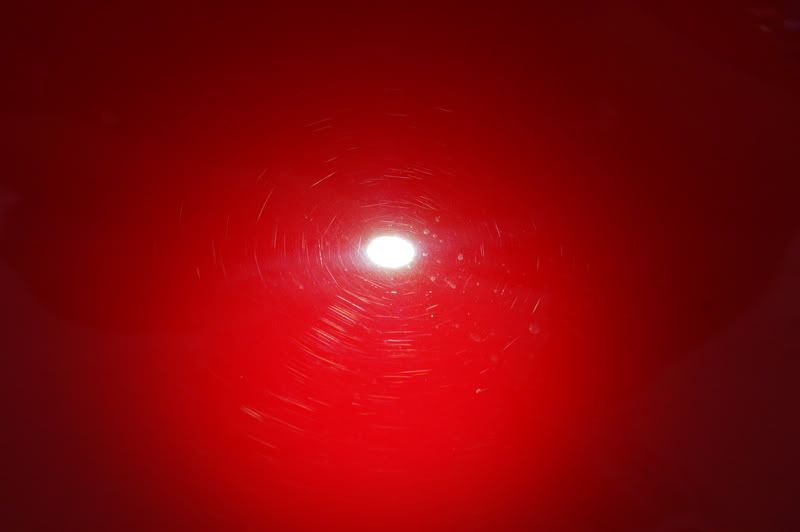
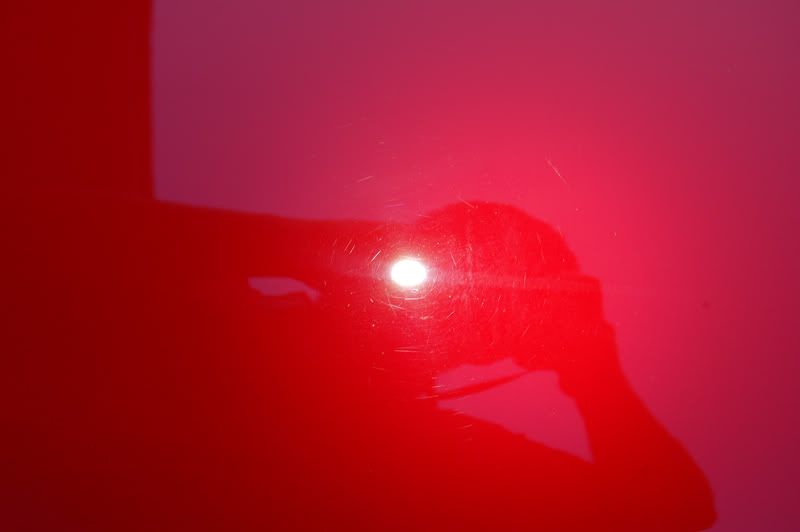
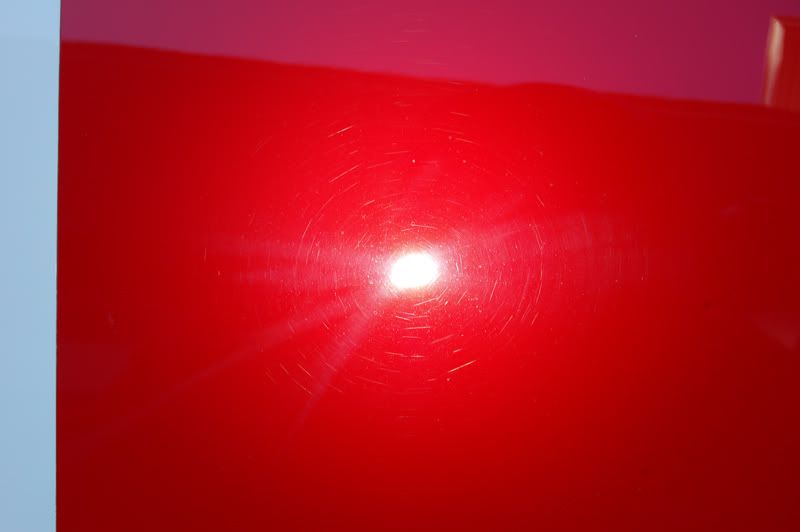
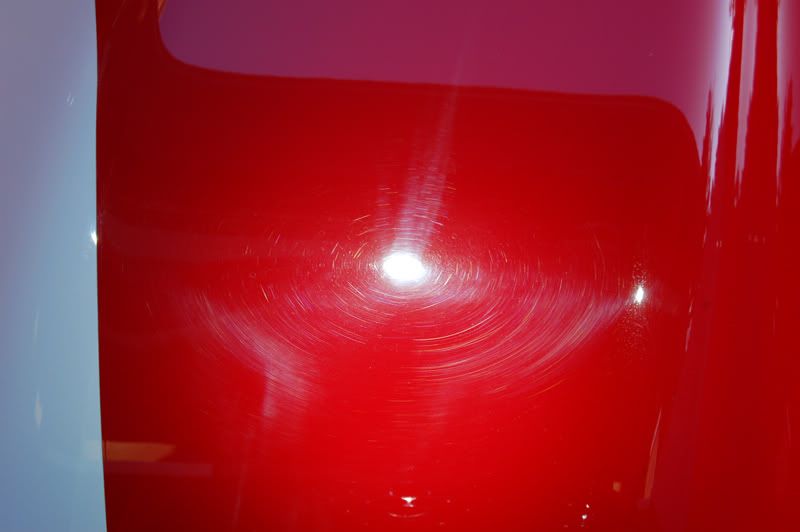
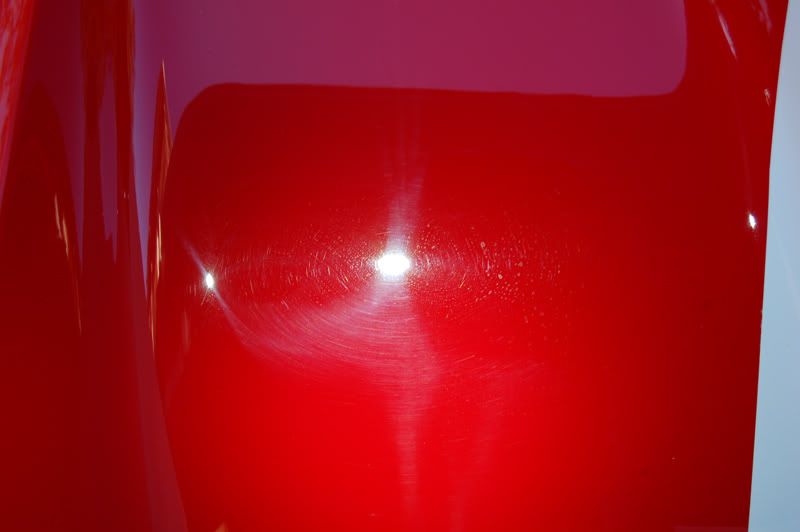
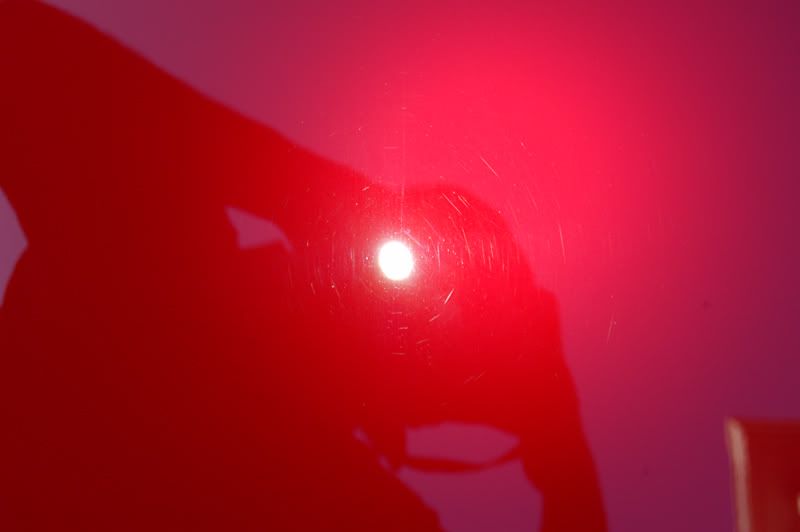
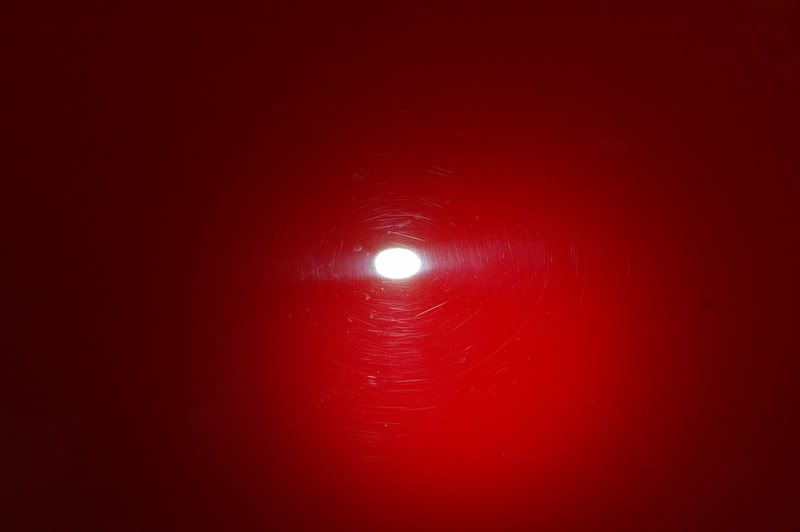
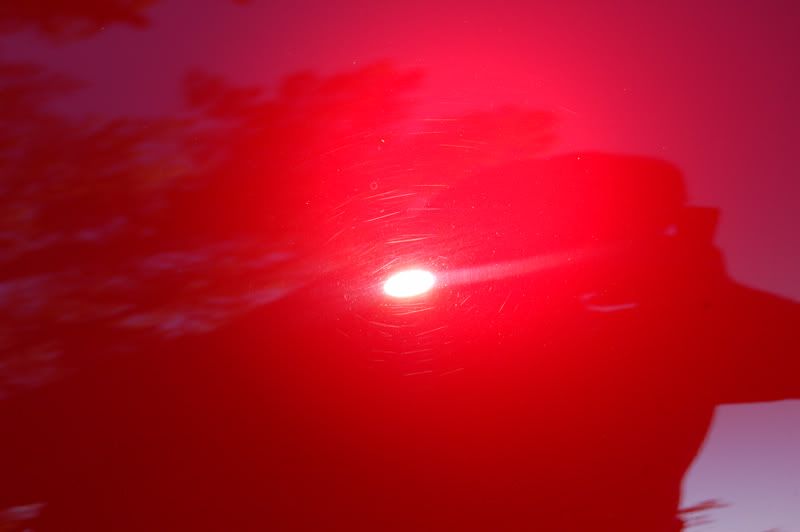
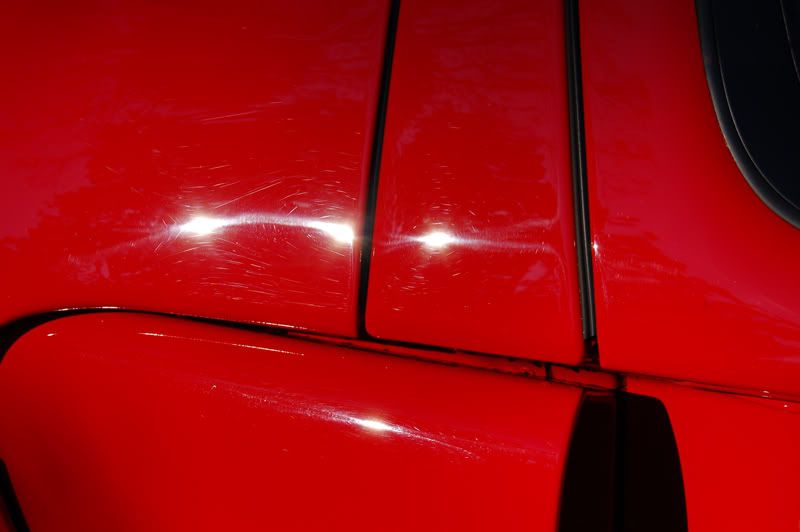
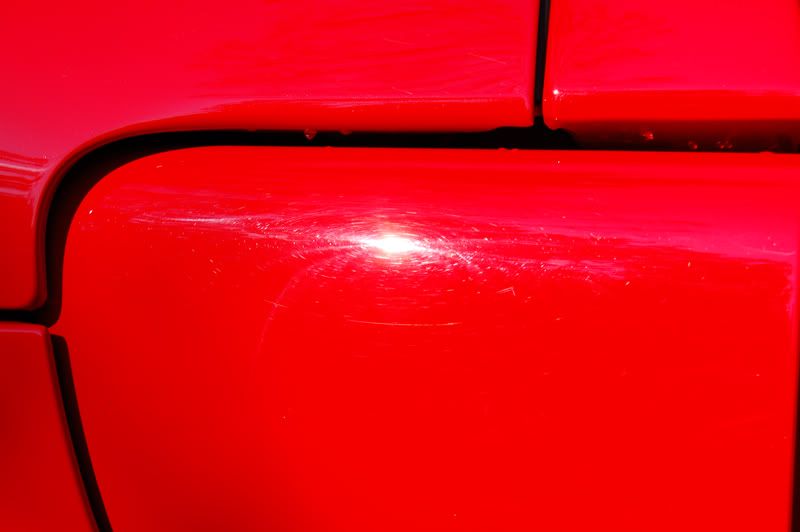
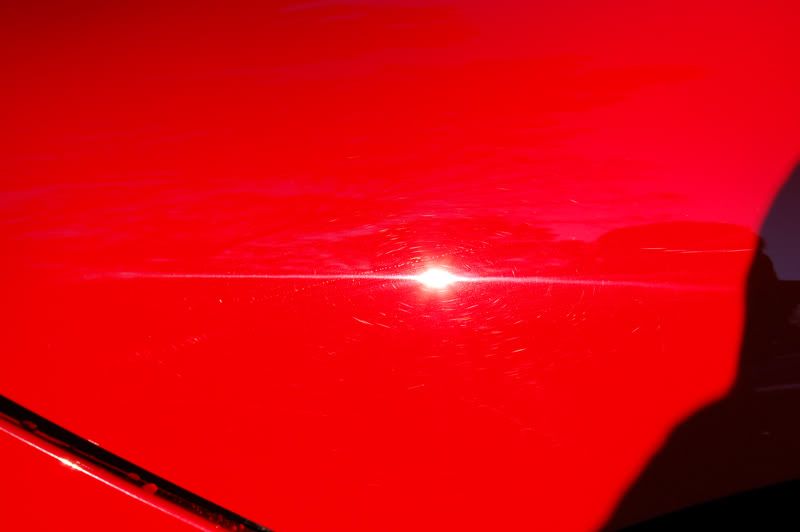
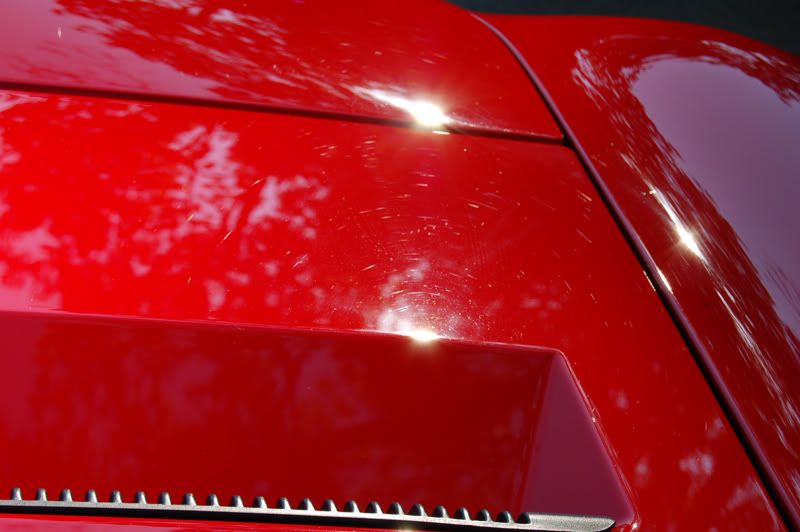
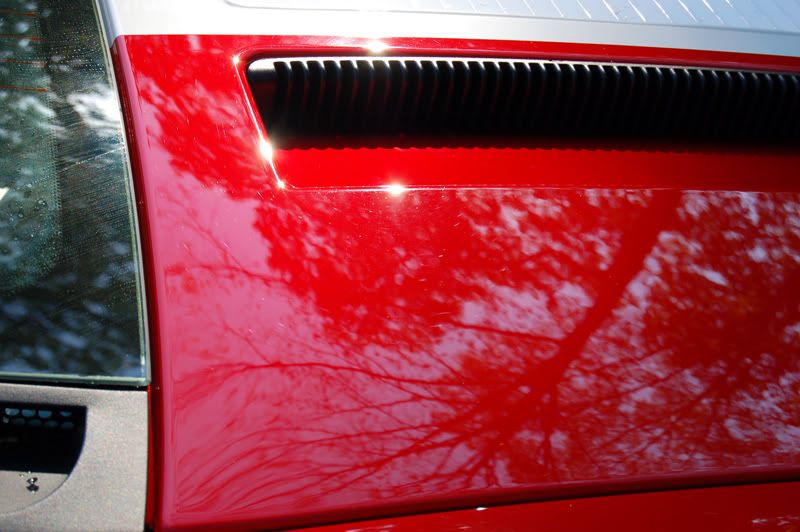
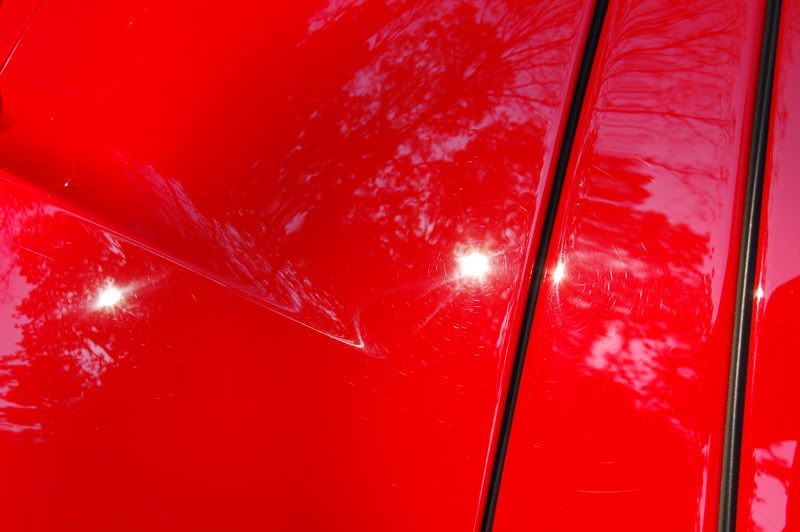
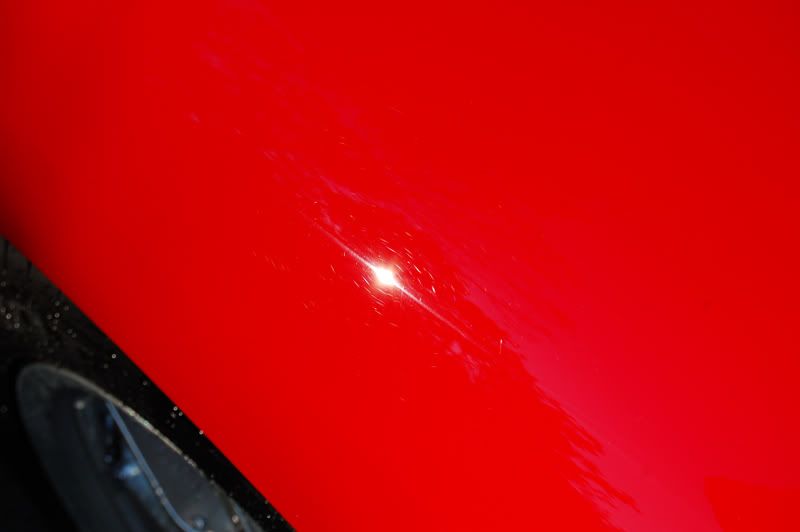
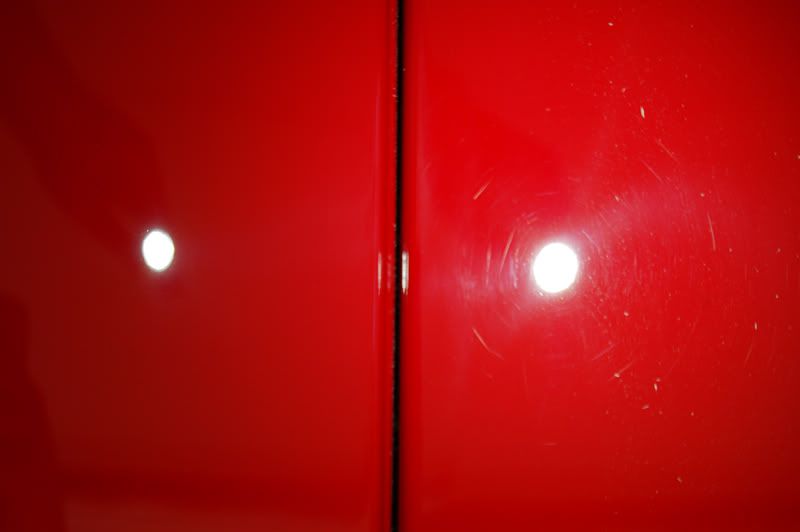
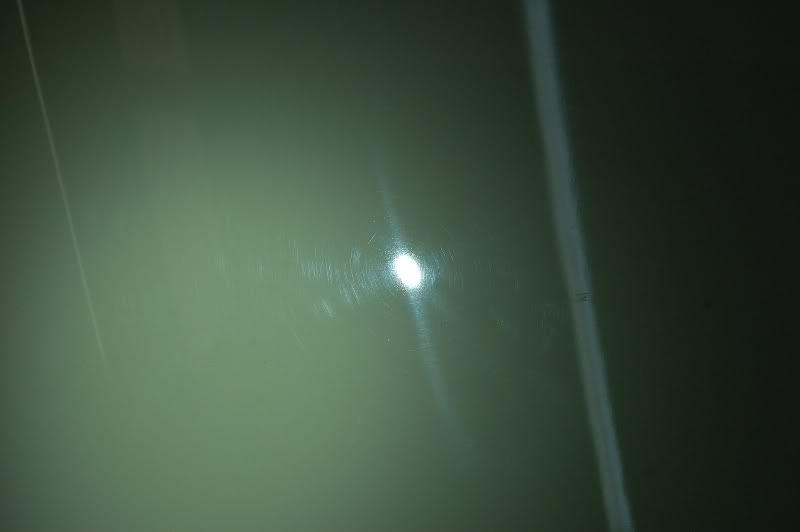
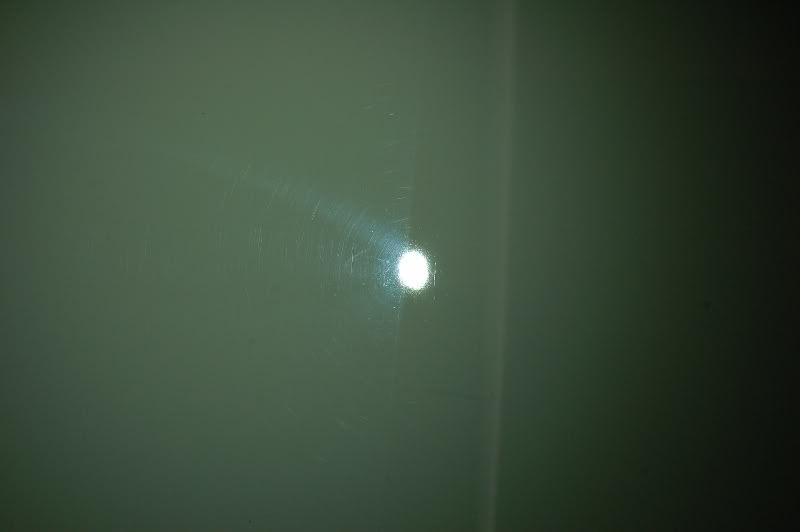
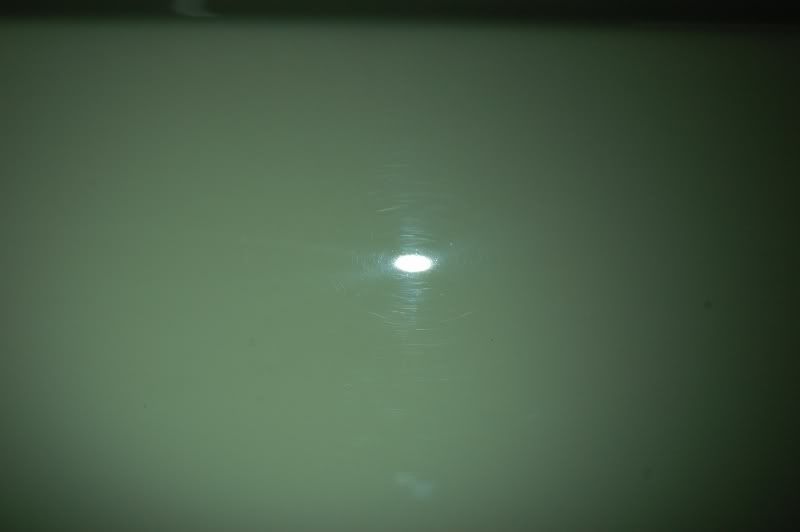
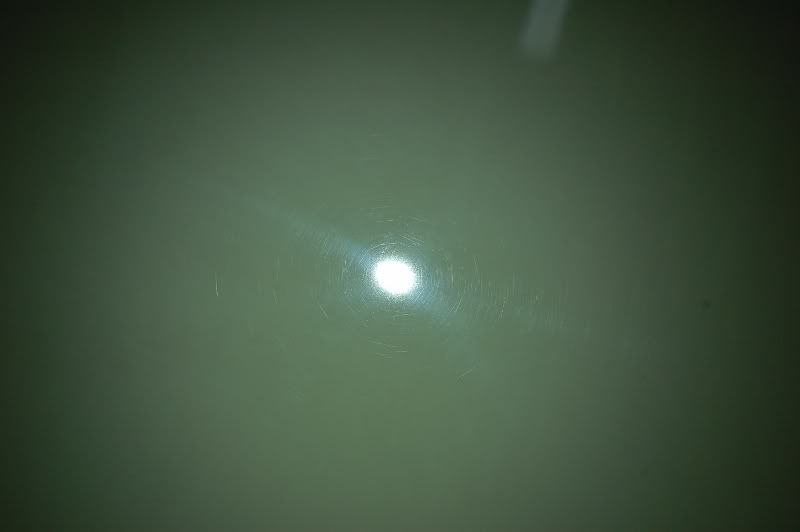
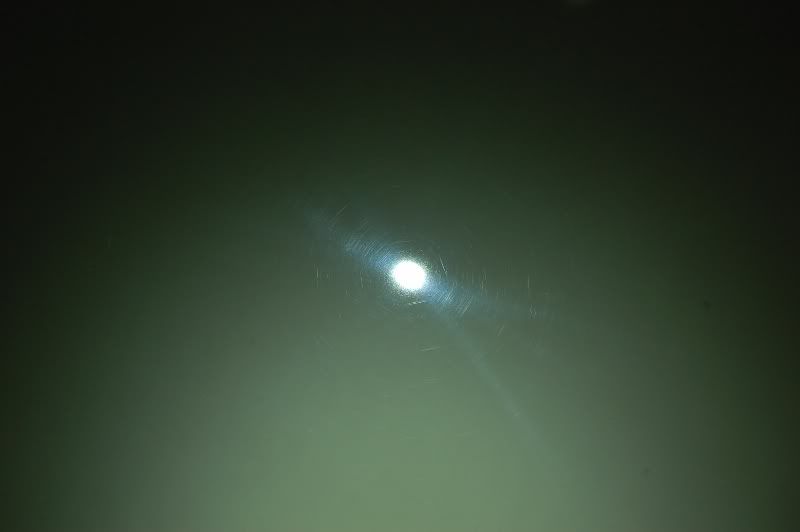
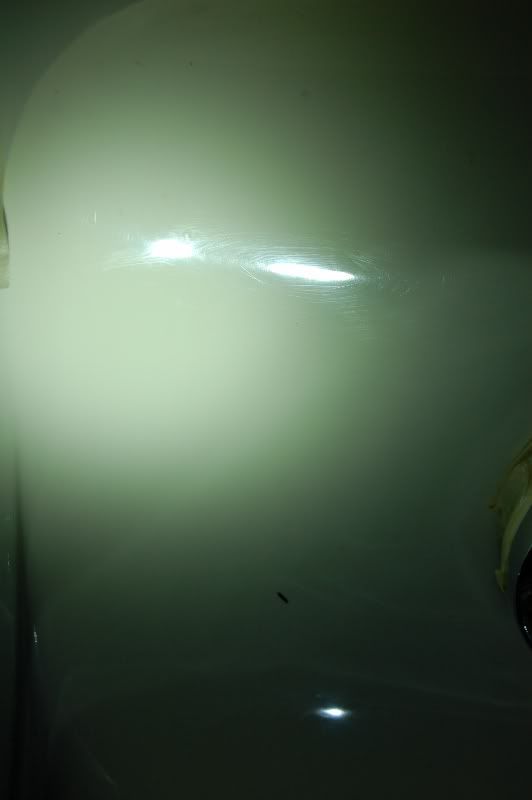
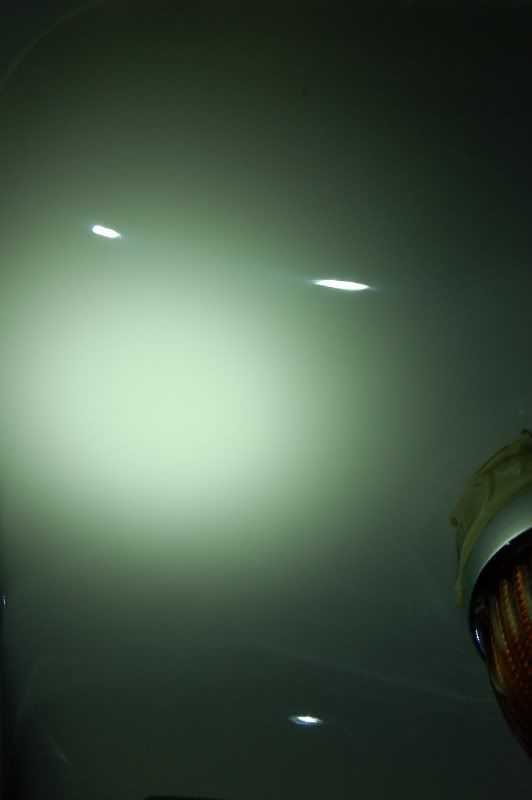
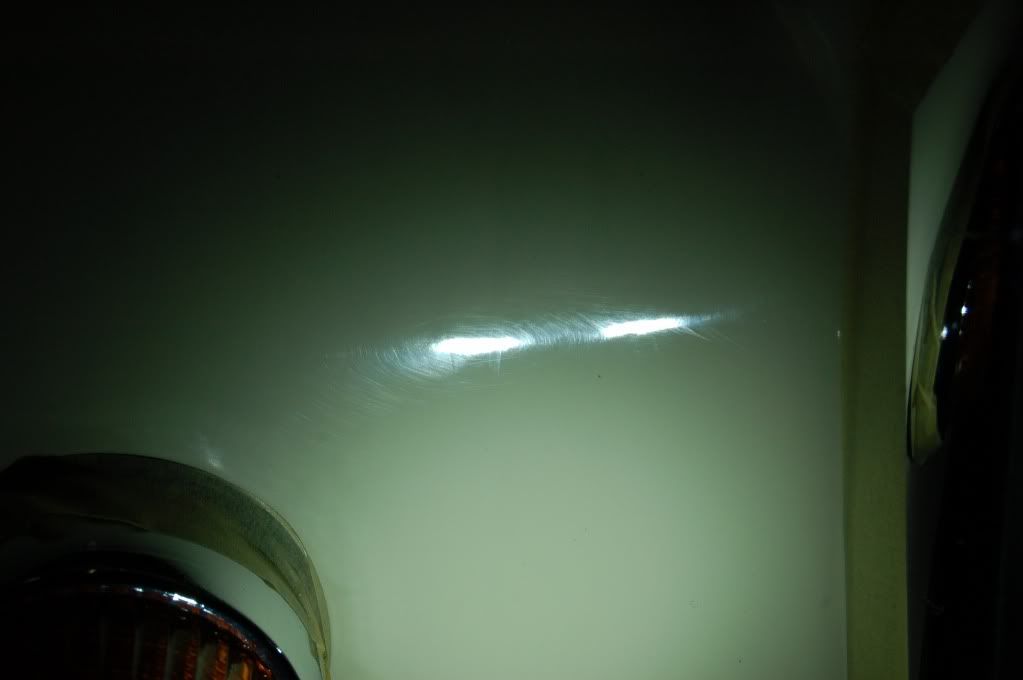
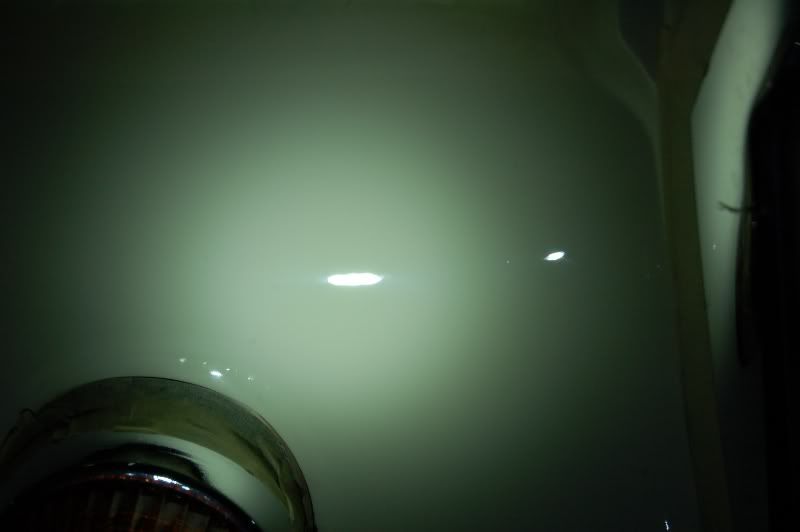
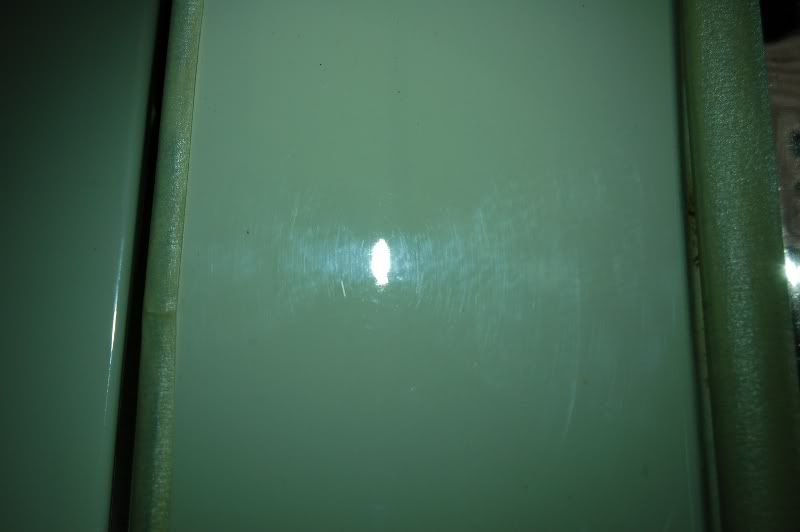
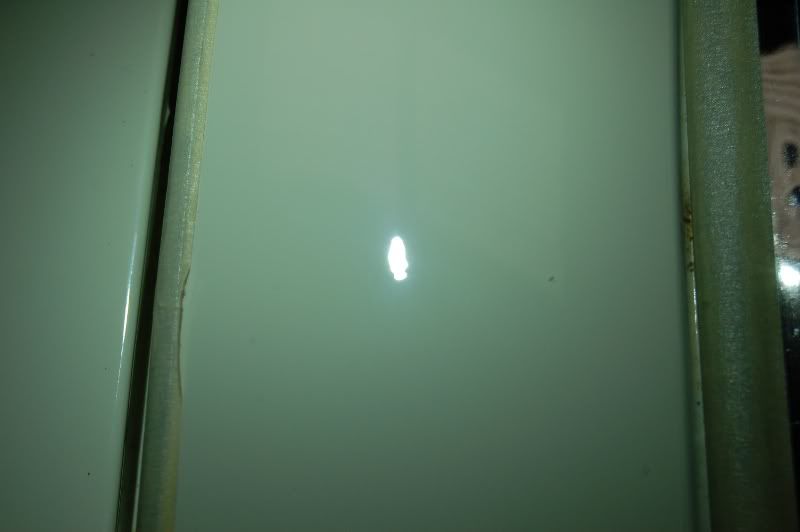
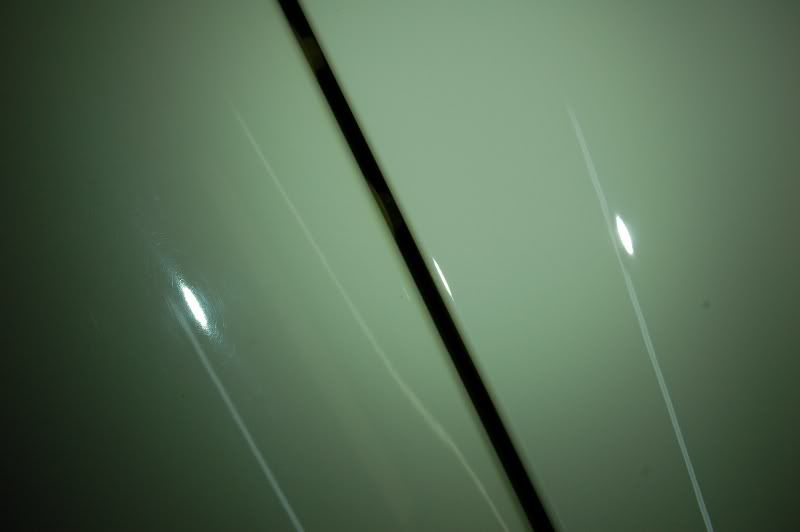
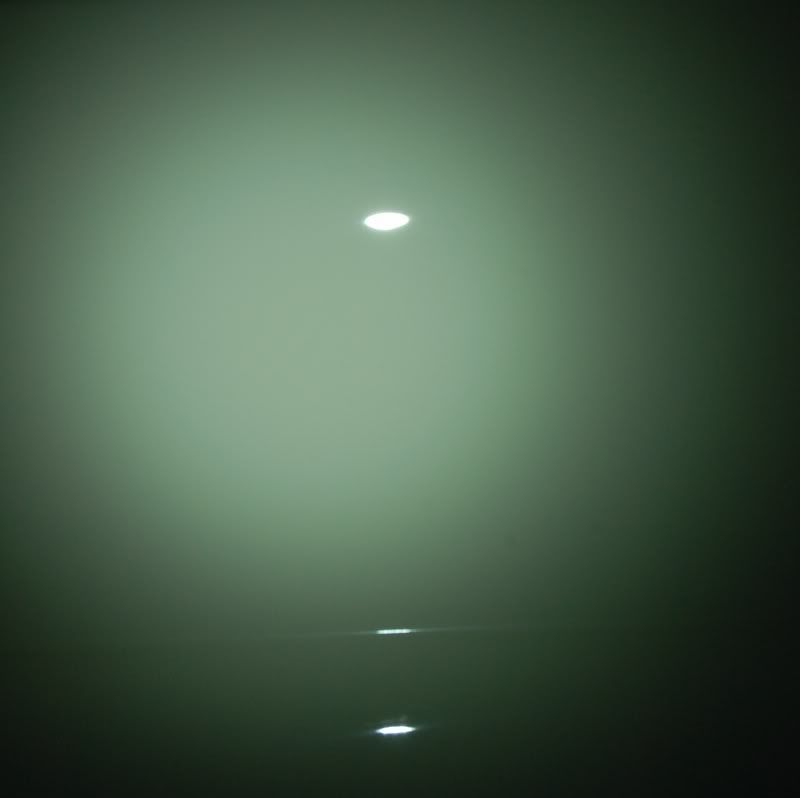
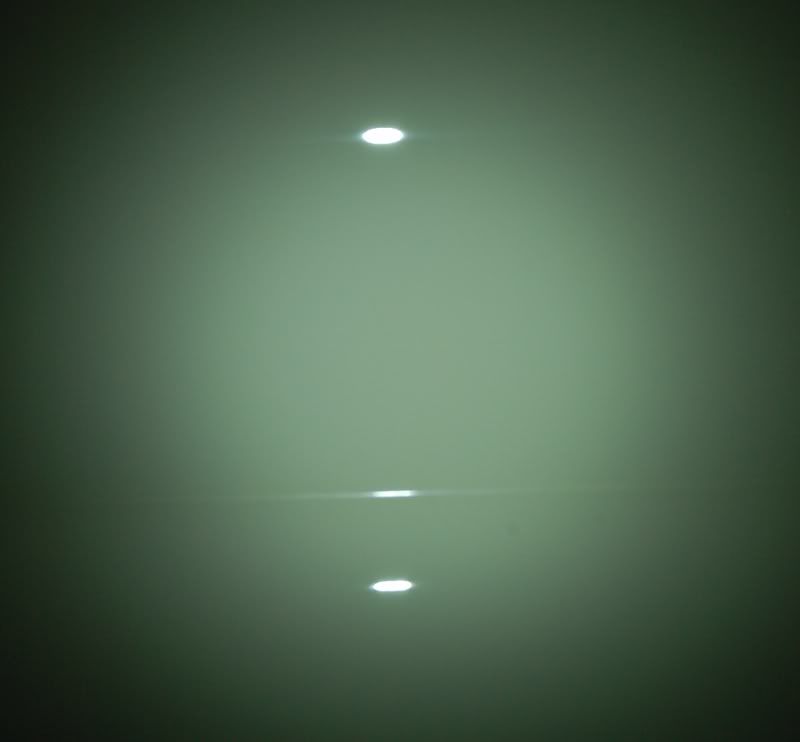
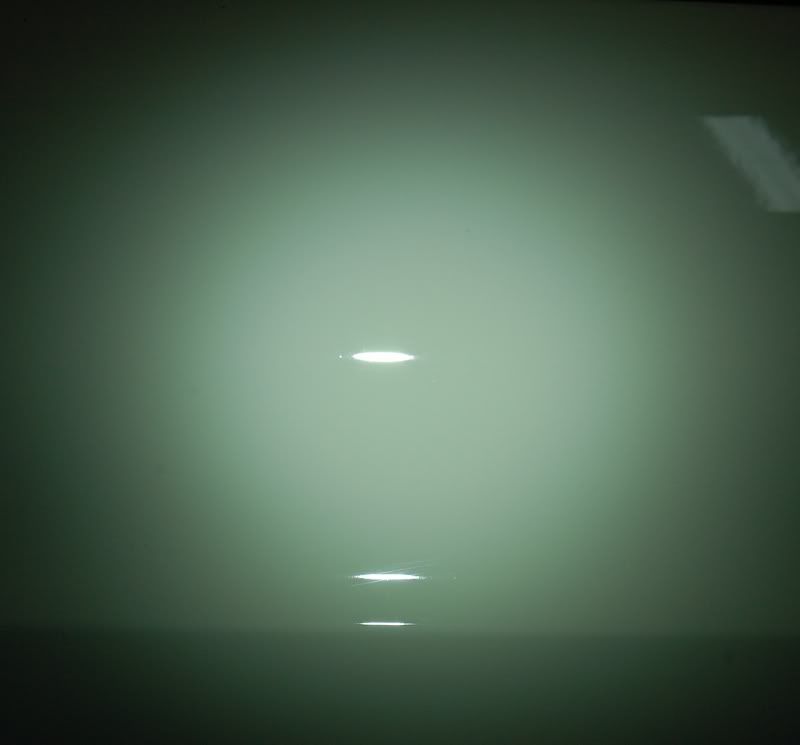
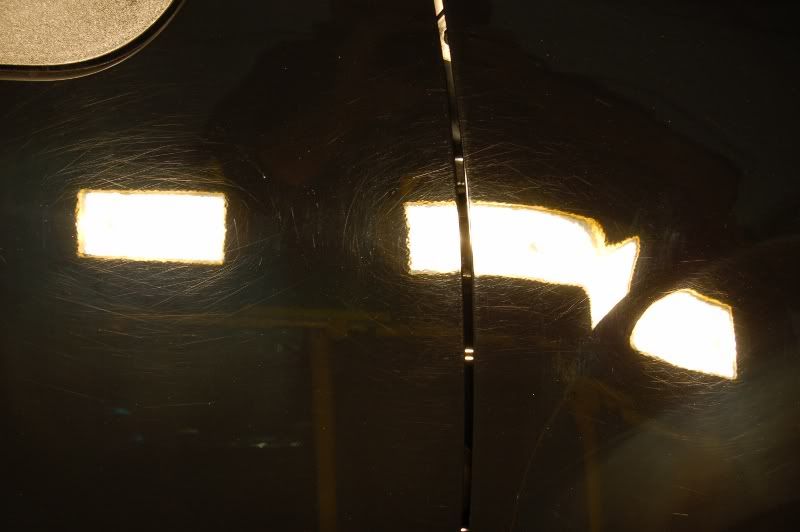
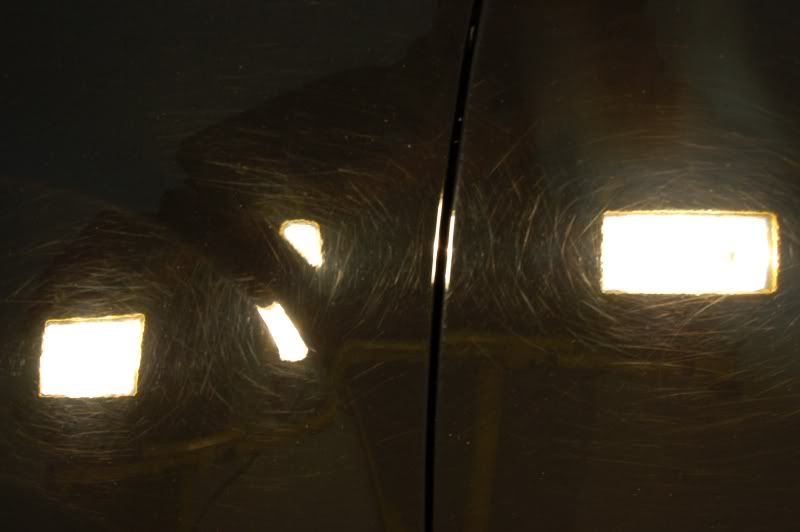
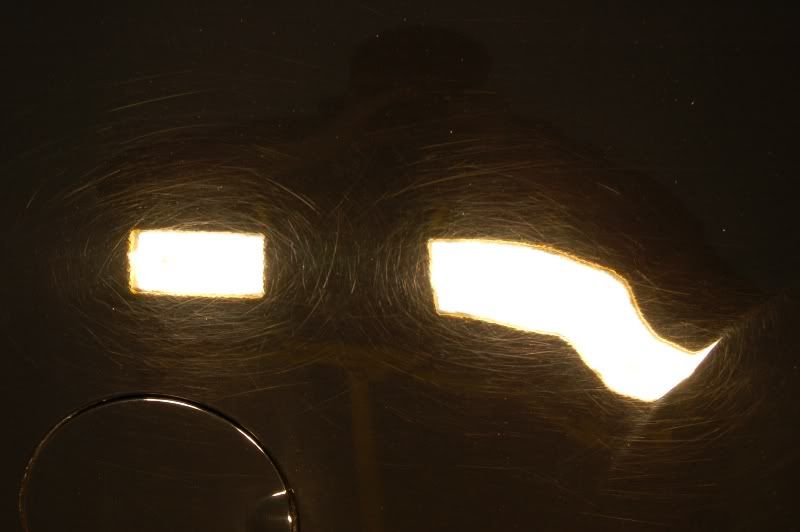
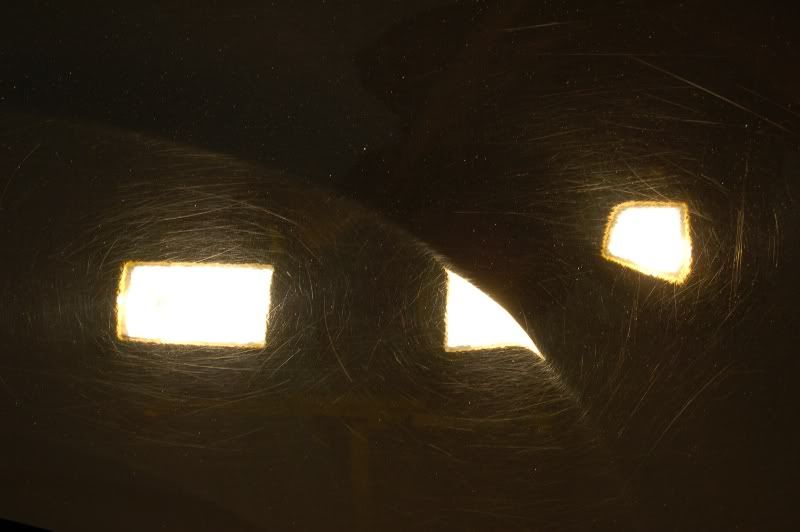
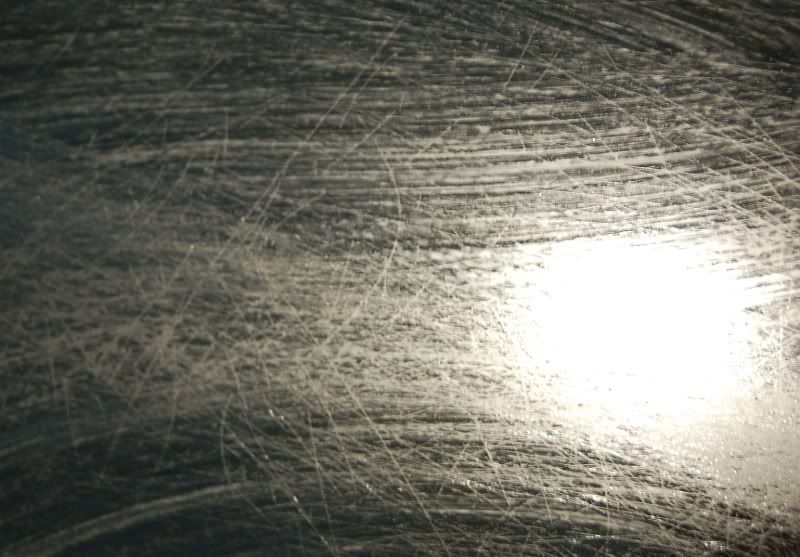
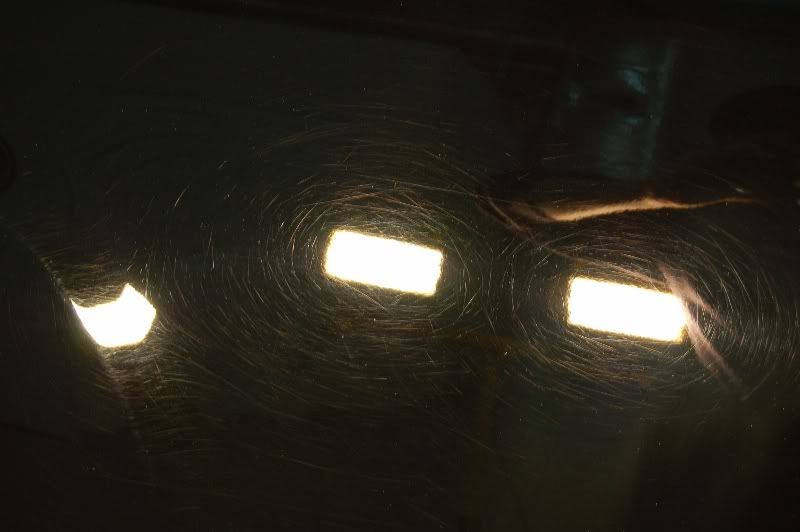
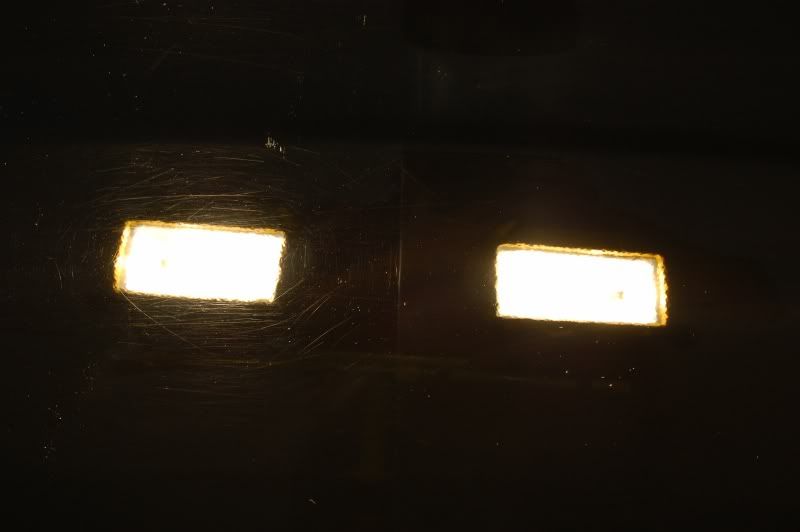
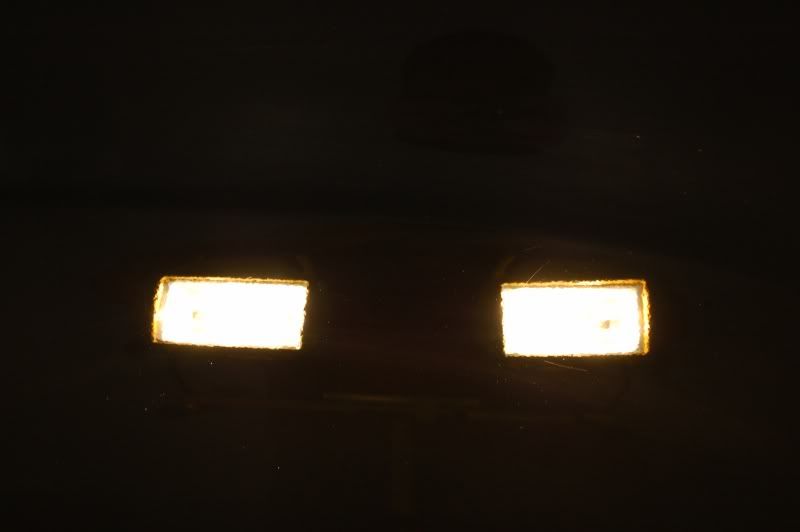
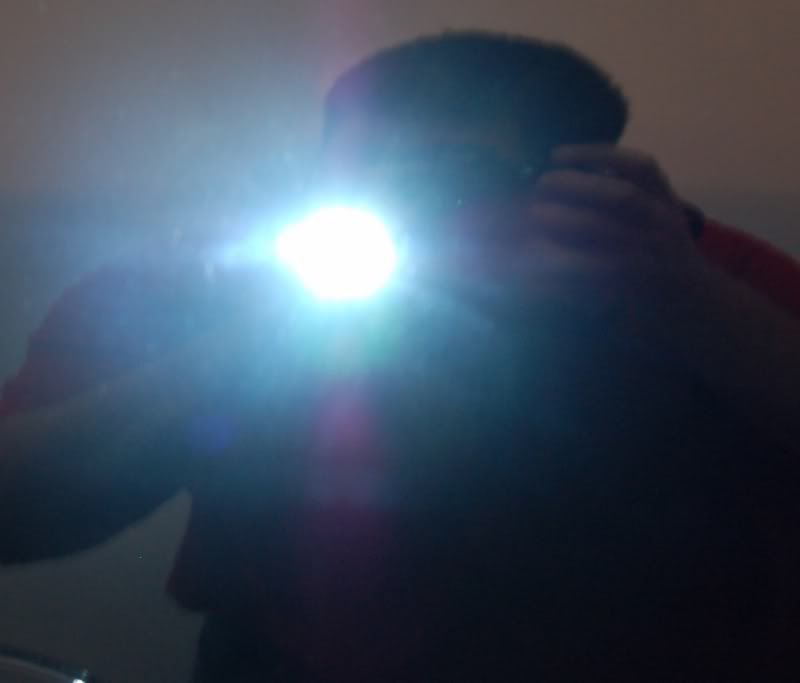
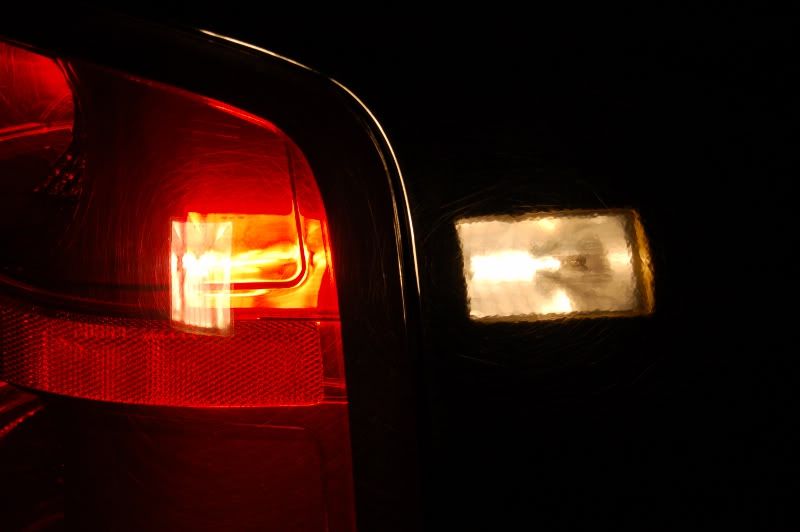
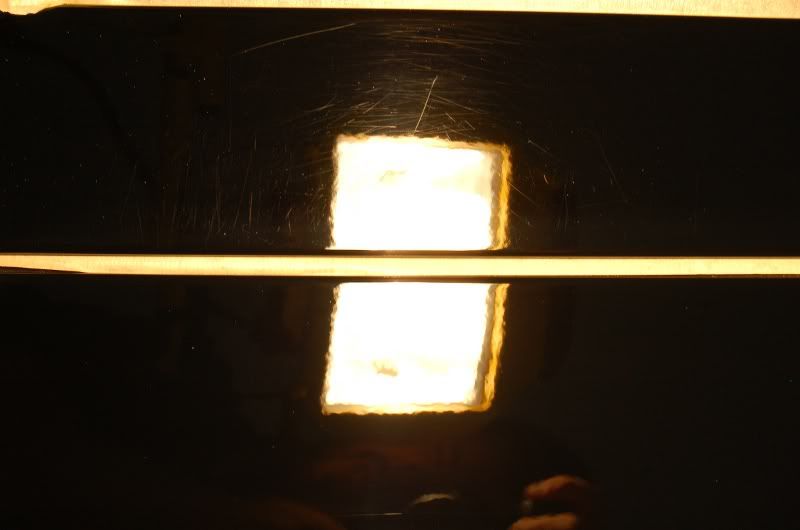
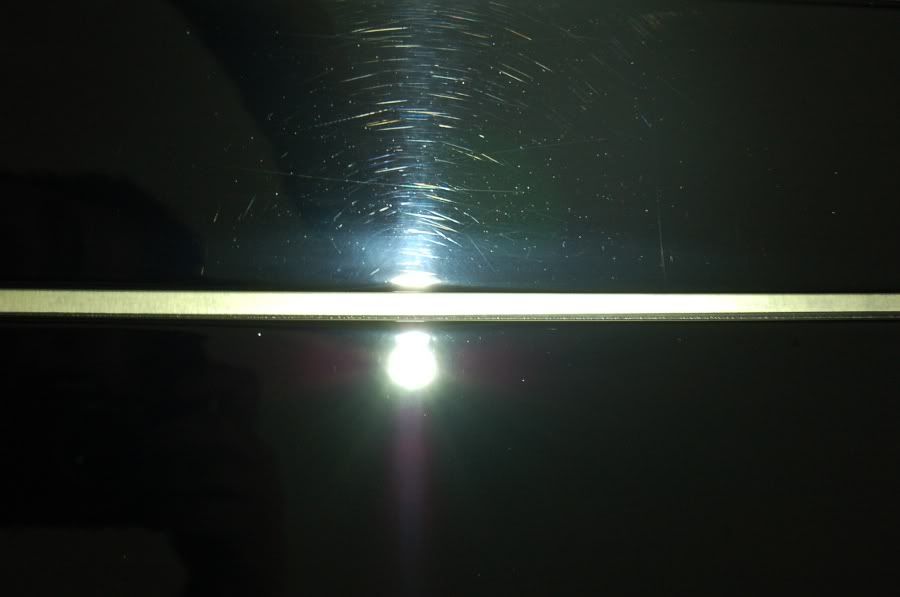
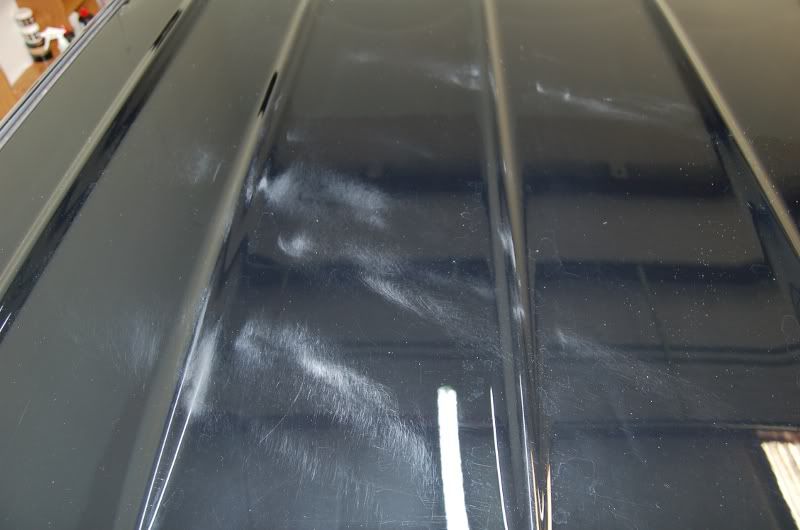
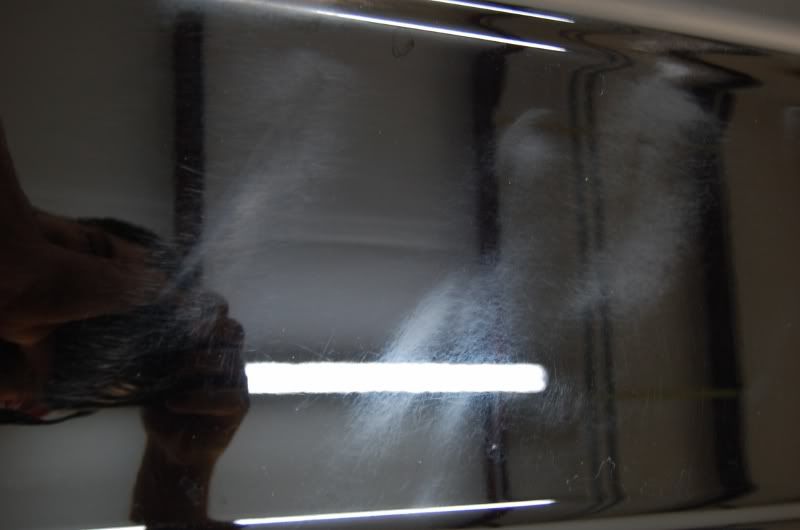
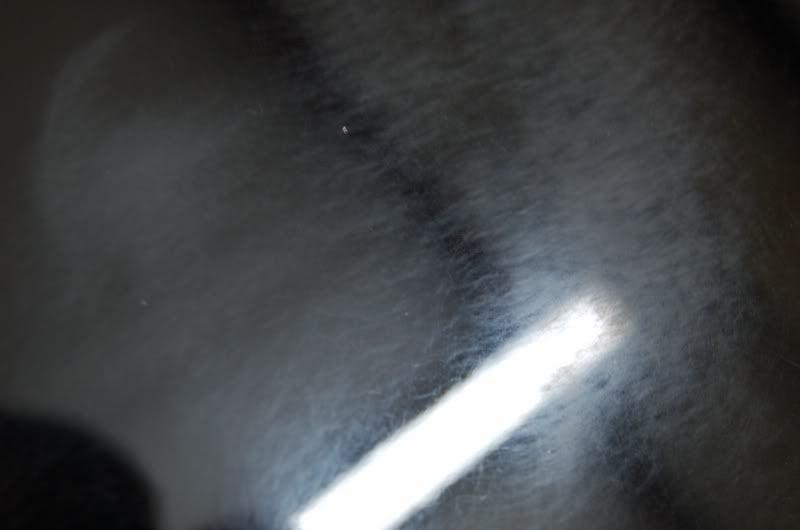
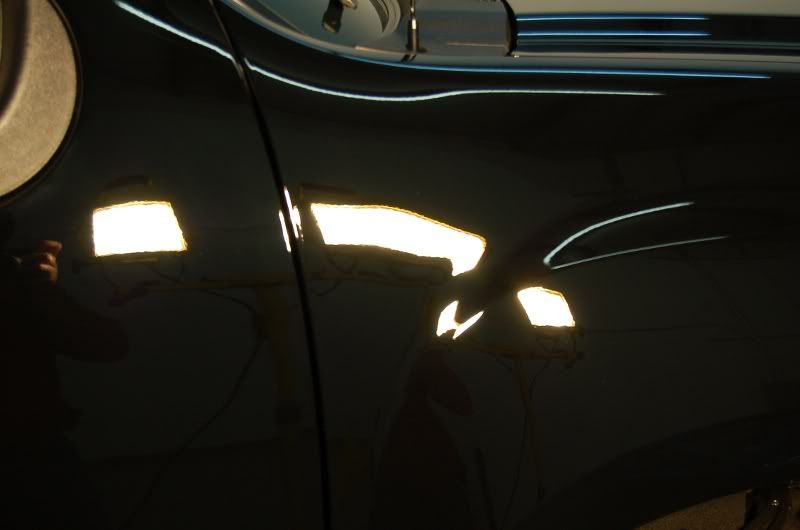
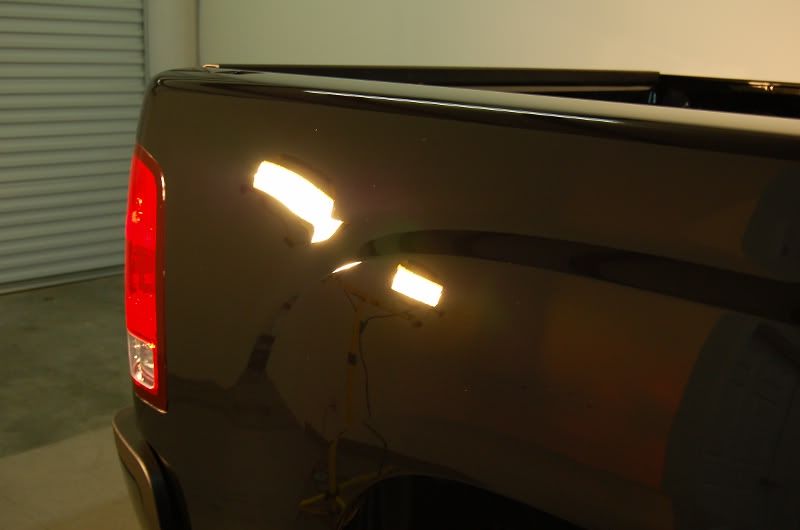
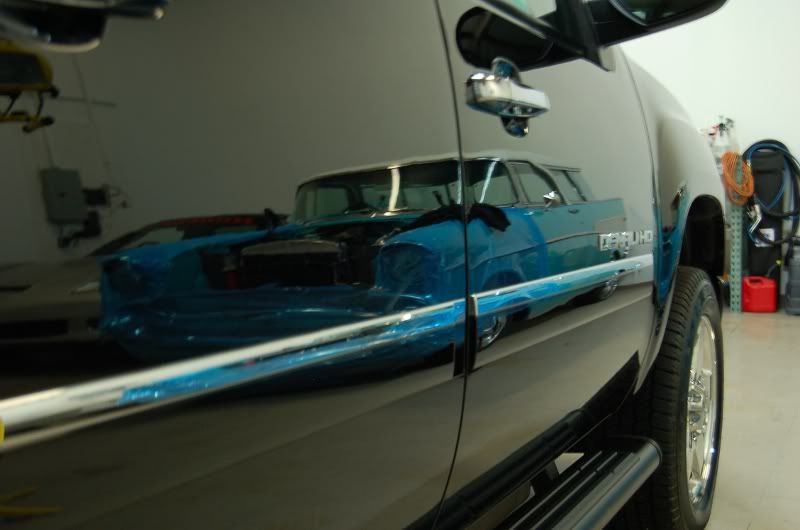
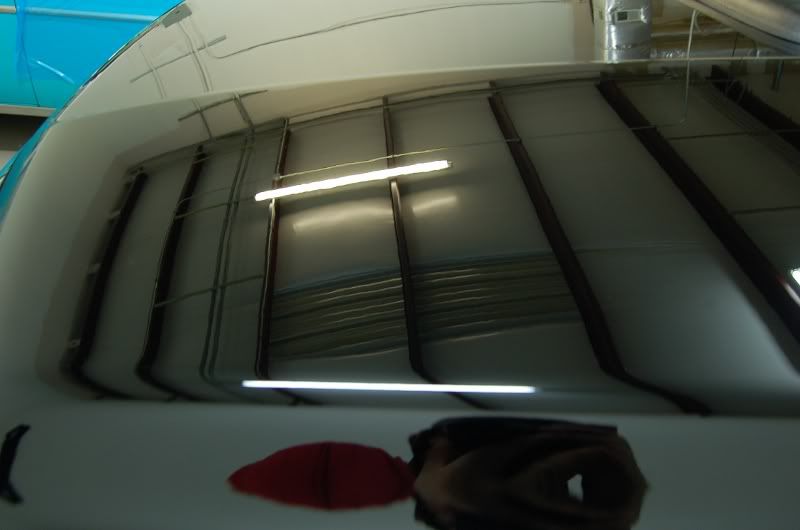
What the paint looked like before under my LED light...

PaintBefore14.jpg

PaintBefore14.jpg

PaintBefore13.jpg

PaintBefore12.jpg

PaintBefore11.jpg

PaintBefore10.jpg

PaintBefore9.jpg

PaintBefore8.jpg

PaintBefore7-1.jpg

PaintBefore6-2.jpg

PaintBefore5-7.jpg

PaintBefore4-12.jpg

PaintBefore3-15.jpg

PaintBefore2-18.jpg

PaintBefore-27.jpg


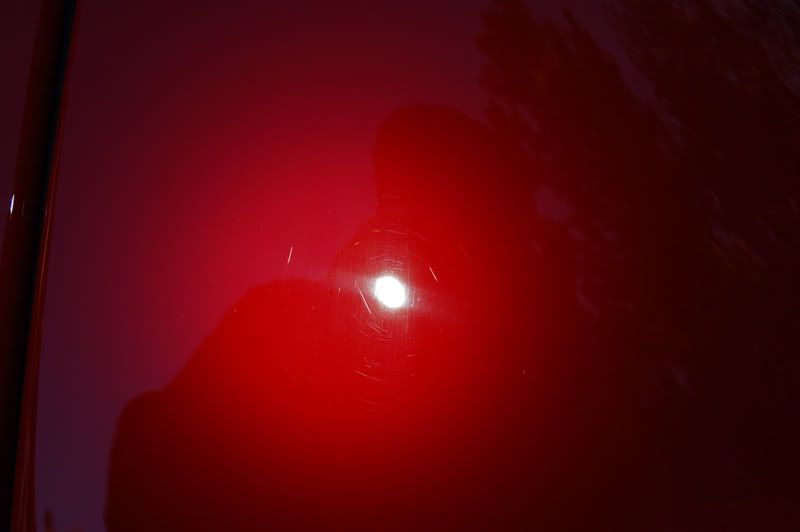
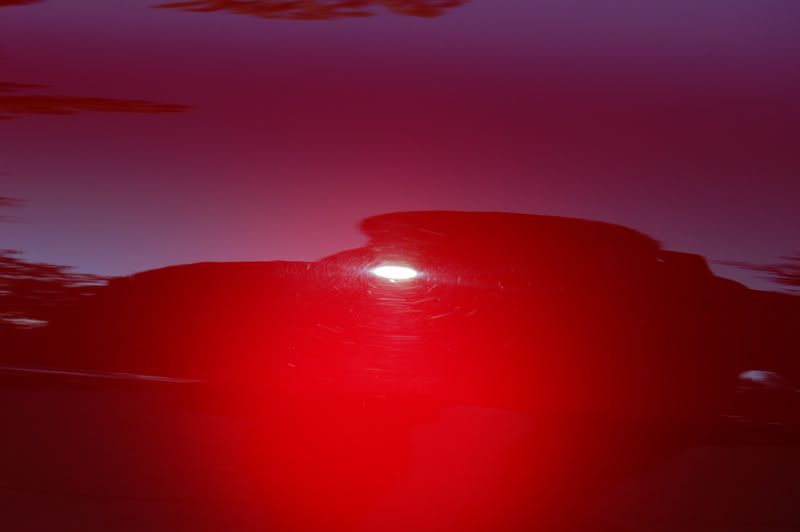
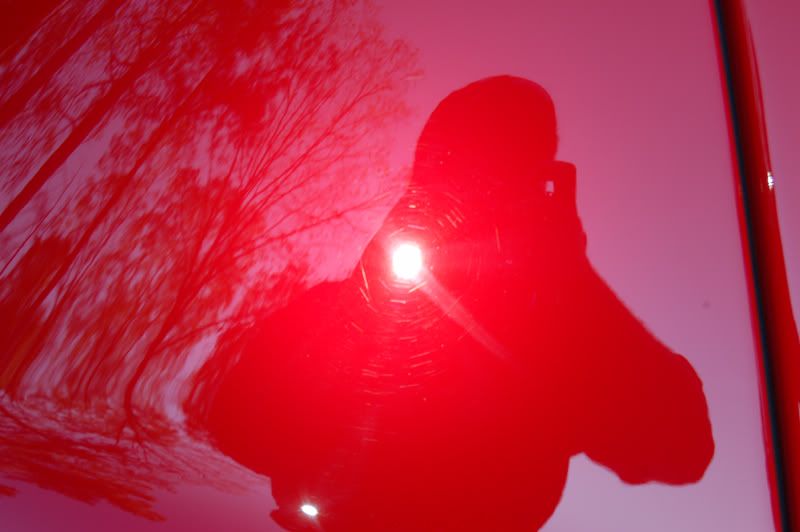
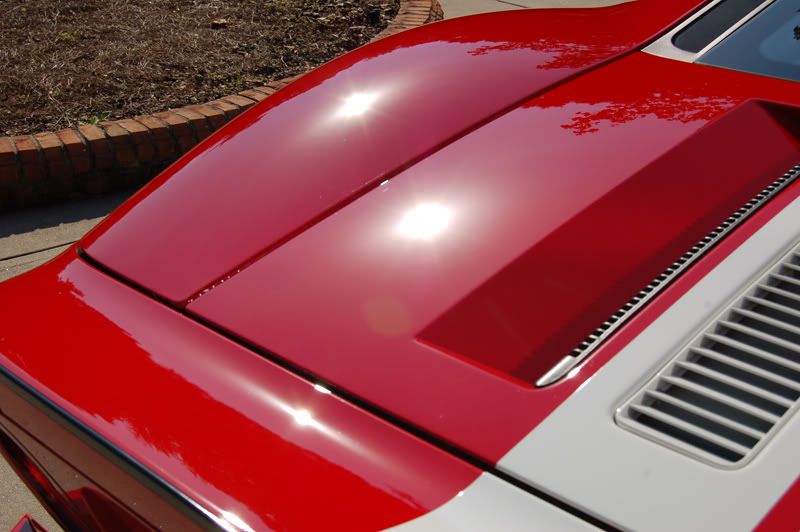
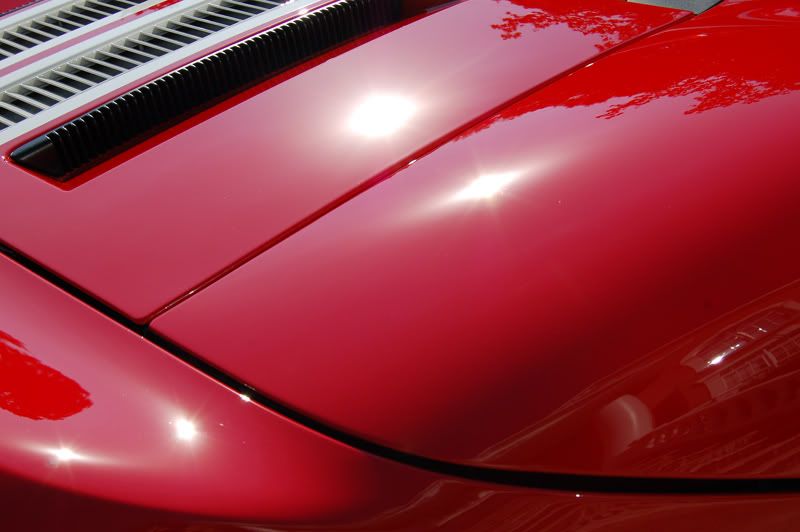
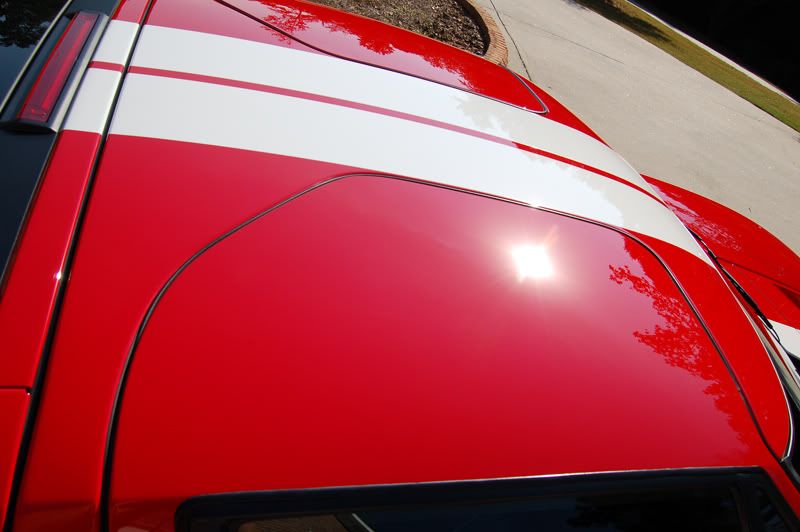
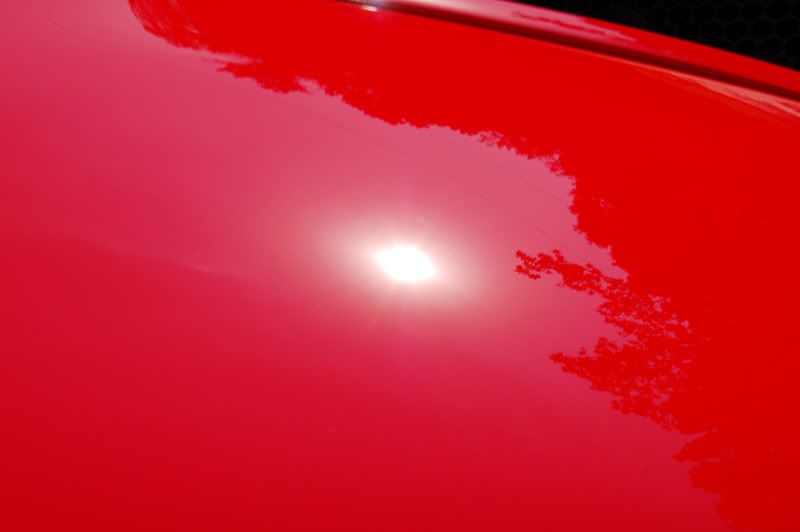
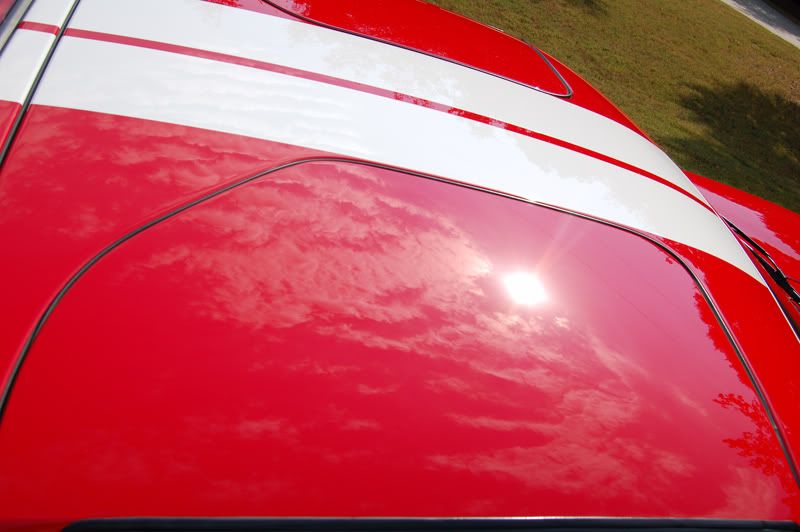
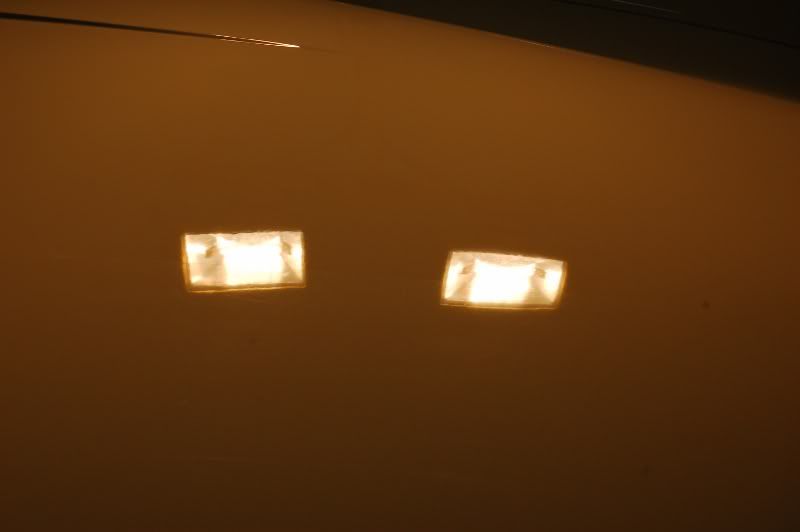
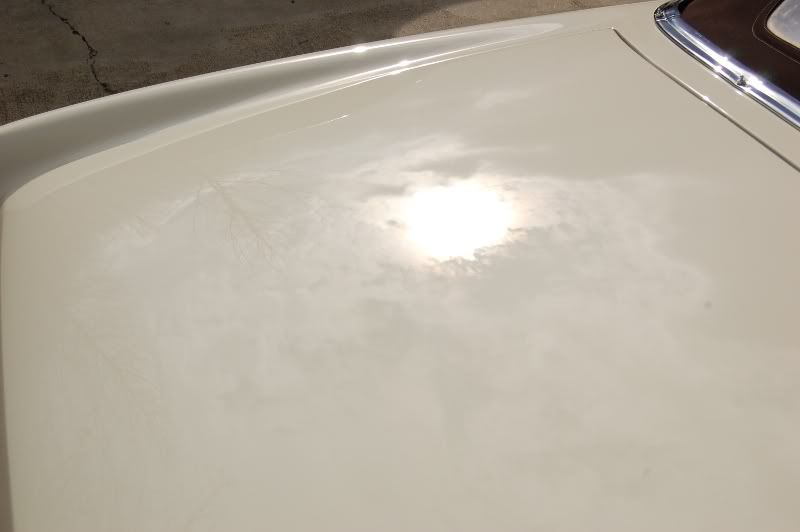
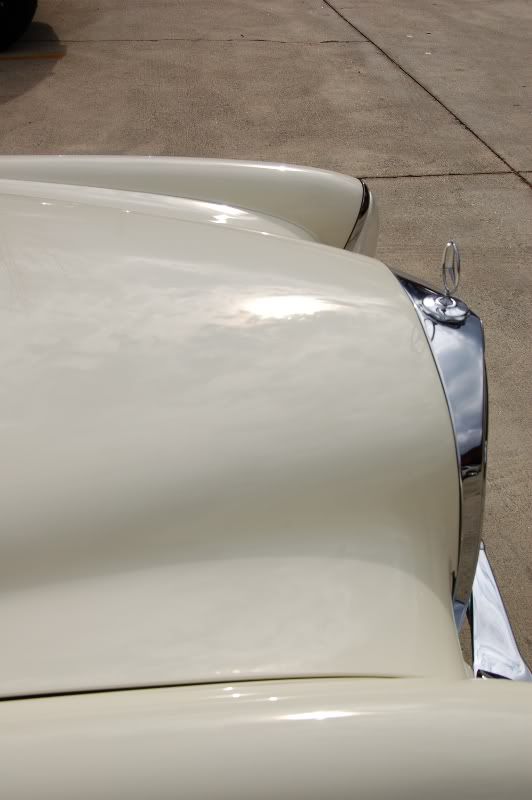
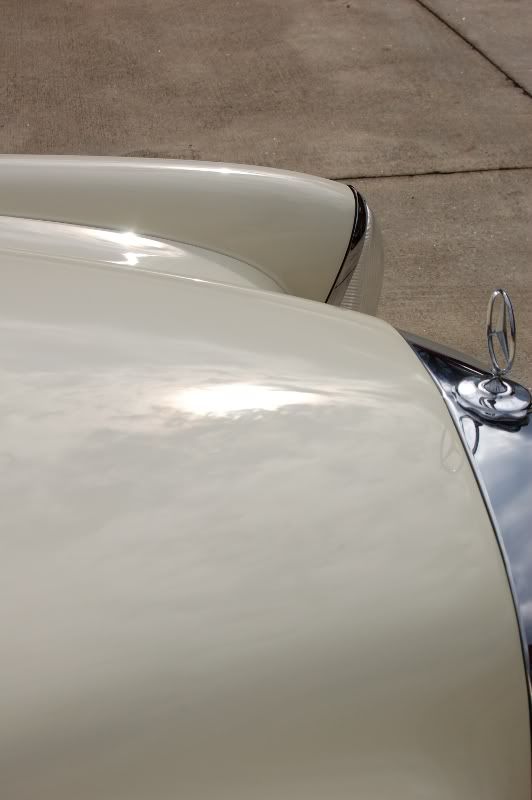
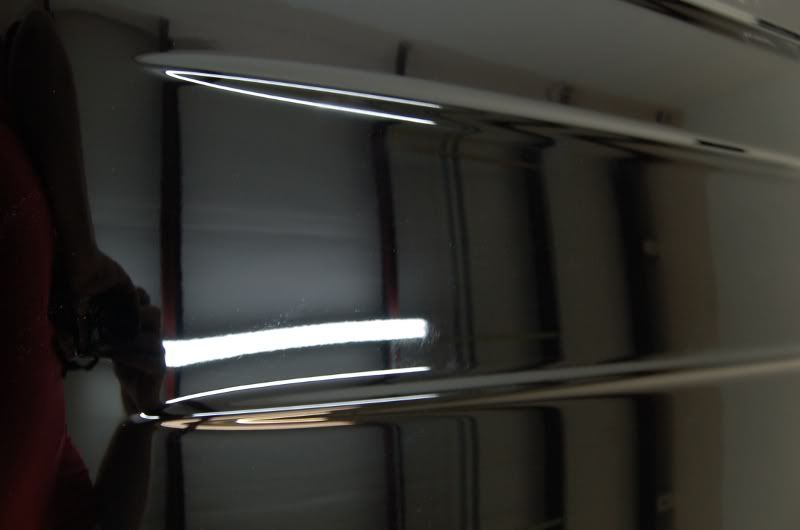
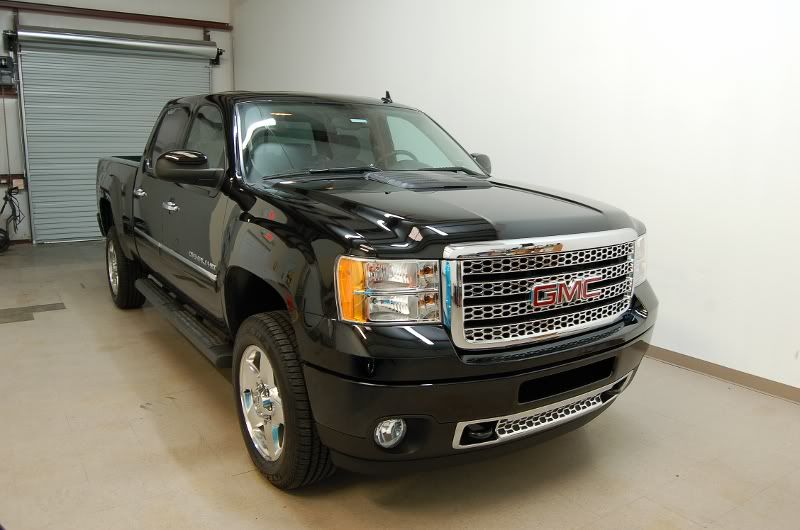
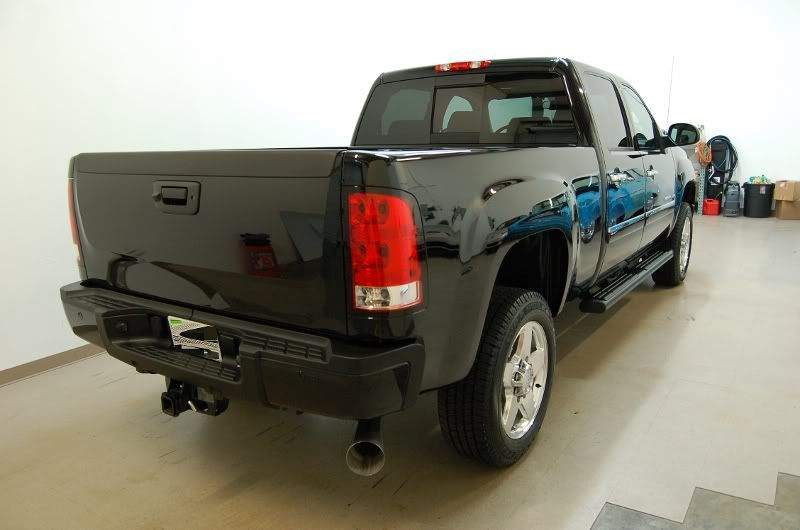
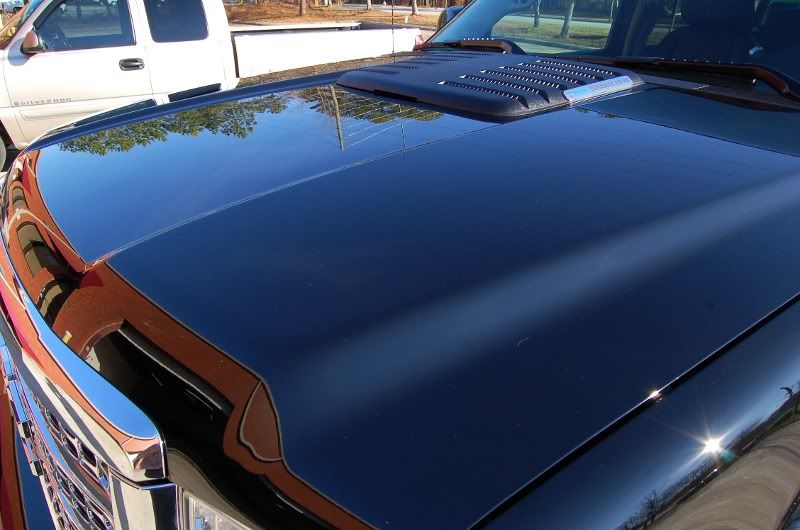
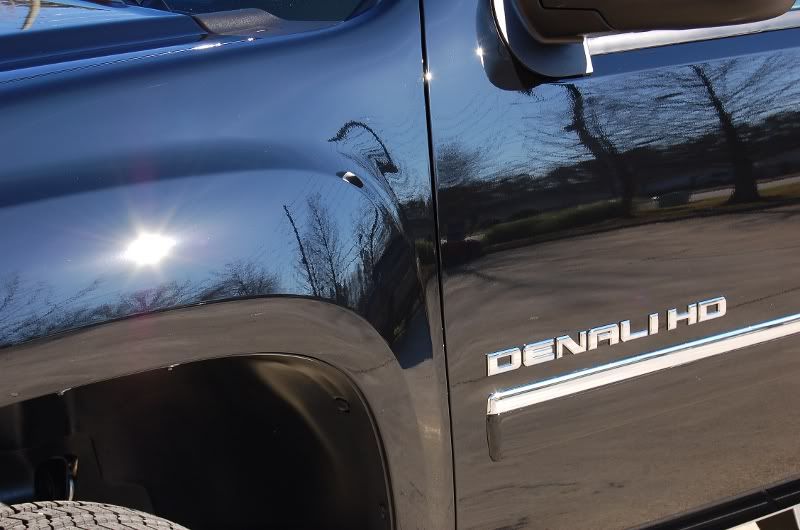
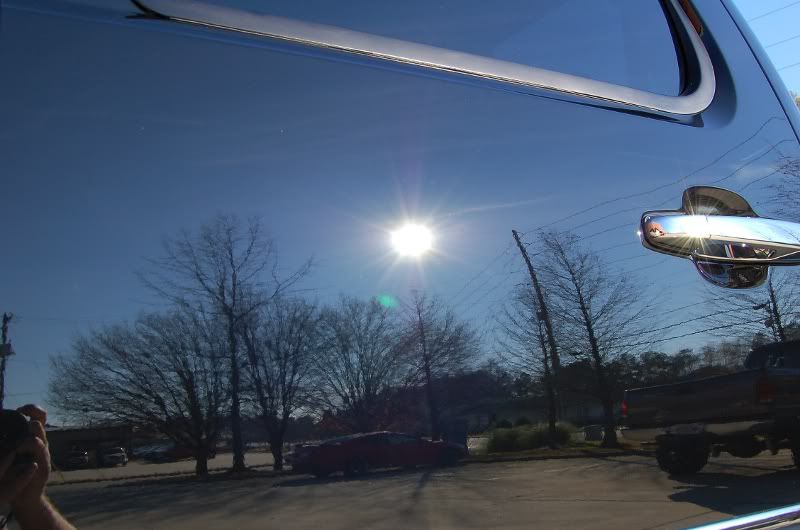
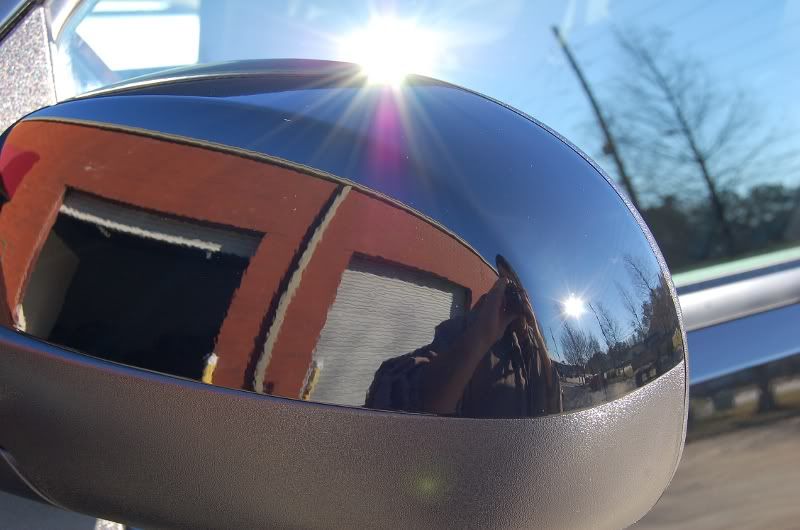
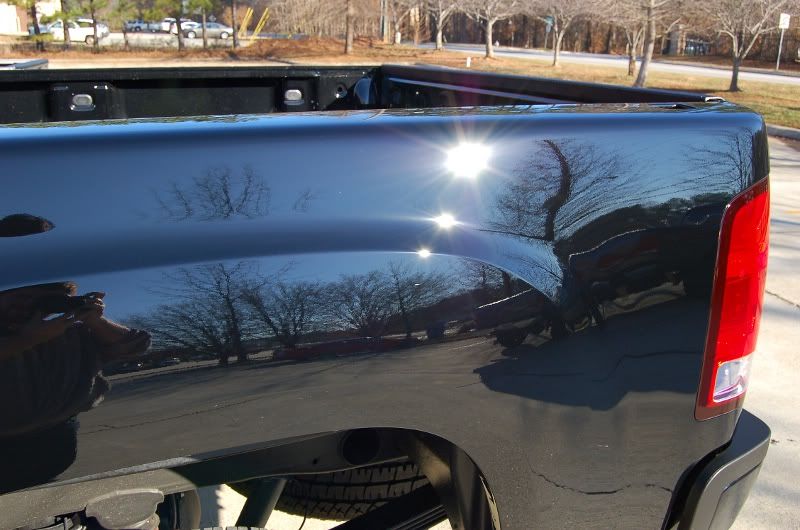
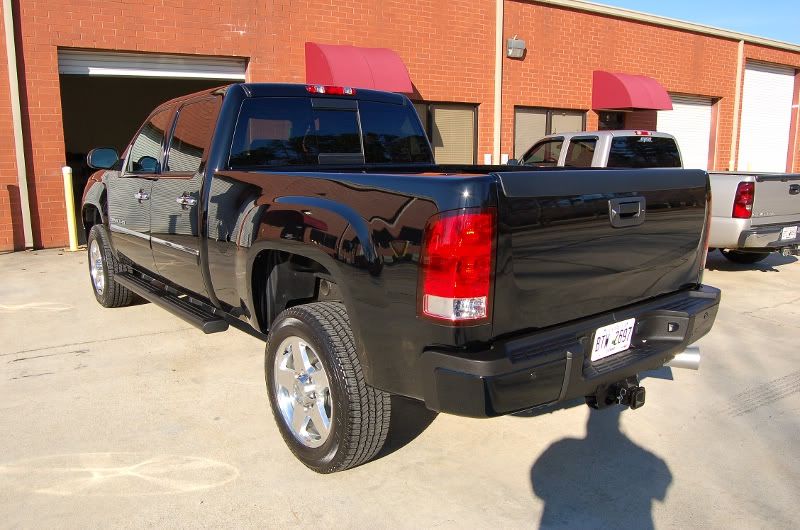
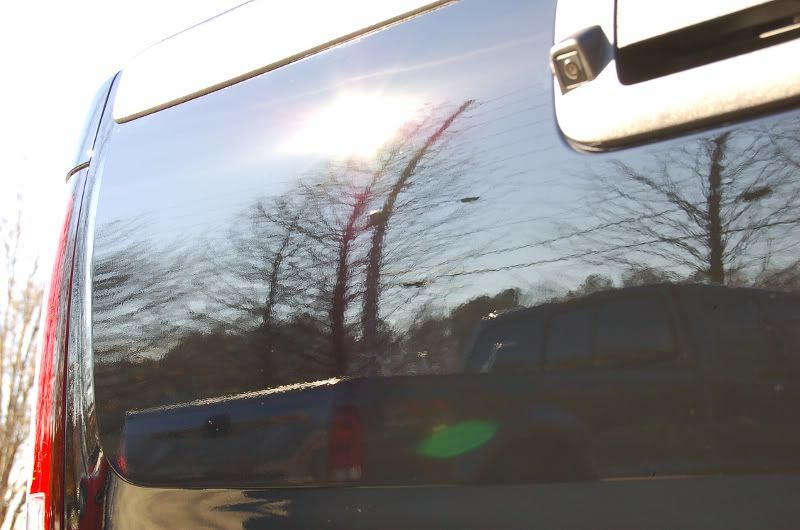
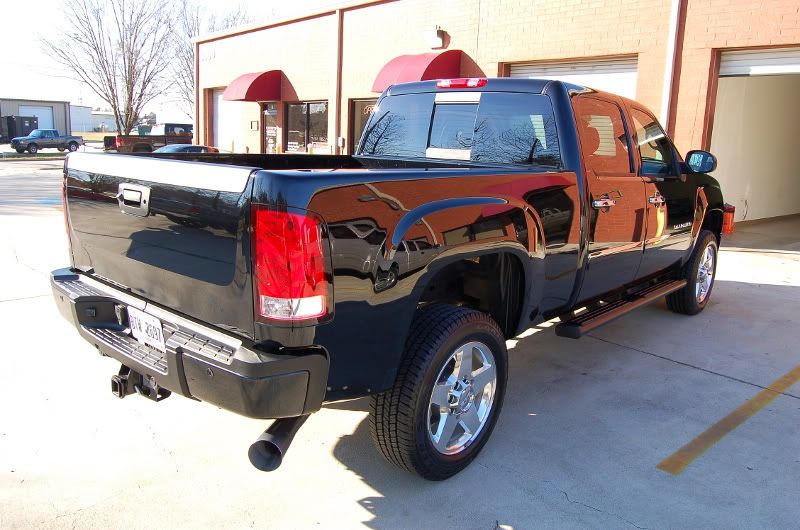
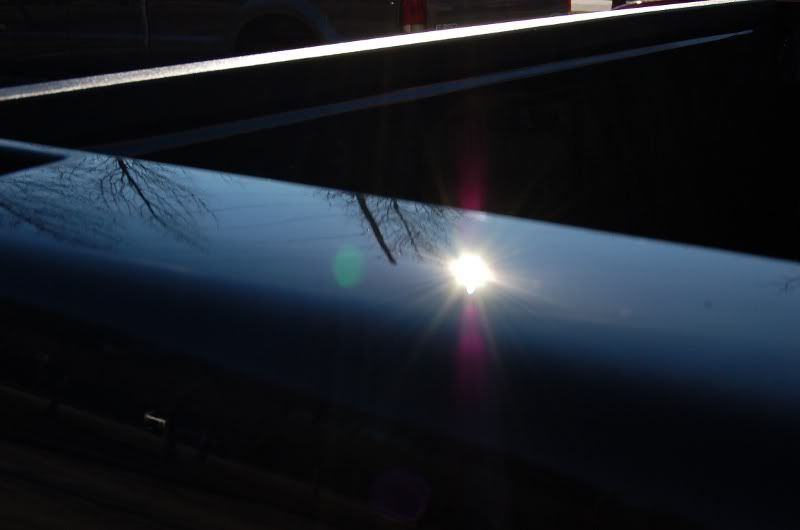
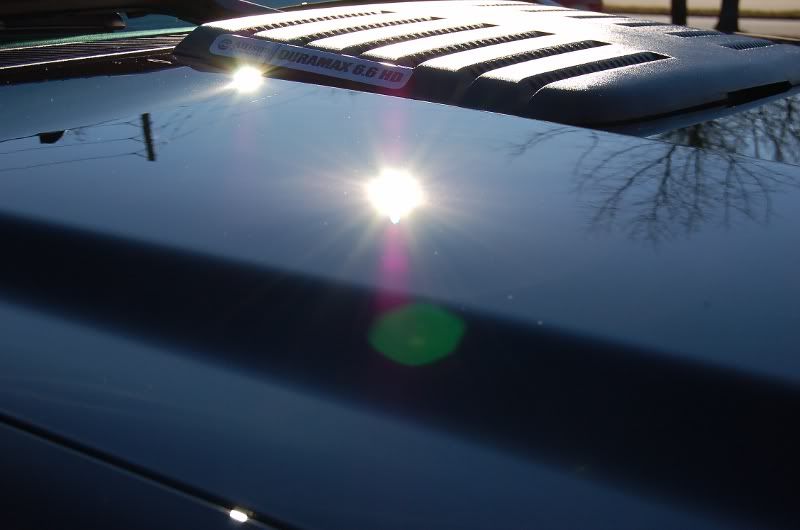
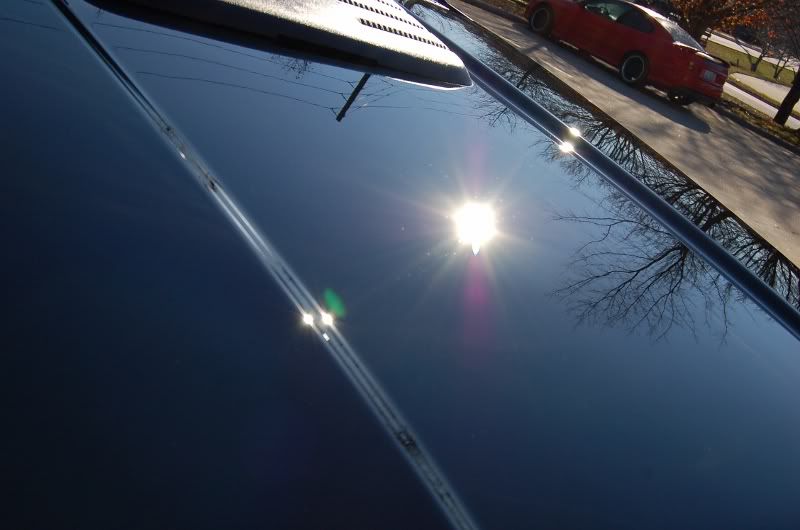
After washing the car...the sun popped over the trees and was able to get some sun shots before...

PaintintheSun7.jpg

PaintintheSun6.jpg

Paintinthesun5.jpg

PaintintheSun4.jpg

PaintintheSun3.jpg

PaintintheSun2.jpg

PaintintheSun.jpg


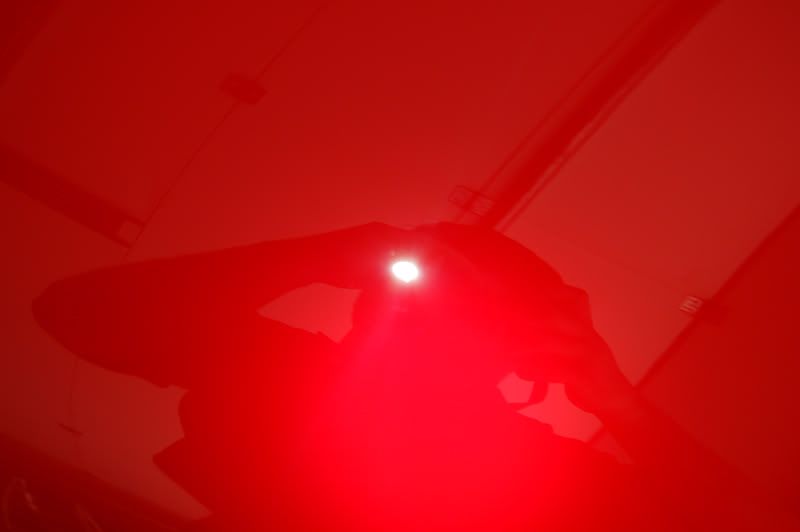
Once I finished getting the car dry, pulled it into the garage, tapped it up and did some test work to see what process would work best.

PaintTestAreaSideBySide.jpg

PaintAfterTestArea.jpg


Once I got all the buffing done, got the interior done and sealed up the car. Put a heavy coat on the car so it had the whole night to cure before I came back to finish up the rest of the car.

FinishedNight1.jpg
 
Once I got back the next morning, I finished up all the final things. Did another wipe down on the car, windows, rims/tires, engine bay and cleaned up the whipple and exhuast.

Engine Bay area before...

EngineBayBefore-1.jpg

WhippleBefore.jpg


Whipple was looking a little dull, so did some polishing on it and sealed it up to give it a much better shine.

EngineAfter-2.jpg


Once everything was done. I had an hour with the car till the owner got back. So I moved it around the front of his house and got all the pictures I want. lol.

FrontAfter-5.jpg

FrontBumperVentSunSHot.jpg

FrontHalfAfter-3.jpg

FrontHatchDriverVentAfter.jpg

FrontHatchPassSideVent.jpg

FenderSunShot.jpg

DriverFrontAfterLow-9.jpg

DriverFrontAfter-41.jpg

SunPaintAfter10.jpg

SunPaintAfter9.jpg

SunPaintAfter8.jpg

SunPaintAfter.jpg


DriverSideAfter-8.jpg

DriverRearQuarterSunShot.jpg

DriverRearLowAfter.jpg

DriverRearAfter-36.jpg

PassRearAfterLow-2.jpg

ClamshellSunShot.jpg

PassRearAfter-40.jpg

RearClamshellAfter.jpg

RoofReflectionAfter-2.jpg
 
SunPaintAfter4.jpg

SunPaintAfter7.jpg

SunPaintAfter6.jpg

SunPaintAfter4.jpg

SunPaintAfter3.jpg

SunPaintAfter2.jpg

RoofSunShot-1.jpg

PassFrontAfterLow-6.jpg

PassFrontAfter-41.jpg


Once I was done getting the basics, I started wasting time getting more fun look pictures. I am not a amazing photograhper so I just got shots that I thought would look cool.

AboveAfter.jpg

DriverRearBottomCornerAfter.jpg

DriverSideHouseBGShot.jpg

DriverFrontHalf.jpg

DriverSideFarBackAfter.jpg

PassRearOverlookingAfter.jpg

PassRearFullSun.jpg
 
Now for the first car that got dropped at my shop a few weeks ago.

Had a restoration shop call me last week about getting one of their cars done for it to go back to the customer. Shop manager was wanting to get the cars cleaned up after being finished, but wants them truly detailed. Did not have the time for any of his guys to learn...or who could truly do the work. Found me and had me come out last week and quote the car. Well everything was good and he dropped it off at the shop late Monday afternoon.

Car was to have the paint cleaned up to a good 90%+ correction, metals cleaned and sealed, interior carpets cleaned and interior cleaned. Car was a great piece to work on. It was restored by another shop some years ago and really had not been cleaned since. Normal scratches/swirls across the paint, plenty of holograms and interior was pretty grimy. Anyways....

No good before pictures as I did not have my camera. I went ahead and did a waterless wash and clayed the car the first night. Had it ready for buffing the next day, which is where the photos begin.

Process:

ONR Wash
Paint Clayed w/ DI Medium Clay via ONR Lube
Some areas clayed w/ Meguiars Aggressive Clay via ONR Lube
Paint taped up w/ Meguiars Car Masking Tape

Buffing
M105 via GG DA w/ Uber Orange Pad
Some Areas w/ SIP via Dewalt 849 Speed 1200-1800-1000 w/ Uber Orange Pad
PO87 via Dewalt 849 Speed 1000-1600-1000 w/ Uber Green Pad

Hard to reach or smaller areas done by...
M105/D300 via GG DA w/ Microfiber 3" Cutting Pad
M205 via GG DA w/ Tangerine Spot Pad

Metals w/ Optimum Metal Polish
Metals Sealed w/ Wheel Guard

LSP via WGDGPS
Windows w/ Meguiars Glass Cleaner
Tires w/ Optimum Tire Gel

Interior w/ Cleaned w/ Green Clean
Interior Seats/Panels wiped down w/ 303
Carpets via Steamcleaner by Meguiars APC+ Mixture

DriverFrontBefore-37.jpg

DriverRearBefore-37.jpg

PassRearBefore-36.jpg


Starting on my test area to see what would yield the results I wanted.

Test area before...

Before-29.jpg


Half and half...

TestAreaHalfandHalf.jpg


And test area after both buffs...

After-22.jpg


General condition of the paint around the car...

LEDPaintsBefore.jpg

LEDPaintsBefore2.jpg

LEDPaintsBefore3.jpg


The areas of the front bumper as I was working on them...

Pass side before and after...

PassSideFrontBumperBefore.jpg

PassSideFrontBumperAfter.jpg


Driver side before and after...

DriverSideFrontBumperBefore.jpg

DriverSideFrontBumperAfter.jpg


Then some light on the hood after doing half of it. Hard to tell but you can see the line running half way through the lights...

HoodHalfandHalf-4.jpg


Then the front hood scope before and after...

HoodValienceBefore.jpg

HoodValienceAfter.jpg


Here a shot of the hood and the fender. Hood has already been done, fender untouched...

BeforeandHalfSideBySide.jpg


Now after working on the whole car...here are some shots of the paint after everything was completed...

LEDPaintAfter2-1.jpg

LEDPaintAfter3-2.jpg

LEDPaintAfter4-1.jpg

LEDPaintAfter5-1.jpg

LEDPaintAfter-2.jpg


A shot of the wheels before and after...

WheelsBefore-1.jpg

WheelsAfter-1.jpg


After everything was done....got to the interior...

The amazing amount of floormatts that came out of this thing...

FloormattsBefore.jpg


After cleaning them...

FloormattsAfter.jpg


Driver door panel before and after...

DriverDoorBefore.jpg

DriverDoorPanelAfter.jpg
 
Driver interior before and after...

InsideBeforeDriverSide.jpg

InteriorAfterDriverSide.jpg


Pass interior before and after...

PassInteriorBefore-2.jpg

PassInteriorAfter-1.jpg


Pass door panel before and after...

PassDoorBefore-3.jpg

PassDoorPanelAfter.jpg


And then inside waiting on the sun to come out, I snapped a few pictures...

PassFrontLowAfterInside.jpg

PassFrontAfterInside-3.jpg

PassRearAfterInside-3.jpg

DriverRearAfterInside-3.jpg

DriverFrontAfterInside-3.jpg

FrontGrillInside.jpg

DriverFrontHalfInside.jpg


Finally the sun came out...

PassFrontAfterSunOutside.jpg

PassFrontOutsideLow.jpg

PassRearAfterOutside-1.jpg

RearHalfOutsideAfter.jpg

TruckLidSunShotAfter.jpg

TrunkSunShotCloseAfter.jpg

DriverRearAfterOutside-1.jpg

DriverRearQuarterSunAfter.jpg

SunShotAfter-1.jpg

SideMirrorAfter.jpg

DriverFenderSunAfter.jpg

FrontHalfAfterOutside.jpg

DriverFrontAfterOutsideSun.jpg

HoodReflectionOutside-2.jpg

DriverFrontAfterLowOutside.jpg

HoodSunSpotAfterFar.jpg

HoodSunSpotAfter-1.jpg
 
FrontHalfPassSide.jpg


Now back inside to wait till it got picked up, I snapped a few more pictures...

PassSideHalfInside.jpg

Emblem.jpg


Customer contacted me last weekend about fixing some scratches he thought he had induced into the paint. Owner had been using a Boars Hair Wash Brush and thought that he had done this. To me it looks more like a sandy wash mitt from a dealership. After dropping off the truck, I realized it was a good bit more, but had a slight feeling they were not light. Once I got started, come to find out, it was some light scratches covering loads of deeper scratches. The owner wanted the truck to look like a new truck and 99-100% correction. So, fast forward through 28 hours worth of paint polishing, the owner also wanted the tail lights fixed as they were just as bad as the body and all the plastic trim dressed and protected.

Process:
ONR Wash
DI Light Clay w/ ONR Lube
2 IPA Wipedowns

Large Panel Buff Process:
2x 6" Microfiber Cutting Pad w/ M105 & D300 via GG DA
M205 via Tangerine Pad via GG DA
1-2 PO85RD w/ LC Black Pad via GG DA

Small Areas:
3" Micro Cutting Pad w/ M105 & D300 via GG DA
3" Tangerine Spot Pad w/ M205 via GG DA
1-2 3" Tangerine Spot Pad w/ PO85RD via GG DA

After every step IPA Wipedown
More IPA Wipedowns

LSP w/
Sealed w/ Blackfire
Waxed w/ Mightnight Sun
V7 Wipedown
Windows w/ Meguiars Window Concentrate
Tires w/ Meguiars Hot Shine
Wheel Wells w/ CG Black on Black
Trim w/ Restore Refinish

Load of pictures for this detail...

Before I started, got some pictures of the condition of the paint. Not how a 2011 with 5000 miles on it should look.

From afar it looks nice and shiney, as the owner keeps it waxed...

PassFrontBefore-39.jpg


Under a light...not so good.

PassDoorPaintBeforeWL.jpg

PassDoorandFenderBeforeWL.jpg

DriverBedsideBeforeGasAreaWL.jpg

DriverBedsideBeforeWL.jpg


To give you an idea of how deep the deeper scratches were, here is some polish rubbed over the area...

DeepScratches.jpg


I started on my test area, to figure out what it would take...

Area before...

BedSideBefore.jpg


Half and half before any final polishing...

TestAreaSidebySide.jpg


Area done...but the down side was, when I stoke by LED light on the paint, the process that got me this finish, was not going to work. The 500w lights were not showing the mass amount of holograms from trying to finish down with the Dewalt and Micro Finish.

WattLightonHolograms.jpg


Once I had to retrace my steps and figure out a different process. Even the other process gave me headaches, as this paint was really REALLY soft, with M205 leaving me this finish...

HazeAfter205.jpg

HazeAfter205Two.jpg


But luckily that was a simple fix.

Now onto the tail lights. Just like the body, they were in bad shape...

TalightBeforeWL.jpg

TaillightsBefore-3.jpg


After...

TaillightsAfterWL.jpg

TaillightAfterLED.jpg


Now onto working on the whole paint after all...

Pillars before and after...

PillarsSidebySideWattLight.jpg

PillarsSidebySide.jpg

PillarsAfterLED.jpg


Now once the body was done, got to the roof and this is what I found...

RoofScratchesAllOverBefore.jpg

RoofScratchesBefore.jpg

RoofScratchesBeforeUpclose.jpg


Owner did not want to wet sand them, as that was the only way to completely remove them, so I at least made them a lot less noticeable.

RoofScratchesAfter.jpg


Once I was done with the truck, the owner wanted the plastic treated, just took one quick picture to give you an idea of the color difference it makes. This picture, the product was just applied so it was still drying.

HoodPlasticHalfandHalf.jpg
 
Now that everything was done, onto the after pictures.

DriverFrontAfterInside-4.jpg

PassFrontAfterInside2.jpg

PassRearAfterInside-4.jpg


PassDoorandFenderAfterWL.jpg

PassBedsideAfterWL.jpg

PaintLEDAfter.jpg

PaintLEDAfter3.jpg

PaintLEDAfter2.jpg

NomadReflectionInside.jpg

HoodLEDAfter.jpg

HoodReflectionInside.jpg


Now outside into the sun this morning to get some final pictures.

DriverFrontAfterLow-10.jpg

DriverFrontAfterOutside-1.jpg

DriverFrontHalfShotOutside.jpg

HoodReflectionAfterOutside.jpg

FenderSunShot-1.jpg

DriverFenderAfterOutsideSunUpClose.jpg

DriverDoorSunShot-1.jpg

SideMirrorAfter-1.jpg

DriverBedsideSunShot.jpg

DriverRearAfterOutside-2.jpg

TailGateSunShot.jpg

PassRearAfterOutside-2.jpg

TopofBedSunShot.jpg

PassFrontAfterOutside-1.jpg

HoodSunSpotAfter-2.jpg

HoodSunSpotAfter2.jpg
 
Fantastic work on all the cars! I see you got to use your new shop. If someone could help inform me, whats so great about a Ford GT? I mean, it is a bad A$$ car but for that kind of money wouldn't you want a Murcilago or something? I must just be un-informed or something lol You have a very nice house BTW
 
Fantastic work on all the cars! I see you got to use your new shop. If someone could help inform me, whats so great about a Ford GT? I mean, it is a bad A$$ car but for that kind of money wouldn't you want a Murcilago or something? I must just be un-informed or something lol You have a very nice house BTW

Your misinformed. Also first off, not my house. God do I wish it was... lol.

http://www.autogeekonline.net/forum/show-n-shine/35326-lamborghini-lp640-roadster.html

In this thread, a customer of mine, has a LP640 Roadster and a Ford GT. He puts it the best way.

"I would never sale my Ford GT. Its my favorite car. Since I have owned it, it has appreciated in value where as the LP has declined slightly. The Ford GT just feels like a supercar where as the LP feels more like an exotic.

When I am car shows, with both cars, I can always tell the true car enthusiast from the normal car people. The normal car people will flock to the Lamborghini where as the true car enthusiast will flock to the Ford GT."

I love the Ford GT. It is the top car on my lottery list. Its probably one of the most well designed super cars in my opinion. If you were comparing a brand new 2006 Ford GT against a brand new 2006 Murcilago, the Murci would be much more expensive. Your buying more looks and exotic styling vs where the Ford GT your buying the super car styling and performance. Hell if I remember right, the Ford GT holds the record for the highest stock MPH street driven true production car record.
 
Here is a "slightly modifies" Ford GT

253 mph. 1600 horsepower.

[video=youtube_share;tYW_8g1107o&feature=related"]FORD GT 253 MPH WORLD RECORD. MySmokinRide.com & Performance Power Racing - YouTube[/video]

The same mods on the Lambo would cost over $100,000.00
 
Last edited:
Beautiful work, especially on the GT.:props:


The GT is definitely on the top of my dream list and one of my all time favorite cars. I view it as a true American supercar, and with a MSRP of around $150,000 (I think) it was even more appealing.


I absolutely love the Ford GT and everything it represents.
 
All 3 look great, the GT is just a dream car. Looks like one of my Hot Wheels or Johnny Lightening Cars from 1970. The save on that Black Truck is just a work of art. The owner must have been floored. Did you tell him no more off-roading with it. There is no way a 2011 should have looked that abused. Kudo's. If you were anywhere near me I'd certainly be reccomending you and probably bring my 96 SVT Cobra, Black over for a massage. Spiney
 
Thanks for showing me how awesome the Ford GT is! I've just never personally known anyone that was into them. It's still not my dream car, but its on my radar :) so that means one day I might own one!
 
Absolutely amazing work. I love those Denali's, and you did a great job on it.
 
Back
Top