royalkangaroo
New member
- Jul 31, 2015
- 37
- 0
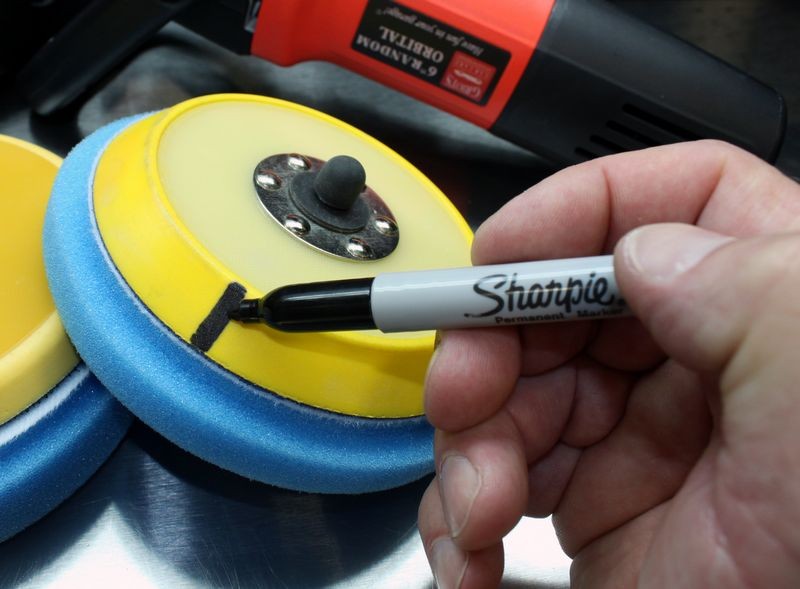
This weekend I decided to embark on my first paint correction with my new GG6. I stocked up with a variety of 5.5" and 4" LC flat foam pads (associated 5" and 3.5" BPs), and the whole meguiars ultimate line. (Compound, polish, and liquid wax). Vehicle: my semi-neglected 2010 Silverado.
After reading countless hours on these forums I decided to do the following common procedure
1. Full wash
2. Clay
2.5 Tape off all trim
3. Megs UC with orange LC flat pad (speed 5)
4. Megs UP with white LC flat pad (speed 4)
5. Megs ULC with black LC flat pad (speed 2.5)
I did use a 4" yellow LC flat pad with UC on the door frames and tight front bumper spots. Not sure if I really could notice that much difference on finish between the orange and yellow.
Overall experience:
I noticed all of the pads generated a lot of heat. At first I'd do a small area (less than 2' x 2') towel off the UC, inspect my work, sip a beer, etc. However I did 3 sections, back to back to back and ended up melting my 5" meguiars backing plate. No different methods, speed 5, moderate pressure, moderate arm speed, 6 section passes. Not sure what caused this. I primed the pad accordingly, used 3 dime sized drops of product per section. (Not section pass) cleaned on the fly, etc. Any thoughts on this would help.
Ultimate polish was a lot smoother to work with. The white pad seemed to get hot as well, but no issues like the UC stage. I wasnt sure if the UP step was necessary. In my mind the paint looked deeper, but overall UC to ULP mightve been appropriate.
ULC layed down extremely thin via polisher. Almost to the point where I couldn't see it. The black pad seemed to consume a lot of product initially, even with priming. However some passes seemed like there was a lot of product being layed down. Seemed tricky to work with, I'm more used to turtle wax paste by hand.
In the end, I think my paint still could've used a more aggressive compound to pull out more scratches (or more aggressive pad as well). I was going to go the M105/M205 route, however the feedback and ease of use for UC/UP seemed to fit my entry-level experience. My truck is also my daily driver / boat hauler / deer carrier / everything else under the sun, so by no means was I expecting to achieve show quality.
Seems long-winded but please let me know of any feedback you folks may have, I'd appreciate it.
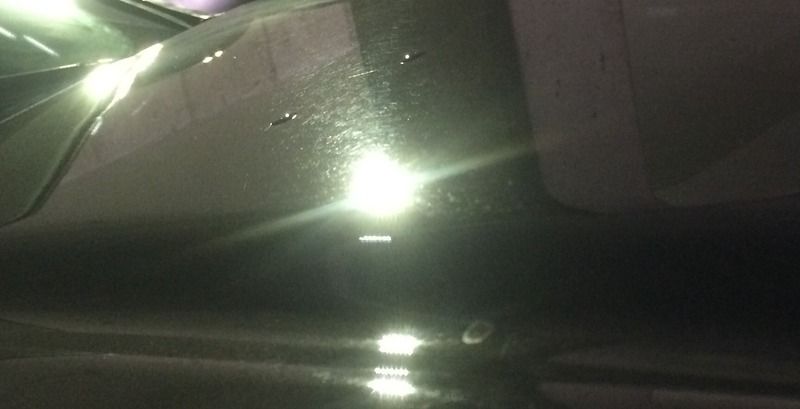
Hood before:
Bedside scratches before:
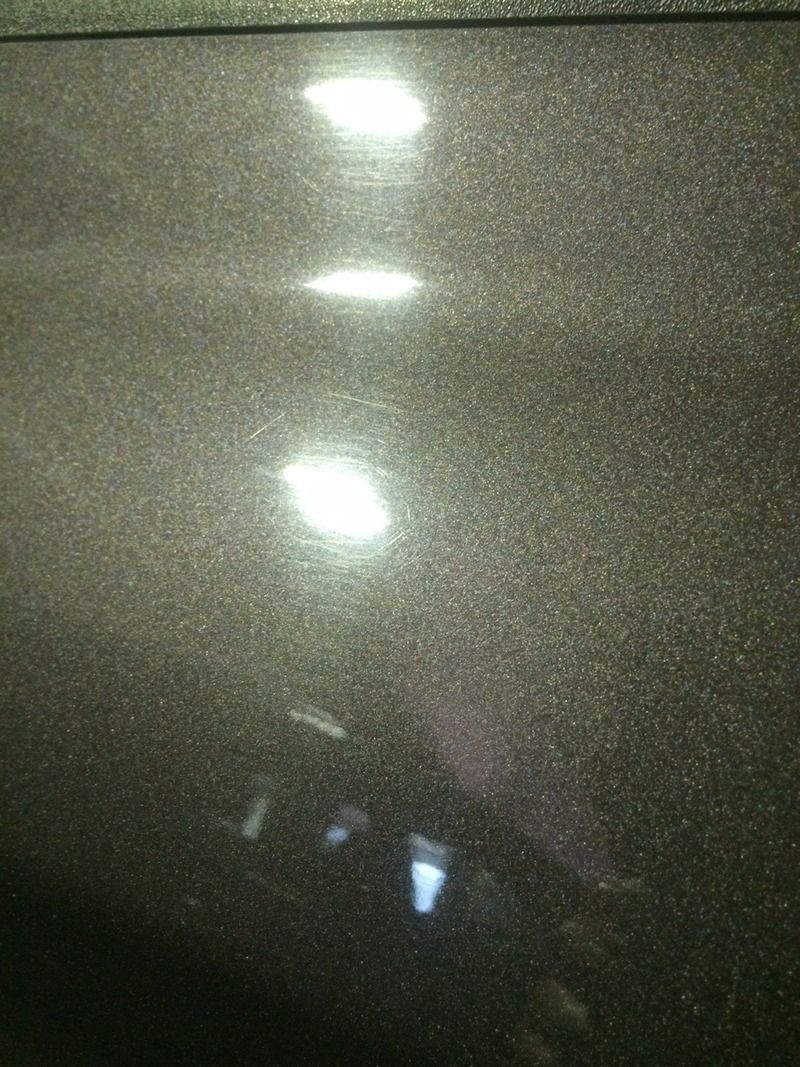
Hood after correction:

Finish 1: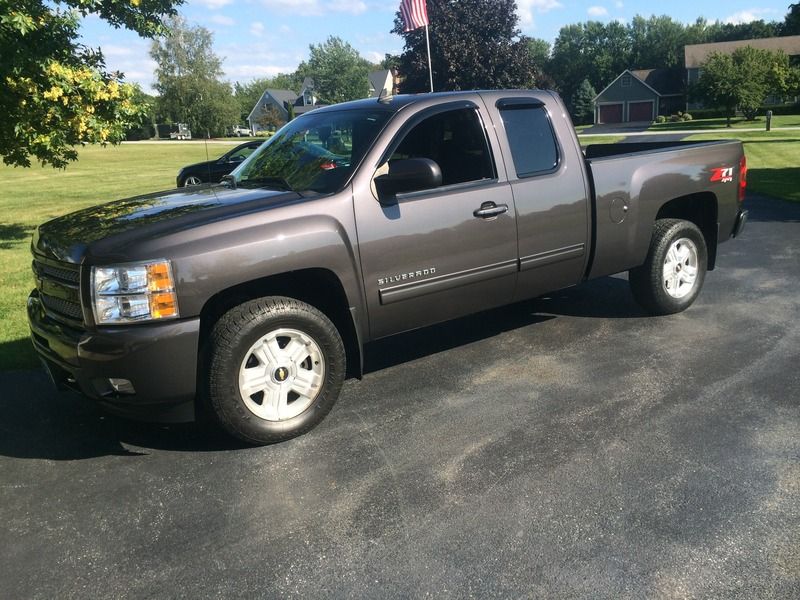
Finish 2: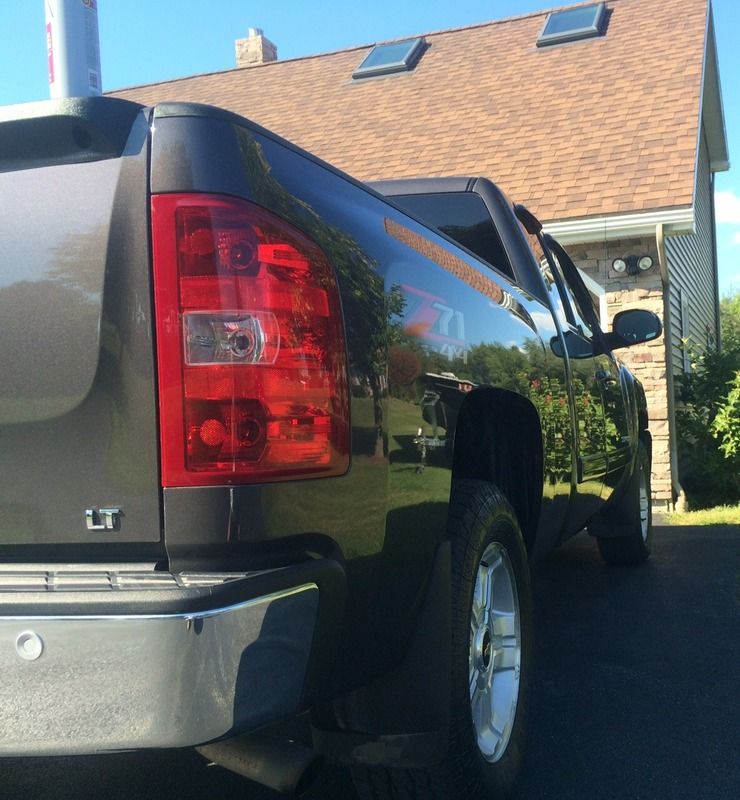
After reading countless hours on these forums I decided to do the following common procedure
1. Full wash
2. Clay
2.5 Tape off all trim
3. Megs UC with orange LC flat pad (speed 5)
4. Megs UP with white LC flat pad (speed 4)
5. Megs ULC with black LC flat pad (speed 2.5)
I did use a 4" yellow LC flat pad with UC on the door frames and tight front bumper spots. Not sure if I really could notice that much difference on finish between the orange and yellow.
Overall experience:
I noticed all of the pads generated a lot of heat. At first I'd do a small area (less than 2' x 2') towel off the UC, inspect my work, sip a beer, etc. However I did 3 sections, back to back to back and ended up melting my 5" meguiars backing plate. No different methods, speed 5, moderate pressure, moderate arm speed, 6 section passes. Not sure what caused this. I primed the pad accordingly, used 3 dime sized drops of product per section. (Not section pass) cleaned on the fly, etc. Any thoughts on this would help.
Ultimate polish was a lot smoother to work with. The white pad seemed to get hot as well, but no issues like the UC stage. I wasnt sure if the UP step was necessary. In my mind the paint looked deeper, but overall UC to ULP mightve been appropriate.
ULC layed down extremely thin via polisher. Almost to the point where I couldn't see it. The black pad seemed to consume a lot of product initially, even with priming. However some passes seemed like there was a lot of product being layed down. Seemed tricky to work with, I'm more used to turtle wax paste by hand.
In the end, I think my paint still could've used a more aggressive compound to pull out more scratches (or more aggressive pad as well). I was going to go the M105/M205 route, however the feedback and ease of use for UC/UP seemed to fit my entry-level experience. My truck is also my daily driver / boat hauler / deer carrier / everything else under the sun, so by no means was I expecting to achieve show quality.
Seems long-winded but please let me know of any feedback you folks may have, I'd appreciate it.
Hood before:

Bedside scratches before:

Hood after correction:

Finish 1:

Finish 2:

 rops:
rops:")