ahflam
New member
- Oct 18, 2012
- 7
- 0
Greetings everyone!
I've been a lurker on and off here for a while and finally this summer I decided to take the leap and commit to buying some stuff and beautifying my car! So, I would like to share with you my first "real" detail on my car")
First off,
Products used:
- Pretty much everything from AG!!
Paint Prep:
- Meguiars Gold Class Wash
- IronX
- Chemical Guys Clay/Luber
Engine:
- Detailers Engine Cleaner
- 303 Aerospace Protectant
Wheels:
- Pinnacle Wheel Cleaner
- IronX
- Pinnacle Black Onyx Tire Gel
- Detailer's Wheel Glaze
- Daytona Wheel Brush
Trim/Rubbers:
- Ultima Trim Protectant
Paint Correction/Finishing
- Duplicolor Tornado Red Touchup
- Meguiars Unigrit 2000/2500/3000
- Porter Cable 7424
- Menzerna FG 400 w/ 3.5 Inch foam cutting pad
- Wolfgang Total Swirl Remover w/ Orange Light Cut & also 3.5' Equivalents
- Wolfgang Finishing Glaze w/ White Polish & also 3.5' Equivalents
- Wolfgang Polish Enhancer hand applied
- Wolfgang DGPS hand applied
*WARNING LONGGGGGGGG POST*
So lets get started:
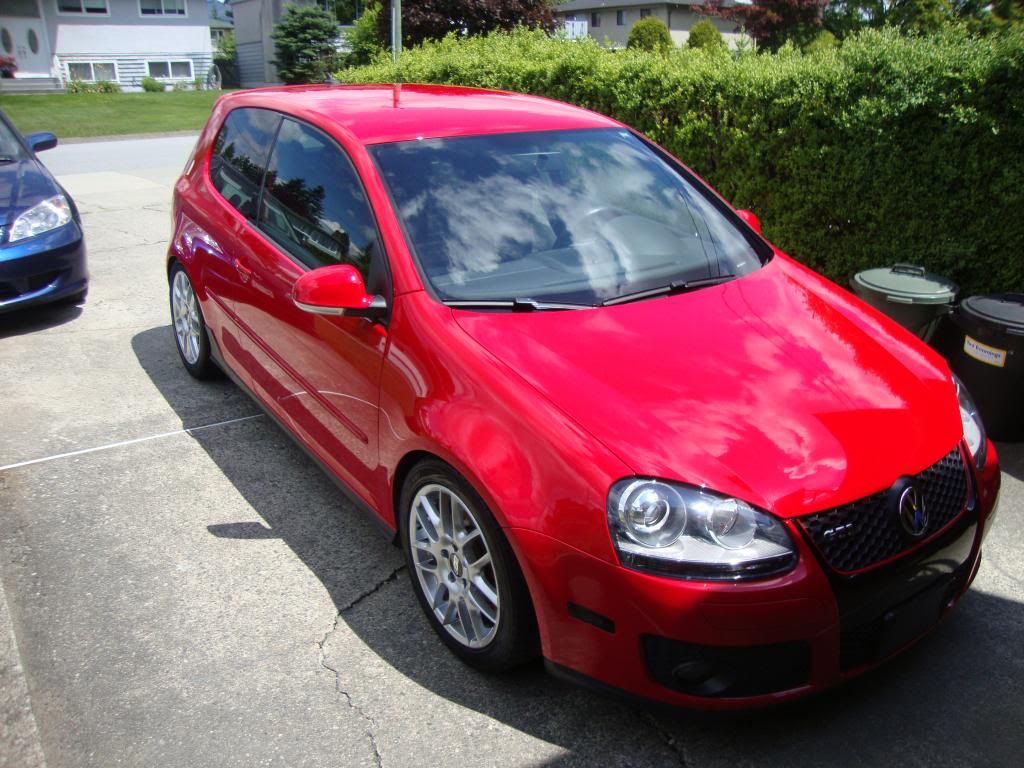
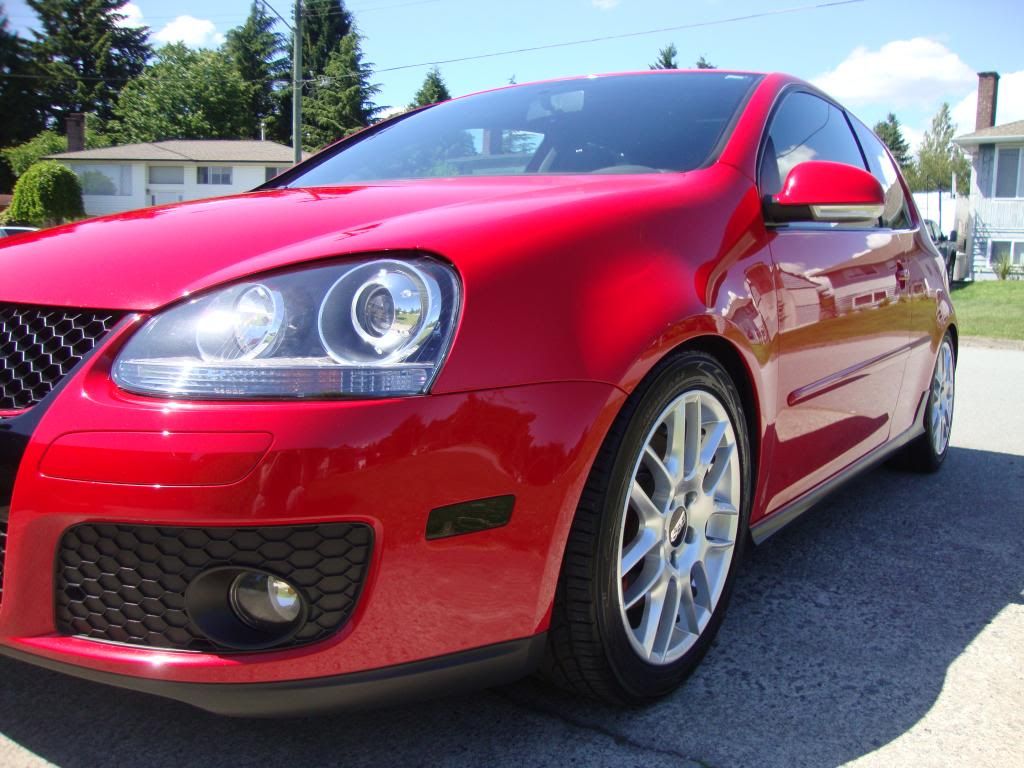
This is my baby, I got her 2nd hand last August:
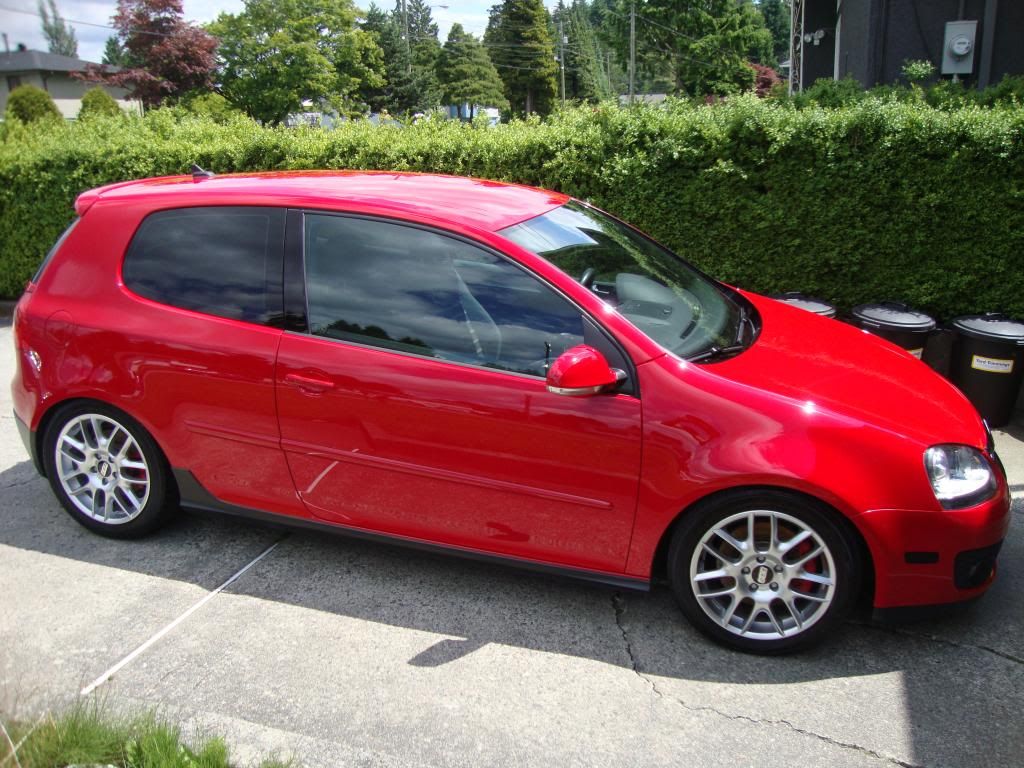
Overall was in decent shape but there were the usual things like swirls and some rock chips.
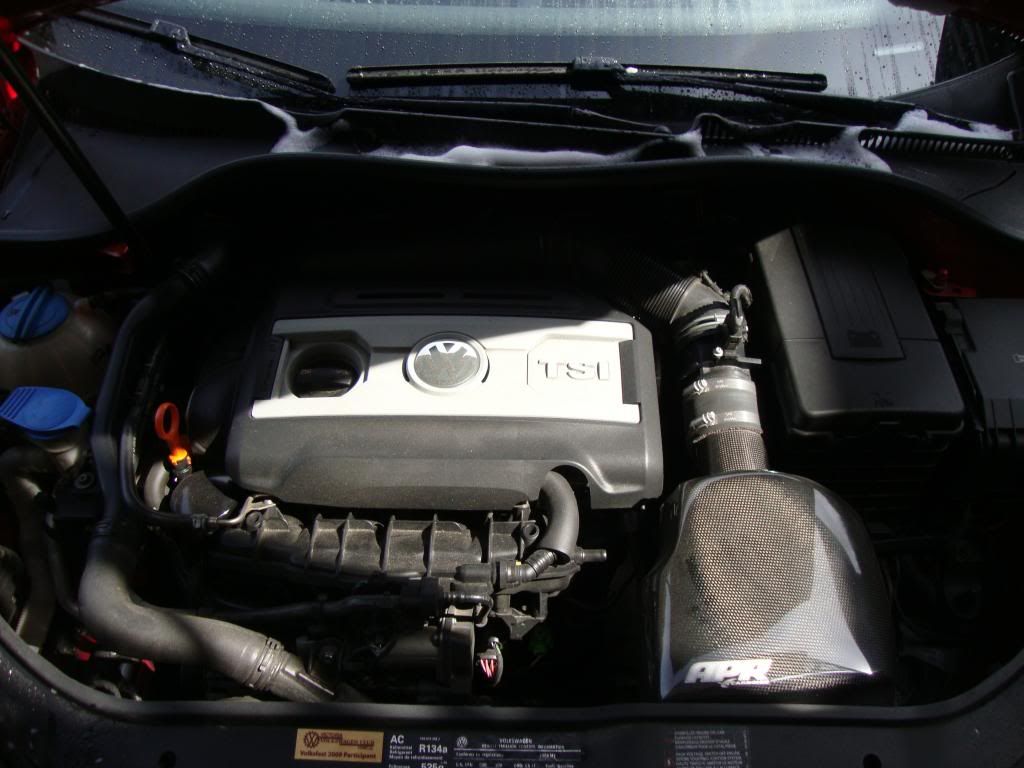
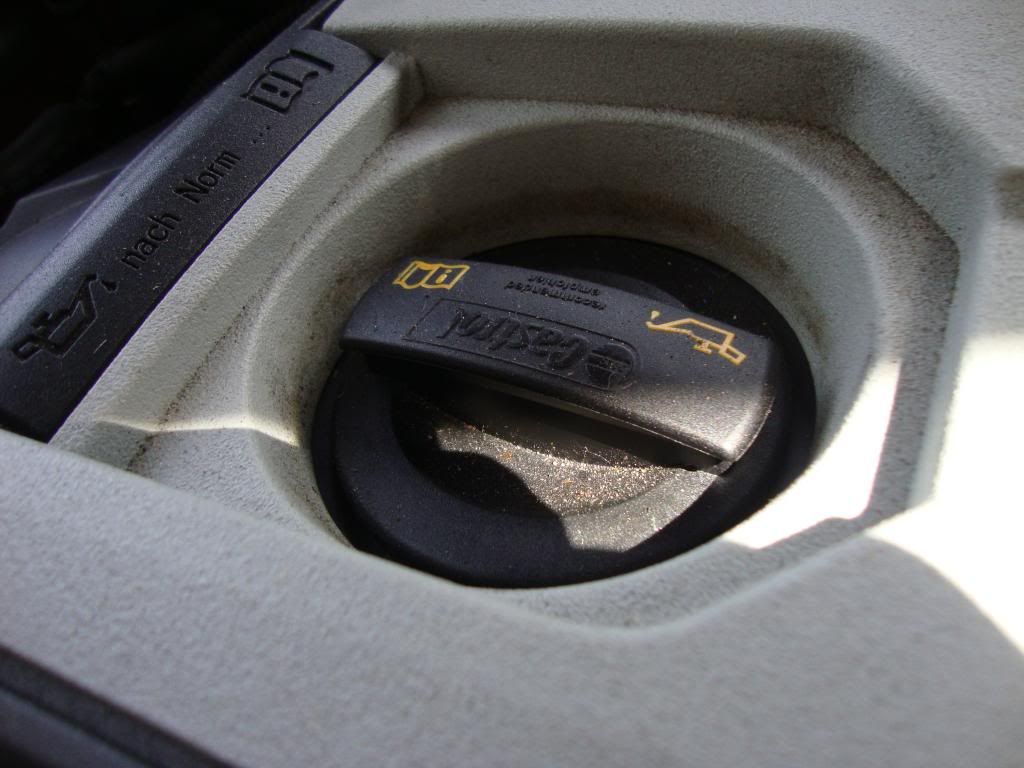
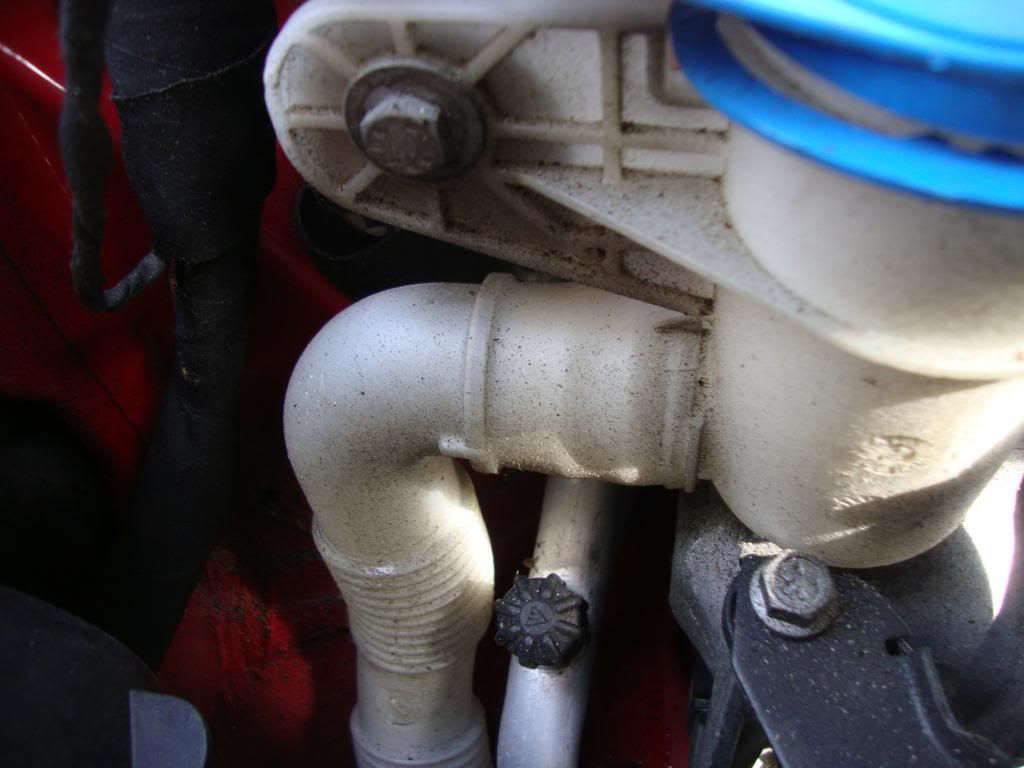
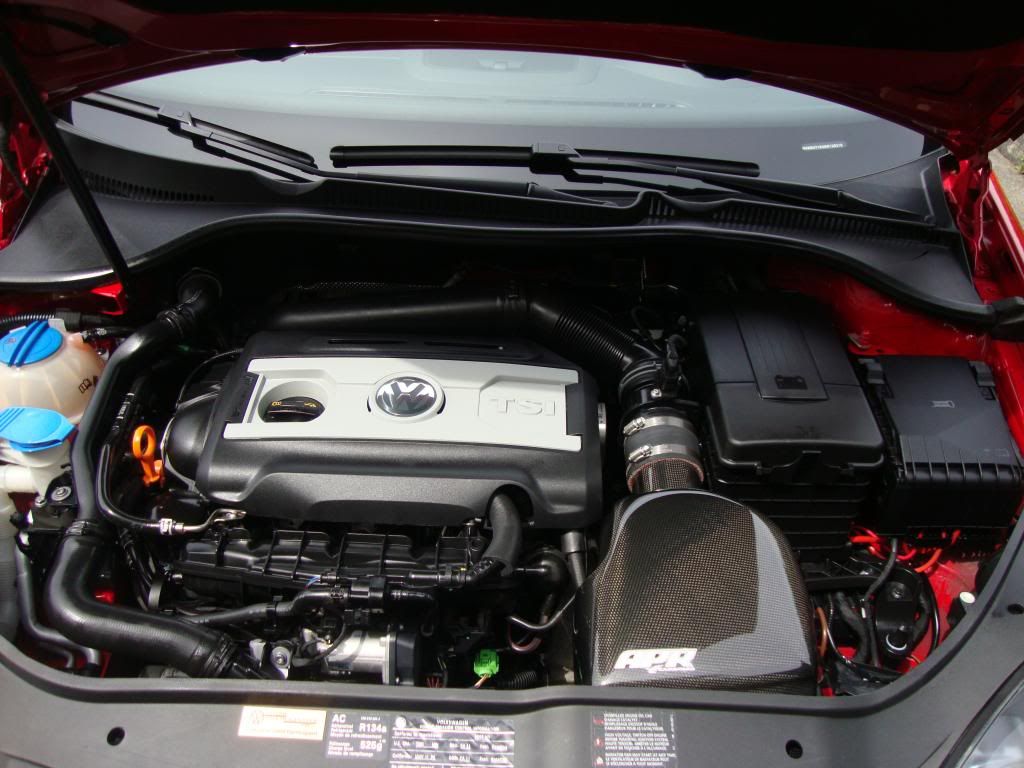
Lets start in the engine bay: Dirty and grimey
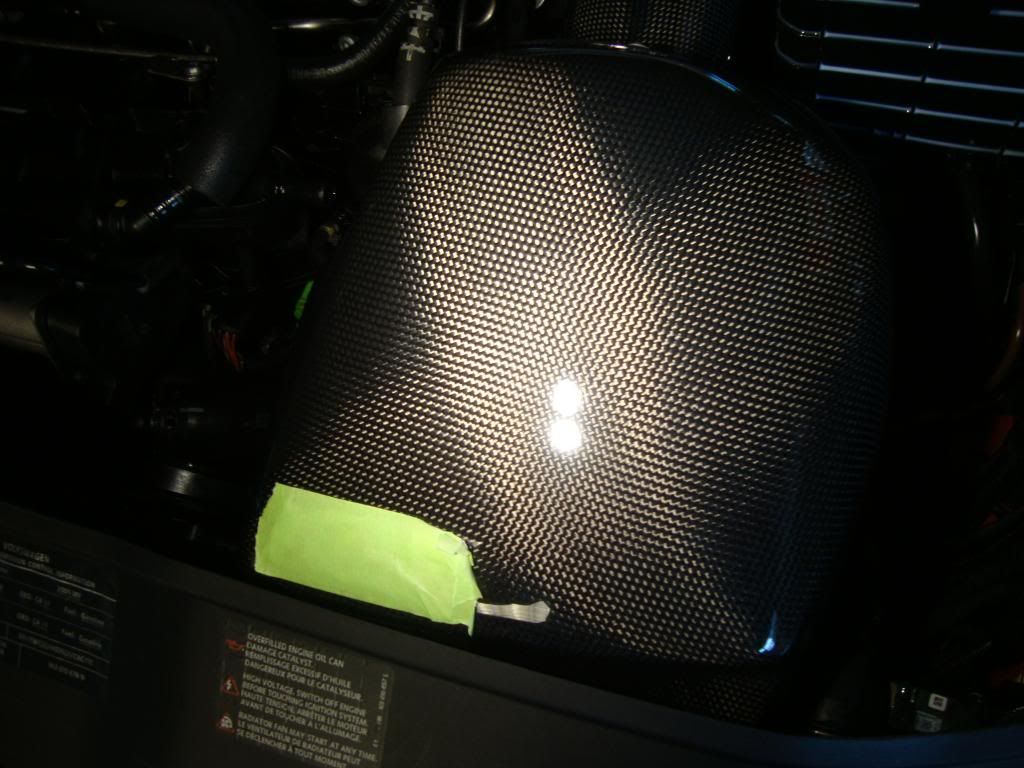
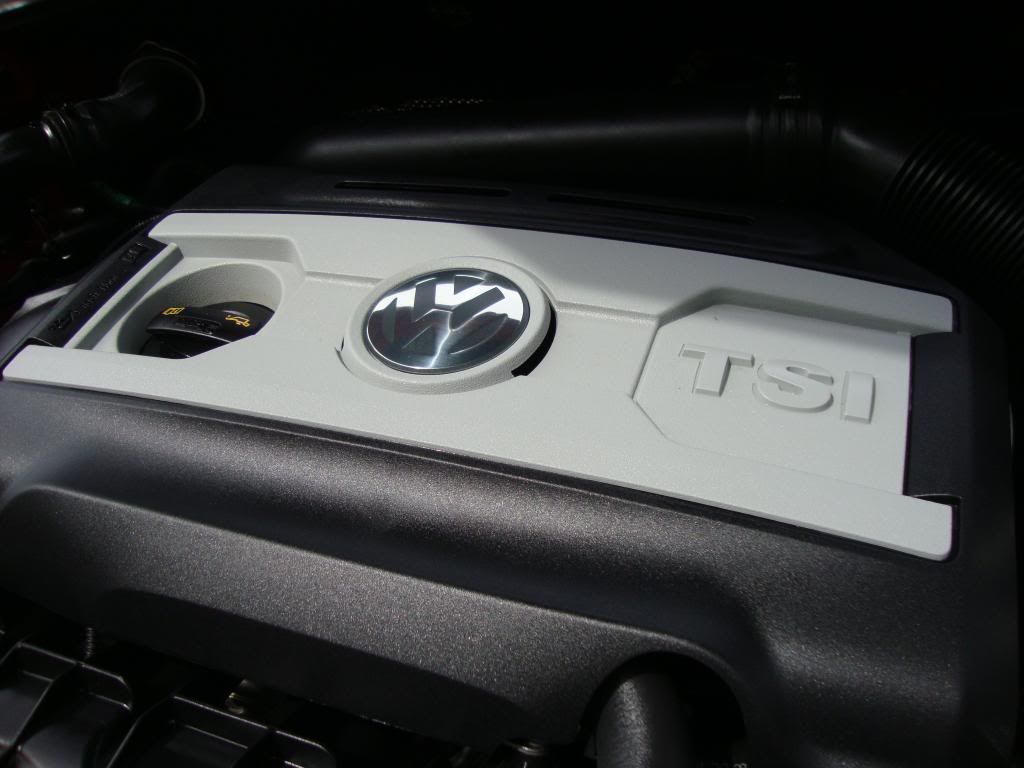
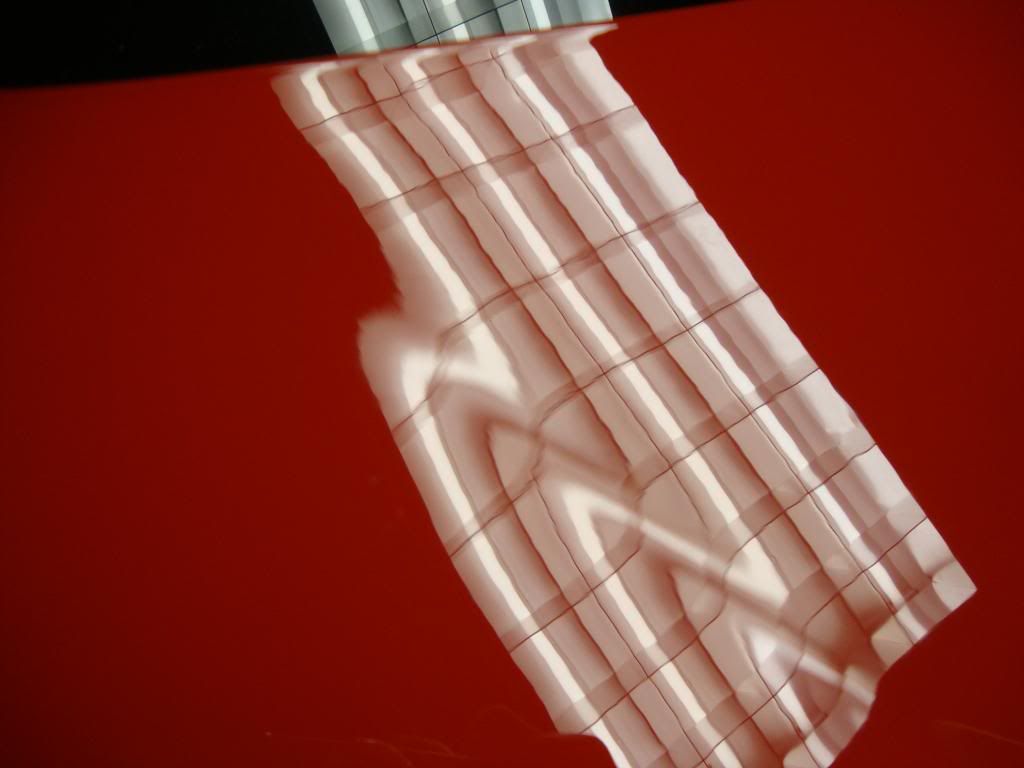
Intake has swirls and could use a polish
After Polish
After a good cleaning and dressed

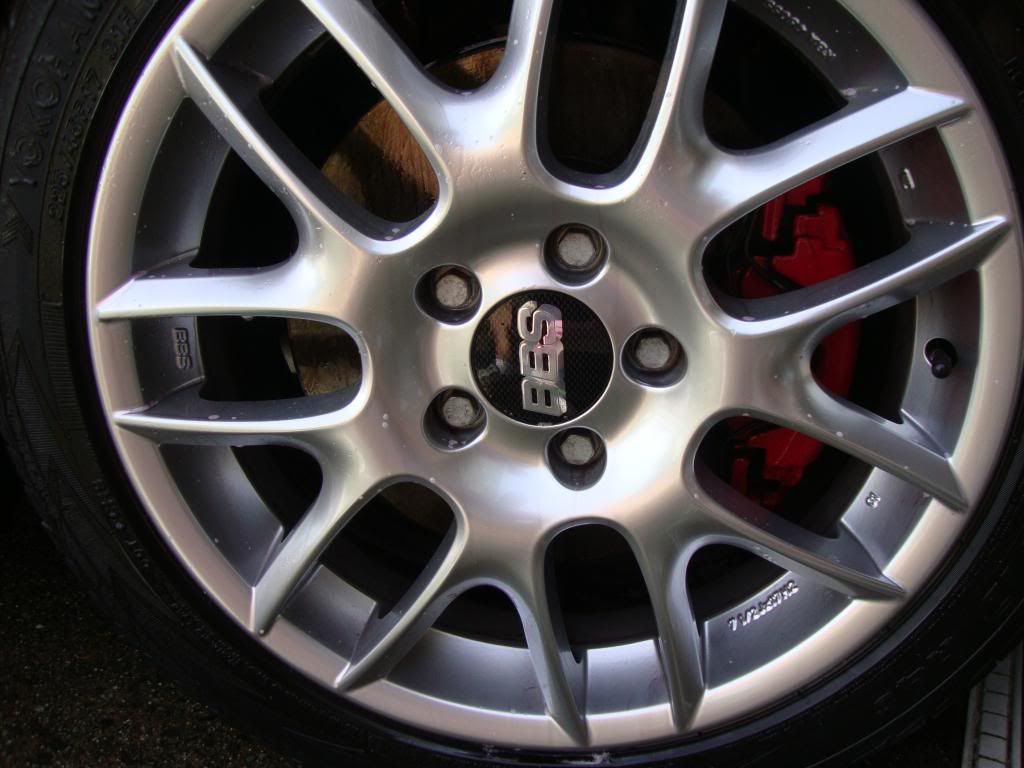
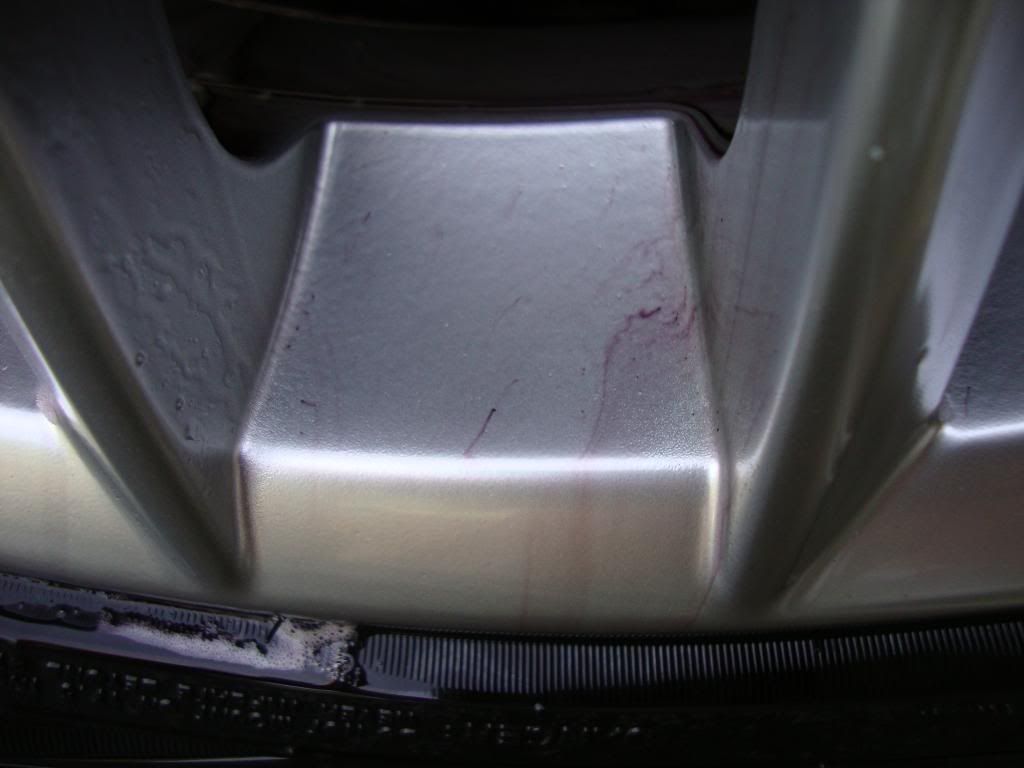
Wheels being cleaned and Iron X
After this, car was washed, ironX'ed and then clayed. Didn't take any pictures there.
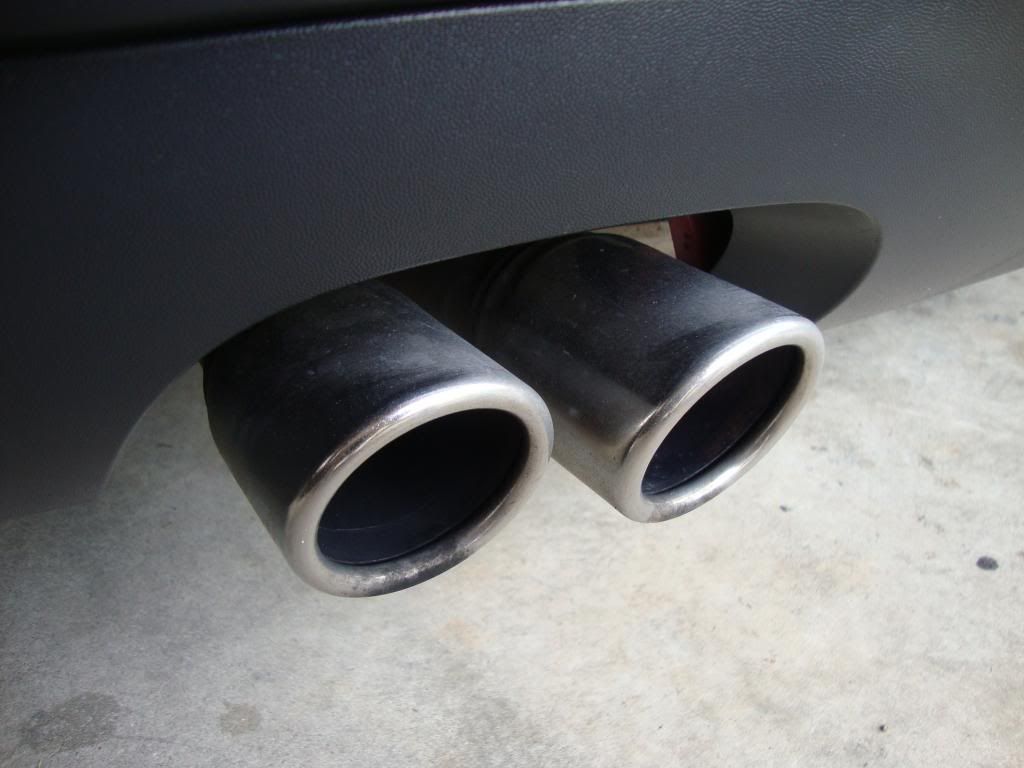
Exhaust Tips Cleaning
Before:
After:
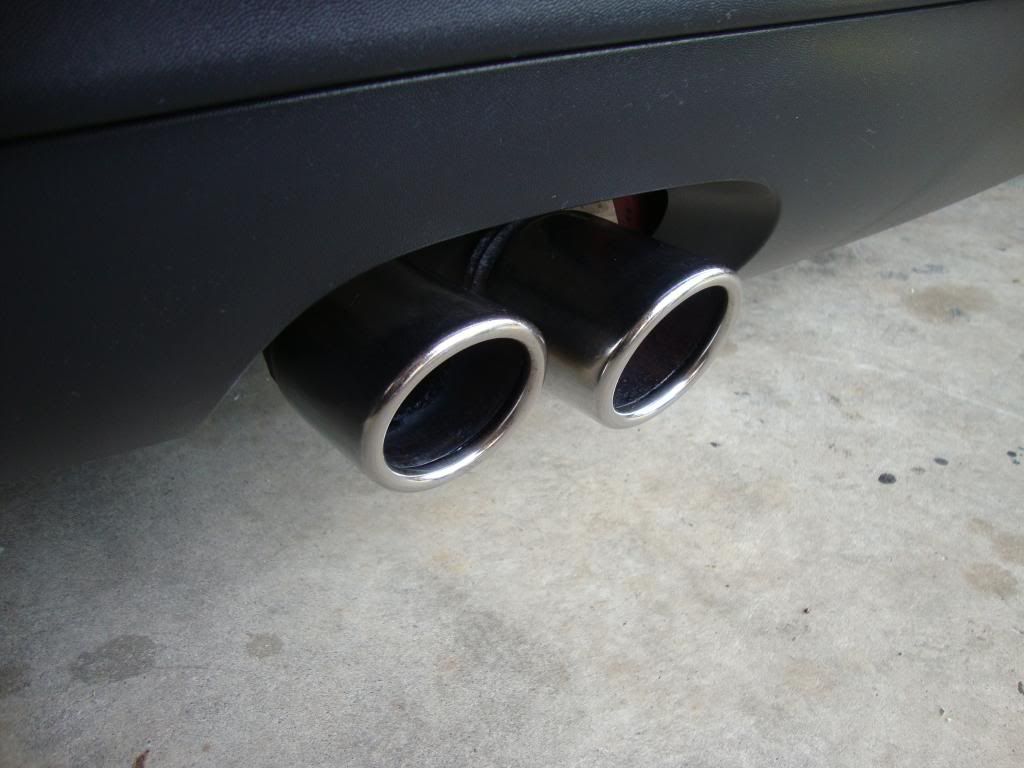
Think I coulda done a better job here, maybe some steel wool next time? Any suggestions?
This took most of my morning 10am - 2pm, still learning how to be more efficient but I was taking it really slow.
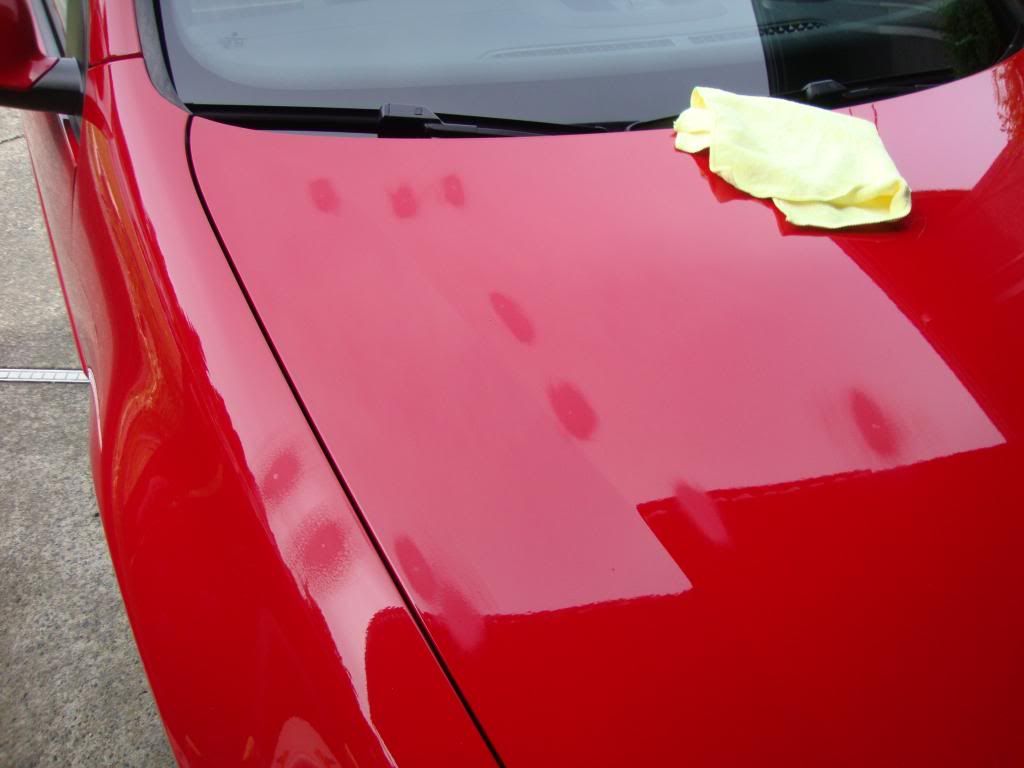
On to the rock chips and the rest of the paint!
I had some rockchips that I filled about 2 weeks ago, did about 3 - 4 coats each to make it level. The car was originally from Vancouver Island which has crappy highways so it had lots of chips on the hood that were really an eyesore so I decided to try to fill in the really big ones (Thanks to all the DIYS on fixing key scratches).
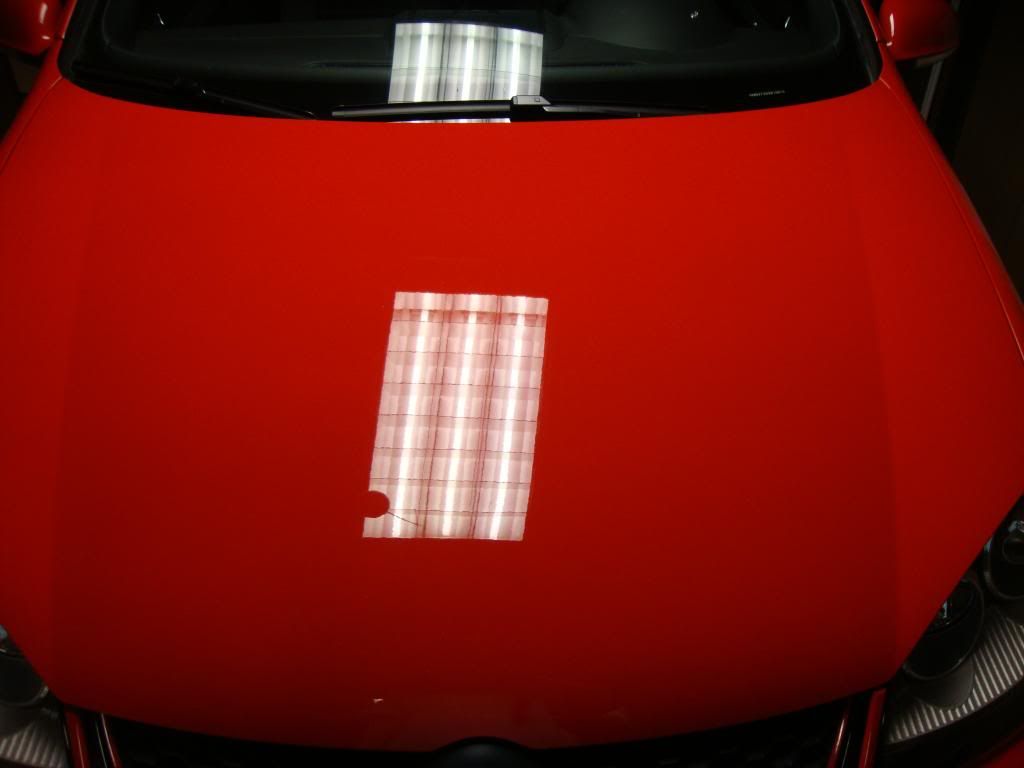
After 2k, 2.5k, 3k sandpaper:
After FG400, WG TSR and then Finishing Glaze
- I didn't take any closeups, the paint didn't match 100 percent. I tested it on a test spot last week but I decided that the slightly mis matching paint was better than those big white spots.
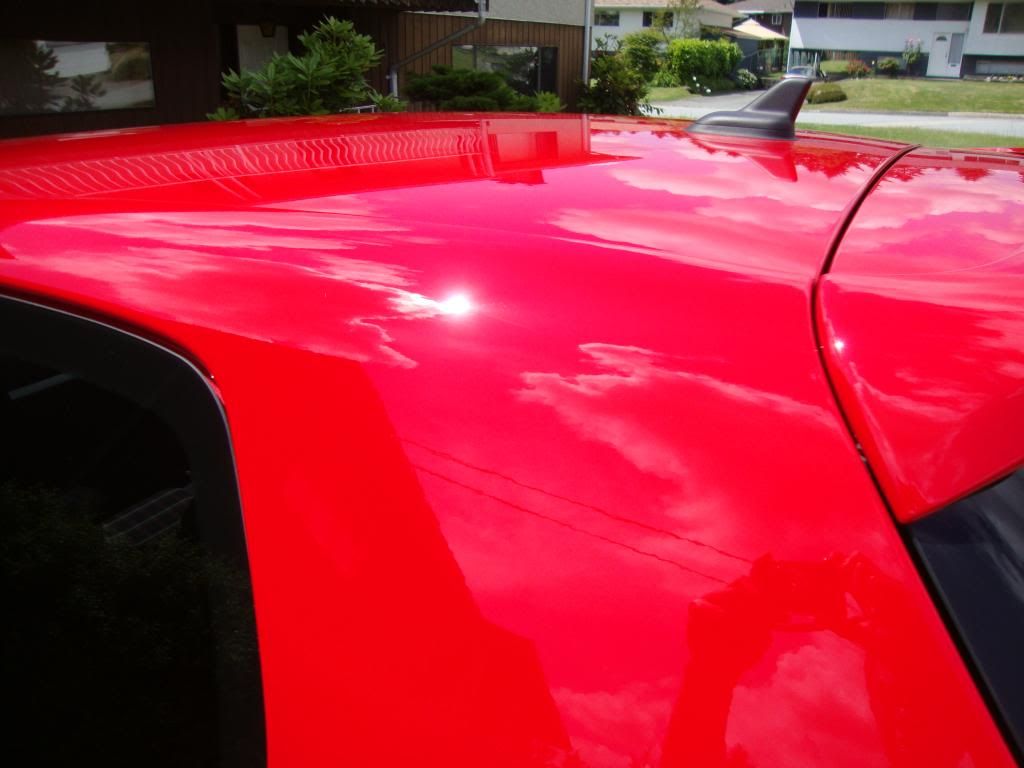
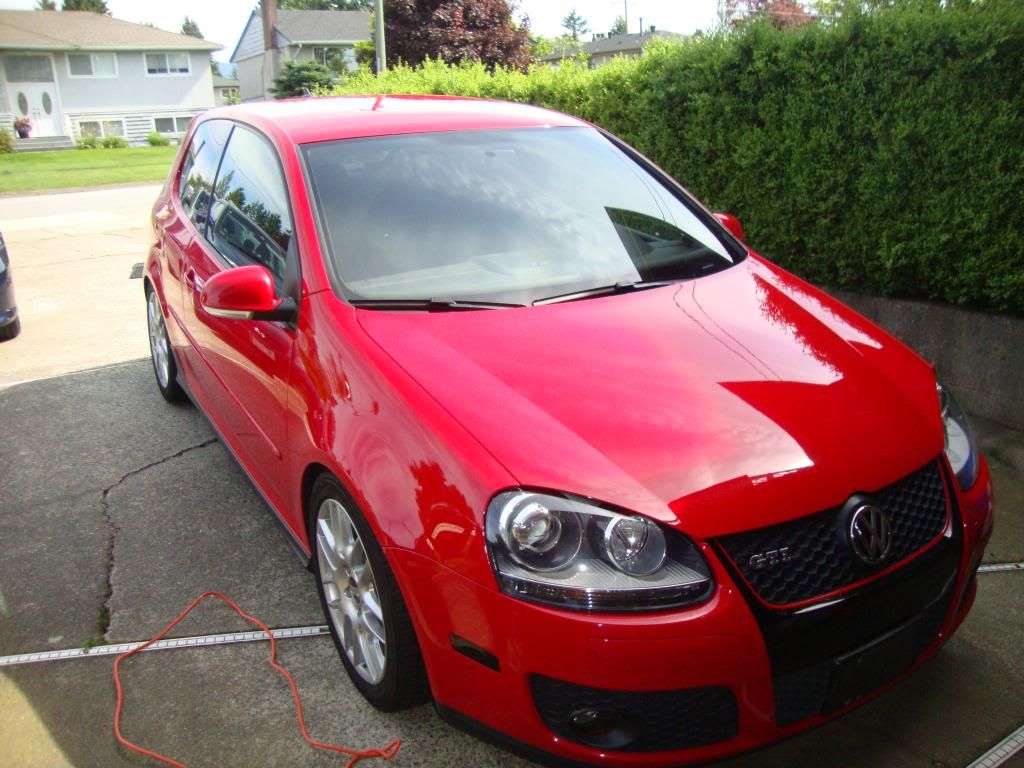
Looks alot better.
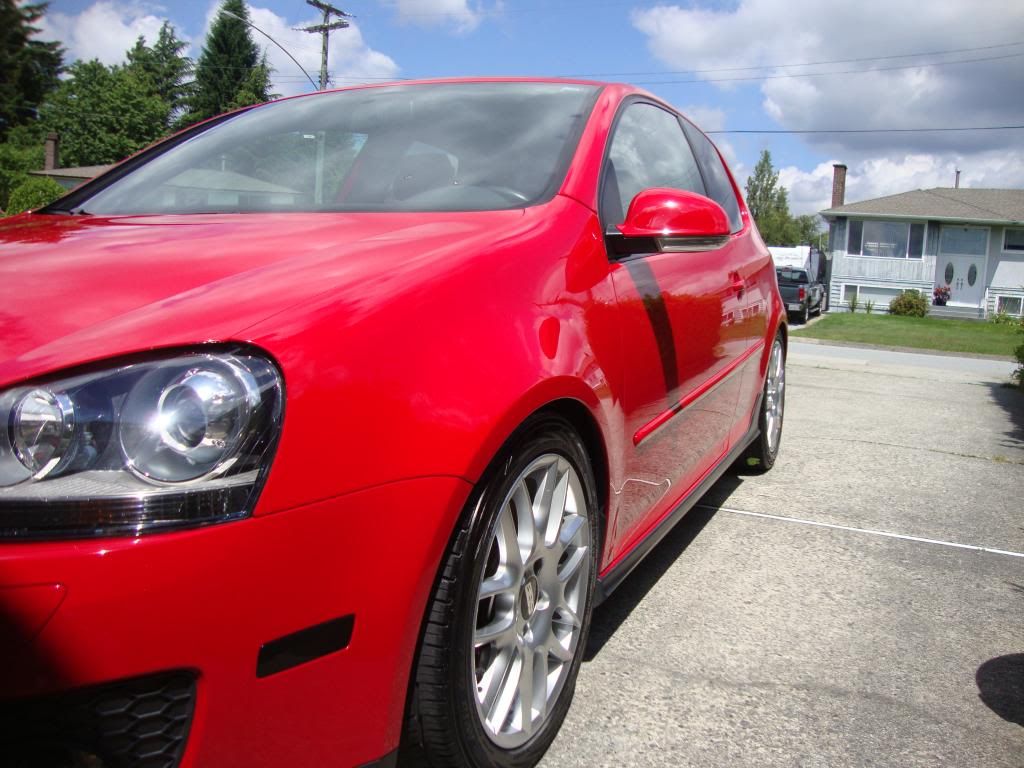
Now onto the rest of the car:
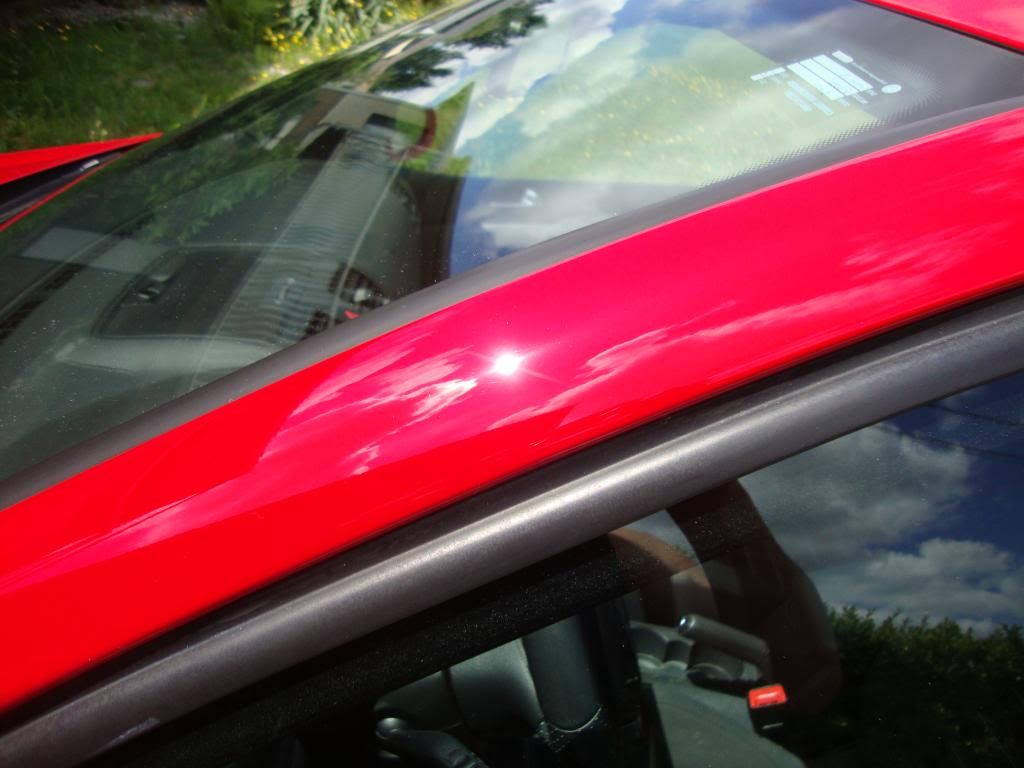
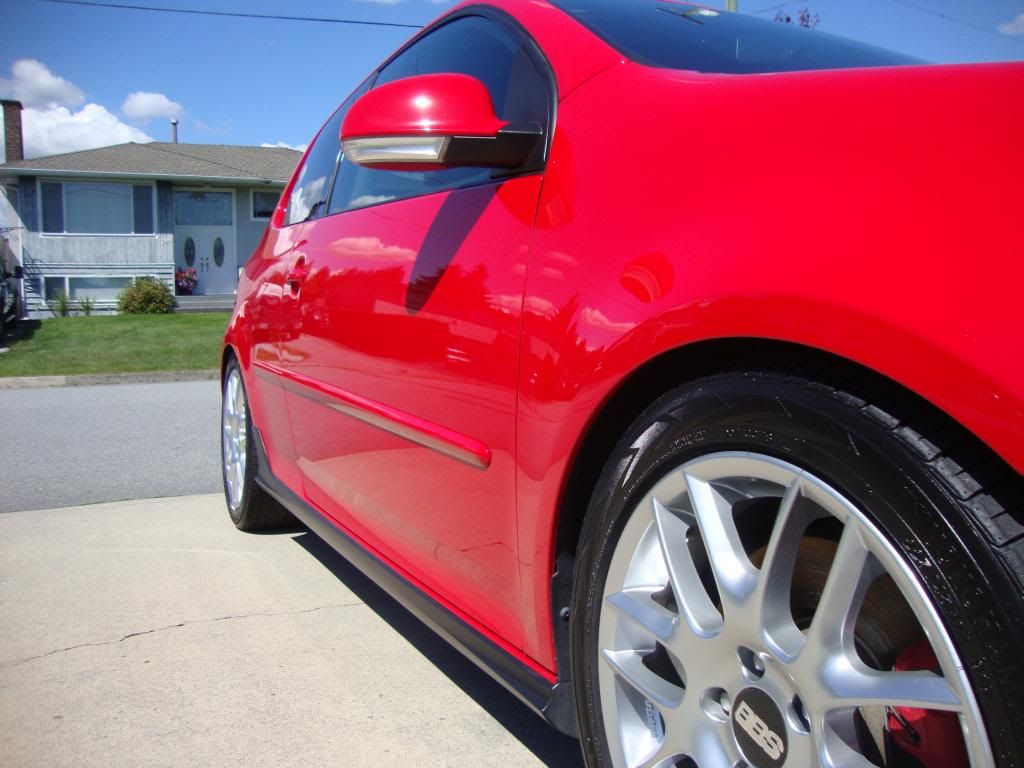
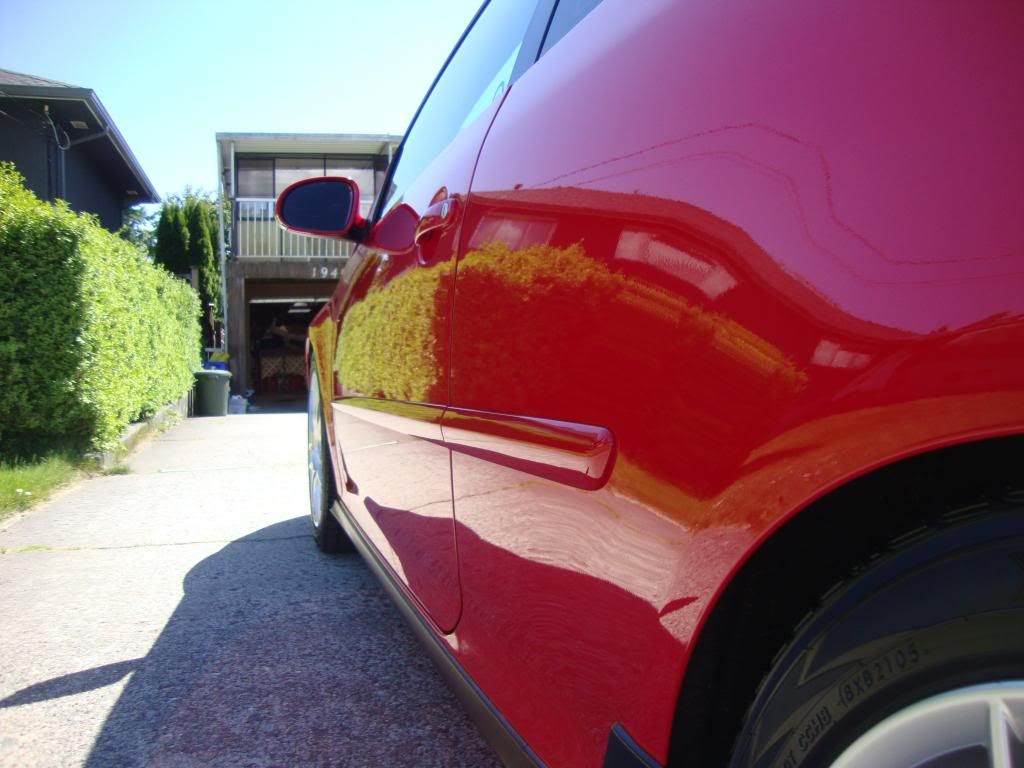
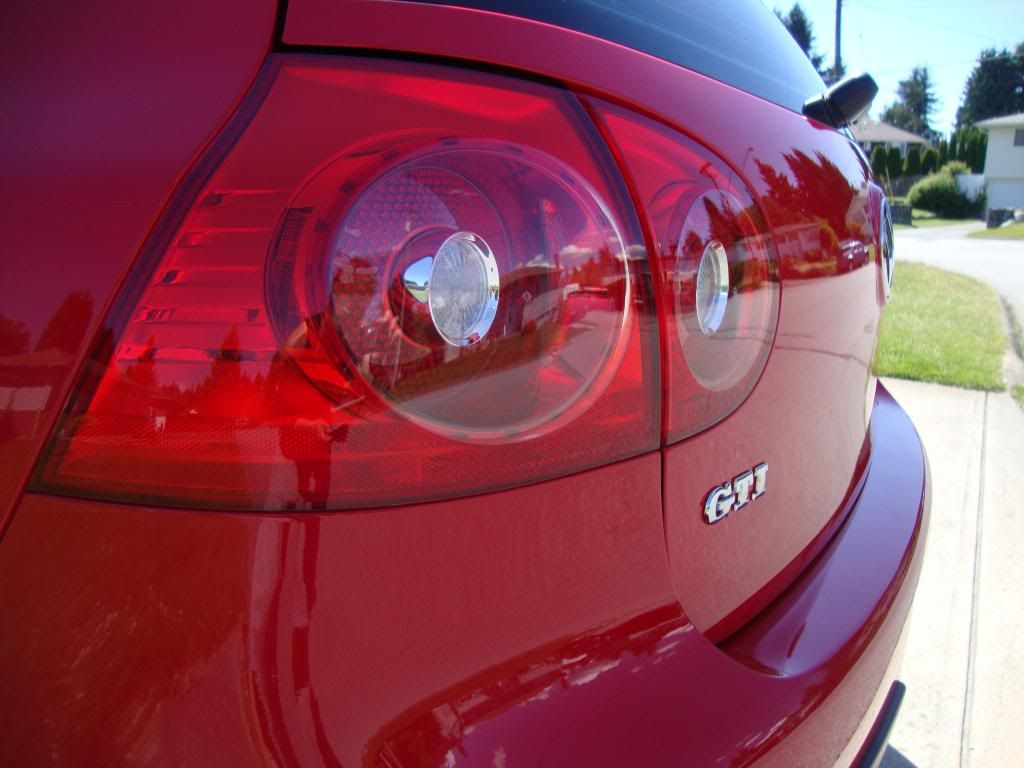
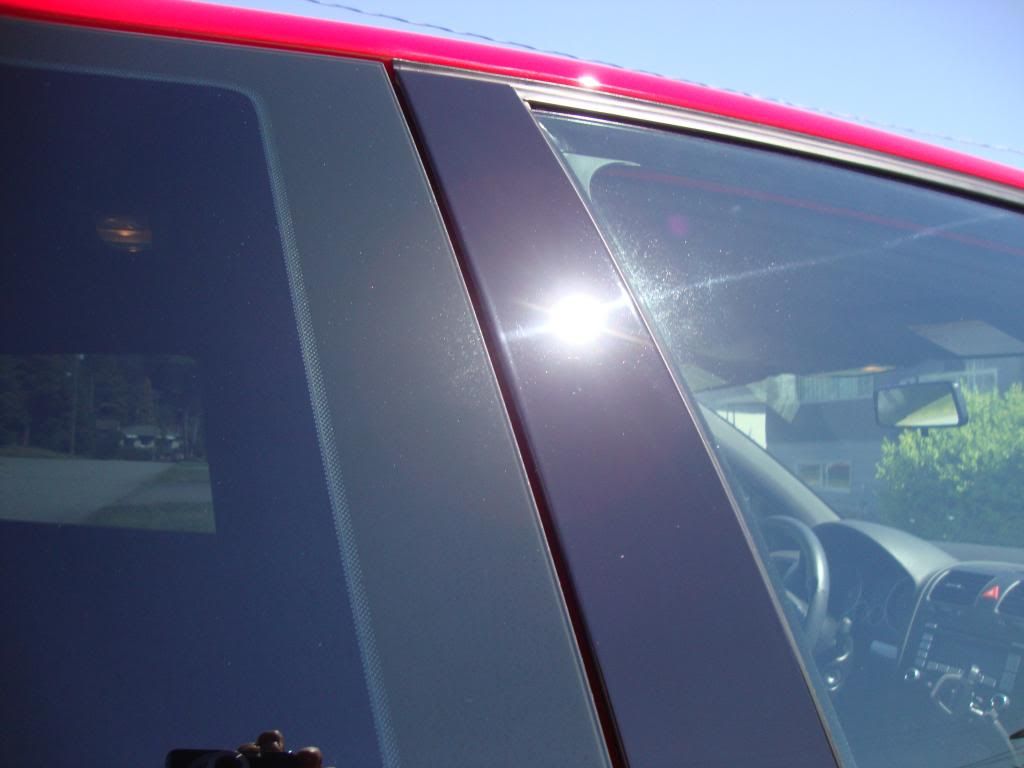
The evil B-Pillar on all GTI's
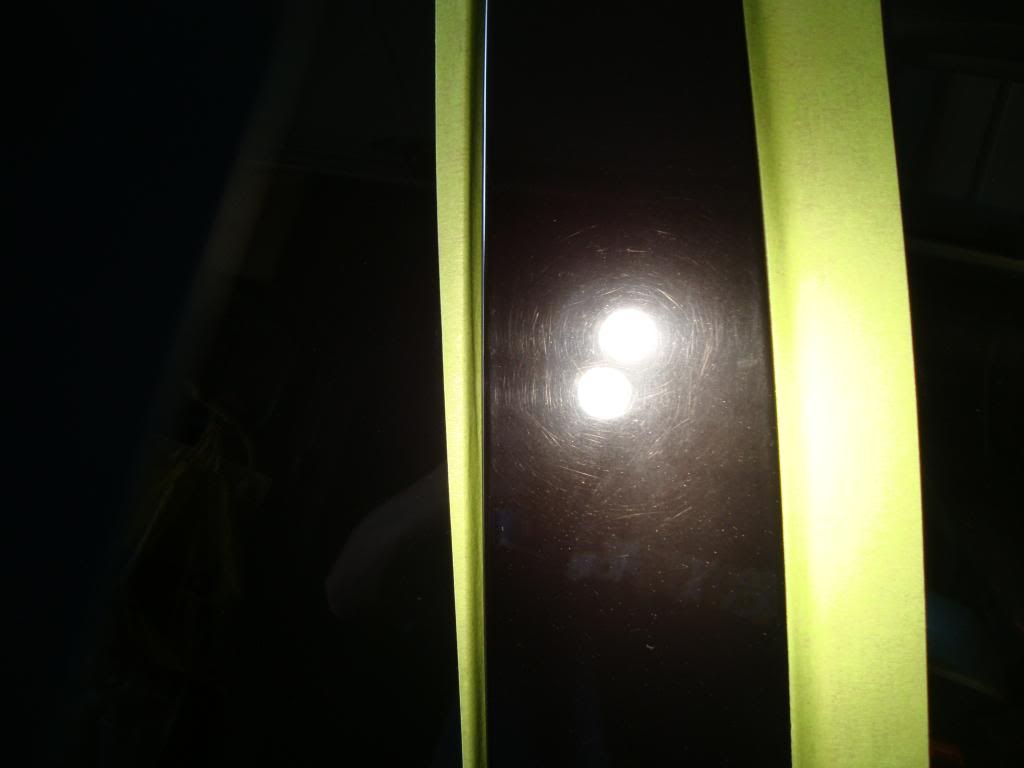
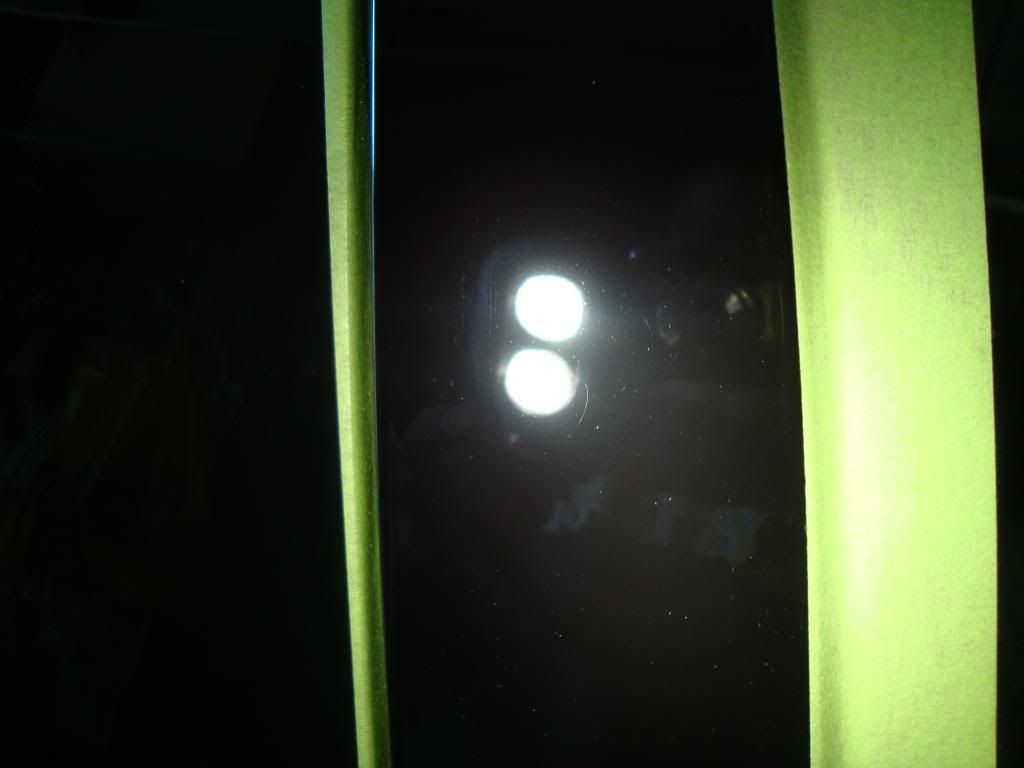
Couple different spots on the car:

After Polish
I've been a lurker on and off here for a while and finally this summer I decided to take the leap and commit to buying some stuff and beautifying my car! So, I would like to share with you my first "real" detail on my car
First off,
Products used:
- Pretty much everything from AG!!
Paint Prep:
- Meguiars Gold Class Wash
- IronX
- Chemical Guys Clay/Luber
Engine:
- Detailers Engine Cleaner
- 303 Aerospace Protectant
Wheels:
- Pinnacle Wheel Cleaner
- IronX
- Pinnacle Black Onyx Tire Gel
- Detailer's Wheel Glaze
- Daytona Wheel Brush
Trim/Rubbers:
- Ultima Trim Protectant
Paint Correction/Finishing
- Duplicolor Tornado Red Touchup
- Meguiars Unigrit 2000/2500/3000
- Porter Cable 7424
- Menzerna FG 400 w/ 3.5 Inch foam cutting pad
- Wolfgang Total Swirl Remover w/ Orange Light Cut & also 3.5' Equivalents
- Wolfgang Finishing Glaze w/ White Polish & also 3.5' Equivalents
- Wolfgang Polish Enhancer hand applied
- Wolfgang DGPS hand applied
*WARNING LONGGGGGGGG POST*
So lets get started:
This is my baby, I got her 2nd hand last August:
Overall was in decent shape but there were the usual things like swirls and some rock chips.
Lets start in the engine bay: Dirty and grimey
Intake has swirls and could use a polish
After Polish
After a good cleaning and dressed
Wheels being cleaned and Iron X
After this, car was washed, ironX'ed and then clayed. Didn't take any pictures there.
Exhaust Tips Cleaning
Before:
After:
Think I coulda done a better job here, maybe some steel wool next time? Any suggestions?
This took most of my morning 10am - 2pm, still learning how to be more efficient but I was taking it really slow.
On to the rock chips and the rest of the paint!
I had some rockchips that I filled about 2 weeks ago, did about 3 - 4 coats each to make it level. The car was originally from Vancouver Island which has crappy highways so it had lots of chips on the hood that were really an eyesore so I decided to try to fill in the really big ones (Thanks to all the DIYS on fixing key scratches).
After 2k, 2.5k, 3k sandpaper:
After FG400, WG TSR and then Finishing Glaze
- I didn't take any closeups, the paint didn't match 100 percent. I tested it on a test spot last week but I decided that the slightly mis matching paint was better than those big white spots.
Looks alot better.
Now onto the rest of the car:
The evil B-Pillar on all GTI's
Couple different spots on the car:
After Polish