Excessive Detail
New member
- Apr 16, 2006
- 1,166
- 0
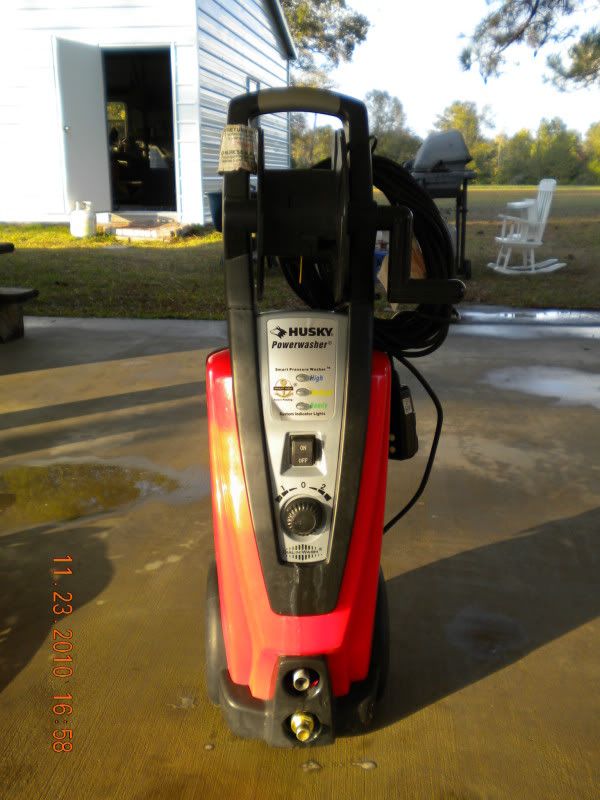
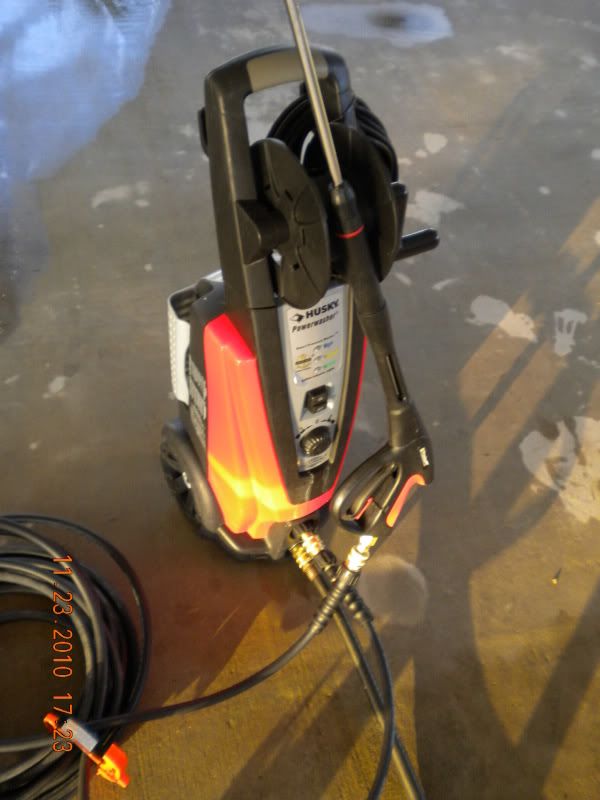
I recently made some changes to my pressure washer setup, mainly due to the lack of from the hoses and attachments it came with, and glad to say it helped out a lot. So I figured id show ya what I did, kinda step by step, and the products I bought in case anybody else is looking for an upgrade. The pressure washer itself is a Husky, around 2000 psi, and about a year old and still runninng strong. I washed my parents house with it a few days ago and I have to say the lil thing has a pair for an electric. Even running constantly for 15 to 30 minute periods, had no affect on it, ran like a champ. This is my third one after failing with two different Kachers prior, in both the pumps burned out over a short period of time, needless to say had to try something new and I think I found a winner. As for the Husky, with all smaller electric washers, the included attacment kinda suck and tend not to last long, plus the hose is never long enough. So I went to Lowes, bought a new wand kit, 50' hose, and a bunch of quick connects to make transport alot easier as you will see in the pics. The hose is rated at 3000 psi and the wand at 4000 psi, so I should be good, lol, thats just the way it came. So first the washer itself, sorry for the pic quality, bad lighting.
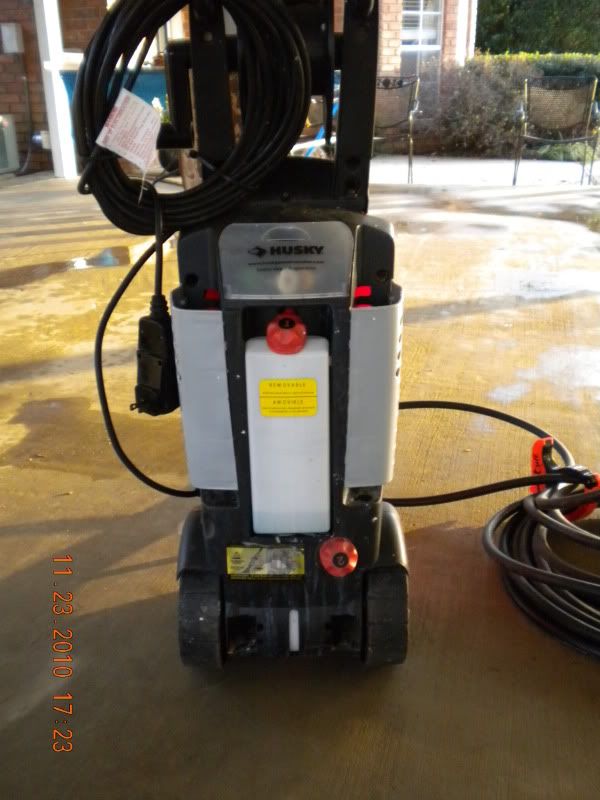
The washer seems to be built pretty sturdy, it got wheels that actually work, two mixing tanks, and plenty of storage spaces.
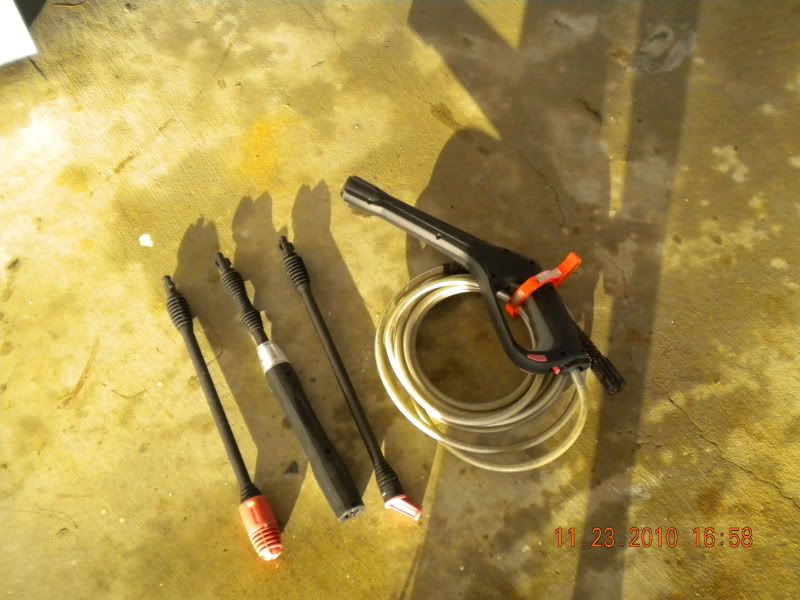
Here is a pic of the old setup.
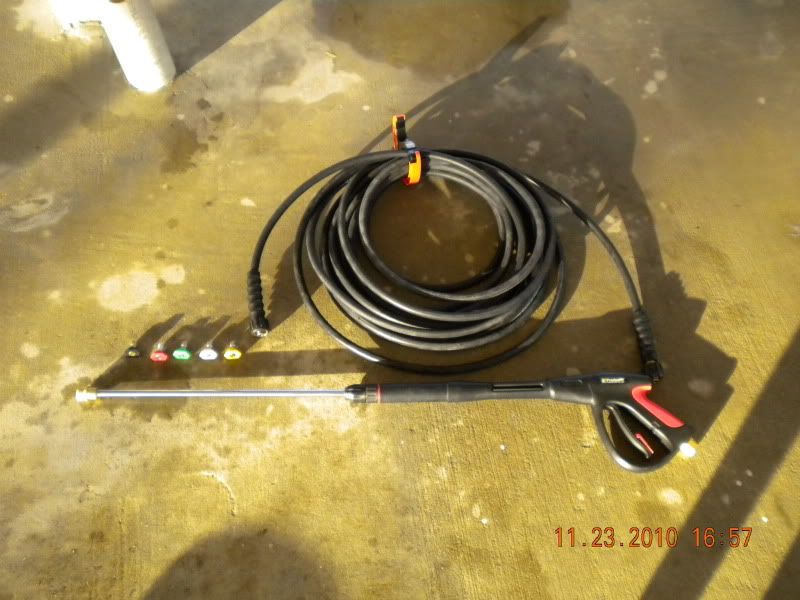
And the new setup, the wand setup came with the the wand assembly, 5 tips (solution tip, 0,15,25,30 degree tips), and some conection fittings.

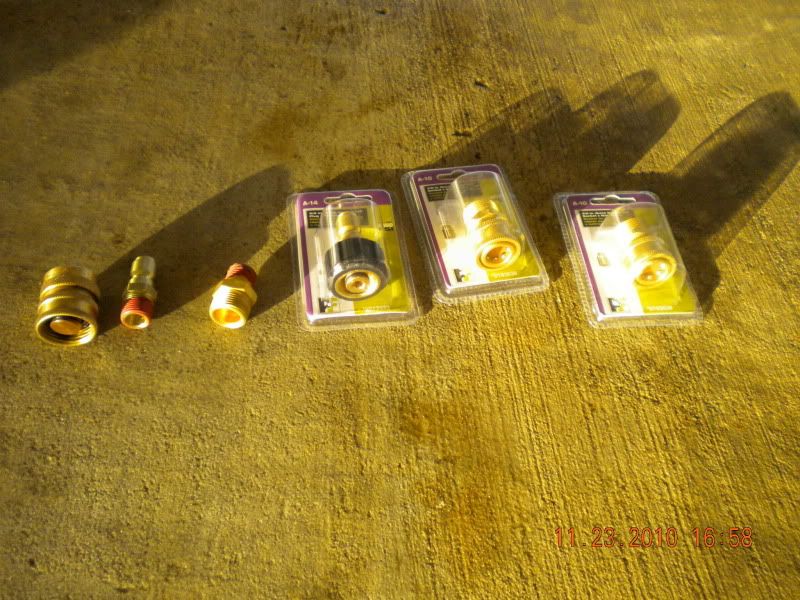
Here are the extra quick connects I got, I really love these things, make everything so much easier.
Here a kinda step by step of the setup.
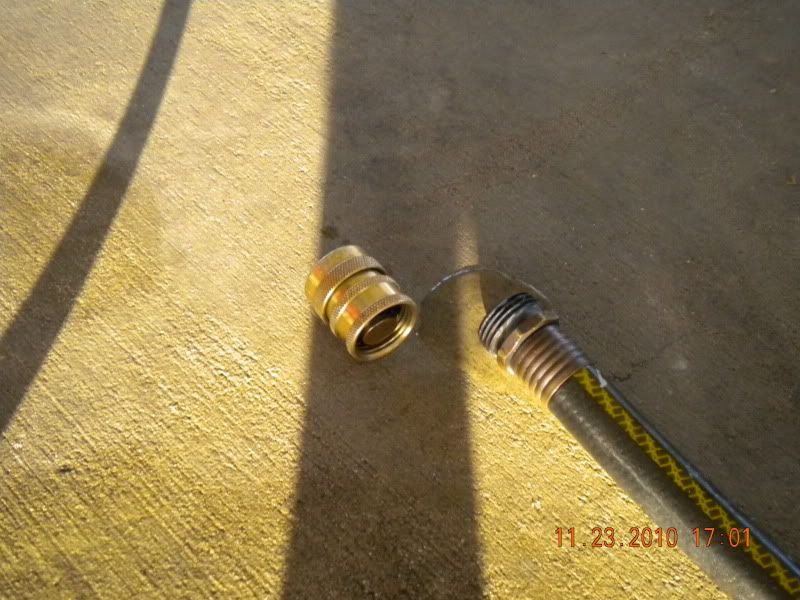
For the water hose.
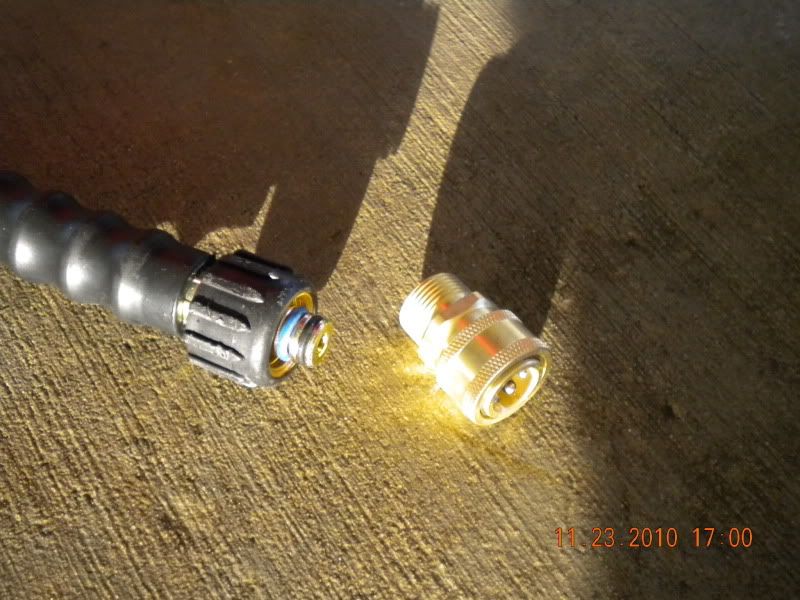
The washer hose.
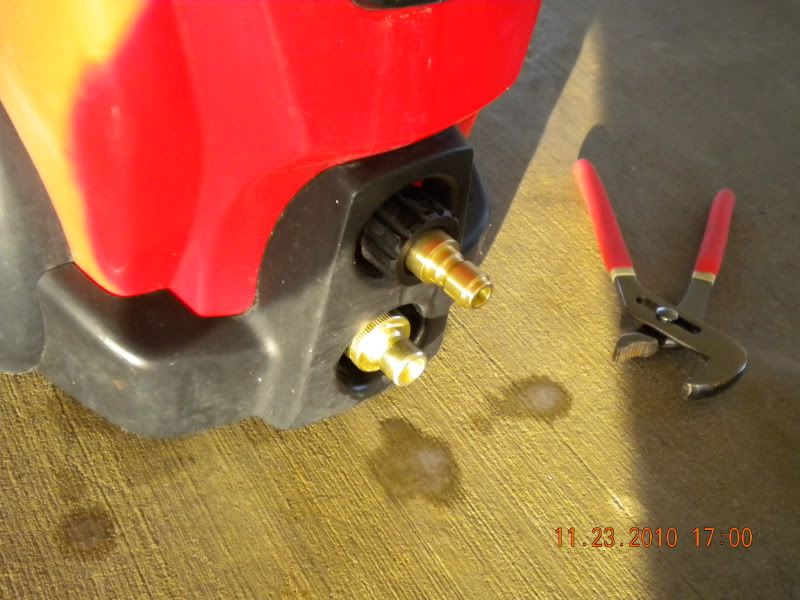
Connections on the unit itself.
Both hoses connected.

Wand connection
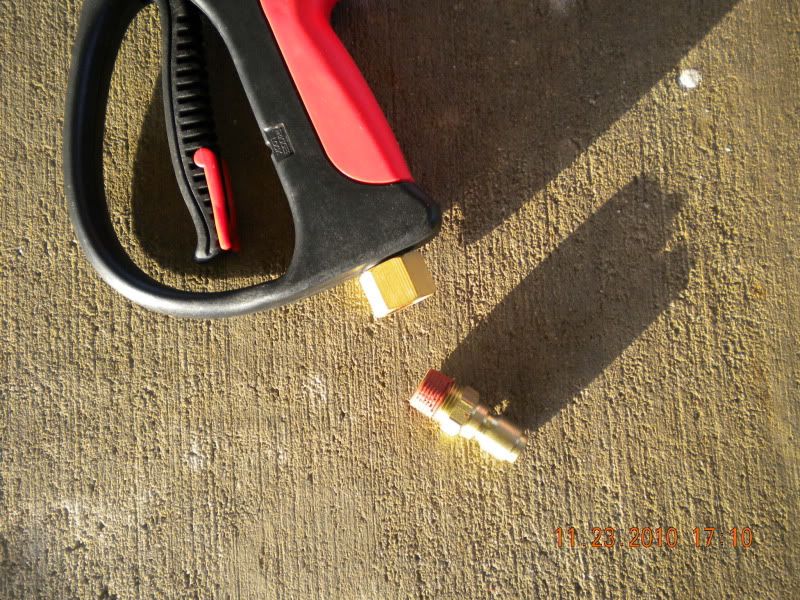
Wand to hose connection, same pic as above, but same idea
Everything together.
Overall this was a good investment, the longer hose is a life saver and the wand and tips give the pressure washer a lil more power, so i think i done good, total cost around $120, the washer was around $200, but well worth it in my opinion. Hope this helps anyone looking for a new setup.
The washer seems to be built pretty sturdy, it got wheels that actually work, two mixing tanks, and plenty of storage spaces.
Here is a pic of the old setup.
And the new setup, the wand setup came with the the wand assembly, 5 tips (solution tip, 0,15,25,30 degree tips), and some conection fittings.
Here are the extra quick connects I got, I really love these things, make everything so much easier.
Here a kinda step by step of the setup.
For the water hose.
The washer hose.
Connections on the unit itself.
Both hoses connected.
Wand connection
Wand to hose connection, same pic as above, but same idea
Everything together.
Overall this was a good investment, the longer hose is a life saver and the wand and tips give the pressure washer a lil more power, so i think i done good, total cost around $120, the washer was around $200, but well worth it in my opinion. Hope this helps anyone looking for a new setup.
 rops:
rops: