Hey AutoGeek forums,
My name is Mike and I drive an 01 vette, torch red.# Over the years it's acquired its fair share of swirl marks and surface scratches, and I just bought a PC, 105/205, sealant, mf towels, and pads to get started...should be here tomorrow.
I am not a newbie to the whole detailing scene, I was on another forum but the community wasn't the greatest and they just tried to pawn their [overpriced] products on everybody, which kind of got old.
Anyways, since I bought my stuff from AG, I figured, why not become a member....so here I am.# Ive been doing more than my fair share of reading on detailing so I am about ready to begin I think.
I just have a few questions though...
1) alot of people clean pads "on the fly" with a terry towel. Is this a safe, reliable way to clean the pads?# How long do you do this for?# I've heard anywhere from 15-45 sec all the way up to a couple mins.
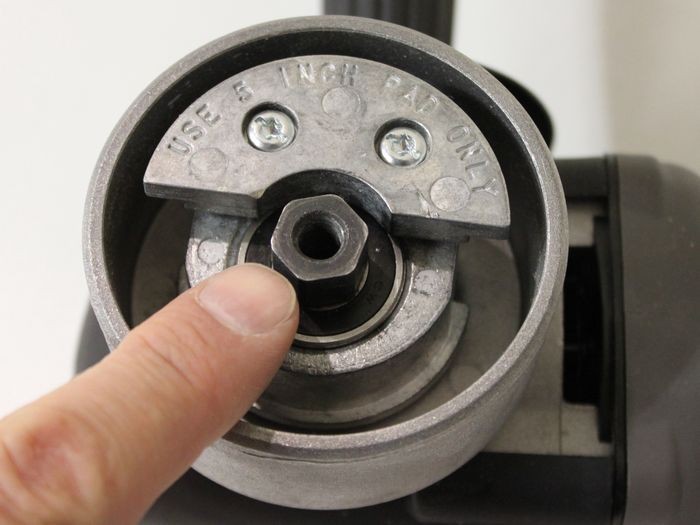
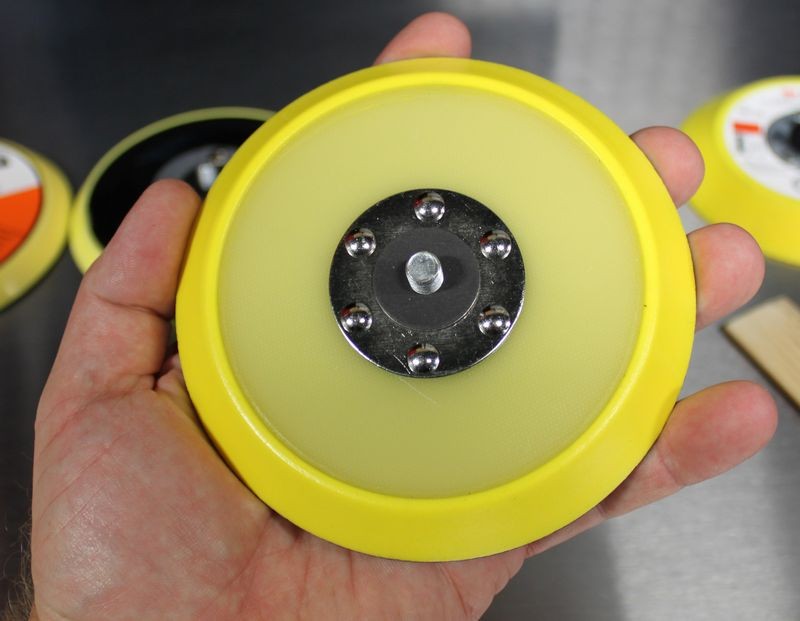
2) I ordered the Meguiers PC kit with 5.5" pads. Also got some kind of trial sized sealant to see if its worth it.# What pads do you guys recommend using for 105/205, the sealant, and wax just out of curiosity.# Always good to get another opinion before actually going at it. I have ccs orange, ccs black (although the kit said it came with grey?), and red "soft buff pads" I got as a bonus.
Im sure I will develop more questions along the way but for now, that is all.# Thank you AG forums.
-Mike
Sent from my DROIDX using Tapatalk
My name is Mike and I drive an 01 vette, torch red.# Over the years it's acquired its fair share of swirl marks and surface scratches, and I just bought a PC, 105/205, sealant, mf towels, and pads to get started...should be here tomorrow.
I am not a newbie to the whole detailing scene, I was on another forum but the community wasn't the greatest and they just tried to pawn their [overpriced] products on everybody, which kind of got old.
Anyways, since I bought my stuff from AG, I figured, why not become a member....so here I am.# Ive been doing more than my fair share of reading on detailing so I am about ready to begin I think.
I just have a few questions though...
1) alot of people clean pads "on the fly" with a terry towel. Is this a safe, reliable way to clean the pads?# How long do you do this for?# I've heard anywhere from 15-45 sec all the way up to a couple mins.
2) I ordered the Meguiers PC kit with 5.5" pads. Also got some kind of trial sized sealant to see if its worth it.# What pads do you guys recommend using for 105/205, the sealant, and wax just out of curiosity.# Always good to get another opinion before actually going at it. I have ccs orange, ccs black (although the kit said it came with grey?), and red "soft buff pads" I got as a bonus.
Im sure I will develop more questions along the way but for now, that is all.# Thank you AG forums.
-Mike
Sent from my DROIDX using Tapatalk
")


 rops:
rops: