Dear all @ Autogeek,
I am in a pickle and seek your advice.
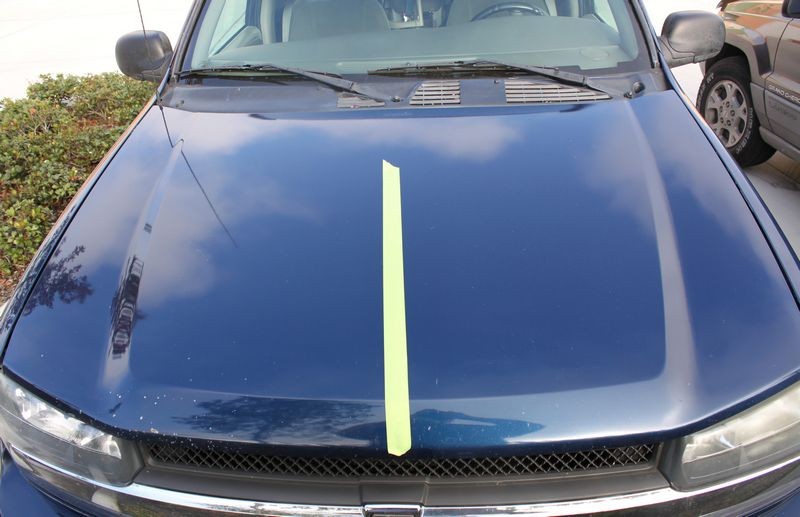
I recently just bought a 2013 Black Lexus IS250 and having had Silver cars all my life and loved keeping them clean I knew i'd have more work cut out with a black car. I have a garage and also keep it protected at work from the elements BUT I also know that the car washes (my complex does not allow car washing on site) will cause some unsightly swirls. So on my xmas list to my gf was a Porter Cable XP kit from Autogeek.net, the Meguiars Porter Cable XP Ultra Polish Kit with 5.5 Inch Pads package, then add some Wolfgang Deep Gloss to finish - but she ended up being late so shopped locally at Auto Detailing Products
They only sell PRO products, so while I was happy with the Porter Cable XP, I was left with no product. I was sure there are more than one way to skin a cat and given these guys have been in business in San diego for a long time I thought they and PRO products must be legit. So I write this article with a red face knowing it is most likely mostly bad technique, and a minor part incomplete advice and product combination that caused my less than optimal results
I told them I had a new car with really only minor paint defects like cobwebs and a little swirling likely form the dealers washed/dried with towels carelessly. So they suggested PRO's Troubleshooter (PRO Car Beauty Products: P-33 TROUBLESHOOTER®) with yellow 50ppi cutting pad (SM ARNOLD 6 INCH DA FOAM PADS) followed by Cherry finishing wax (PRO Car Beauty Products: P-36 CHERRY FINISHING WAX).
Here is what I did:
1.) Wash and dried car.
2.) Inspected paintwork and made mental not of any more obvious or more serious paint defects. Mostly some minor swirling and cobwebs. A few minor scratches from people brushing past in parking lots.
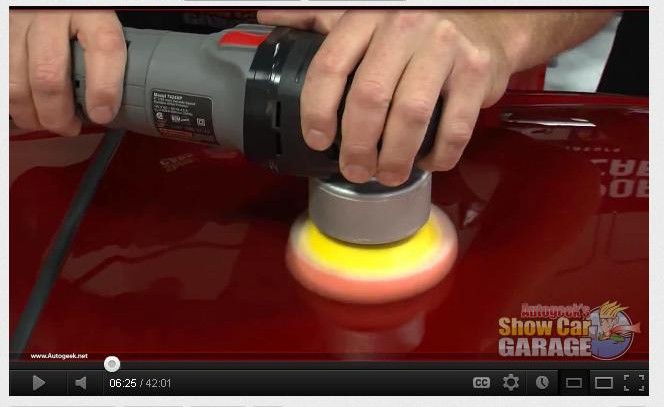
3.) So I used a PC XP and Yellow 50ppi cutting pad @ speed 5 with "Trouble Shooter" - Took 2hrs for the entire car. I just went form panel to panel without checking my work (I just trusted it was good).
4.) I then used a microfibre towel to remove the product.
5.) Applied Cherry finishing wax by hand 45 mins
6.) Used a fresh clean microfibre towel to remove wax and buff car down, took 30 mins
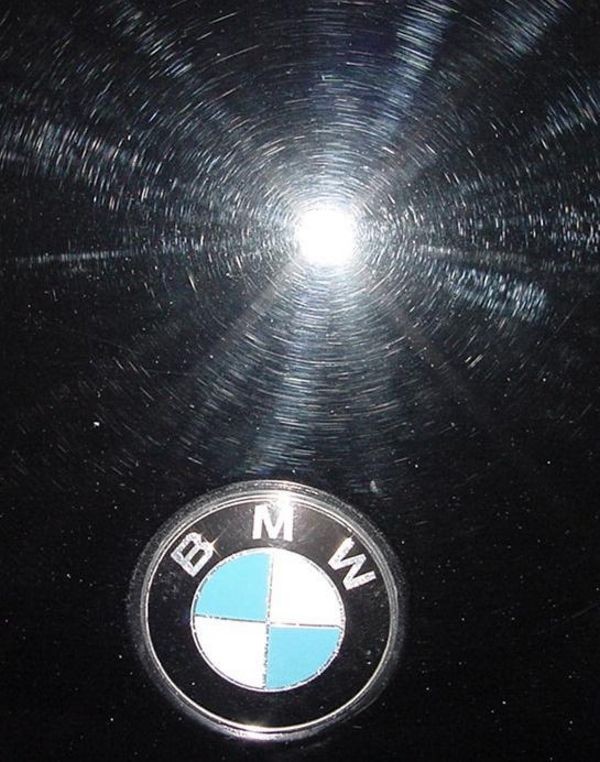
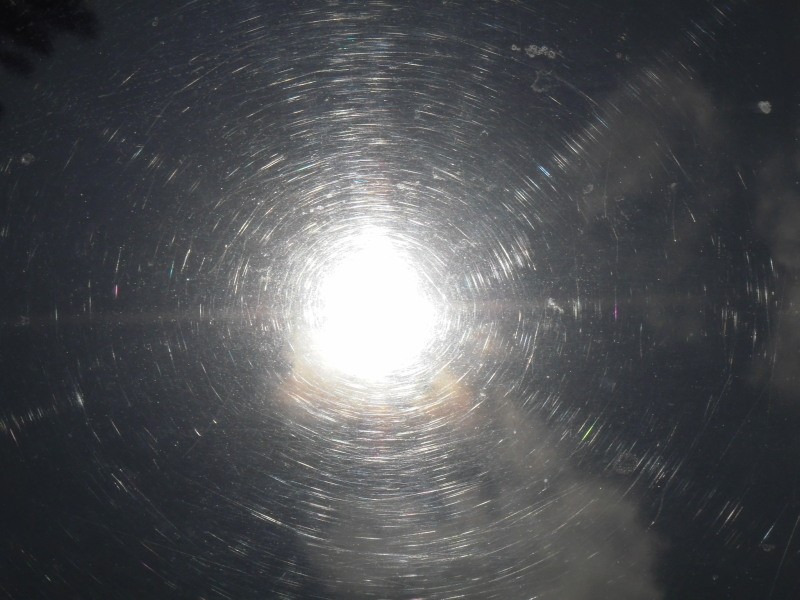
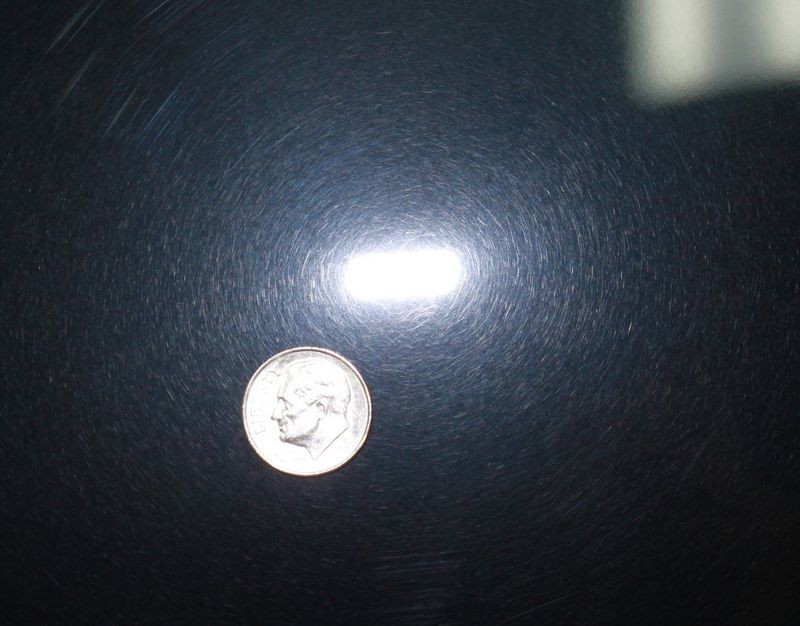
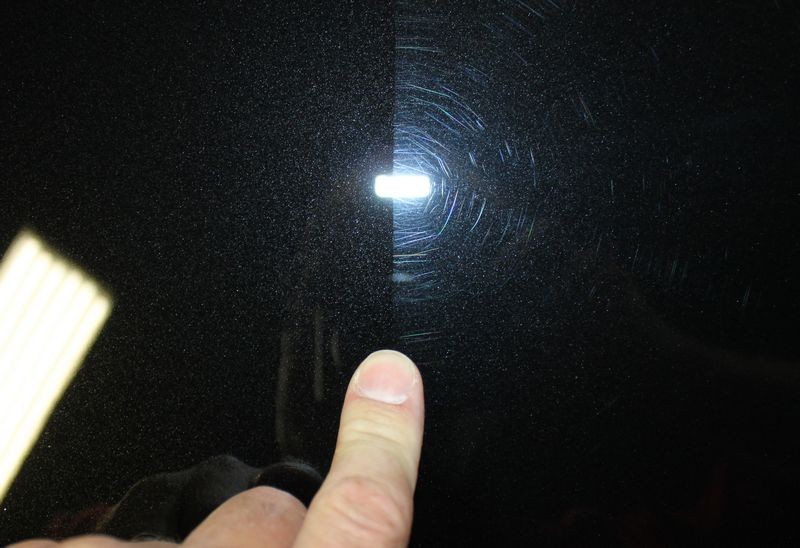
So in the light of the shade it looked great, deep black and glossy. However, the next morning in the bright sunshine it was a different story. There appeared to be some hazing on the side panels like as if you could just walk up and buff them out like un buffed wax residue. These hazes marks could not be buffed out! I was getting very worried I had screwed up and damaged the paintwork. One particularly problematic area is the beams running between the windshield and the side windows, not sure what that is called but it looks like it is just hazy with tiny cobweb scratches, it just dulled the finish. I looked on your forums and it appears these are cobwebs? There are no serious swirls or marring as such to the paintwork although the cobwebs close up look bad enough.
I think that as I was losing light and getting tired I just got sloppy did too much, too quick, with too much product and combined with sloppy technique all in hindsight reading your forums.
The bonnet, roof and rear trunk panels (i.e., the horizontal panels) all looked great so I am thinking given these are the easier panels I was applying enough pressure for enough time and moving slowly enough? as the vertical panels are the ones I found hardest to do these are the ones with the issues so hence the reason I feel technique is the main reason for this issue. I wa slazy and instead of taking a seat and taking my time I just ran the polisher over it by leaning down. I honestly thought that it could do no harm.
So before I beg for yout wise words I have a few questions before I do this again likely in 1-2 months time
1.) Do I need to use a paint cleaner or product before I redoe the car again? or can I just wait two months and a few washes to naturally clean this off?
2.) When I do this again should I use the yellow pad again, followed by the black polishing pad on the problem areas and just the polishing pad on the areas that are looking good?
3.) To remove the cobwebs do I use the Yellow pad, followed by Black pad with the Troubleshooter or is there something better? this was sold a very mild polishing and finishing product and my paint is/was in excellent condition feeling like glass.
4.) Are the product I am using appropriate?
5.) Its a Black car so Wax v Sealant. I love the wet deep black glossy look.
So dont hold back, lay into me and I's appreciate all the critique and advice you have.
Best,
Steve
I am in a pickle and seek your advice.
I recently just bought a 2013 Black Lexus IS250 and having had Silver cars all my life and loved keeping them clean I knew i'd have more work cut out with a black car. I have a garage and also keep it protected at work from the elements BUT I also know that the car washes (my complex does not allow car washing on site) will cause some unsightly swirls. So on my xmas list to my gf was a Porter Cable XP kit from Autogeek.net, the Meguiars Porter Cable XP Ultra Polish Kit with 5.5 Inch Pads package, then add some Wolfgang Deep Gloss to finish - but she ended up being late so shopped locally at Auto Detailing Products
They only sell PRO products, so while I was happy with the Porter Cable XP, I was left with no product. I was sure there are more than one way to skin a cat and given these guys have been in business in San diego for a long time I thought they and PRO products must be legit. So I write this article with a red face knowing it is most likely mostly bad technique, and a minor part incomplete advice and product combination that caused my less than optimal results
I told them I had a new car with really only minor paint defects like cobwebs and a little swirling likely form the dealers washed/dried with towels carelessly. So they suggested PRO's Troubleshooter (PRO Car Beauty Products: P-33 TROUBLESHOOTER®) with yellow 50ppi cutting pad (SM ARNOLD 6 INCH DA FOAM PADS) followed by Cherry finishing wax (PRO Car Beauty Products: P-36 CHERRY FINISHING WAX).
Here is what I did:
1.) Wash and dried car.
2.) Inspected paintwork and made mental not of any more obvious or more serious paint defects. Mostly some minor swirling and cobwebs. A few minor scratches from people brushing past in parking lots.
3.) So I used a PC XP and Yellow 50ppi cutting pad @ speed 5 with "Trouble Shooter" - Took 2hrs for the entire car. I just went form panel to panel without checking my work (I just trusted it was good).
4.) I then used a microfibre towel to remove the product.
5.) Applied Cherry finishing wax by hand 45 mins
6.) Used a fresh clean microfibre towel to remove wax and buff car down, took 30 mins
So in the light of the shade it looked great, deep black and glossy. However, the next morning in the bright sunshine it was a different story. There appeared to be some hazing on the side panels like as if you could just walk up and buff them out like un buffed wax residue. These hazes marks could not be buffed out! I was getting very worried I had screwed up and damaged the paintwork. One particularly problematic area is the beams running between the windshield and the side windows, not sure what that is called but it looks like it is just hazy with tiny cobweb scratches, it just dulled the finish. I looked on your forums and it appears these are cobwebs? There are no serious swirls or marring as such to the paintwork although the cobwebs close up look bad enough.
I think that as I was losing light and getting tired I just got sloppy did too much, too quick, with too much product and combined with sloppy technique
all in hindsight reading your forums. The bonnet, roof and rear trunk panels (i.e., the horizontal panels) all looked great so I am thinking given these are the easier panels I was applying enough pressure for enough time and moving slowly enough? as the vertical panels are the ones I found hardest to do these are the ones with the issues so hence the reason I feel technique is the main reason for this issue. I wa slazy and instead of taking a seat and taking my time I just ran the polisher over it by leaning down. I honestly thought that it could do no harm.
So before I beg for yout wise words I have a few questions before I do this again likely in 1-2 months time
1.) Do I need to use a paint cleaner or product before I redoe the car again? or can I just wait two months and a few washes to naturally clean this off?
2.) When I do this again should I use the yellow pad again, followed by the black polishing pad on the problem areas and just the polishing pad on the areas that are looking good?
3.) To remove the cobwebs do I use the Yellow pad, followed by Black pad with the Troubleshooter or is there something better? this was sold a very mild polishing and finishing product and my paint is/was in excellent condition feeling like glass.
4.) Are the product I am using appropriate?
5.) Its a Black car so Wax v Sealant. I love the wet deep black glossy look.
So dont hold back, lay into me and I's appreciate all the critique and advice you have.
Best,
Steve
")