Might want to take a look at these threads. Much easier to host your AGO photos here than on an outside server.:dblthumb2:
http://www.autogeekonline.net/forum...photo-into-your-autogeek-photo-gallery-2.html
http://www.autogeekonline.net/forum...ur-photos-before-uploading-photo-gallery.html
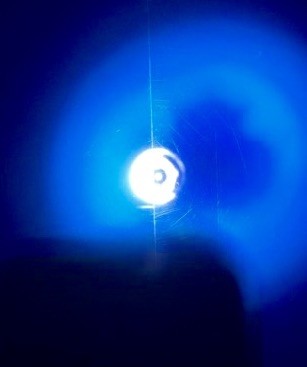
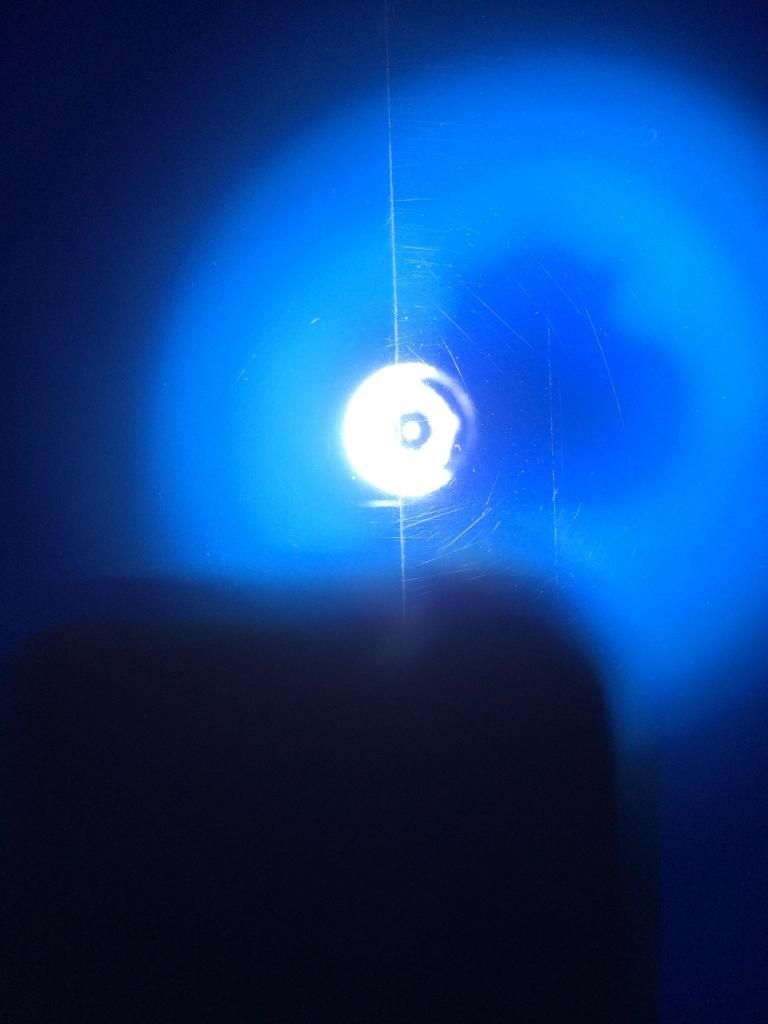
well 4 hours is counting getting all my materials ready, NUMEROUS inspections with that spotlight haha and trying out pad cleaning on the fly which with my pad cleaning brush seems to be a waste of time smh.. I don't see how it could help at all? it can't pull off any dampness from the pad.. and claying and all that stuff..
Cleaning on the fly involves more than just the brush. You'll want a big, thick, terrycloth bath towel. After you've cleaned with your brush, make sure your speed is up at least to 5 or better then with the towel laying flat in your hand (folded so that it's 2 to 4 layers thick) bury the pad into the towel and give it a few squeezes, work it around a bit, pull it off the towel, then bury it again. That should get the pad pretty clean, (even dry although not if you've soaked it in a bucket of liquid pad cleaner solution),
OTOH, what you've done so far looks pretty good.

rops:
If it's taking too long, what you want is a bit more aggressive pad, a bit more aggressive compound. Always the least aggressive method, but 2~3 hours (after getting all the equipment together, taping, etc.) is a bit long for a hood.
If working with SMAT based (Meguiar's) products you'll not need but 4~6 section passes for correction. (
Or at least you'll need to pull the pad and clean it, then put fresh product back on it for a few more passes if needed.) If it's a DAT compound (Menzerna, Wolfgang, Pinnacle, etc.) you'll need
at least 6~7 passes to get it to break down and start working like it's designed, and likely as many as 8~9~10 passes before it's at the end of it's cycle.
Just make sure you don't work the pad too long and build up heat, and that you ALWAYS change out your pads more often when compounding. Heat builds up from friction not just on the surface, but within the pad, and especially on the back from the Velcro interface between the backing plate and the pad itself.
Not uncommon to use 2 pads for the hood, 2 for the roof, etc. If you start with one and only do a couple sections with it you can clean it on the fly and sit it aside to cool, moving on to pad 2. Same thing with that one, as it gets worked (and heat builds up) you rotate it out of duty and move to pad 3. It's possible to compound a vehicle with 2~3 pads (if it's cool enough outside/in the shop) but much easier with at least 4, and up to 6 (on average sized vehicles).
Polishing uses less of course because you don't generate as much heat within the pad. Most vehicles can be easily done with 3~4 polishing pads, and 2~3 are easily possible if you keep rotating them out for a cooler pad.


")
 You'll know when your pads are getting too warm as the cellular structure of the foam itself will actually start to collapse. The middle of the pad will get thinner than the edges (and it doesn't come back). If you pull the pad off and put the back of it up against your cheek, (or the back of your hand) and it's more than just a little bit warm.... IT IS TOO HOT to keep using.