Mike Phillips
Active member
- Dec 5, 2022
- 51,004
- 6
Paint Correction - George Harrison's 1966 Ferrari 275 GTS - Pinnacle Jeweling Wax & Souveran Paste Wax
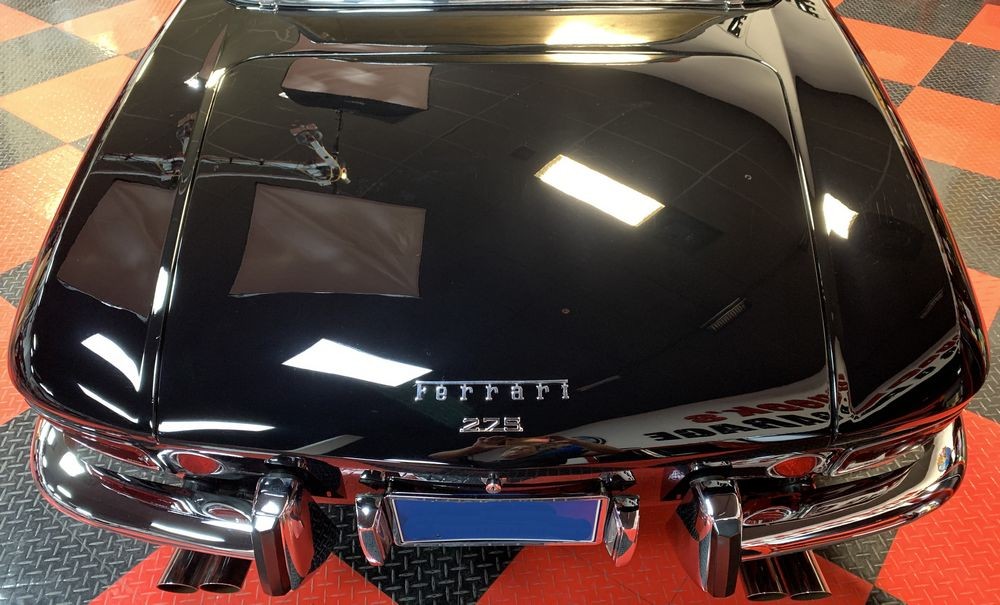
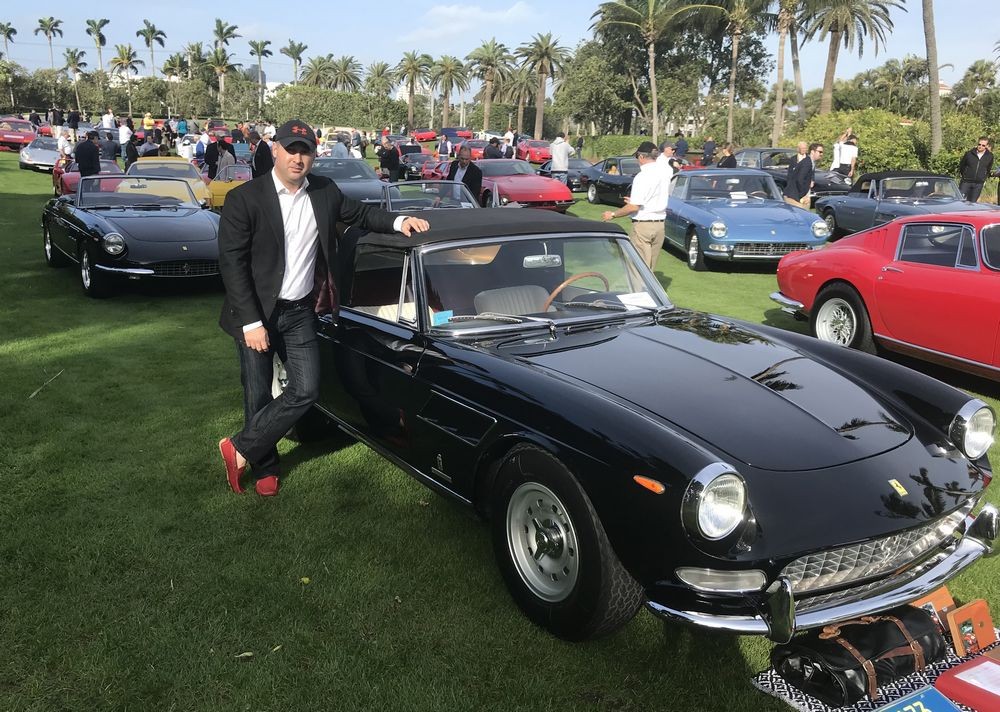
George Harrison's 1966 Ferrari 275 GTS

This was a unique detailing project. This car has the ORIGINAL single stage black paint. It has been detailed by others before me over the last 55 years. I have know idea what others have used and thus how much paint they have removed. For all I know the paint on this car is Whisper Thin. One thing for sure, I will approach this car as though the paint is Whisper Thin.
First things first.... I need to get this car clean.
The car washing dilemma
One of the things I teach and practice is the Professional Detailer's Oath, which is similar to the physician's oath and that is,
First do no harm when detailing a car
Now allow me to explain what this has to do with washing a car, or at least washing a car in the normal sense most people think of in their brain. Washing a car for most people means getting a water hose, a water sprayer, a bucket, some car wash soap and a wash mitt. Agree?
The above is perfectly okay-dokey for a new or modern car. When it comes to classics, or more specifically, when it comes to OTHER PEOPLE'S CLASSICS - As a professional courtesy to the current owner and future owners, I don't introduce running water to cars where rust can be an issue. I just don't do it. You can do it. Not me. I already know the most expensive part of restoring a car is cutting out rusted body panels, replacing removed portions with new replacement sheet metal and then rust-proofing everything. So as a professional courtesy to the owners of fine automobiles I don't wash them with the traditional hose and bucket method and I teach this in all my car detailing classes for upcoming professional detailers to emulate if they so choose.
So how do you get a car clean without using the traditional hose and bucket method?
Good question and there are a number of ways to do this but for the last few years my preferred method is to use the "Waterless Wash" approach using SONAX Glass Cleaner as my waterless wash of choice.
PREP WASH ONLY
I've seen some confusion over this topic so let me clear it up. I only use SONAX Glass Cleaner when doing a PREP WASH - not a maintenance wash.
What's the difference between a Prep Wash and a Maintenance Wash?
Great question. Thank you for asking.
HUGE DIFFERENCE.
I don't use any brand of glass cleaner when doing a maintenance wash. In fact my favorite car wash soap, (for most cars), when doing a maintenance wash is this one.
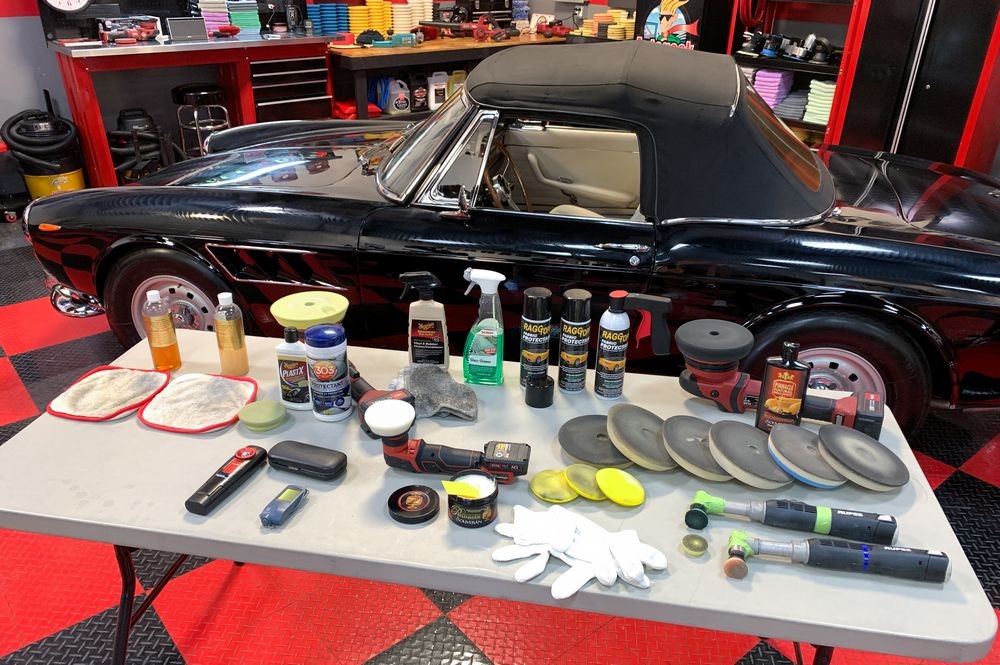
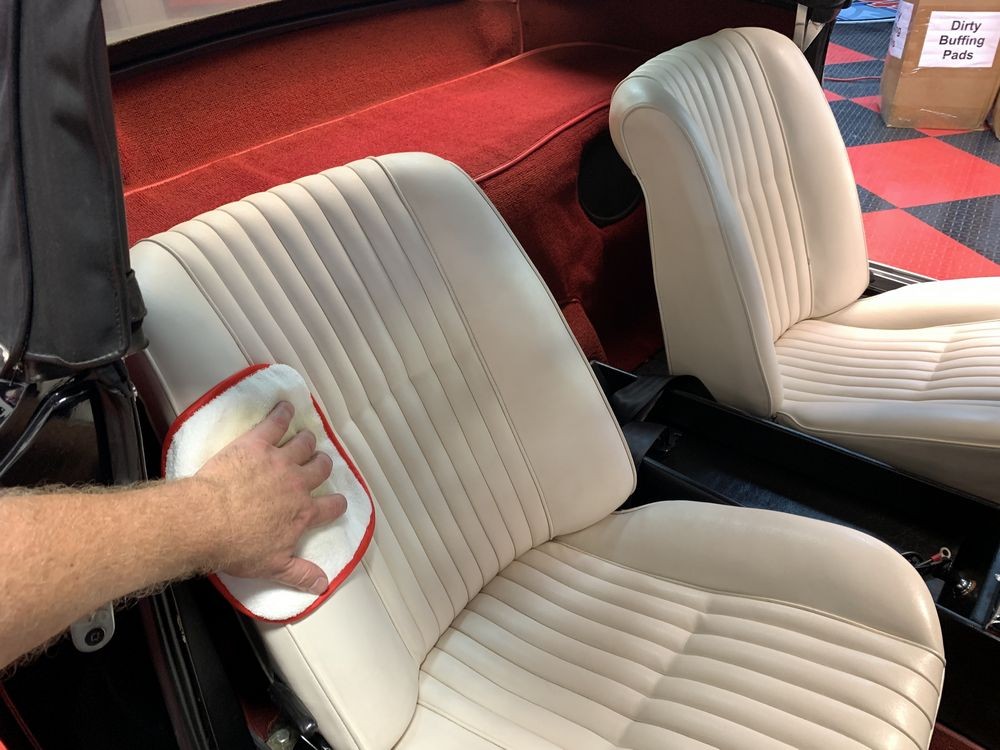
So to get this car clean before I start detailing it I used SONAX Glass Cleaner and LOOK at the pictures - PLENTY of clean, inspected, uncontaminated microfiber towels. If you're new to detailing, new to this site or new to my how-to articles, then read this.


Measuring Paint Thickness
This is a great example of when to use a Paint Thickness Gauge to inspect a car to find out if the paint is dangerously thin. Being 55 years old as of the date of this write-up, I have know idea how many people have worked on this car? Did they just wax it with Simonize Wax? Or has someone compounded this car with a Caveman compound? I have know way of knowing the past and what was used. So what I do is take some measurements around the car to get an idea of the overall thickness or thinness of the paint.


Paint Thickness Reading Results
Overall, the paint on all the panels measured in the range of 6.0 mils to 10 mils - to me this means most of the original paint is likely STILL on the car. I don't know for sure, but the readings show each body panel is in the same range and that's a sign of uniformity and uniform paint thickness is a good sign.
The Baggie Test
Next I gently performed the Baggie Test. If you don't know, the Baggie Test is a simple test you can do to check and see if the paint needs to be clayed. The thin plastic membrane of a clean plastic baggie, placed over your hand, will increase your sensitivity and enable you to feel above surface bonded contaminants that your normal sense of touch cannot feel. If you feel tiny bumps on the paint this is a sign you need to use detailing clay to clay the paint. If the paint feels smooth with the baggie test - this is a sign the paint is NOT contaminated and you can skip the claying step.

Visual Inspection
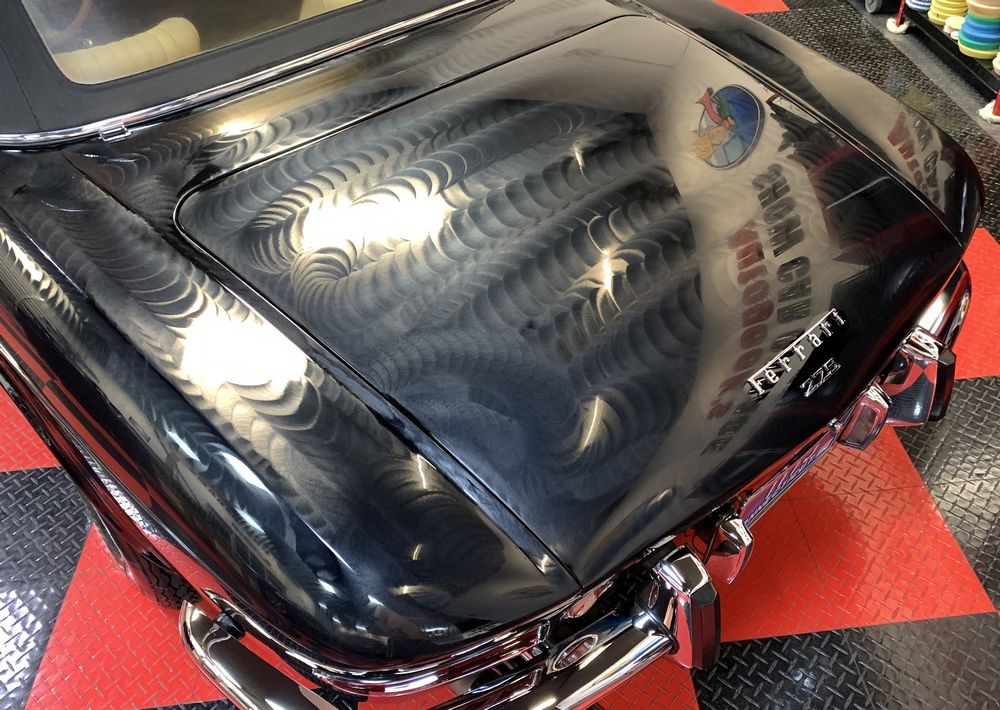
After doing the baggie test, next I inspect the paint using a swirl finder light to determine the swirl level in the paint. To be honest, this car wasn't bad at all. The paint condition is not great but I've definitely worked on a a lot worse condition cars in my life.


There were a number of places with marring like you see in the picture below.


Oxidized to the point of turning WHITE
Around the windshield washer squirters the paint has NOT been mechanically polished for years, maybe never. The reason for this is it's a tight little area to get a machine. It could be polished by hand if someone would have taken on this responsibility over the decades - but the swirls and scratches IN the oxidized white paint makes it look like that these two areas have simply been neglected.


I have an Angry Nano that will take care of these two areas. I had to use both hands to control the Nano when working around the windshield washer squirters so no pictures but I did mock-up a picture showing how I used the Nano to remove the swirls in the concave curved area in front of the headlights.


")
George Harrison's 1966 Ferrari 275 GTS
This was a unique detailing project. This car has the ORIGINAL single stage black paint. It has been detailed by others before me over the last 55 years. I have know idea what others have used and thus how much paint they have removed. For all I know the paint on this car is Whisper Thin. One thing for sure, I will approach this car as though the paint is Whisper Thin.
First things first.... I need to get this car clean.
The car washing dilemma
One of the things I teach and practice is the Professional Detailer's Oath, which is similar to the physician's oath and that is,
First do no harm when detailing a car
Now allow me to explain what this has to do with washing a car, or at least washing a car in the normal sense most people think of in their brain. Washing a car for most people means getting a water hose, a water sprayer, a bucket, some car wash soap and a wash mitt. Agree?
The above is perfectly okay-dokey for a new or modern car. When it comes to classics, or more specifically, when it comes to OTHER PEOPLE'S CLASSICS - As a professional courtesy to the current owner and future owners, I don't introduce running water to cars where rust can be an issue. I just don't do it. You can do it. Not me. I already know the most expensive part of restoring a car is cutting out rusted body panels, replacing removed portions with new replacement sheet metal and then rust-proofing everything. So as a professional courtesy to the owners of fine automobiles I don't wash them with the traditional hose and bucket method and I teach this in all my car detailing classes for upcoming professional detailers to emulate if they so choose.
So how do you get a car clean without using the traditional hose and bucket method?
Good question and there are a number of ways to do this but for the last few years my preferred method is to use the "Waterless Wash" approach using SONAX Glass Cleaner as my waterless wash of choice.
PREP WASH ONLY
I've seen some confusion over this topic so let me clear it up. I only use SONAX Glass Cleaner when doing a PREP WASH - not a maintenance wash.
What's the difference between a Prep Wash and a Maintenance Wash?
Great question. Thank you for asking.
A Prep Wash is for getting a neglected car clean BEFORE you detail it. In this context, the word detail includes paint correction.
A Maintenance Wash if for carefully taking care of a car when being washed AFTER you detail it.
A Maintenance Wash if for carefully taking care of a car when being washed AFTER you detail it.
HUGE DIFFERENCE.
I don't use any brand of glass cleaner when doing a maintenance wash. In fact my favorite car wash soap, (for most cars), when doing a maintenance wash is this one.
So to get this car clean before I start detailing it I used SONAX Glass Cleaner and LOOK at the pictures - PLENTY of clean, inspected, uncontaminated microfiber towels. If you're new to detailing, new to this site or new to my how-to articles, then read this.
Measuring Paint Thickness
This is a great example of when to use a Paint Thickness Gauge to inspect a car to find out if the paint is dangerously thin. Being 55 years old as of the date of this write-up, I have know idea how many people have worked on this car? Did they just wax it with Simonize Wax? Or has someone compounded this car with a Caveman compound? I have know way of knowing the past and what was used. So what I do is take some measurements around the car to get an idea of the overall thickness or thinness of the paint.
Paint Thickness Reading Results
Overall, the paint on all the panels measured in the range of 6.0 mils to 10 mils - to me this means most of the original paint is likely STILL on the car. I don't know for sure, but the readings show each body panel is in the same range and that's a sign of uniformity and uniform paint thickness is a good sign.
The Baggie Test
Next I gently performed the Baggie Test. If you don't know, the Baggie Test is a simple test you can do to check and see if the paint needs to be clayed. The thin plastic membrane of a clean plastic baggie, placed over your hand, will increase your sensitivity and enable you to feel above surface bonded contaminants that your normal sense of touch cannot feel. If you feel tiny bumps on the paint this is a sign you need to use detailing clay to clay the paint. If the paint feels smooth with the baggie test - this is a sign the paint is NOT contaminated and you can skip the claying step.
Visual Inspection
After doing the baggie test, next I inspect the paint using a swirl finder light to determine the swirl level in the paint. To be honest, this car wasn't bad at all. The paint condition is not great but I've definitely worked on a a lot worse condition cars in my life.
There were a number of places with marring like you see in the picture below.
Oxidized to the point of turning WHITE
Around the windshield washer squirters the paint has NOT been mechanically polished for years, maybe never. The reason for this is it's a tight little area to get a machine. It could be polished by hand if someone would have taken on this responsibility over the decades - but the swirls and scratches IN the oxidized white paint makes it look like that these two areas have simply been neglected.
I have an Angry Nano that will take care of these two areas. I had to use both hands to control the Nano when working around the windshield washer squirters so no pictures but I did mock-up a picture showing how I used the Nano to remove the swirls in the concave curved area in front of the headlights.