Pictures: 2016 Challenger Scatpack Shaker & 2016 Dodge Hellcat - Black Label Diamond Paint Coating

  • Thread starter Thread starter Mike Phillips
  • Start date Start date
M

Mike Phillips

Guest
Pictures: 2016 Challenger Scatpack Shaker & 2016 Dodge Hellcat - Black Label Diamond Paint Coating


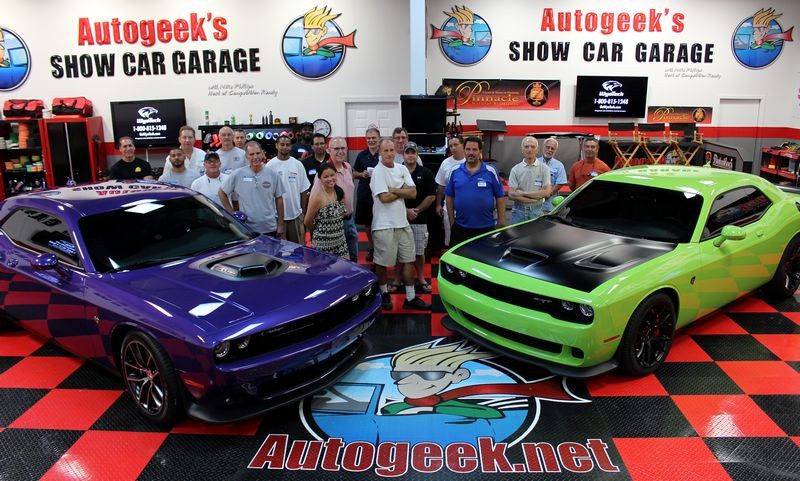
Wow! Huge turn out tonight!

We machine polished and applied Pinnacle Black Label Diamond Paint coating to the 2016 Challenger Scatpack Shaker and the Sublime Hellcat is sporting Wolfgang Deep Gloss Paint Sealant 3.0


watermark.php


watermark.php


Time to shut down Autogeek's Show Car Garage for the night - Thank you to everyone that attended tonight.

Thank you Ken and Frank for trusting Autogeek with your wicked bad Mopars!
 
Sweet cars! Look awesome too! Wish you would have one of these in DFW...*hint hint wink wink nudge nudge*
 
Here's a few of the after shots for the R/T Scatpack Shaker from last night...

watermark.php


watermark.php


watermark.php


watermark.php


watermark.php


watermark.php


watermark.php


:)
 
Holograms in paint

Ken recently had the driver's front fender repainted due to a foam gun accident. Here's the two Mopars as they pulled into Autogeek's Corporate Headquarters.

watermark.php


Here's the front driver's fender...

watermark.php


Holograms in the paint

Here you can see where after painting and then buffing the repaired area the body shop left holograms in the finish.

watermark.php


watermark.php


watermark.php


watermark.php


No problemo...

While Ken's car is here we'll remove the holograms.


Just to note...

Recently I wrote a full-blown, in-depth article on how to use a foam gun and covered EVERY base to help others get the best performance out of their foam gun and also to avoid any accidents. Here's the link to the article,

How to use a foam gun by Mike Phillips


In post #4 I included this,

If the female coupling is NOT locked onto the male coupling, when the sprayer is hooked up to water and you press the sprayer the force of the water will push the Foam Metering Head and the quart of soapy water solution off the end of the sprayer and onto your car!

So pay attention!

watermark.php


So learn from Ken's experience and make sure the foam gun sprayer is correctly attached to the foam gun mixing head before you use the foam gun.


:)
 
Ken had thoroughly washed and dried his R/T Scatpack Shaker before driving to Autogeek and he only lives a short distance away. We inspected the paint using the baggie test and found it to be contaminated so first thing as to use Pinnacle Ultra Poly Detailing Clay to remove the contaminants.


watermark.php


watermark.php


watermark.php


watermark.php


watermark.php


:)
 
Machine polishing


NEW PRODUCT

New updated formula - Pinnacle Advanced Finishing Polish

Besides the hologram scratches from the body shop the rest of the paint on Ken's car looked pretty good but my rule for car detailing is if I'm going do any mechanical decontamination, in this case the class used detailing clay to clay the paint, then I'm going to do at least ONE MACHINE POLISHING STEP to ensure a pristine, better than new finish.

Nick gave me 6 bottles of the newly upgraded and improved Pinnacle Advanced Finishing Polish to use for this project. Most of the people you'll see in the pictures below were brand new to machine polishing so they wouldn't know a bad polish from a good polish. They simply don't have the experience to judge good from bad. What they did to however is polish the paint on this car without a single issue. And they turned out PROFESSIONAL quality results their very first time machine polishing.

I'm here to tell you - when it comes to polishing paint the MOST IMPORTANT factor is the abrasive technology. If the abrasive technology is junk then you're going to get junk results and you're going to struggle and waste time. Pinnacle uses the bet in abrasive technology and this is why I have the confidence to use it on cool cars like this and also switch Wayne Carini's shop over to Pinnacle compounds and polishes for the million dollar cars he works on.


For this class we had a very nice young lady named Grace join us and like many of the guys, this was her first time machine polishing paint.

watermark.php


watermark.php


watermark.php


Here's Robert DiTerrlizzi removing the holograms out of the driver's front fender

watermark.php


Eric, long time forum member all the way down from New York joined us tonight. Here he is using the RUPES IBrid Nano orbital polisher

watermark.php


watermark.php


watermark.php


This is the third time George has join us for our Thursday night detailing classs....

watermark.php


watermark.php


That's Ken the owner on the left working on his roof. After tonight Ken will have the confidence to machine polish the paint on his car by himself...

watermark.php


watermark.php


watermark.php


:)
 
Applying a Ceramic Paint Coating

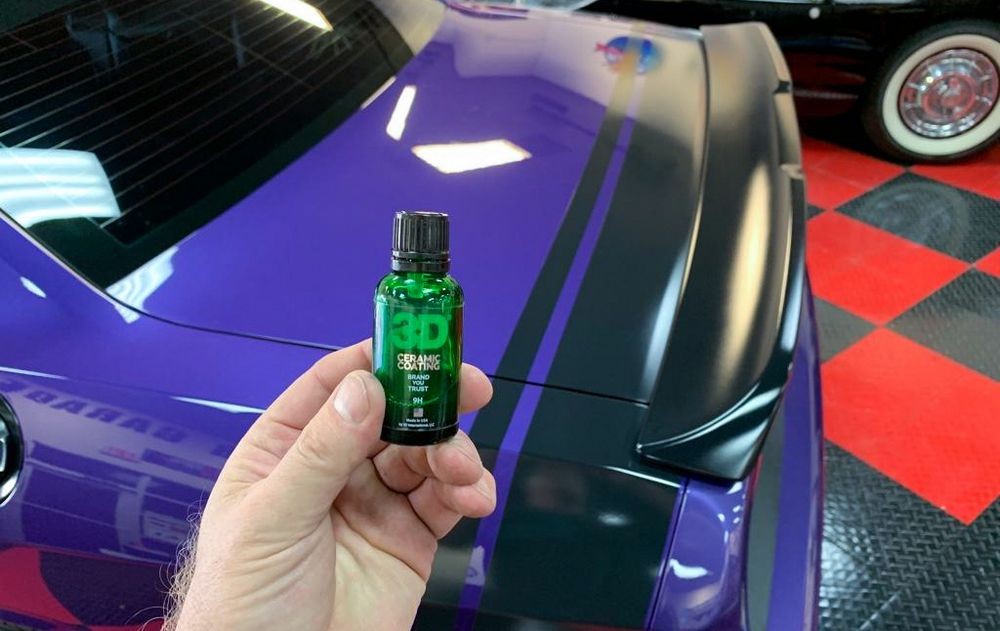
After prepping the paint with Pinnacle Black Label Surface Cleansing Lotion to remove any residual polishing oils off the paint after polishing it was time to apply the Pinnacle Black Label Diamond Paint Coating v2


How to apply a ceramic paint coating

Here's the class working as a team to apply the coating to the car. The process is simple,

Step 1: If you're by yourself then you apply the coating to a single panel at a time.

Step 2: Wait one minute and then inspect the panel and continue spreading out any high spots. Look at the panel at an angle and use available overhead light to find high spots.

Step 3: Wait one more minute and then wipe the panel with a clean, soft microfiber towel. At this point wipe off any high spots and give the entire a panel as soft wipe.

Step 4: Repeat to the next panel.

watermark.php


watermark.php


watermark.php


watermark.php


watermark.php


Gentle buff

After applying the coating and spreading it over the surface next you wipe each panel using a clean, soft microfiber towel to remove any high spots or excess product.

watermark.php


watermark.php


watermark.php


watermark.php


watermark.php


watermark.php


watermark.php


:)
 
And here are the results...


watermark.php


watermark.php


watermark.php


watermark.php


watermark.php


watermark.php


Great job everyone!


watermark.php


watermark.php


:dblthumb2:
 
Very nice!!!!!!! I can't wait to try out my black label coatings!!

How did you apply the cleansing lotion? By hand or machine?
 
Very nice!!!!!!! I can't wait to try out my black label coatings!!

How did you apply the cleansing lotion? By hand or machine?

We mostly applied it by machine - Porter Cable and LC blue pads.

Some small/tight areas were done by hand.
 
Pictures: 2016 Challenger Scatpack Shaker & 2016 Dodge Hellcat - Black Label ...

We mostly applied it by machine - Porter Cable and LC blue pads.

Some small/tight areas were done by hand.

Thanks for the reply Frank! Looks like you guys had a blast!!
 
Re: Pictures: 2016 Challenger Scatpack Shaker & 2016 Dodge Hellcat - Black Label ...

Thanks for the reply Frank! Looks like you guys had a blast!!

I always seem to have good time at the makeovers. It's good getting together with the usual group of guys, and meeting new people and eating some good food.

Mike is a great teacher and I always learn something new since every car has its unique issues.

You should try to make it sometime.
 
Forgot to add the below pictures to this thread. I previously used them in a write-up for the LC ThinPro pads but a recent discussion reminded me of the below pictures.

Half my work on this forum is simply remembering and/or finding work already done. :)


Removing wet sanding marks with the NEW Lake Country ThinPro Grey Extreme Cutting Pad

We machine polished Ken's R/T Scatpack Shaker to perfection using the new and improved Pinnacle Advanced Finishing Polish. This killer fine cut polish removed all the fine swirls and scratches and perfectly prepared the paint for a ceramic paint coating EXCEPT there were some deeper scratches on the passenger side roof. Ken didn't know how they were inflicted into the hood? They looked like something impacted the roof leaving straight line scratches about a half inch long over an area about 5" square.


Machine sanding

Sorry we didn't take any pictures but our classes are intense and very hands-on and the focus is on creating show cars not creating articles. That said, I machine sanded the scratches using the Griot's 3" Mini Polisher and 3M Trizact #3000 three inch sanding discs. I followed this by refining my sanding marks using 3M Trizact #5000 three inch sanding discs.

Next I asked Jeff aka GSKR here on the forum if he would remove the sanding marks NOT with a rotary buffer but with the same tool we sanded with and the NEW 3.5" ThinPro pads. Now Jeff is a good friend and one heck of a detailer. This guy can make a rotary buffer dance on paint. While I know he would normally make 2-3 passes with rotary and simply obliterate the sanding marks I wanted to challenge him to use what most would consider the least powerful polisher in our shop of 150 polishers.

Normally I wouldn't use the Griot's 3" Mini Polisher to remove sanding marks but with the new 3.5" ThinPro pads and the excellent pad rotation I had already seen and experienced I knew these pads would work great with small orbital polishers.


Here's Jeff working his magic!

watermark.php


This is the 3.5" Grey Extreme Cutting pad with McKee's Fast Compound
watermark.php


Look at the buffing pattern in the film of compound on the paint. Jeff's good and I trust him with any project here at Autogeek

watermark.php


watermark.php


watermark.php


Now Jeff has switched over to a 3.5" ThinPro white polishing pad and is re-polishing the area with Pinnacle Advanced Finishing Polish.

watermark.php


watermark.php


After all the polishing work was over we applied Pinnacle Black Label Diamond Paint Coating and here's the final results.

watermark.php


If you've been waiting for small thin pads for your small orbital polisher no matter what the brand the wait is over!


On Autogeek.com


3.5" ThinPro Foam Buffing Pads


Other products mentiond...


Griot's Garage 3" Mini Polisher

Griot's Garage 3" Pneumatic Orbital Polisher

RUPES Mini 12mm orbital polisher

Pinnacle Advanced Finishing Polish

McKee's 37 Fast Compound 16 oz

Pinnacle Black Label Surface Cleansing Polish

Pinnacle Black Label Diamond Paint Coating v2

3M Trizact Hookit 3 Inch Foam Discs P3000

3M Trizact 3 Inch 5000 Grit Foam Discs


2016 Challenger R/T Scatpack Shaker by Dodge - Shine by Pinnacle Black Label

watermark.php


watermark.php


:)
 
Hi Mike,

Whats the story on the green Hellcat?

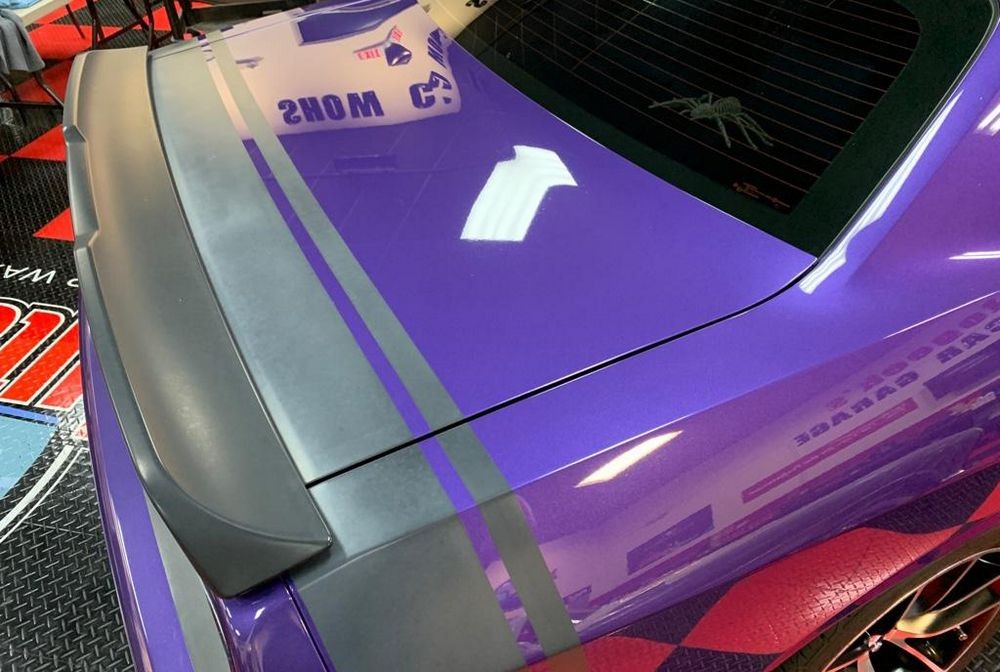
Reason for asking is that I might be doing a green Hellcat just like the one in your posts above. Biggest concern I have is the matt hood and rear spoiler. How or what to I do to clean those up? Plus I will have a ton questions in coming days---hopefully!

The car is in really good shape. Owner is very meticulous with his cars. Not too shabby on the baggie test but if I were to coat---I'll clay and polish it out. It's close to being a 2 step but if he wants perfection, I'll just do a 3 step.

Biggest concern right now is how do I approach the matt paint on the hood and rear spoiler.

Thanks,

Tom


Hi Tom,

The owner of the green Hellcat takes care of the paint using all Wolfgang compounds, polishes and the Deep Gloss Paint Sealant and his car always looks amazing. (he's a local guy).

For the matte surfaces he uses the McKee's Matte Finish product, can't think of the name.

At the time we worked on the two cars in this write-up for these cars the Dr. Beasley's Matte Paint Coating, nor the matte coating from GYEON were not around, like in not invented yet.


I just looked at the time stamp for the first post in this thread it's

07-14-2016, 09:19 PM

That's over a year ago.


I have not personally used the GYEON matte coating yet but did test it out at SEMA in a video here with Jeff from GYEON


I have used the Dr. Beasley's matte paint coating and I'm very impressed with the results. See here,

Review: Dr. Beasley’s Matte Paint Coating by Mike Phillips


Continued....


The money shots...

Note: Always take great before shots otherwise your after shots have so little value....


BEFORE

SCANGRIP_Matchpen_028.JPG


AFTER

Dr_Beasleys_Matte_Paint_Coating_06.JPG


NOTE: I'm working on getting the exact type of matte paint used on the 1971 Duster in this thread because I MACHINE polished it to clean it up before applying the coatings.


I explained why in the above thread - because just like the normal paint and the glass and chrome on this car was covered in some type of road film stain, so was the matte paint. And you can't coat dirty paint even when it's matte.

Make sense?


:)
 
Pictures: 2016 Challenger Scatpack Shaker & 2016 Dodge Hellcat - Black Label Diamond Paint Coating

:bump:


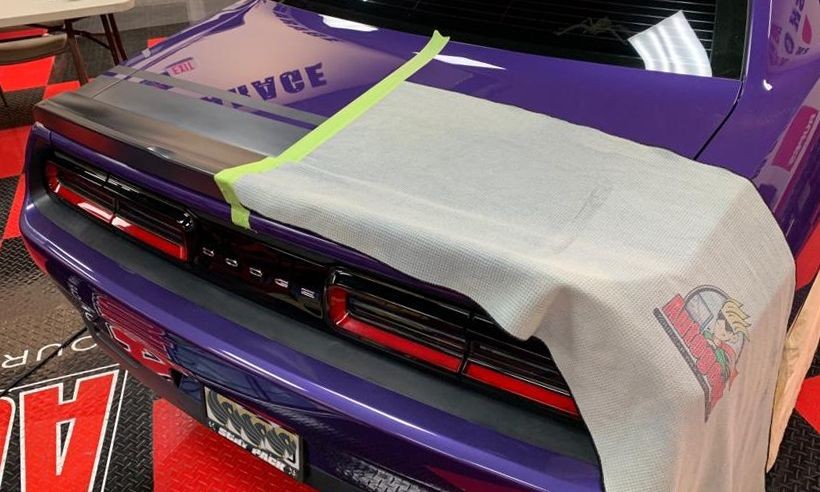
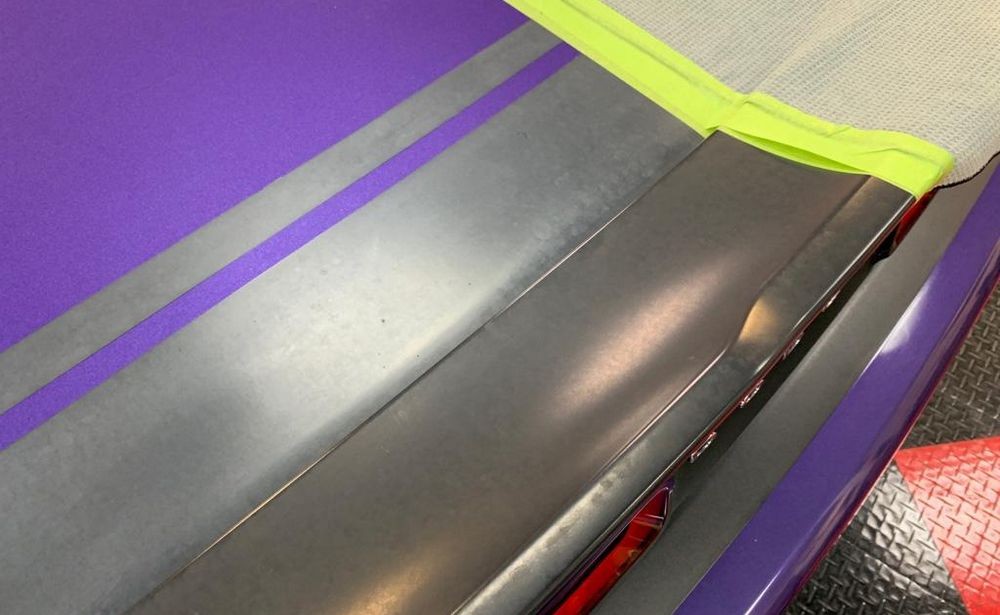
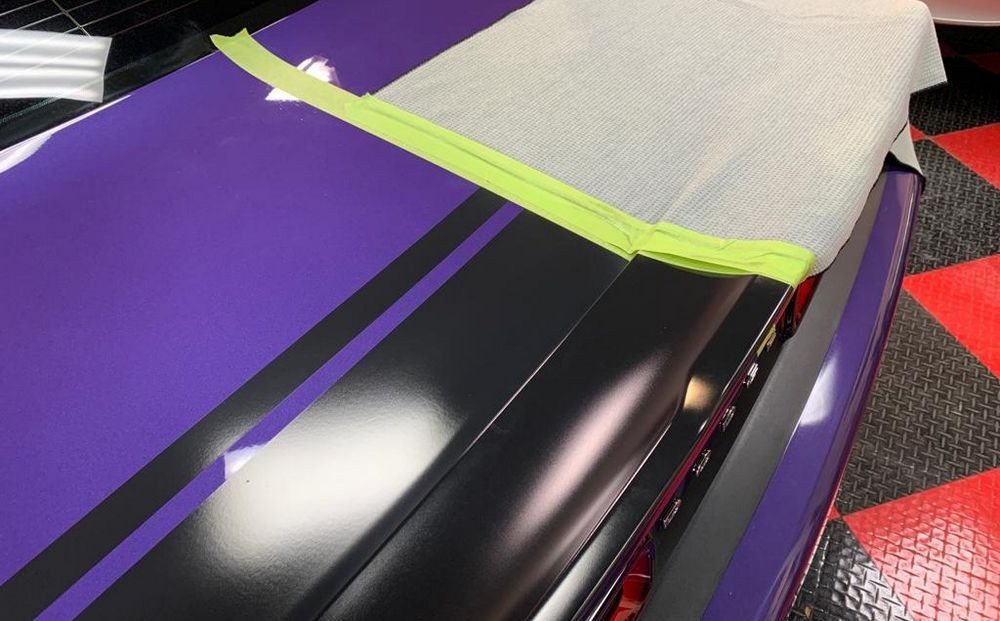
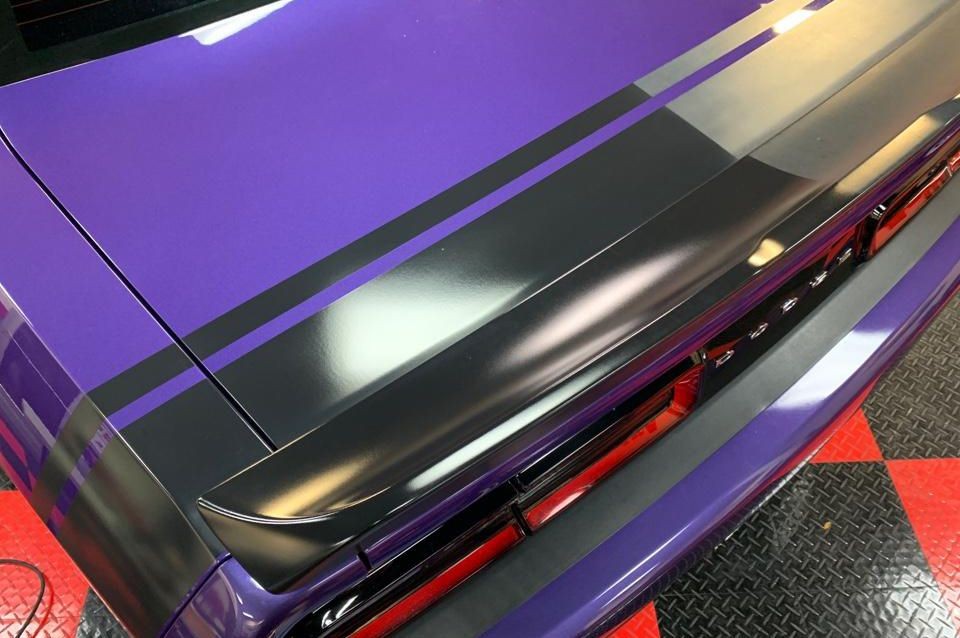
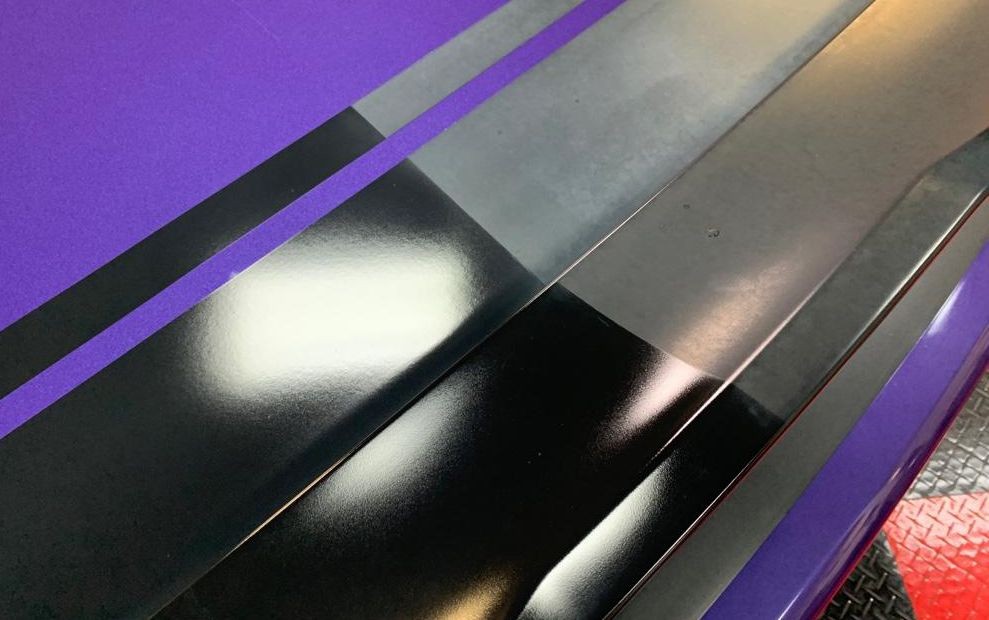
Machine Polishing NEGLECTED Matte Vinyl Graphics and Matte Plastic

Polishing_Matte_001.jpg


Polishing_Matte_002.jpg


Polishing_Matte_003.jpg


Polishing_Matte_004.jpg


Polishing_Matte_005.jpg


Polishing_Matte_006.jpg


Polishing_Matte_007.jpg


Polishing_Matte_008.jpg


:)
 
Mike,

Awesome 50/50...

What was the process?

Tom
 
Mike,

Awesome 50/50...

What was the process?

Tom

A lot of hard work and I used these...

Polishing_Matte_009.jpg


Polishing_Matte_010.jpg


Done.

Polishing_Matte_011.jpg


This was a car we detailed on a Thursday night a few years back. But like we all know,

Nothing lasts forever... not even you or I...


:)
 
That's incredible stuff, Mike.

And a sweet piece of Mopar meat there as well............. ;)
 
Back
Top