Thanks a million for the invitation to join you via the internet.
I had a ball and learned how much I don't know about taking care of my cars. Can't wait to tackle my ten year old F150 and attempt to make it look like new again.
The Sunday class that had them using the rotary buffer was great. Took a lot of the mystery out of operating that feared piece of equipment. Can't wait to make a few passes with that machine. I suspect it separates the men from the boys...
Just call me BOY.
Looking for a list of available videos relating to prepping a car for cleaning.
Would like to know how to tape a car prior to buffing. How and when to buff the angular pieces of metal on the car. When to do it by hand or machine. Differences in paints and clear coats. etc. I guess just about everything that has anything to do with cleaning a car.
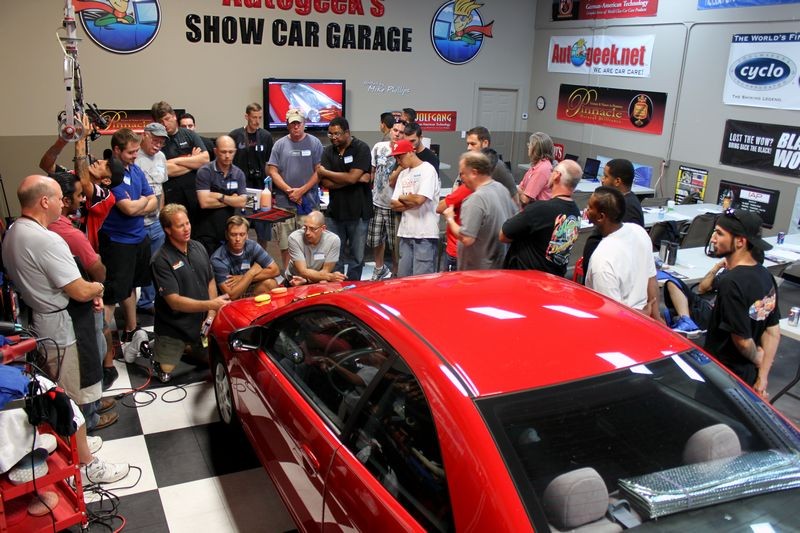
This was our victim car, err I mean demo car... a 1996 Cadillac Sedan Deville with horrific swirls and scratches....
Our facility is comfortable, roomy and air-conditioned plus completely stocked with everything required to hold a top notch class and ensure everyone gets plenty of hands-on time with ALL the different polishers.
In the Detailing 101 Class we go over all the different polishers and pads and show the difference between the drive mechanisms so when the students turn the machine on they understand how the tool works and how to better work the tool.
Our Power Point Presentation covers all aspects of machine polishing...
Each tool is discussed and then passed around the class so the connection between the information on how the tool works and then seeing, holding and checking out all the tools is immediate.
Next up during "Tool Time" is the Flex 3401, as I'm explaining the drive mechanism and how it works you can see the Griot's Garage DA Polisher being passed around the class...
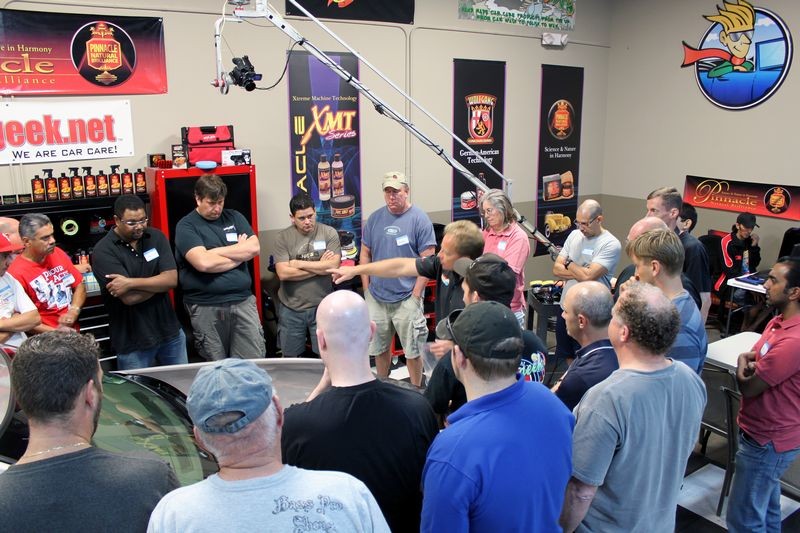
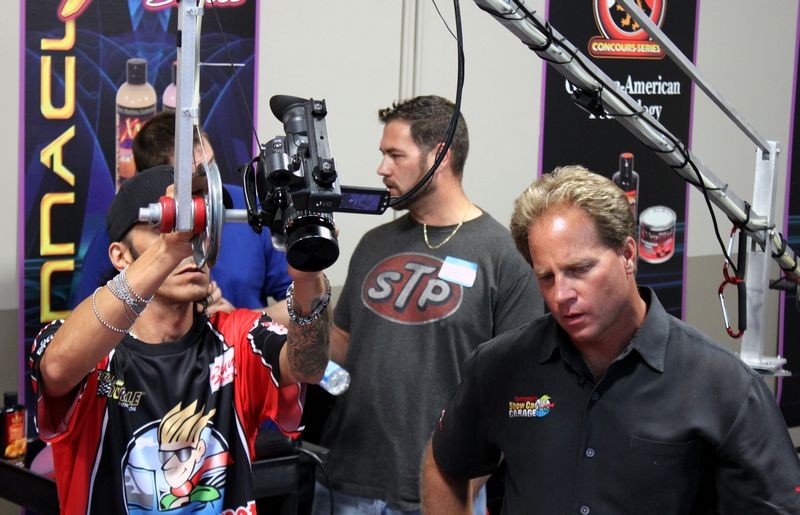
After we go through all the tools and how they work, there's a break and then it's time to take what we learned in the classroom and start putting it into practice on the car... note the video camera capturing everything and broadcasting it live...
Hey it's a What's in the Garage? T-shirt! Make sure you check out Autogeek's brand new TV Show on Sundays at 11:30am Eastern Time and 4:30pm Eastern Time on Fox Sports Network. To find a channel in your area check out LocateTV.com and type in
What's in the Garage?
Here we're letting people do "The Baggie Test" to inspect for bonded contaminants on the paint.
One thing I try to do in all my classes is make sure their fun... there's plenty of time for hands-on training, questions and answers and a good time...
Here I'm demonstrating the wrong way to use detailing clay...
Spraying Clay Lubricant onto the paint and onto the clay...
Demonstrating the correct technique for using detailing clay...
It's over 90 degrees outside here insunnyStuart, Florida but we have the air-conditioning cranked down to 74 degrees in our TV Studio/Classroom.
After demonstrating the correct technique for using detailing clay students are turned loose to clay the demo car...
After learning how to inspect the paint for swirls, water spots and scratches, and then inspecting the paint for above surface bonded contaminants and then claying the paint and anything else that's smooth... it's time for a Pizza Lunch!
After everyone's had some pizza and some cold refreshments... it's time to start having fun!
We start with a demonstration on how to correctly use DA Polishers to remove swirls and scratches, this means the Porter Cable 7424XP, followed by the Griot's Garage 6" Random Orbital Polisher, followed by the Meguiar's G110v2 DA Polisher. These are all the same "type" of DA Polisher in that they use a Free Floating Spindle Assembly, but each one has it's own unique features, size, shape and abilities...
I have an article that explains everything about the Free Floating Spindle Assembly, simply type these terms into Google to find and read it. The article also includes some history and background on the origins of these tools being used to polish paint instead of sand wood.
The Free Floating Spindle Assembly
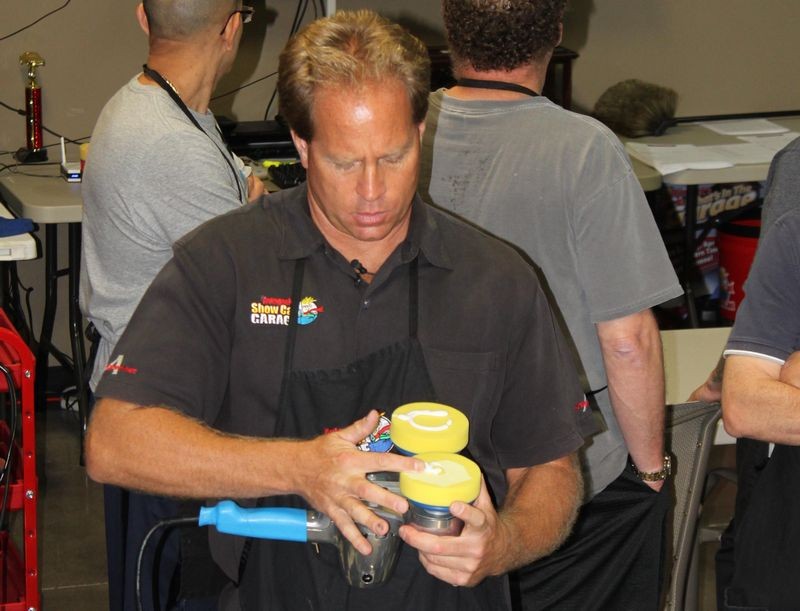
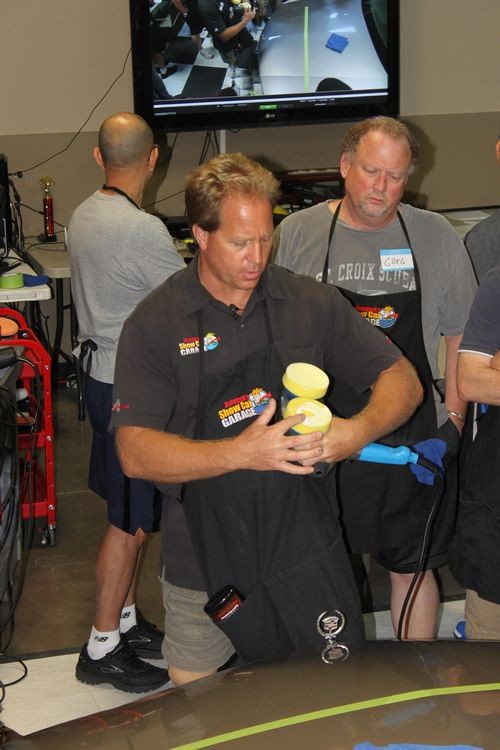
Priming a new pad that is clean and dry with Pinnacle Advanced Swirl Remover...
After the pad is primed we place 3 more portions of product onto the face of the pad...
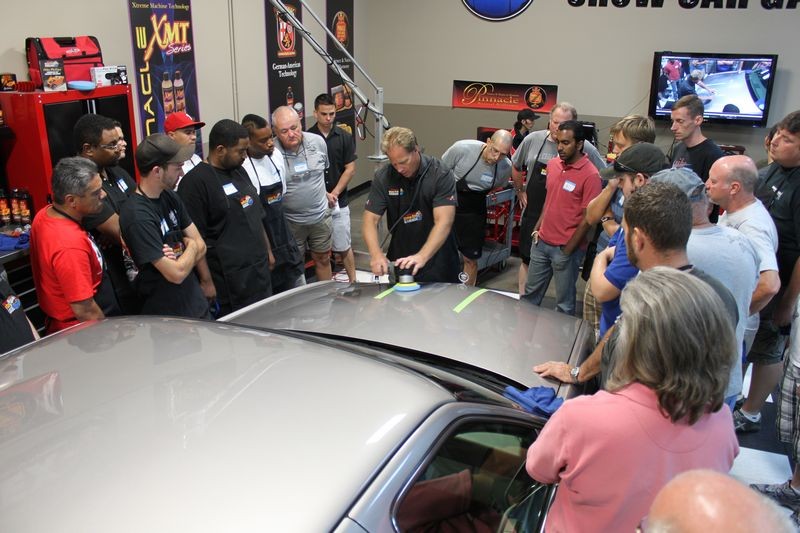
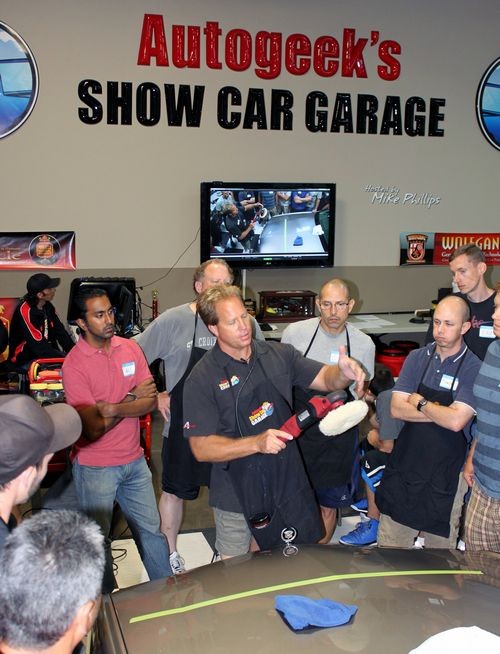
Then demonstrate how to correctly do a "Section Pass" to one area...
I'm pointing to the black mark on the backing plate and pointing out that in order to remove swirls out of a clear coat finish you need to maintain pad rotation.
Showing how to apply firm pressure to the head of the polisher while keeping the pad flat to the surface...
You can tell everyone attending is there to learn by the focus and attention they are paying to the task at hand...
Next up we're going to go over how-to use the Cyclo Mark 5 Dual Head Variable Speed Orbital Polisher
Note: Everything you see on the screen behind me was being streamed live over the Internet. This is something brand new Autogeek is bringing to the online detailing world... :xyxthumbs:
Priming the pads...
Ready to start removing swirls...
Next up is the Flex 3401 Forced Rotation Dual Action Polisher.
Everyone that attends our Detailing 101 Class has the opportunity to try all these tools out for themselves on on session to see which tools they like the best... pretty cool!
Priming the 6.5" CCS Light Orange Foam Cutting Pad
Also demonstrated is the self-correcting feature this tool offers in that if you don't hold the pad flat to the surface it will try to walk on you and of course everyone gets to experience this first-hand...
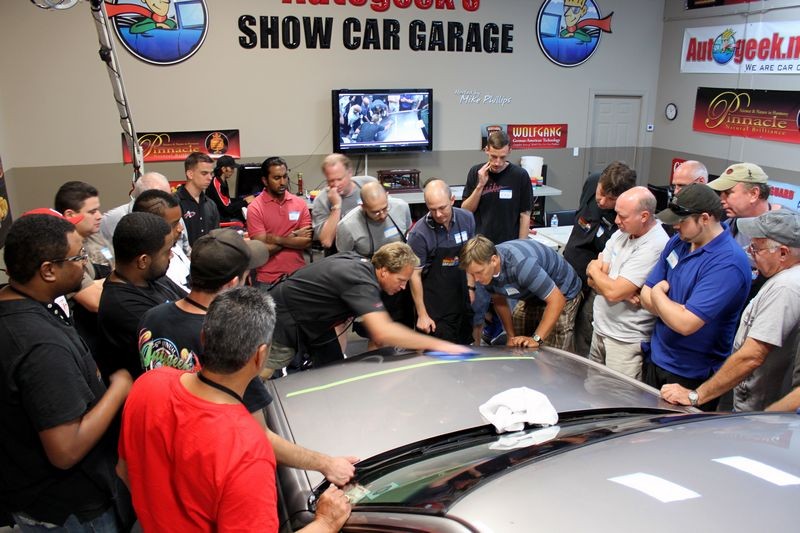
Now it's time for the Griot's Garage 6" Random Orbital Polisher...
In this photo and the below cropped out section, I'm actually pushing down hard enough to bend the sheet metal in the hood and the pad maintains rotation the entire time.
Now it's time to demonstrate,
How to clean your pad on the fly
Again, all these tips and techniques were broadcast live over the Internet both this Detailing 101 Class and for the Advanced Detailing 102 Class, "How to Wetsand, Cut and Buff for a Show Car Finish"
You can find my article on this technique by searching with Google, use the terms,
How to Clean Your Pad on the Fly
It really only works with DA Polishers like the PC, the GG and the Megs unit but you can use a modified version of it to clean pads on rotary buffers.
The idea behind cleaning your pad on the fly is that it's a quick way to get most of the built-up paint and spend product off the face of your buffing pad so you can get right back to work.
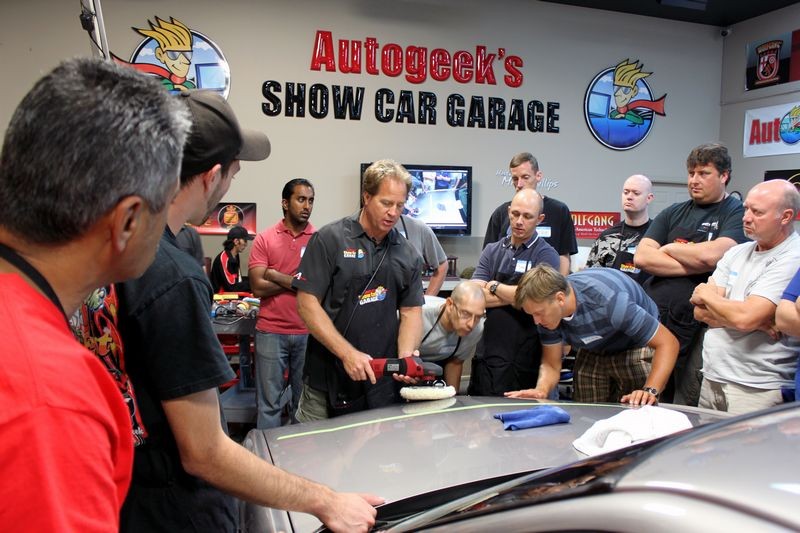
Saving the Flex PE14 Rotary Buffer for last... it's time to learn how to use the 10 @ 10 Technique to pick up a bead of product...
You can find my article on using the 10 @ 10 Technique by using the below words on Google
The 10 @ 10 Technique
The lightweight Flex PE14 makes learning to use the Rotary Buffer easy...
I love when people want to inspect the results closely....
Time to learn how to clean pads when buffing with a rotary buffer...
The System 2000 Pad Washer is for the most part best at cleaning wool pads with rotary buffers and it does a great job! If you're going to do a lot of compounding with wool pads and rotary buffers you need a System 2000 Pad Washer.
Place the pad inside the pad washer and close the splash guard lid then simply run your buffer around 1000 RPM to clean, then lift the buffer up a little and bring the RPM's up to a faster speed to sling out any excess cleaning solution using centrifugal force.
You can also use the Grit Guard Universal Pad Washer to clean wool pads with a rotary buffer, I took a moment to show how the water pumps work because it's important that you pump your pad up and down against the Grit Guard Insert to get the water pumps to inject the pads with cleaning solution.
I put the Grit Guard Insert back into the bucket on top of the water pumps...
Re-attach the splash guard lid and we're ready to clean our pad...
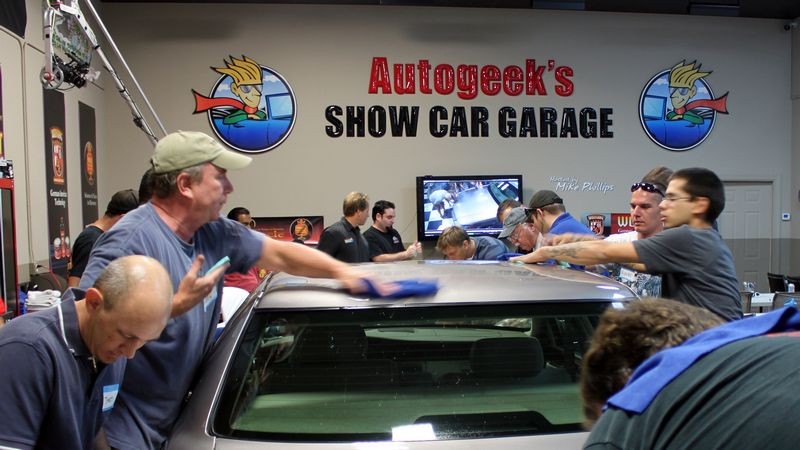
After demonstrating proper techniques with each of the tools it's hands-on time!
Ali testing out the Porter Cable 7424XP
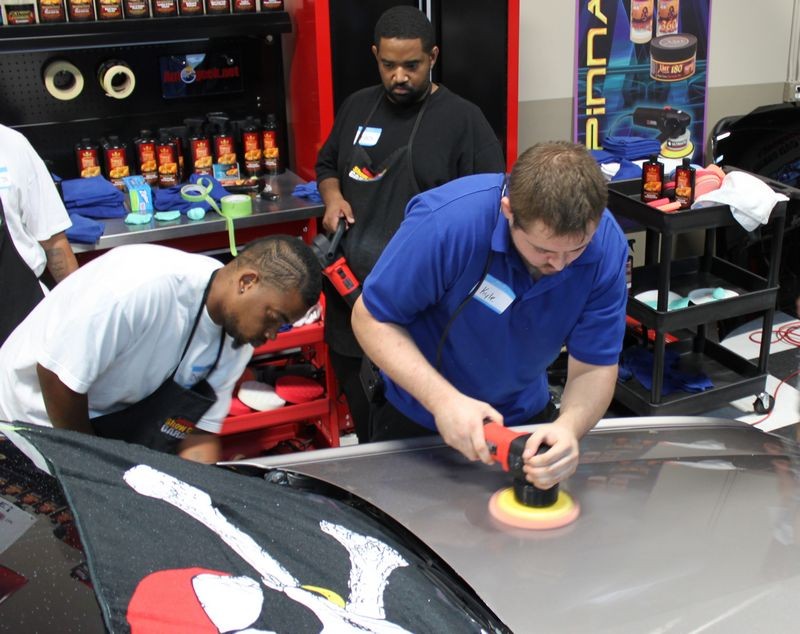
Kyle testing out the Griot's Garage DA Polisher
Larry loves the Flex PE14 with a 7.5" Wool Cutting Pad and a Solo Flexible Backing Plate
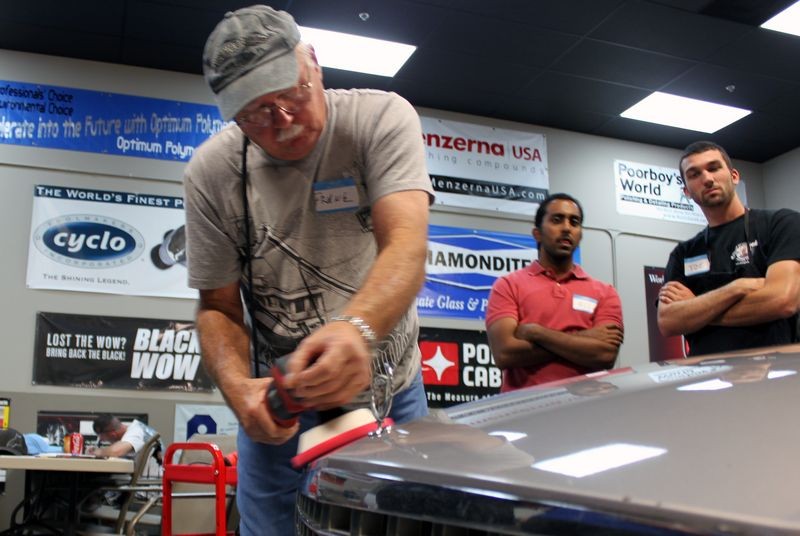
Frank in the two pictures below was actually very good with the rotary buffer, you could tell he's been using an RB for decade as he made it look so easy...
That's a Flexi-Foam 5" Backing Plate with a 5.5" Hydro-Tech Crimson Pad... I highly recommend flexible backing plates, especially if you're new to the rotary buffer.
We didn't get a lot of pictures showing people using all the different polishers because everyone's hands had polishers in them instead of cameras... but the hands on portion goes for around 3 hours easy... so there's plenty of time to for each person to put each polisher to work...
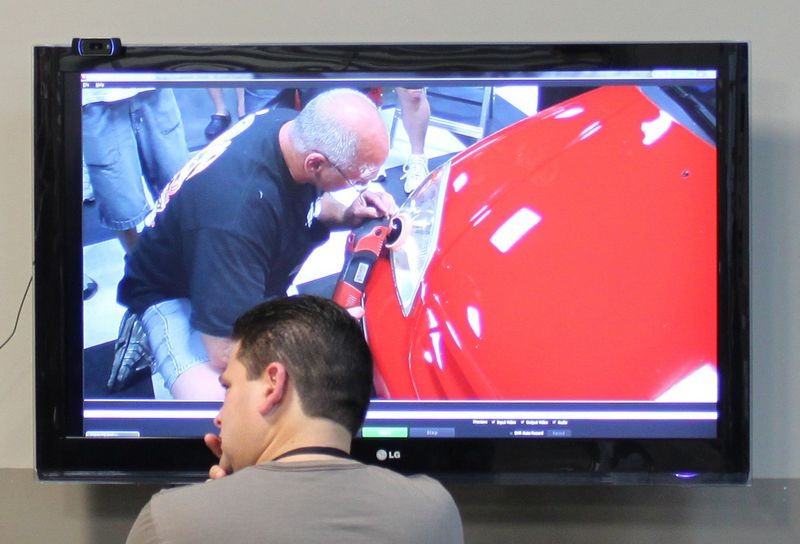
After we buffed out the Cadillac and worked it all the way up to the waxing step, we brought in Kendra's Honda for a demonstration on how to restore headlights using the Diamondite Headlight Restoration Kit for Machine Application.
The Flex PE14 is hands down the perfect polisher for machine cleaning and polishing headlights due to its lightweight, compact size and 400 to 2100 RPM Range.
If you look at the Big Screen TV you can see a Crystal clear headlight lens after polishing...
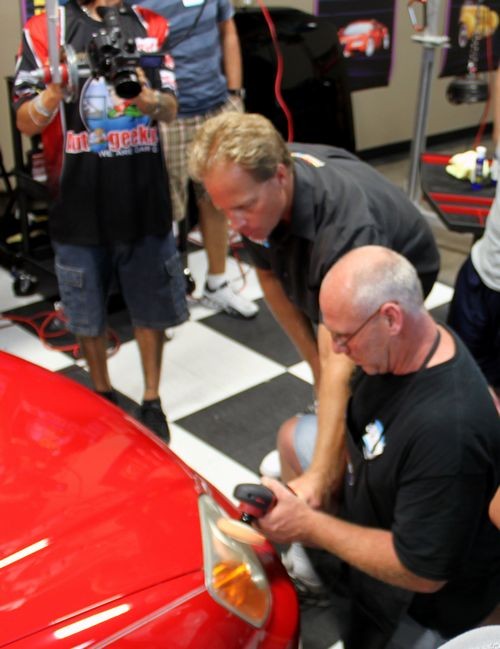
Showing Rick how to pick up a bead of plastic polish using the 10 @ 10 Technique on the face of the headlight... hands-on training dramatically flattens out the learning curve.
After tweaking Rick's technique just a little he's making using a rotary buffer look easy... (Look at the Big Screen TV)
Yancy did a spectacular job of running all the cameras and computers during the both classes...
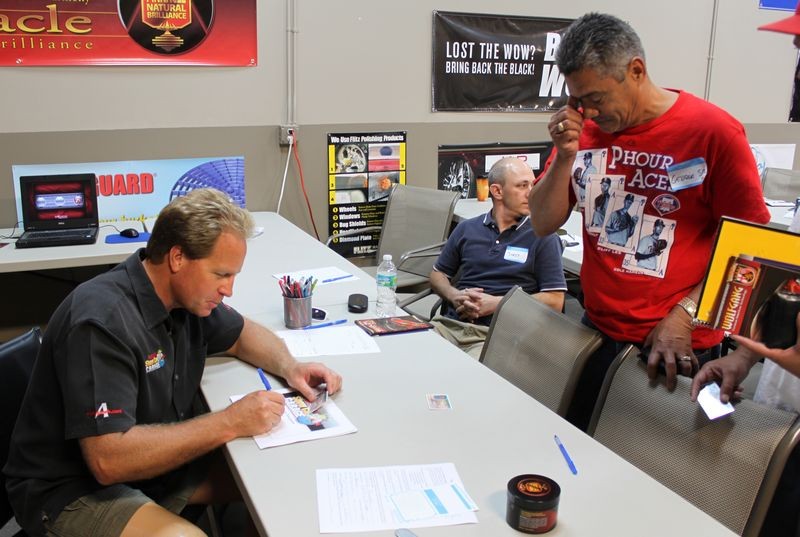
Wrapping up the class with a time for questions and answers both from the students in the class and our online students...
After completion of the class, each student gets the Autogeek Show Car Garage Certificate
The following Monday, before returning the car to the owner I took a short video to show the after results...
First the before pictures of our scratched and swirled-out demo car... a 1996 Cadillac Sedan Deville
Now the after video...
Show Car Results by the May 14th Detailing 101 Class
[ame=http://www.youtube.com/watch?v=WaRsnCBeR3s&hd=1]YouTube - Detailing Class Results from Autogeek's May 14th Detailing 101 Class[/video]
Be sure to clear your schedule and make plans to be at our next set of classes...
After demonstrating proper techniques with each of the tools it's hands-on time!
Ali testing out the Porter Cable 7424XP
Kyle testing out the Griot's Garage DA Polisher
Larry loves the Flex PE14 with a 7.5" Wool Cutting Pad and a Solo Flexible Backing Plate
Frank in the two pictures below was actually very good with the rotary buffer, you could tell he's been using an RB for decade as he made it look so easy...
That's a Flexi-Foam 5" Backing Plate with a 5.5" Hydro-Tech Crimson Pad... I highly recommend flexible backing plates, especially if you're new to the rotary buffer.
We didn't get a lot of pictures showing people using all the different polishers because everyone's hands had polishers in them instead of cameras... but the hands on portion goes for around 3 hours easy... so there's plenty of time to for each person to put each polisher to work...
After we buffed out the Cadillac and worked it all the way up to the waxing step, we brought in Kendra's Honda for a demonstration on how to restore headlights using the Diamondite Headlight Restoration Kit for Machine Application.
The Flex PE14 is hands down the perfect polisher for machine cleaning and polishing headlights due to its lightweight, compact size and 400 to 2100 RPM Range.
If you look at the Big Screen TV you can see a Crystal clear headlight lens after polishing...
Showing Rick how to pick up a bead of plastic polish using the 10 @ 10 Technique on the face of the headlight... hands-on training dramatically flattens out the learning curve.
After tweaking Rick's technique just a little he's making using a rotary buffer look easy... (Look at the Big Screen TV)
Yancy did a spectacular job of running all the cameras and computers during the both classes...
Wrapping up the class with a time for questions and answers both from the students in the class and our online students...
After completion of the class, each student gets the Autogeek Show Car Garage Certificate
The following Monday, before returning the car to the owner I took a short video to show the after results...
First the before pictures of our scratched and swirled-out demo car... a 1996 Cadillac Sedan Deville
Now the after video...
Show Car Results by the May 14th Detailing 101 Class
[ame=http://www.youtube.com/watch?v=WaRsnCBeR3s&hd=1]YouTube - Detailing Class Results from Autogeek's May 14th Detailing 101 Class[/video]
Be sure to clear your schedule and make plans to be at our next set of classes...