Mike Phillips
Active member
- Dec 5, 2022
- 51,004
- 8
Pictures: Free Ceramic Coating Class - Wednesday, December 11th, 2019
We started at 5:00pm and finished at 8:30pm, that's 3 1/2 hours to take neglected to respected.
5-Step Process
Test Spot on the 1972 Chevelle
BEFORE condition - the side with the swirls.
AFTER condition = the test spot - the side without swirls.

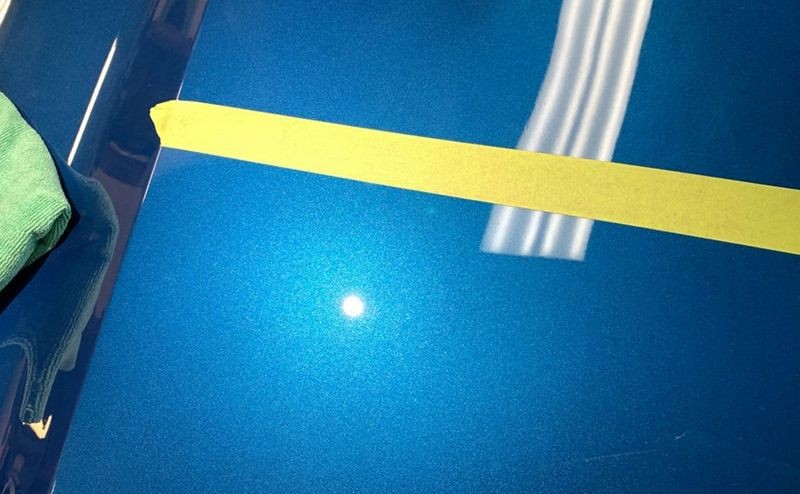
RIDS = GONE!
The hood on the Chevelle had the normal shallow or light swirls and scratches throughout the finish and also much deeper random straight-line scratches or Random Isolated Deeper Scratches also called RIDS, where it looks like someone tried to rub something off the paint.
Using just the BLACKFIRE Polish everything is GONE! I would say from experience, the paint on this Chevelle is on the medium to soft side of the Paint Hardness Scale.
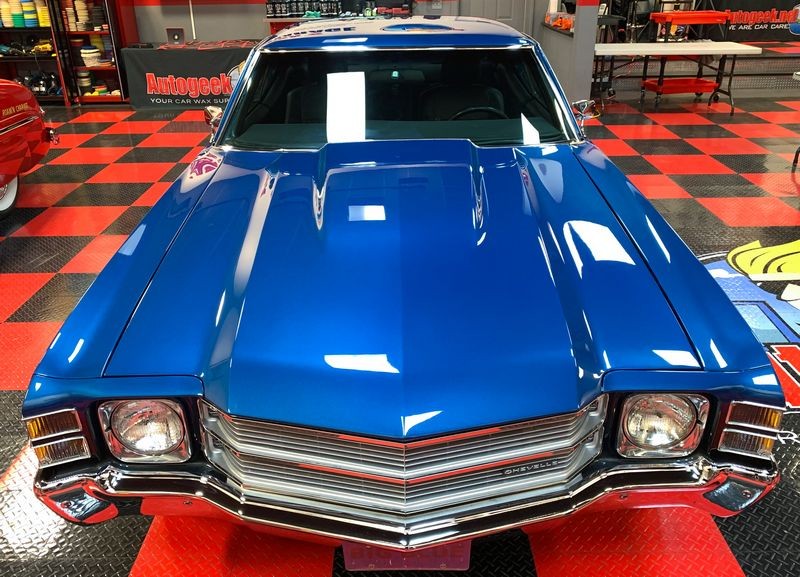
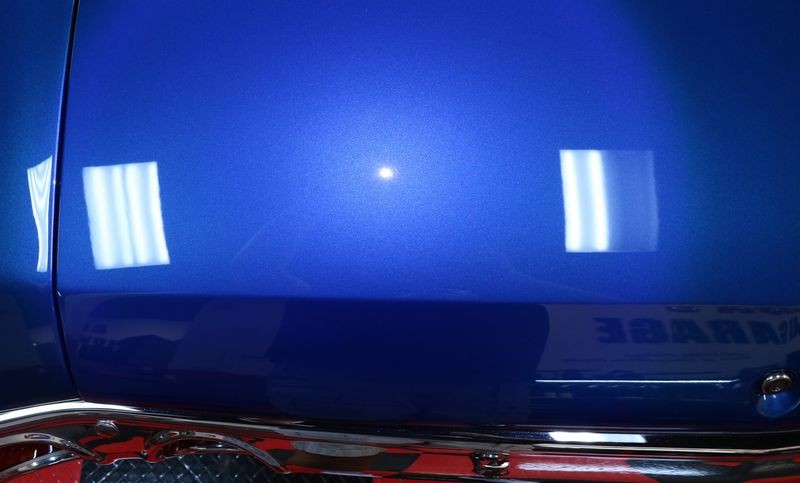
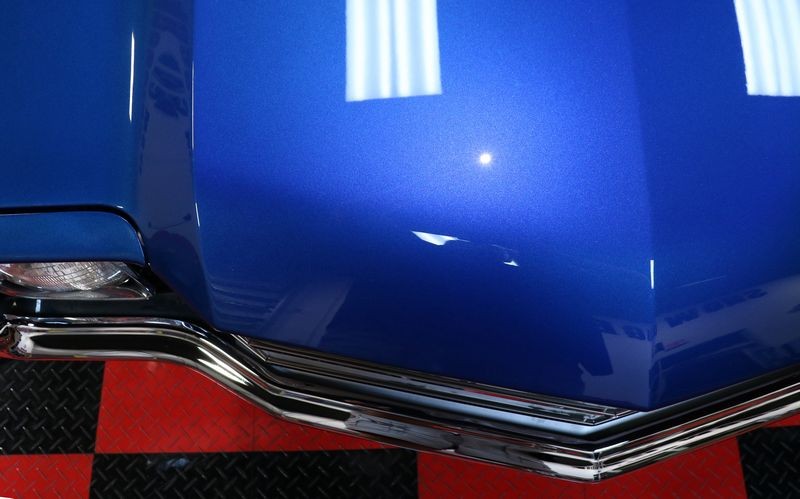
With a crystal clear clearcoat you can easily se the metallic flake in the basecoat.
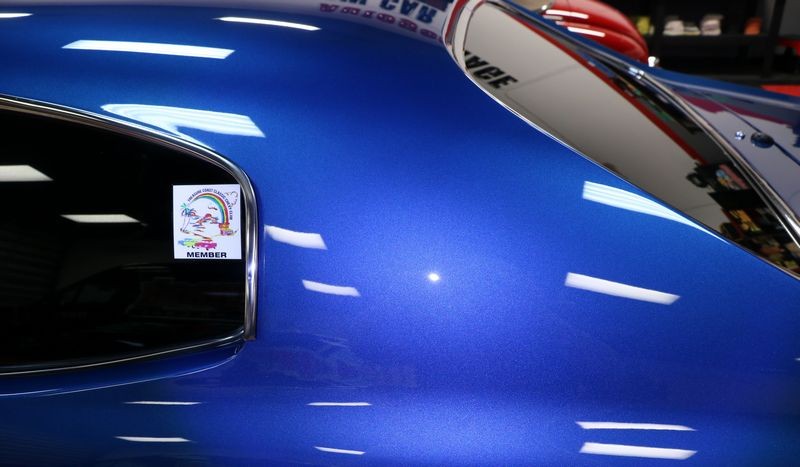


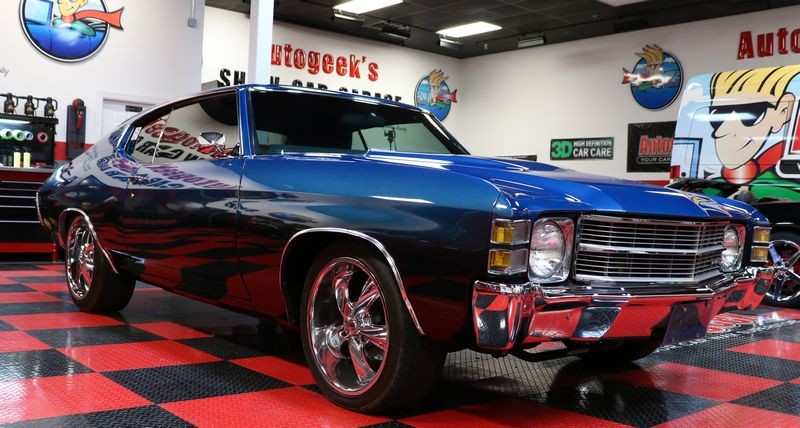
This 1972 Chevelle besides looking great on the outside looks great on the inside with a custom interior.

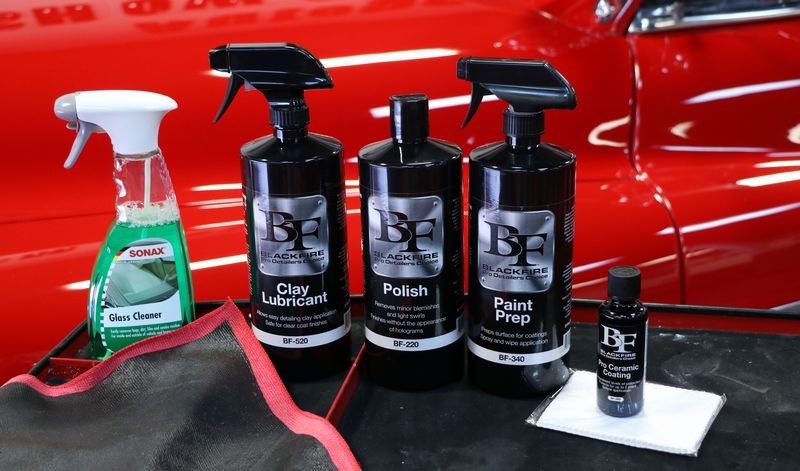
Here's everything used on the Chevelle

Test Spot on the 1949 Mercury
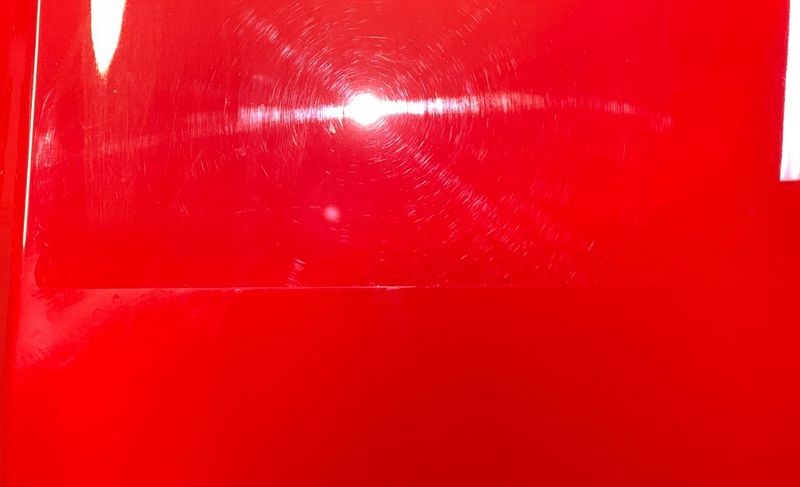
BEFORE condition - the side with the swirls.
AFTER condition = the test spot - the side without swirls.
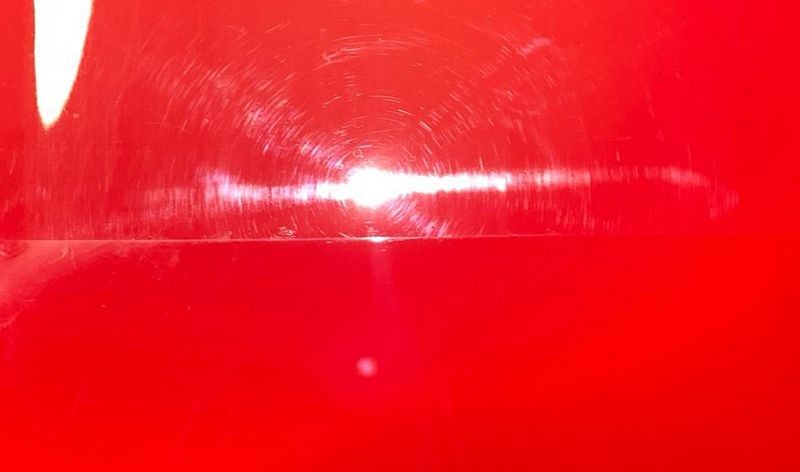
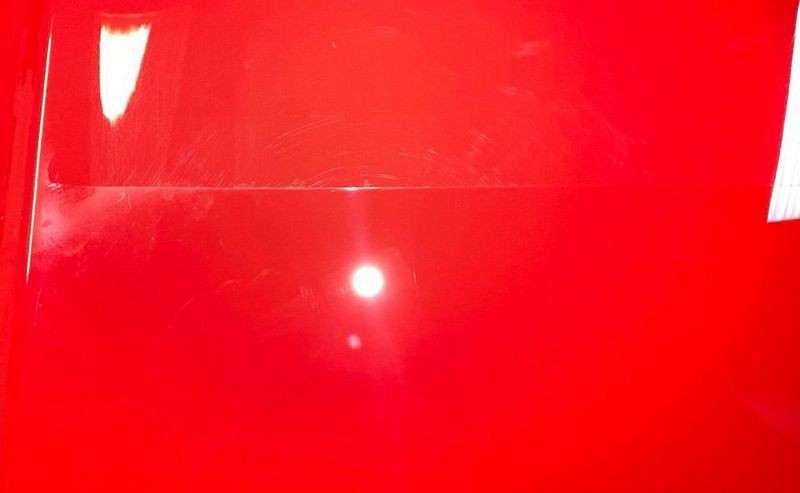
After results...

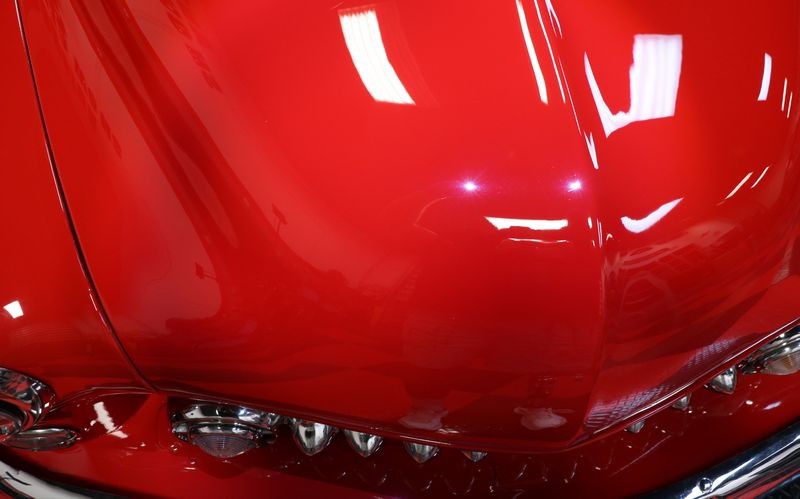


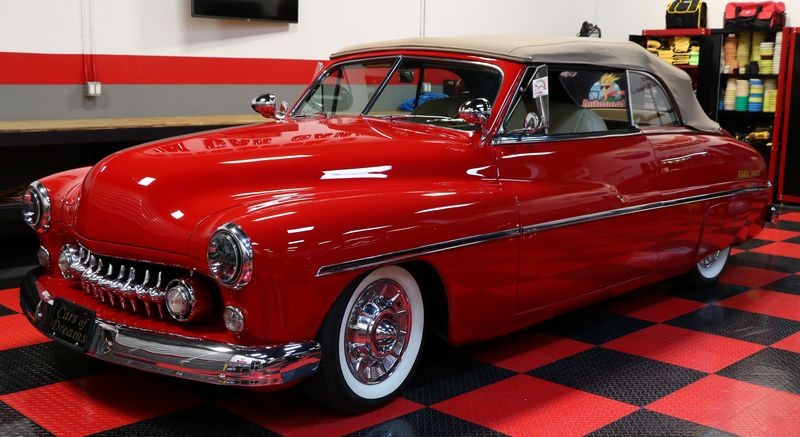

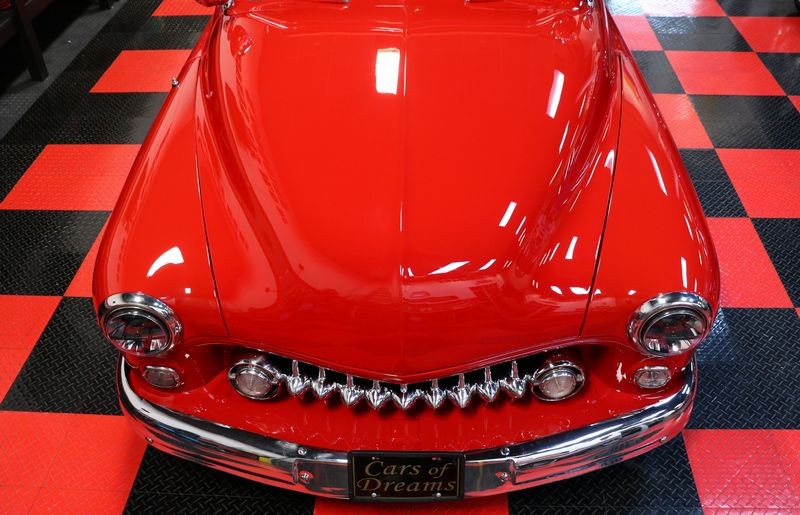
In case you've never seen the inside of a 1949 Mercury, he's what she looks like....

Here's everything used on the Mercury...

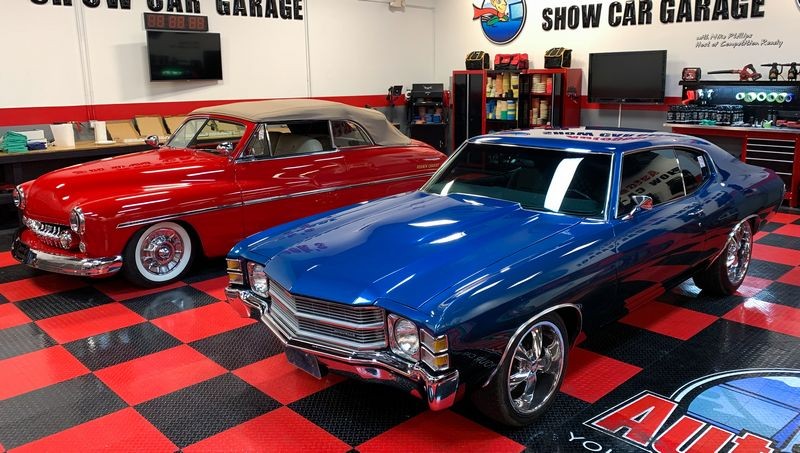
Both cars were coated with the BLACKFIRE Pro Ceramic Paint Coating
My comments....
We had a lot of new people at this ceramic coating class and even a few people that had never used a machine to polish paint before this class. The focus was to keep the class simple yet fun and of course educational. At least half of the class had never installed a ceramic coating before so this class was a real EYE OPENER because they found out first-hand, how easy it is as long as you do the proper prep work and have a great hand-held light to inspect the vertical panels for High Spots after the final wipe.
As the class worked through each of the 5 steps, they were able to get to know one another and then gel or work-together towards the goal. And the goal was a show car finish on two real-world examples of show cars.
Great job everyone!
You can get these same results on your 1949 Mercury or 1970 Chevelle or whatever it is you drive, be it a Ford or a Honda. The links to everything we used are below except the tools. I brought out 25 different tools and let each person choose and use whichever tool they were most interested in.
On Autogeek.com
SONAX Glass Cleaner
Speed Master Clay Towel
BLACKFIRE Clay Lubricant 32 ounce
BLACKFIRE Paint Prep 32 ounce
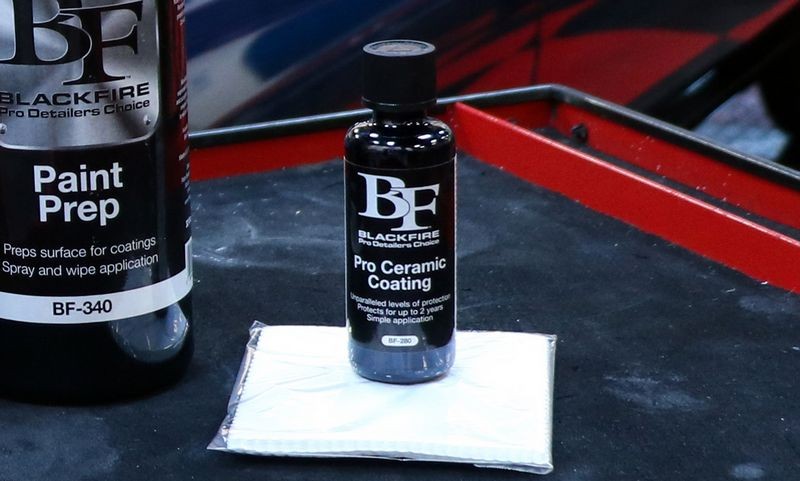
BLACKFIRE Pro Ceramic Coating Kit
We used LOTS of these to wipe off the polish residue and to give the coated paint a final buff.
Cobra Forrest Green Edgeless Polishing Cloth
We used the GYEON Bald Wipes 16" x 16" with the BLACKFIRE Prep Spray to chemically strip the paint before installing the coating. These towels use a flat weave and are a tick more stout than most microfiber towels making them perfect for use with a Panel Wipe or solvent.
GYEON Bald Wipe Microfiber Towel - 16" x 16"
Ready for the next car show!
VIDEO
My co-worker Meghan did however capture video footage and create this Hyperlapse Video
>CLICK the Picture to watch the Video<
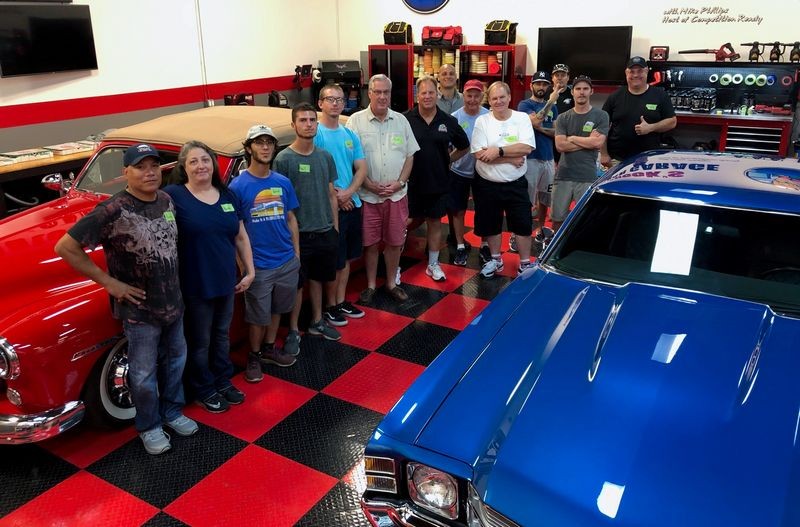
And here's the team that made the magic happen!

We started at 5:00pm and finished at 8:30pm, that's 3 1/2 hours to take neglected to respected.
5-Step Process
- Waterless wash using SONAX Glass Cleaner.
- Mechanical Decontamination using BLACKFIRE Clay Lube and Speed Master Clay Towels.
- Machine Polish using BLACKFIRE Polish.
- Chemically strip using BLACKFIRE Paint Prep.
- Install BLACKFIRE Pro Ceramic Coating.
Test Spot on the 1972 Chevelle
BEFORE condition - the side with the swirls.
AFTER condition = the test spot - the side without swirls.


RIDS = GONE!
The hood on the Chevelle had the normal shallow or light swirls and scratches throughout the finish and also much deeper random straight-line scratches or Random Isolated Deeper Scratches also called RIDS, where it looks like someone tried to rub something off the paint.
Using just the BLACKFIRE Polish everything is GONE! I would say from experience, the paint on this Chevelle is on the medium to soft side of the Paint Hardness Scale.
With a crystal clear clearcoat you can easily se the metallic flake in the basecoat.
This 1972 Chevelle besides looking great on the outside looks great on the inside with a custom interior.
Here's everything used on the Chevelle
Test Spot on the 1949 Mercury
BEFORE condition - the side with the swirls.
AFTER condition = the test spot - the side without swirls.


After results...
In case you've never seen the inside of a 1949 Mercury, he's what she looks like....
Here's everything used on the Mercury...
Both cars were coated with the BLACKFIRE Pro Ceramic Paint Coating
My comments....
We had a lot of new people at this ceramic coating class and even a few people that had never used a machine to polish paint before this class. The focus was to keep the class simple yet fun and of course educational. At least half of the class had never installed a ceramic coating before so this class was a real EYE OPENER because they found out first-hand, how easy it is as long as you do the proper prep work and have a great hand-held light to inspect the vertical panels for High Spots after the final wipe.
As the class worked through each of the 5 steps, they were able to get to know one another and then gel or work-together towards the goal. And the goal was a show car finish on two real-world examples of show cars.
Great job everyone!
You can get these same results on your 1949 Mercury or 1970 Chevelle or whatever it is you drive, be it a Ford or a Honda. The links to everything we used are below except the tools. I brought out 25 different tools and let each person choose and use whichever tool they were most interested in.
On Autogeek.com
SONAX Glass Cleaner
Speed Master Clay Towel
BLACKFIRE Clay Lubricant 32 ounce
BLACKFIRE Paint Prep 32 ounce
BLACKFIRE Pro Ceramic Coating Kit
We used LOTS of these to wipe off the polish residue and to give the coated paint a final buff.
Cobra Forrest Green Edgeless Polishing Cloth
We used the GYEON Bald Wipes 16" x 16" with the BLACKFIRE Prep Spray to chemically strip the paint before installing the coating. These towels use a flat weave and are a tick more stout than most microfiber towels making them perfect for use with a Panel Wipe or solvent.
GYEON Bald Wipe Microfiber Towel - 16" x 16"
Ready for the next car show!
VIDEO
My co-worker Meghan did however capture video footage and create this Hyperlapse Video
>CLICK the Picture to watch the Video<
And here's the team that made the magic happen!

