Mike Phillips
Active member
- Dec 5, 2022
- 51,004
- 7
Pictures from Autogeek's Saturday Detail Clinic - April 21st
Today was our first Saturday Detailing Clinic that is replacing our Thursday night, "Autogeek's Car of the Week" clinics. These classes are free and because we have a full crew working in the warehouse if you find products, pads or tools you want and place your order before 2:00pm we can pull your order and you can take it with you when you leave.
(We couldn't do this during Thursday night clinics as there was no staff working that late)
Today Kevin, aka carshine drove in all the way from Merritt Island to Stuart, Florida which is almost 2 hours away, approximately 105 miles.
Kevin and his wife bought a brand new Mazda CX-9 in black and because they plan on keeping this car for a long time Kevin wanted to learn how to properly care for and detail their new Mazda. Patrick another forum member also joined us for this first clinic.
For this first clinic we basically went by the book that is my how-too book following through the chapters, step-by-step. We started out with a finish that was filled with swirls, scratches and road grime or surface staining plus some kind of contamination that had built up on the paint.
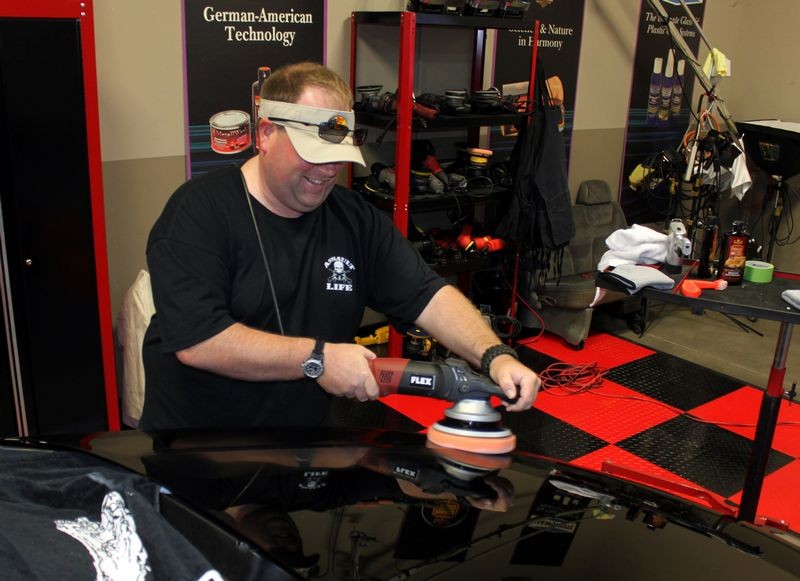
Kevin had never used any of the electric polishers that Autogeek offers so we gave him and Patrick a chance to test them all out and in the process we removed all the defects out of the hood on their Mazda and restored a factory new finish.
Here are the step we performed...
Here's our project car for today's class, a Mazda CX-9 in black!

Teaching Kevin how to use a Brinkmann Swirl Finder Light to inspect the paint

The paint is filled with swirls, scratches, water spots and staining from road grime

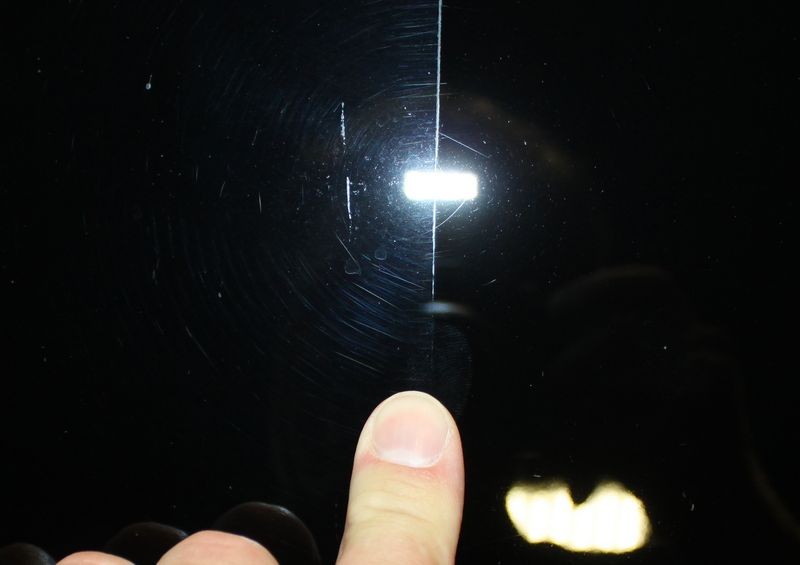
In the next three shots you can see the swirls, scratches and stains...


In this shot, the whitish stuff is some type of stain from road grime that did not wipe off and would also not wash off...

Kevin learning how to properly using detailing clay to clay the paint, we also used the Baggie Test to check for above surface bonded contaminants.

Here you can see a brown tinge on the clay from whatever was on the paint...

Here's Kevin placing some painter's tape on the hood because I'm going to show him how to do a Test Spot

For the Test Spot we're going to take the least aggressive approach and try Pinnacle Advanced Finishing Polish with a Tangerine Hydro-Tech Polishing pad on a Porter Cable 7424XP

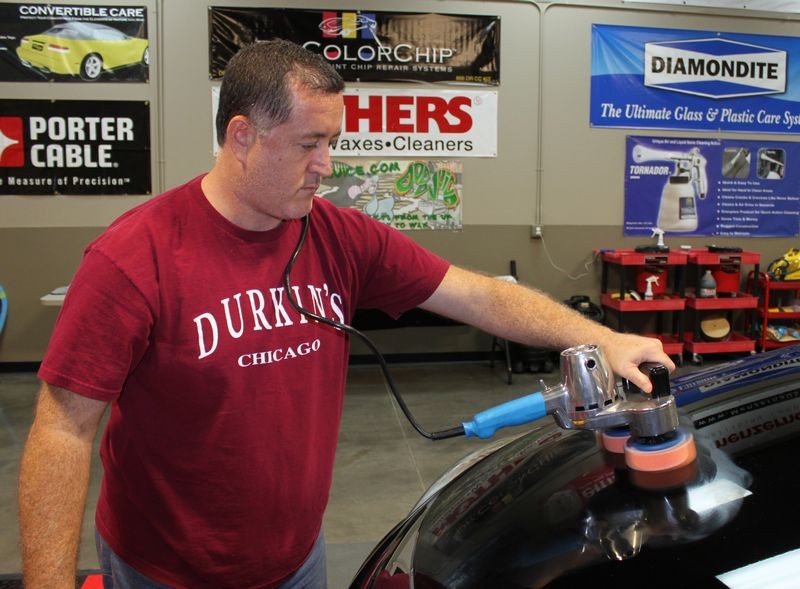
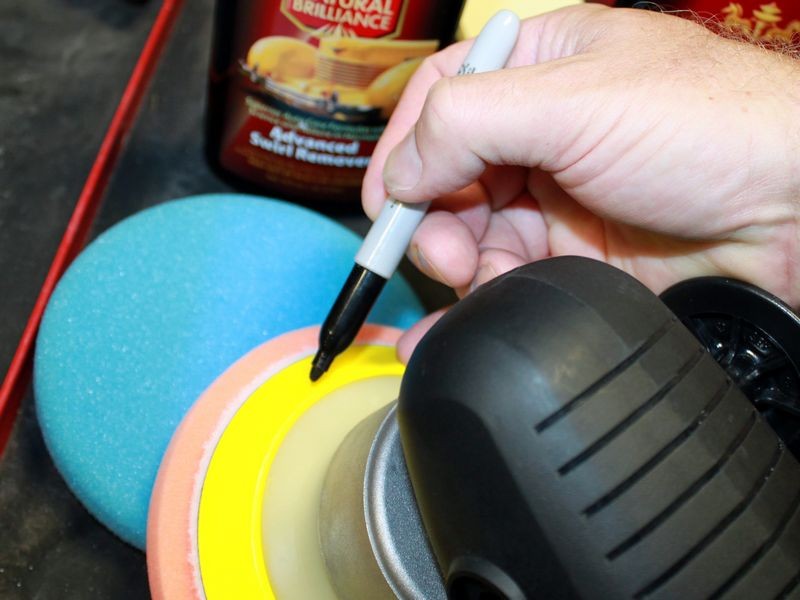
Showing Kevin how to mark a backing plate to easily see if the pad is rotating under pressure.

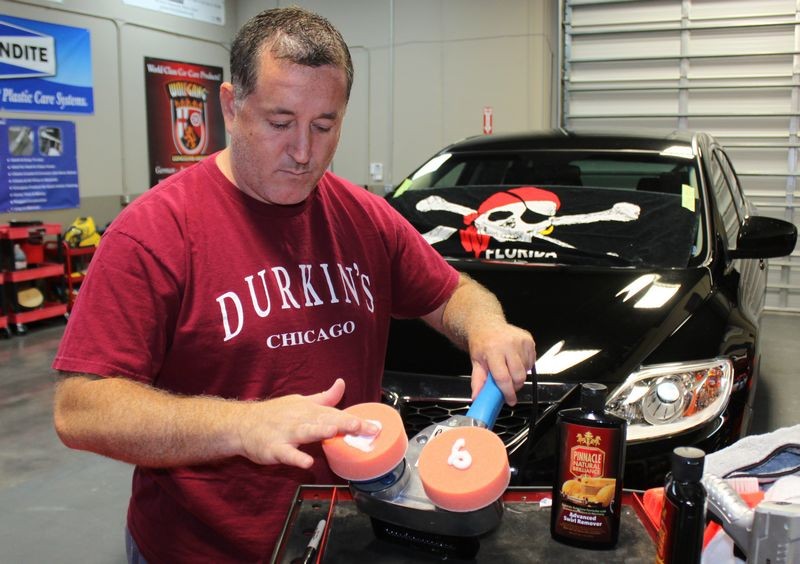
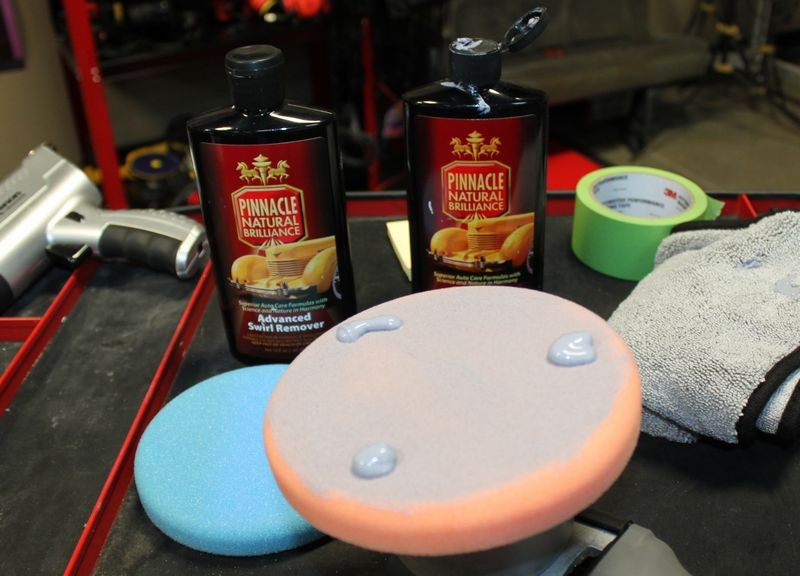
Here's I'm showing Kevin how to prime a clean, dry pad...

After the pad was primed we added the "working product"
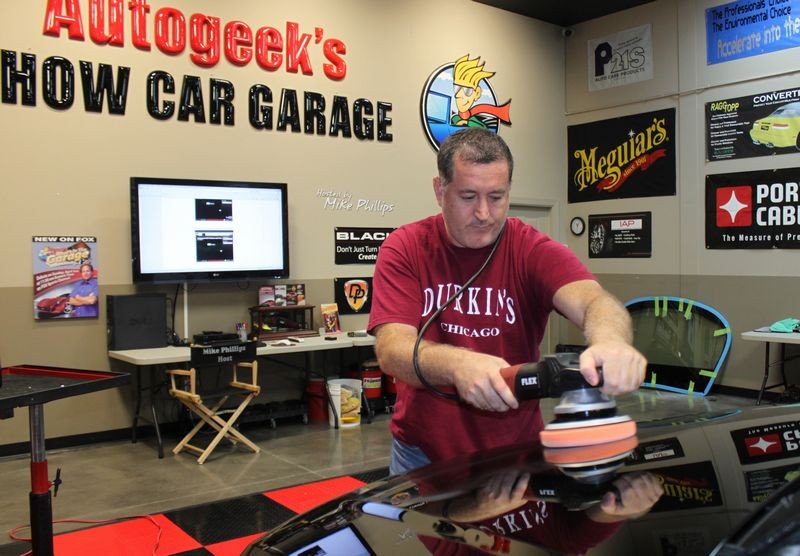
Here I've buffed out a small section and demonstrated how to do "Section Passes"

Here's Kevin inspecting the before and after results using the Brinkmann Swirl Finder Light

Before side - Ugly swirls

Camera Flash centered on the tape-line
After side - Huge improvement but we decided to increase the level of aggressiveness by switching to the Pinnacle Advanced Swirl Remover for the rest of the hood.

I taught Kevin how to clean a pad on the fly using a terry cloth towel...

I also taught Kevin how to clean a pad using a nylon Pad Conditioning Brush...

More to come...
")
Today was our first Saturday Detailing Clinic that is replacing our Thursday night, "Autogeek's Car of the Week" clinics. These classes are free and because we have a full crew working in the warehouse if you find products, pads or tools you want and place your order before 2:00pm we can pull your order and you can take it with you when you leave.
(We couldn't do this during Thursday night clinics as there was no staff working that late)
Today Kevin, aka carshine drove in all the way from Merritt Island to Stuart, Florida which is almost 2 hours away, approximately 105 miles.
Kevin and his wife bought a brand new Mazda CX-9 in black and because they plan on keeping this car for a long time Kevin wanted to learn how to properly care for and detail their new Mazda. Patrick another forum member also joined us for this first clinic.
For this first clinic we basically went by the book that is my how-too book following through the chapters, step-by-step. We started out with a finish that was filled with swirls, scratches and road grime or surface staining plus some kind of contamination that had built up on the paint.
Kevin had never used any of the electric polishers that Autogeek offers so we gave him and Patrick a chance to test them all out and in the process we removed all the defects out of the hood on their Mazda and restored a factory new finish.
Here are the step we performed...
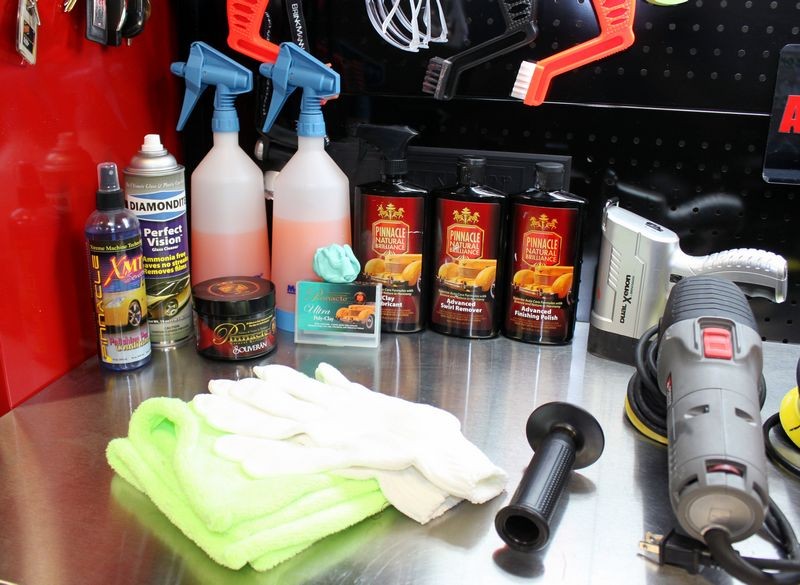
- Wiped clean using Detailers Rinseless Wash and Gloss.
- Clayed using Pinnacle Ultra Poly Clay and Pinnacle Clay Lube.
- Test Spot using Pinnacle Advanced Finishing Polish with a Tangerine Hydro-Tech pad on a PC 7424XP.
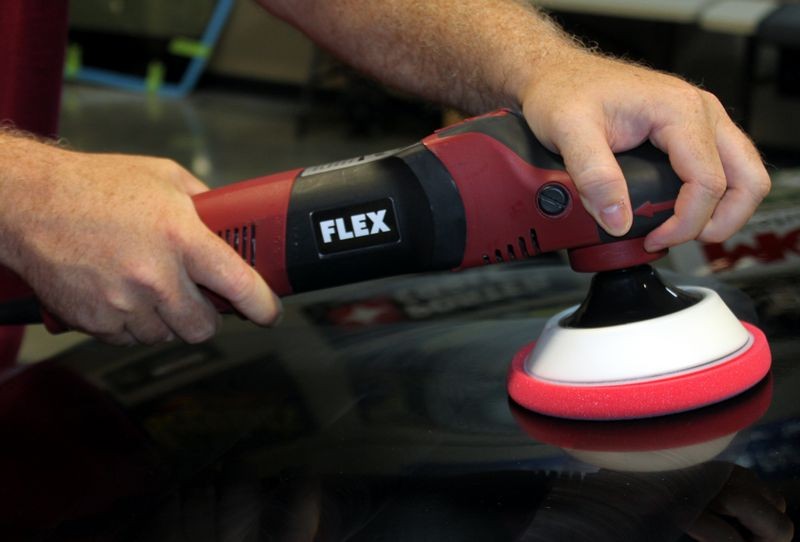
- Tested out all tools using Pinnacle Advanced Swirl Remover to remove all swirls, scratches, water spots and stains.
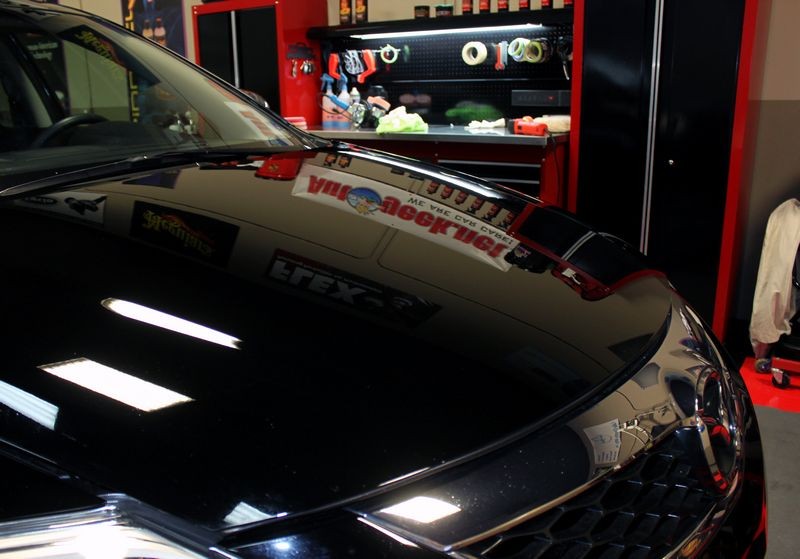
- Re-polished using Pinnacle Advanced Finishing Polish.
- Sealed the paint using Pinnacle Souveran Paste Wax by machine.
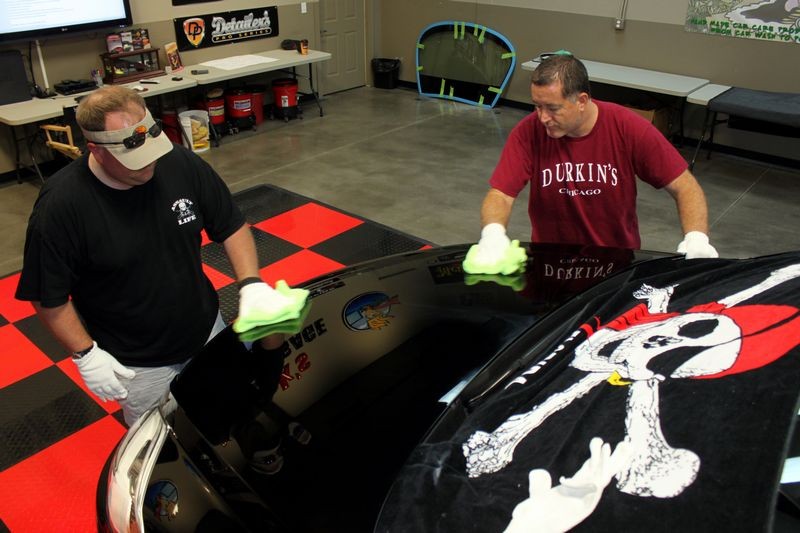
- Removed the wax by hand using microfiber gloves and Super Soft Deluxe Green Microfiber Towels.
Here's our project car for today's class, a Mazda CX-9 in black!
Teaching Kevin how to use a Brinkmann Swirl Finder Light to inspect the paint
The paint is filled with swirls, scratches, water spots and staining from road grime
In the next three shots you can see the swirls, scratches and stains...
In this shot, the whitish stuff is some type of stain from road grime that did not wipe off and would also not wash off...
Kevin learning how to properly using detailing clay to clay the paint, we also used the Baggie Test to check for above surface bonded contaminants.
Here you can see a brown tinge on the clay from whatever was on the paint...
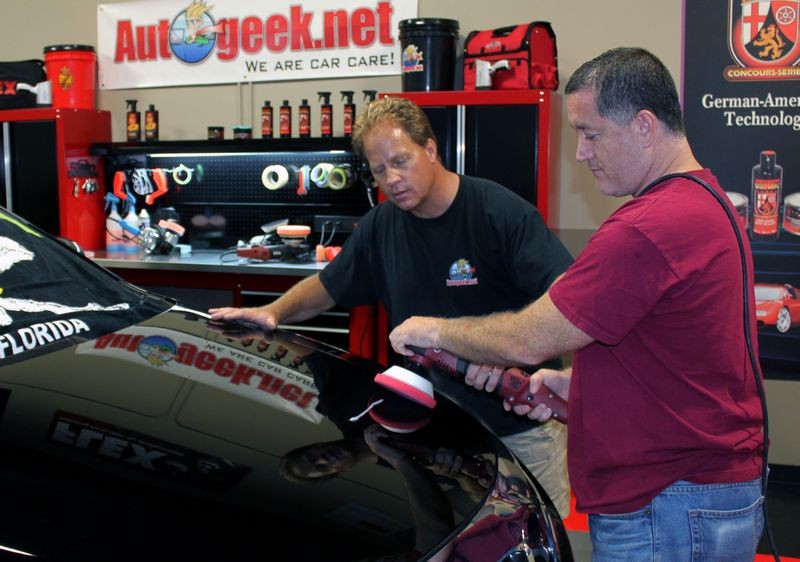
Here's Kevin placing some painter's tape on the hood because I'm going to show him how to do a Test Spot
For the Test Spot we're going to take the least aggressive approach and try Pinnacle Advanced Finishing Polish with a Tangerine Hydro-Tech Polishing pad on a Porter Cable 7424XP
Showing Kevin how to mark a backing plate to easily see if the pad is rotating under pressure.
Here's I'm showing Kevin how to prime a clean, dry pad...
After the pad was primed we added the "working product"
Here I've buffed out a small section and demonstrated how to do "Section Passes"
Here's Kevin inspecting the before and after results using the Brinkmann Swirl Finder Light
Before side - Ugly swirls
Camera Flash centered on the tape-line
After side - Huge improvement but we decided to increase the level of aggressiveness by switching to the Pinnacle Advanced Swirl Remover for the rest of the hood.
I taught Kevin how to clean a pad on the fly using a terry cloth towel...
I also taught Kevin how to clean a pad using a nylon Pad Conditioning Brush...
More to come...