Please advise! swirls/haziness on black, details inside.

smartamar11

New member
Joined
Aug 22, 2011
Messages
3
Reaction score
0
Hi guys,
The car is a 1991 Jetta with black paint. It has a single stage paint job. The paint was in bad condition with swirls etc, (I am using a PC DA)

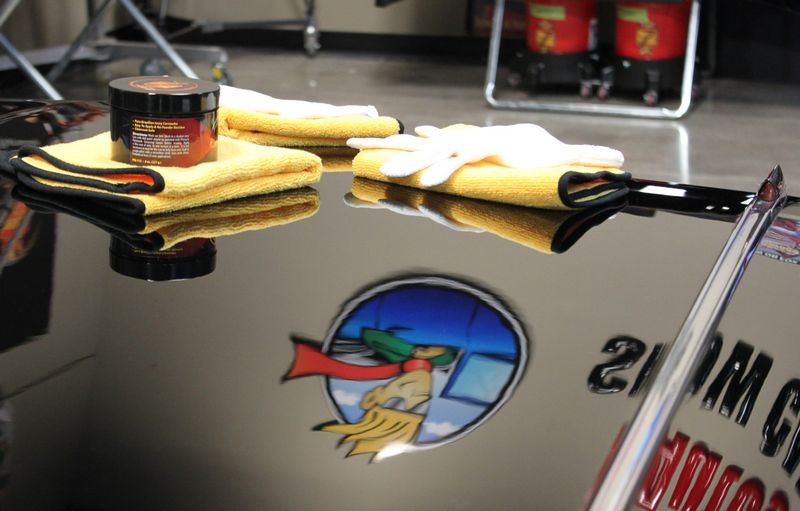
So I used M105 and a yellow uber pad (agressive) which gave me

50/50 by smartamar11, on Flickr


I then tried to go over it with M205 and a green uber pad (polishing, 2nd softest). but then something very wierd happened. I only noticed it on the trunk, the rest of the garage was darker and the sun was going down which was the only was I had been able to see it in the first place. there was a sort of haziness and very wierd faint scratches running the length of the trunk. It didn't look natural at all.

I tried to take some pictures but it was very hard to get. Please help if you have any advice.


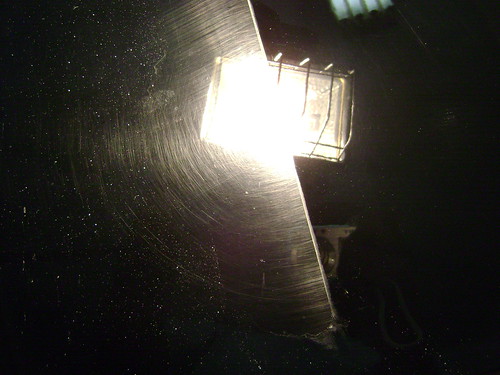
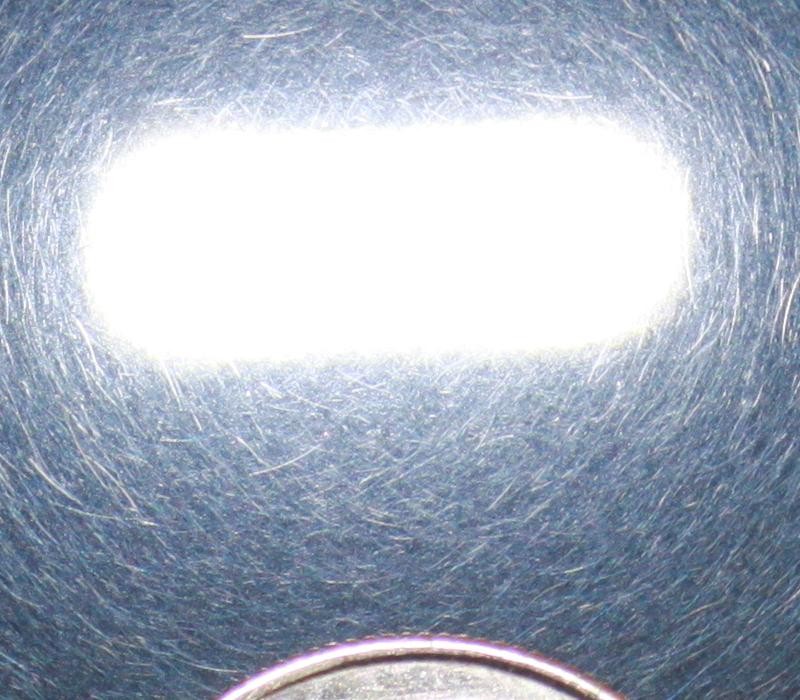
If you look in the camera flash you can see scratches

wierd haziness by smartamar11, on Flickr


Some more scratches

wierd haziness by smartamar11, on Flickr

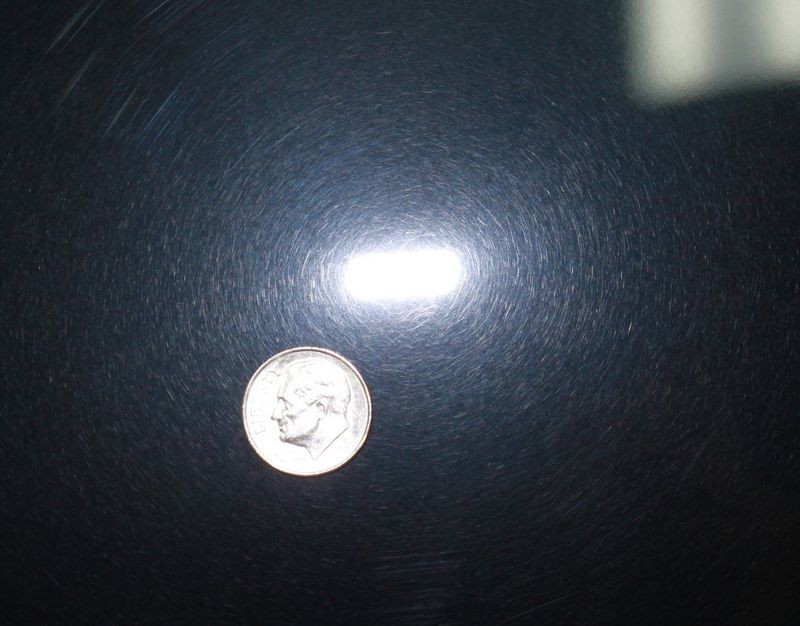
this is the haziness (looks almost like hologramming)

wierd haziness by smartamar11, on Flickr


wierd haziness by smartamar11, on Flickr

I tried 205 with a softer pad, 205 on a finishing pad. went back to 105 on a yellow. Nothing changed. I am going to go back tomorrow and try again. but yeah. I am planning on ordering some finer polishes as well to see if that makes a difference but I was just hoping someone had ran into this before and could advise me.

Thanks all!
 
Judging by the pictures- it looks like you are actually making progress but maybe just didn't work the polishes in long enough? The 105, using aggressive pad, moderate pressure, and should be used at speed 4-5 on the PC, and work in until broken down, say about 3-4 minutes. Then do the 205 with a softer pad, less pressure, and lower speed, like 3-4, until the white polish goes almost clear. Then use microfiber to clean off excess - you should be ready for wax... That final wipe off, IMO, must be microfiber. Cotton or terry always seems to put the swirls and scratches right back in...
 
Hi guys,
50/50 by smartamar11, on Flickr


I then tried to go over it with M205 and a green uber pad (polishing, 2nd softest). but then something very wierd happened. I only noticed it on the trunk, the rest of the garage was darker and the sun was going down which was the only was I had been able to see it in the first place. there was a sort of haziness and very wierd faint scratches running the length of the trunk. It didn't look natural at all.


I tried 205 with a softer pad, 205 on a finishing pad. went back to 105 on a yellow. Nothing changed. I am going to go back tomorrow and try again. but yeah. I am planning on ordering some finer polishes as well to see if that makes a difference but I was just hoping someone had ran into this before and could advise me.

Thanks all!


Looks like micro-marring to me... below is the link to a thread on the topic and some "extreme" photos of micro-marring for reference. You're pictures don't look near as bad but the same idea...


The difference between Rotary Buffer Swirls, Cobweb Swirls and Micro-Marring


Micro-Marring - Tick-Marks - DA-Haze

These three terms are pretty much the accepted terms for a scratch pattern left in some paints from the oscillating and rotating action from a compound or polish and a buffing pad when applied using a DA Polisher.

Unlike Cobweb swirls or Rotary Buffer Swirls, the scratch pattern instilled by a dual action polisher is made up of millions of tiny scratches, some are curved or circular but some are straight, like a small tick mark you would make with a pencil if you were keeping track of a count of some type.

Tick Marks are a sign that either the paint is on the soft side, so easily scratched or the pad and compound or polish you're using are too aggressive to finish out without leaving a mark.

In most cases Tick Marks can be removed by re-polishing with a different pad and product combination.

MicromarringTickMarks01.jpg


MicromarringTickMarks02.jpg


I've seen micro-marring with M205 on some paints, this is why it's always a good idea to test your products to one small area before buffing out the entire car. Dial in and prove your process to one small area and this way you'll know how the rest of the car will turn out before you buff it out.

:)
 
You can remove the micro-marring by switching to a different finishing polish that reacts better with the paint you're working on.

At our last Saturday Detailing 101 Class we used the Pinnacle Swirl Remover and Finishing Polish on the single stage paint on this 1962 Cadillac Convertible and no trace of micro-marring.


Pictures & Comments from July 9th, 2011 Saturday Detailing 101

GTOExtremeMakeoverTeam02.jpg


1962CadConvert021.jpg


1962CadConvert023.jpg


1962CadConvert024.jpg


Single stage paints tend to be softer than factory basecoat/clear coat paints and especially single stage black paints.


Many of the people working on this car were new to machine polishing.

1962CadillacExtremeMakeoverTeam.jpg


:)
 
Maybe because its single stage paint. I dump truck that was restored by a really good friend of mine recently that was a single stage paint did the exact same thing as that Jetta.
 
Thanks a lot guys!!!
You guys are awesome :)
dtuna 42, you were completely right, I wasn't working the polish in long enough, leaving me with all that residue left over.
Thanks a ton Mike, I will be ordering some softer polish to finish with and get rid of the micro-marring :)
 
Since the above was you're first post...


Welcome to Autogeek Online!


:welcome:

Thanks! I've been reading your tips for a couple years on MOL
I just recently joined this one when I ordered a new PC. I don't post very often, but I do read as much as I can...
 
Back
Top