Please explain Jewelling of thee paint?

robert1955

New member
Joined
Feb 19, 2011
Messages
66
Reaction score
0
Michael:

I am not certain I understand the term Jeweling of the paint. What does it involve and what kind of microfiber pad and polish are involved . Can you please explain it to me?
Also what are the best micro fiber towels for removal of polishes and glazes. I am using WolfGangs system., include wax removal towels as well. How much of a thick nap of the towel should the towel have for these procedures?

Look forward to you answers.

Bob Geco
 
For jeweling the paint I would use a foam pad such as crimson or grey flat lc. I'll see if I can find a link that explains it well rather than repeat it all.
 
I am interested in what exactly everyone means by this term as well.
 
Jeweling is using a finer polishing pad/finer polish for more glow and sharpness from the paint. Like a black, gray or red pad with a pure polish.

This would be done after using a polish with cut to refine the finish before the LSP.
 
Michael:


I am not certain I understand the term Jeweling of the paint. What does it involve and what kind of microfiber pad and polish are involved . Can you please explain it to me?

First things first and the first thing to do is master the basics, which include,


  1. Diagnosing the problem
  2. Doing a successful Test Spot
  3. Successfully buffing out your car doing the basics

The basics include,
  • The Major Correction Step - Page 102
  • The Polishing or Minor Correction Step - Page 103
  • Sealing the paint with a wax, paint sealant or coating - Page 106

Once you can master the above then you can worry about jeweling. Page 104 and note on the first page the first paragraph starts out like this,


Note: the jewelling step is optional. If you are satisfied with the results from your corrections steps, you can skip the jewelling step and apply wax, paint sealant or coating.

For the majority of the people in the world, the paint is going to look awesome after the Major Correction Step and the Polishing Step, thus the reason I pointed out that jewelling the paint is an optional step at the very beginning of the chapter on this topic.

I also did NOT list microfiber pads in the Jewelling chapter for a reason.


There are different opinions as to what jeweling is and before writing my how-to book I asked for about a year for anyone else to write the definition and no one did so I took a stab at it and kept it broad as to make it something anyone could do.

I always called it "Finish Polishing" because that's what it is, it's the last machine polishing step where you're bringing up the finish quality to the highest degree possible for the car and paint system you're working on.

Some say it's only done with a rotary buffer and if that's the definition people want to go with they can, I made the definition I wrote broad enough that if all a guy has is a DA Polisher like a PC, Megs or Griot's that if they are so inclined to do everything they can to maximize the clarity, shine, depth and gloss of the paint on their car then they could also jewel their paint.

But you really need to master the basics before you start to worry about jeweling your car's paint with any tool.

When I read your other thread here,

http://www.autogeekonline.net/forum/customer-comments/44675-problem-polishing-wolfgang-products.html


It reads like you're still working on mastering the basics. Nothing wrong with this in fact WE all had to master the basics, it takes time and practice and working on lots of different paint systems.

Anytime I type about working on lots of different "Paint Systems", that's my way of saying,

Working on lots of different cars

The reason for this is because cars come with different paint systems, even when talking about the same make and model as car manufactures change paint systems all the time.

Big picture is to master this craft you need experience and then when you run into problems you can draw from experience to try something different until you dial in a process that works of the paint system or "car" parked in front of you.


Also what are the best micro fiber towels for removal of polishes and glazes. I am using WolfGangs system., include wax removal towels as well. How much of a thick nap of the towel should the towel have for these procedures?

Look forward to you answers.


Bob Geco

That's a real personal preference question and it's highly affected by your personal skill, ability and technique.

I personally like a flat weave microfiber towel for most of my work except final wipe-off of waxes, paint sealants and then I really like the fluffy nap style like you see Tina using here on a 1959 El Camino.

1959ElCamino113.jpg


:)
 
Mike! Tell Tina to take the bracelet off ASAP!! :). J/K
 
Mike! Tell Tina to take the bracelet off ASAP!! :). J/K

Have no fear... I'm always there to supervise and make sure no jewelery, earrings or high heels cause any damage...

Notice here her bracelet is resting against her finger, not the paint on the top of the window frame...

1959 Chevrolet El Camino - Extreme Makeover - Modeled by Christina

This is what I call, "The Dreamy Shot" , I try to have all the Swirl Girls do this pose with Ivan behind them...
1959ElCamino138.jpg


The earrings never touch the paint...
1959ElCamino115.jpg


1939 Lincoln Zephyr - Swirls Removed - Modeled by Nicole

Notice here how Nicole is leaning against the car but we've placed a super soft microfiber towel between her dress and the paint to protect the paint...

Autogeek's Super Soft Deluxe Green Microfiber Towels with Rolled Edges are soft and gentle to the finish...
1939LincolnZephyr005.jpg


Notice here how Jana has removed her high heels before stepping into the beautifully finished oak wood and stainless steel bed of the truck...

1954 Ford F-100 - Modeled by Janna

The truck has stainless steel inner side panels that work like a mirror with a beautiful oak wood bed and everything is polished to a high gloss so... no shoes on inside the truck bed!
54Ford141.jpg


54Ford137.jpg


Safety for the vehicles is Job Number #1


:)

Anyone ever tell you that you are NUTS!Im the MAN
 
Anyone ever tell you that you are NUTS!Im the MAN


Nope... just crazy about detailing cars.

Of course it's always important to taking the necessary precautions to work safely not only for the car but for yourself...


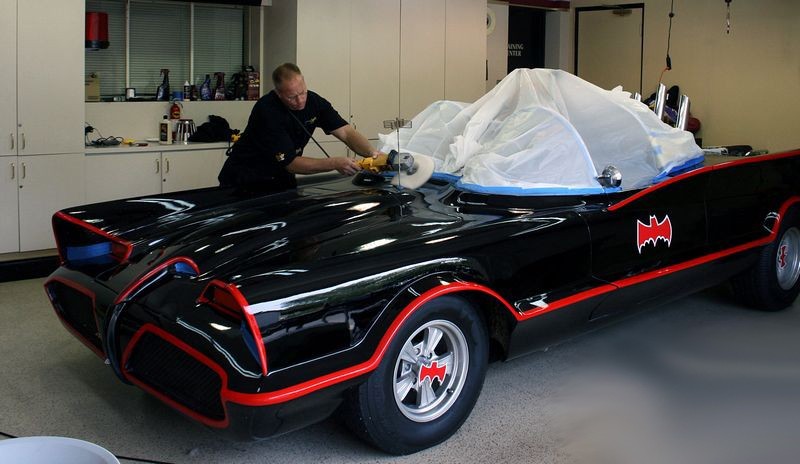
Nate Truman's 1966 Batmobile Recreation
Probably the most accurate, fully functional Batmobile that's also a daily driver.
400_BatmobileLowerSections001.jpg


RotaryBufferBatmobile1.jpg


Finished
BatmobileFinished001_566880.jpg


The Panic Parrot - A 1950 Studebaker Starlight Coupe
PanicSpeedGlaze7.jpg


2PanicFinished1.jpg


1959 Corvette - That's me wiping off a coat of M16 off the lower panels...
59CorvetteLowDown.jpg


If it has paint... it gets polished...
Note the bedsheet covering the windshield and the interior is the same one used on the engine of the Panic Parrot.
onmyside2.jpg


Finished
270485_vette_005.jpg


The Joker Truck
I did the wetsand, cut and buff on this truck twice, (It underwent a lot of changes and was re-cleared, I think one side of the Joker face was repainted)
SoloOnJoker006.jpg


BuffingJoker022.jpg


JokerDriversSideFinished002.jpg


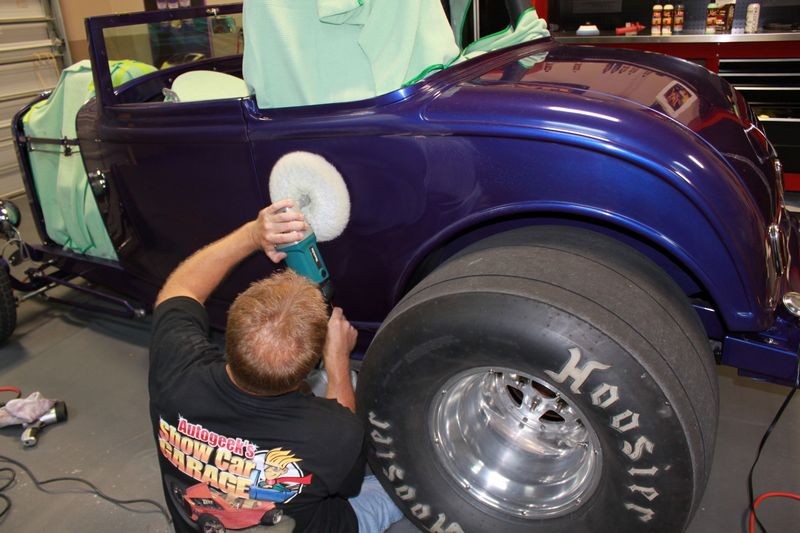
Always match the right pad, product and/or tool for the job...
32FordHighboy030.jpg


32FordHighboy028.jpg


32FordHighboy045.jpg


It's important to work hard but to also when possible... enjoy your work... just like it's important to get your how-to information from someone that actually does the thing he talks about... or types about...


:buffing:
 
It is the final final polish after the final polish.

:pc7424: + :buffing: = :cruisin:
 
Why would some say you need a rotary to "jewl?" If its is the final polish, what Menzerna polish would you use--P85? Or would you do it with a glaze, like Meg 7? If some say it should be done with a rotary, then would that mean a high speed--5 or 6-- on a DA?
 
Why would some say you need a rotary to "Jewel?"

If its is the final polish, what Menzerna polish would you use--P85?

See my replies to your questions in this thread,

Question about Jeweling?


Or would you do it with a glaze, like Meg 7?

No. #7 is non-abrasive. See more about #7 in this thread,

The Secret to Removing Oxidation and Restoring a Show Car Finish to Antique Single Stage Paints


If some say it should be done with a rotary, then would that mean a high speed--5 or 6-- on a DA?

No matter which tool you use the key to creating the highest gloss possible would be to make sure the pad is rotating as you're moving the pad together with an ultra fine cut polish over the paint.

Just as important is you need to make sure EVERYTHING is surgically clean.


:)
 
Back
Top