Presidential Detailed: 2001 Audi S8 - 25 hours invested.

Presidential_Detail

New member
Joined
Sep 28, 2008
Messages
621
Reaction score
0
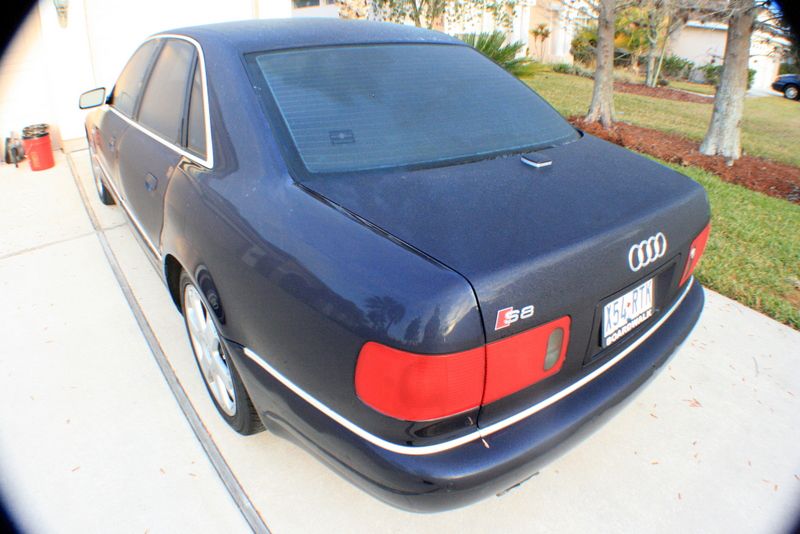
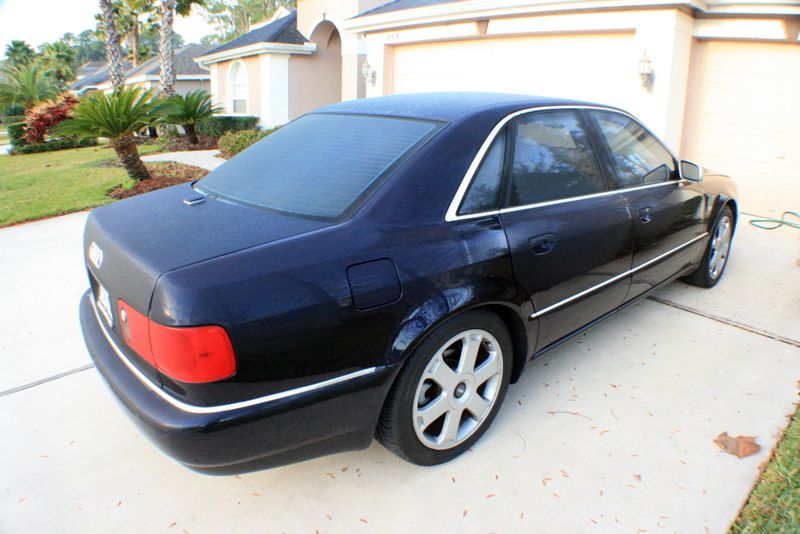
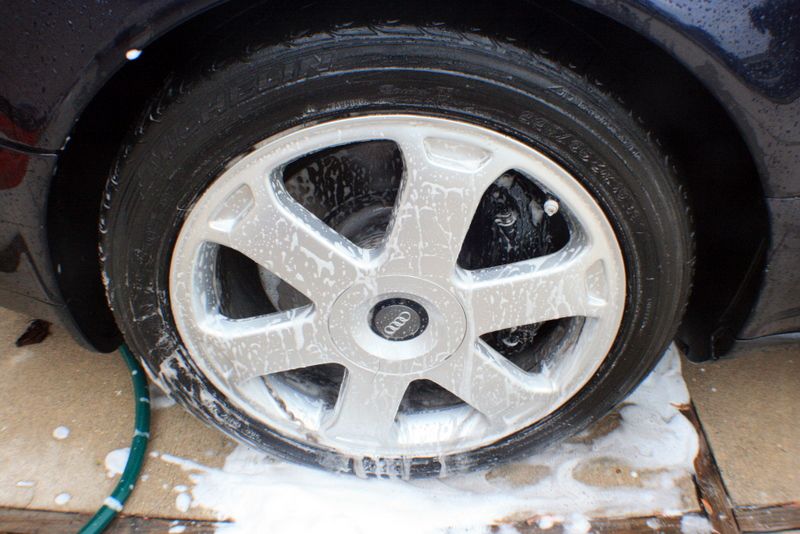
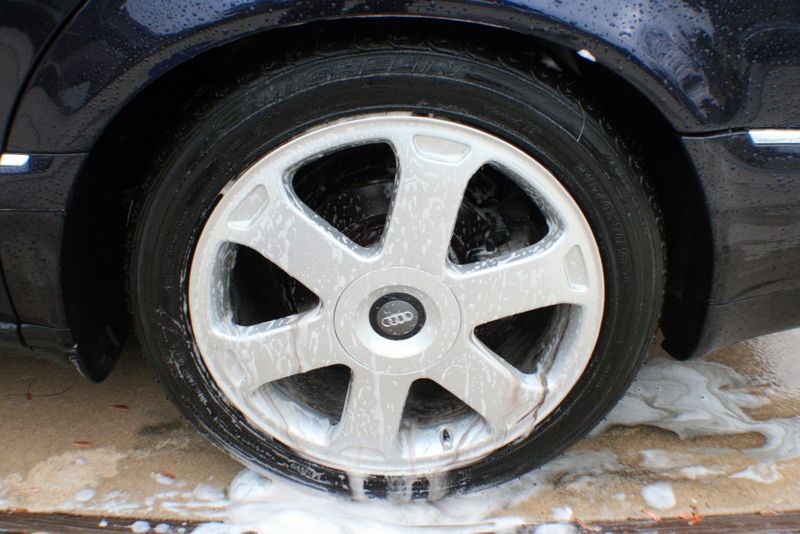
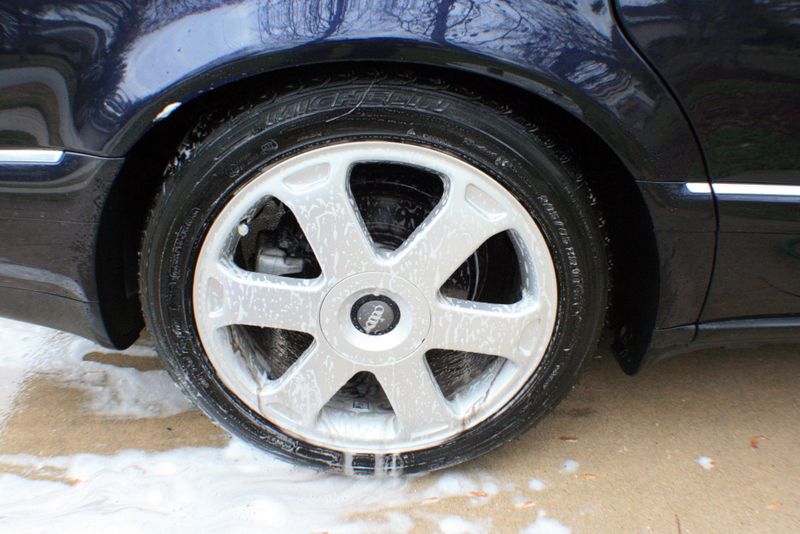
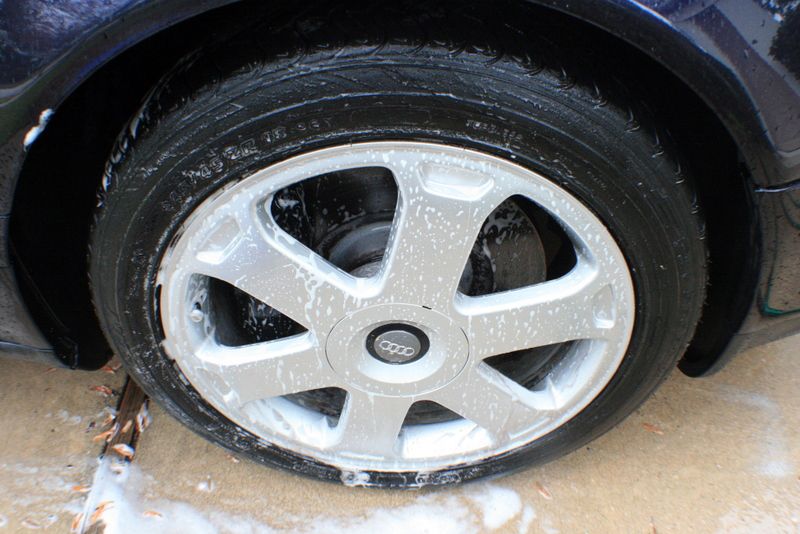
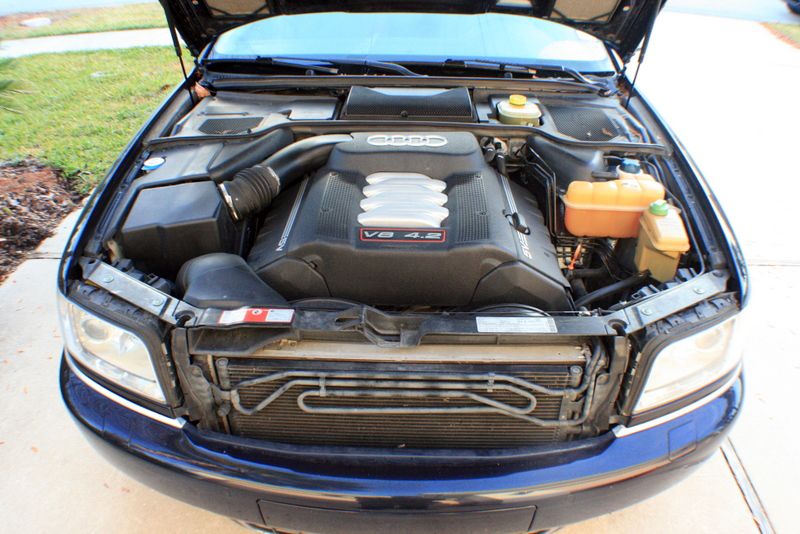
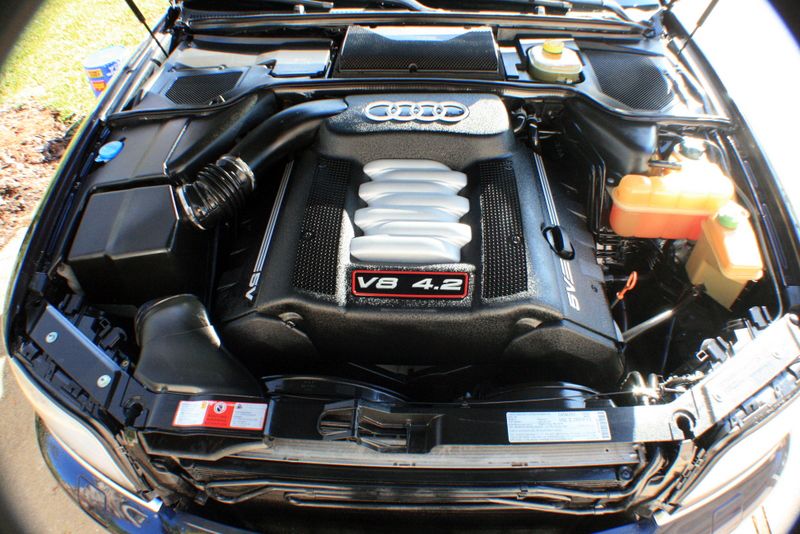
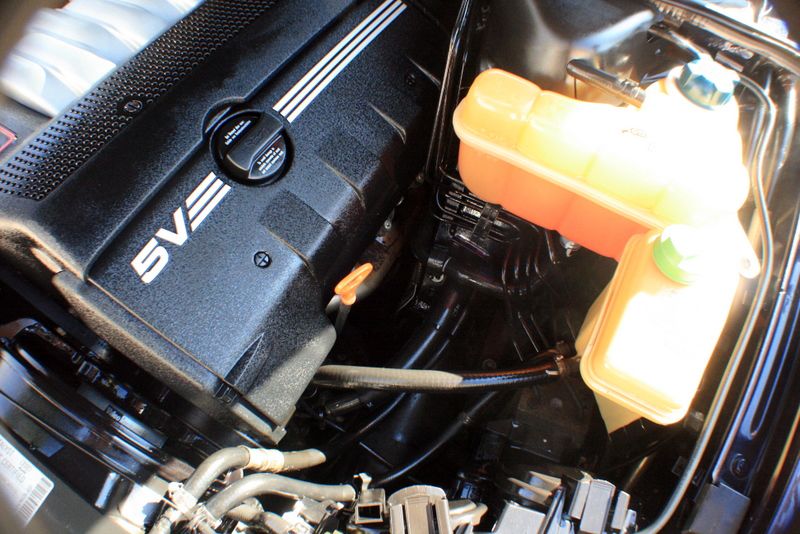
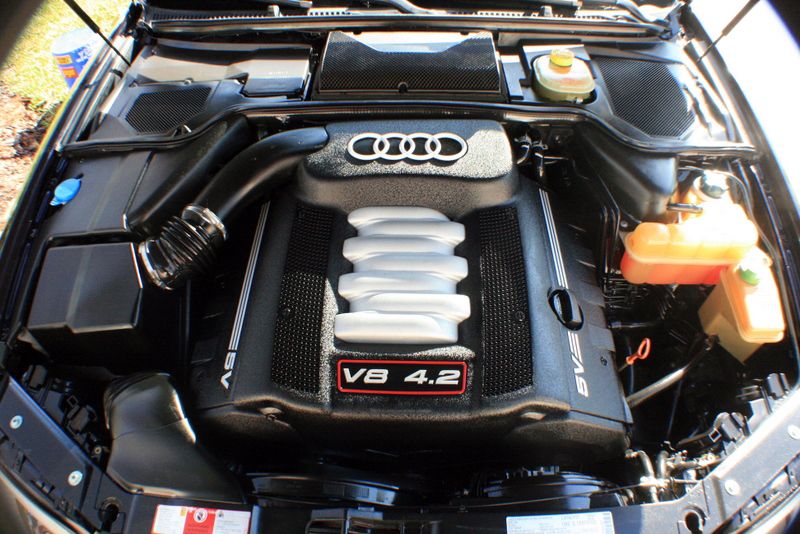
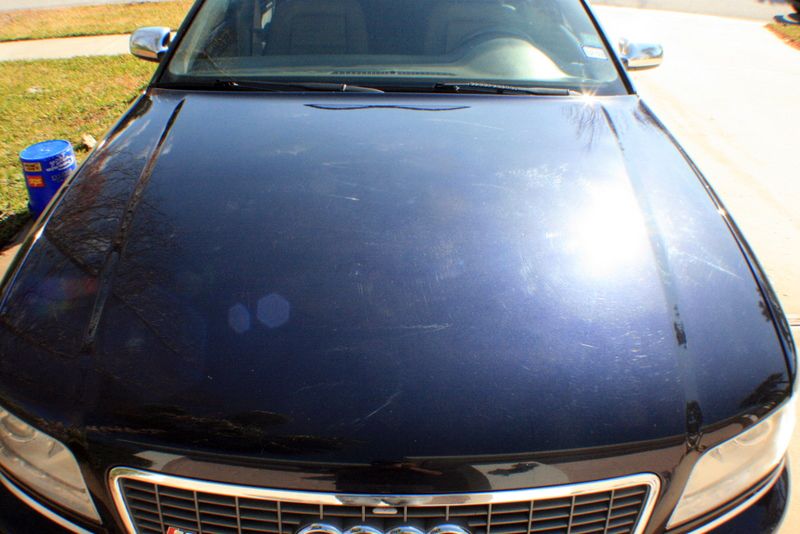
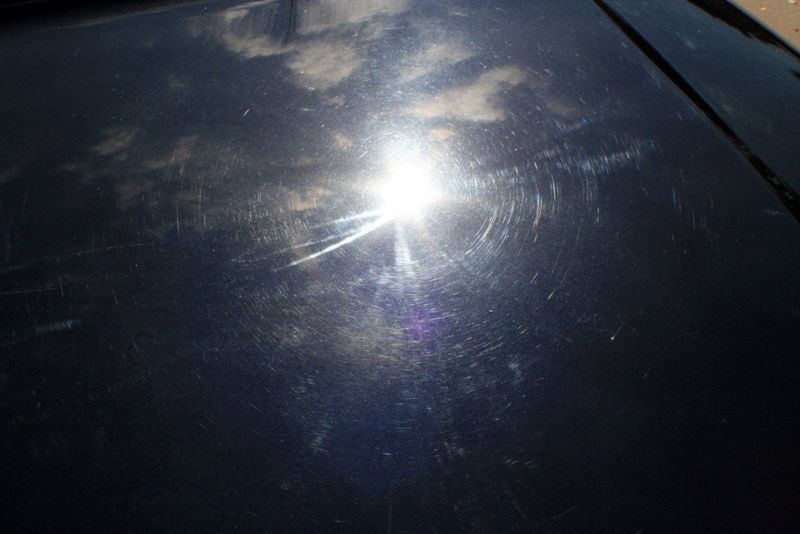
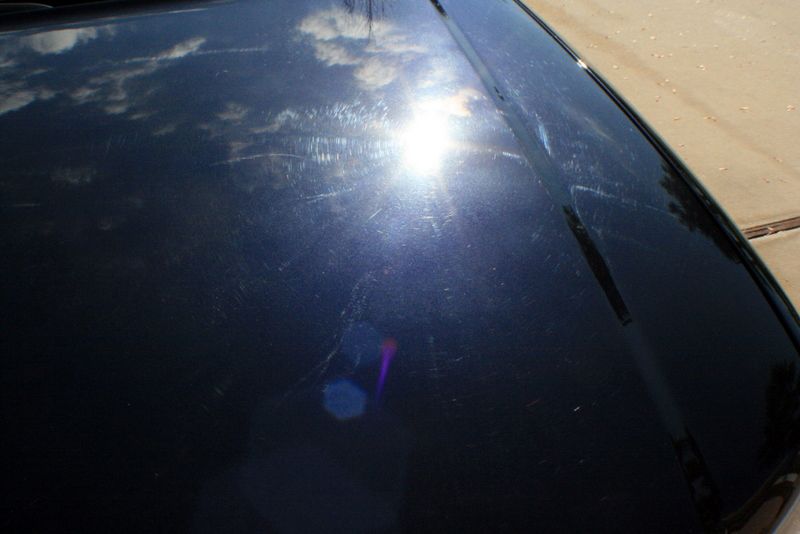
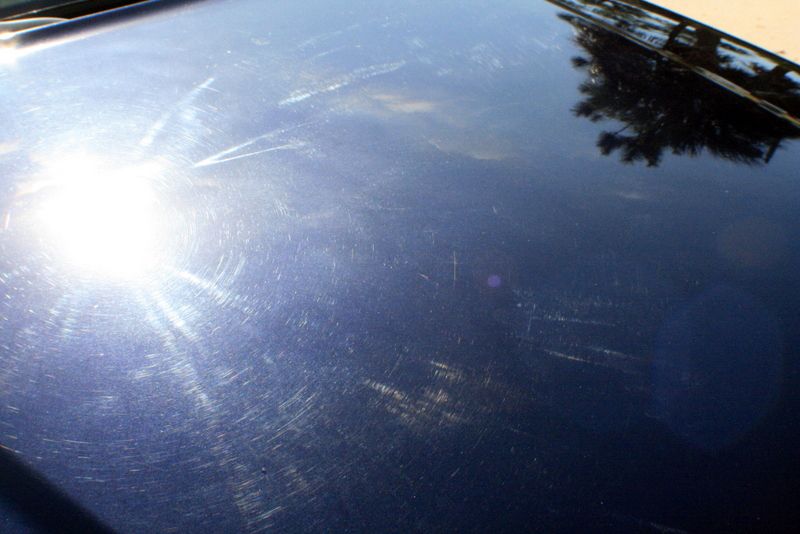
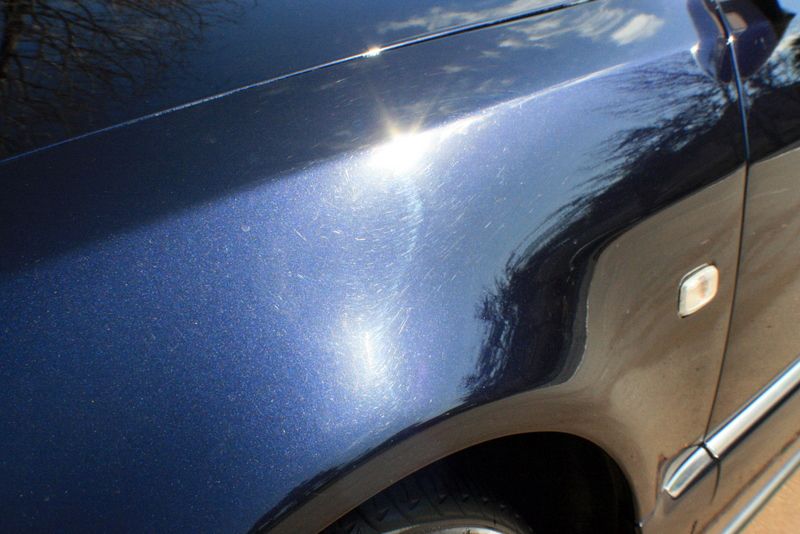
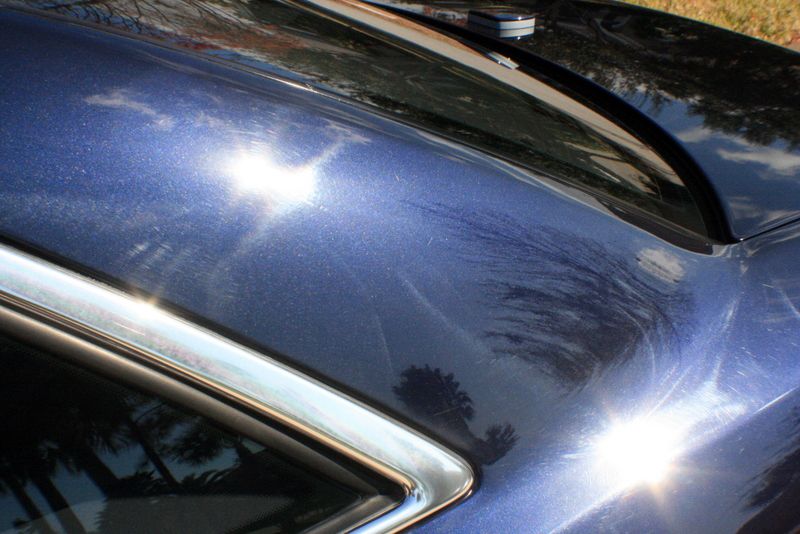
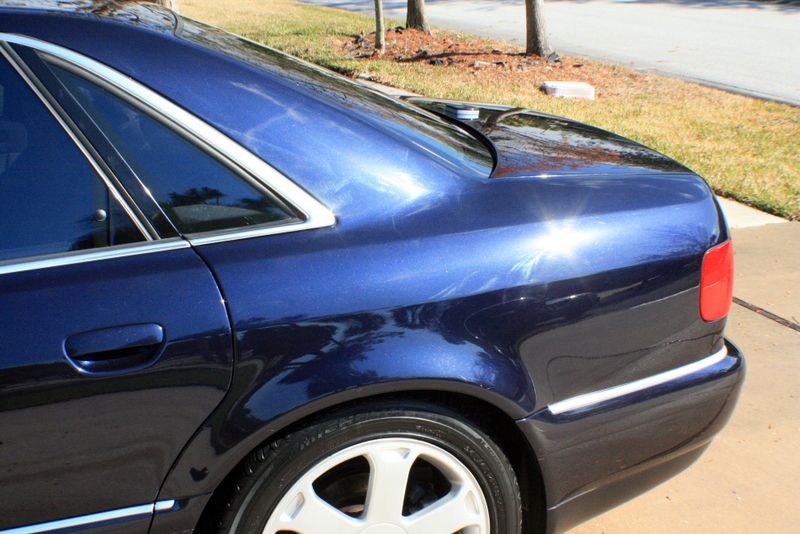
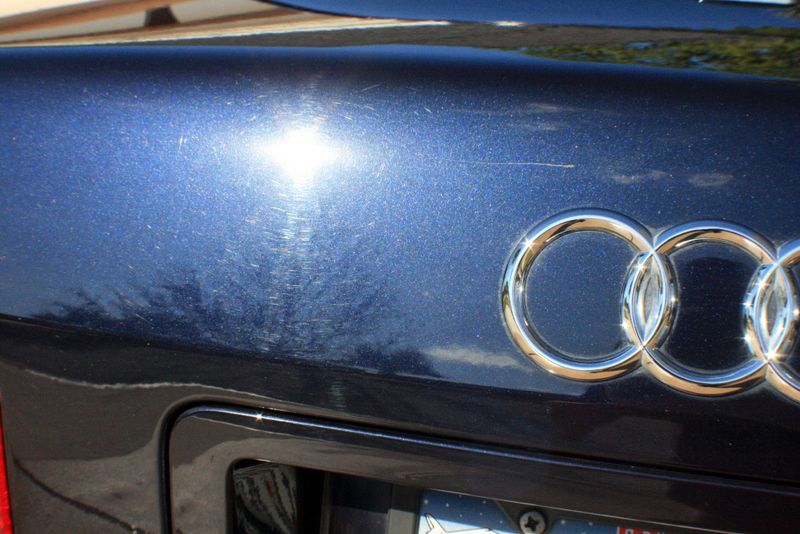
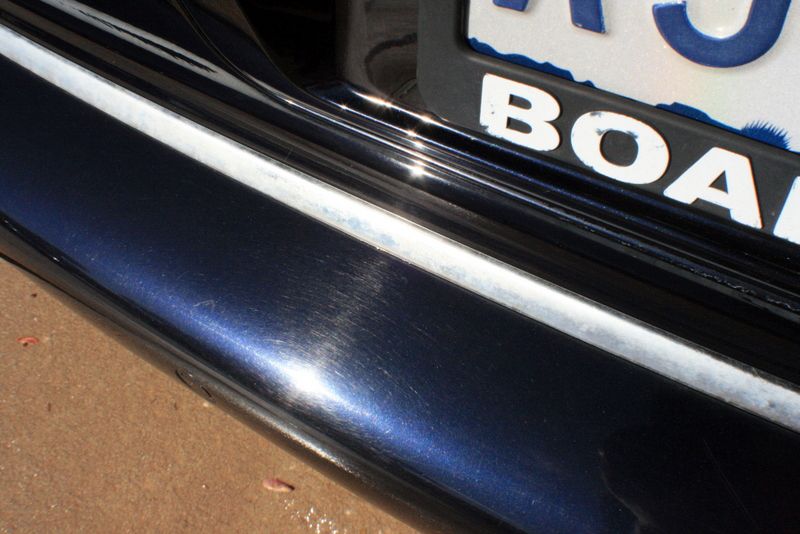
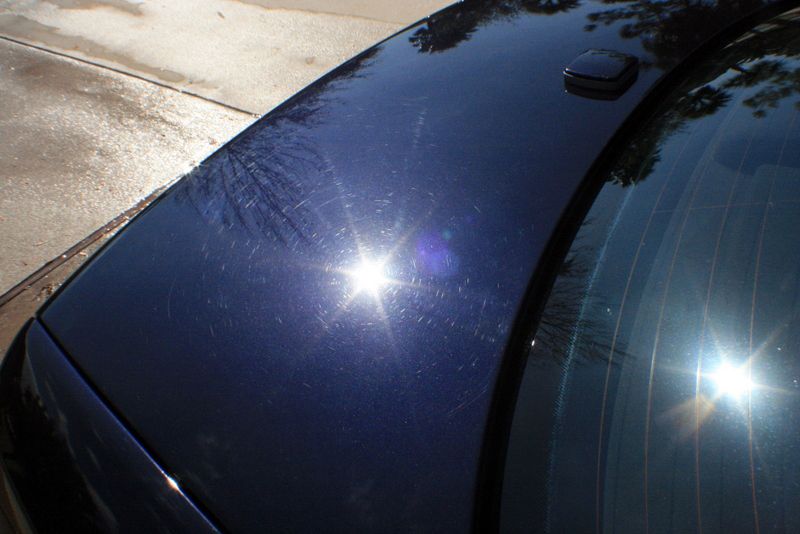
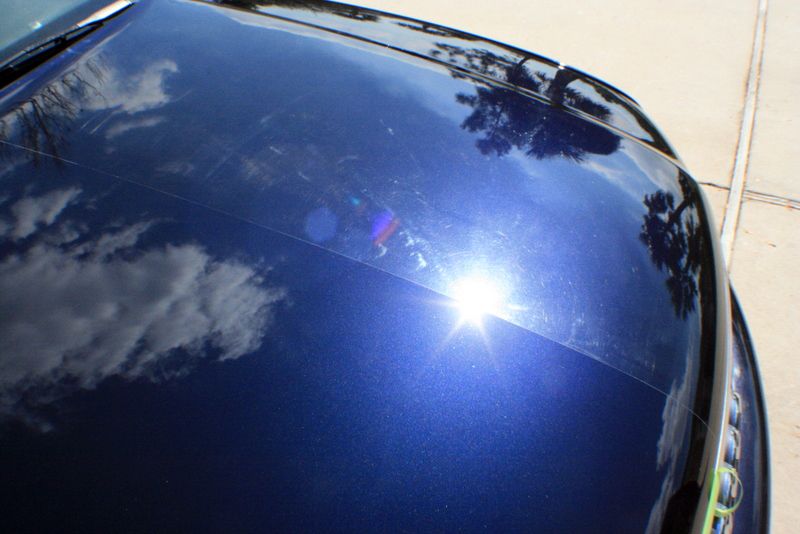
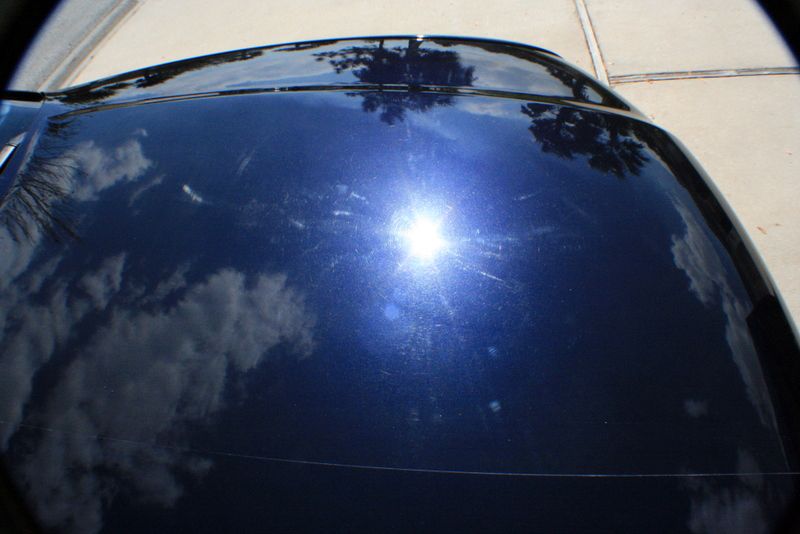
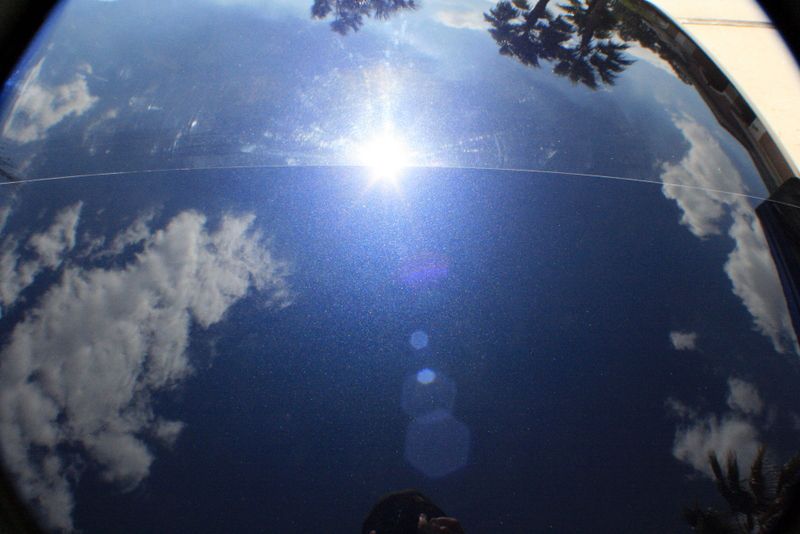
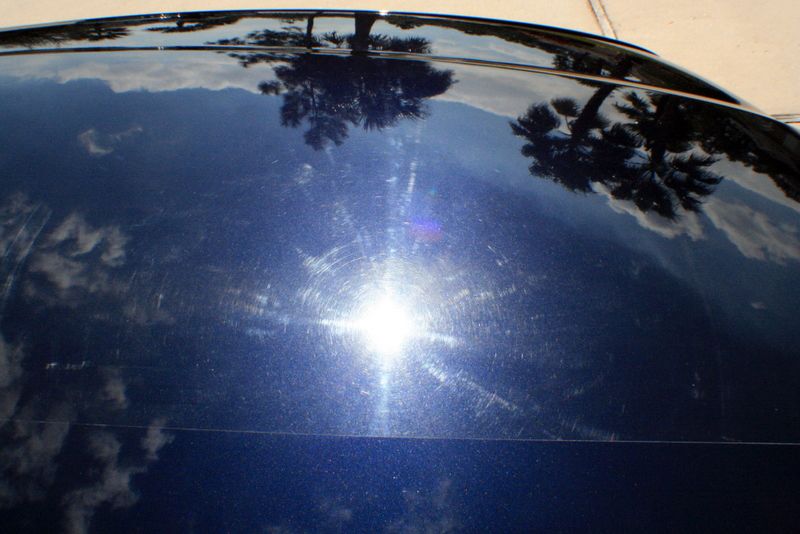
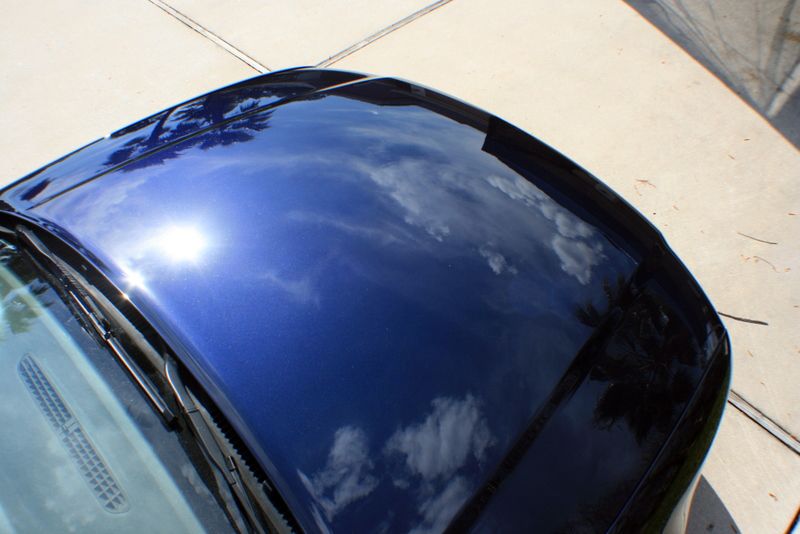
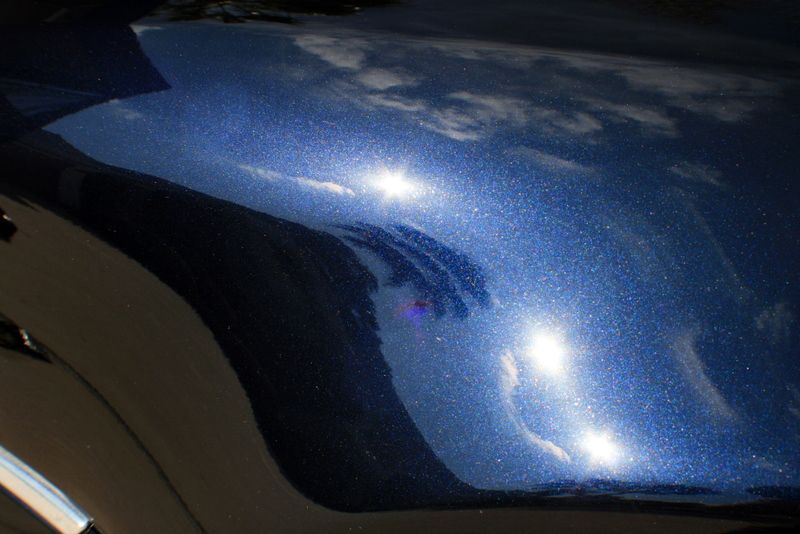
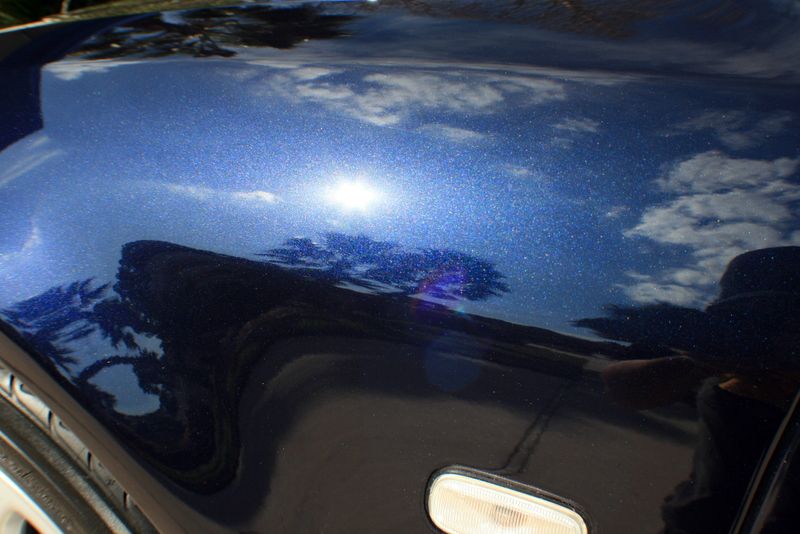
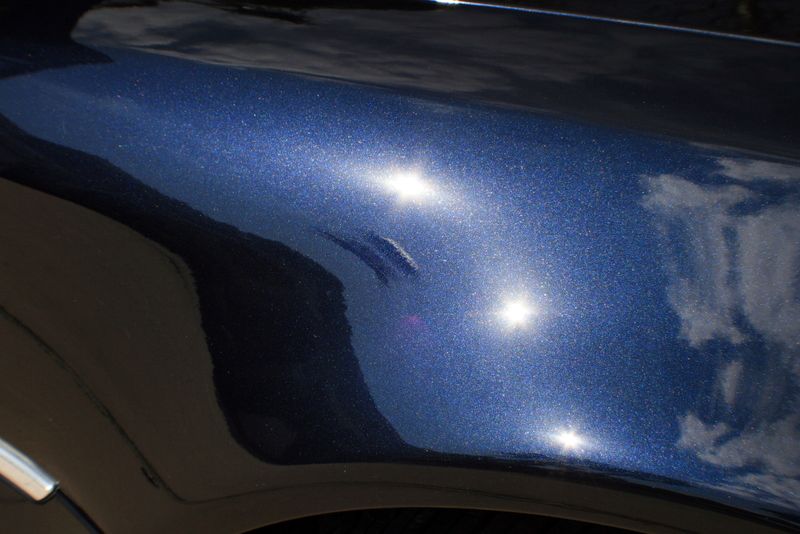
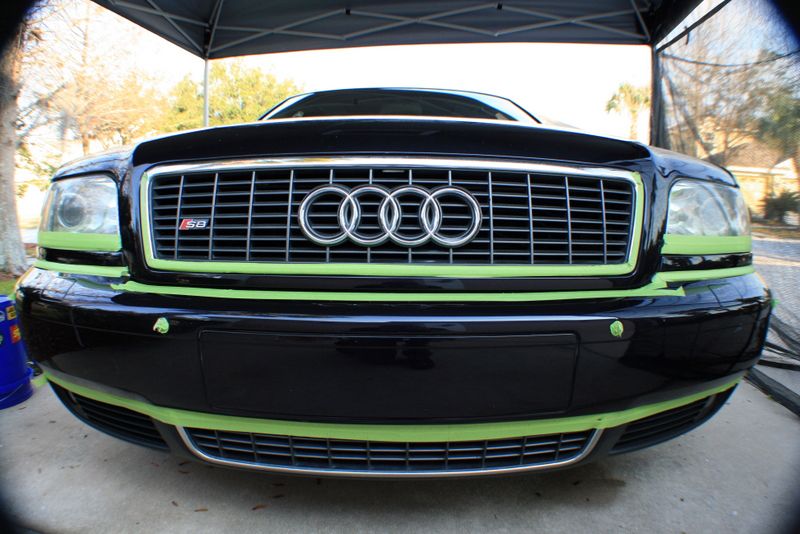
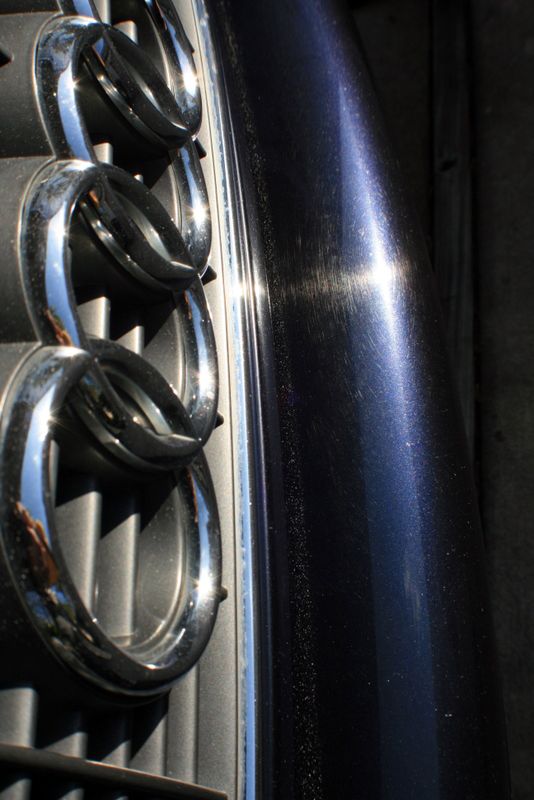
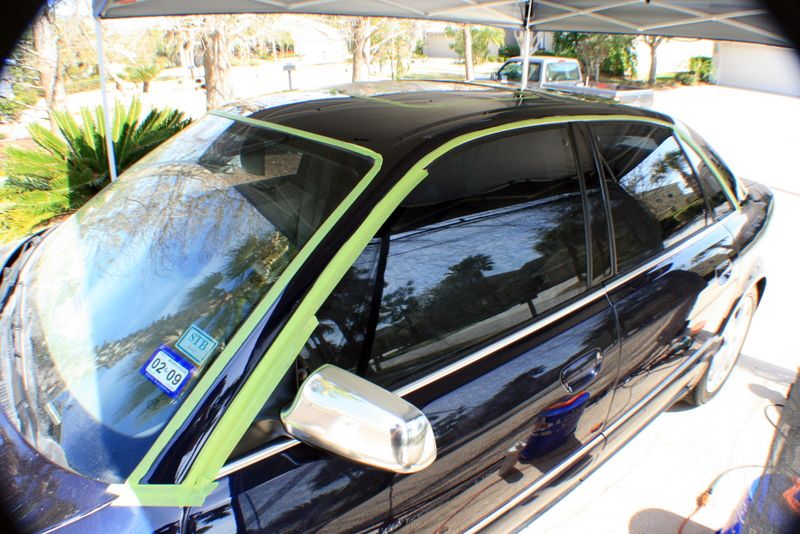
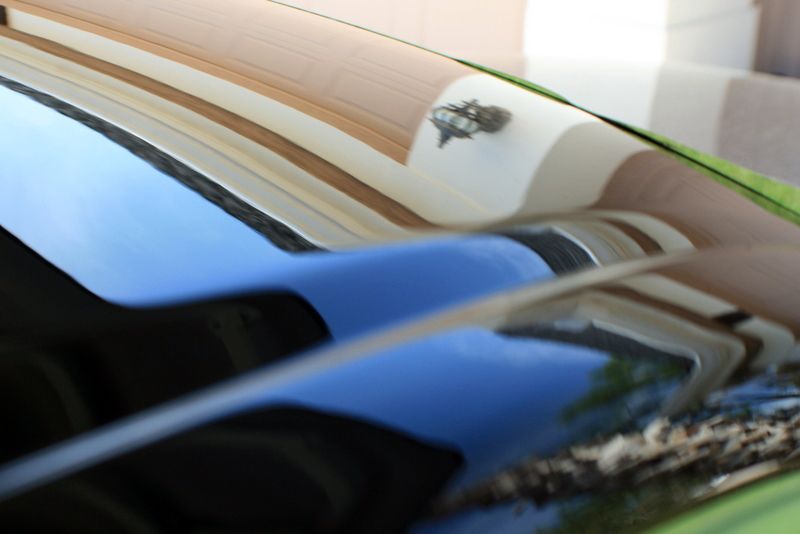
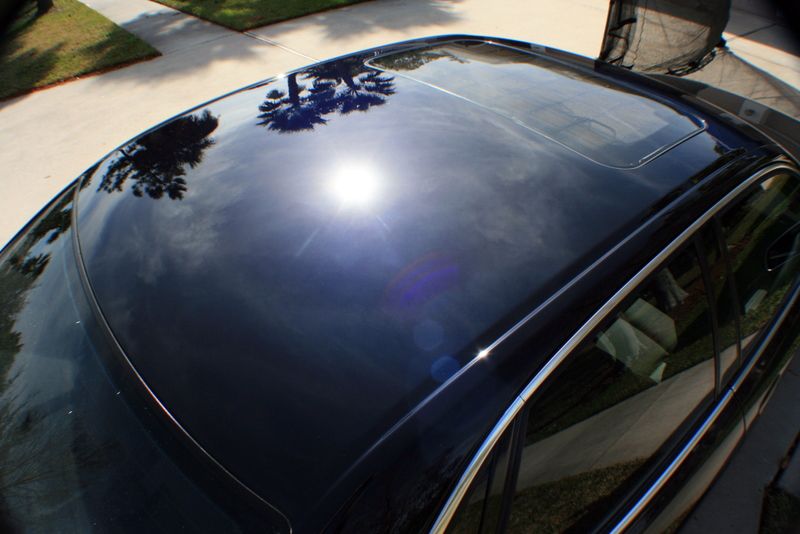
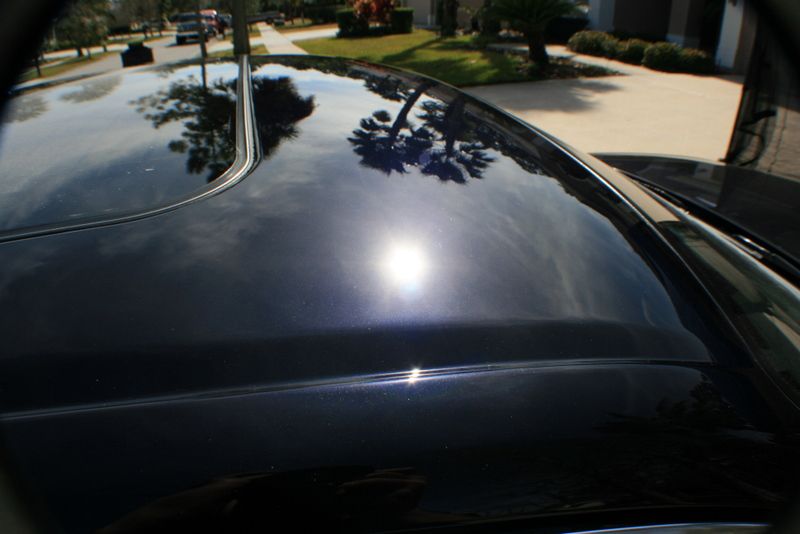
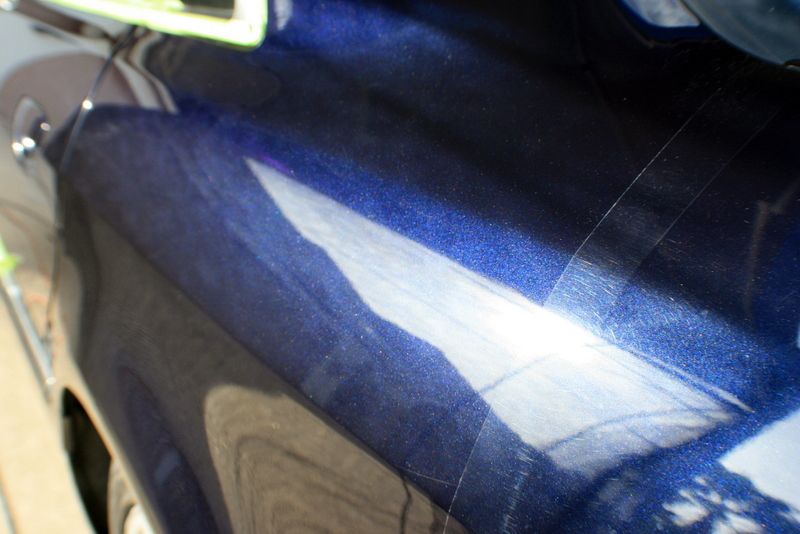
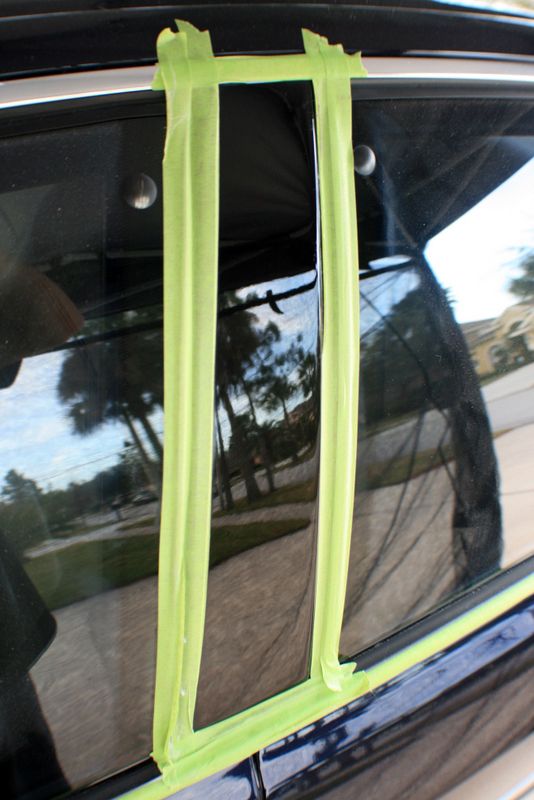
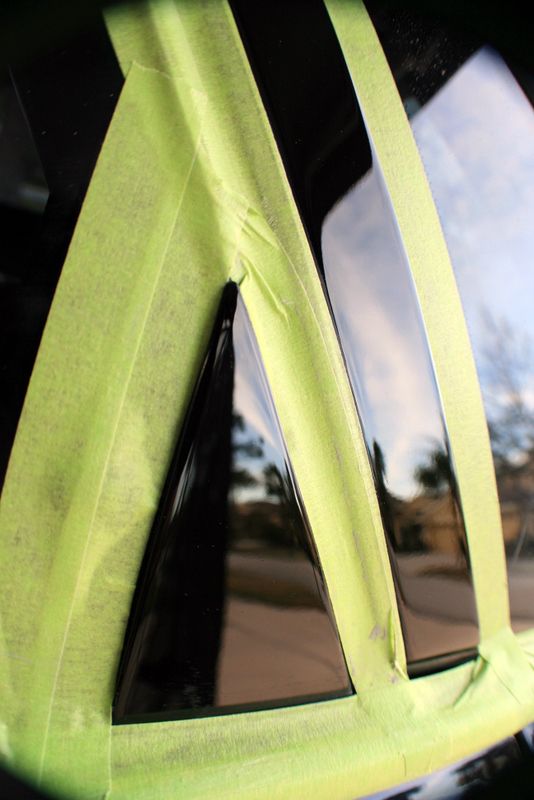
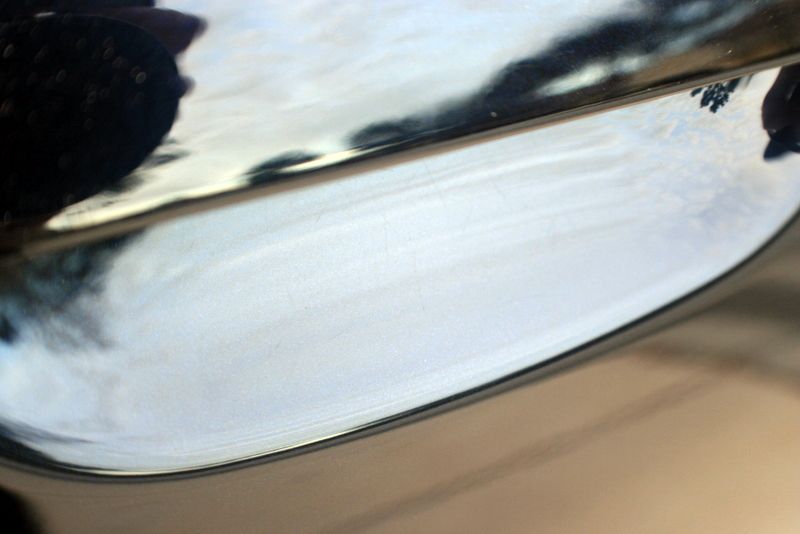
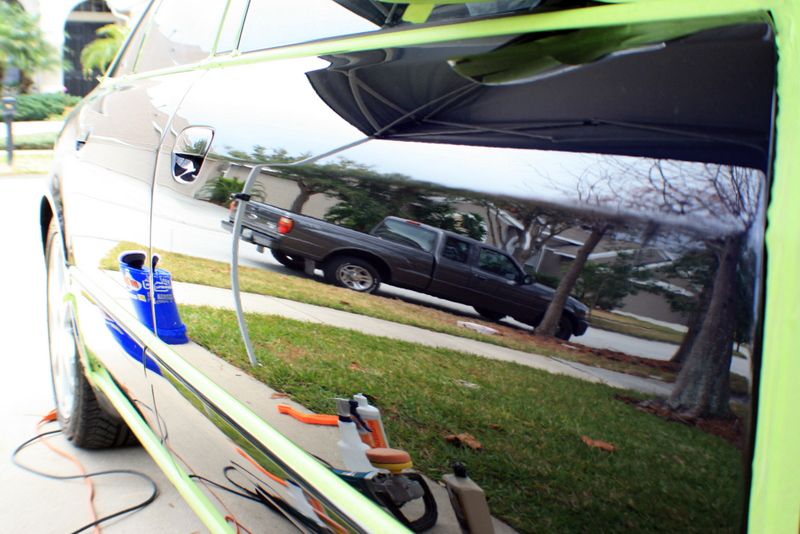
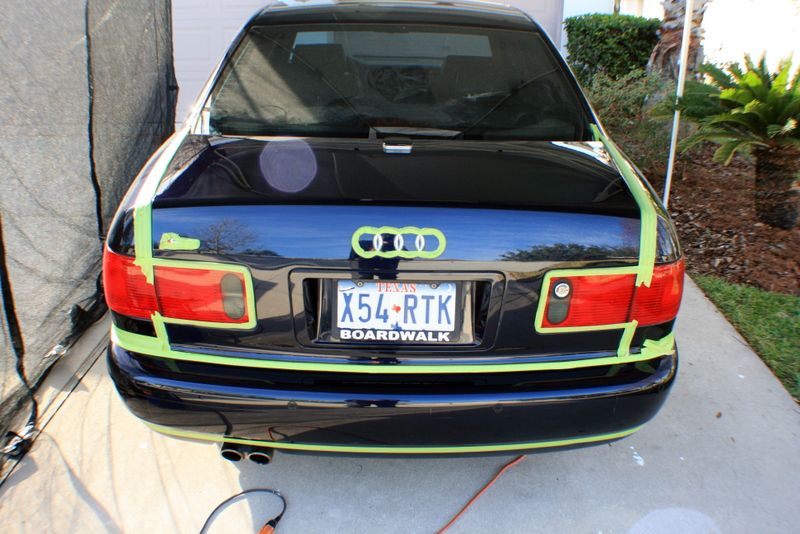
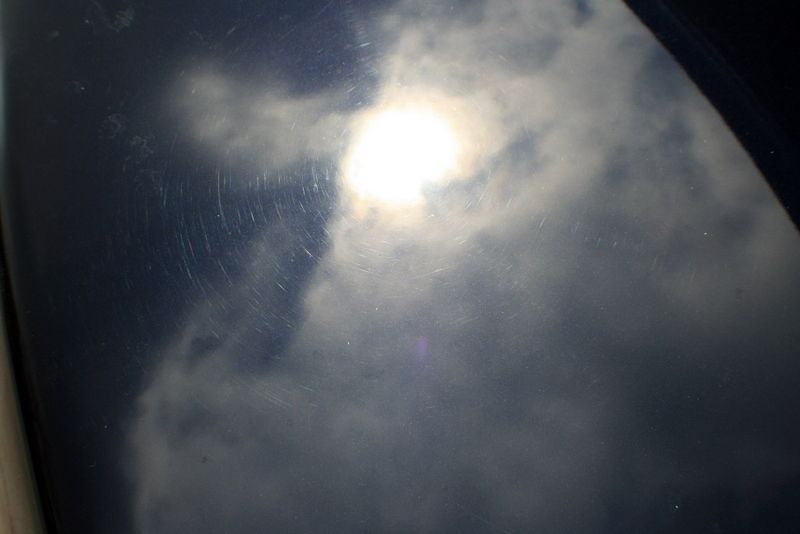
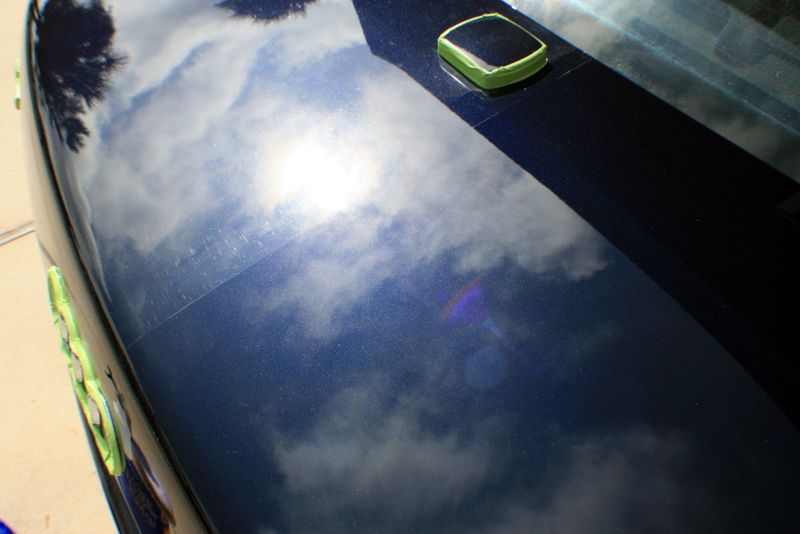
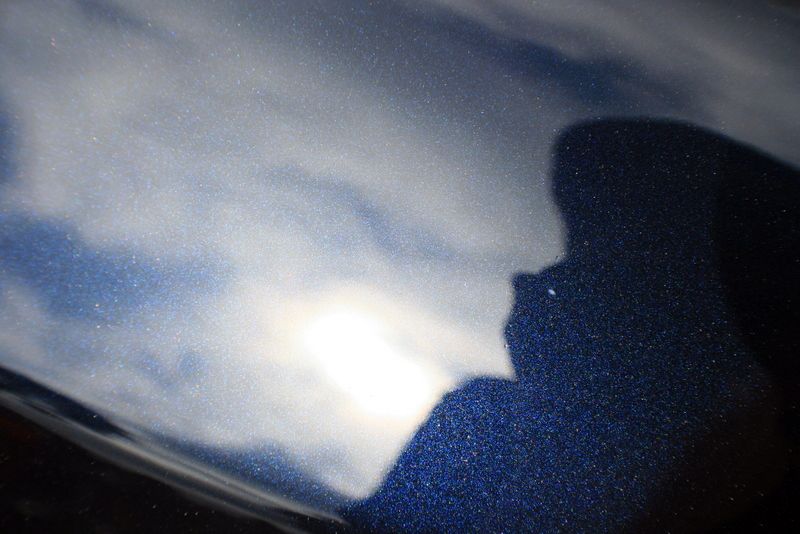
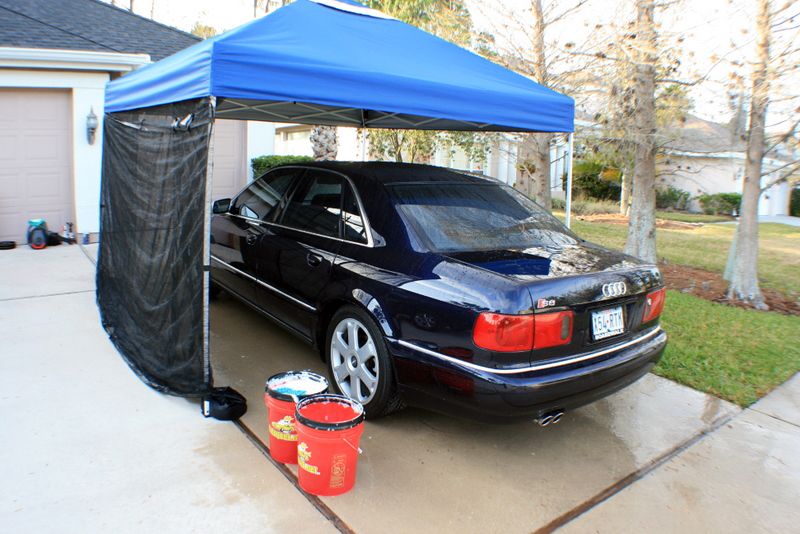
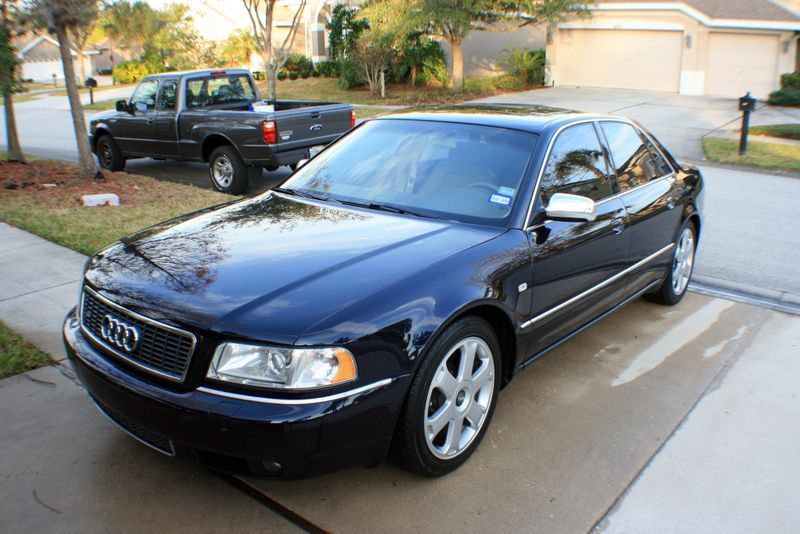
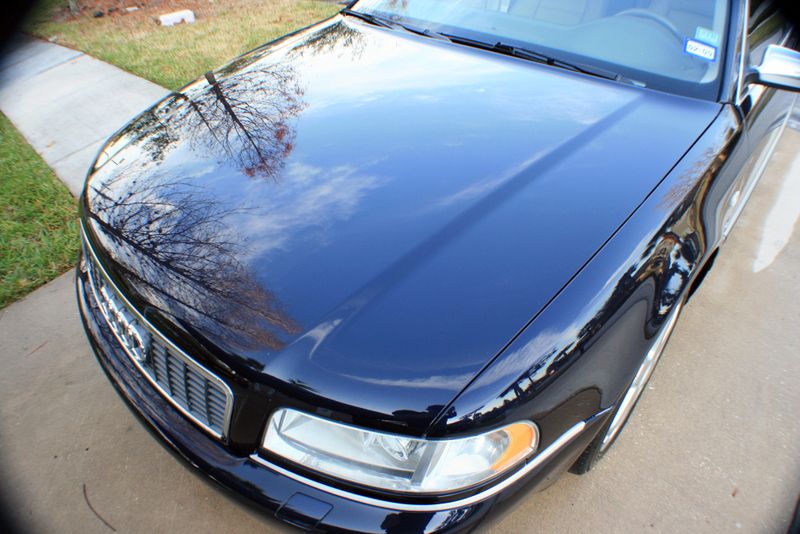
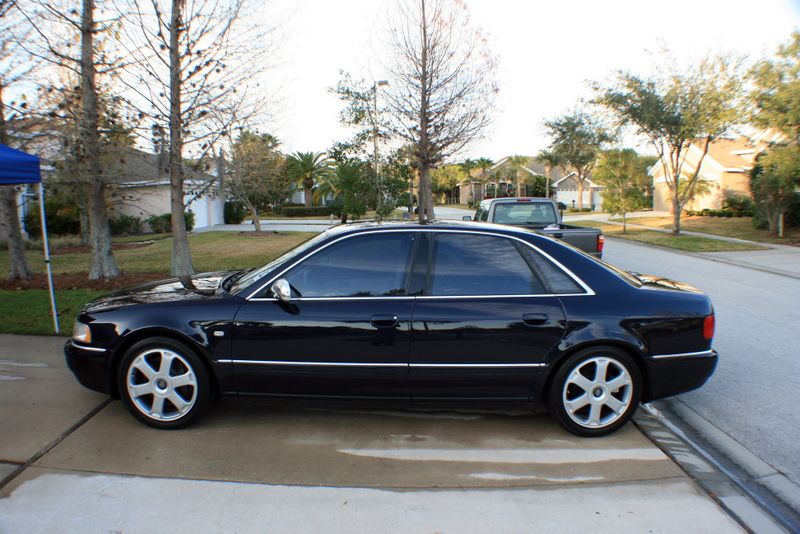
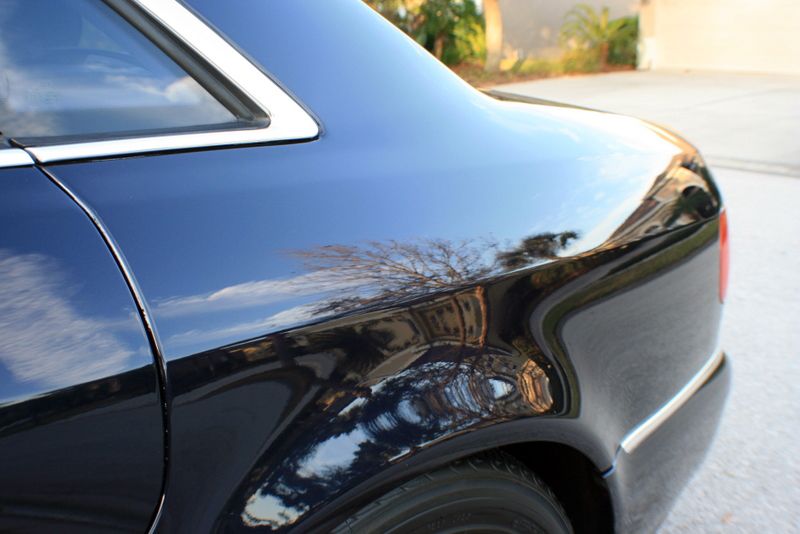
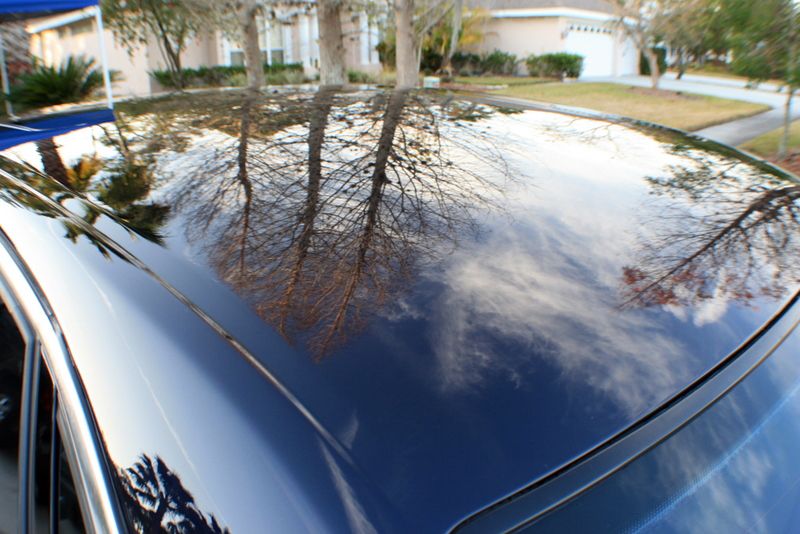
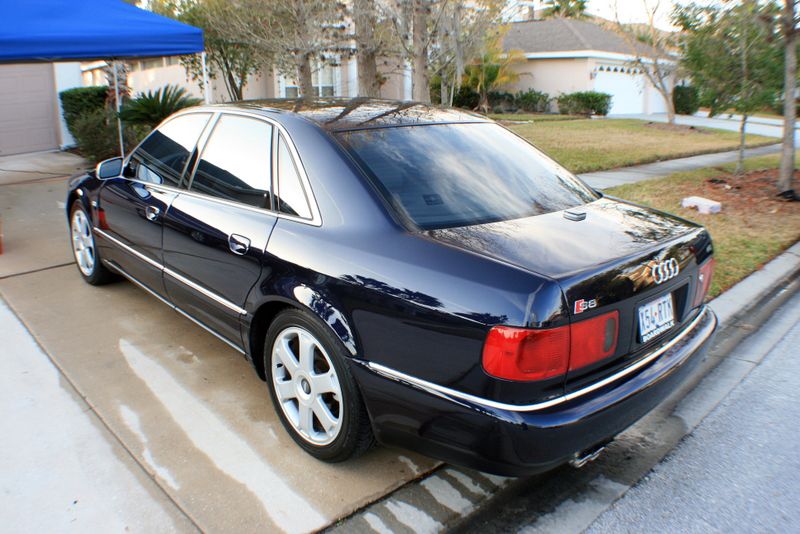
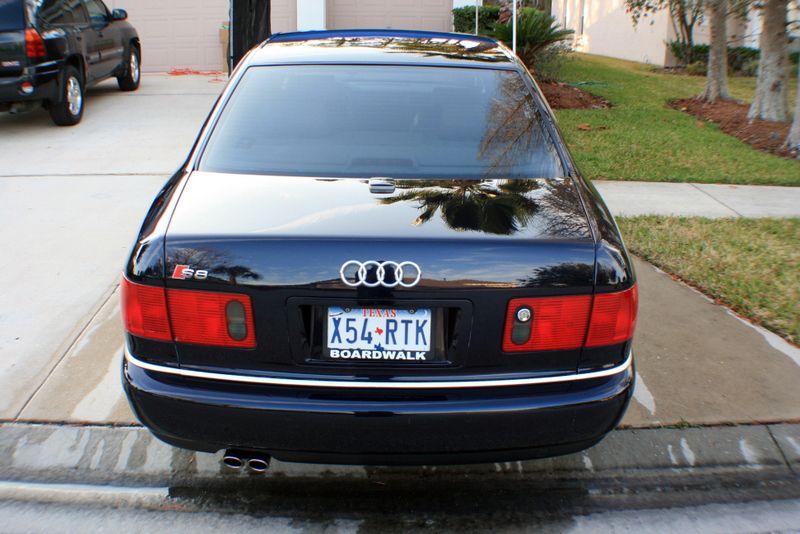
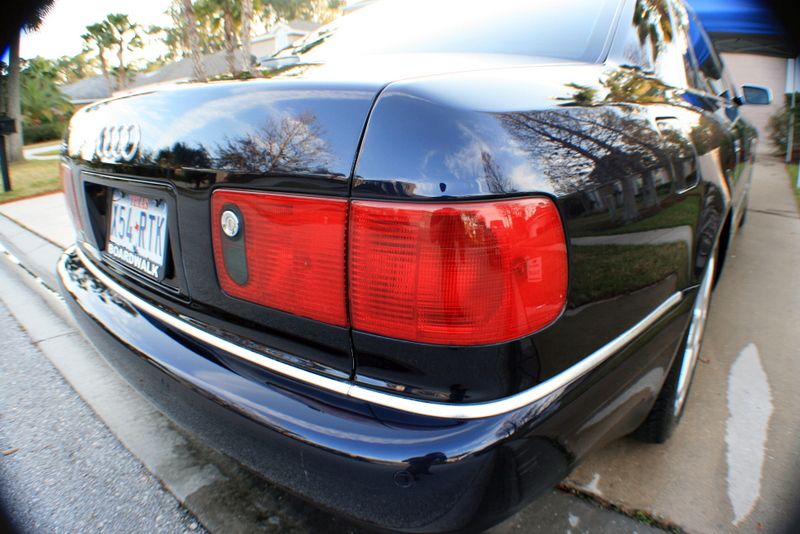
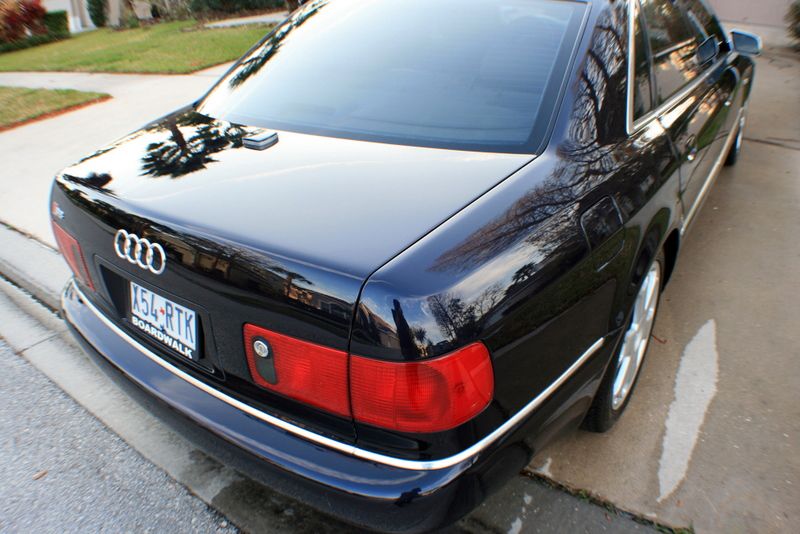
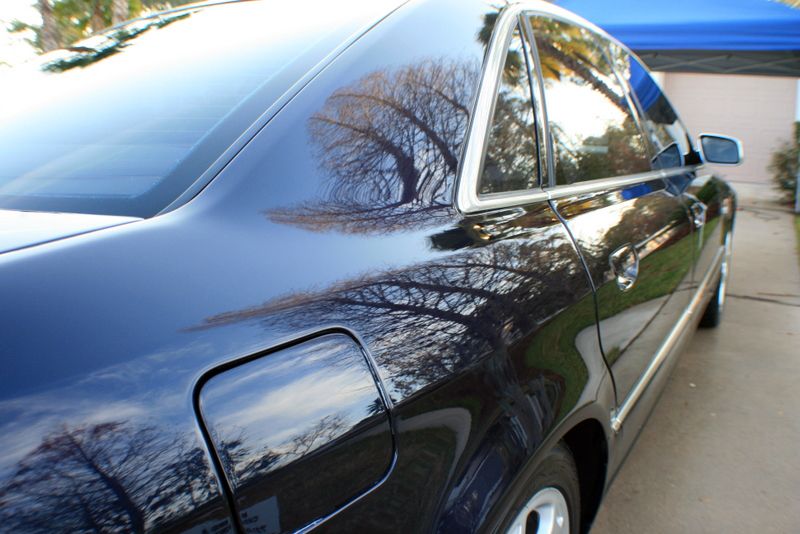
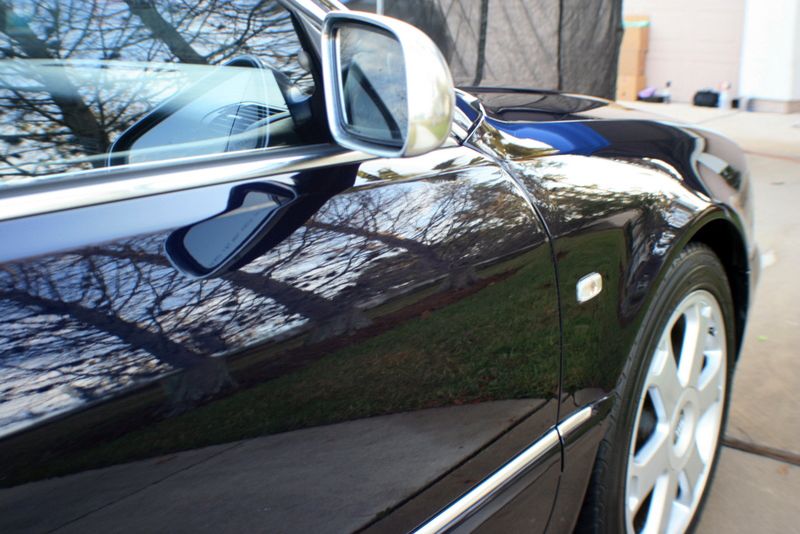
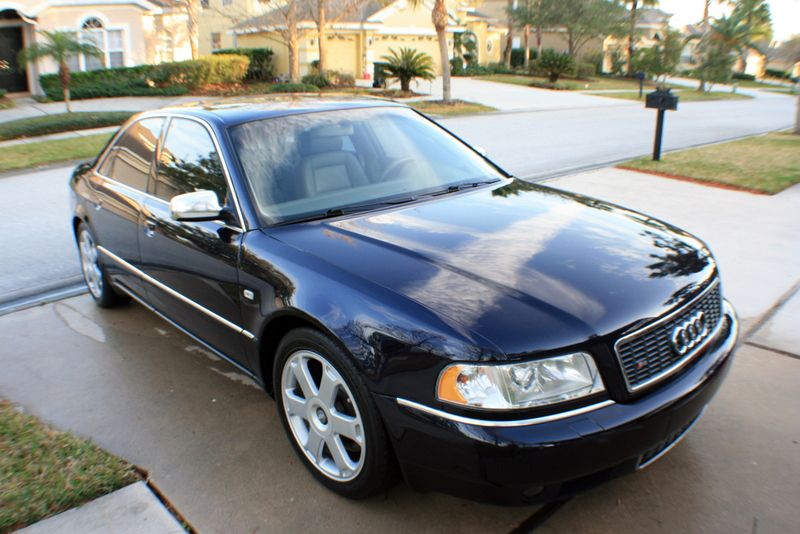
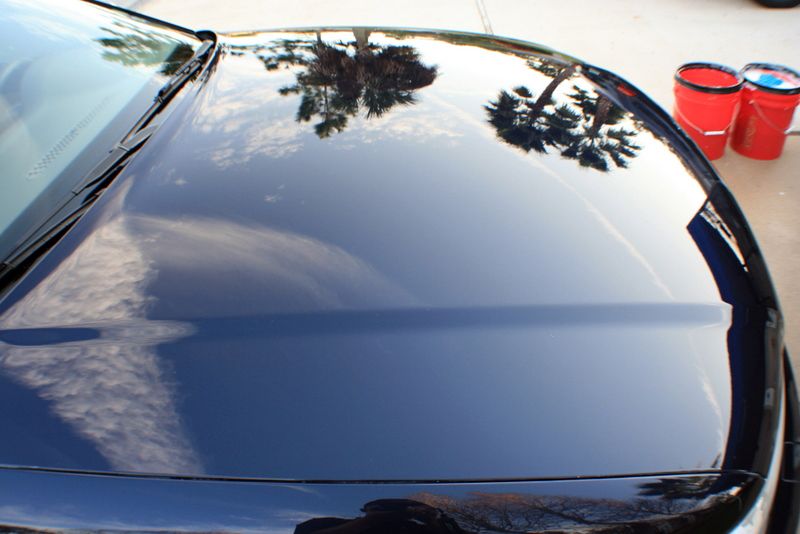
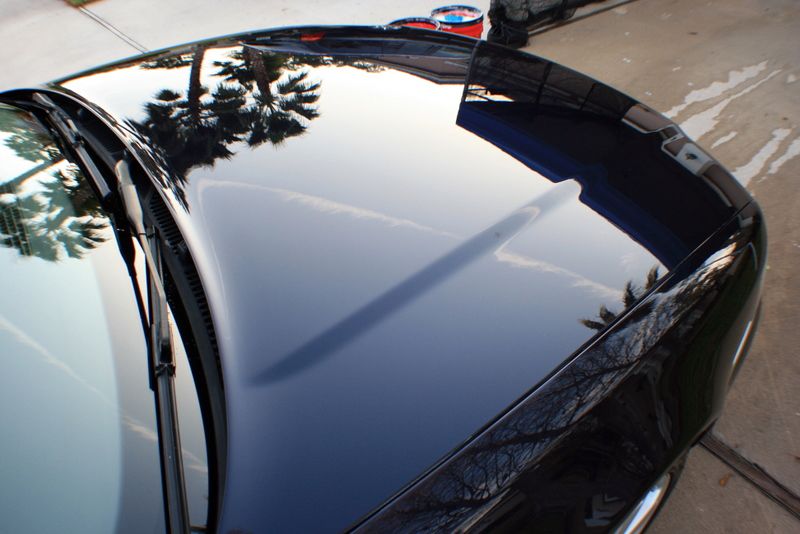
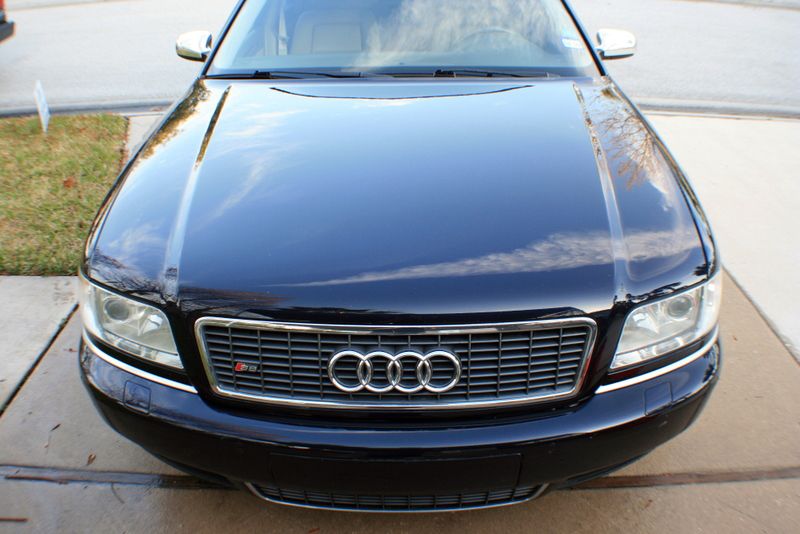
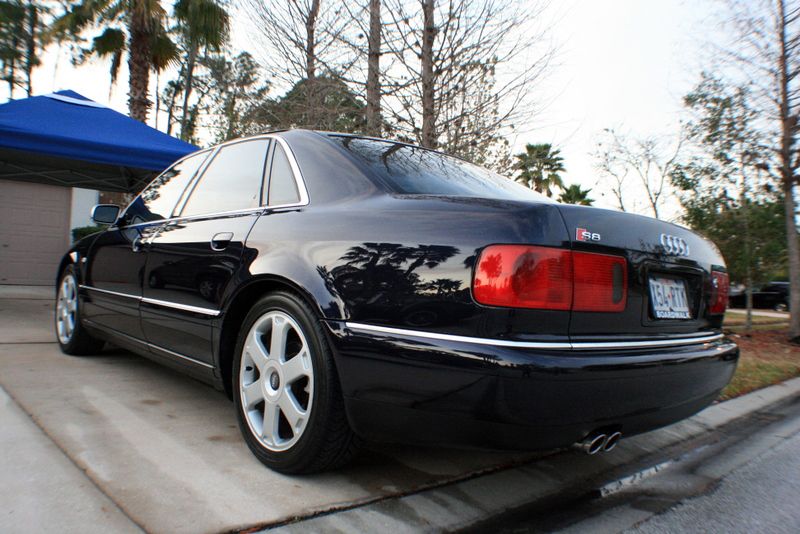
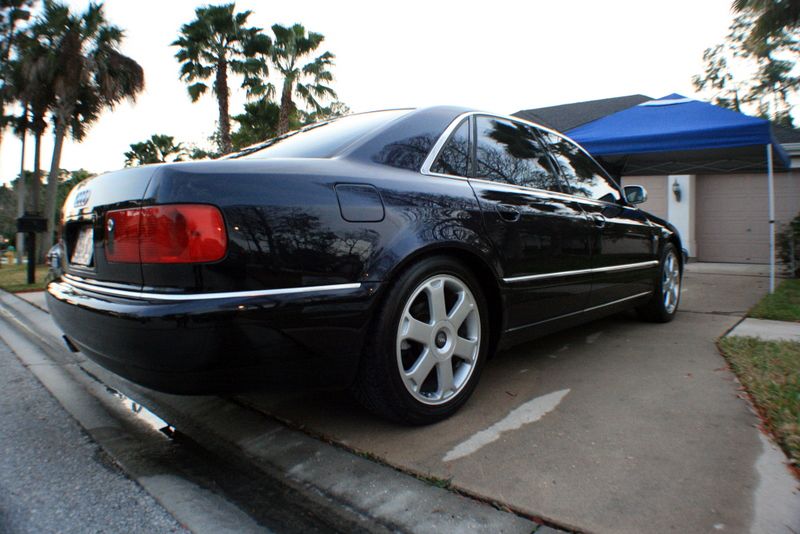
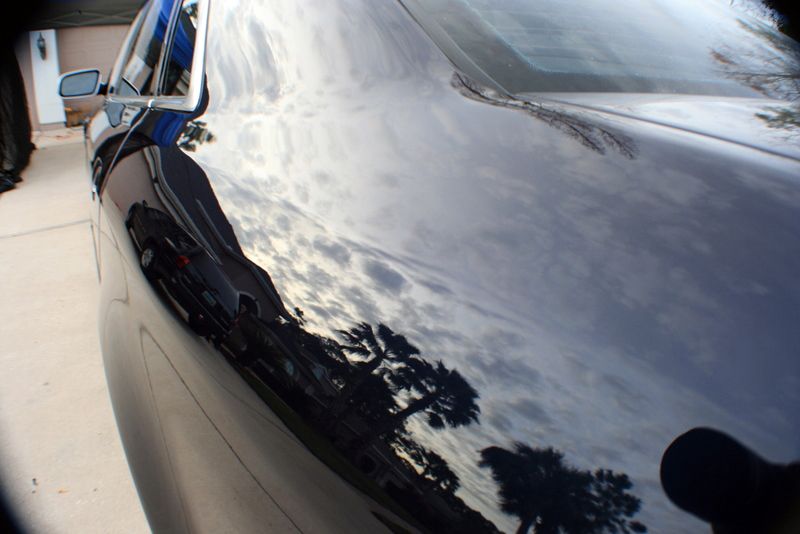
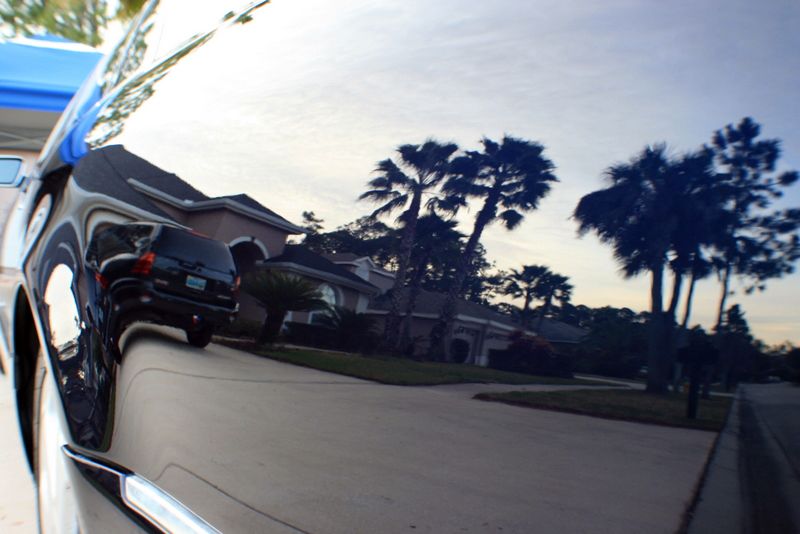
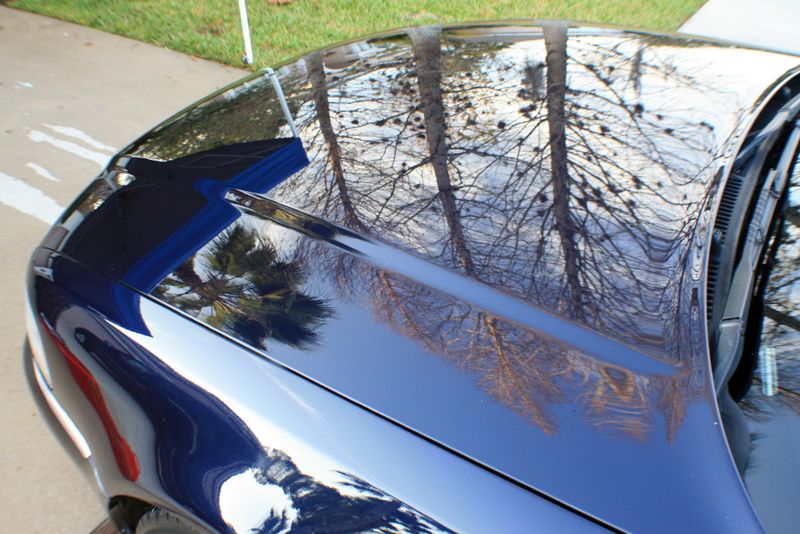
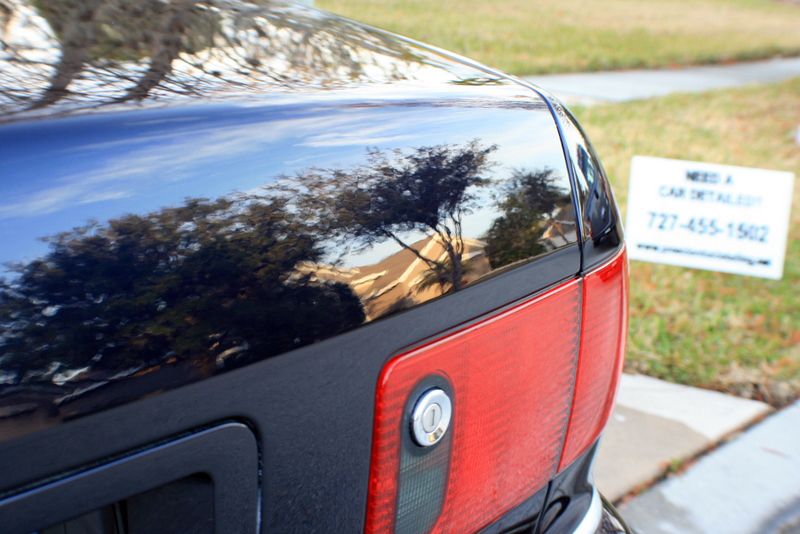
I spent 3 FULL days straight getting this car back into shape. The owner of this car also owns the AC COBRA I detailed, and we went for the full "Presidential" Package on this one! The car wasnt in that bad of condition, it just needed to be polished and touched up in a few areas. There were some pretty significant buffer burns across the hood, rear c-pillars and across the car overall from a previous attempt. I was very happy with the way this one came out, and I have a ton of pictures to show it! haha! Sit back, relax, and ENJOY! :d

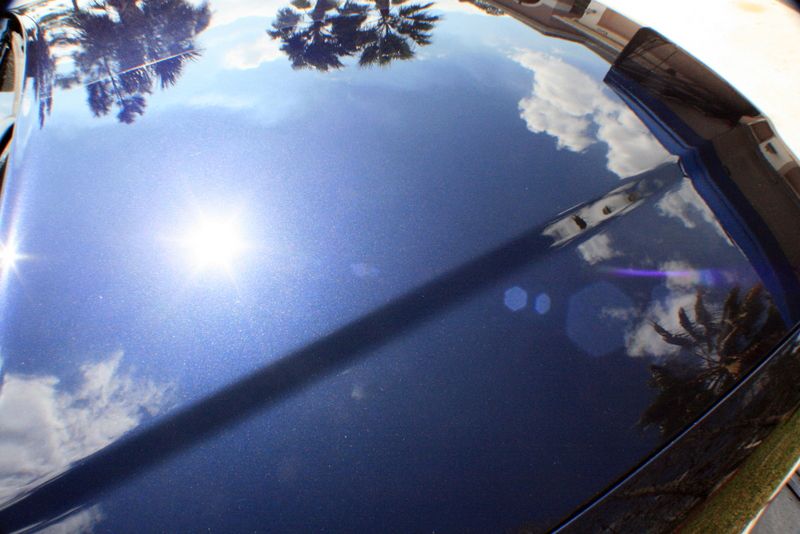
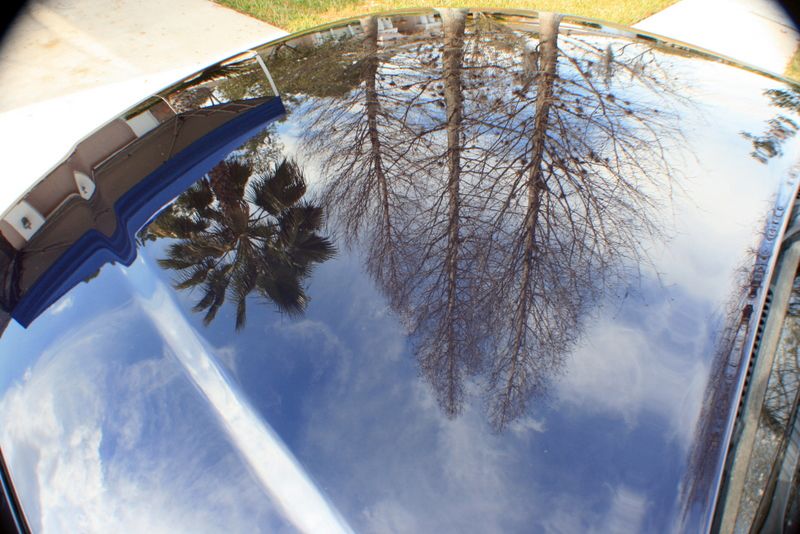
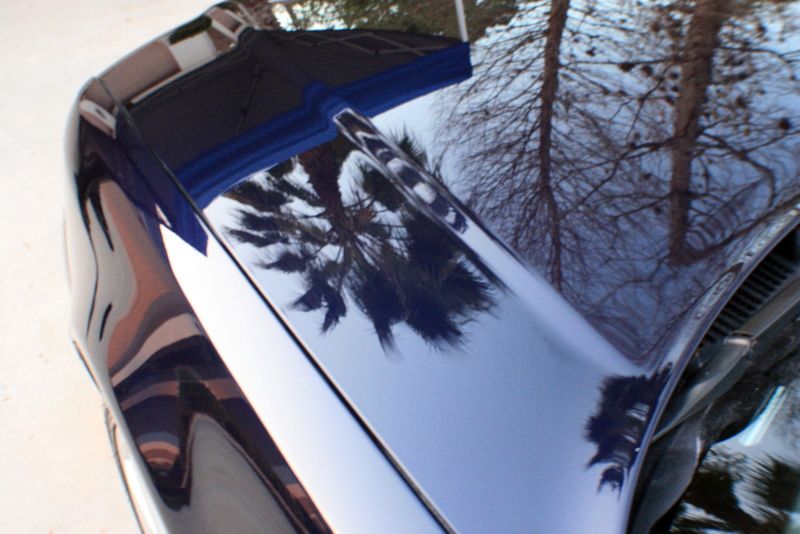
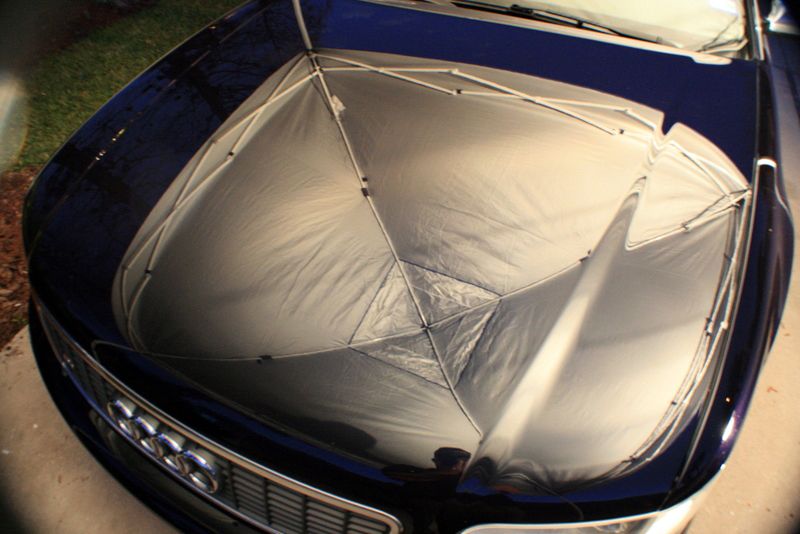
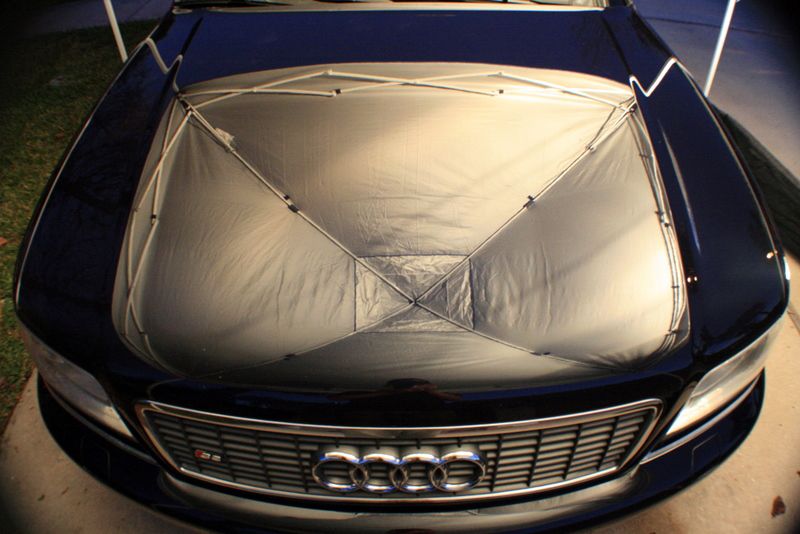
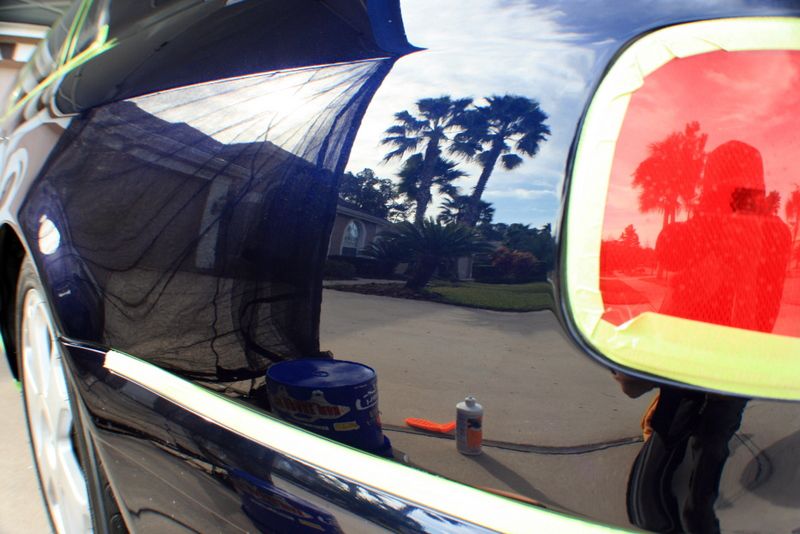
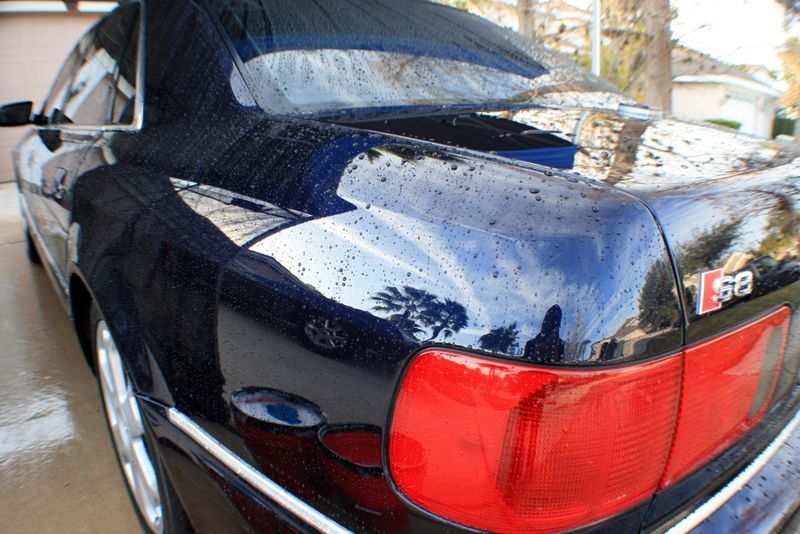
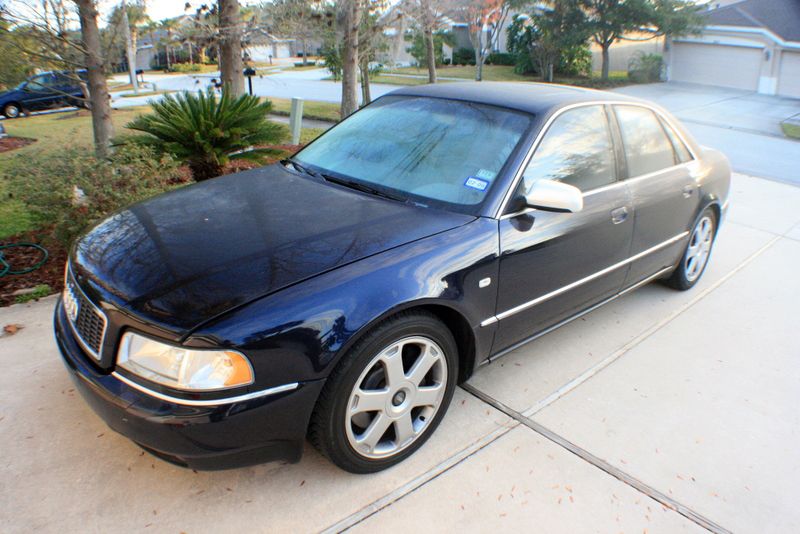
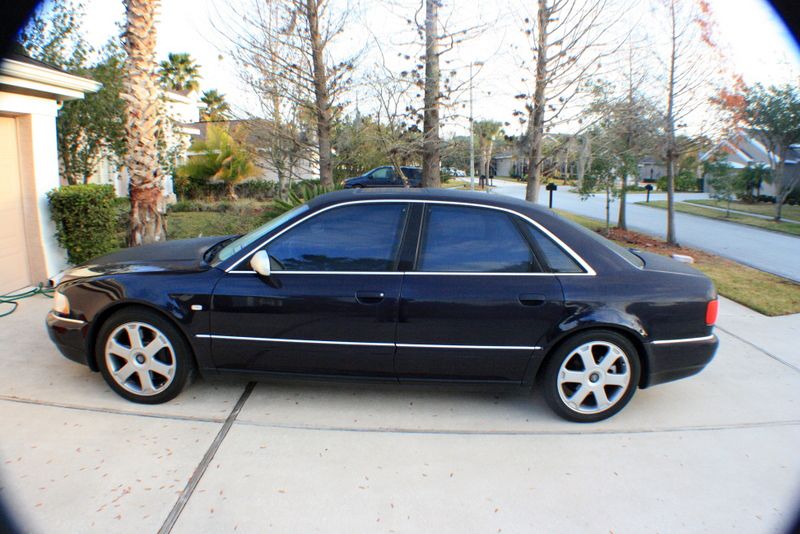
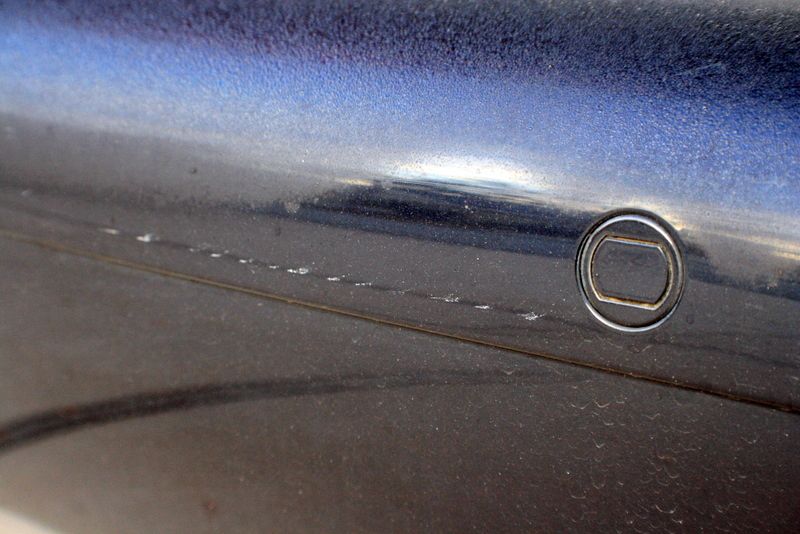
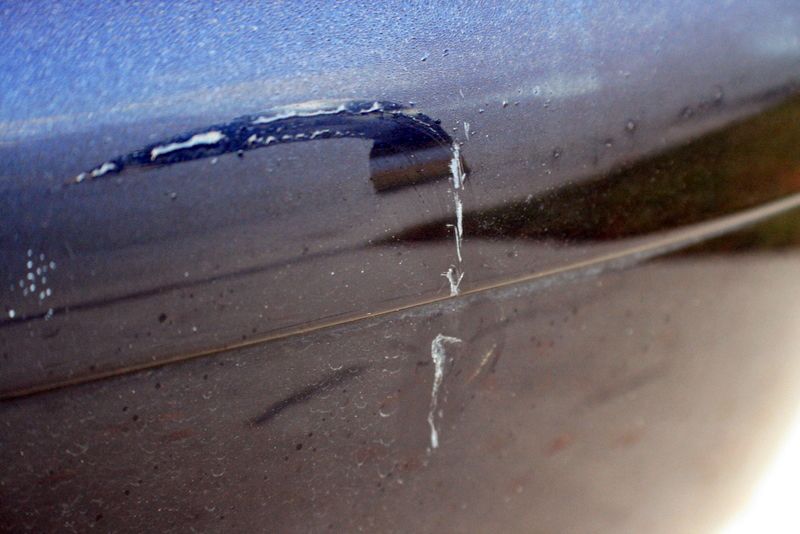
It was 7AM when I started the first day, so there was some dew left on the car..
IMG_7558.jpg


IMG_7559.jpg


IMG_7560.jpg


IMG_7561.jpg


IMG_7562.jpg


IMG_7563.jpg


IMG_7565.jpg
 
I started by washing the wheels, undercarriage, and engine compartment.
IMG_7574.jpg


IMG_7575.jpg


IMG_7576.jpg


IMG_7577.jpg


The engine compartment was in dire need of cleaning.
IMG_7544.jpg


IMG_7545.jpg


IMG_7546.jpg


IMG_7547.jpg


There were even leaves in the TOP hinges!
IMG_7548.jpg


IMG_7549.jpg
 
After the initial wash and clay bar you can see this car needed some work.
IMG_7594.jpg


IMG_7579.jpg


IMG_7580.jpg


Roof.
IMG_7581.jpg


IMG_7582.jpg


If you look closely there are some bad buffer burns in this area.
IMG_7584.jpg


IMG_7586.jpg


IMG_7587.jpg


IMG_7588.jpg


IMG_7589.jpg
 
So I did a little testing and once again M105 pulls it off! I used M105/yellow wool for one pass to remove the harsher defects, then follow with a couple more passes using M105 on a PFW pad. This came out fantastic, I would say a 99% correction, there were only a few RIDs left throughout the whole car.

IMG_7603.jpg


IMG_7605.jpg


IMG_7606.jpg


IMG_7614.jpg


IMG_7607.jpg


The hood completed after M105/SIP/3M UF
IMG_7626.jpg


Fenders completed.
IMG_7639.jpg


IMG_7640.jpg


IMG_7645.jpg
 
Due to having to work outside I changed up my routine for this one, I did the entire front half of the car (polish/seal/wax) and then moved to the roof, then each side(doors), then I work on the rear section. This was to prevent me from having to repolish before applying LSP since the car was left outside each night, and I would only have to re-wash the car once finished.

Here is the car taped off to completely polish each trim peice as well as the front bumper.
IMG_7653.jpg


This was the condition of the front bumper before I started.
IMG_7646.jpg


After all said and done on the front half.
IMG_7617.jpg


IMG_7634.jpg


IMG_7660.jpg


IMG_7661.jpg


IMG_7665.jpg


IMG_7681.jpg


IMG_7682.jpg


IMG_7690.jpg


IMG_7696.jpg
 
To start day two I chose to work on the roof and ended up completing both the roof and the entire driver side.

My work environment, this thing made what would have been hell a much nicer place to work in the Florida Heat!
IMG_7703.jpg


I made sure to tape off anything that I didnt want the buffer to touch..
IMG_7697.jpg


This is after compounding and SIP/Orange
IMG_7698.jpg


IMG_7699.jpg


IMG_7706.jpg


IMG_7709.jpg


The roof completed and in the FL sun! BTW, the white lines that look like a hologram are actually plane tracers.
IMG_7712.jpg


IMG_7713.jpg


The drivers rear quarter panel 50/50.
IMG_7715.jpg


And completed.
IMG_7716.jpg
 
I then proceeded to tape off the pillars as they were painted black and needed some work also. This was completed for both sides although I only picture one.

IMG_7593.jpg


Here you can even see some hard water and how dull the finish looks.
IMG_7718.jpg


IMG_7720.jpg


After M105/PFW and SIP/Orange
IMG_7721.jpg


IMG_7724.jpg


I also gave under the door handles a bit of attention since they had been lightly scratched from finger nails, etc.

Before.
IMG_7738.jpg


After M105 on a green foam finger pad.
IMG_7740.jpg
 
On the third day, the passenger side of the car and the rear portion of the car were completed.
IMG_7769.jpg


IMG_7786.jpg


IMG_7588.jpg


The trunk was the worst section of the car requiring a bit more work.
IMG_7775.jpg


IMG_7778.jpg


After. You can see how well the flake comes out at you here..
IMG_7776.jpg


The exhaust was also treated to some Adams Metal Polish. I did the best I could without being able to take it off the car.
Before.
IMG_7561.jpg


After.
IMG_7800.jpg
 
Now finally finished and sealed with a coat of Optimum Opti-Seal as well as two coats of Dodo Juice Supernatural.

The final wash.
IMG_7791.jpg


IMG_7792.jpg


IMG_7793.jpg


IMG_7794.jpg


IMG_7796.jpg


IMG_7797.jpg


IMG_7798.jpg


IMG_7799.jpg


IMG_7801.jpg


IMG_7802.jpg


IMG_7803.jpg
 
I have been watching your work and wanted to say WOW:eek: that car look amazing and the S2000 you did, simply no words.
 
Awesome for sure.Question are you heading over to Detail Fest ??
 
just curious do you always wash your cars after having waxed them?

Yes, usually. I do this to remove all of the dust, etc. I used to wash it before waxing but if you dont dry it quick enough you end up waxing water spots back into the paint!! So now I just do a good 91% IPA wipedown and seal/wax and then wash it all down for the final presentation! ;)
 
Back
Top