Presidential Detailed: Pictures of my work

Presidential_Detail

New member
Joined
Sep 28, 2008
Messages
621
Reaction score
0
Since I post so often, Ive decided to make just one thread and keep updating it as I go. This will leave less clutter in the detailing forum from all of my posts. ENJOY! :D

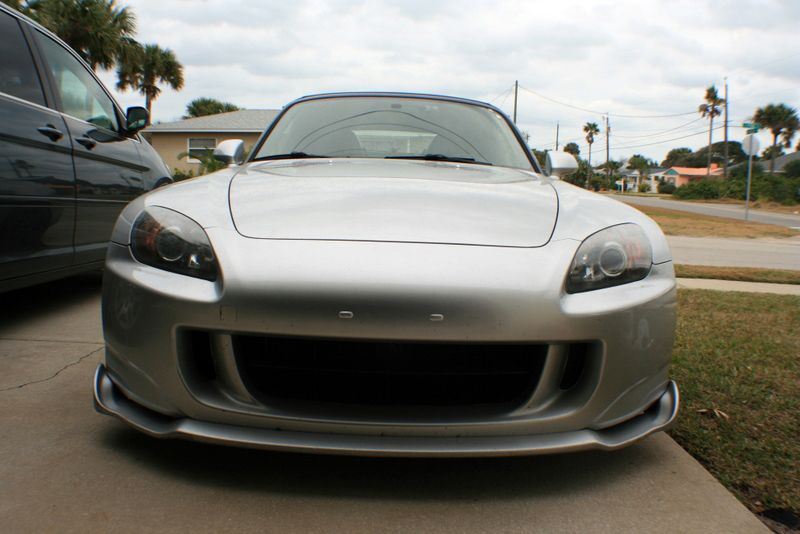
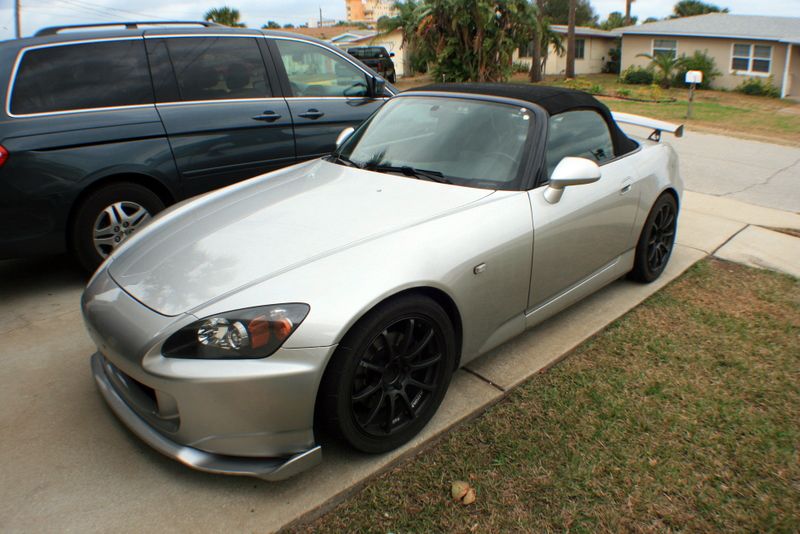
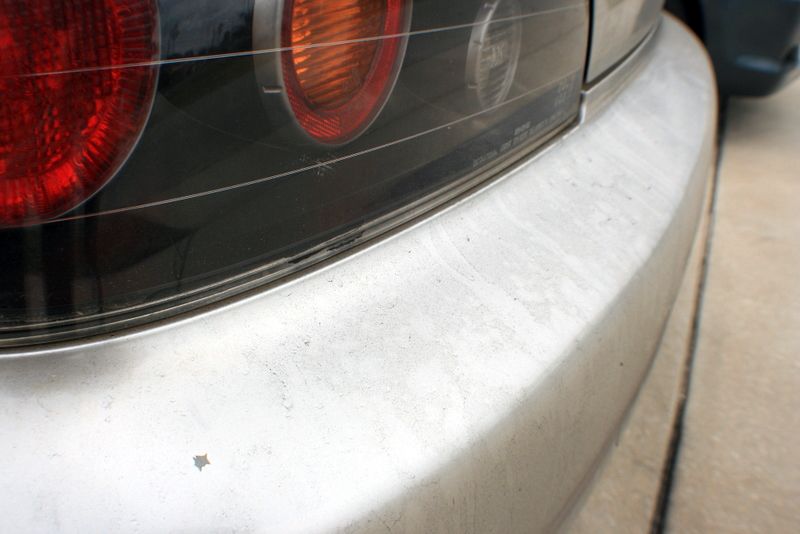
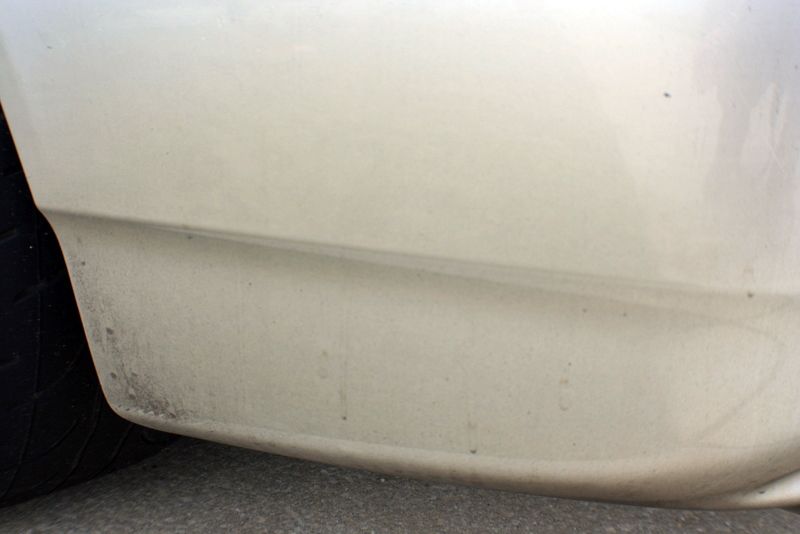
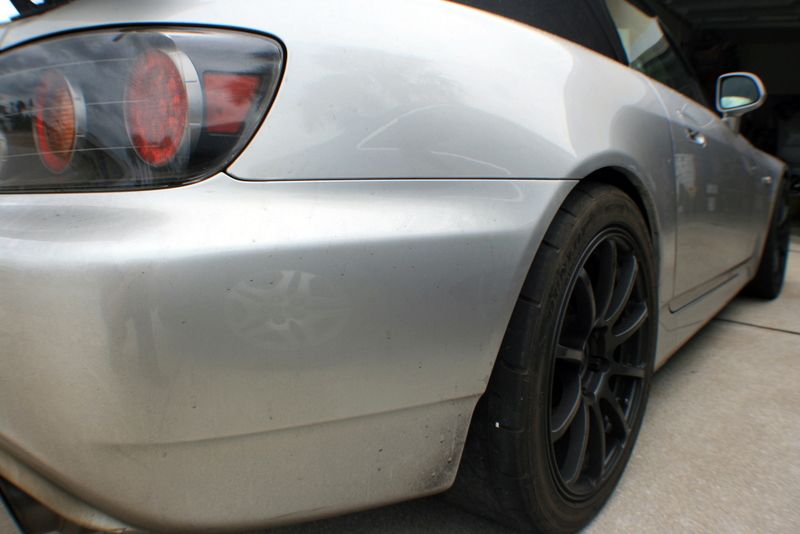
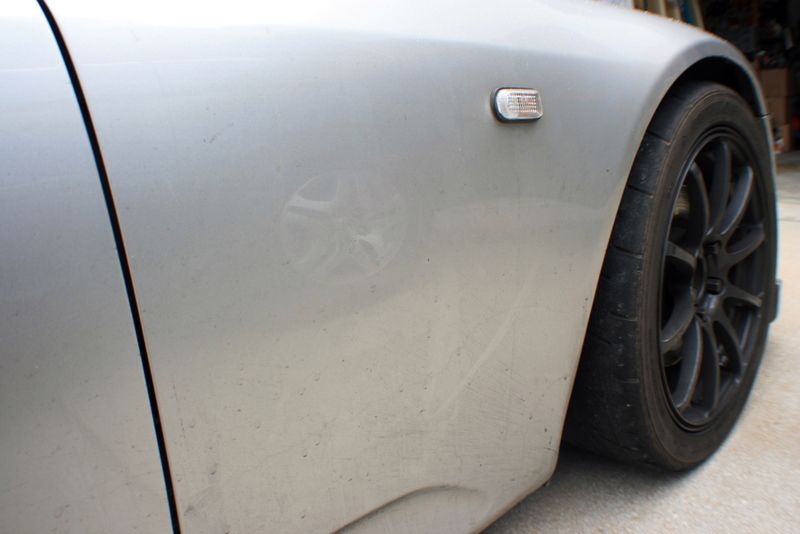
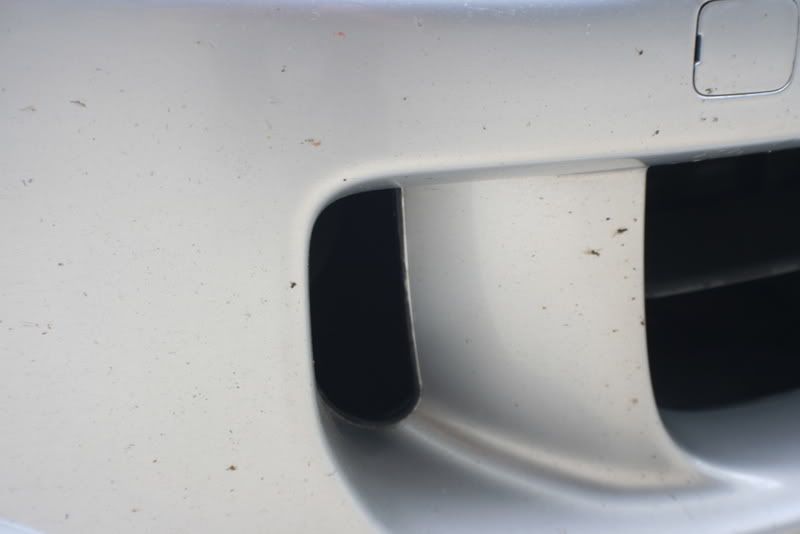
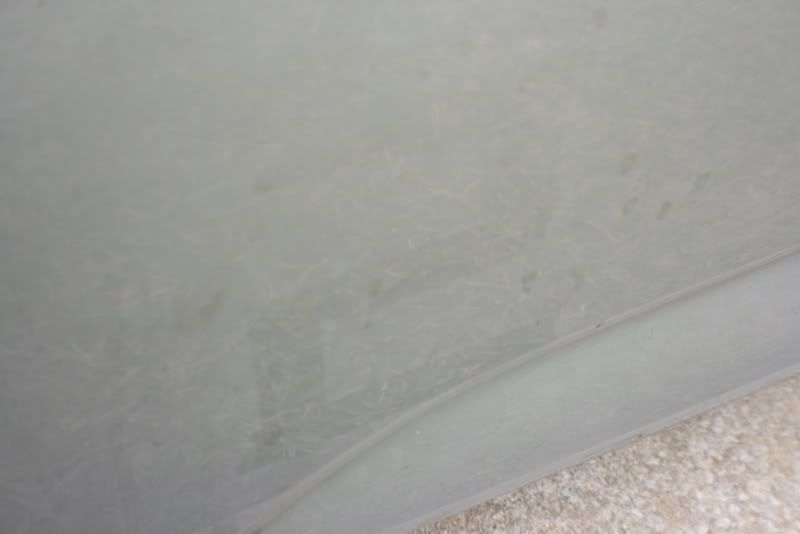
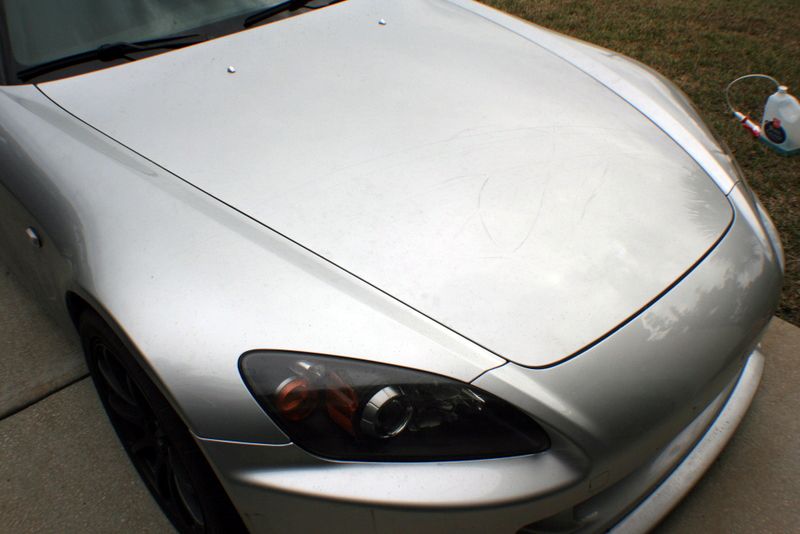
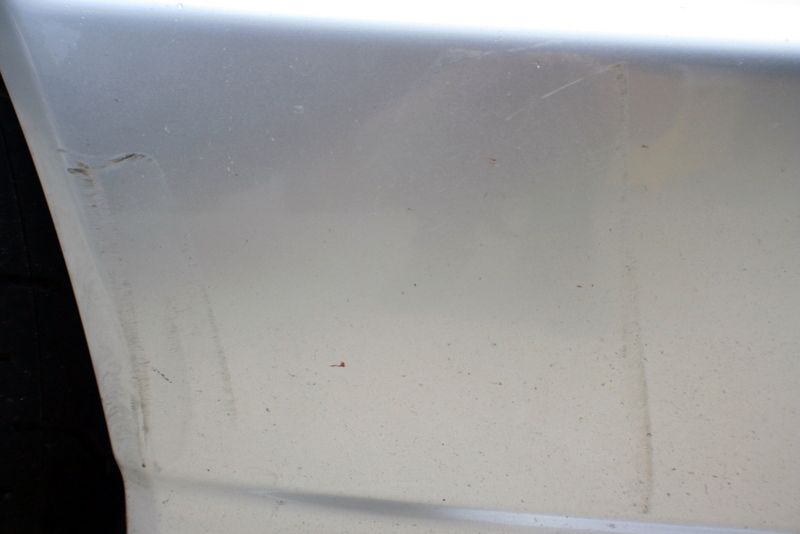
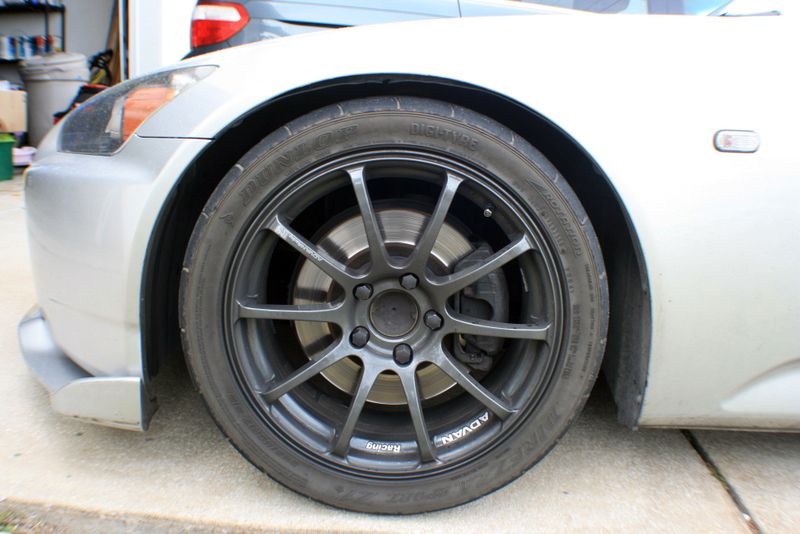
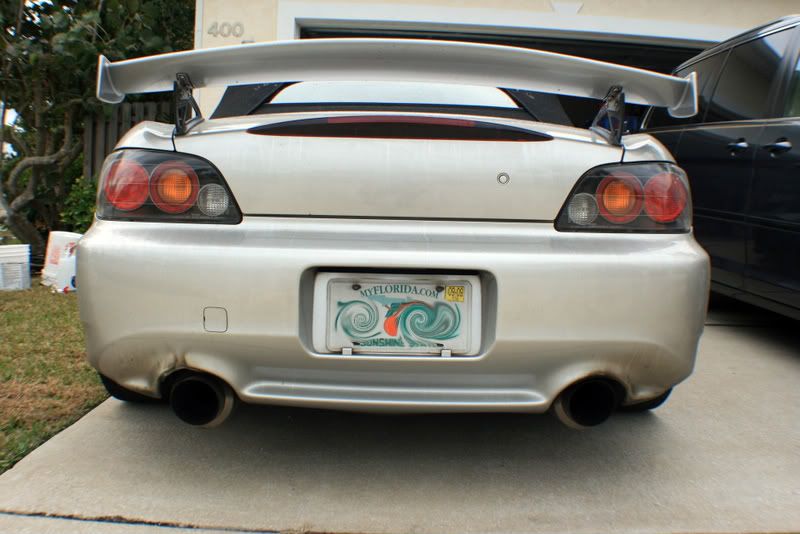
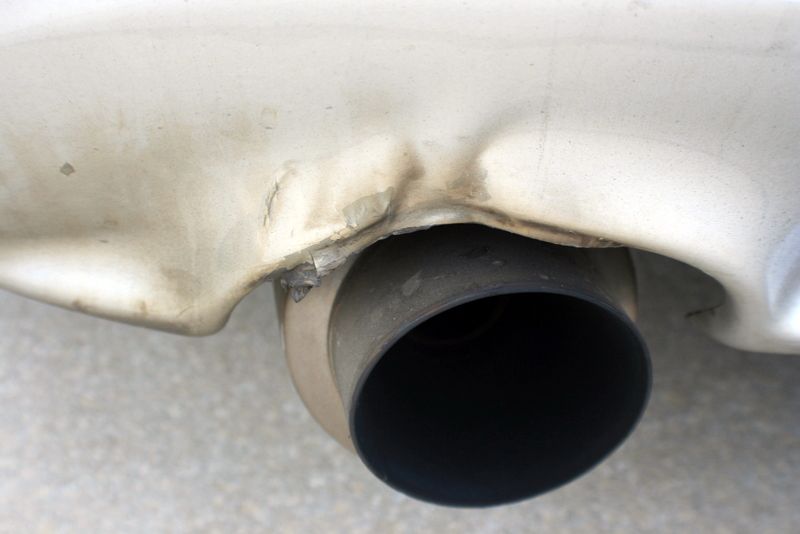
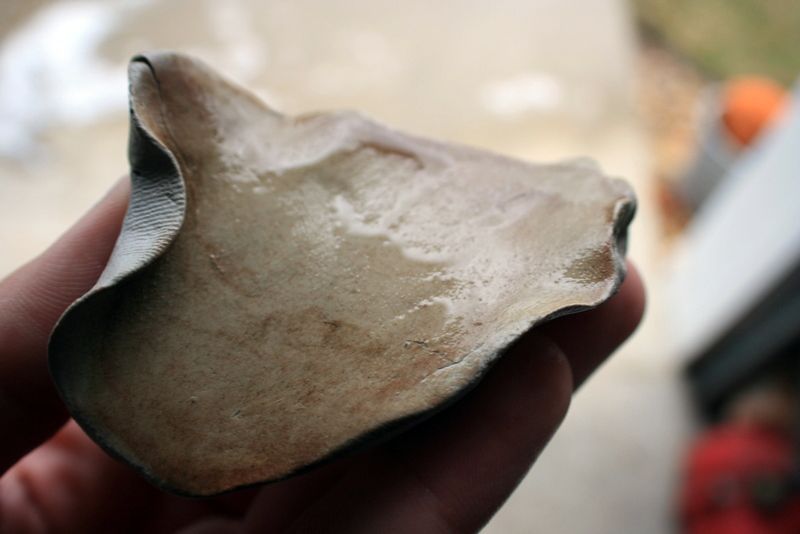
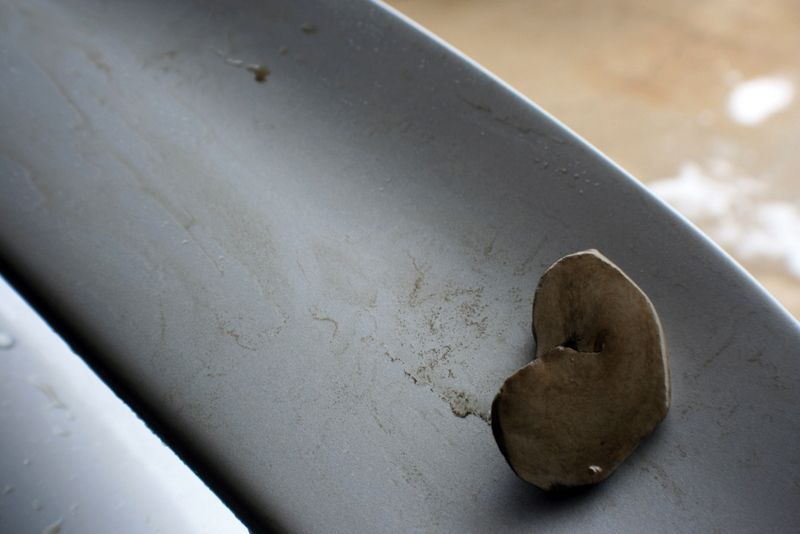
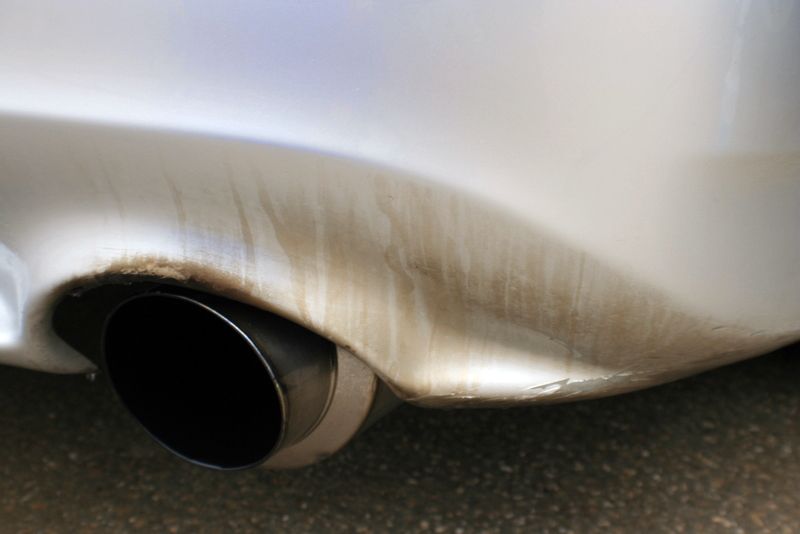
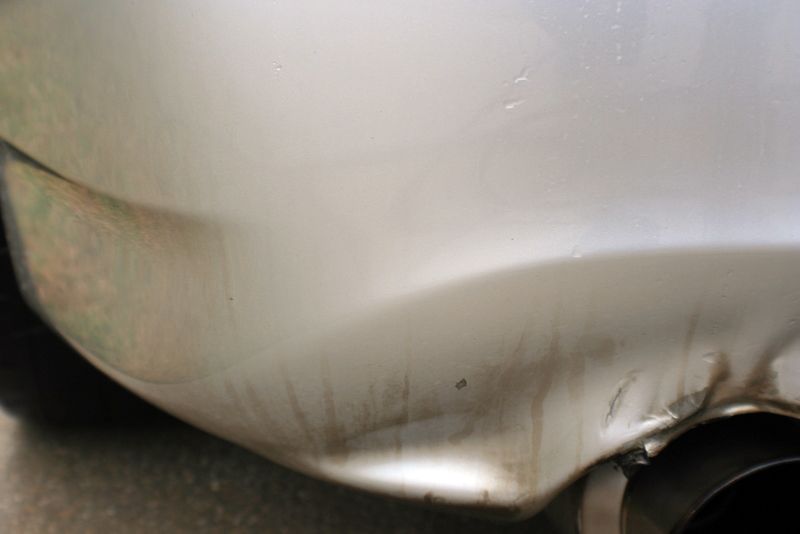
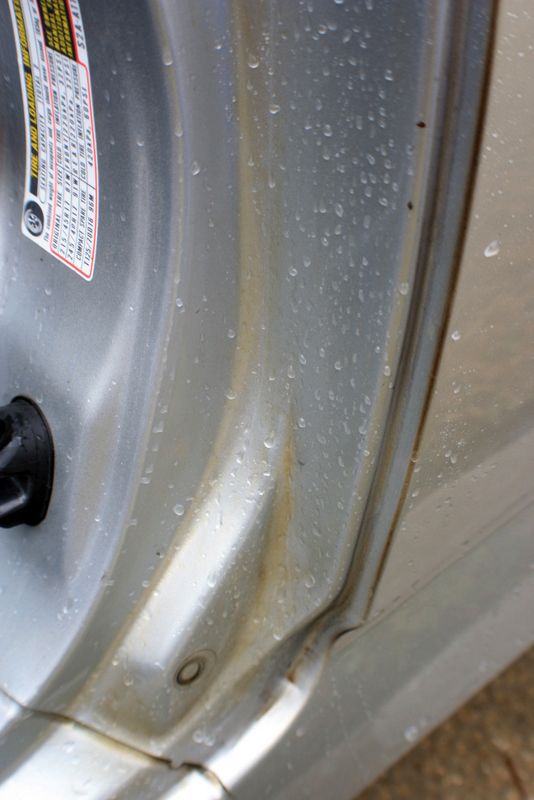
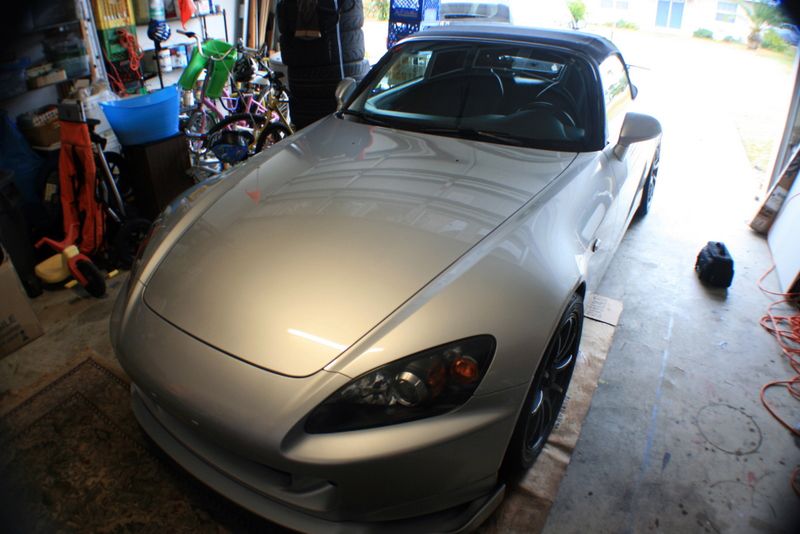
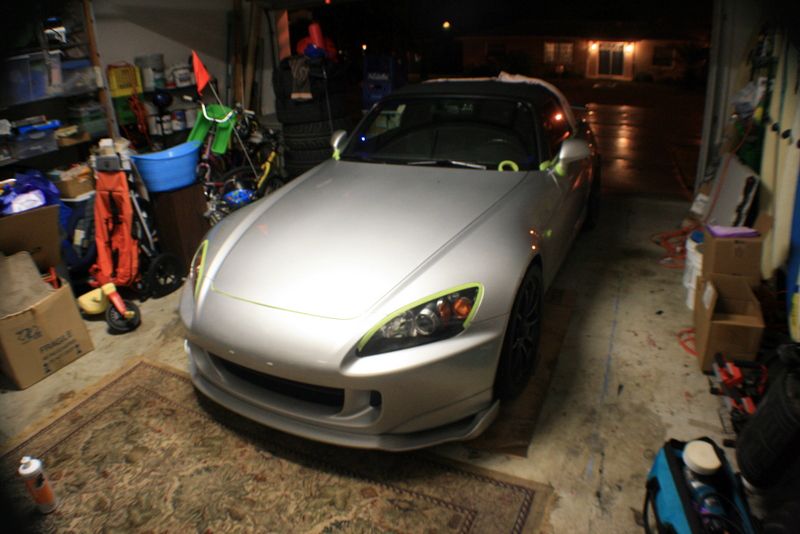
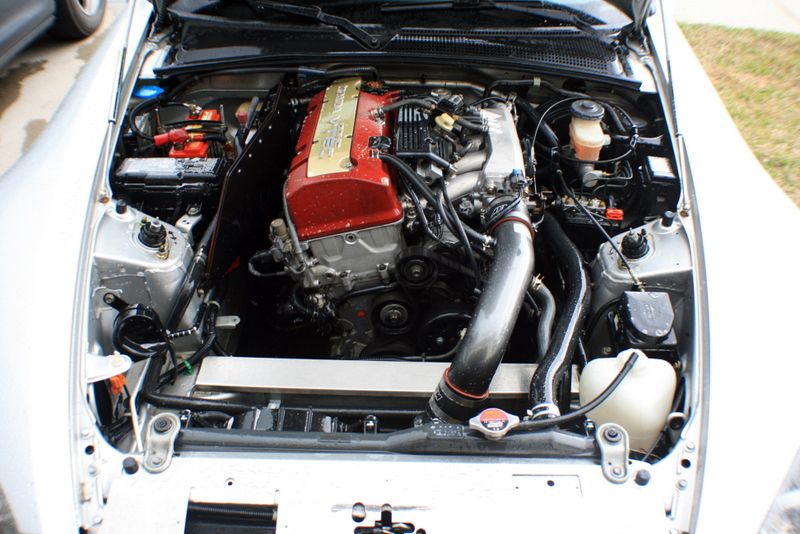
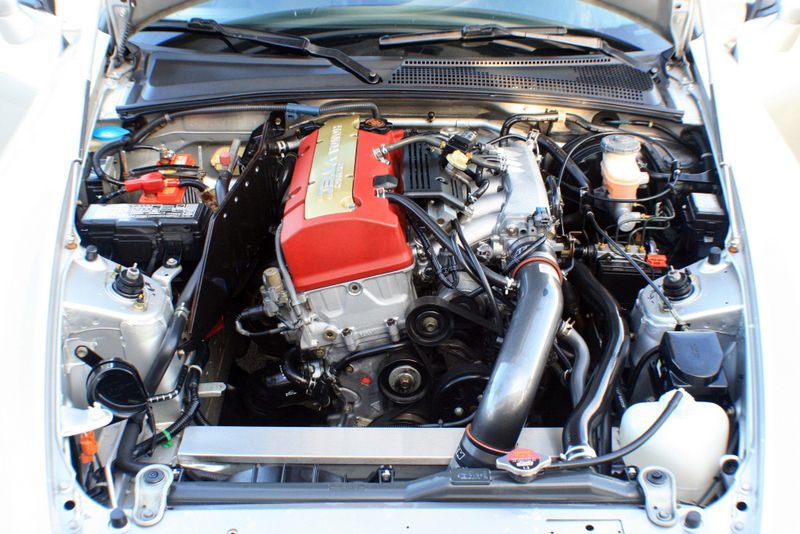
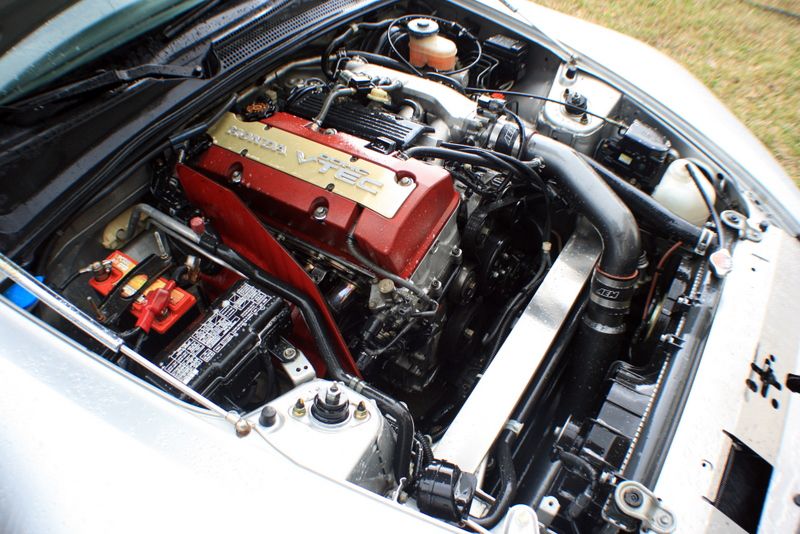
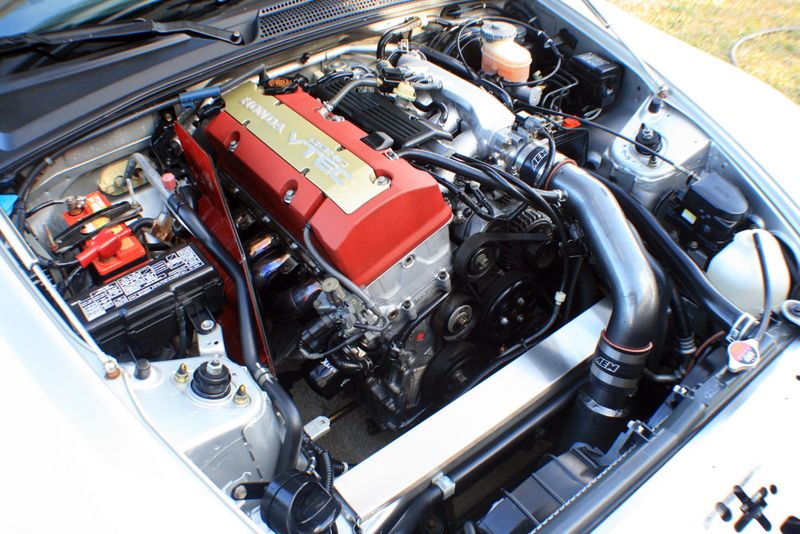
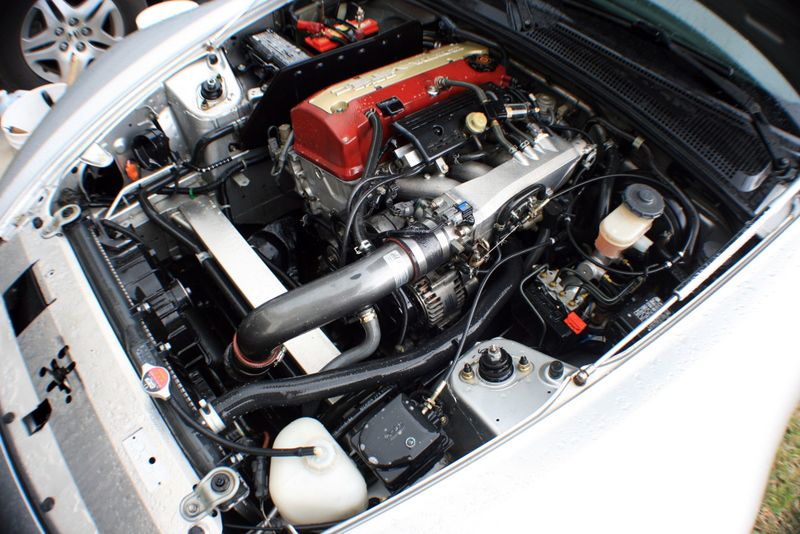
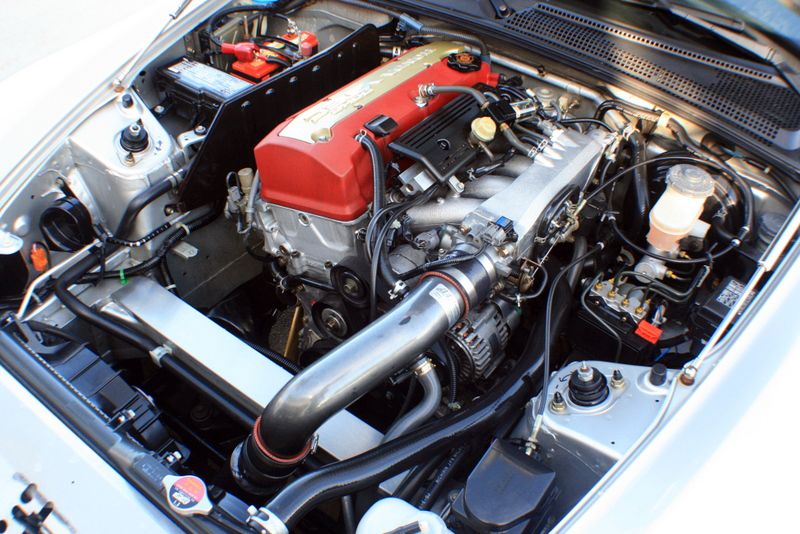
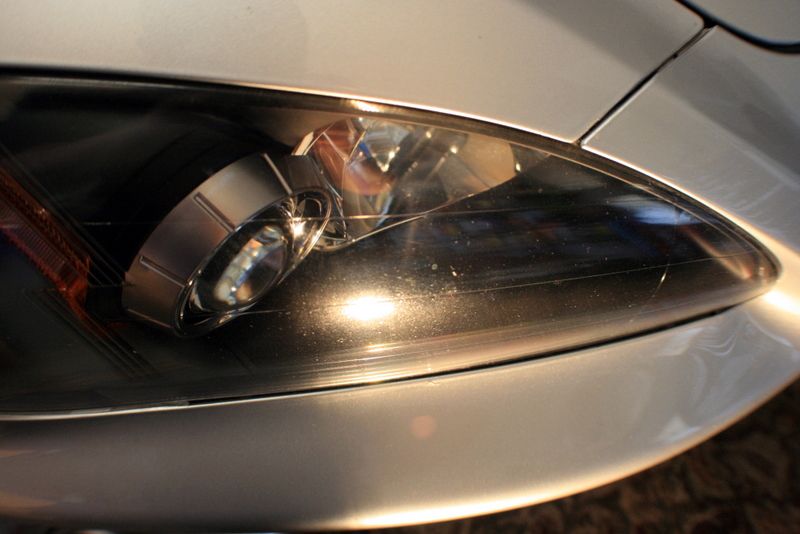
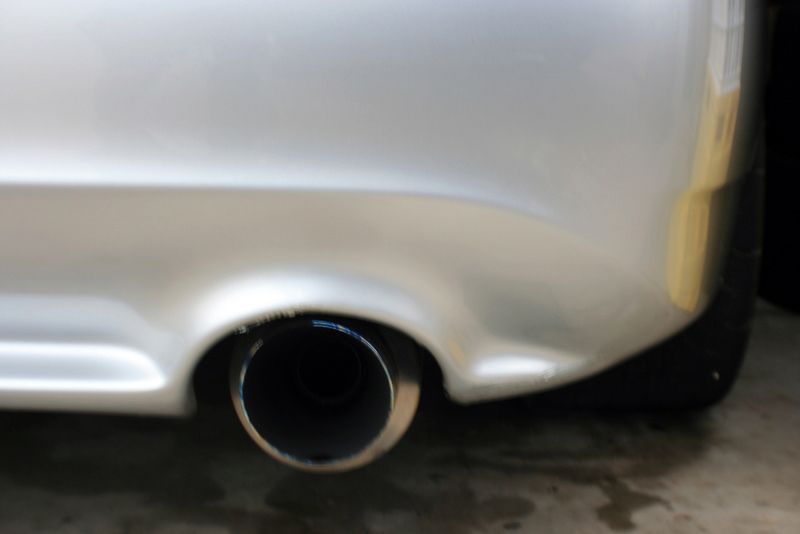
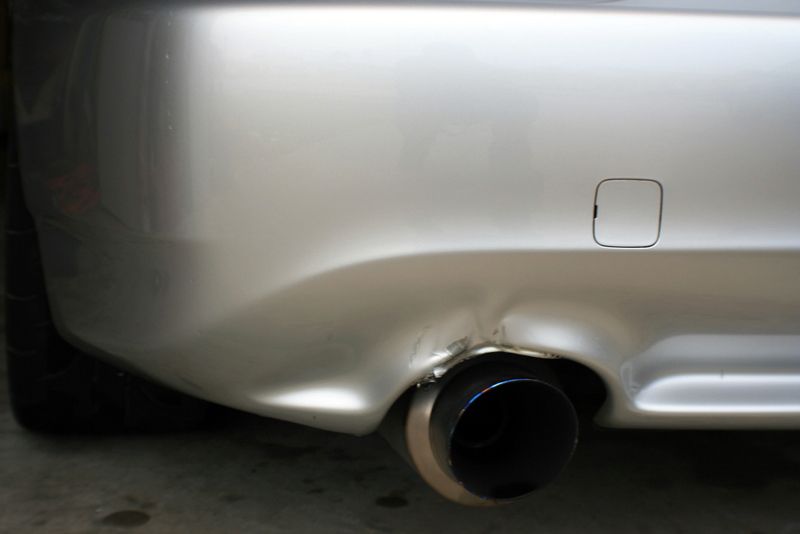
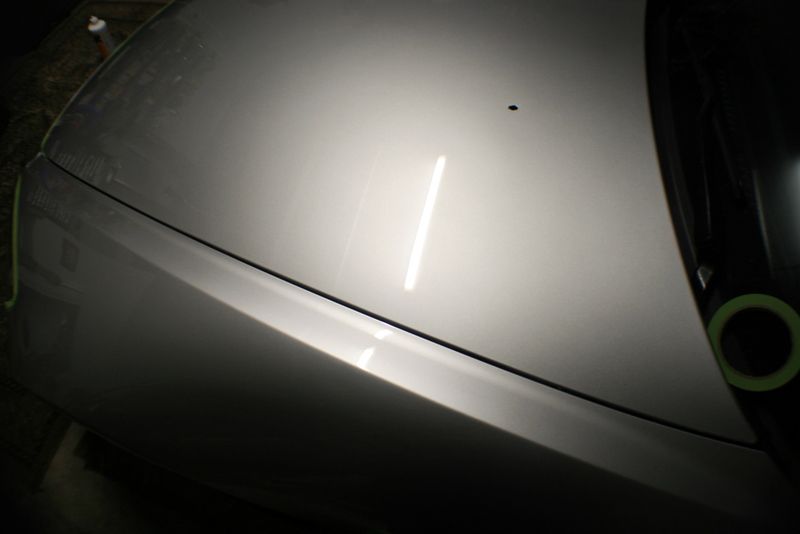
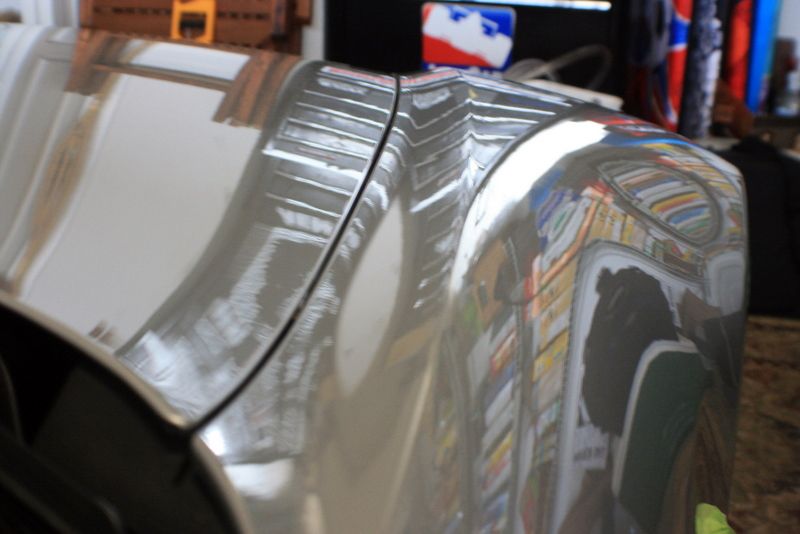
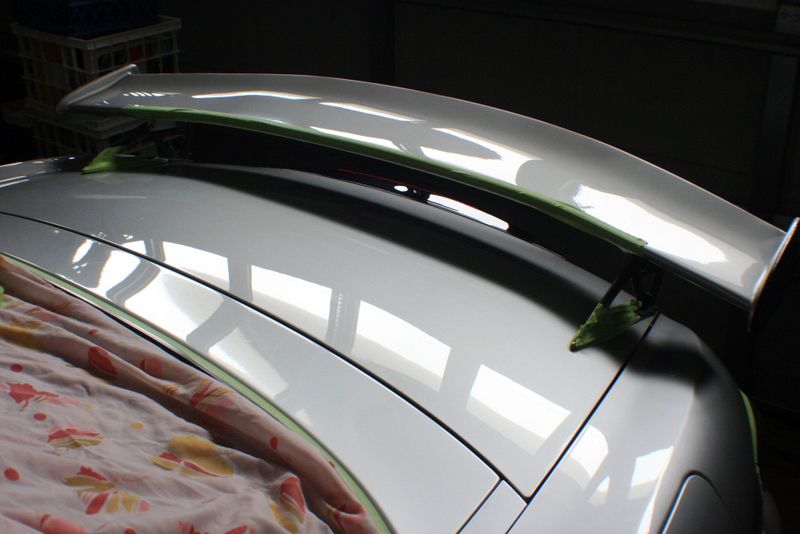
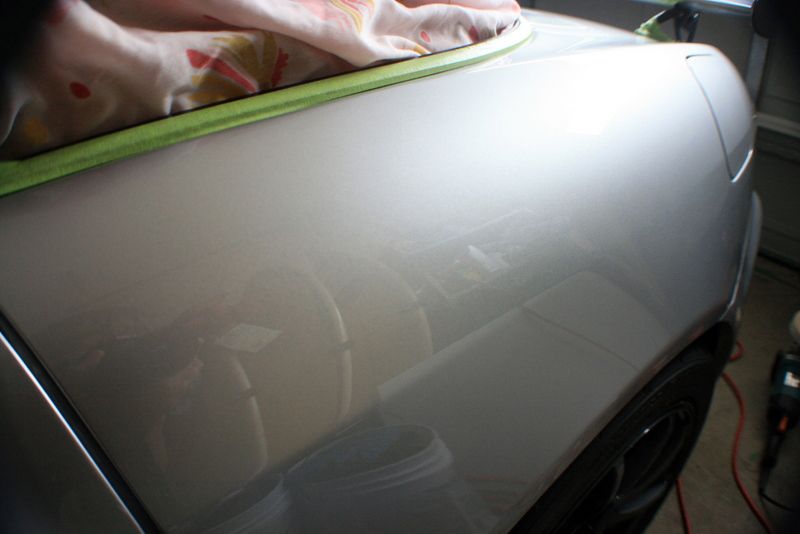
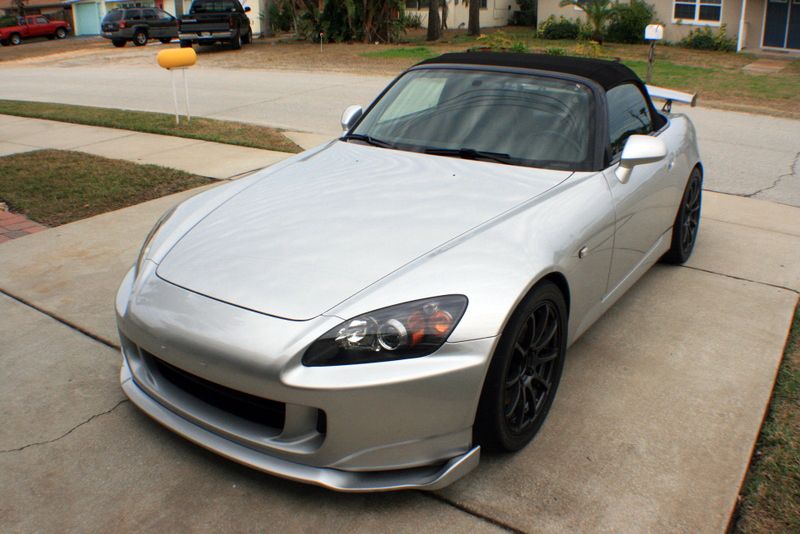
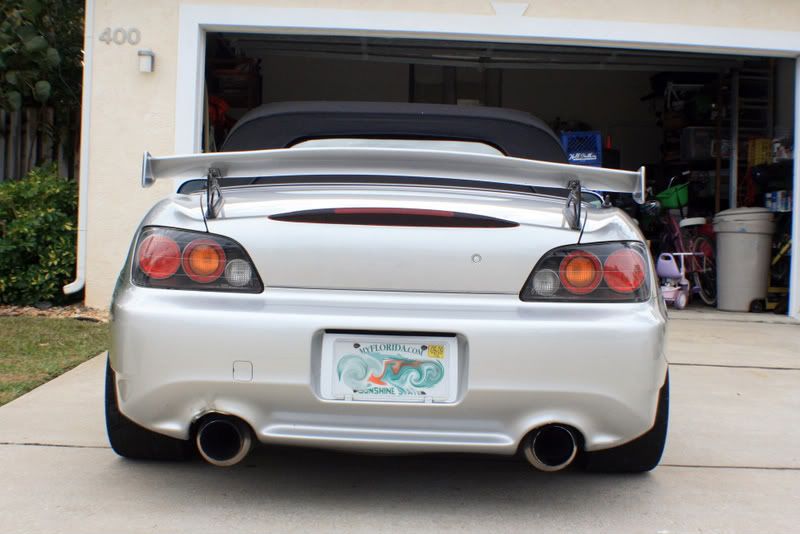
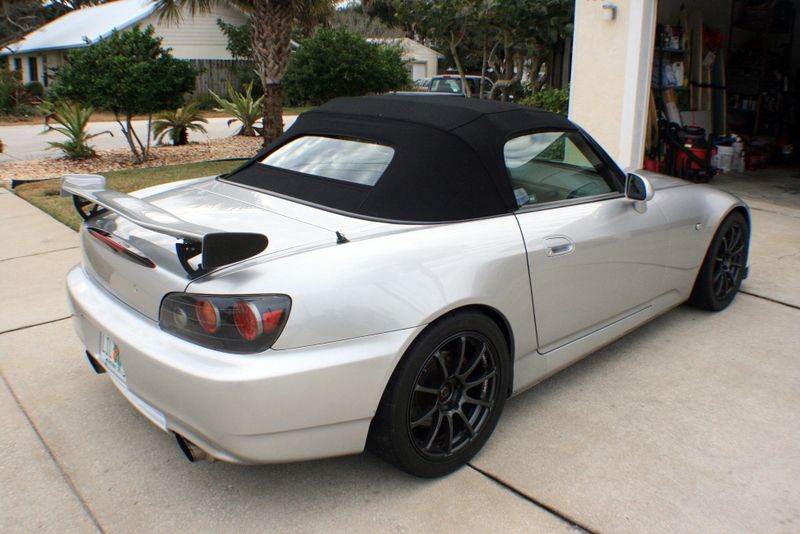
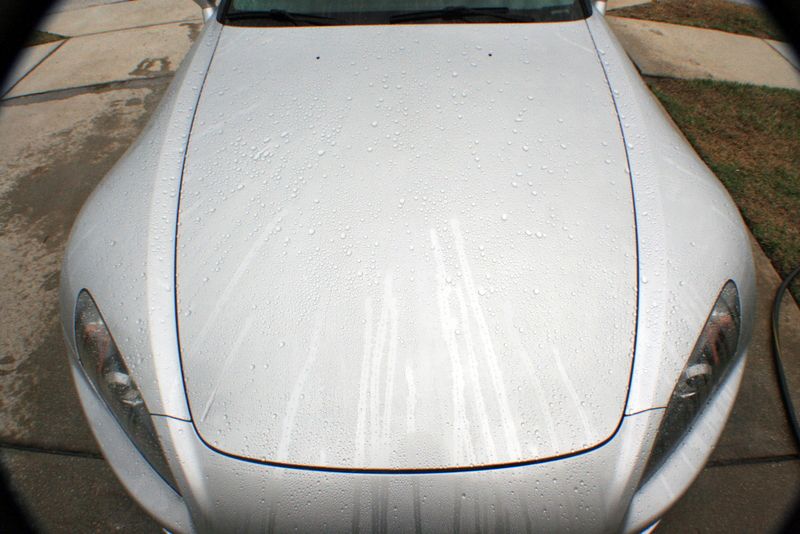
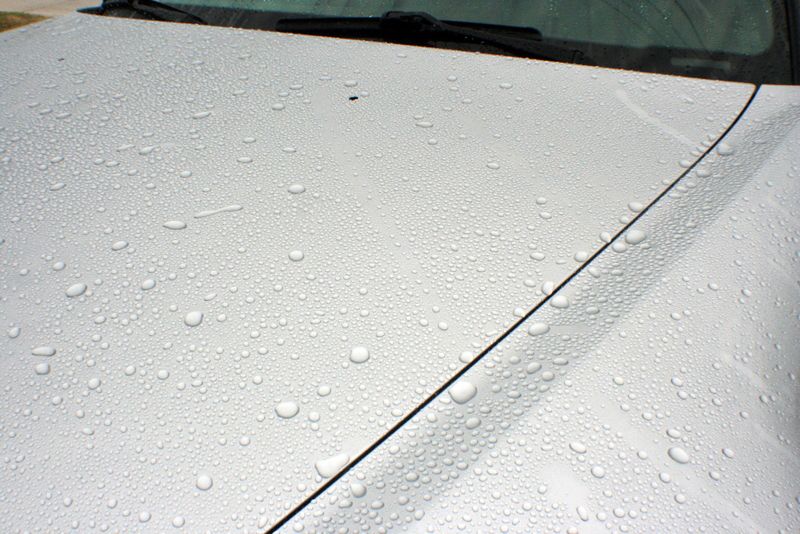
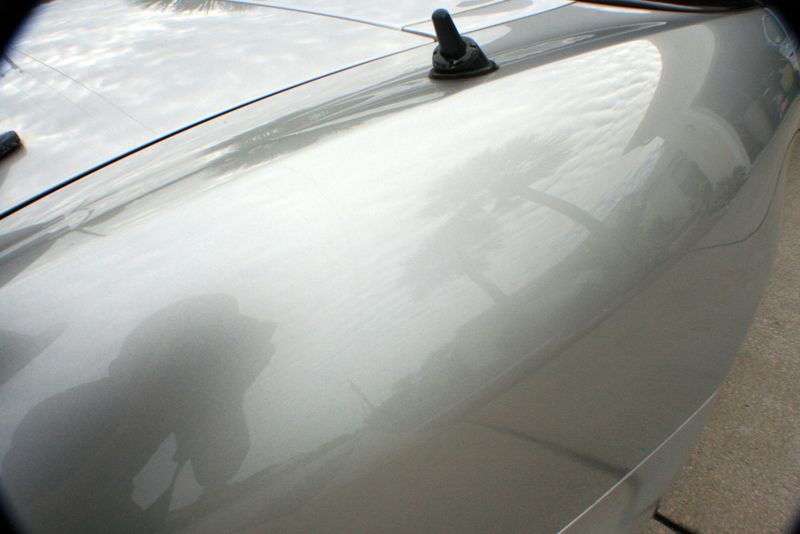
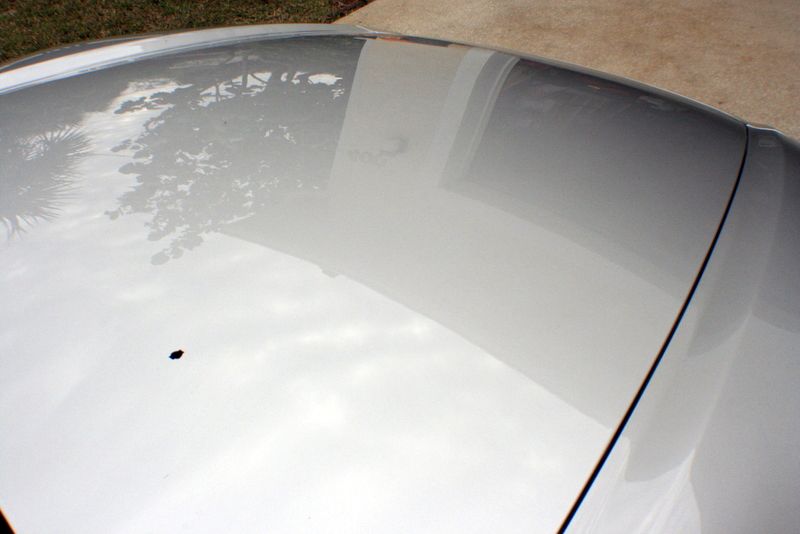
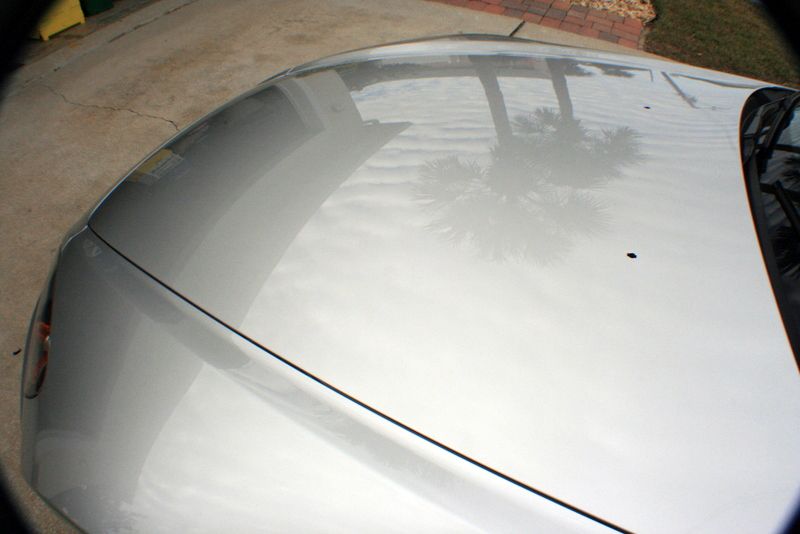
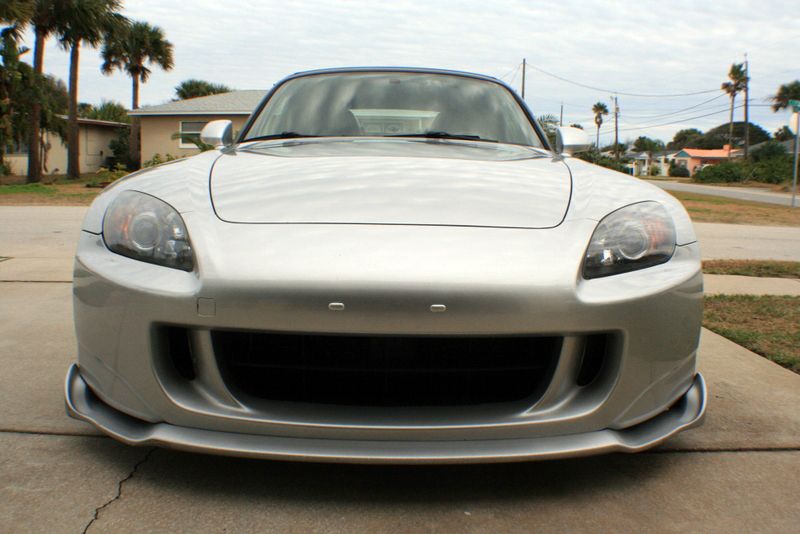
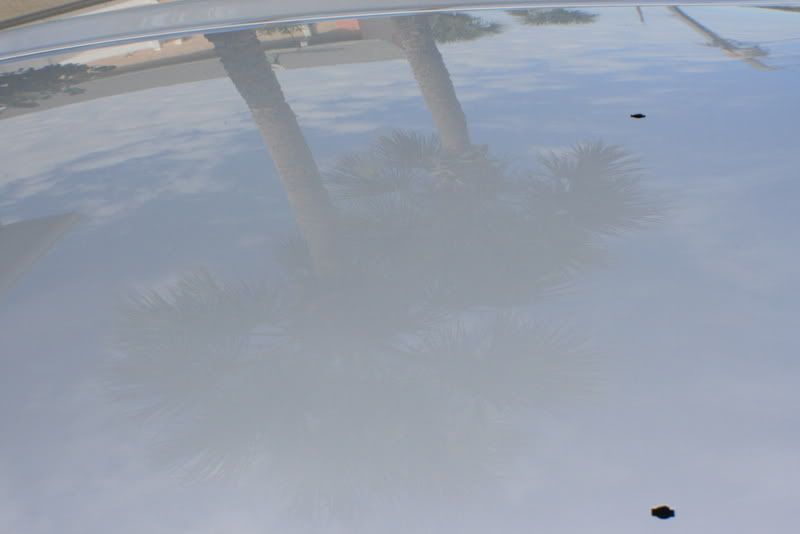
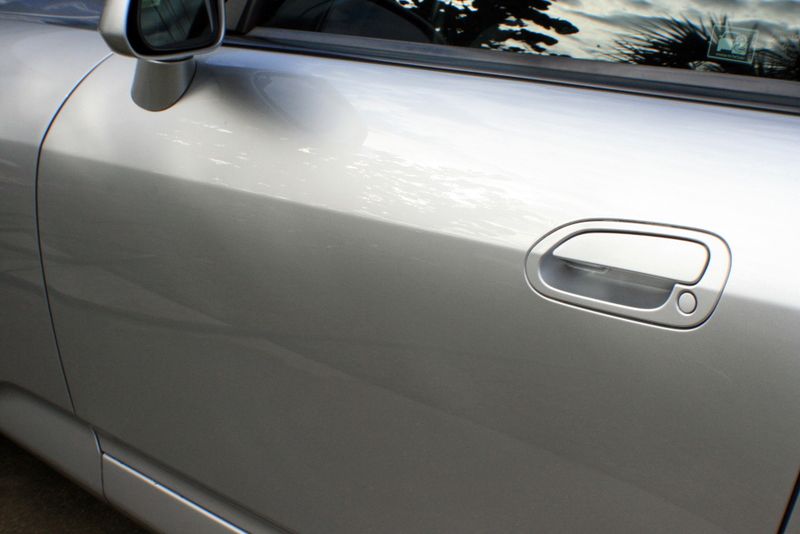
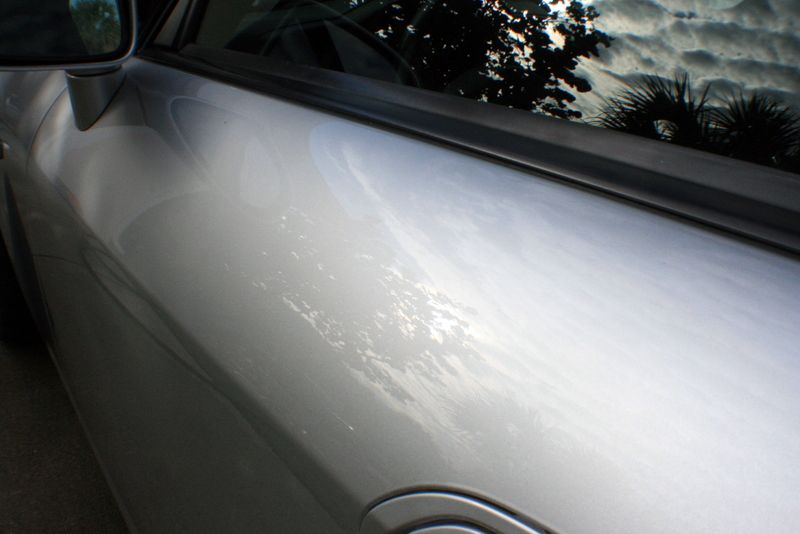
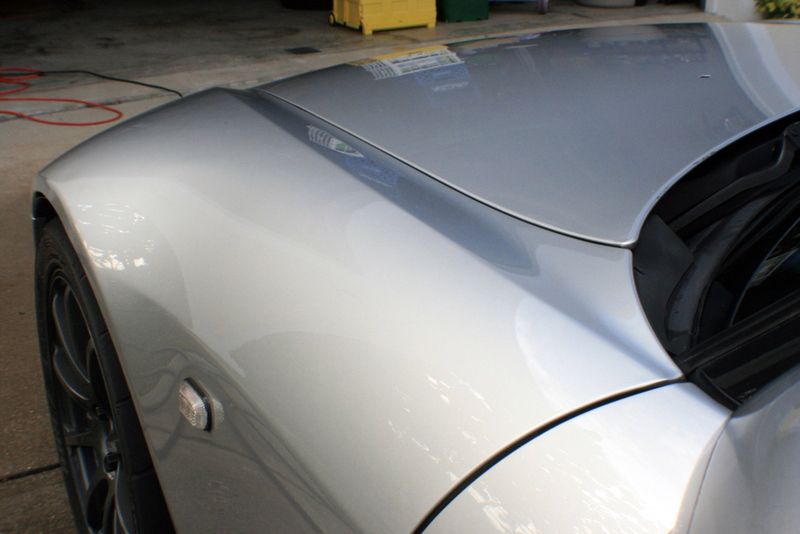
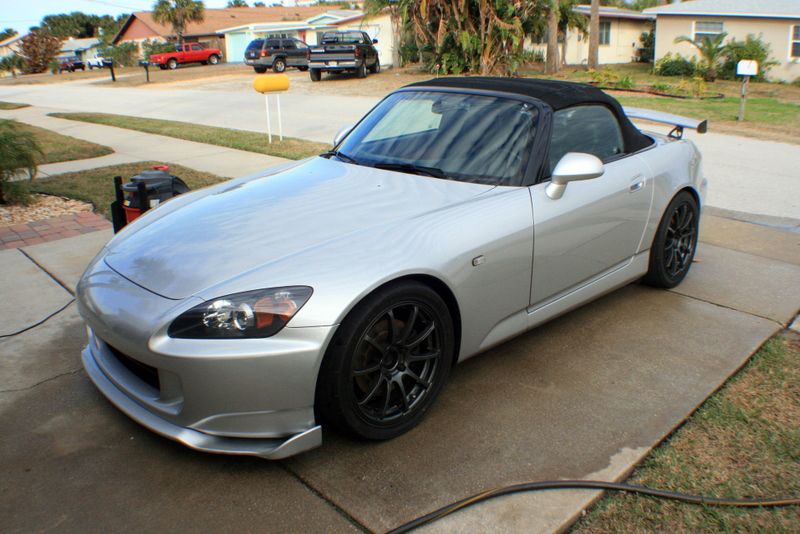
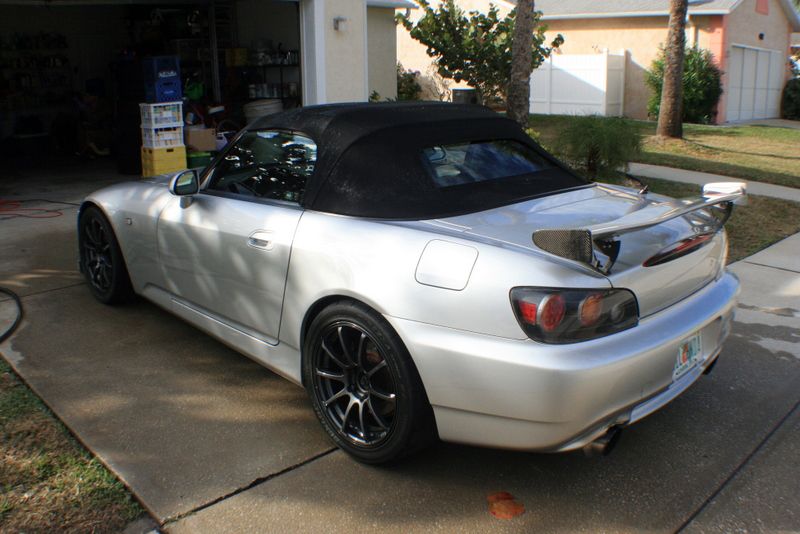
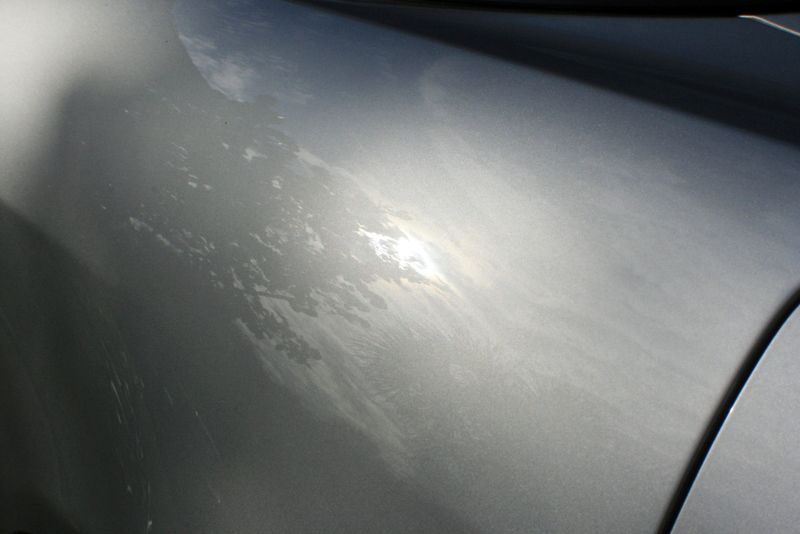
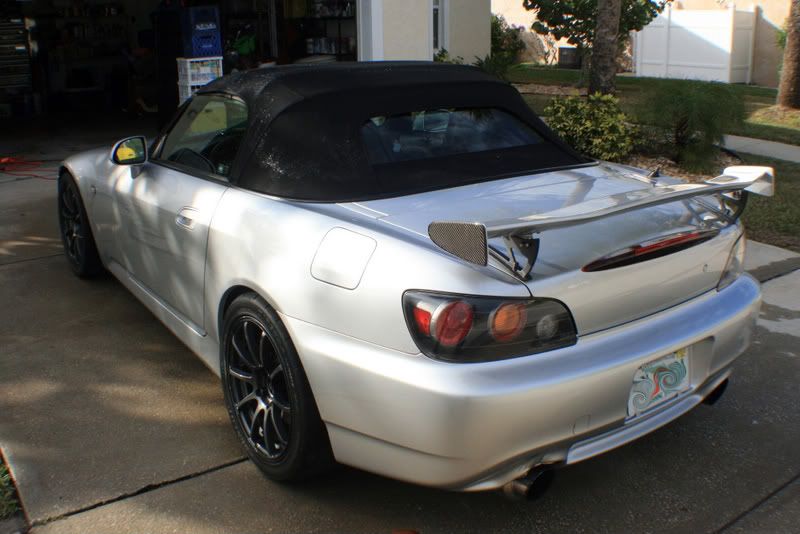
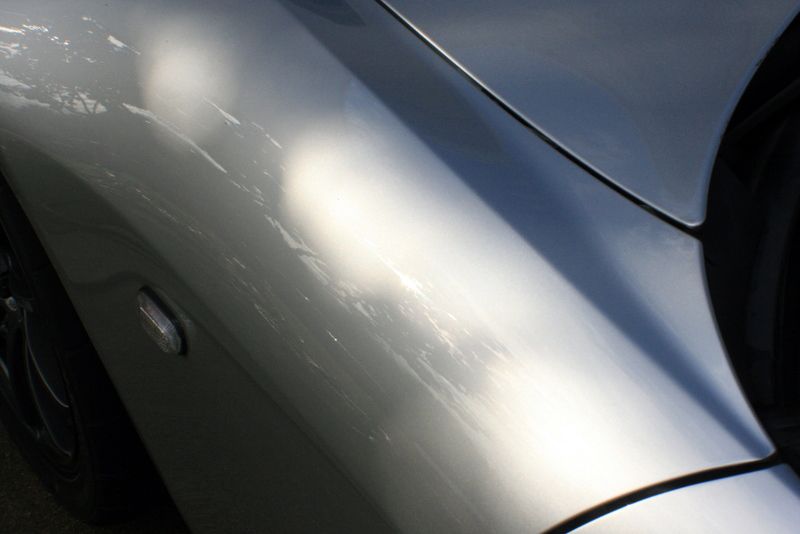
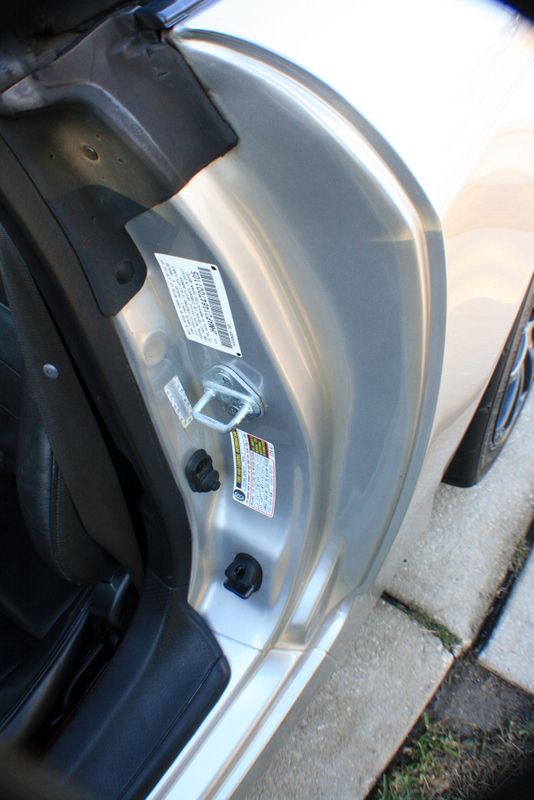
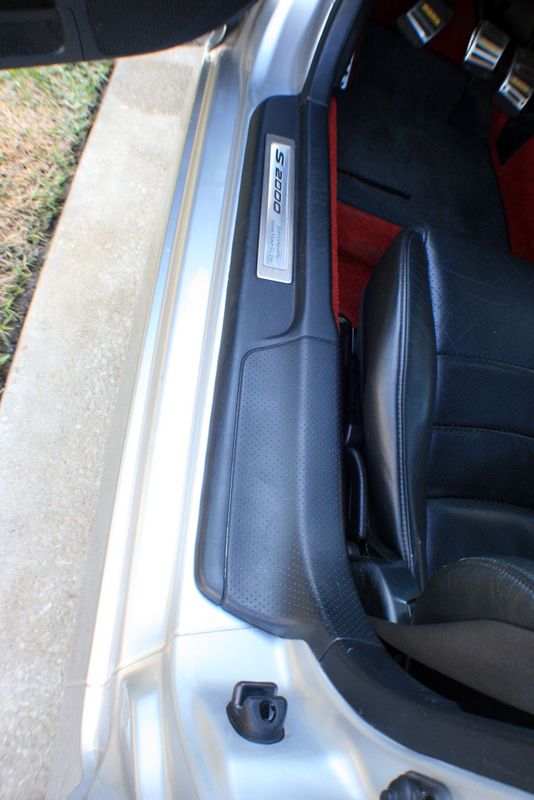
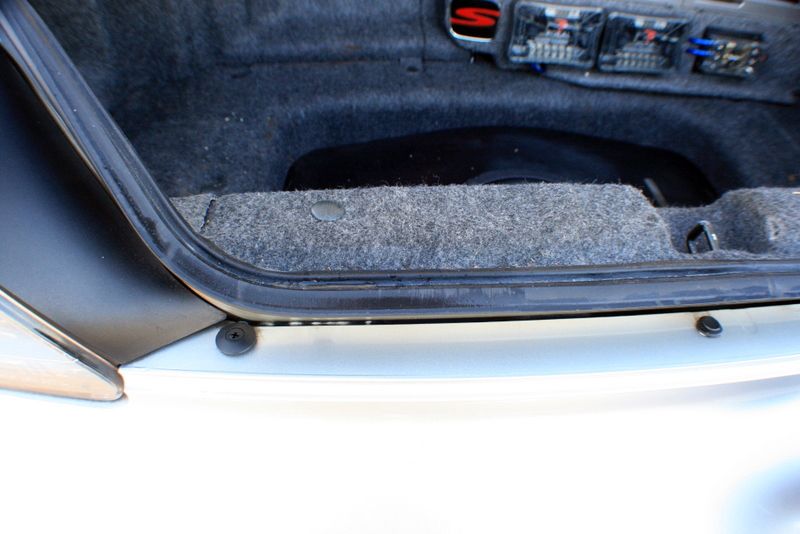
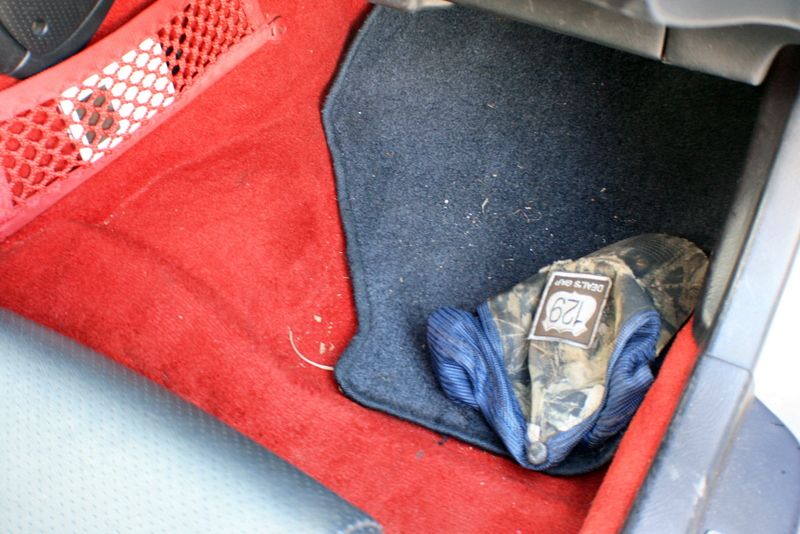
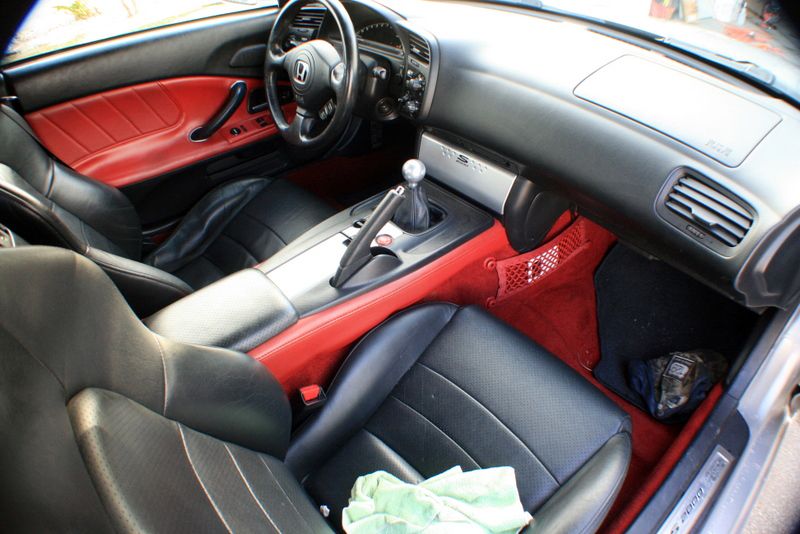
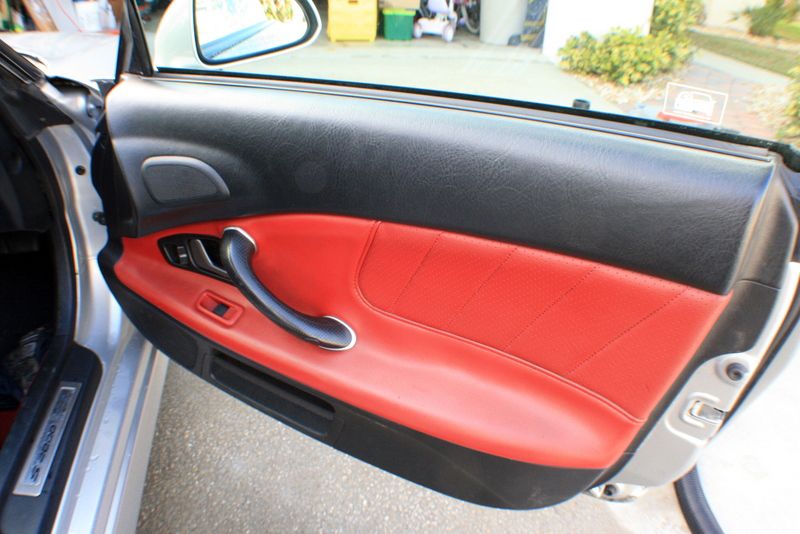
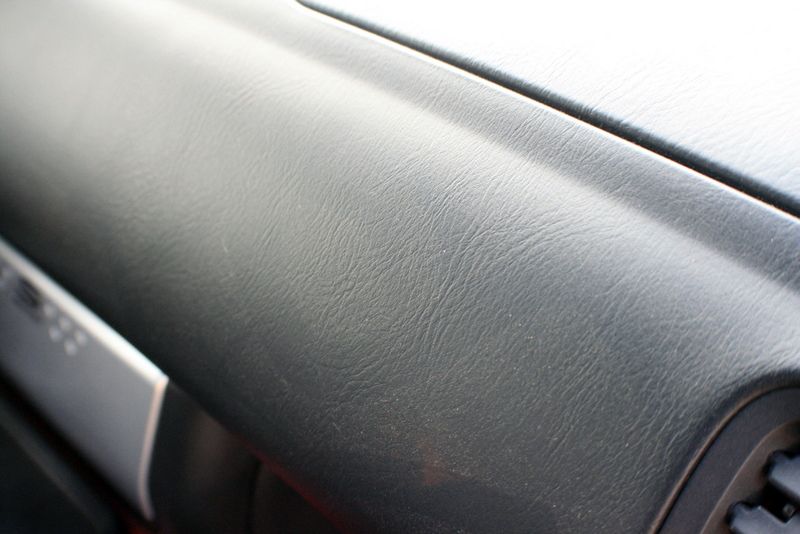
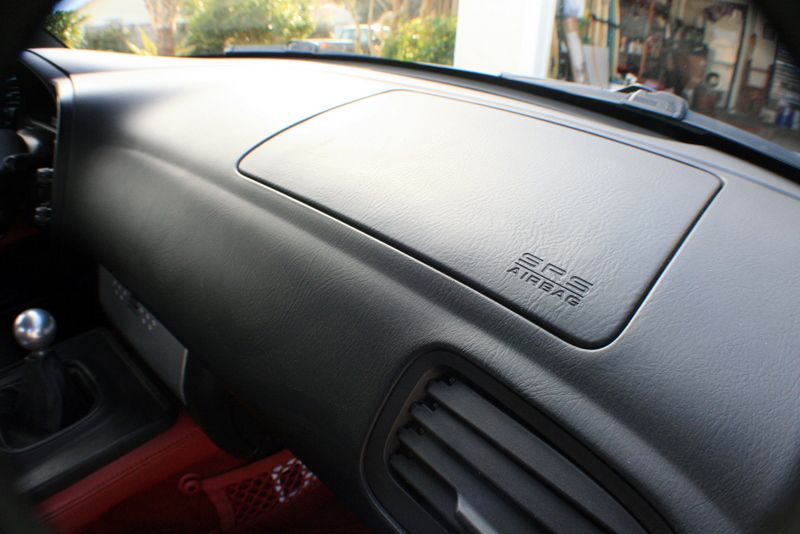
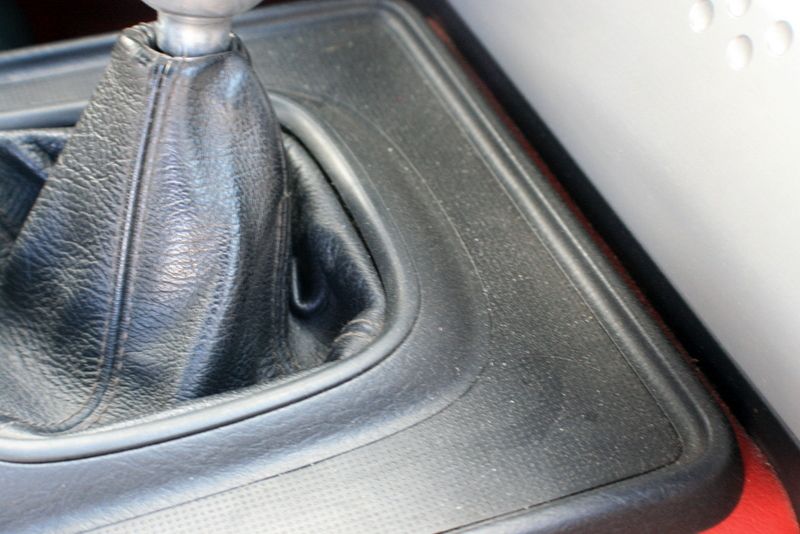
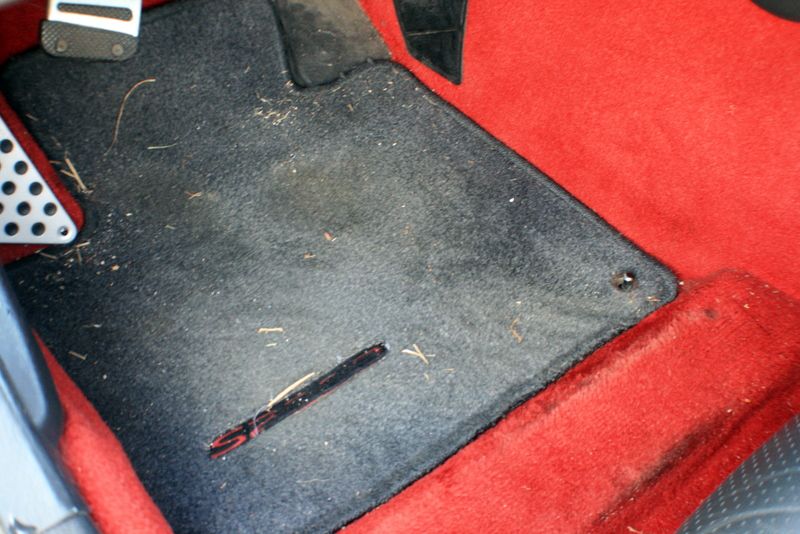
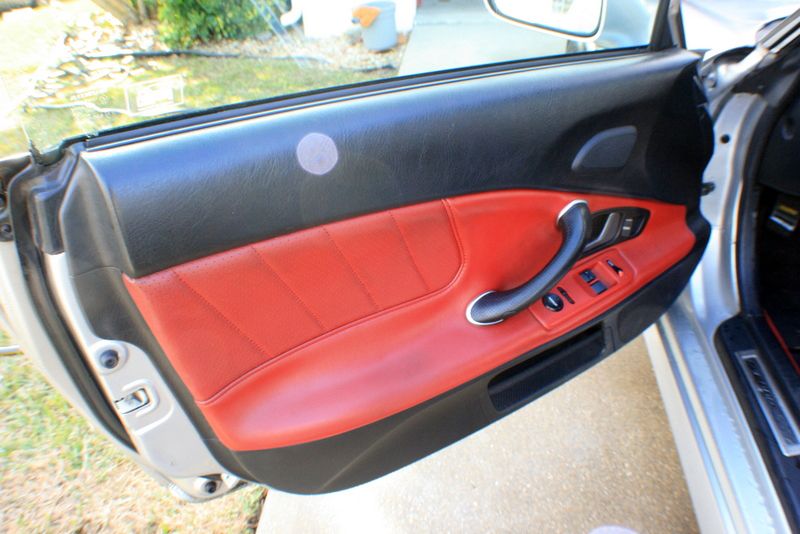
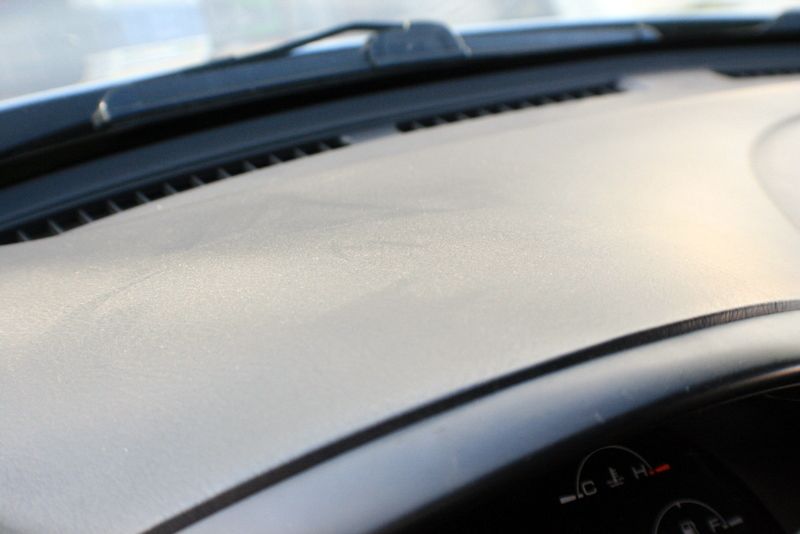
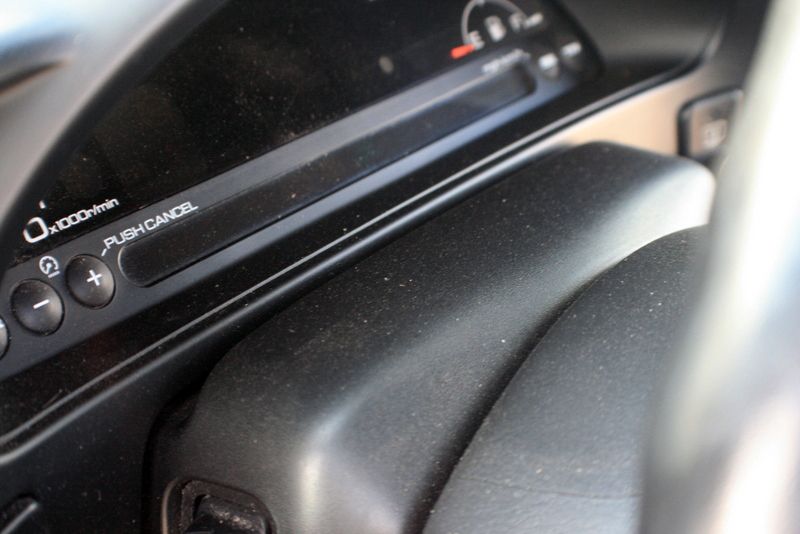
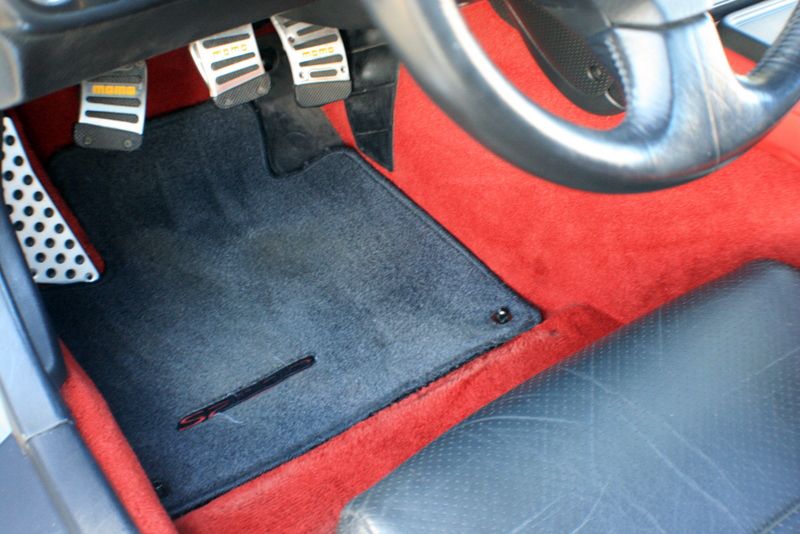
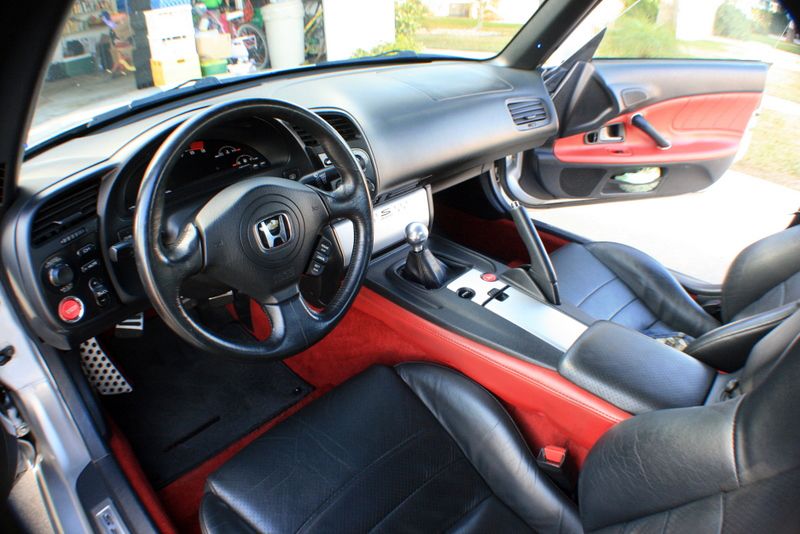
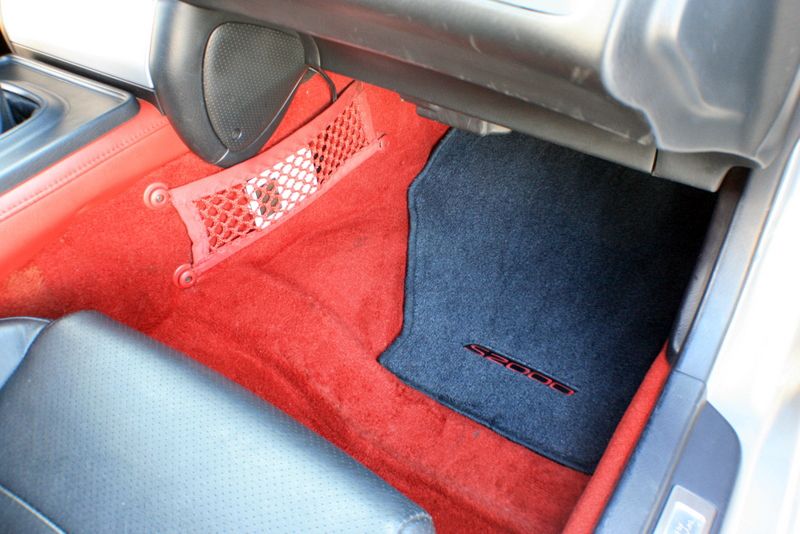
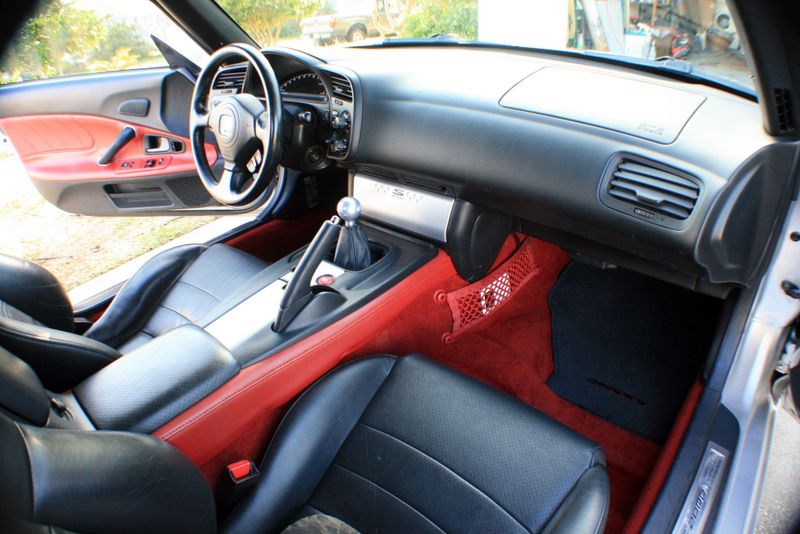
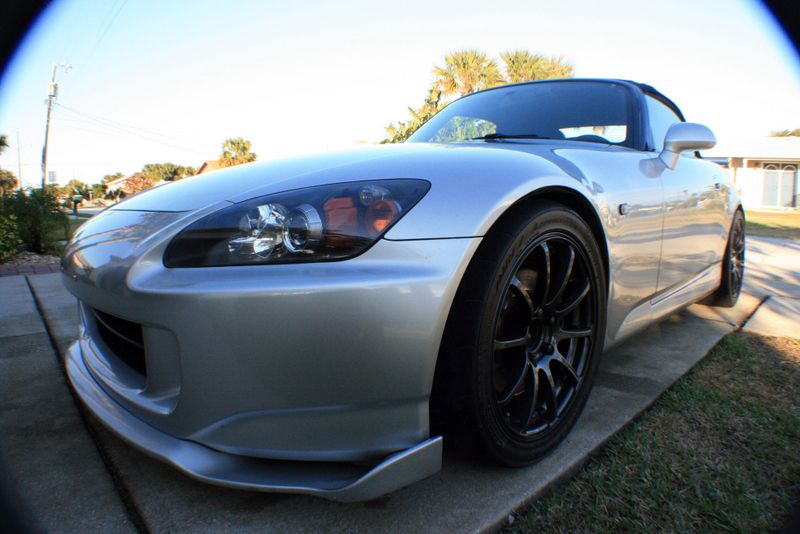
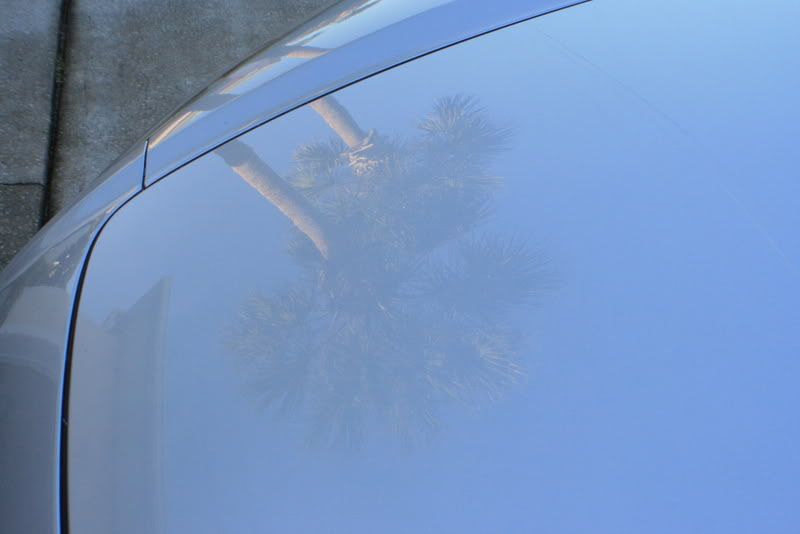
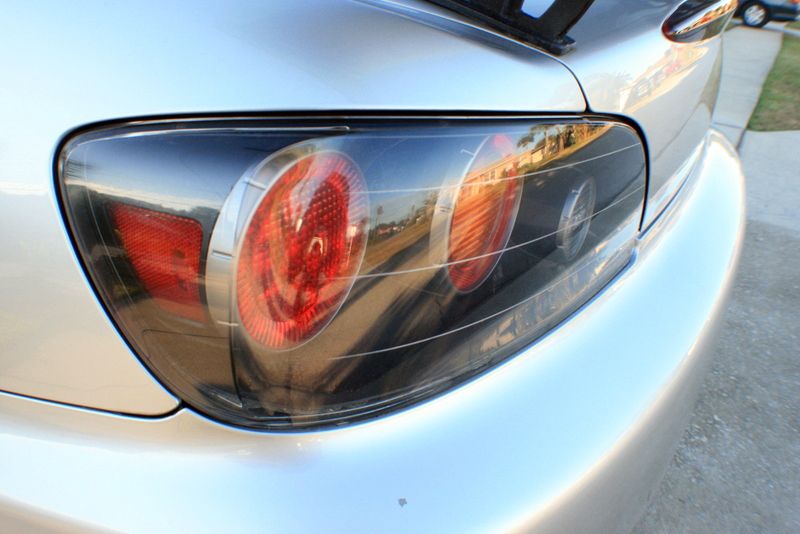
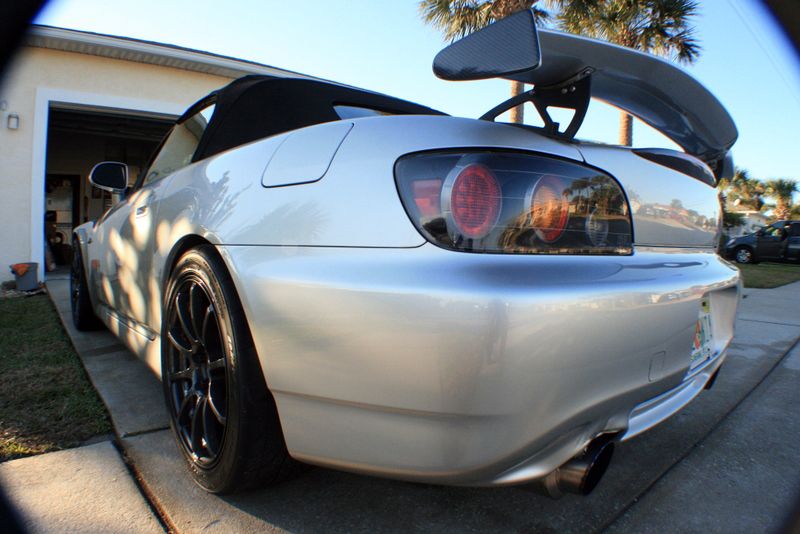
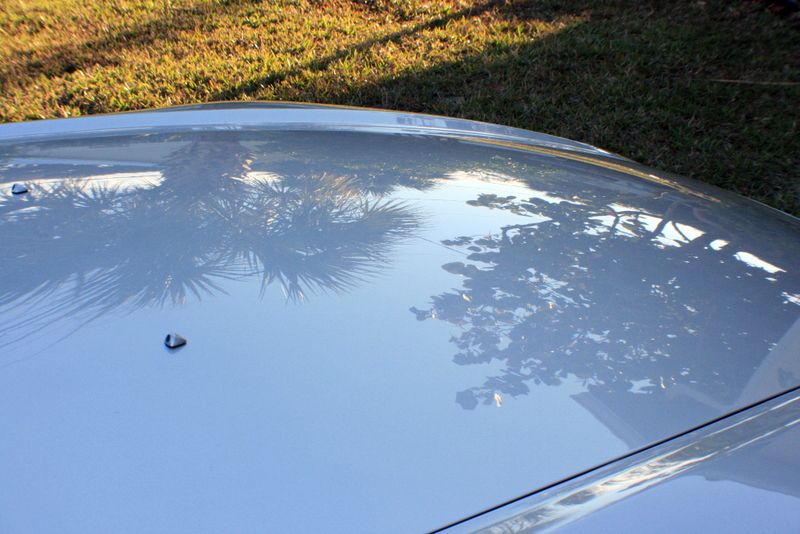
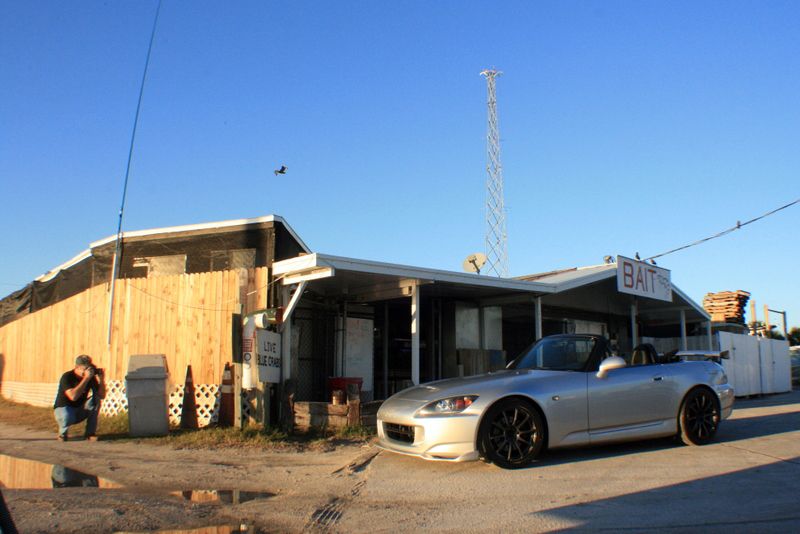
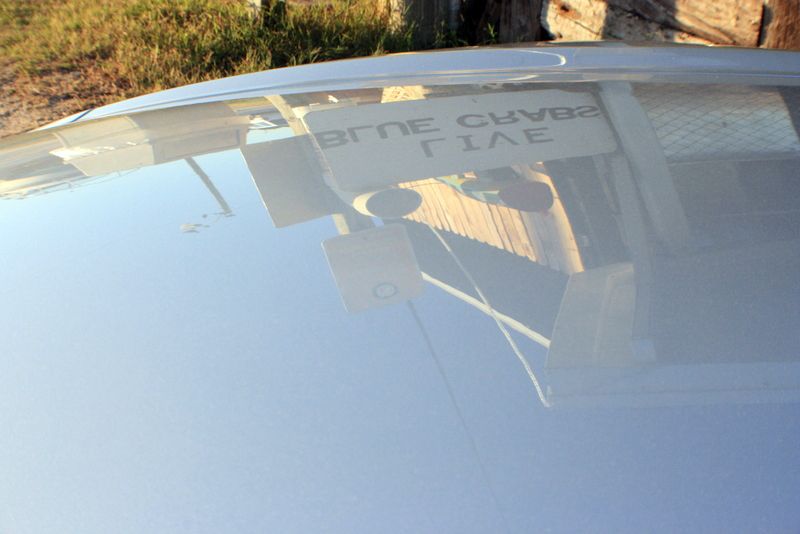
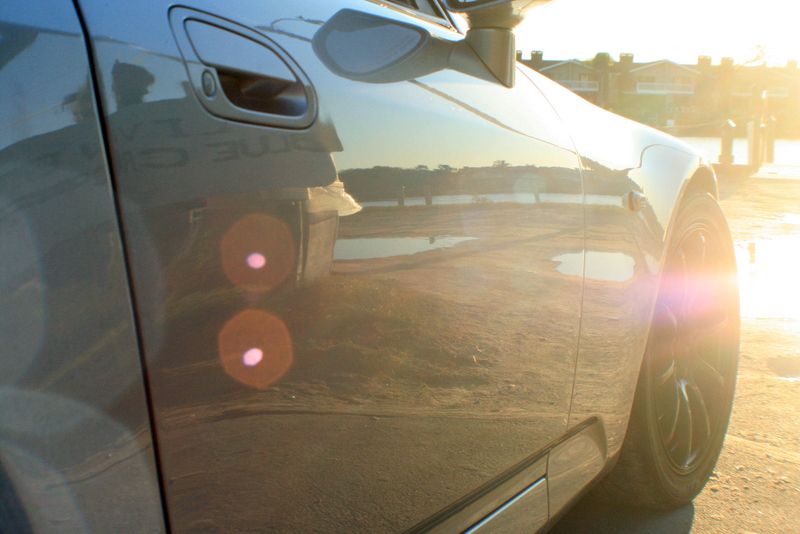
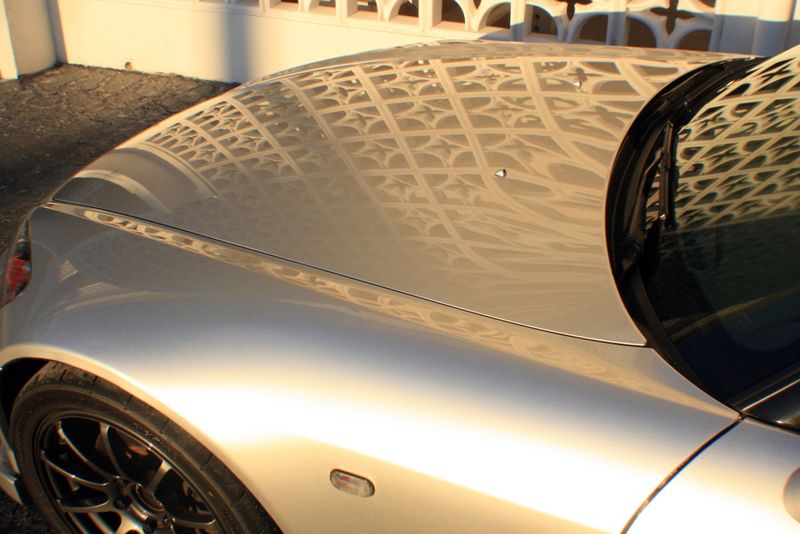
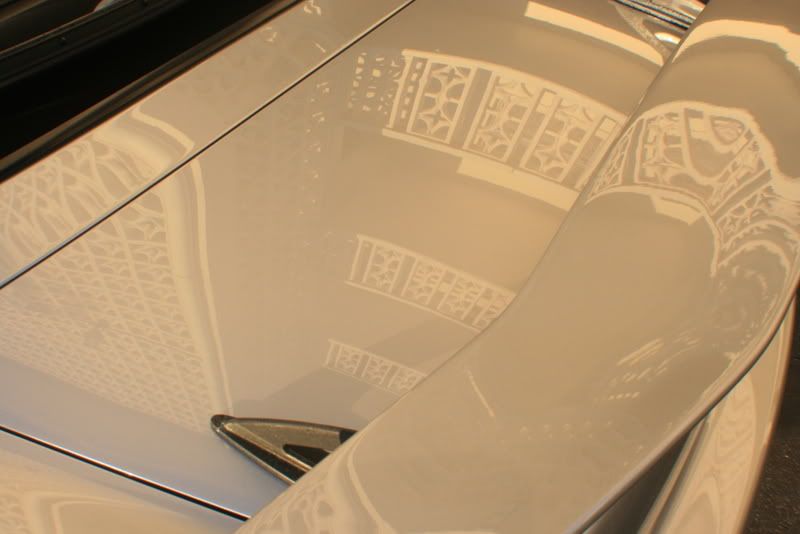
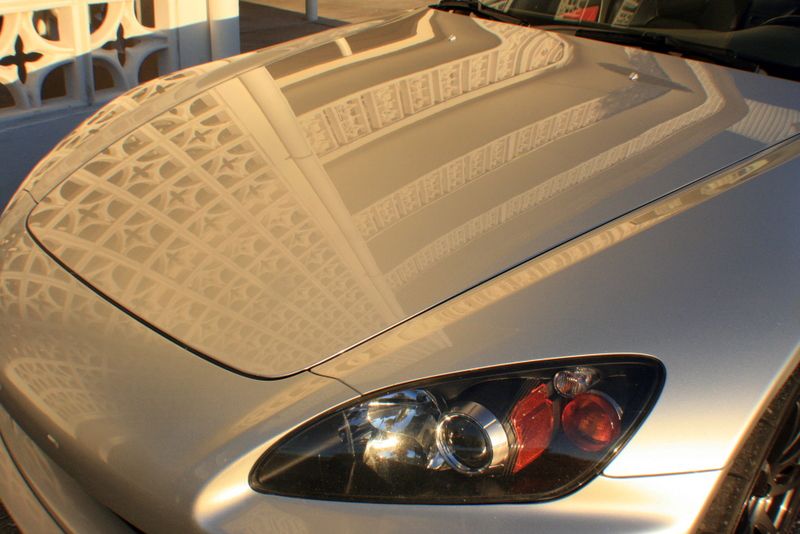
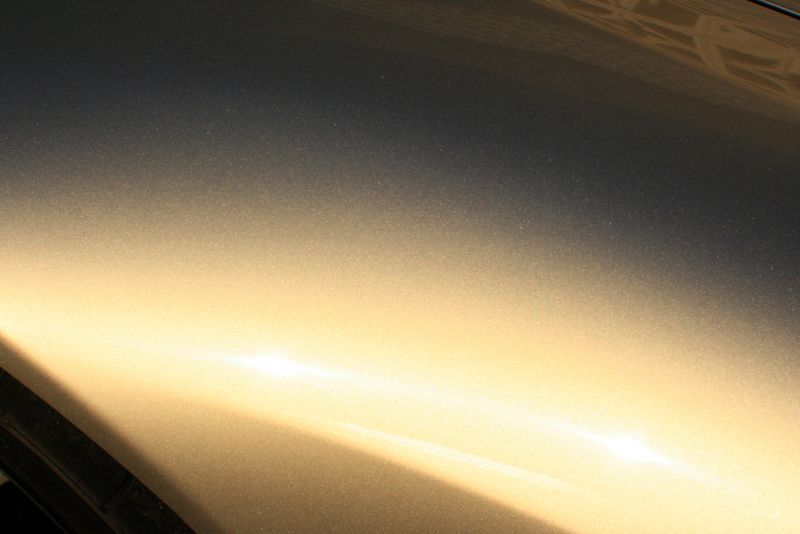
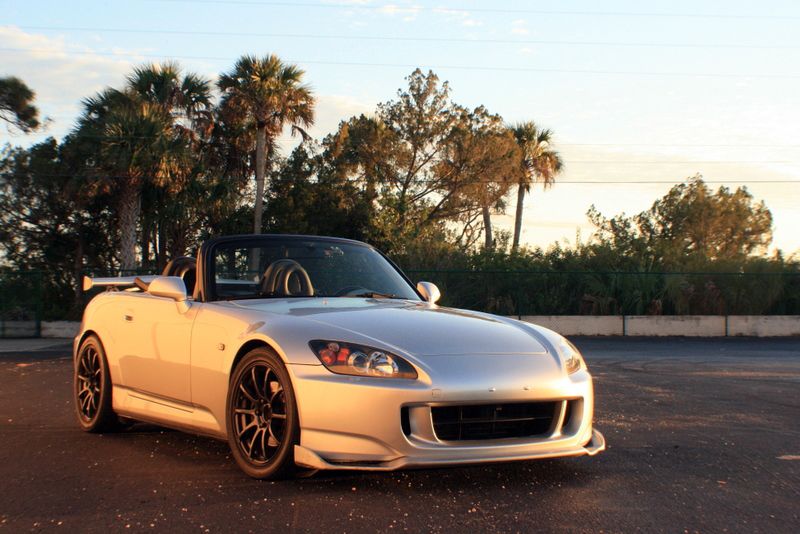
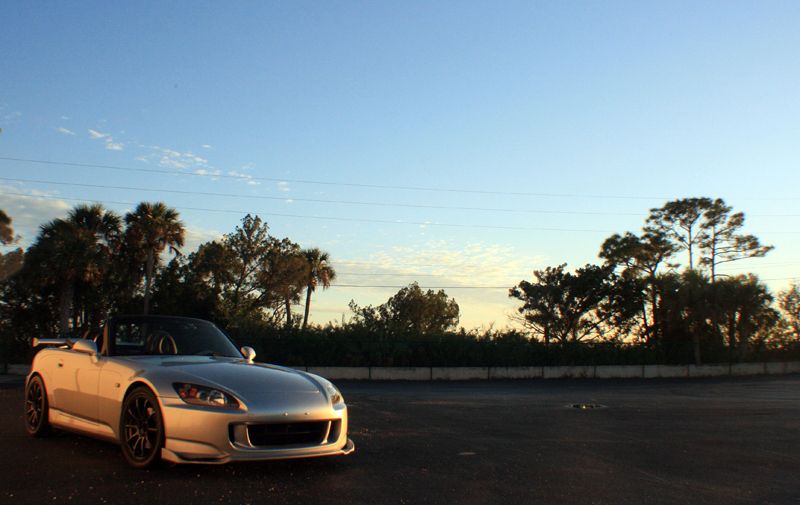
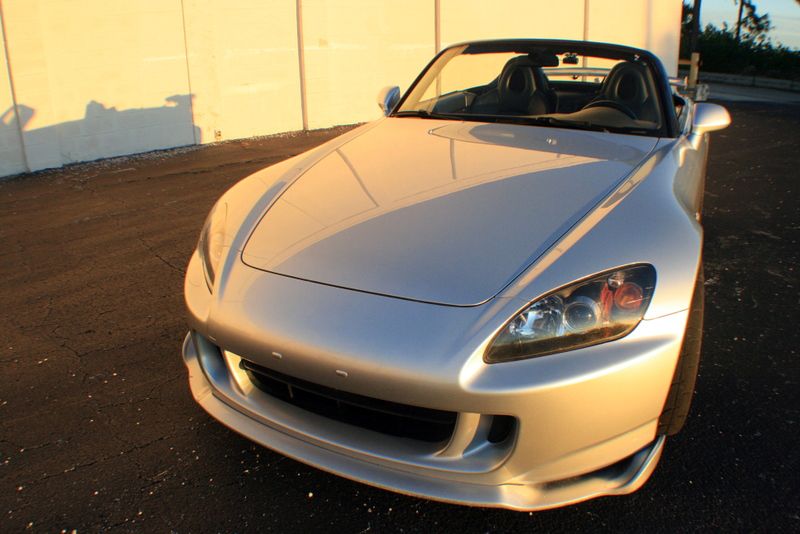
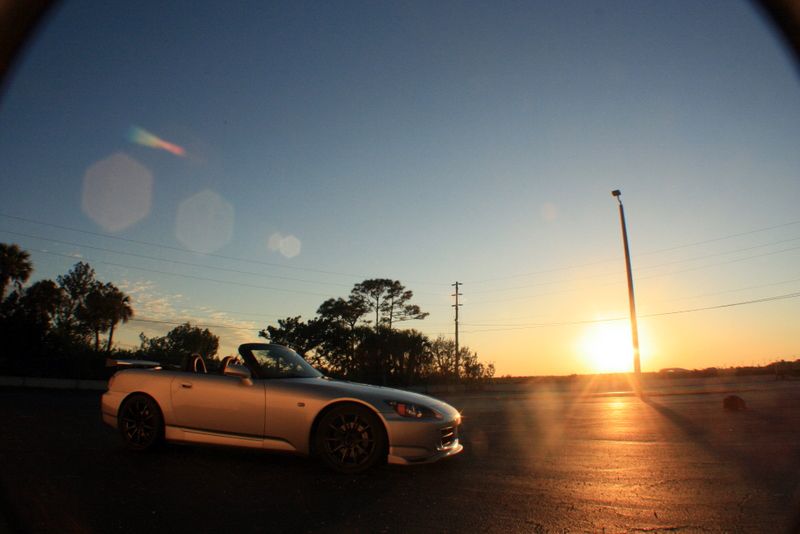
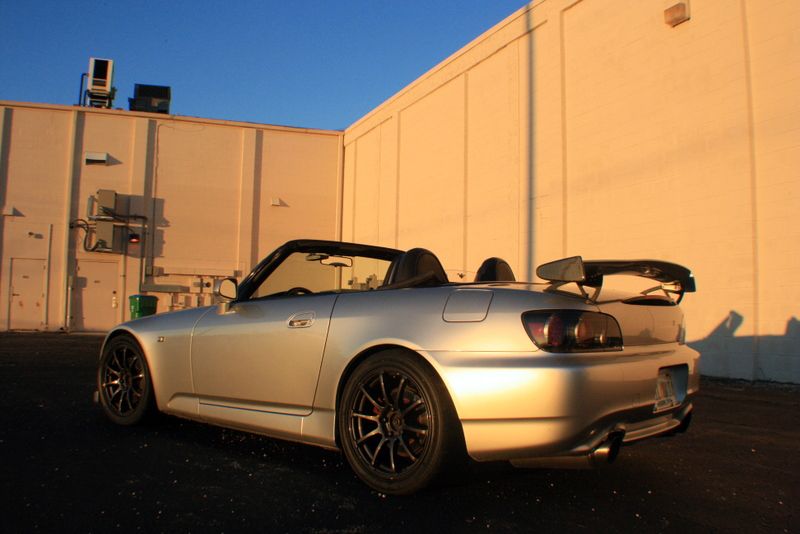
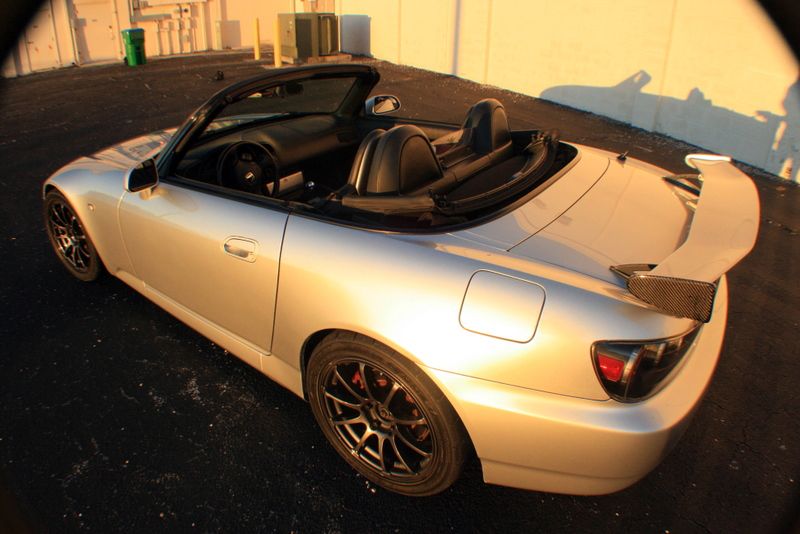
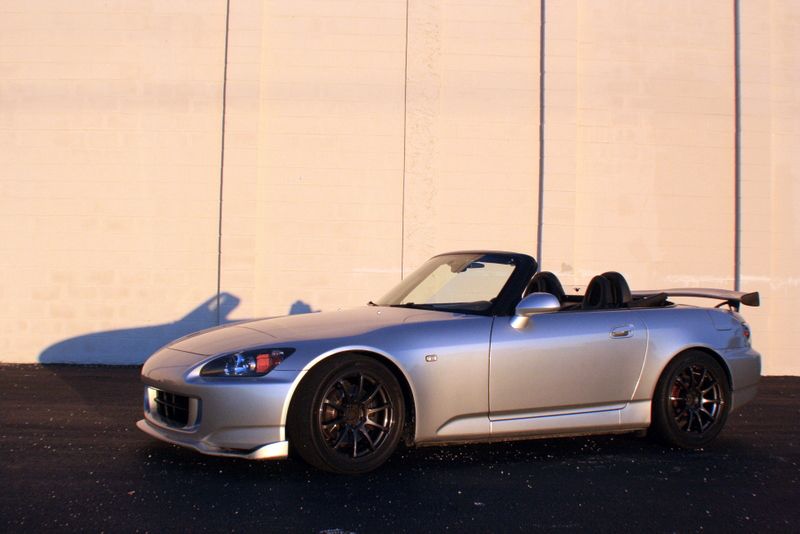
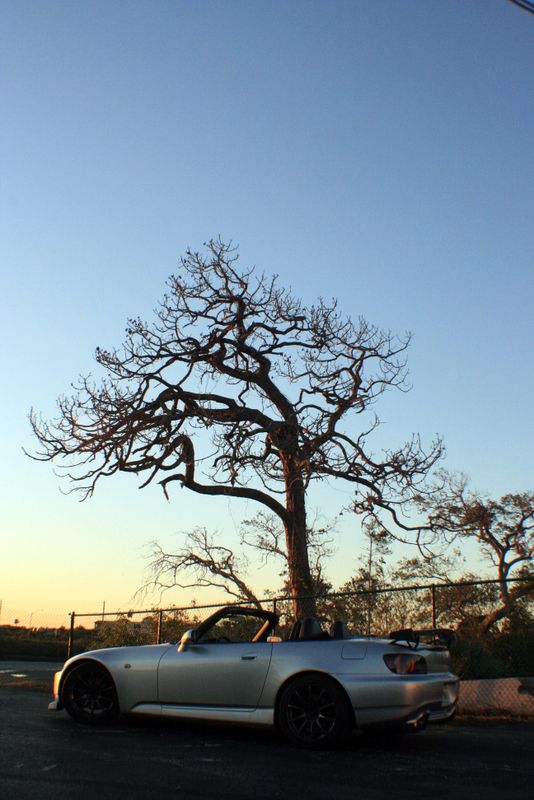
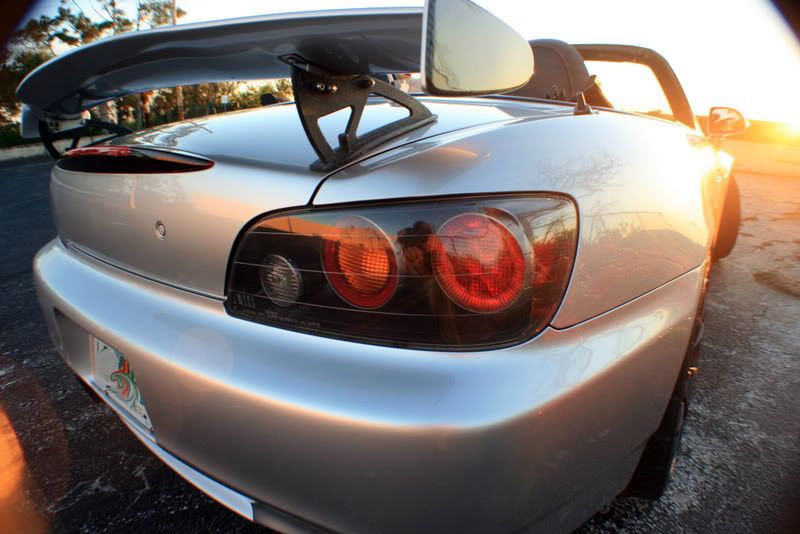
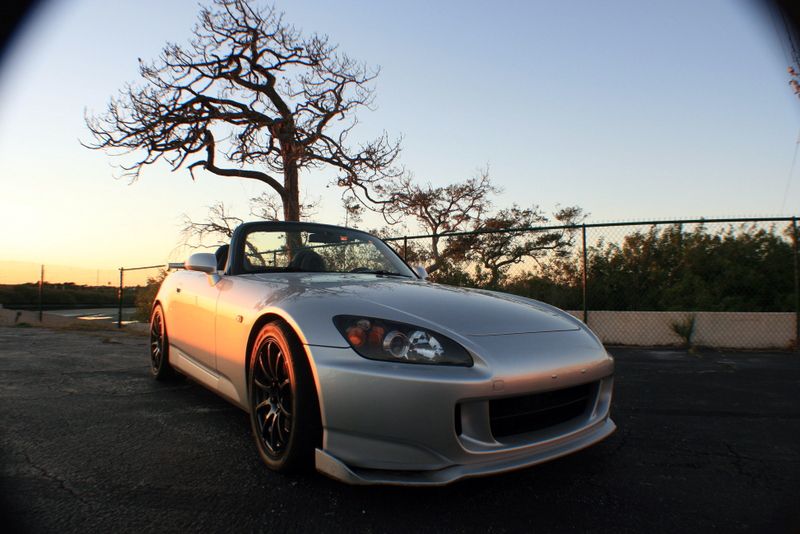
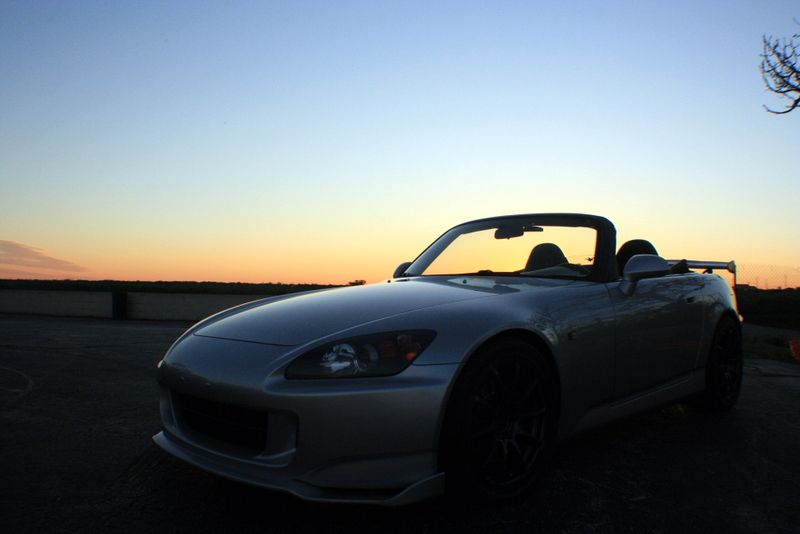
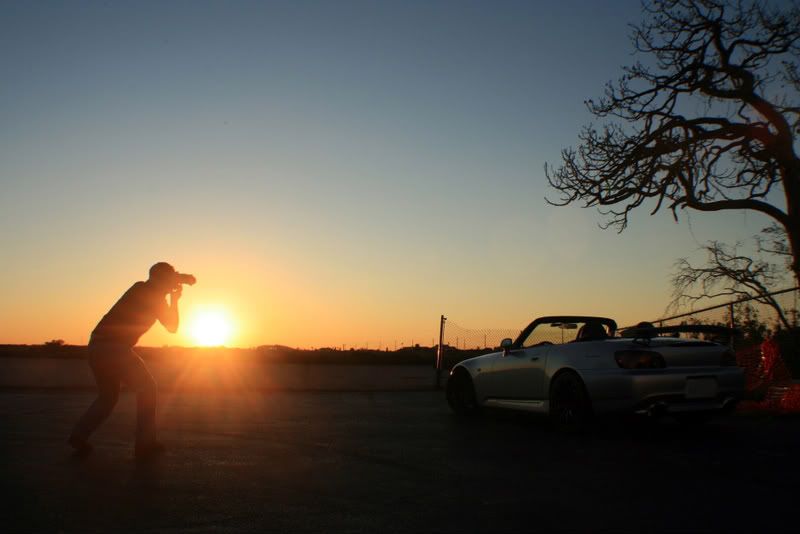
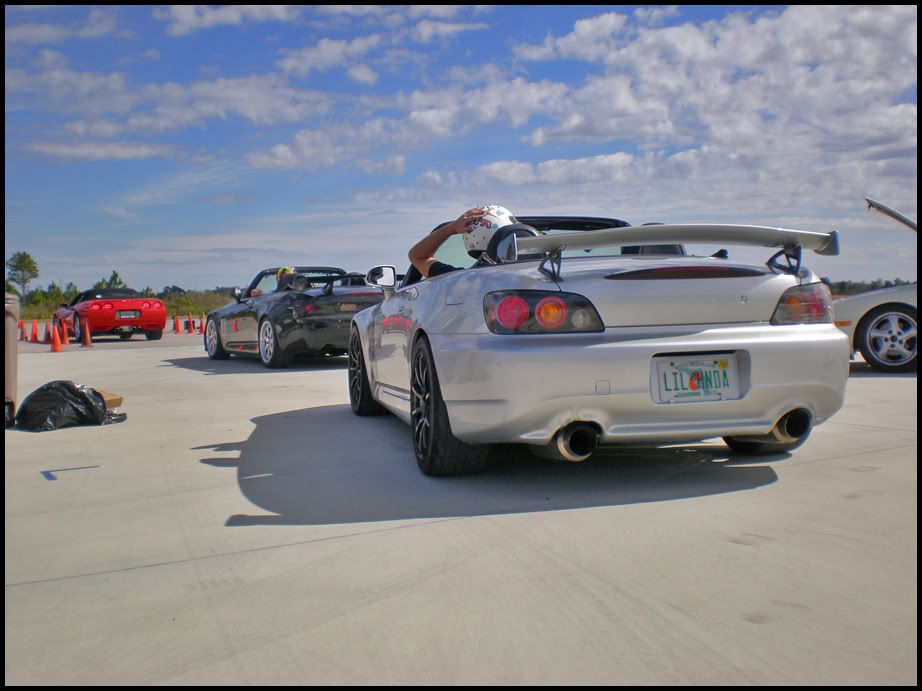
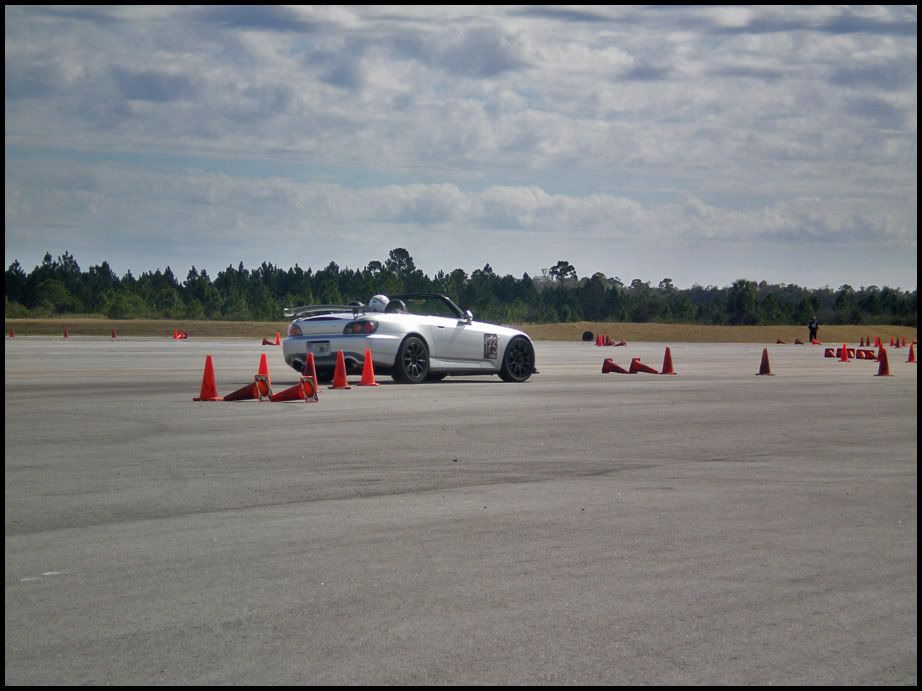
Presidential Detailed: 2004 Honda S2000 BRAKE DUST NIGHTMARE BELOW!!
 
This car sees extensive track time, and unfortunately had a bad set of brake pads. The brake pads dusted insanely and instantly attached to anything and EVERYTHING! It ruined a set of brand new BBS wheels, and attached to every crevice on the car! This happened over a year ago, the owner said he clayed the car about a year ago(when this happened) and got most of it off, but trust me the car was nearly brown when I began working on it! haha! I had to clay this car extensively EVERYWHERE, including the door jambs and inside all the body lines and cracks in the body panels. Well lets begin!

Products:

BEFORE:
IMG_7065.jpg


IMG_7066.jpg


IMG_7067.jpg


IMG_7068.jpg


IMG_7069.jpg


IMG_7072.jpg


IMG_7075.jpg


IMG_7076.jpg


IMG_7078.jpg
 
Here you can see the ghosting from a number used for racing.
IMG_7079.jpg


IMG_7081.jpg


IMG_7084.jpg


IMG_7085.jpg


These are not the wheels that were ruined, but had their fair share of brake dust also as they are now the track wheels.
IMG_7070.jpg


IMG_7071.jpg


The worst part of the car was the rear bumper, it was melted during a session at Roebling Road somehow. Along with that, it had a brown substance ALL OVER the exhaust openings. It actually took some APC and a clay bar to remove.
IMG_7074.jpg


IMG_7073.jpg
 
Oh, did I mention brake dust???

After only a 1x1 section on the hood.
IMG_7089.jpg


IMG_7090.jpg


The exhaust openings I mentioned before..
IMG_7091.jpg


IMG_7092.jpg


Every jamb and crack was covered in this same substance..which will be removed.
IMG_7094.jpg


IMG_7095.jpg


IMG_7096.jpg


IMG_7097.jpg


IMG_7098.jpg


IMG_7099.jpg
 
After a throrough cleaning, back in the garage.
IMG_7101.jpg


IMG_7108.jpg


The engine bay was also degreased and dressed.

Before:
IMG_7086.jpg

After:
IMG_7175.jpg


Before:
IMG_7087.jpg

After:
IMG_7176.jpg


Before:
IMG_7088.jpg

After:
IMG_7177.jpg


The headlights were also touched up..
Before:
IMG_7132.jpg

After:
IMG_7136.jpg
 
The exhaust openings came out nicely..
IMG_7102.jpg


IMG_7103.jpg


After SIP/White..
IMG_7105.jpg


IMG_7126.jpg


IMG_7127.jpg


IMG_7129.jpg


We now have a silver car again!!!
IMG_7138.jpg


IMG_7139.jpg


IMG_7140.jpg


Ahh, yes. Thats how the rear end should look!
IMG_7141.jpg


IMG_7142.jpg
 
After SIP/White, even after extensive cleaning for an entire day the paint was still very contaminated.
On the left is after polishing the car, on the right is how the pad looked when I started(new).
IMG_7183.jpg


After SIP/White, 3m UF, Opti-Seal and two coats of Dodo Juice Supernatural.
IMG_7149.jpg


IMG_7151.jpg


IMG_7143.jpg


IMG_7144.jpg


IMG_7145.jpg


IMG_7146.jpg


IMG_7155.jpg


IMG_7156.jpg


IMG_7157.jpg


IMG_7158.jpg
 
IMG_7154.jpg


The next day we got a little bit of light after a couple rainy days..
IMG_7159.jpg


The best I could do in the sun..
IMG_7160.jpg


IMG_7161.jpg


IMG_7163.jpg


IMG_7164.jpg
 
Door Jambs after Megs APC combined with a clay bar. Ive never seen clay melt so fast! haha!
IMG_7196.jpg


IMG_7197.jpg


IMG_7198.jpg


IMG_7199.jpg


IMG_7201.jpg


Also took care of the interior on this one..
BEFORE:
IMG_7165.jpg


IMG_7166.jpg


IMG_7167.jpg


Very dusty..
IMG_7168.jpg


IMG_7169.jpg


IMG_7170.jpg


IMG_7171.jpg


IMG_7172.jpg


IMG_7173.jpg


IMG_7174.jpg
 
Interior Completed.
IMG_7178.jpg


IMG_7179.jpg


IMG_7180.jpg


IMG_7181.jpg


IMG_7182.jpg


After completing the car, I took some more photos and then went for a quick photoshoot around town with the owner.
IMG_7188.jpg


IMG_7189.jpg


IMG_7191.jpg


IMG_7193.jpg


IMG_7195.jpg
 
This is an awesome spot for some car photography! Wish I had a better lense..
IMG_7227.jpg


IMG_7228.jpg


IMG_7231.jpg


IMG_7236.jpg


IMG_7237.jpg


IMG_7238.jpg


IMG_7241.jpg


IMG_7246.jpg


IMG_7253.jpg


IMG_7266.jpg


IMG_7268.jpg


I thought this one turned out really cool!
IMG_7250.jpg
 
Here is the owner already getting it dirty the very next day at an auto-x! Makes me proud! :D
P2010637.jpg


P2010650.jpg


Some VERY nice shots from the owner. These were taken with a Nikon D70 and an assortment of lenses from a 11-17mm wide angle, 70-300mm, and a 18-200mm.
index.php


index.php


index.php


index.php
 
ive seen your work on honda-tech. your posts grab me away from my homework every time sir. good job.
 
Saw these on 8thCivic -- totally awesome. The brake dust was pretty yuck! :P
 
What did you use on the top? I've got a S2000 coming up on my break at home and need something for it. Probably gonna be doing a ONR wash inside yet though as old man winter still will be rearing his ugly head.
 
I did not have anything to actually deep clean the top with me. I normally use Raggtopp. You have to make sure they still have their vinyl top, sometimes aftermarket tops of cloth and you have to buy the right products for each of them.
 
Back
Top