Mike Phillips
Active member
- Dec 5, 2022
- 51,004
- 8
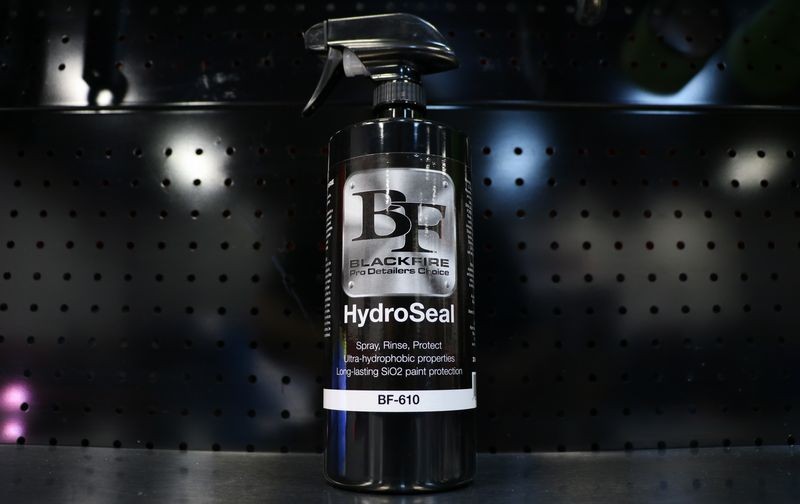
Review: BLACKFIRE HydroSeal RTU - Ready to Use
BLACKFIRE HydroSeal RTU
What it is?
A spray-on, spray-off SiO2 protectant that you apply during the car washing step.
What it does?
Seals and protects the surface with durable SiO2 protection.
When to use it?
After first washing and then rinsing the car but while the car is still wet. (just all the dirt and road grime are removed)
Why to use it?
To quickly add protection, shine and water-beading to the exterior of your car during the washing step.
Special Instructions
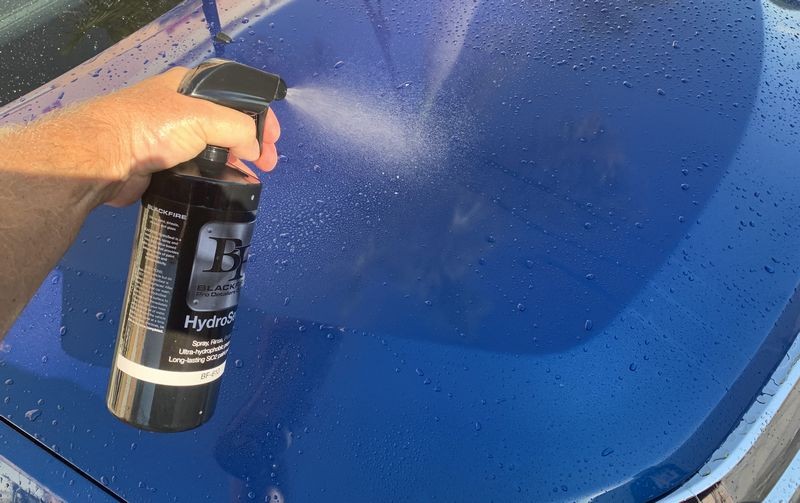
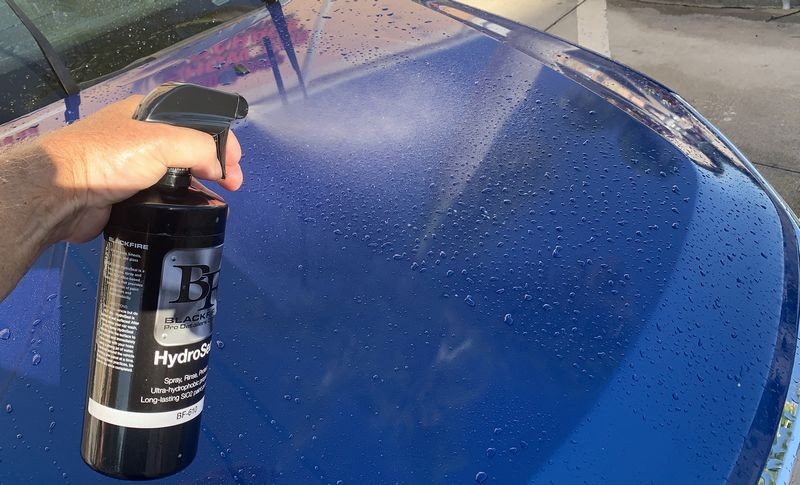
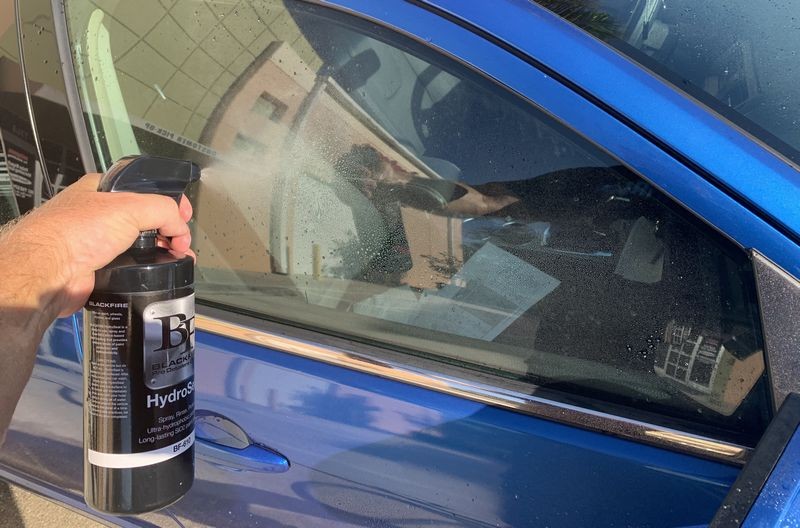
MOST IMPORTANT - ONLY SPRAY ONTO ONE PANEL AT A TIME AND THEN FULLY RINSE OFF USING THE STRONGEST BLAST OF WATER AVAILABLE TO YOU.
The SiO2 solids in this product will immediately begin to bond to the surface so it's vital that after you spray a panel that you blast it with water to spread it out over the panel while at the same time blasting off any excess so that it does not accumulate in high concentrations.
Important Information
Only work on cool surface in the shade. A warm or hot panel will cause the SiO2 solids in the spray to dry to quickly so they won't spread out over the panel or rinse off.
My comments...
Here's one of my favorite quotes that I try to practice myself and also share with others...
Try to learn from other people's mistakes, you may not live long enough to make them all on your own -Eleanor Roosevelt
Here's how it applies to this review. After receiving the product to use and then write this review, the first car I tried this on made the mistake of spraying down the entire car (after first washing and rinsing off the car), and then rinsing or BLASTING each panel with a strong spray of water. While it looked good while it was wet, after drying it off I could see lots of excess SiO2 spray still on the car. The bond between the SiO2 and the paint was so strong it was very difficult to wipe off so instead, I machine polished the car and this removed it. This proved to me at just how substantial the SiO2 solids in the spray are and how well they form a bond to the surface even as the car is wet. It also reminded me of how stupid I can be thinking I know better than the directions on the label. :laughing:
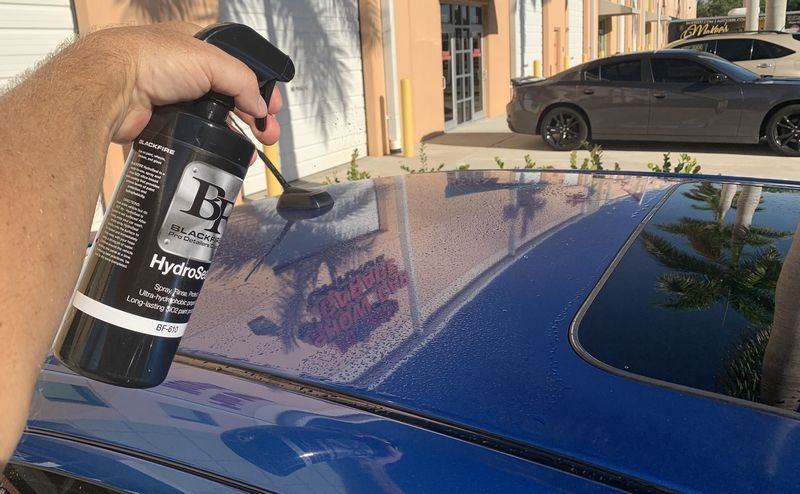
So PLEASE - take my word for it. This product works insanely well but follow the directions. Wash and rinse your car and then ONLY spray a mist or 2 to a single panel and immediately blast that panel with water.
Instead of trying to SUPER SEAL the paint with the first application - just hit the car lightly the first time you use it. Then each time you use it continue to hit it lightly and over time, working smarter instead of harder, you will lay down a uniform, even layer of SiO2 the lazy man's way without any fuss.
Step-by-step directions
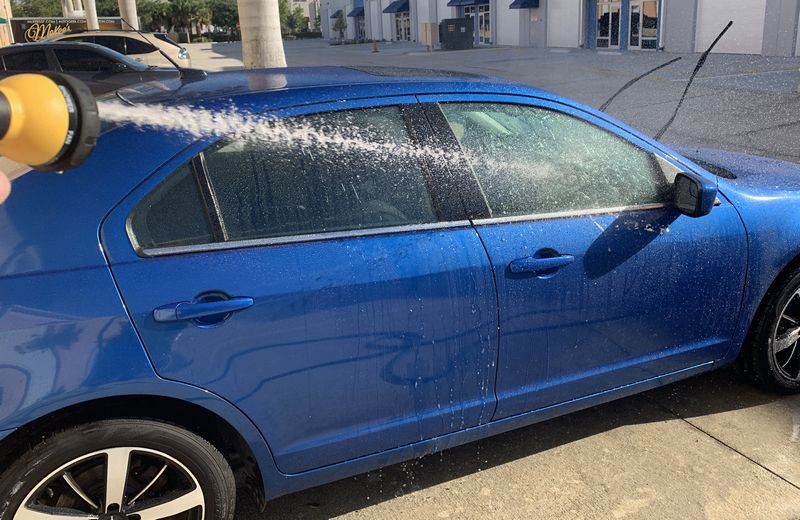
Step 1: Wash and rinse the car.
I don't normally use dishwashing detergent but I want to make sure any old applications of wax or sealant are removed so there is ZERO WATER BEADING in my before pictures. Then, assuming the product works we should see AMAZING WATER BEADING in the after pictures.
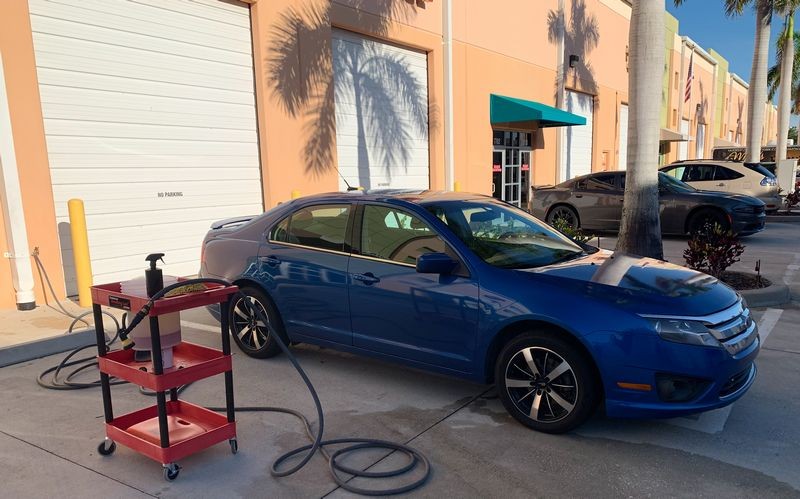
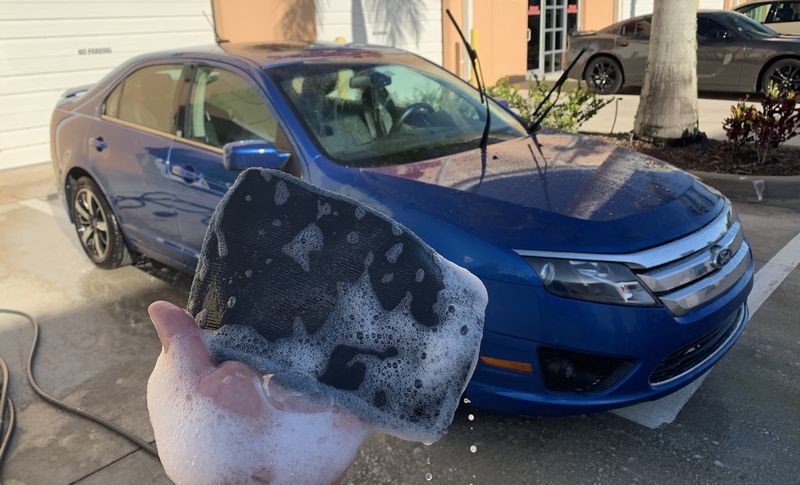
Here I am at about 7:30am in the morning trying to wash this Ford Fusion using the shade off the new building in front of Autogeek. It's already hot out and it's only going to get worse. This car belongs to Cody, one of the warehouse staff here at Autogeek. He says he has never detailed it since he purchased it used although it looks like Andre or Bobby has played with one side of the hood.
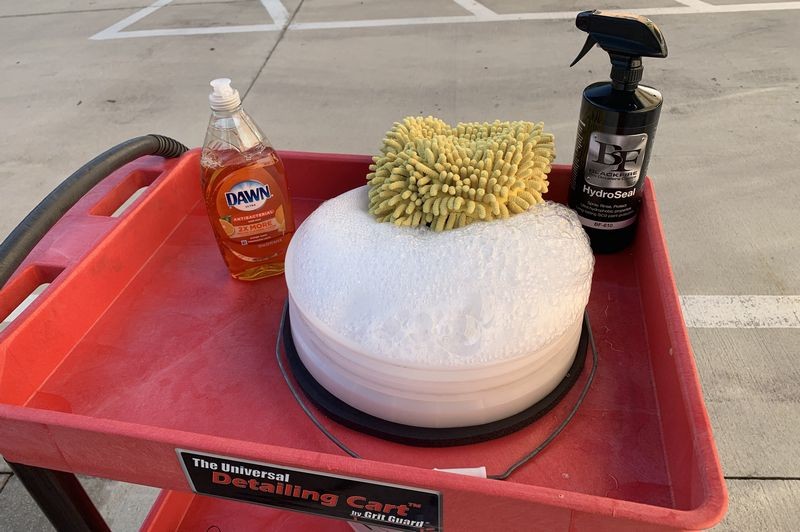
Here we go - a little dishwashing detergent I found in one of the break rooms....
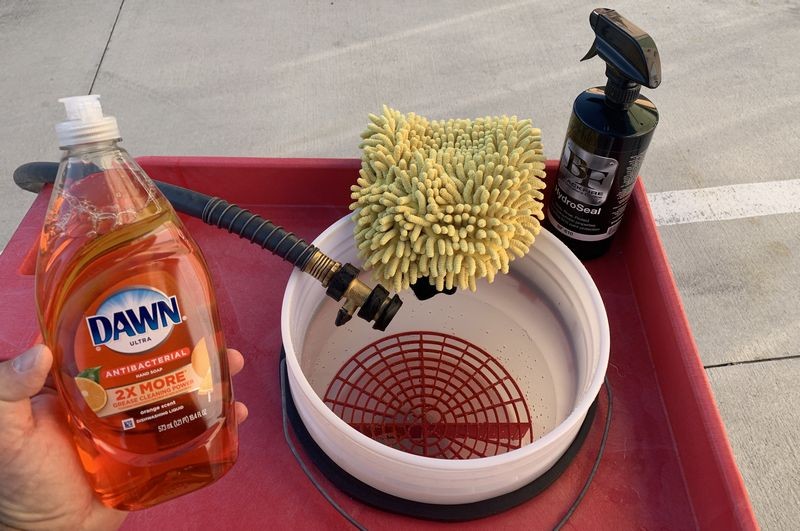
Looks like I'll be cleaning AND disinfecting the Ford today! And note the grease removing aspect of this version of DAWN.


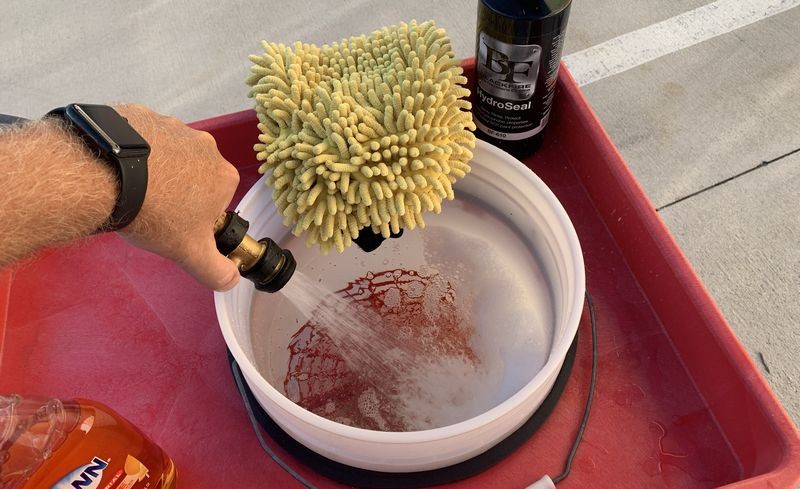

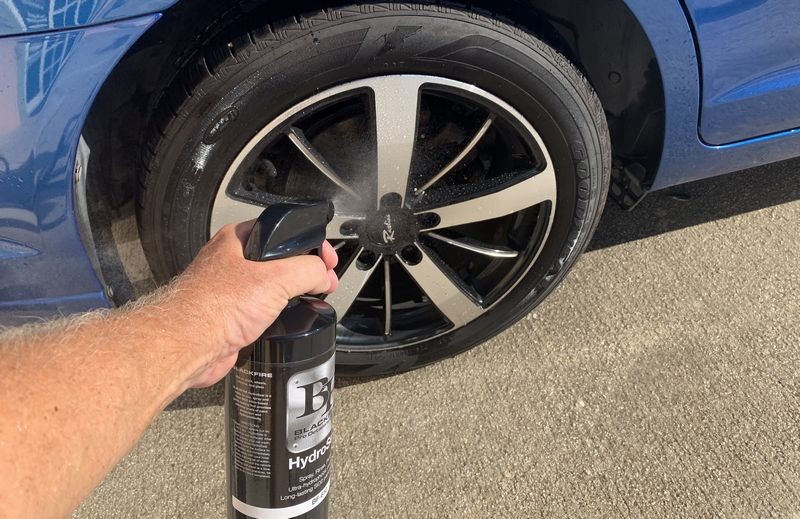
Shout out to Grit Guard - Love your Universal Detailing Cart for washing cars. It means I never have to bend over to dunk my wash mitt plus it rolls around the car as I wash it and it holds all my products, brushes and other car washing tools.
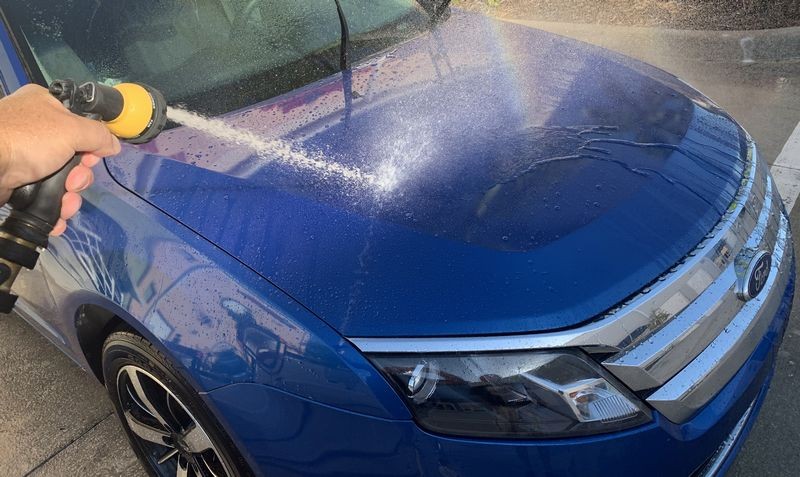
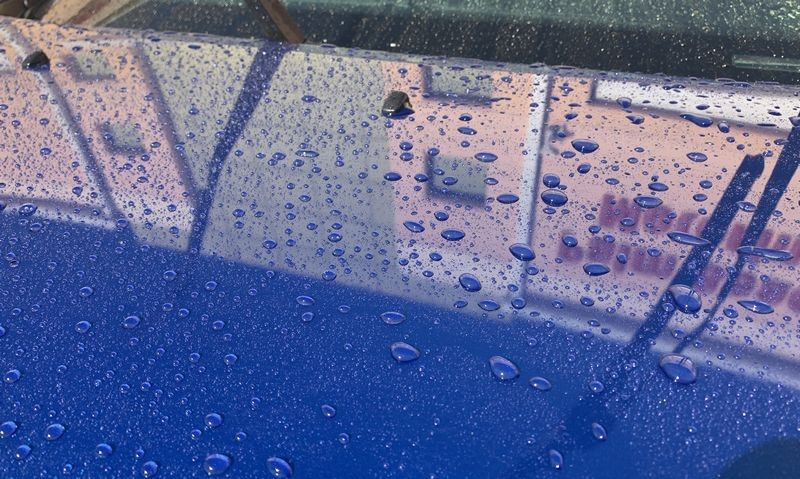
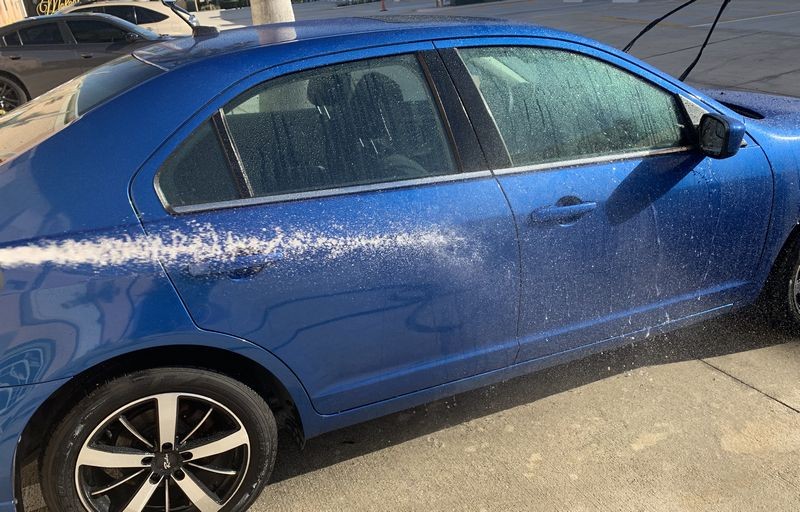
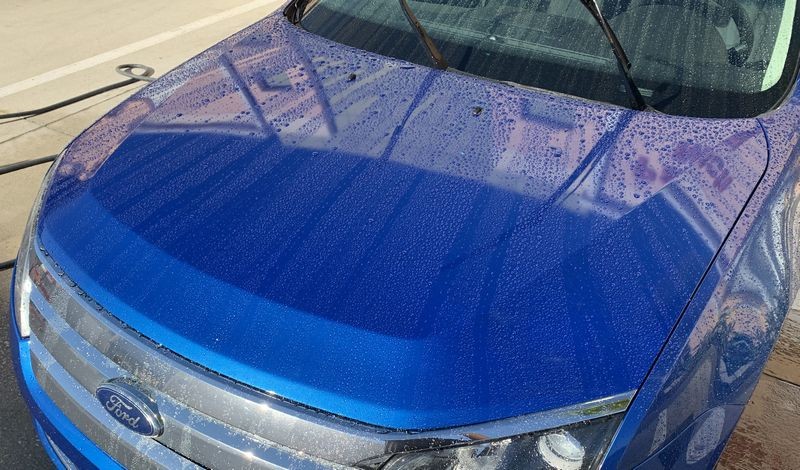
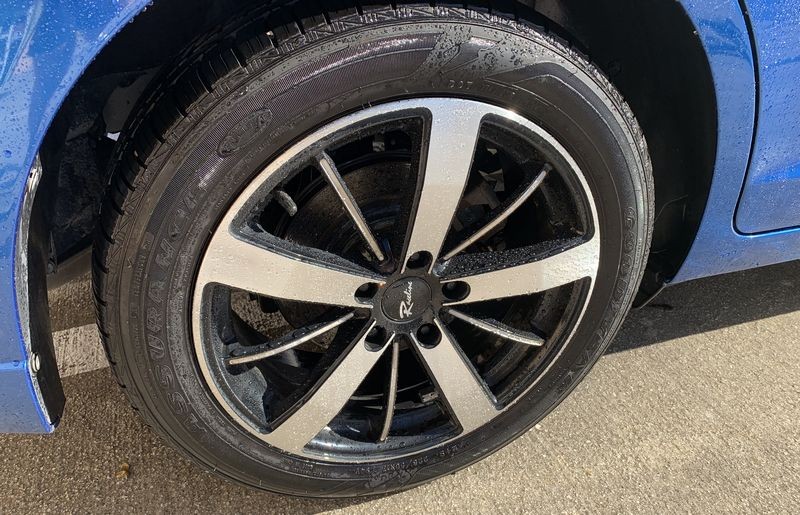
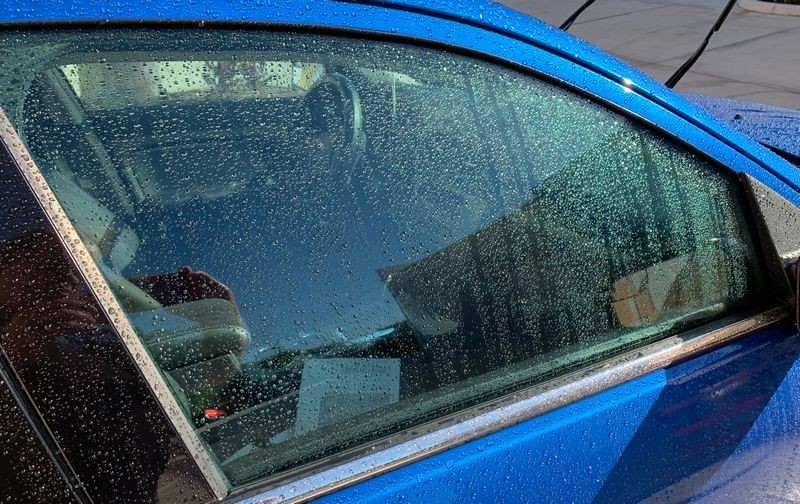
In the below shot, I have already washed the entire car, (including wheels and tires), and now I'm blasting the hood with water to check and see the level of water beading AFTER washing.
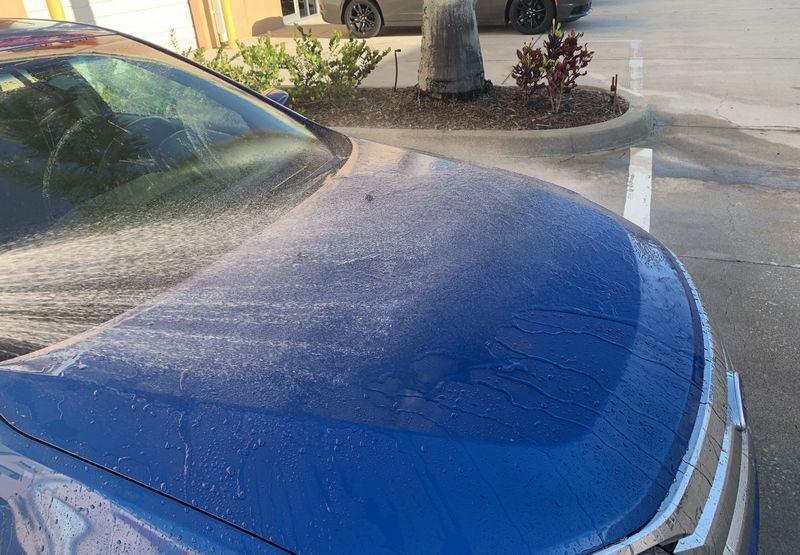
Virtually no water beading.
The water is laying on the hood in a large, uniform layer or sheet of water. This demonstrates there is no surface tension to cause water to bead-up.
Optional Step - Mechanically decontaminate the paint
This is an optional step and that is now that the car is washed and rinsed, so all dirt and road grime has been loosened and flushed off the car, I'm going to use a BLACKFIRE Clay Mitt and the soapy water to remove any above surface bonded contaminants. I'm doing this for three reasons.
1: I'm a nice guy. I'm thankful Cody let me use his car for this review and I could feel the paint was contaminated while washing it - so while I'm washing it I'm going to decontaminate it at the same time.
2: I prefer to mechanically decontaminate daily drivers during the washing step as it saves me a step overall.
3: The act of rubbing a clay mitt over the paint will FURTHER ensure any previously applied waxes or sealants, (or whatever Bobby and Andry may have applied), is removed as the polymerized rubber surface does micro-abrade the paint and anything ON the paint.
I also think any type of paint protection, be it this product I'm testing out or any other product like a car wax or a synthetic sealant, will perform better on a smooth surface, not a surface with texture due to bonded contaminants.


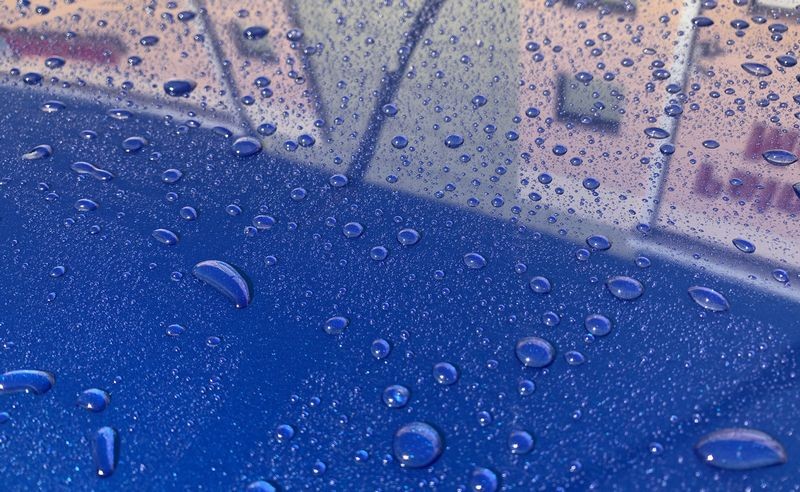
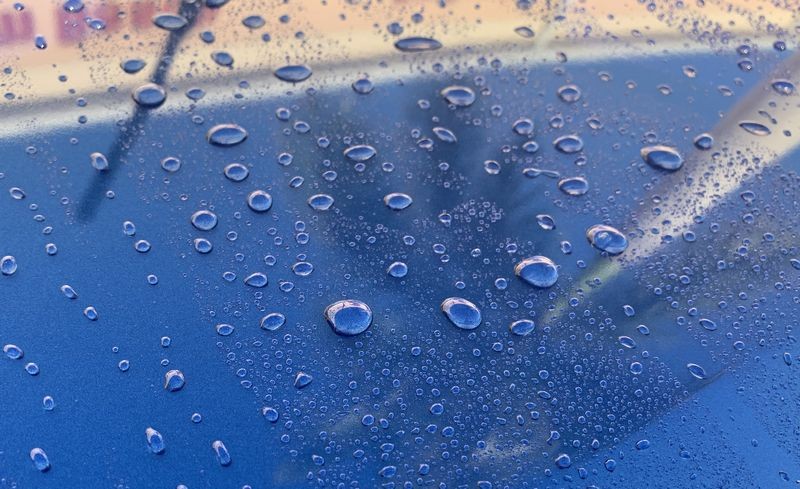
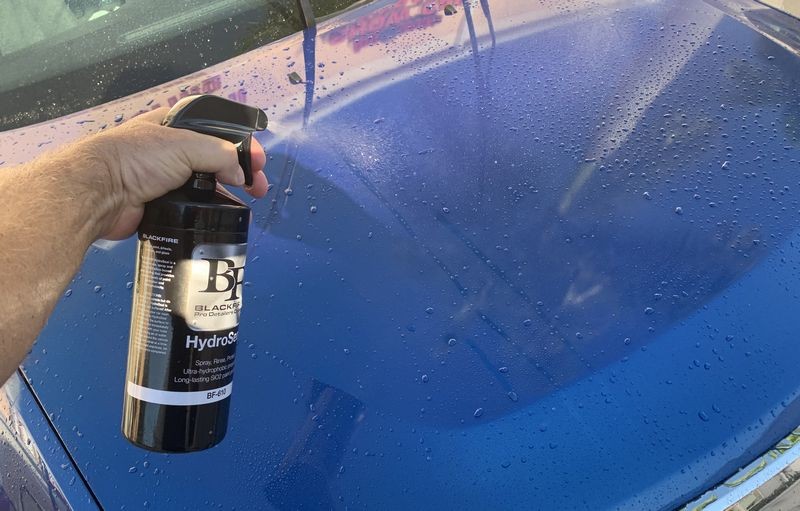
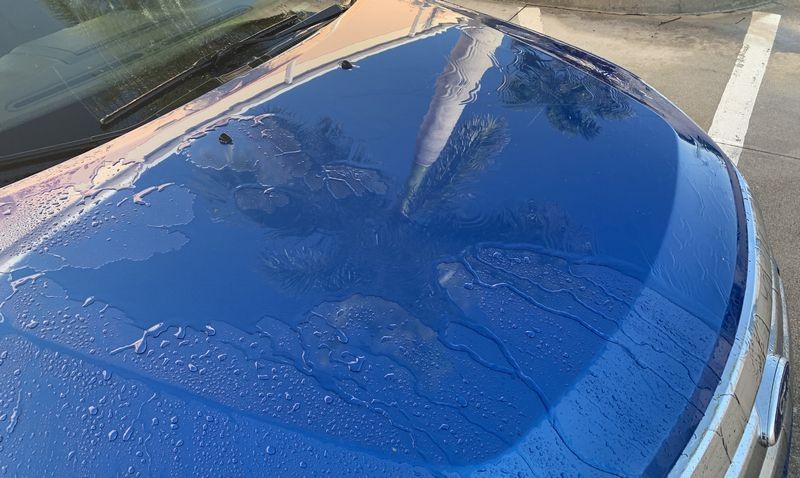
Rinsing after using the clay mitt...

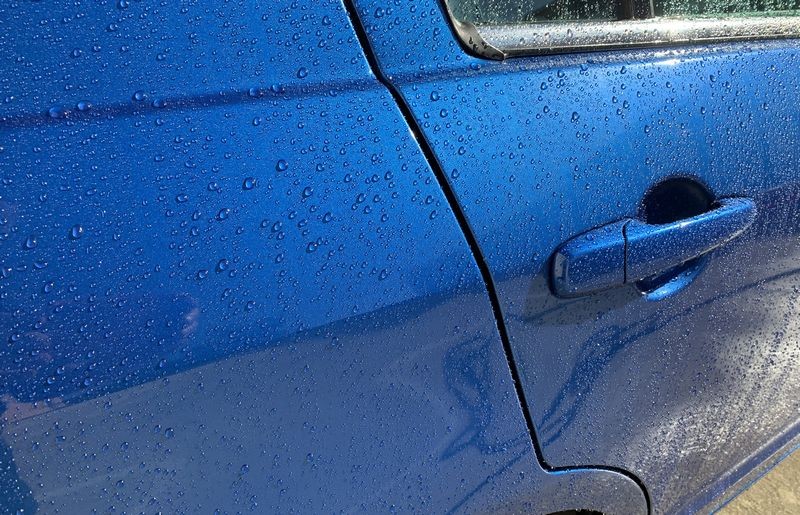
Zero water beading - Zero surface tension
This is how I want the paint to look for the BEFORE PICTURES

Next steps...
Now scroll down to the next post because now comes the BLACKFIRE SiO2 HydroSeal RTU
")
BLACKFIRE HydroSeal RTU
What it is?
A spray-on, spray-off SiO2 protectant that you apply during the car washing step.
What it does?
Seals and protects the surface with durable SiO2 protection.
When to use it?
After first washing and then rinsing the car but while the car is still wet. (just all the dirt and road grime are removed)
Why to use it?
To quickly add protection, shine and water-beading to the exterior of your car during the washing step.
Special Instructions
MOST IMPORTANT - ONLY SPRAY ONTO ONE PANEL AT A TIME AND THEN FULLY RINSE OFF USING THE STRONGEST BLAST OF WATER AVAILABLE TO YOU.
The SiO2 solids in this product will immediately begin to bond to the surface so it's vital that after you spray a panel that you blast it with water to spread it out over the panel while at the same time blasting off any excess so that it does not accumulate in high concentrations.
Important Information
Only work on cool surface in the shade. A warm or hot panel will cause the SiO2 solids in the spray to dry to quickly so they won't spread out over the panel or rinse off.
My comments...
Here's one of my favorite quotes that I try to practice myself and also share with others...
Try to learn from other people's mistakes, you may not live long enough to make them all on your own -Eleanor Roosevelt
Here's how it applies to this review. After receiving the product to use and then write this review, the first car I tried this on made the mistake of spraying down the entire car (after first washing and rinsing off the car), and then rinsing or BLASTING each panel with a strong spray of water. While it looked good while it was wet, after drying it off I could see lots of excess SiO2 spray still on the car. The bond between the SiO2 and the paint was so strong it was very difficult to wipe off so instead, I machine polished the car and this removed it. This proved to me at just how substantial the SiO2 solids in the spray are and how well they form a bond to the surface even as the car is wet. It also reminded me of how stupid I can be thinking I know better than the directions on the label. :laughing:
So PLEASE - take my word for it. This product works insanely well but follow the directions. Wash and rinse your car and then ONLY spray a mist or 2 to a single panel and immediately blast that panel with water.
Instead of trying to SUPER SEAL the paint with the first application - just hit the car lightly the first time you use it. Then each time you use it continue to hit it lightly and over time, working smarter instead of harder, you will lay down a uniform, even layer of SiO2 the lazy man's way without any fuss.
Step-by-step directions
Step 1: Wash and rinse the car.
I don't normally use dishwashing detergent but I want to make sure any old applications of wax or sealant are removed so there is ZERO WATER BEADING in my before pictures. Then, assuming the product works we should see AMAZING WATER BEADING in the after pictures.
Here I am at about 7:30am in the morning trying to wash this Ford Fusion using the shade off the new building in front of Autogeek. It's already hot out and it's only going to get worse. This car belongs to Cody, one of the warehouse staff here at Autogeek. He says he has never detailed it since he purchased it used although it looks like Andre or Bobby has played with one side of the hood.
Here we go - a little dishwashing detergent I found in one of the break rooms....
Looks like I'll be cleaning AND disinfecting the Ford today! And note the grease removing aspect of this version of DAWN.
Shout out to Grit Guard - Love your Universal Detailing Cart for washing cars. It means I never have to bend over to dunk my wash mitt plus it rolls around the car as I wash it and it holds all my products, brushes and other car washing tools.
In the below shot, I have already washed the entire car, (including wheels and tires), and now I'm blasting the hood with water to check and see the level of water beading AFTER washing.
Virtually no water beading.
The water is laying on the hood in a large, uniform layer or sheet of water. This demonstrates there is no surface tension to cause water to bead-up.
Optional Step - Mechanically decontaminate the paint
This is an optional step and that is now that the car is washed and rinsed, so all dirt and road grime has been loosened and flushed off the car, I'm going to use a BLACKFIRE Clay Mitt and the soapy water to remove any above surface bonded contaminants. I'm doing this for three reasons.
1: I'm a nice guy. I'm thankful Cody let me use his car for this review and I could feel the paint was contaminated while washing it - so while I'm washing it I'm going to decontaminate it at the same time.
2: I prefer to mechanically decontaminate daily drivers during the washing step as it saves me a step overall.
3: The act of rubbing a clay mitt over the paint will FURTHER ensure any previously applied waxes or sealants, (or whatever Bobby and Andry may have applied), is removed as the polymerized rubber surface does micro-abrade the paint and anything ON the paint.
I also think any type of paint protection, be it this product I'm testing out or any other product like a car wax or a synthetic sealant, will perform better on a smooth surface, not a surface with texture due to bonded contaminants.
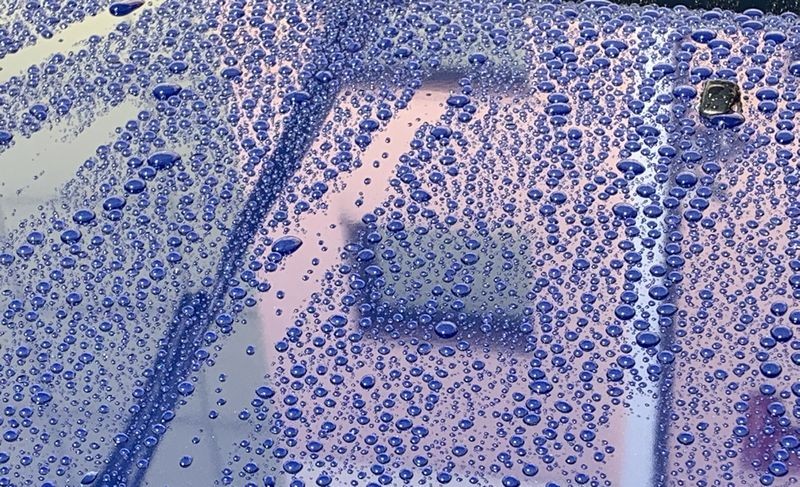
Rinsing after using the clay mitt...
Zero water beading - Zero surface tension
This is how I want the paint to look for the BEFORE PICTURES
Next steps...
Now scroll down to the next post because now comes the BLACKFIRE SiO2 HydroSeal RTU