PinnacleAutoCT
New member
- Sep 28, 2014
- 110
- 0
Hey guys, this is a recent correction and coating job I did for a new customer. He contacted me about correction and coating work, citing that he was the second owner of the car and the paint was "pretty bad". After taking a look at the car, it was obvious its 91k miles hadn't been easy ones and it would take quite a bit of work to get things looking proper. Since this SRT8 is a daily driver and there were numerous repainted panels, I advised the owner that we should shoot for around 90% correction in order to leave enough clear for future correction work should the need arise.
Before:
This was actually after the Jeep had received a decon wash using Iron-X and Tar-X. You can see the paint really lacked depth and was a little lifeless, even after a thorough wash:
 DSC09234 by Mike Donoghue, on Flickr
This was before the decon wash:
 DSC09190 by Mike Donoghue, on Flickr
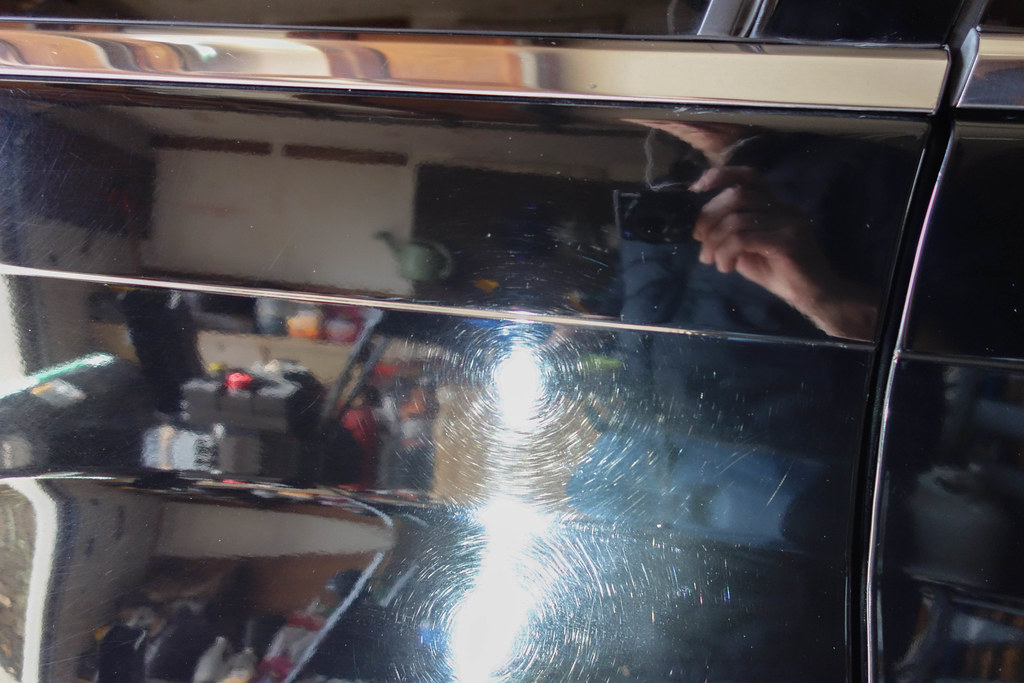
Random paint transfer that would be removed later:
 DSC09182 by Mike Donoghue, on Flickr
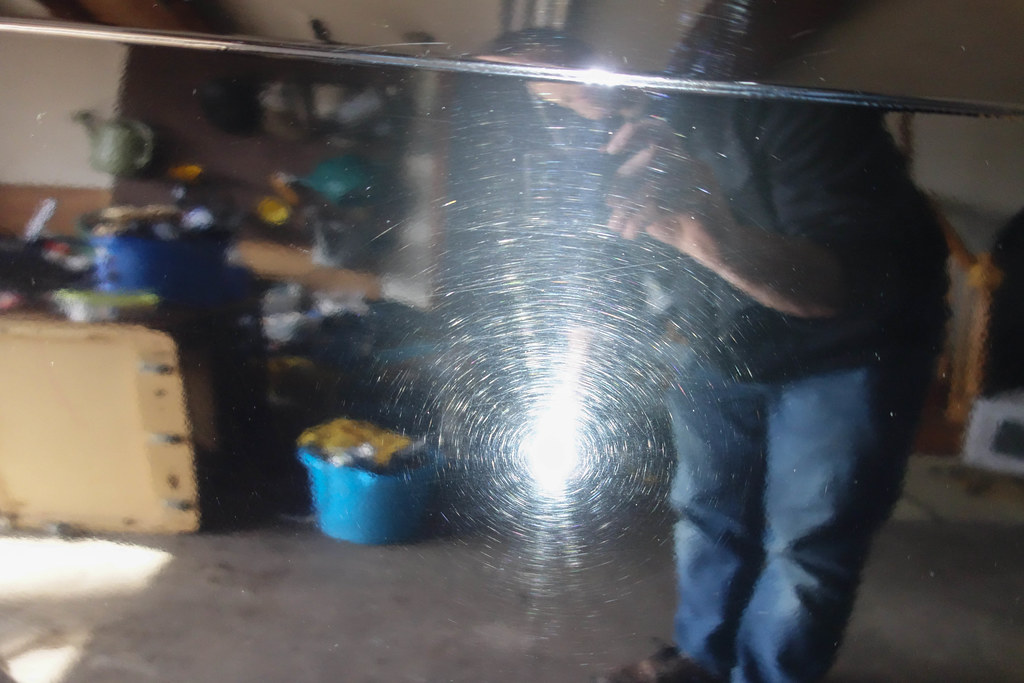
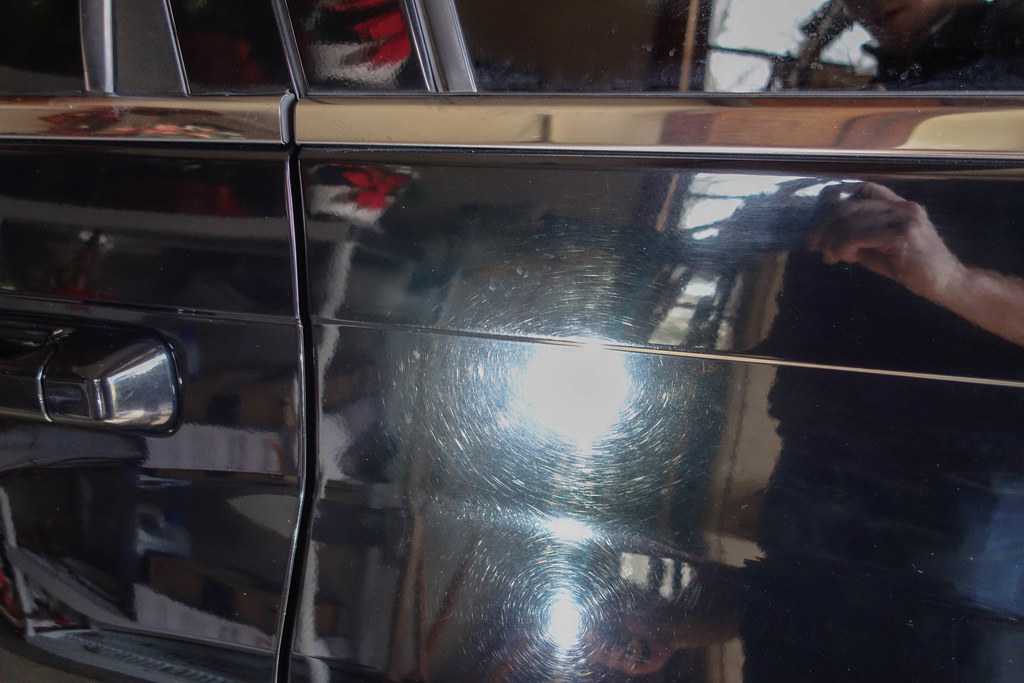
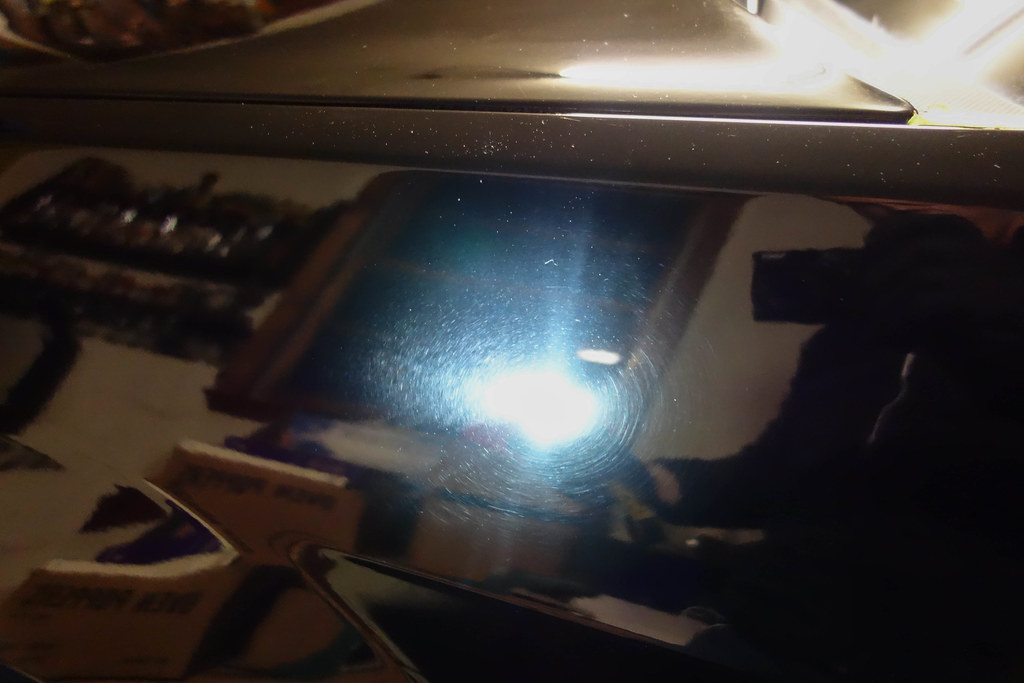
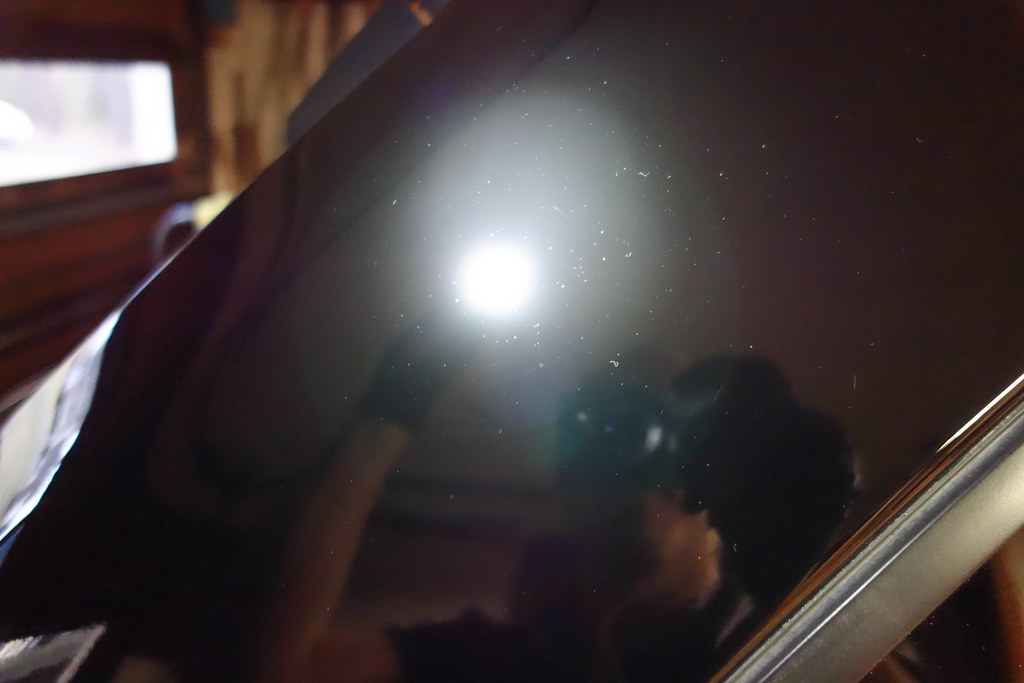
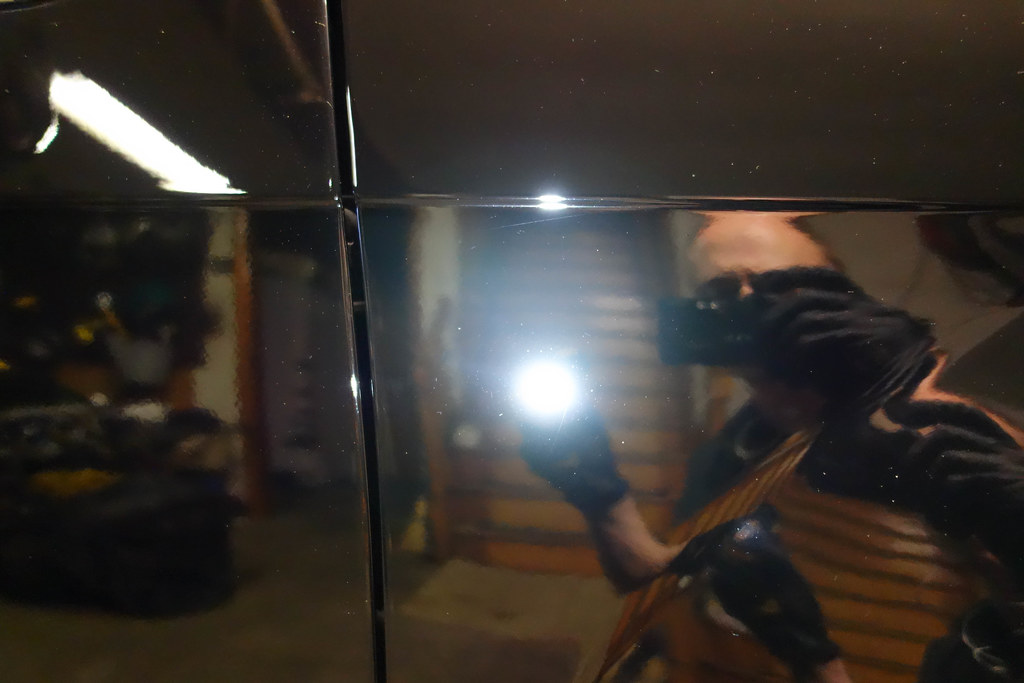
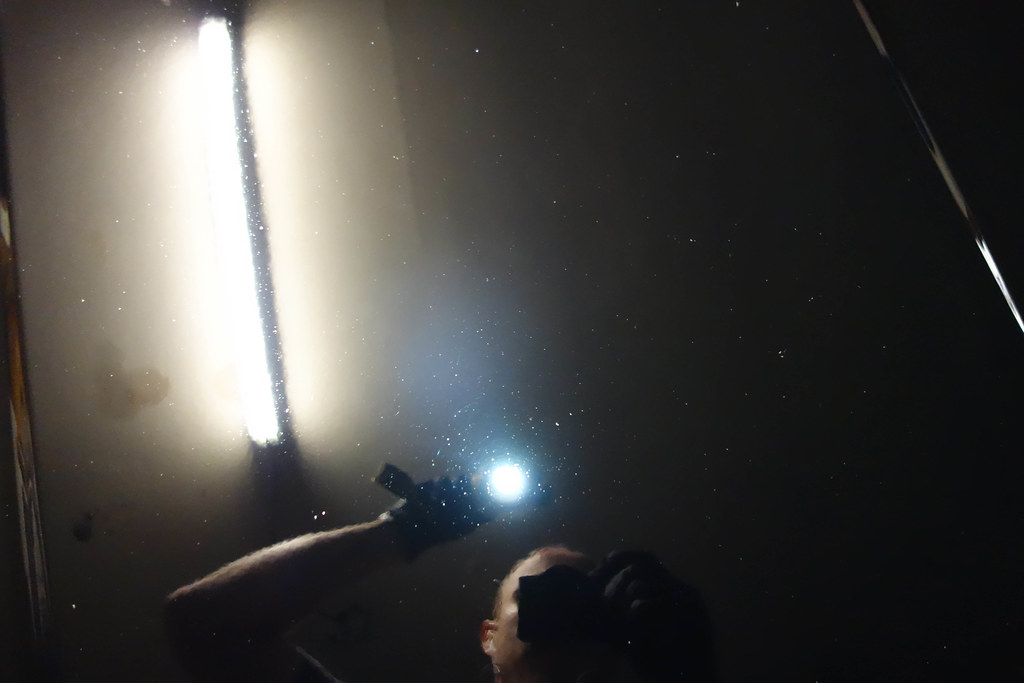
The marring was VERY visible in this paint under sunlight:
 DSC09238 by Mike Donoghue, on Flickr
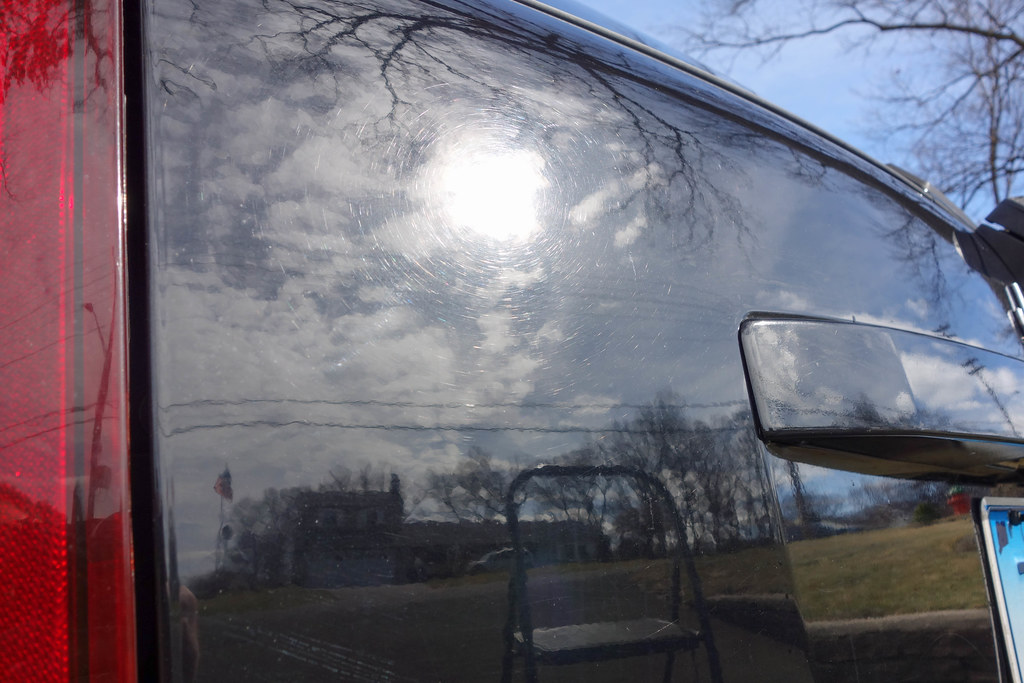 DSC09241 by Mike Donoghue, on Flickr
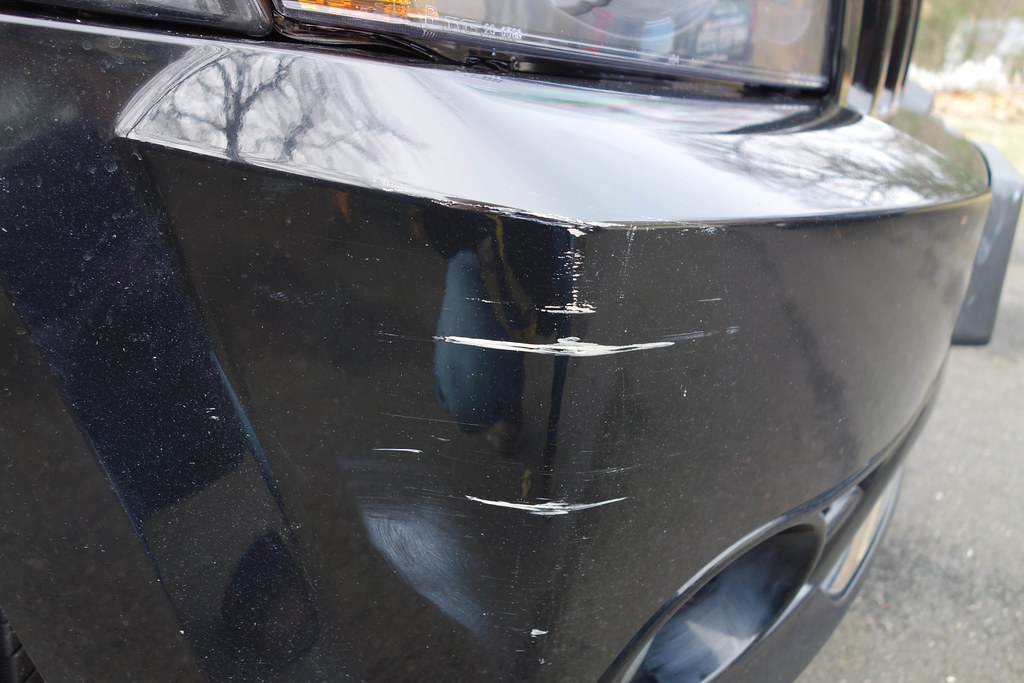
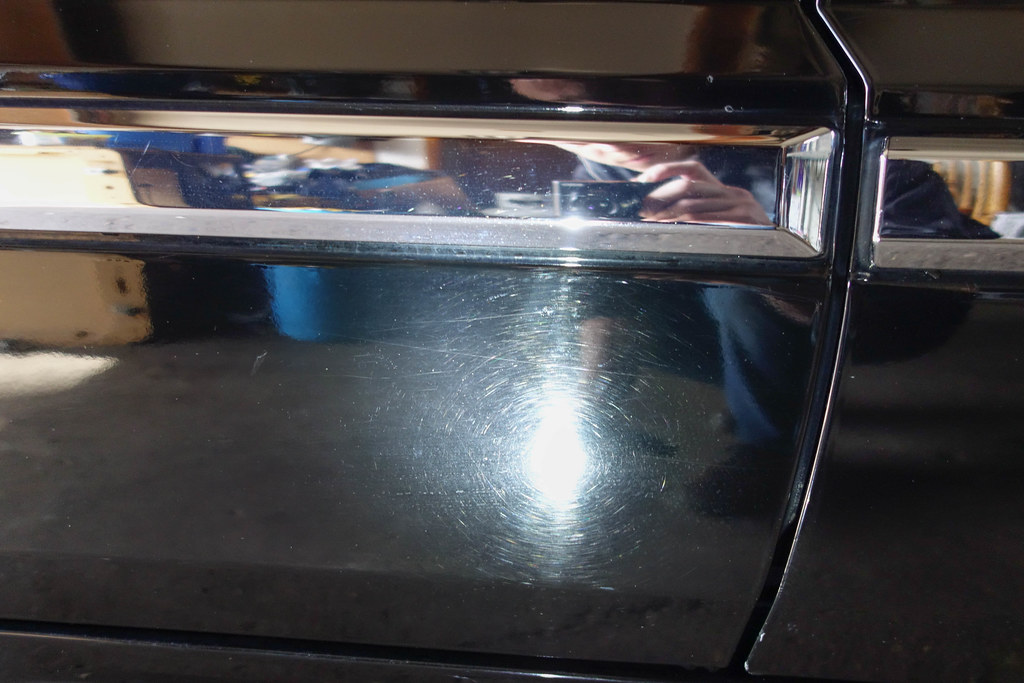
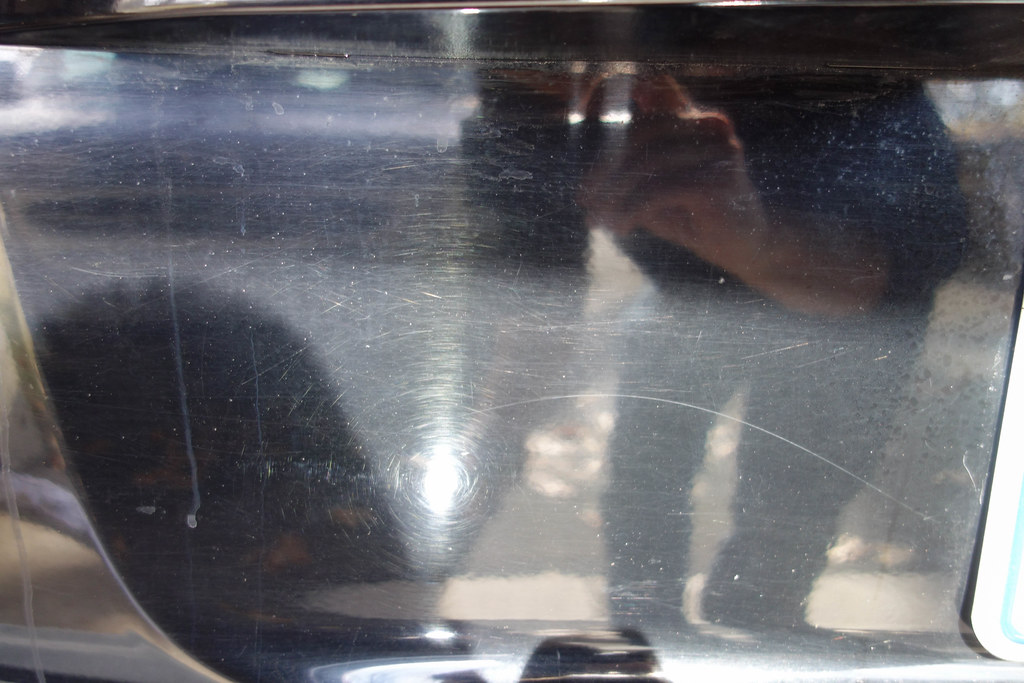
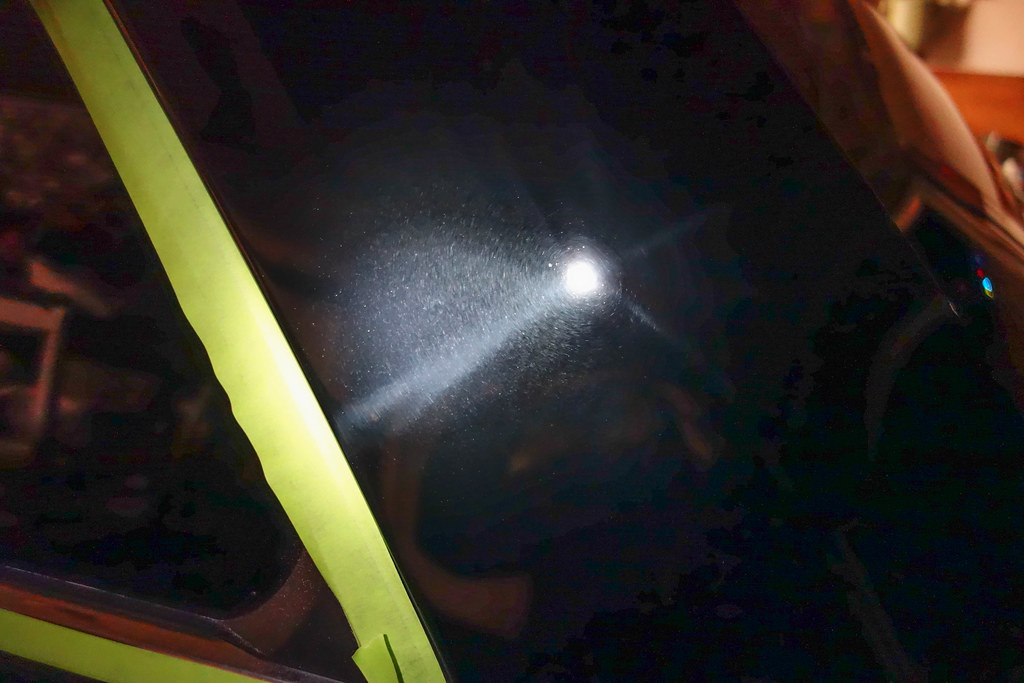
There were some deeper scratches like this all over the paint:
 DSC09243 by Mike Donoghue, on Flickr
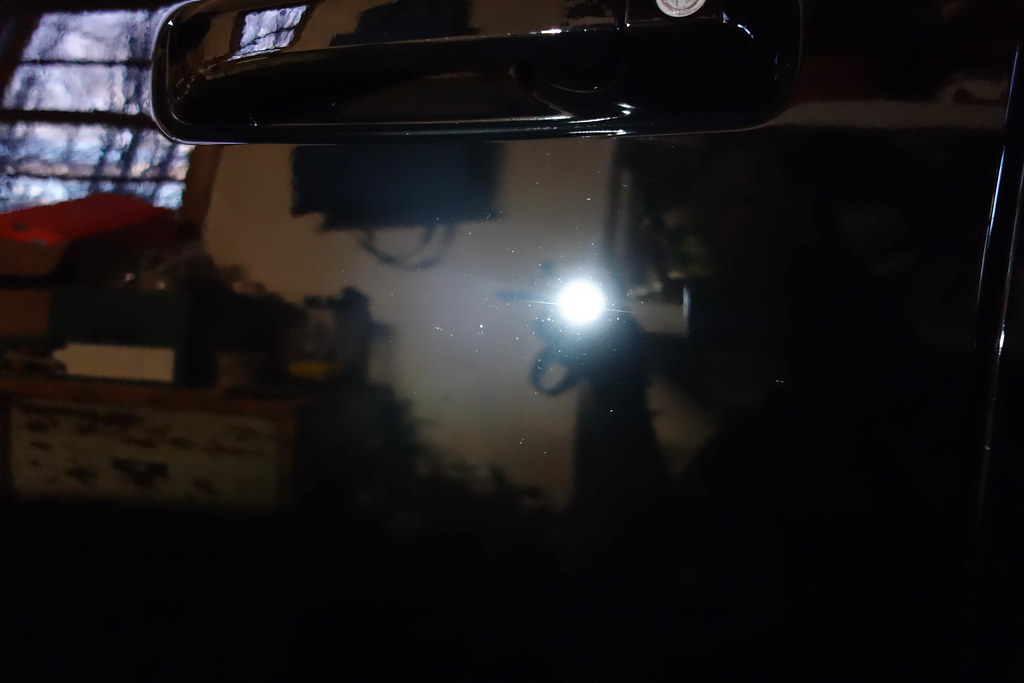
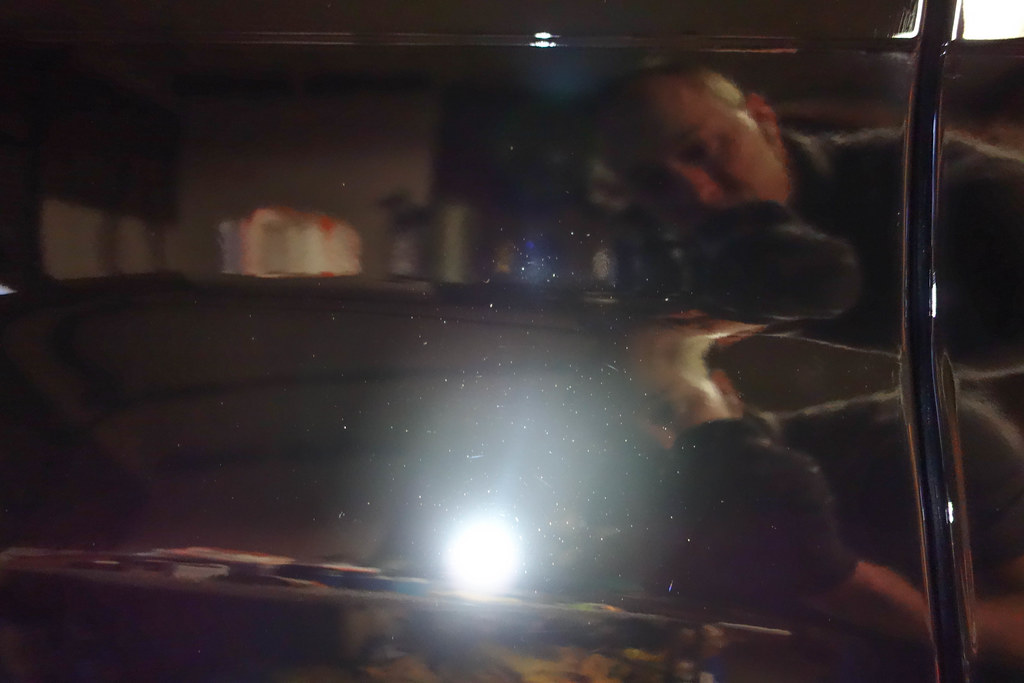
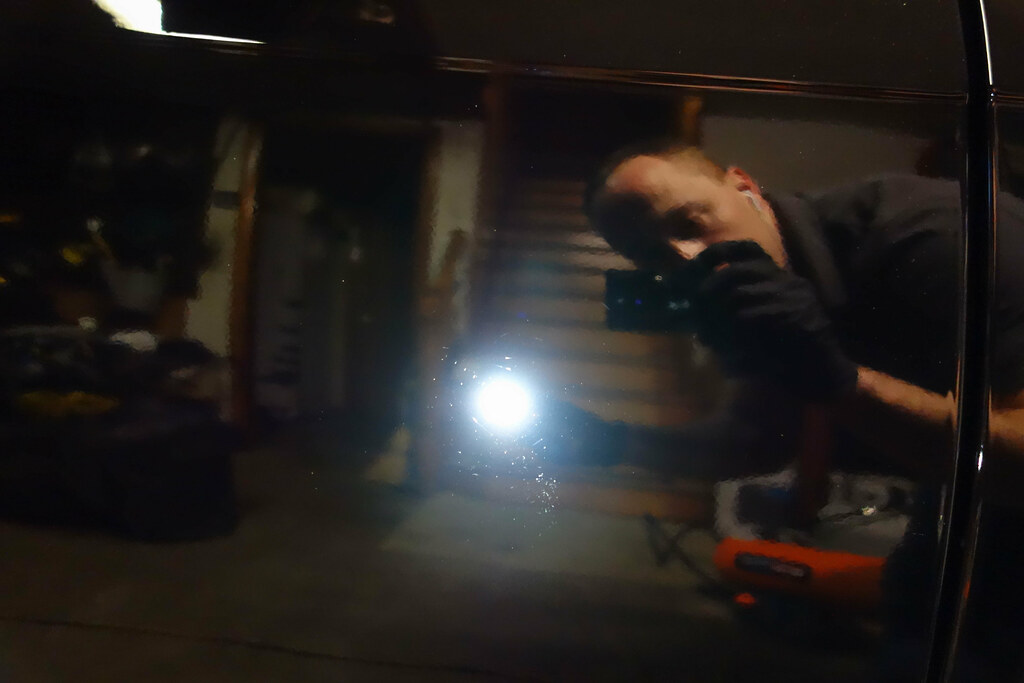
After the aforementioned decon wash, the Jeep was brought in and I took some pics under LED lighting prior to using clay and masking the trim:
 DSC09250 by Mike Donoghue, on Flickr
 DSC09253 by Mike Donoghue, on Flickr
 DSC09254 by Mike Donoghue, on Flickr
 DSC09255 by Mike Donoghue, on Flickr
 DSC09264 by Mike Donoghue, on Flickr
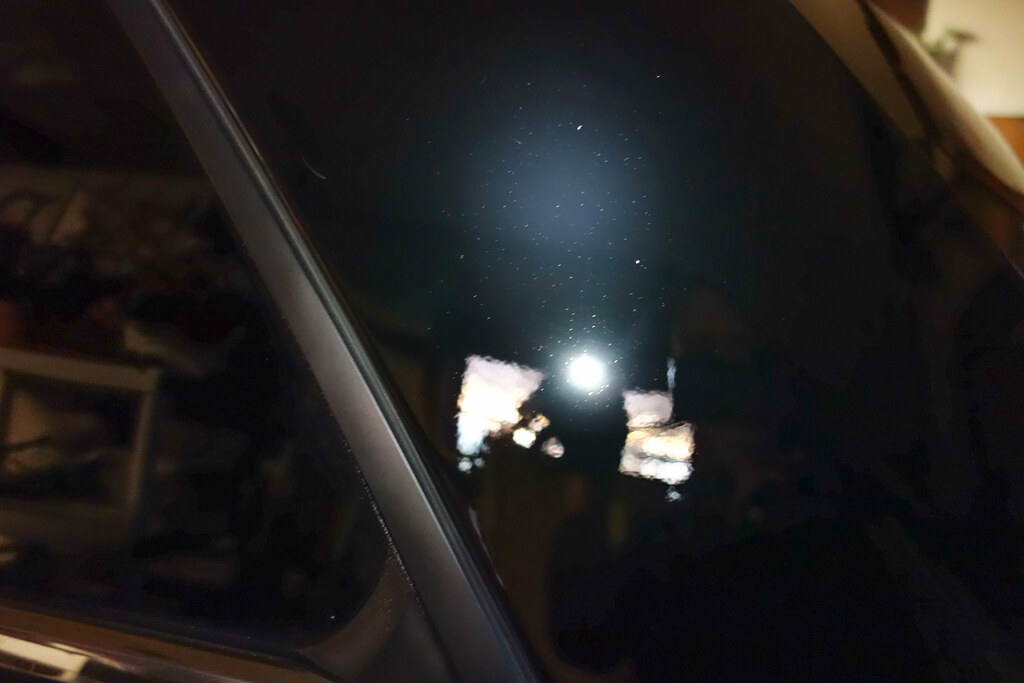
The pillars were especially bad:
 DSC09281 by Mike Donoghue, on Flickr
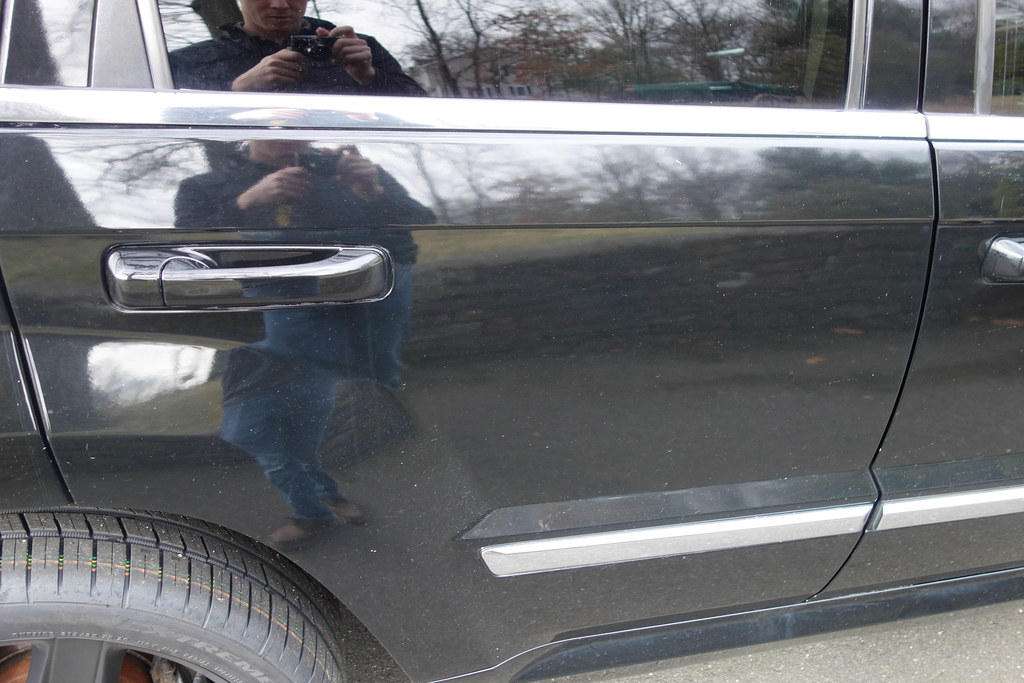
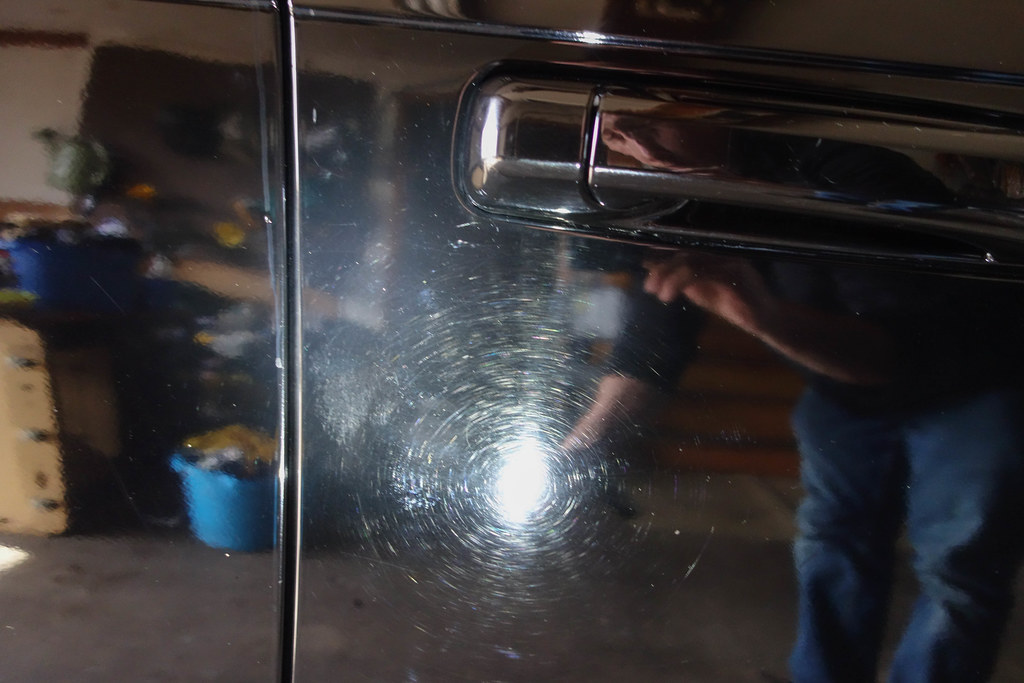
A nice series of scratches around the driver's door handle:
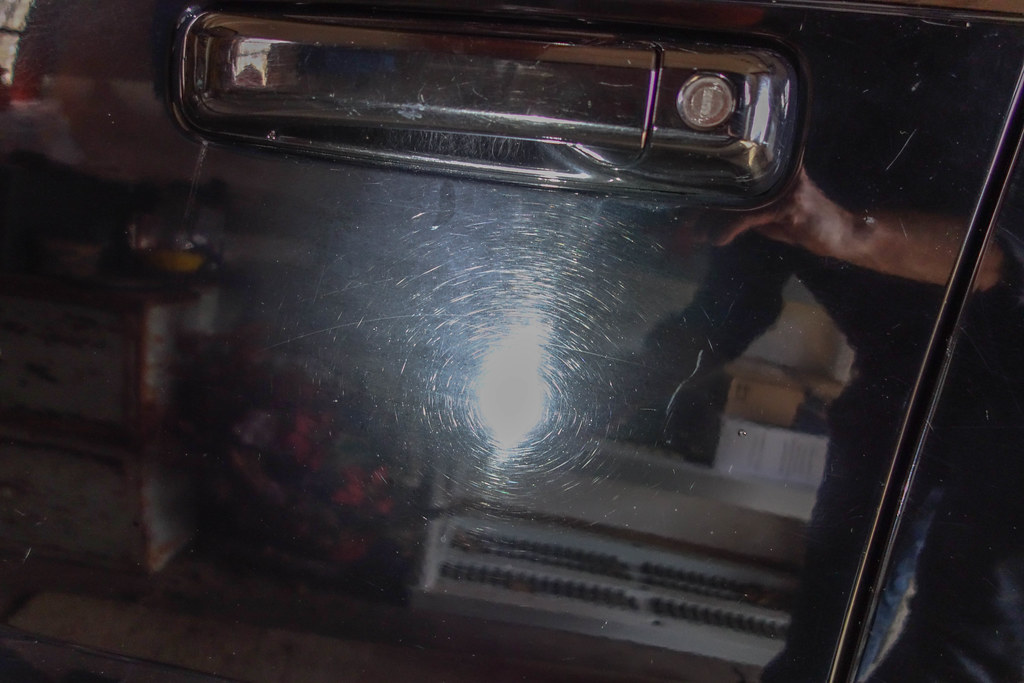 DSC09283 by Mike Donoghue, on Flickr
 DSC09289 by Mike Donoghue, on Flickr
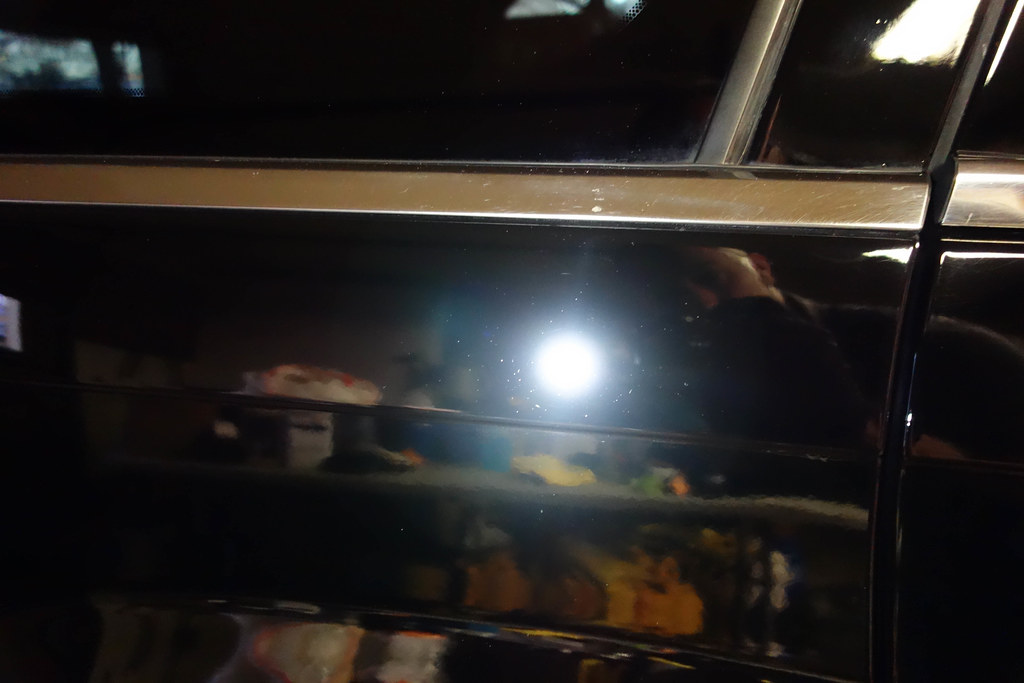
Plenty of marring and scratching around the gas filler door:
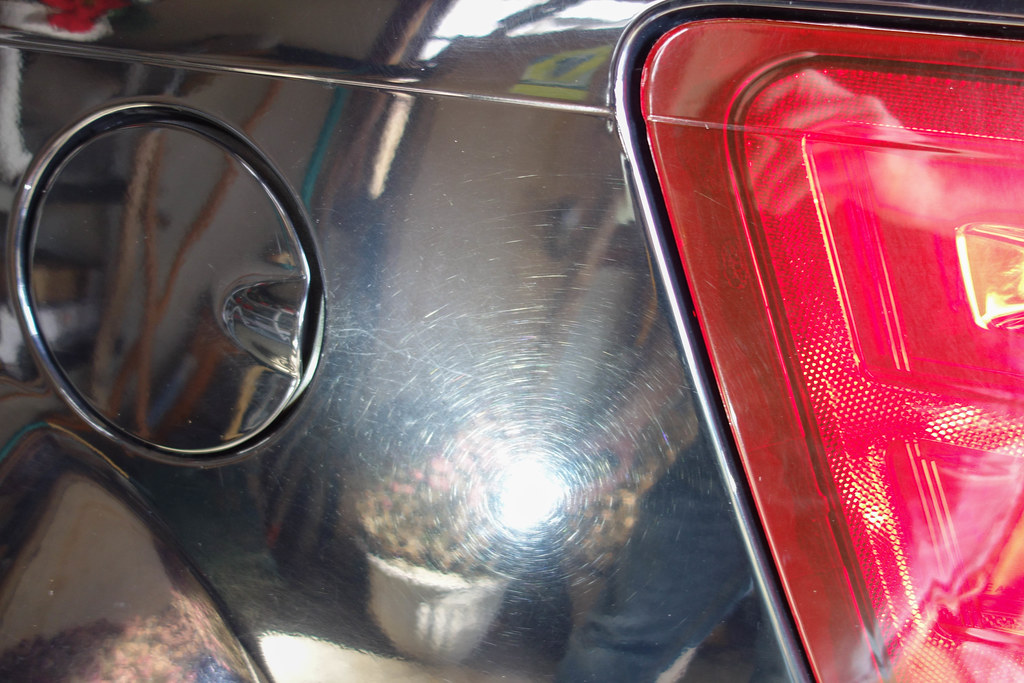 DSC09293 by Mike Donoghue, on Flickr
The hatch was heavily marred and scratched:
 DSC09302 by Mike Donoghue, on Flickr
After some experimenting with a lot of different pads, polishes, compounds, etc, I found a combination that removed the marring safely and quickly enough. The magic combo ended up being about 40% M101 mixed with 30% Meguiar's D300 and 30% HD Polish on Meguiar's microfiber cutting pads. This combo was used on speed ~4.5 on the Rupes 21 MK II for 4-6 passes, with a second or third application in certain areas. The Rupes 75E and Ibrid Nano long neck were also used to correct recessed/smaller areas. The result of the cutting process was this:
 DSC09317 by Mike Donoghue, on Flickr
 DSC09329 by Mike Donoghue, on Flickr
 DSC09336 by Mike Donoghue, on Flickr
As you can see, there was plenty of micro-marring due to the mf cutting pads and M101, but the original marring was nearly gone. Surprisingly, this micromarring was very easy to polish out. I first gave the paint a thorough cleaning and wipedown with CarPro Eraser to remove the dust and possible polishing oils from the cutting step, then I used CarPro Essence on LC black finishing pads for 4-5 passes, followed by removal and reapplication for a few more passes at speeds 4-5 IIRC. The paint was then wiped down with Eraser and 22ple VX-Pro was applied.
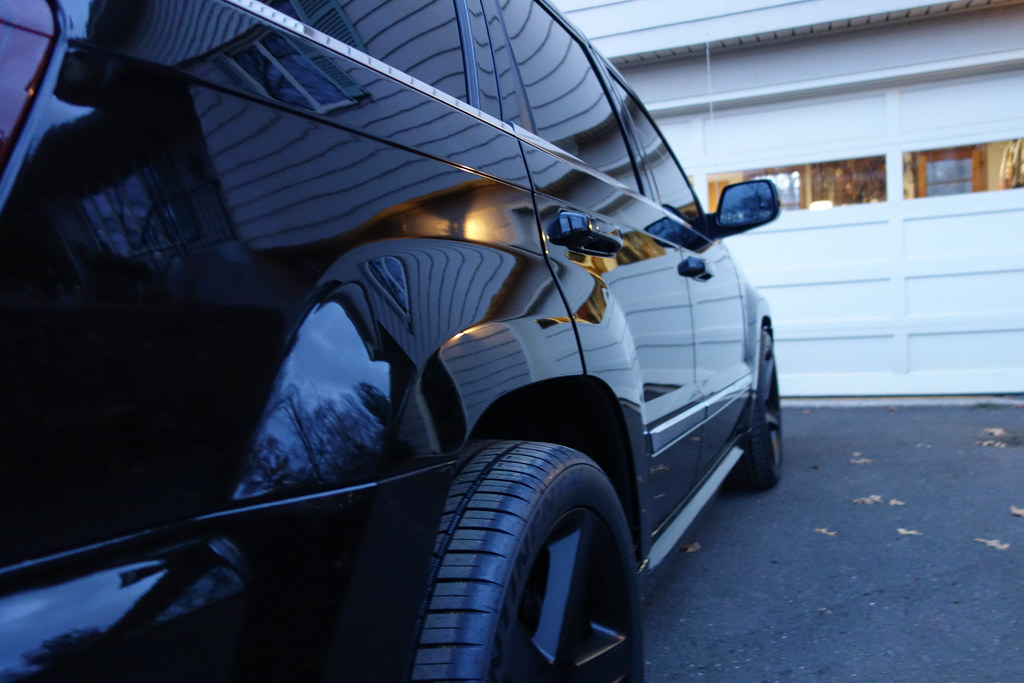
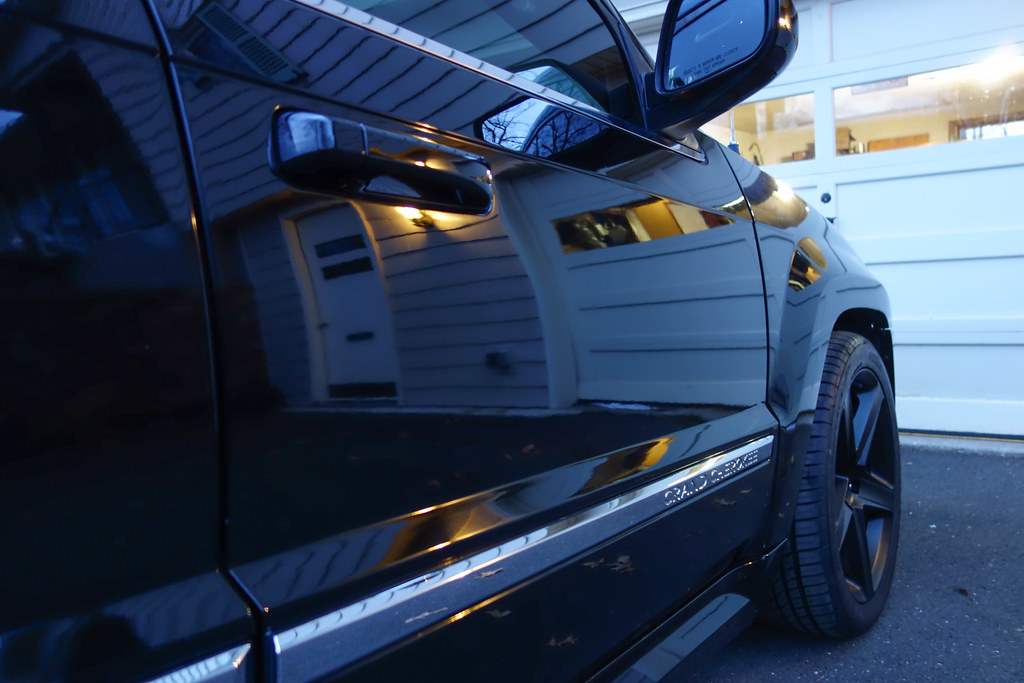
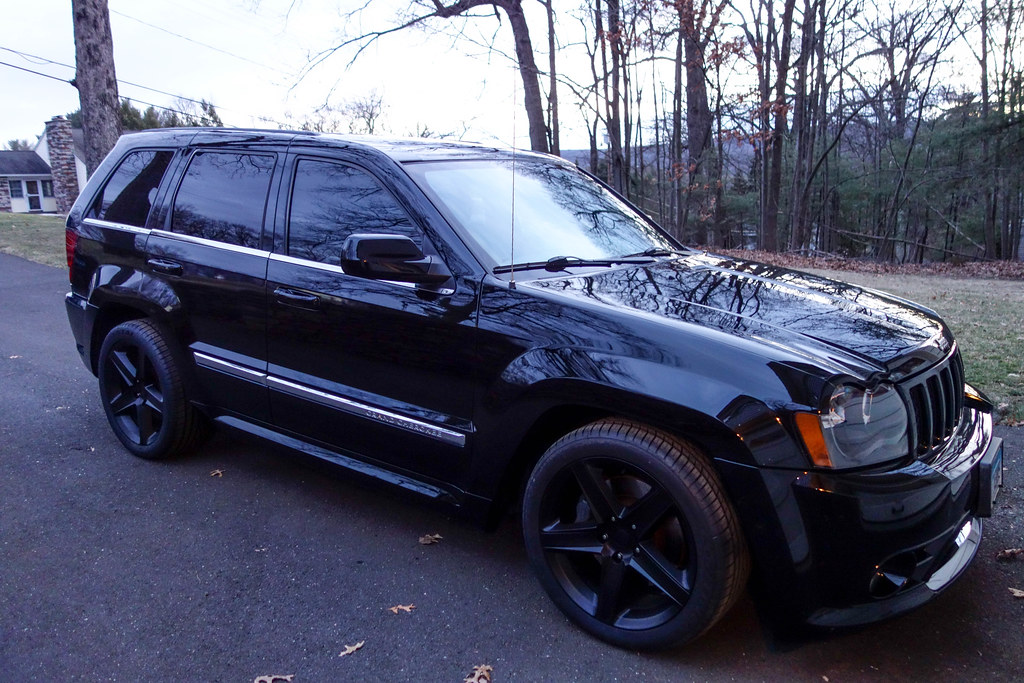
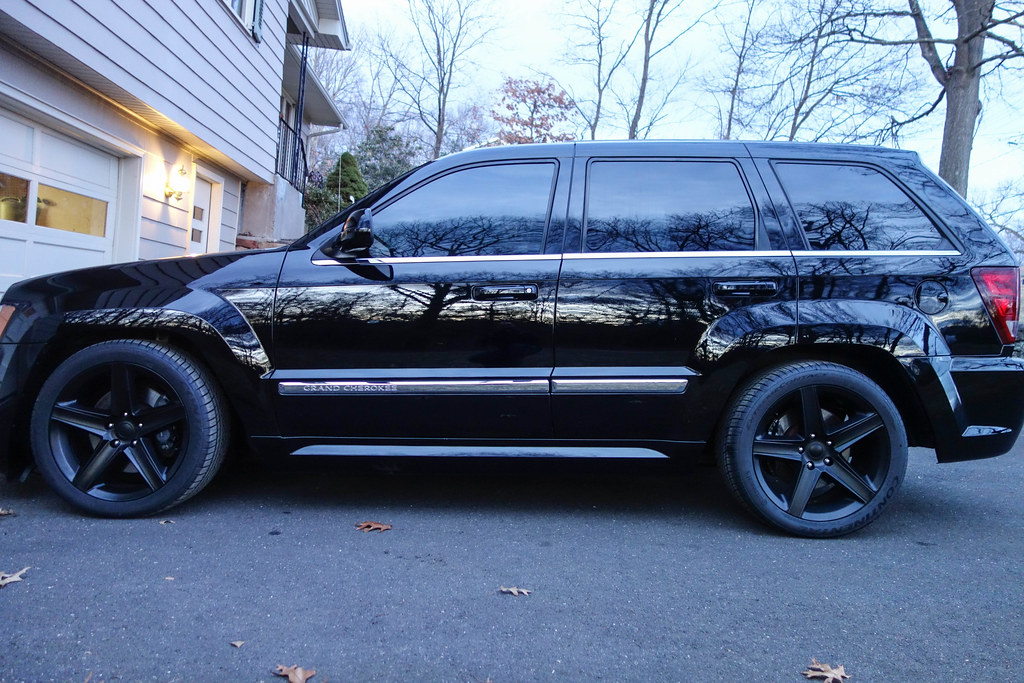
After - the car had been outside for pics and had sat for a while by this point, hence the dust in these pics:
The scratches under the driver's door handle were nearly gone:
 DSC09398 by Mike Donoghue, on Flickr
The upper quarters (C-pillar?) looked much better:
 DSC09392 by Mike Donoghue, on Flickr
 DSC09384 by Mike Donoghue, on Flickr
 DSC09382 by Mike Donoghue, on Flickr
 DSC09381 by Mike Donoghue, on Flickr
 DSC09372 by Mike Donoghue, on Flickr
 DSC09370 by Mike Donoghue, on Flickr
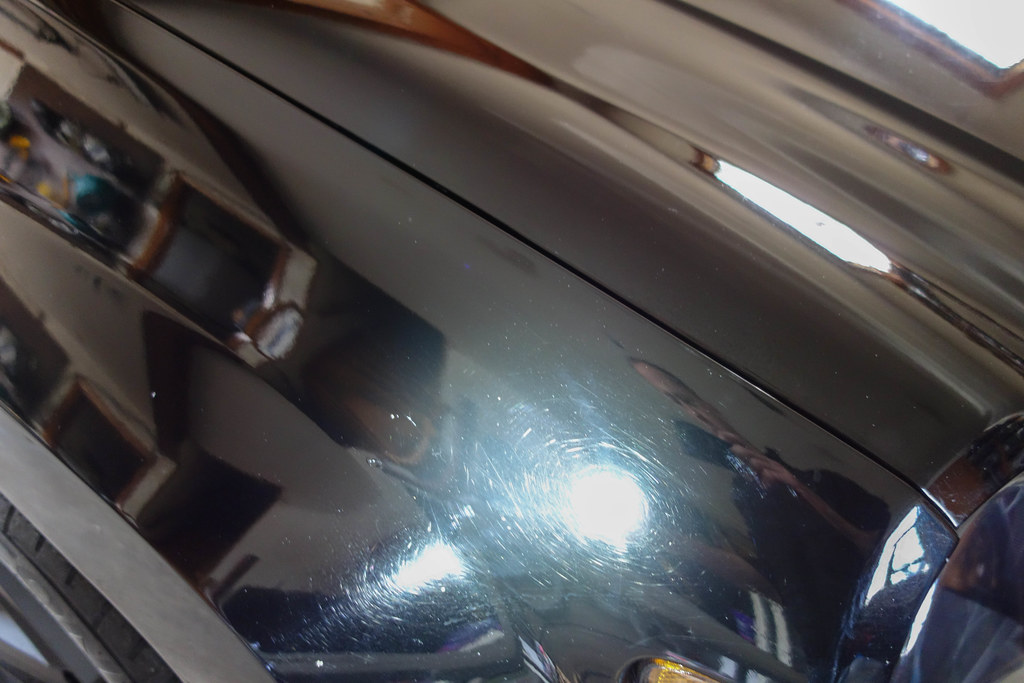
The hood still had some visible rock pitting (in addition to the dust):
 DSC09354 by Mike Donoghue, on Flickr
 DSC09409 by Mike Donoghue, on Flickr
 DSC09413 by Mike Donoghue, on Flickr
 DSC09446 by Mike Donoghue, on Flickr
 DSC09406 by Mike Donoghue, on Flickr
 DSC09420 by Mike Donoghue, on Flickr
 DSC09422 by Mike Donoghue, on Flickr
 DSC09438 by Mike Donoghue, on Flickr
 DSC09441 by Mike Donoghue, on Flickr
Was the final outcome perfect? Nope, but I didn't expect it to be given the depth of the scratches and marring, and the owner was made aware of this from the start. Overall, we were both very happy with the way it turned out, and we met the goal of ~90% correction. Thanks for looking, comments and questions are welcome!
Before:
This was actually after the Jeep had received a decon wash using Iron-X and Tar-X. You can see the paint really lacked depth and was a little lifeless, even after a thorough wash:
DSC09234 by Mike Donoghue, on FlickrThis was before the decon wash:
DSC09190 by Mike Donoghue, on FlickrRandom paint transfer that would be removed later:
DSC09182 by Mike Donoghue, on FlickrThe marring was VERY visible in this paint under sunlight:
DSC09238 by Mike Donoghue, on FlickrDSC09241 by Mike Donoghue, on FlickrThere were some deeper scratches like this all over the paint:
DSC09243 by Mike Donoghue, on FlickrAfter the aforementioned decon wash, the Jeep was brought in and I took some pics under LED lighting prior to using clay and masking the trim:
DSC09250 by Mike Donoghue, on FlickrDSC09253 by Mike Donoghue, on FlickrDSC09254 by Mike Donoghue, on FlickrDSC09255 by Mike Donoghue, on FlickrDSC09264 by Mike Donoghue, on FlickrThe pillars were especially bad:
DSC09281 by Mike Donoghue, on FlickrA nice series of scratches around the driver's door handle:
DSC09283 by Mike Donoghue, on FlickrDSC09289 by Mike Donoghue, on FlickrPlenty of marring and scratching around the gas filler door:
DSC09293 by Mike Donoghue, on FlickrThe hatch was heavily marred and scratched:
DSC09302 by Mike Donoghue, on FlickrAfter some experimenting with a lot of different pads, polishes, compounds, etc, I found a combination that removed the marring safely and quickly enough. The magic combo ended up being about 40% M101 mixed with 30% Meguiar's D300 and 30% HD Polish on Meguiar's microfiber cutting pads. This combo was used on speed ~4.5 on the Rupes 21 MK II for 4-6 passes, with a second or third application in certain areas. The Rupes 75E and Ibrid Nano long neck were also used to correct recessed/smaller areas. The result of the cutting process was this:
DSC09317 by Mike Donoghue, on FlickrDSC09329 by Mike Donoghue, on FlickrDSC09336 by Mike Donoghue, on FlickrAs you can see, there was plenty of micro-marring due to the mf cutting pads and M101, but the original marring was nearly gone. Surprisingly, this micromarring was very easy to polish out. I first gave the paint a thorough cleaning and wipedown with CarPro Eraser to remove the dust and possible polishing oils from the cutting step, then I used CarPro Essence on LC black finishing pads for 4-5 passes, followed by removal and reapplication for a few more passes at speeds 4-5 IIRC. The paint was then wiped down with Eraser and 22ple VX-Pro was applied.
After - the car had been outside for pics and had sat for a while by this point, hence the dust in these pics:
The scratches under the driver's door handle were nearly gone:
DSC09398 by Mike Donoghue, on FlickrThe upper quarters (C-pillar?) looked much better:
DSC09392 by Mike Donoghue, on FlickrDSC09384 by Mike Donoghue, on FlickrDSC09382 by Mike Donoghue, on FlickrDSC09381 by Mike Donoghue, on FlickrDSC09372 by Mike Donoghue, on FlickrDSC09370 by Mike Donoghue, on FlickrThe hood still had some visible rock pitting (in addition to the dust):
DSC09354 by Mike Donoghue, on FlickrDSC09409 by Mike Donoghue, on FlickrDSC09413 by Mike Donoghue, on FlickrDSC09446 by Mike Donoghue, on FlickrDSC09406 by Mike Donoghue, on FlickrDSC09420 by Mike Donoghue, on FlickrDSC09422 by Mike Donoghue, on FlickrDSC09438 by Mike Donoghue, on FlickrDSC09441 by Mike Donoghue, on FlickrWas the final outcome perfect? Nope, but I didn't expect it to be given the depth of the scratches and marring, and the owner was made aware of this from the start. Overall, we were both very happy with the way it turned out, and we met the goal of ~90% correction. Thanks for looking, comments and questions are welcome!