Continued....
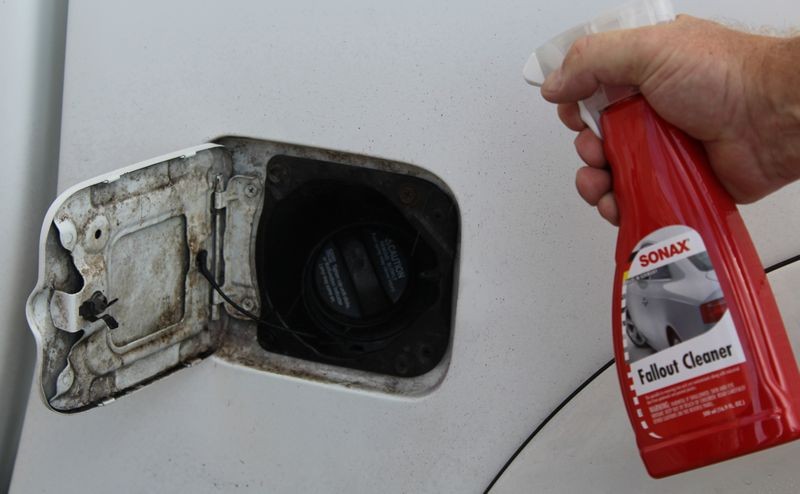
Chemical Decontamination
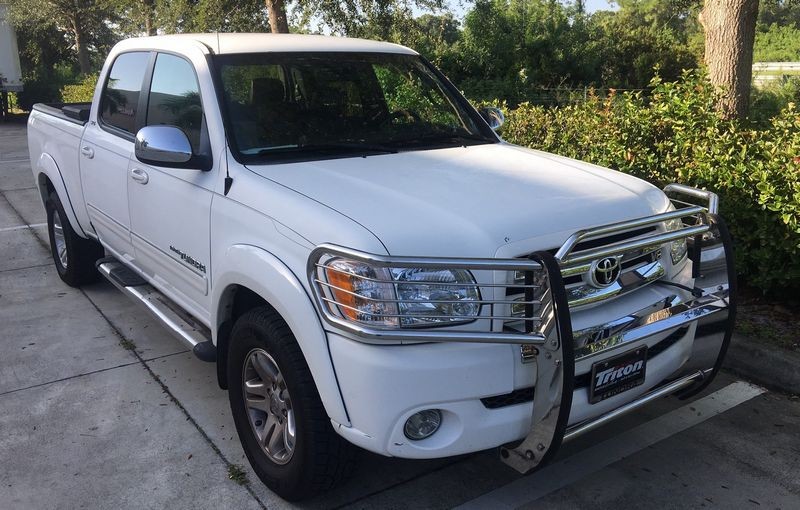
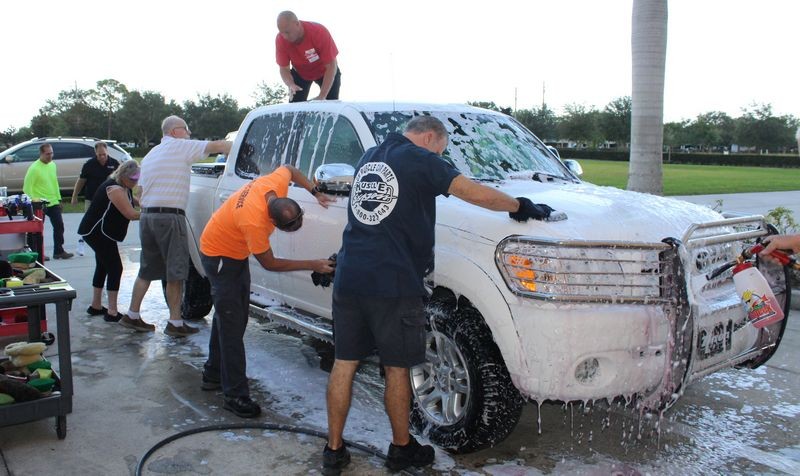
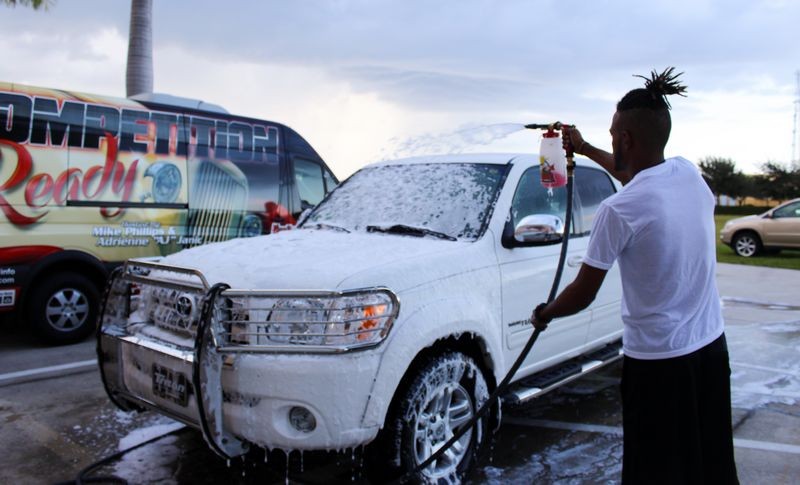
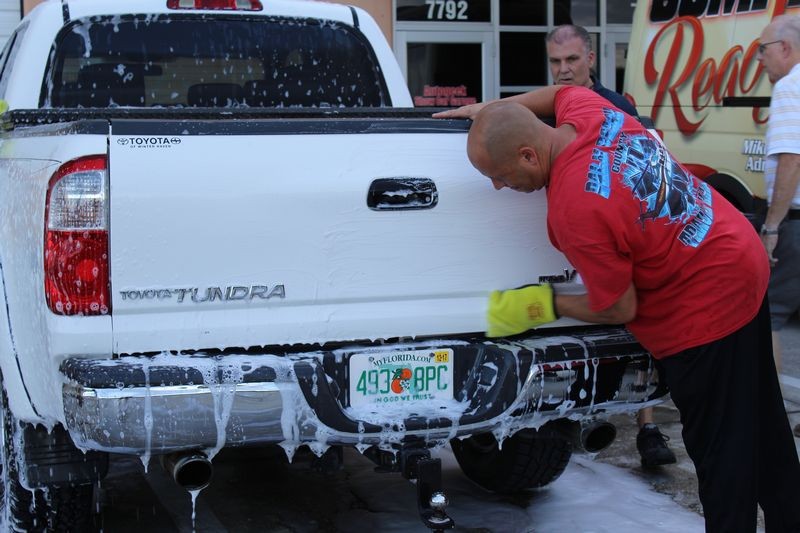
Now that the wheels and tires are clean it's time to get the paint clean as well as the rest of the exterior. You can start washing like normal if you want to, or you can incorporate tw0 decontamination procedures during the washing process.
There are
two ways to decontaminate a vehicle.
Chemical Decontamination
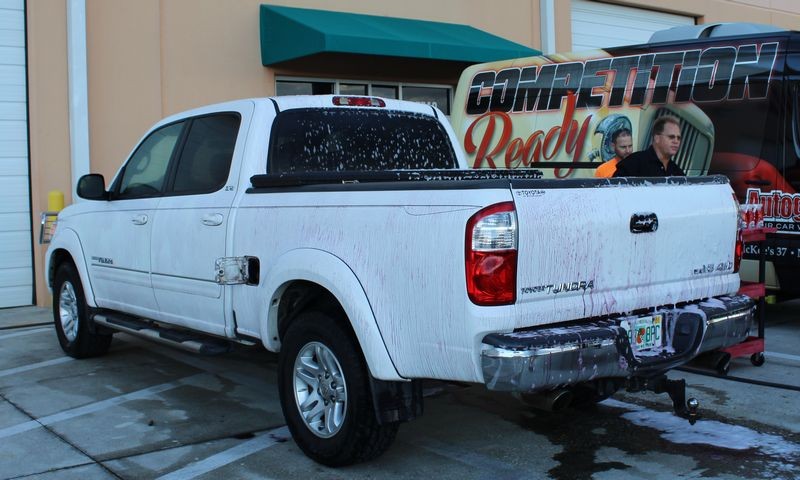
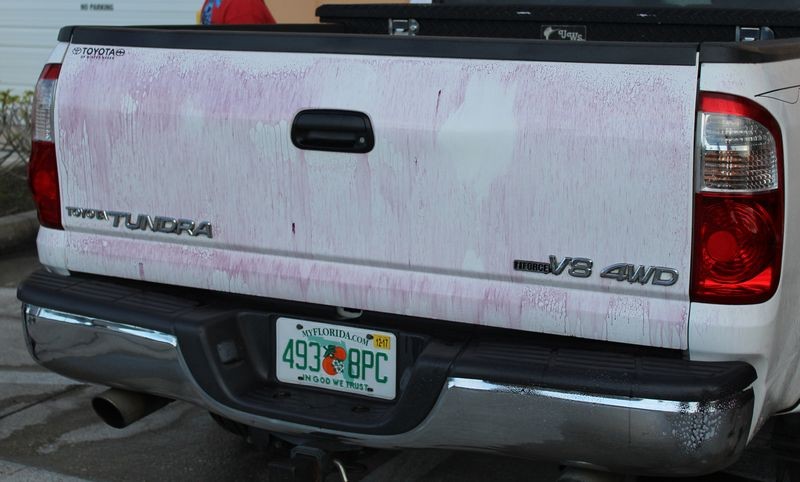
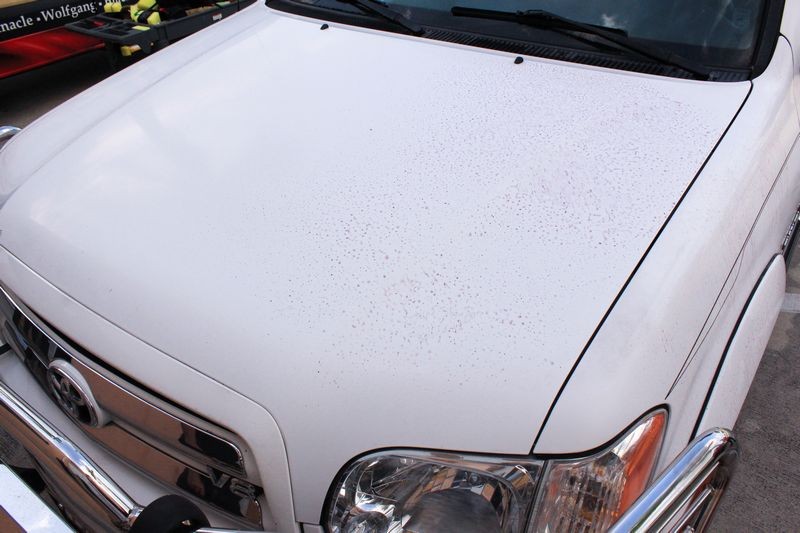
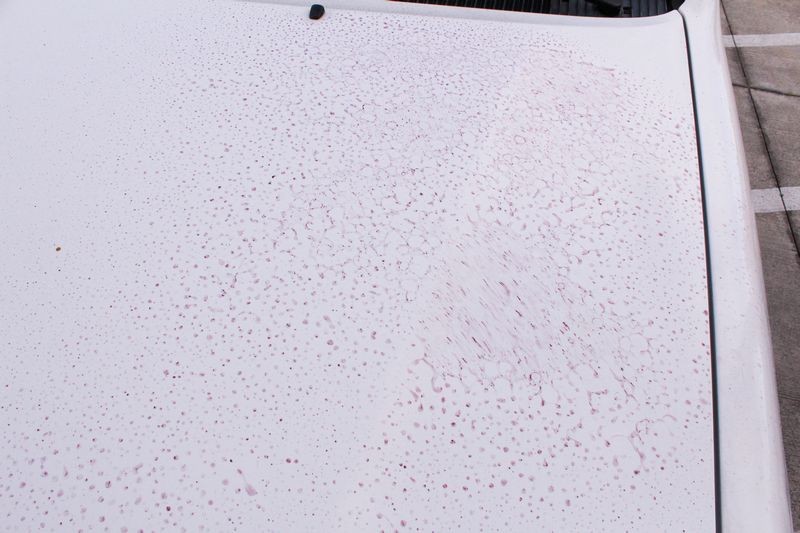
Chemical decontamination is when you use a chemical, typically an Iron Remover to dissolve iron particles and iron contamination off the paint. Going back to what I said about our water now days, both city water and well water is horribly contaminated and when you wash your car you introduce this contaminated water to exterior of the car. Outside environmental pollution also contaminates your car's exterior and a quality iron and/or iron and fallout remover will chemically dissolve this contamination that builds up and you can do this step during the washing process.
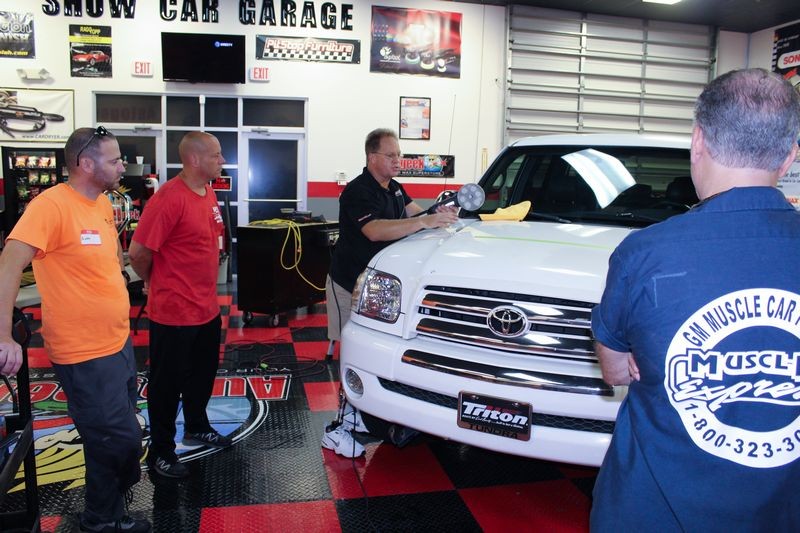
Mechanical Decontamination
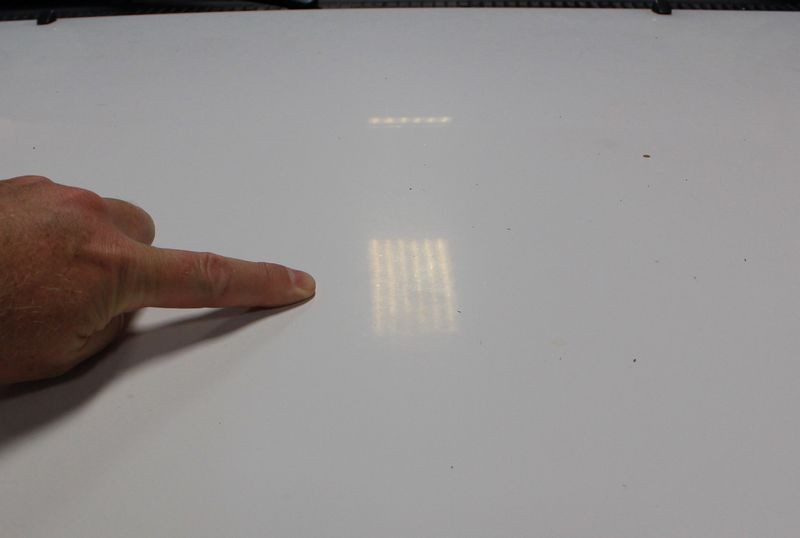
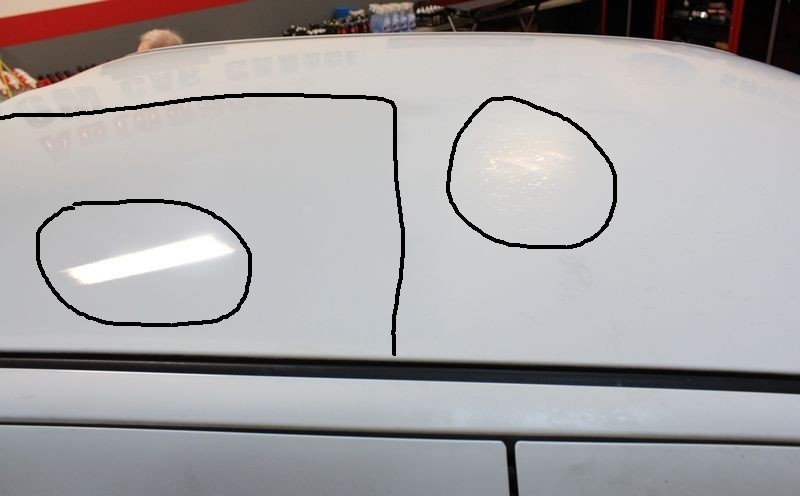
Mechanical decontamination is when you physically or mechanically remove bonded contaminants off the paint. Most of you reading this are familiar with a tool we use in the car detailing industry called detailing clay. Most of you probably don't know that detailing clay is a high-tech form of Play-Doh called polybutene and mixed into the polybutene is a pulverized or powdered abrasive. When you rub a clay patty over the paint it acts to sand off the contaminants. After the contaminants have been removed the clay lube you use for this process cushions the clay and allows it to glide effortlessly over the surface. You can normally feel the difference from when you first start out and the clay patty is grabbing the paint and when the clay stops grabbing the paint and begins to glide over the paint. This is a sign to you that this section of paint is now smooth and contaminant free and you can move onto a new section of paint that still needs to be mechanically decontaminated.
Car Detailing History
Car detailing clay was invented in Japan in the late 1980's and then introduced to the American market in the early 1990's. I actually have examples of early detailing clay in my antique car wax collection.
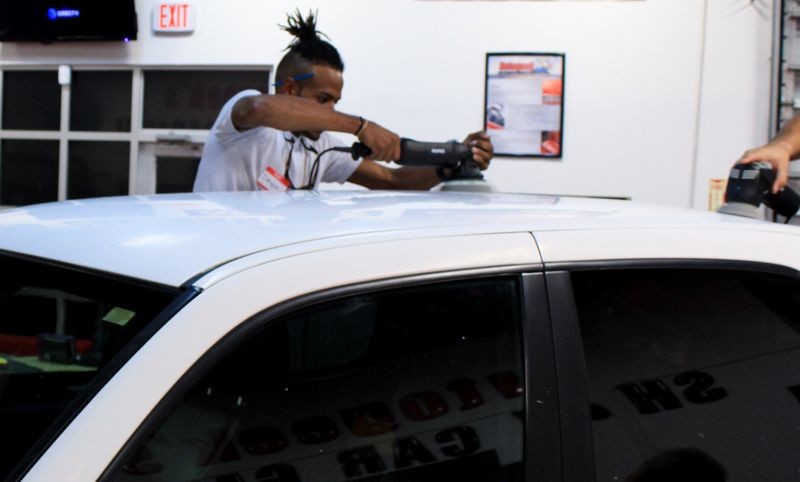
Since then, new and innovative tools have been introduced that do the same thing detailing clay does but in a different form. Some of these tools include a polymerized rubber interface with a pulverized abrasive powder embodied into the rubber. You use these new tools just like clay, that is you lubricate the surface and then rub them over the paint. In the same way you can feel clay grab and the glide while claying you can feel these tools first start out grabbing the paint and then after they remove the contaminants you can feel them glide over the paint.
While they do the same work the benefit to these new types of tools for mechanical decontamination is that if you drop a piece of clay on the ground, because it's tacky you'll want and need to throw it away. Chances are very good the clay will have picked up some form of abrasive particle and if you were to try to continue using the now-contaminated-clay, you risk inflicted swirls and scratches into the precious, thin paint. And this is a recipe for disaster and completely not work the time or money.
With these new polymerized rubber tools, if you drop one on the ground you can simply rinse them off and continue to use them.and mixed into the polylbutane is a pulverized or powedered abrasive. When you rub a clay patty over the paint it acts to sand off the contaminants. After the contaminants have been removed the clay lube you use for this process cushions the clay and allows it to glide effortlessly over the surface. You can normally feel the difference from when you first start out and the clay patty is grabbing the paint and when the clay stops grabbing the paint and begins to glide over the paint. This is a sign to you that this section of paint is now smooth and contaminant free and you can move onto a new section of paint that still needs to be mechanically decontaminated.
Detailing Clay History
Car detailing clay was invented in Japan in the late 1980's and then introduced to the American market in the early 1990's. I actually have examples of early detailing clay in my antique car wax collection.
Since then, new and innovative tools have been introduced that do the same thing detailing clay does but in a different form. Some of these tools include a polymerized rubber interface with a pulverized abrasive powder embodied into the rubber. You use these new tools just like clay, that is you lubricate the surface and then rub them over the paint. In the same way you can feel clay grab and the glide while claying you can feel these tools first start out grabbing the paint and then after they remove the contaminants you can feel them glide over the paint.
While they do the same work the benefit to these new types of tools for mechanical decontamination is that if you drop a piece of clay on the ground, because it's tacky you'll want and need to throw it away. Chances are very good the clay will have picked up some form of abrasive particle and if you were to try to continue using the now-contaminated-clay, you risk inflicted swirls and scratches into the precious, thin paint. And this is a recipe for disaster and completely not work the time or money.
With these new polymerized rubber tools, if you drop one on the ground you can simply rinse them off and continue to use them.
")