Mike Phillips
Active member
- Dec 5, 2022
- 51,004
- 8
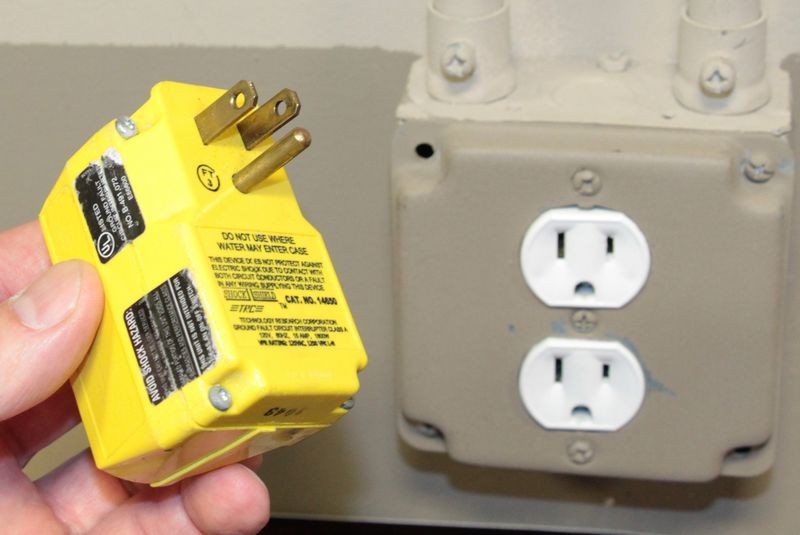
Safety First - Always plug-in to a GFI or Ground Fault Interrupter
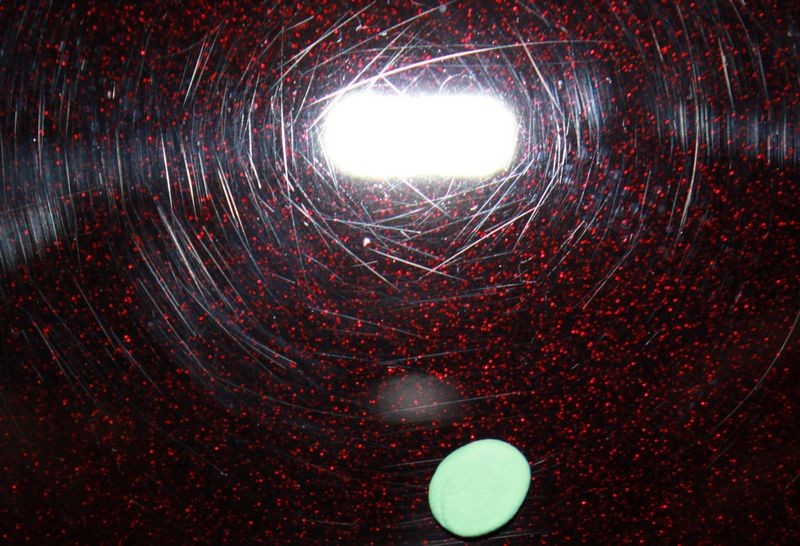
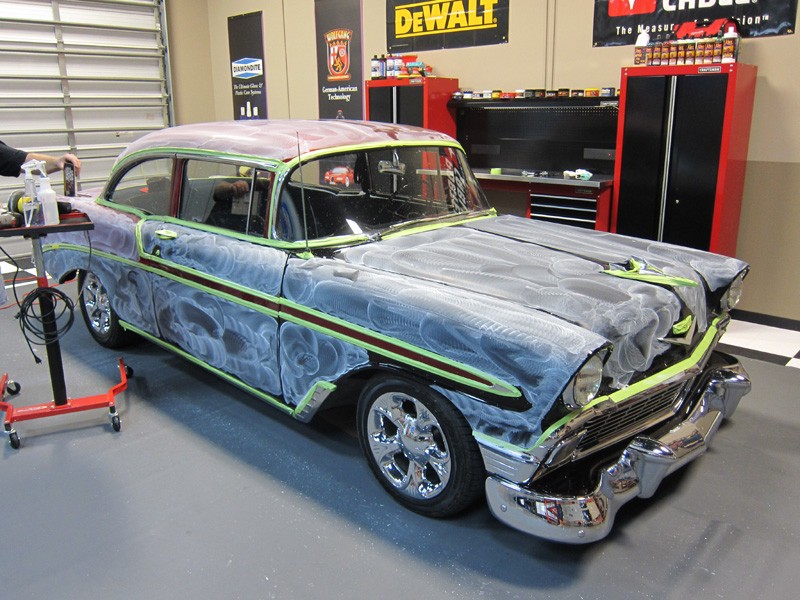
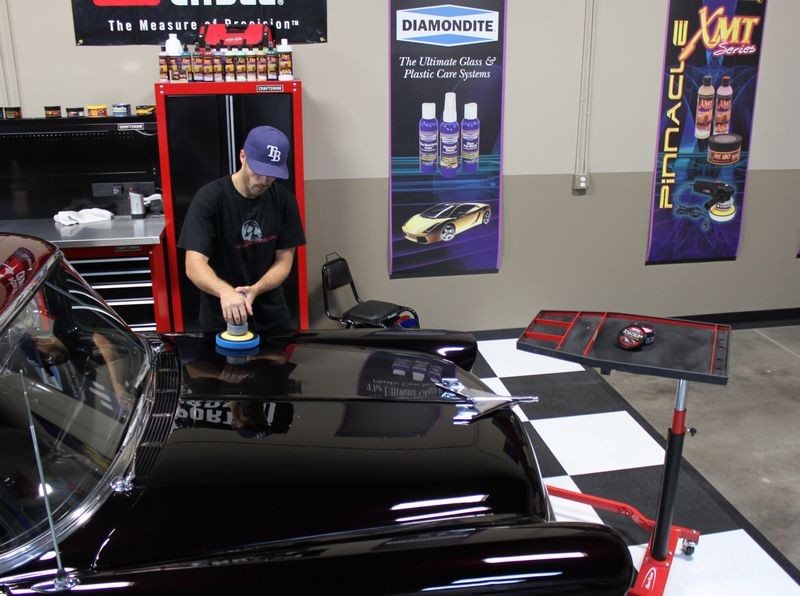
I do a lot of damp sanding and teach damp sanding using dual action polishers as well as dry sanding and wet sanding by hand . The entire idea behind damp sanding is unlike WET sanding you're only using a little water. So as long as you're using common sense there shouldn't be any safety issues.
That said, if you're going to use any type of electrical tool around water you should always be plugged into a GFI or Ground Fault Interrupter equipped electrical outlet.
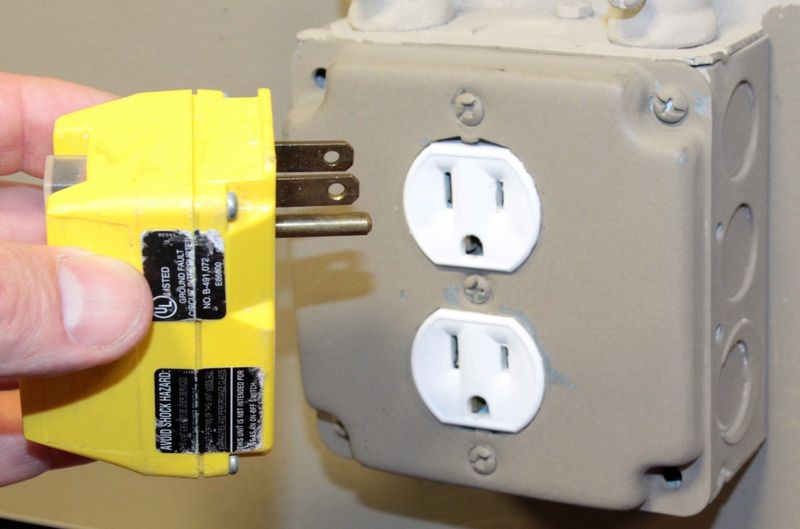
If you don't have access to electrical outlets with GFI built-in then you can purchase a dedicated GFI like you see in the pictures below.
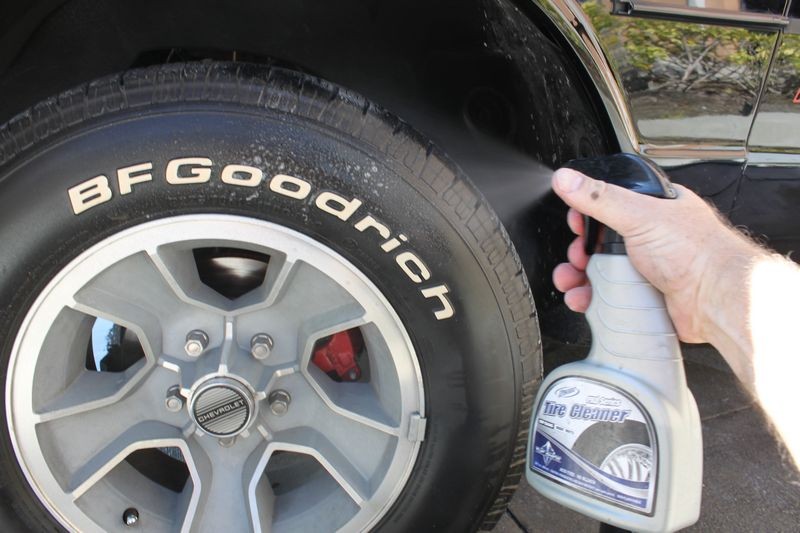
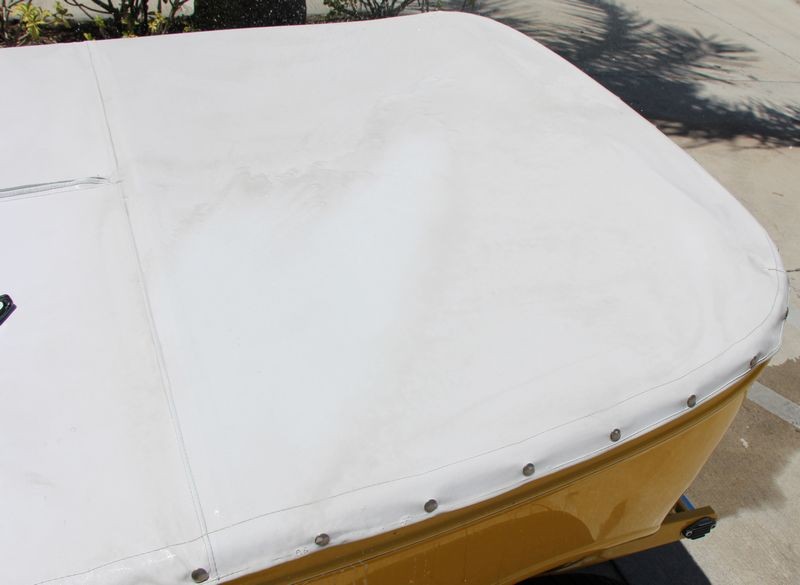
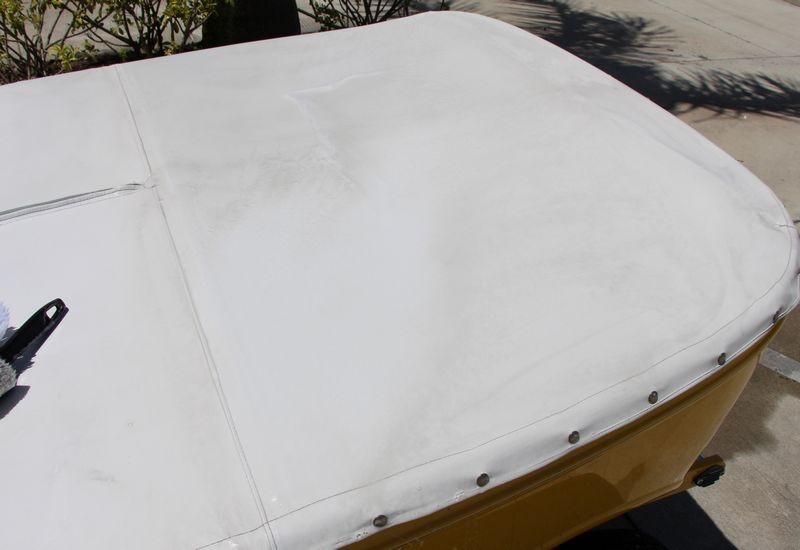
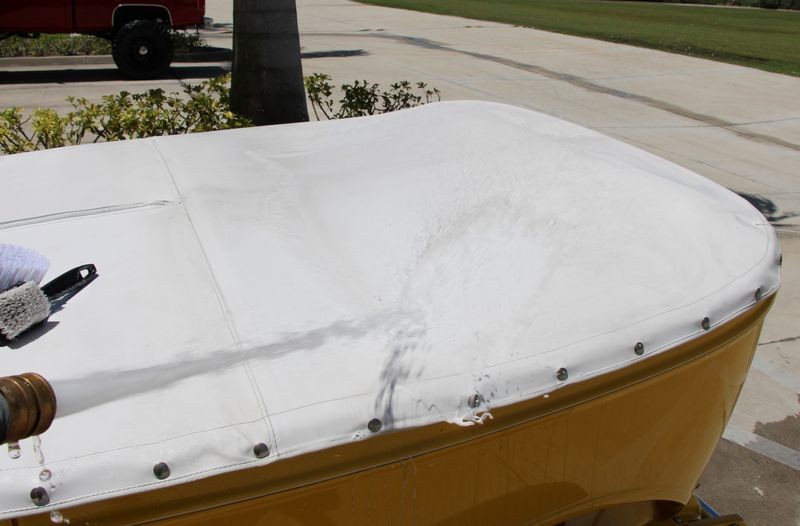
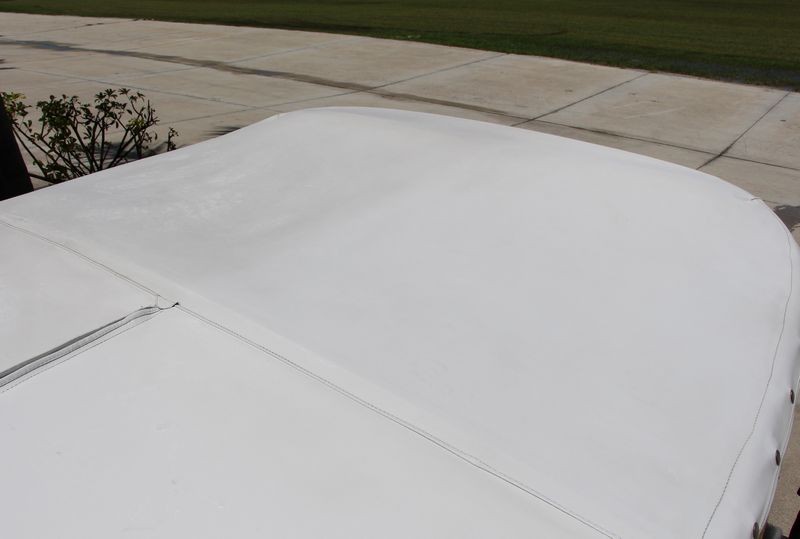
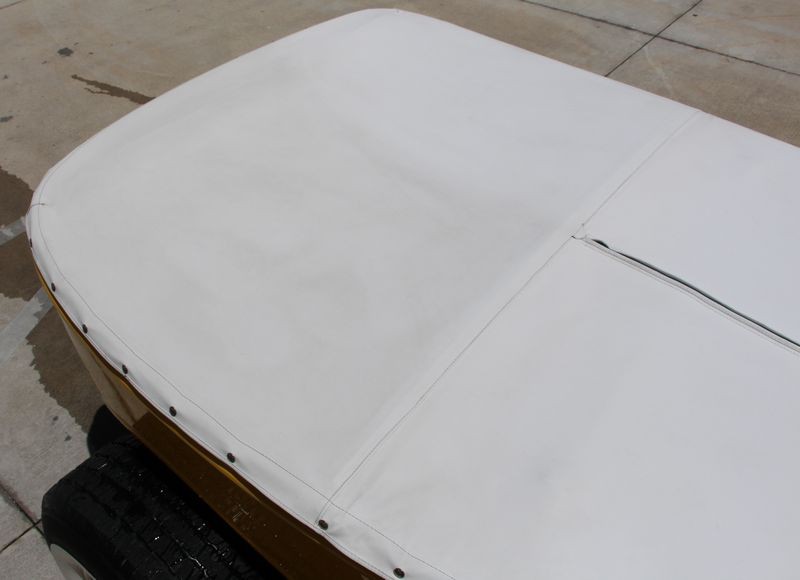
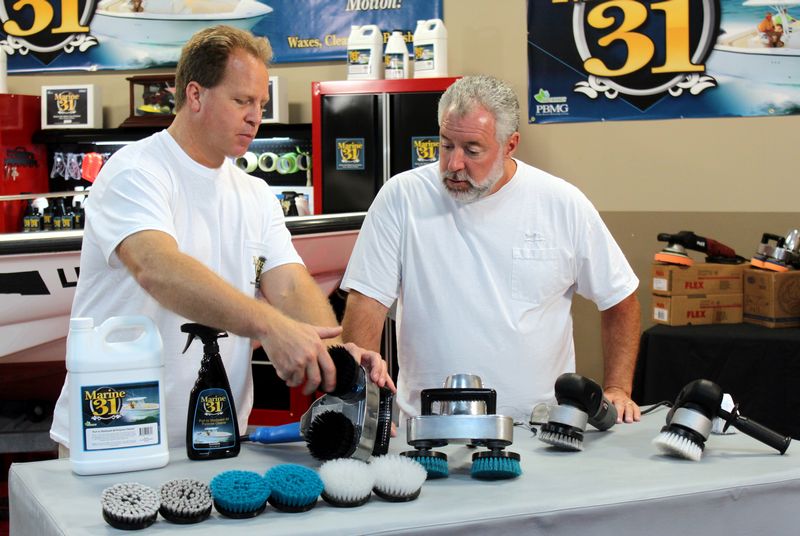
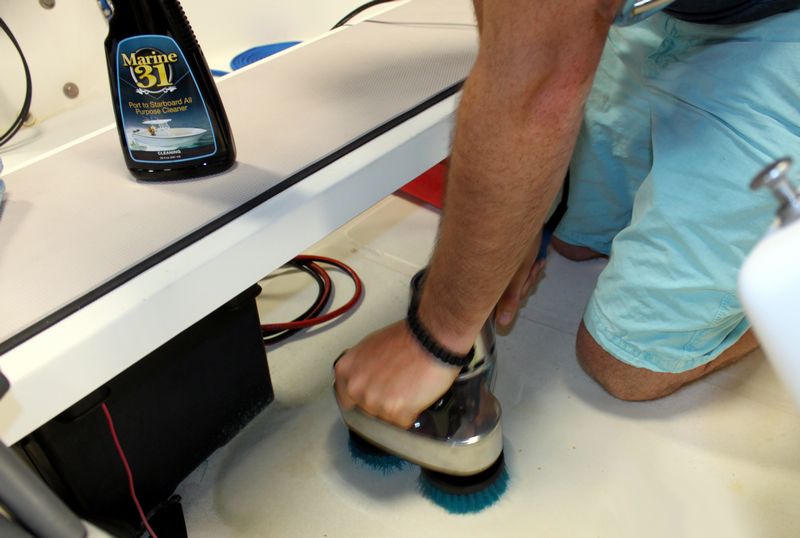
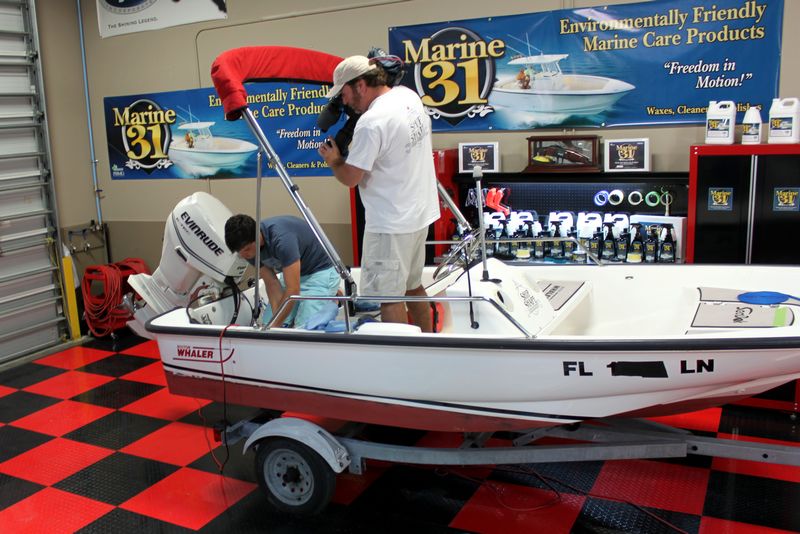
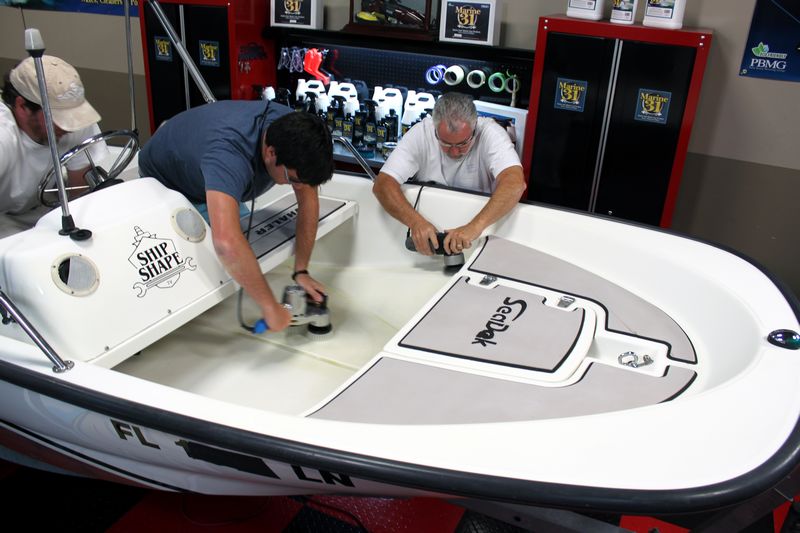
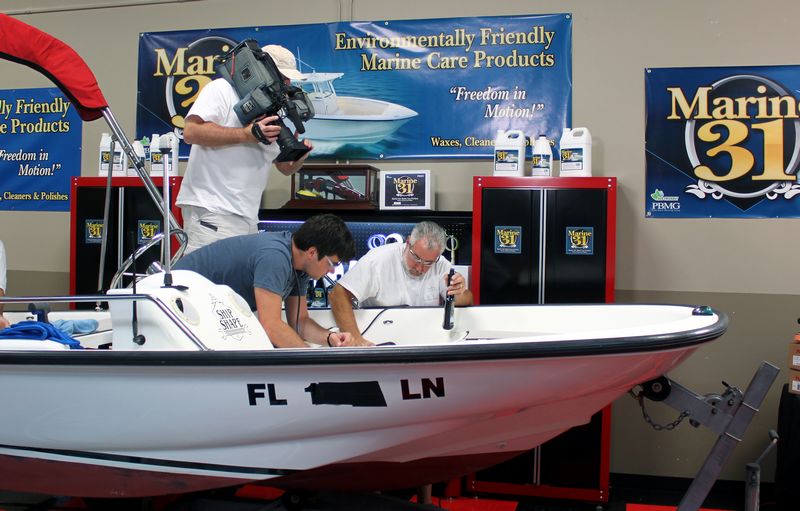
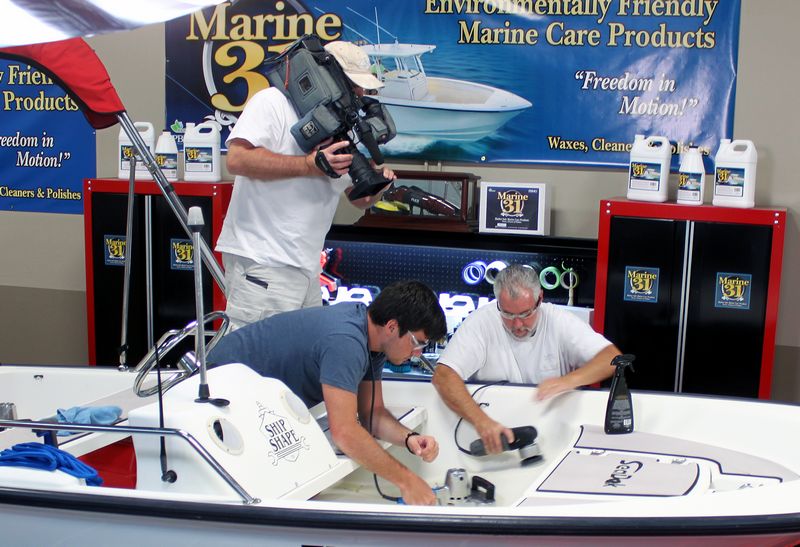
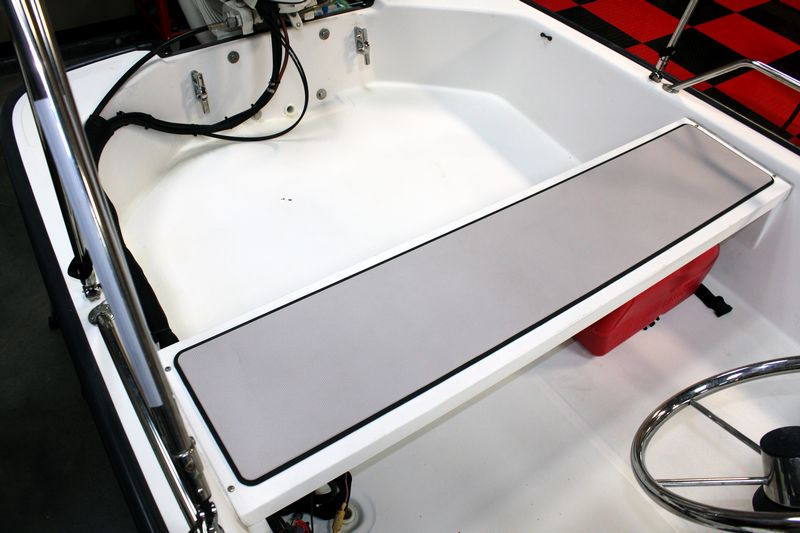
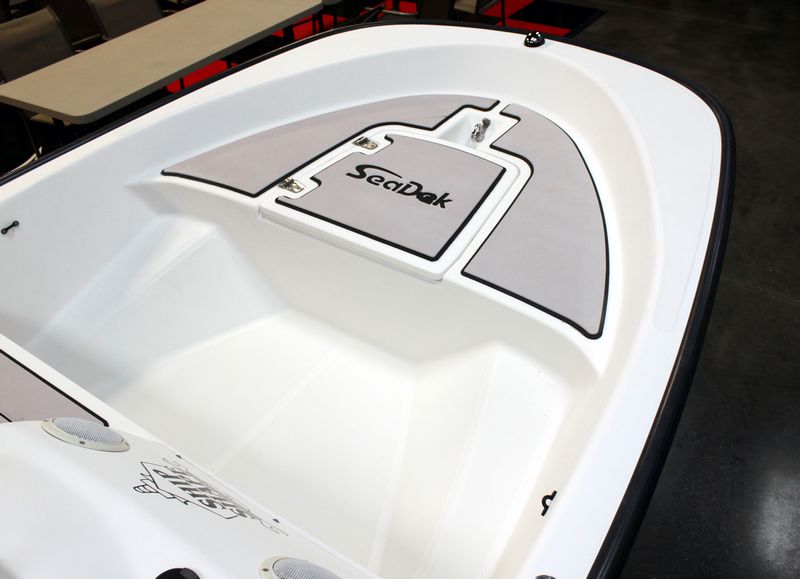
I also use a GFI when I machine scrub tires or clean vinyl or non-skid surfaces in boats using electrical tool. (SEE BELOW).
For anyone reading this, use common sense and keep water away from any electrical tool and always use a GFI or Ground Fault Interrupter when using electrical tools. If your electrical outlets do not offer GFI then you can get a dedicated GFI at any hardware store.
Looks and works like this...


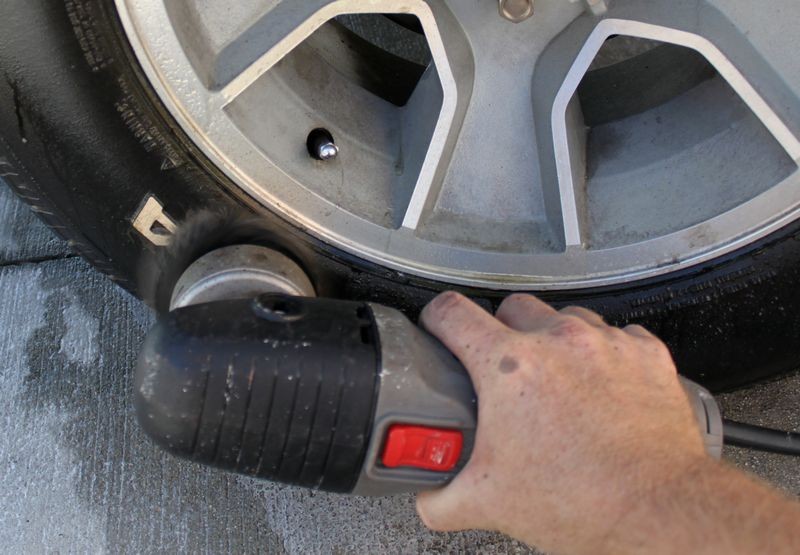
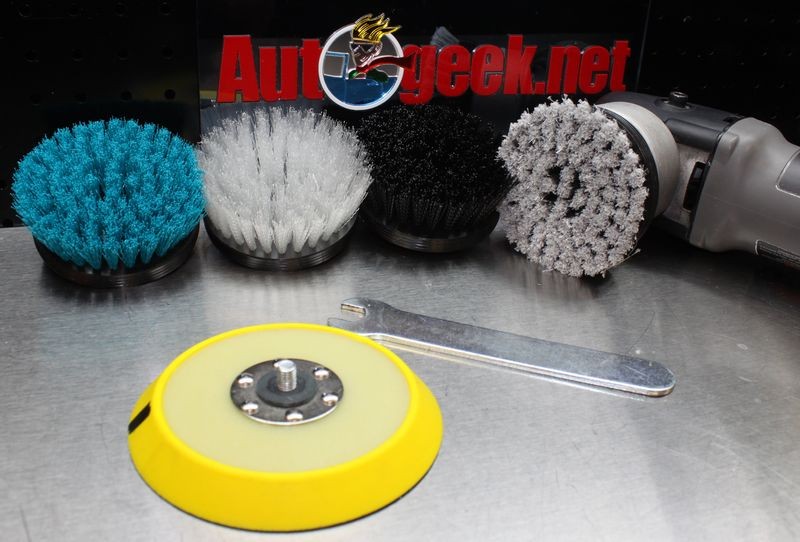
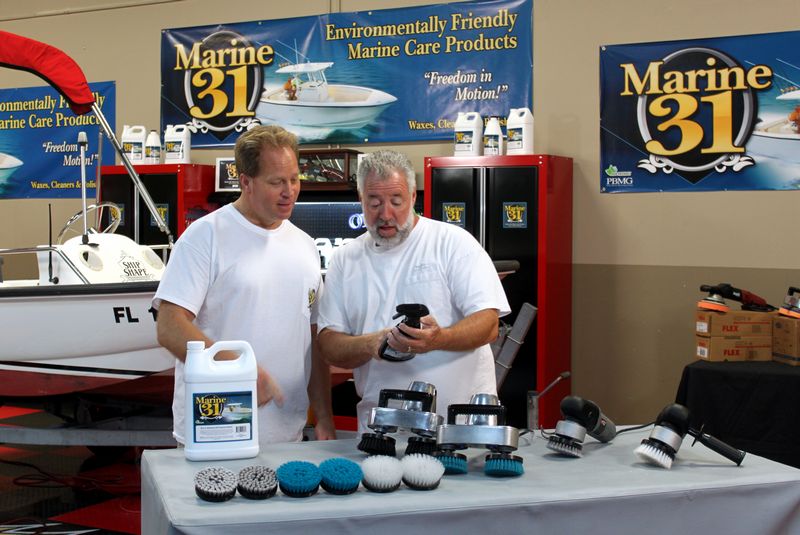
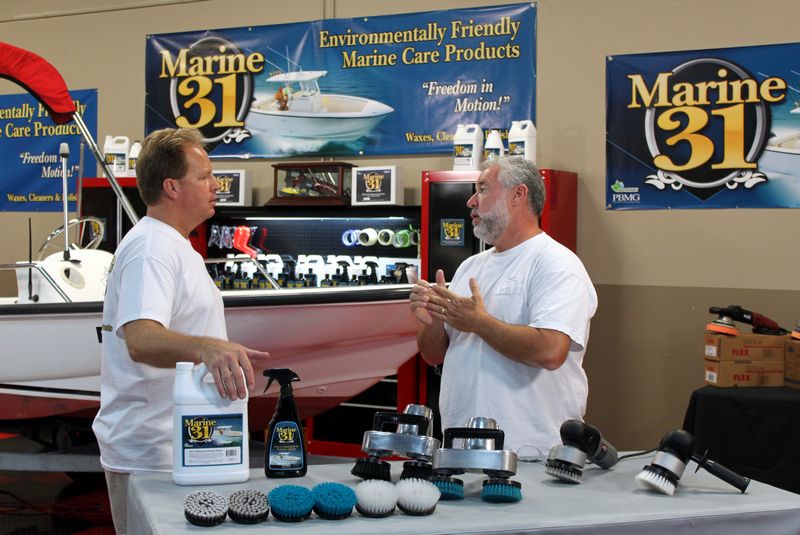
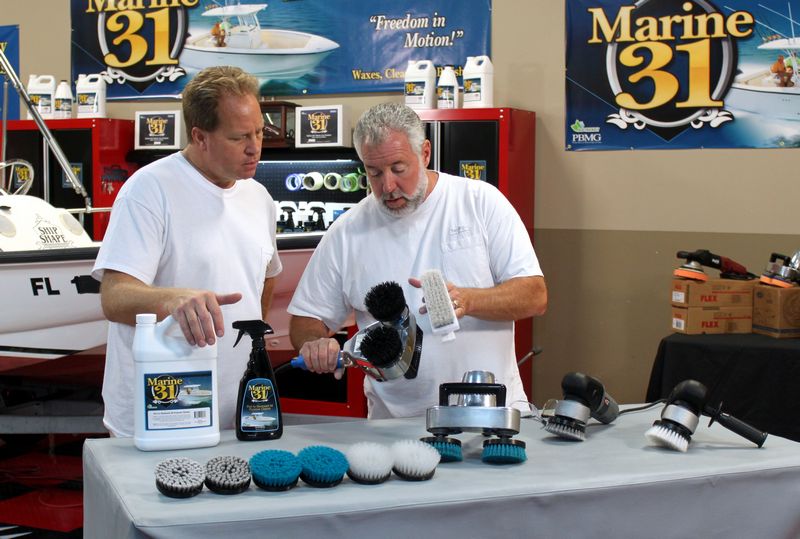
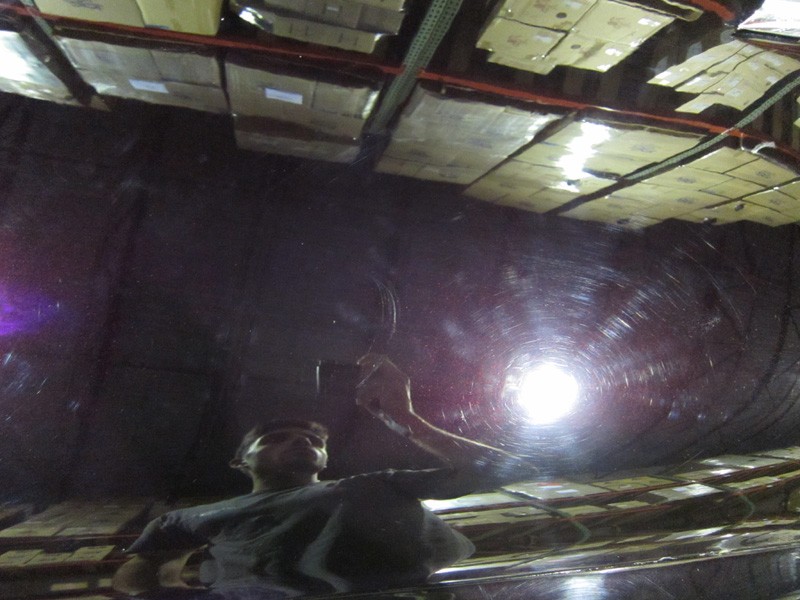
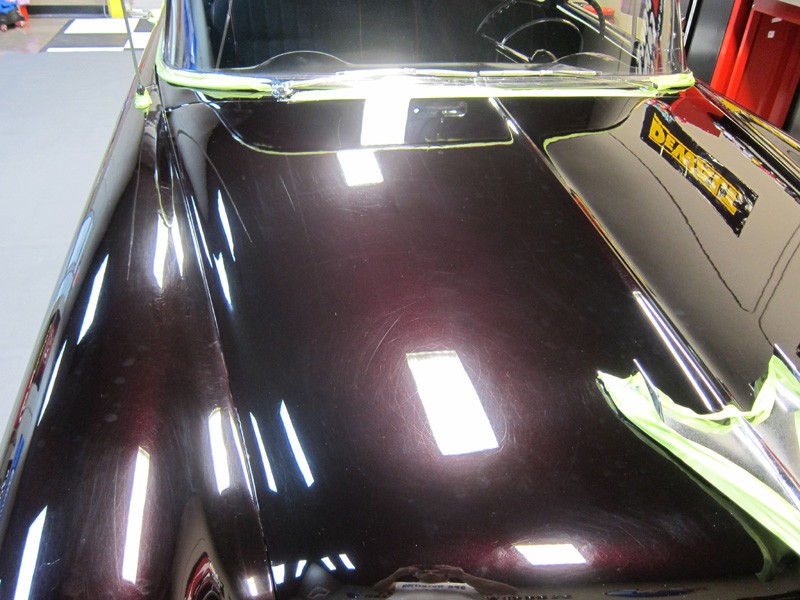
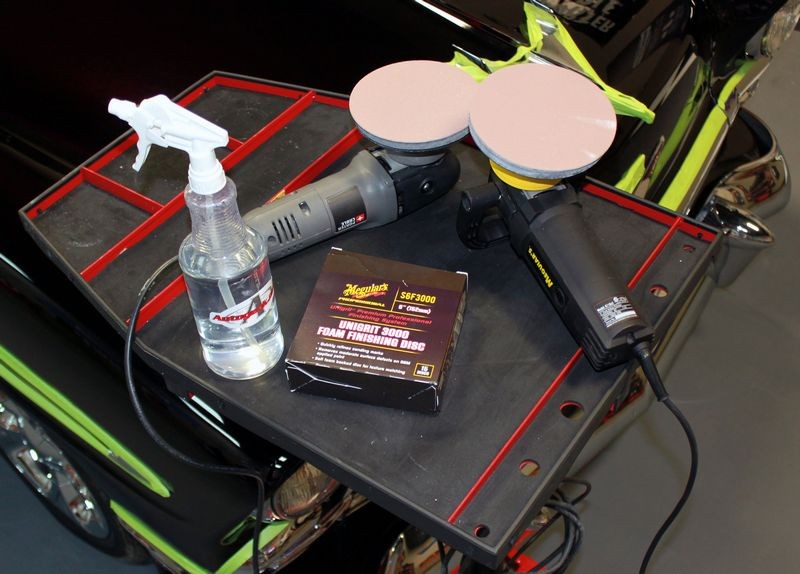
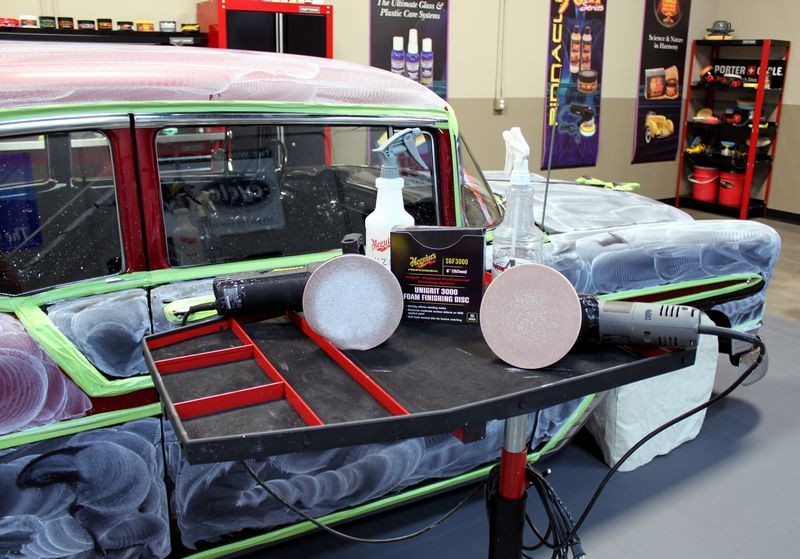
For the last few years I've been showing a lot of people how to take their electric dual action polishers and turn them into machine wet sanders as well as how to take their Porter Cable, Griot's Garage and Meguiar's G110v2 dual action polishers and turn them into machine scrubbers for rubber, vinyl, non-skid decks on boats, etc.
(See the follow-up post below)
Wet Test
There are no electric tools that will pass the wet test. That's where an electrical tool is tested by blasting it with water.
Common Sense
I've never been electrocuted when machine sanding or machine scrubbing tires but I also use common sense when using any tools anywhere.
")
I do a lot of damp sanding and teach damp sanding using dual action polishers as well as dry sanding and wet sanding by hand . The entire idea behind damp sanding is unlike WET sanding you're only using a little water. So as long as you're using common sense there shouldn't be any safety issues.
That said, if you're going to use any type of electrical tool around water you should always be plugged into a GFI or Ground Fault Interrupter equipped electrical outlet.
If you don't have access to electrical outlets with GFI built-in then you can purchase a dedicated GFI like you see in the pictures below.
I also use a GFI when I machine scrub tires or clean vinyl or non-skid surfaces in boats using electrical tool. (SEE BELOW).
For anyone reading this, use common sense and keep water away from any electrical tool and always use a GFI or Ground Fault Interrupter when using electrical tools. If your electrical outlets do not offer GFI then you can get a dedicated GFI at any hardware store.
Looks and works like this...
For the last few years I've been showing a lot of people how to take their electric dual action polishers and turn them into machine wet sanders as well as how to take their Porter Cable, Griot's Garage and Meguiar's G110v2 dual action polishers and turn them into machine scrubbers for rubber, vinyl, non-skid decks on boats, etc.
(See the follow-up post below)
Wet Test
There are no electric tools that will pass the wet test. That's where an electrical tool is tested by blasting it with water.
Common Sense
I've never been electrocuted when machine sanding or machine scrubbing tires but I also use common sense when using any tools anywhere.