New Year greetings to all of you! :dblthumb2:
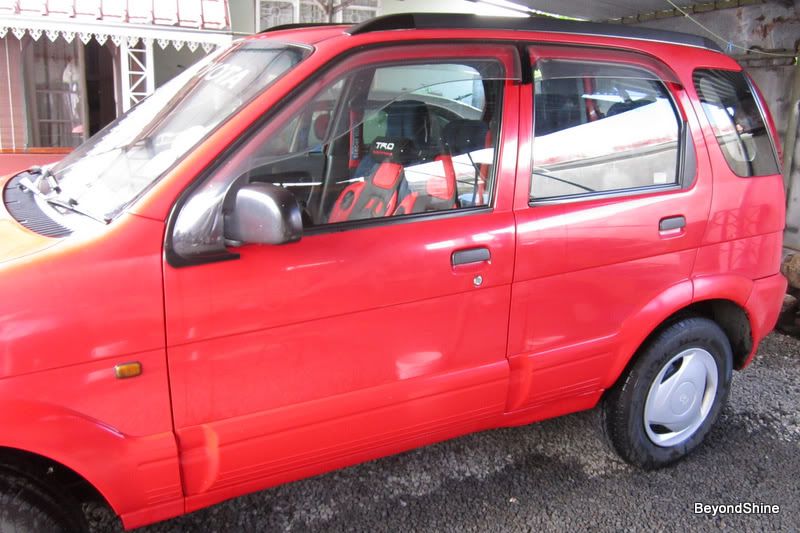
This is my friend’s Toyota Camy, the one I partly detailed 8 months ago. My friend was on tour to Reunion Island, and it was the opportunity to work with his ride. rops:
rops:
The passenger’s side remained to be polished. But ultimately the whole car got detailed.
So here we are:
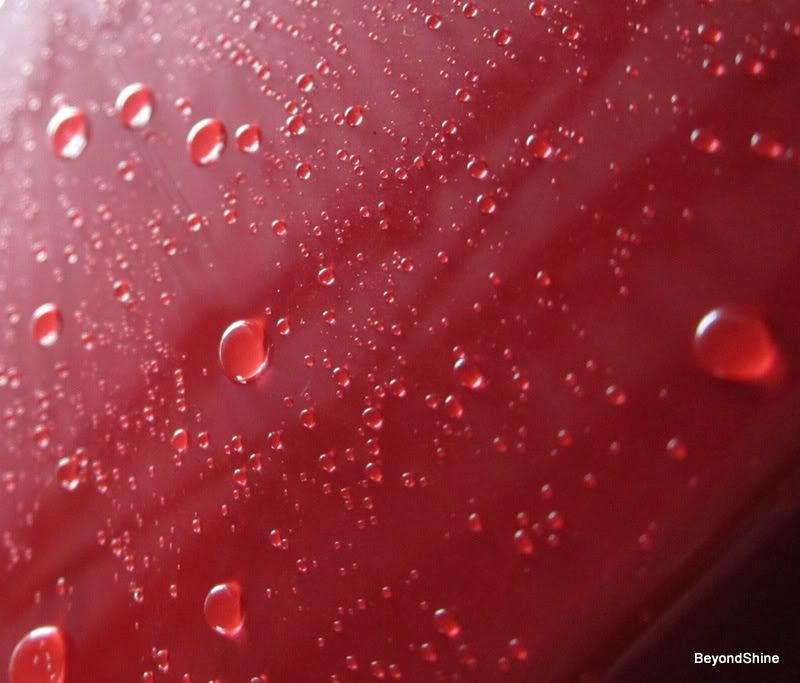
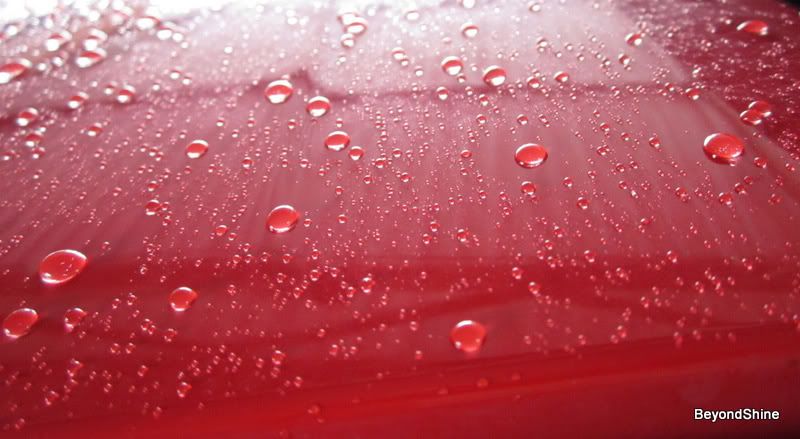
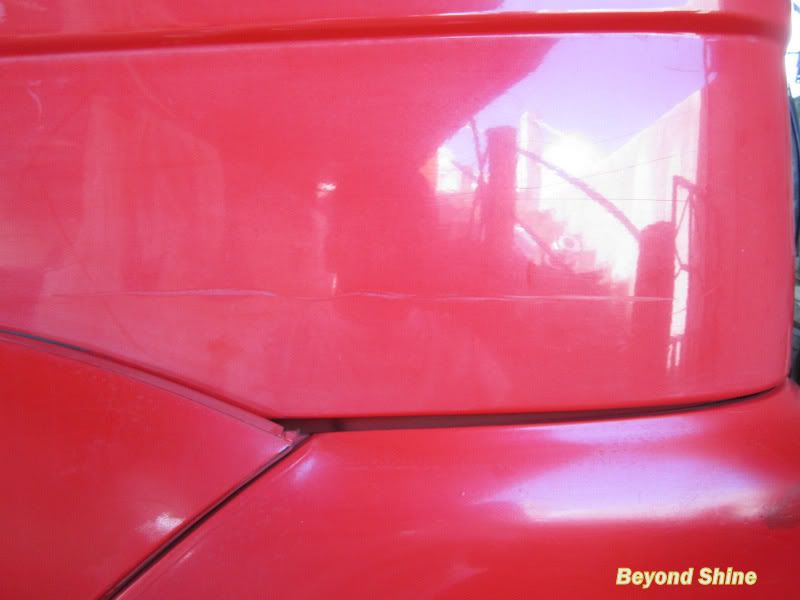
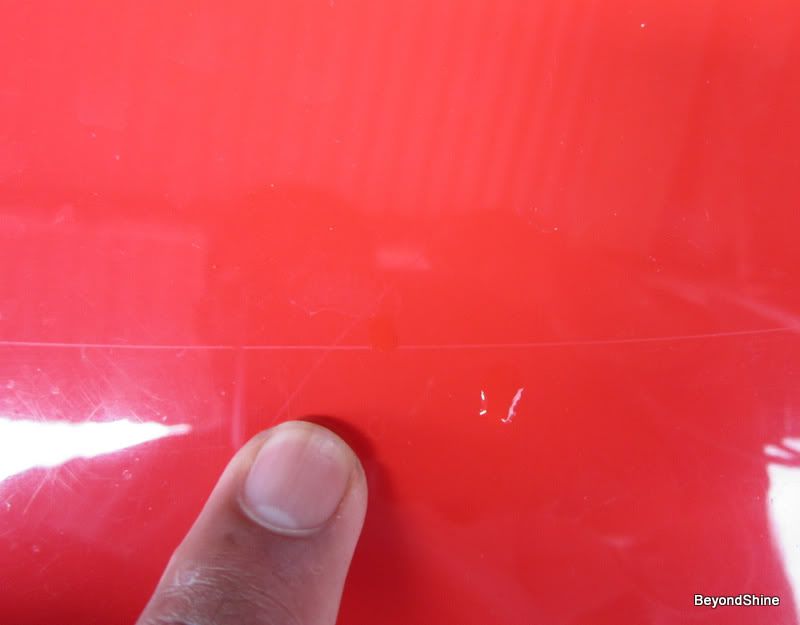
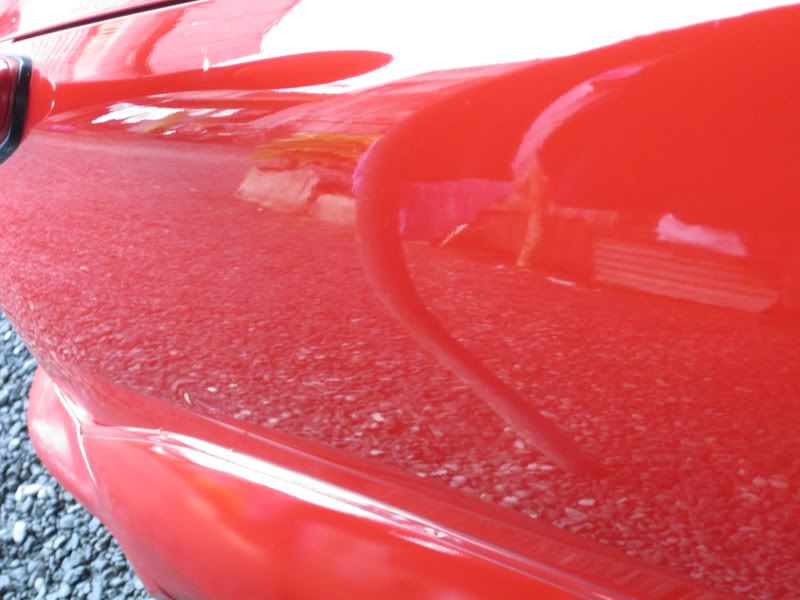
The unpolished passenger’s side
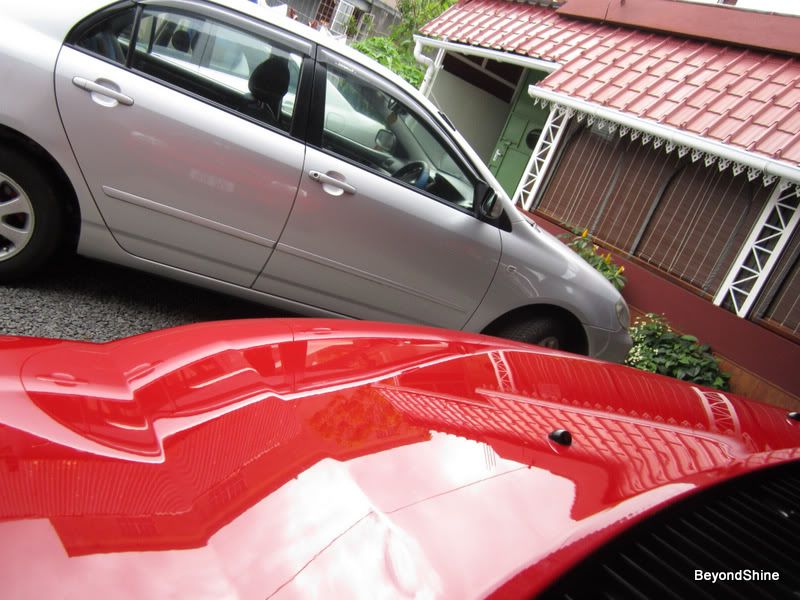
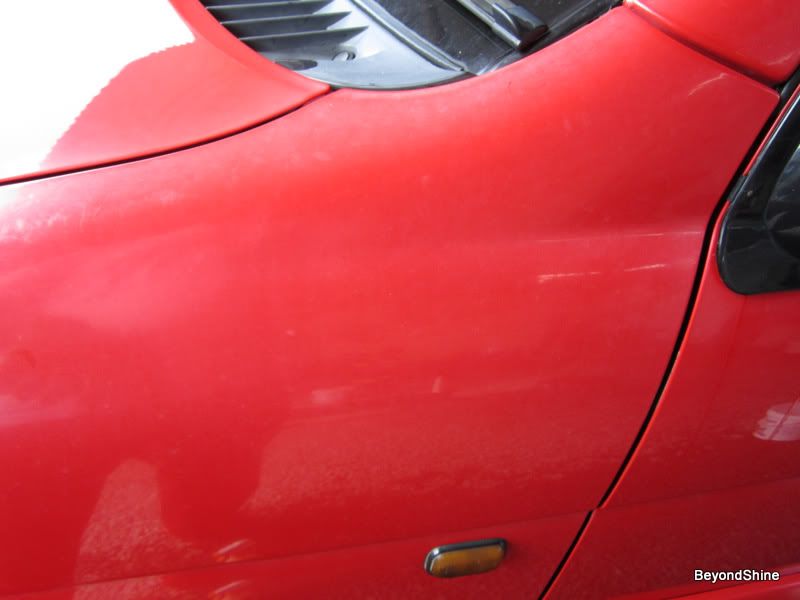
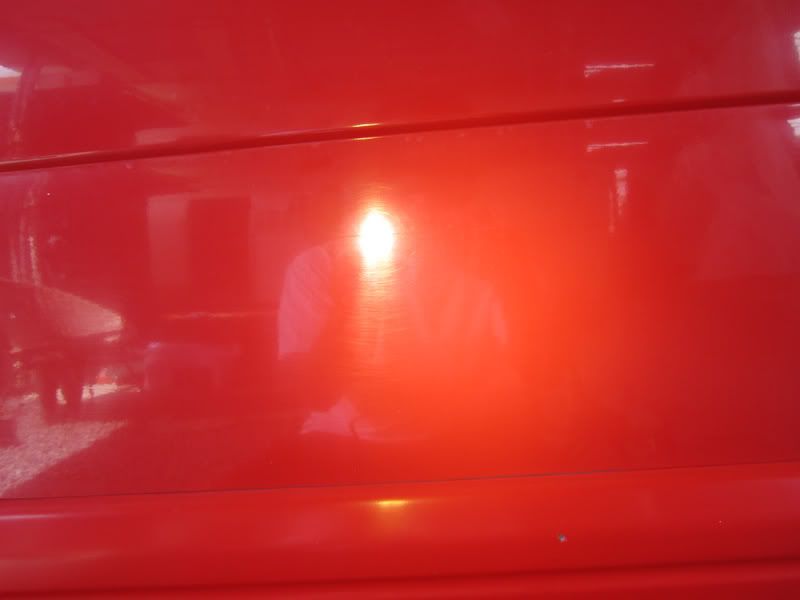
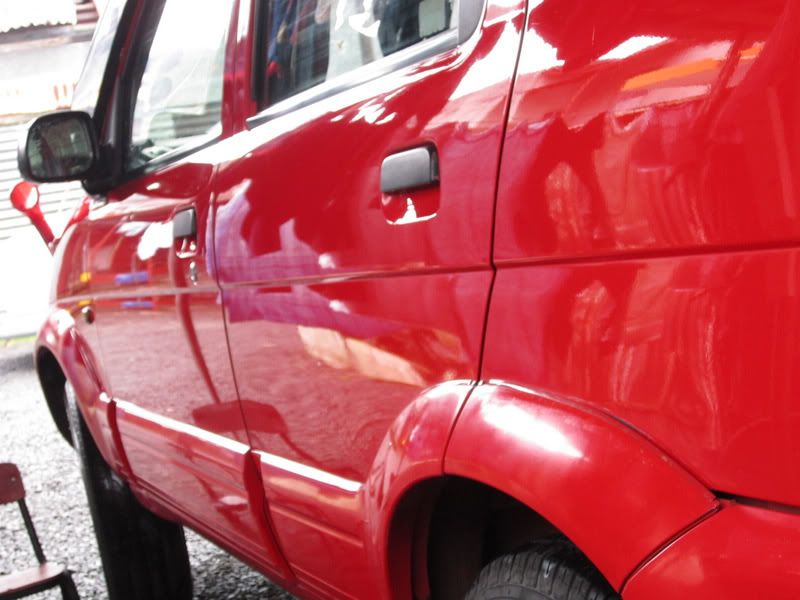
The True Color
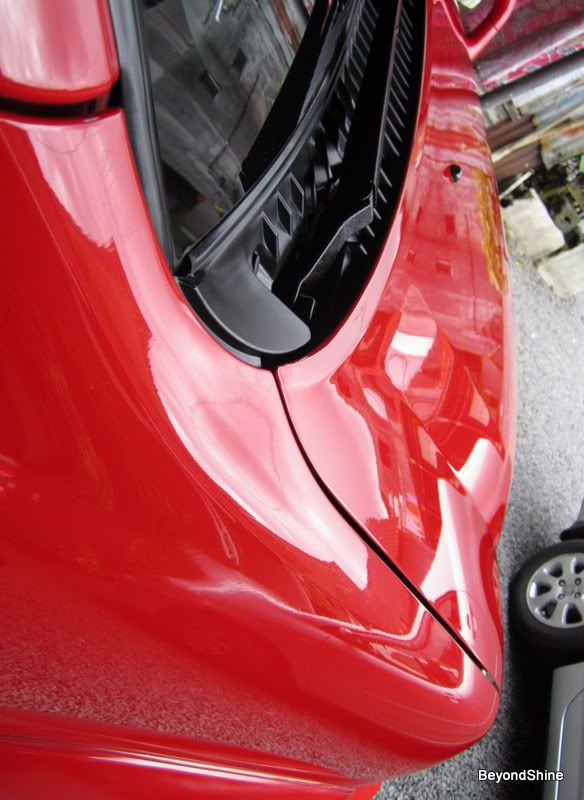
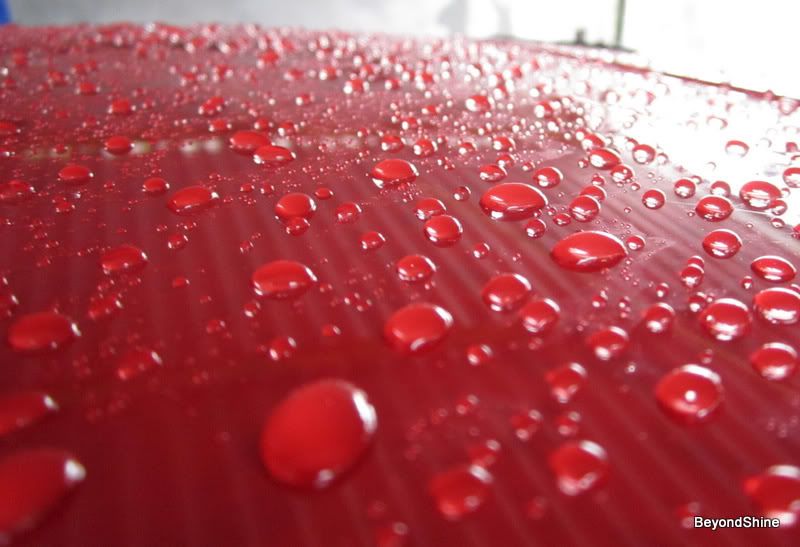
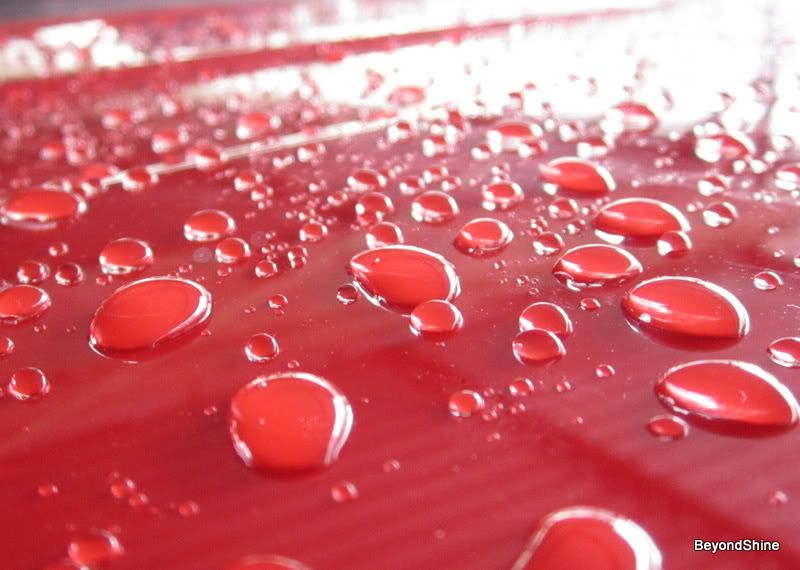
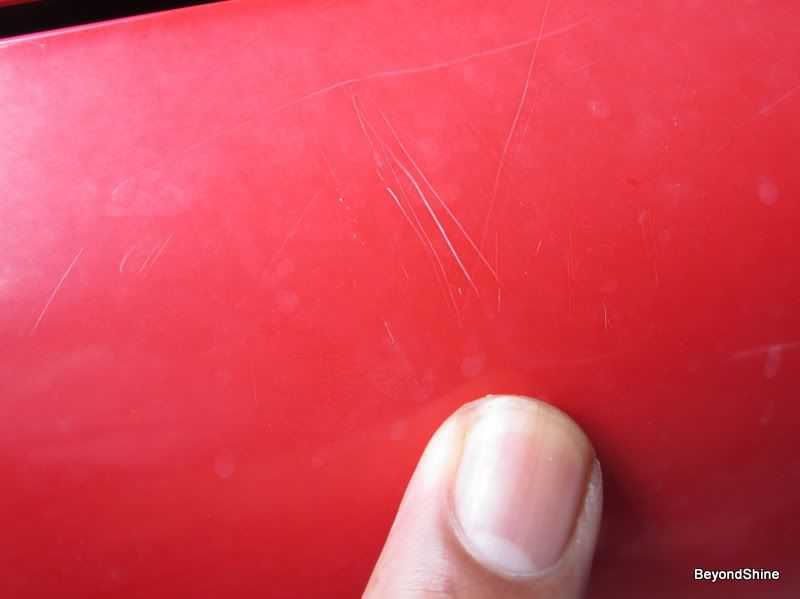
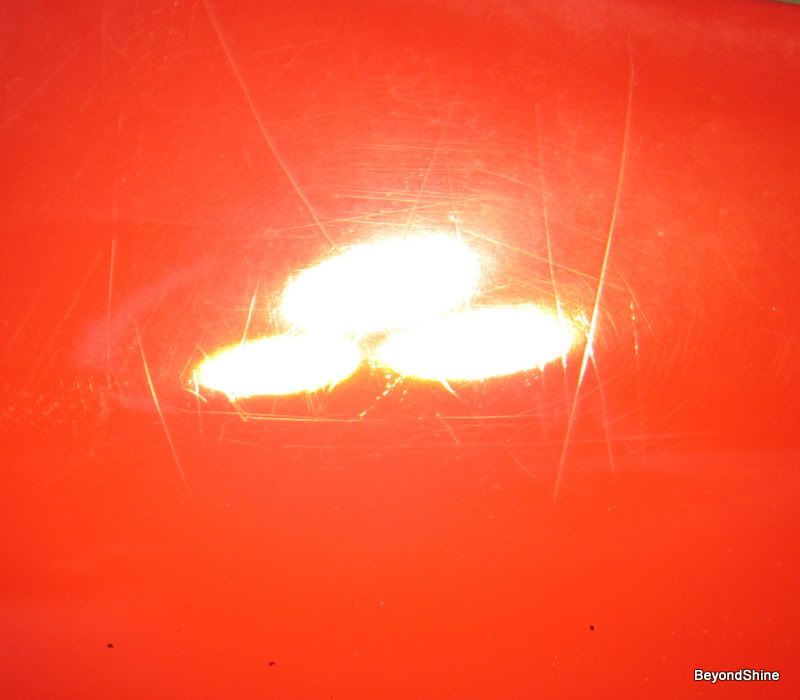
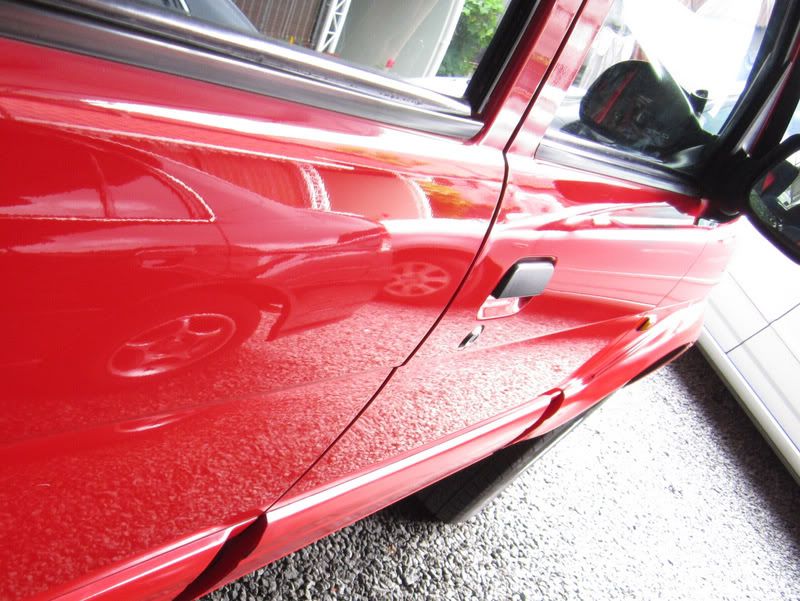
Close-up pics
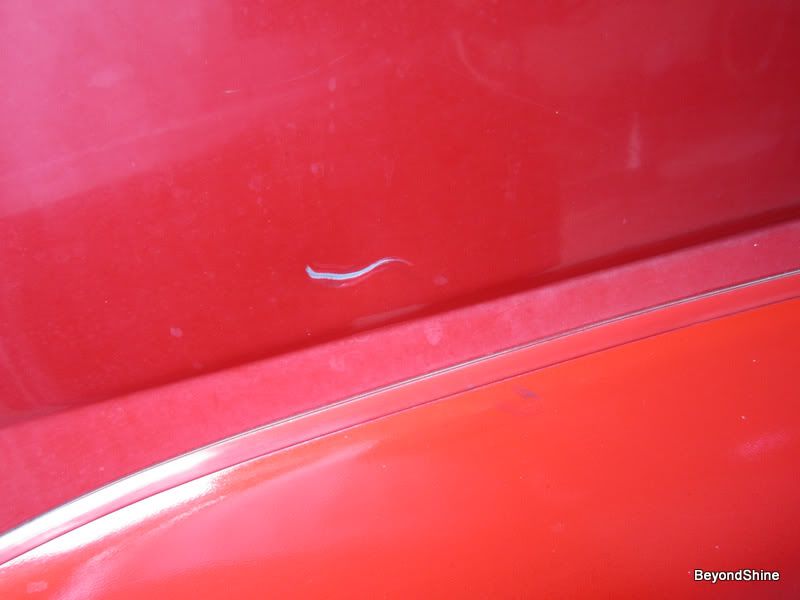
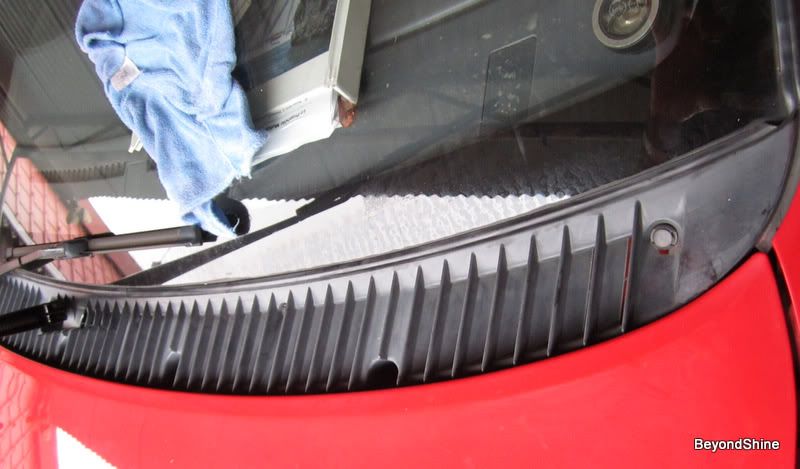
Road Tar
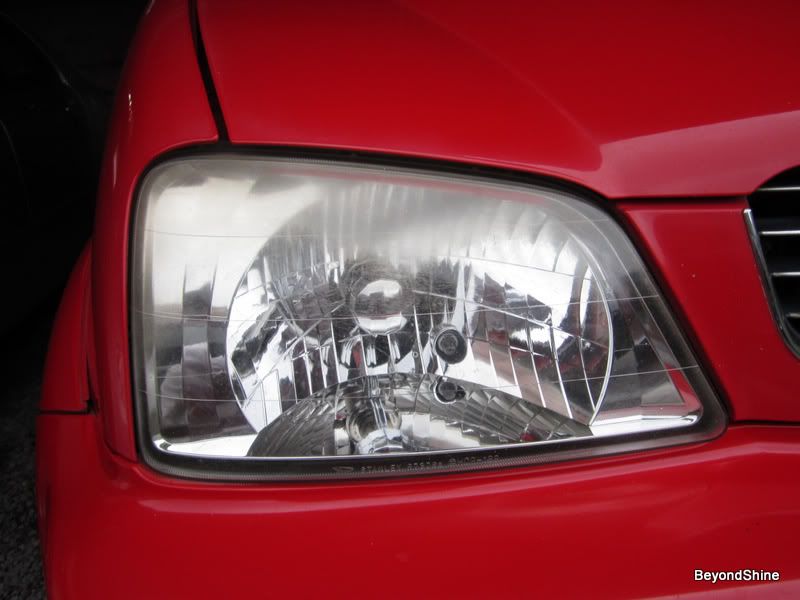
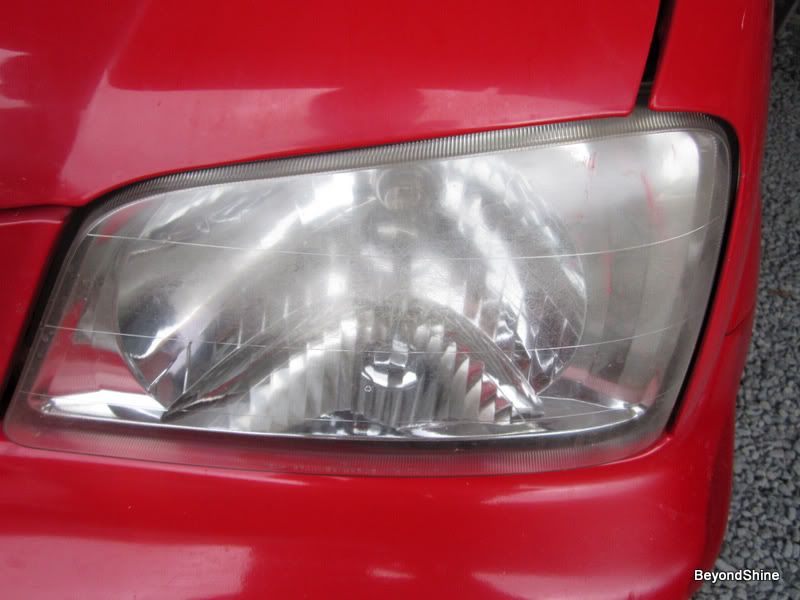
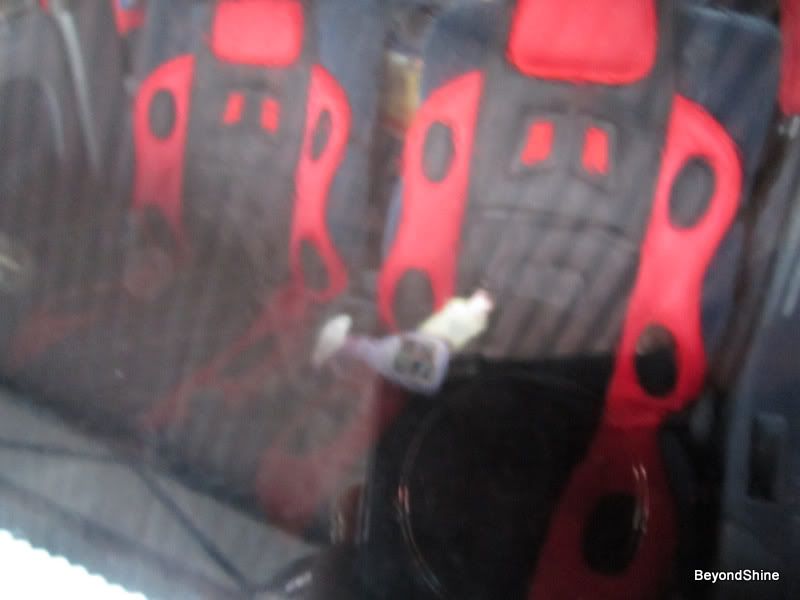
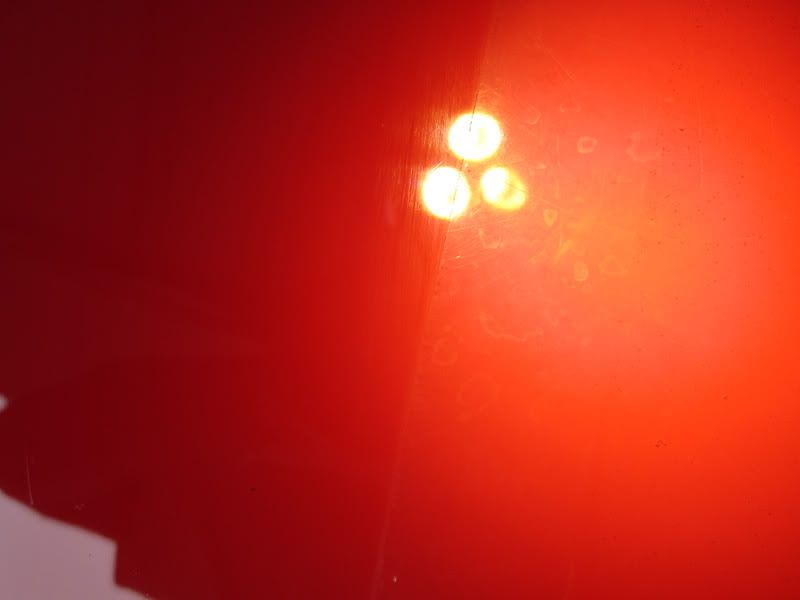
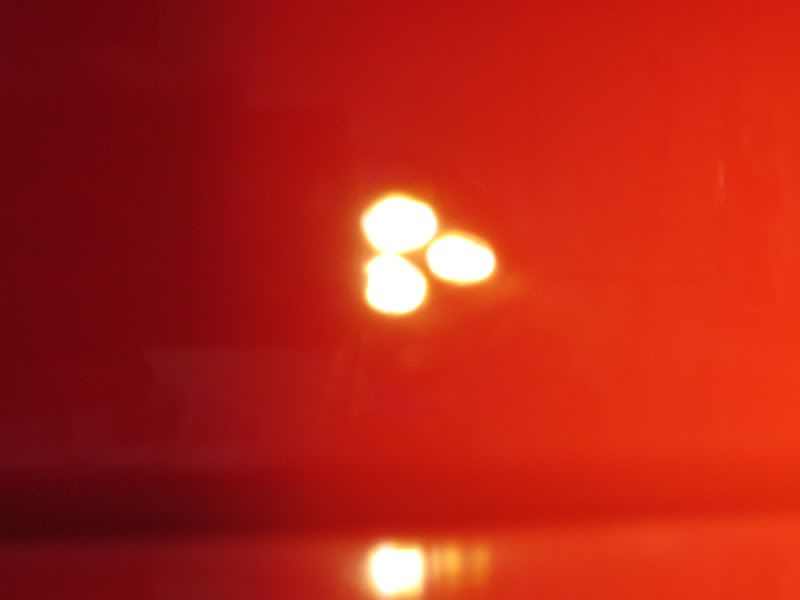
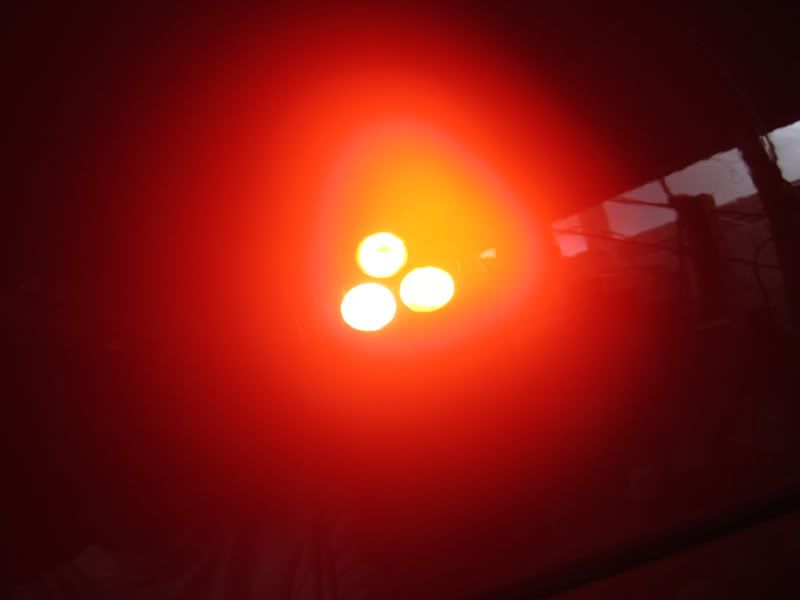
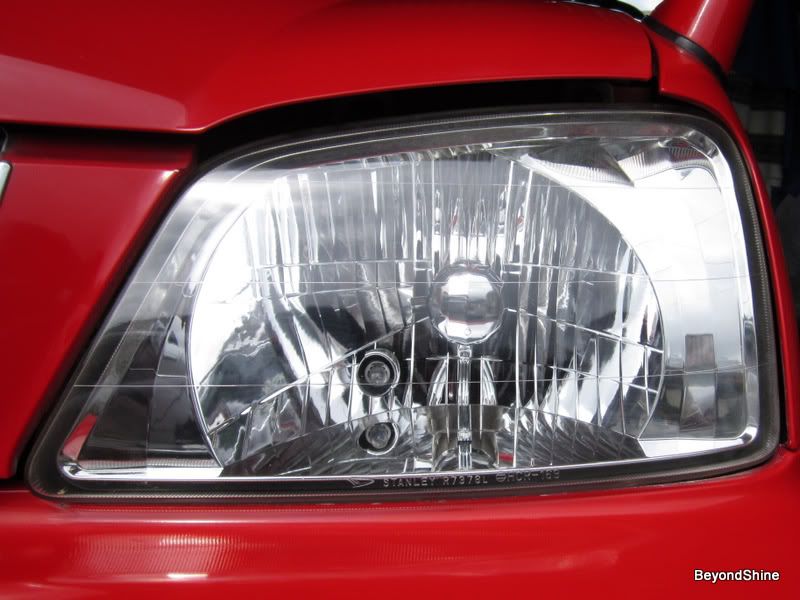
The headlights
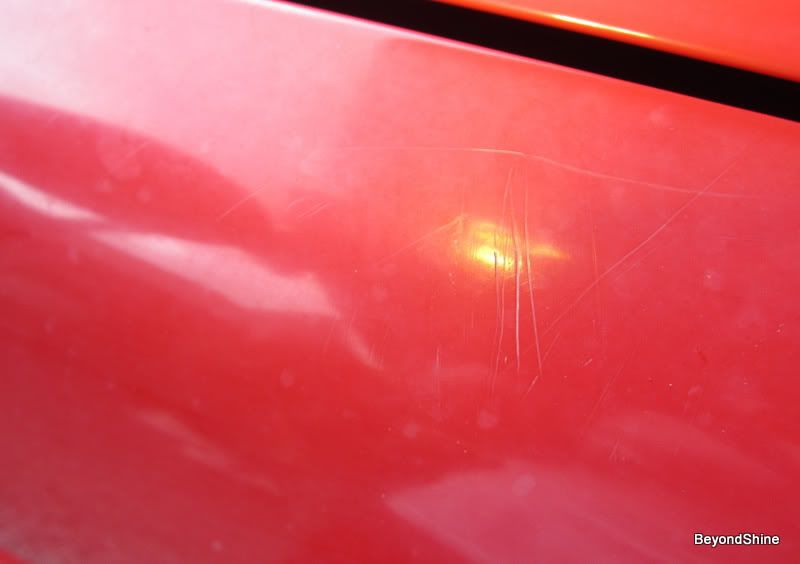
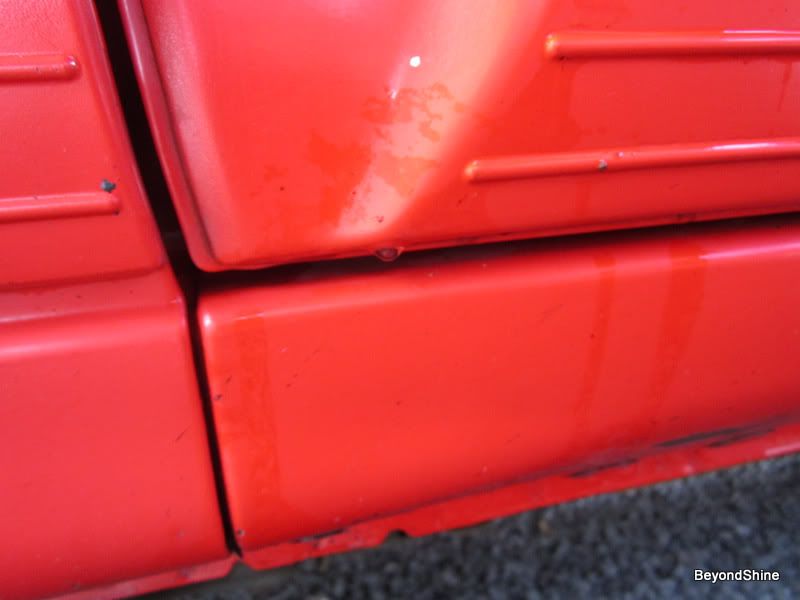
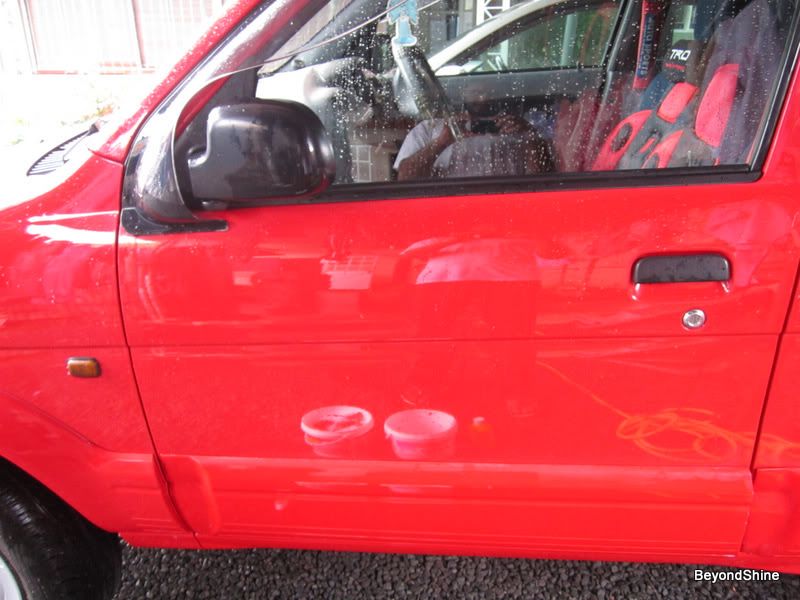
The other side was worse
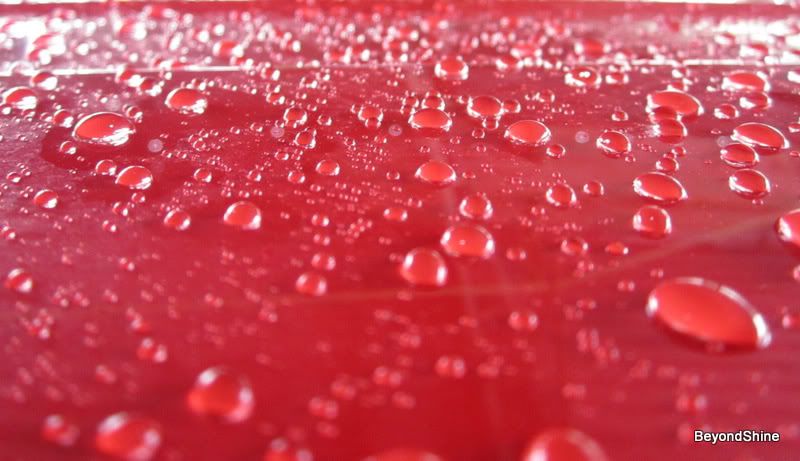
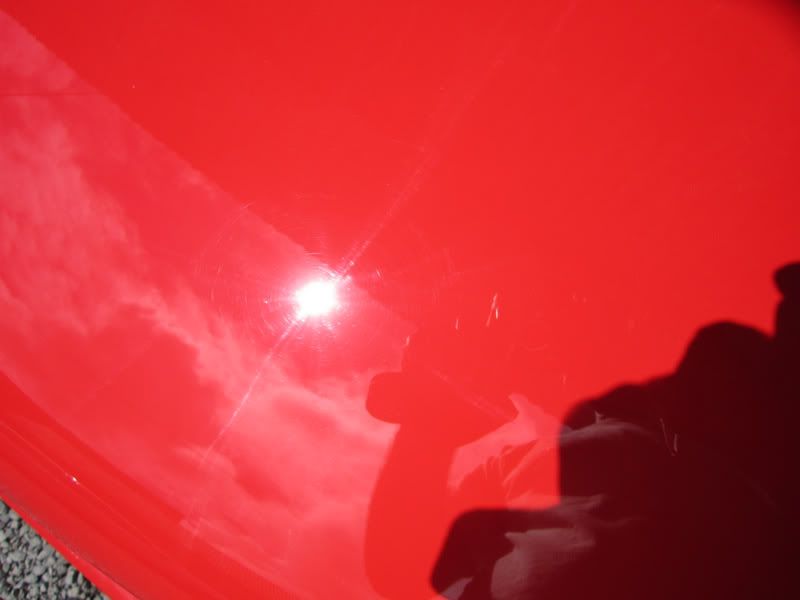
Water spots on glass
My tools:
Washing & claying:
Local car shampoo and APC mix,
Uber clay + ONR
Paint:
Makita rotary
Menz Power Gloss 34A, 203s
Meguiars M80
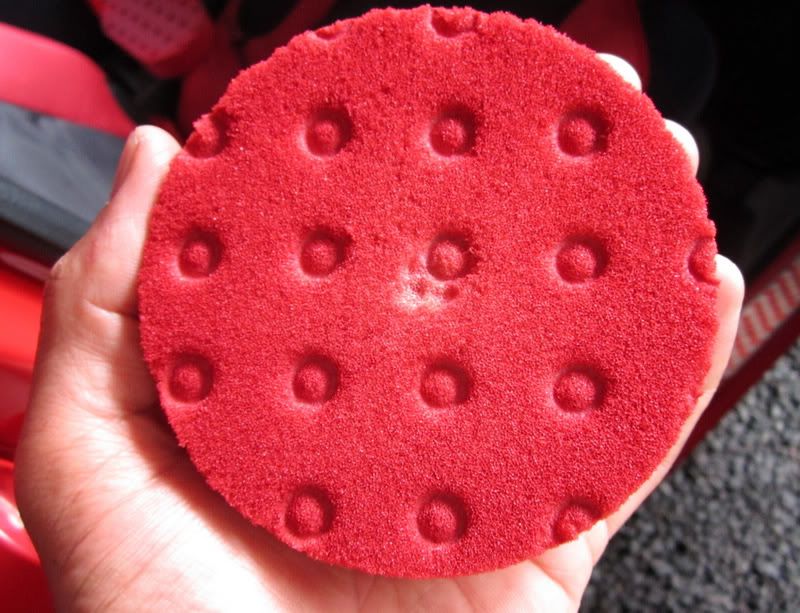
LC pads: Orange, White, Black
Menz PowerLock Sealant
Glass:
Menz PG and LC orange pad
Stoner Invisible glass
Plastics:
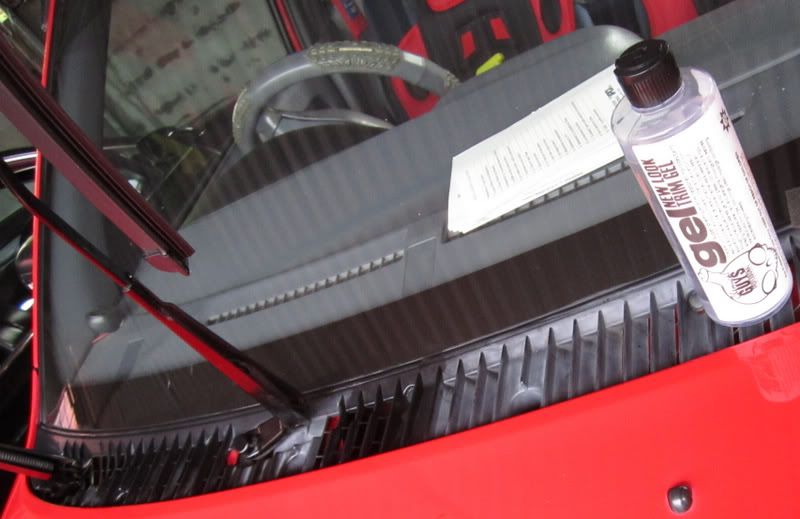
CG New look trim gel
Some cotton swabs and a dressing applicator
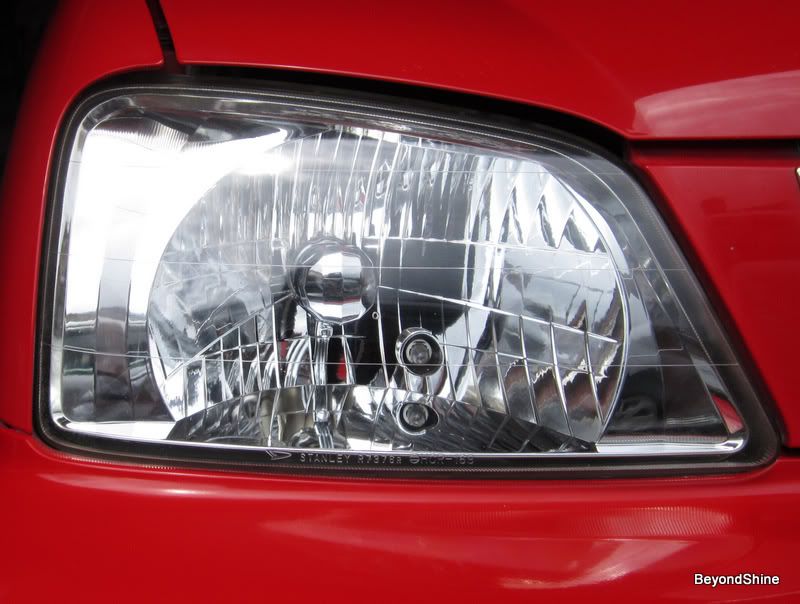
Headlights:
Menz PG and LC orange pad
Menz PowerLock Sealant
Washed and Clayed using 2BM:
Polishing:
I started off with Menz PG on LC orange pad, followed by Menz 203s on LC white pad. Actually, I stopped this combination shortly. I simply jumped to 203s on LC white pad then got a little more aggressive as needed. The change paid.
For the deeper RIDS, I resorted to wet sanding. But it proved very dangerous. The paint came out as powder paint, like the one used by kids in schools. So I stopped. I did want to correct all defects (RIDS) as I would unnecessarily remove paint. Remember there’s no clear coat on this paint.
Even my wife (though she’s against me detailing cars) remarked: “Are you not removing his paint?”J
I spot buffed the RIDS using PG on LC orange, significantly reducing my section. I just rounded the majority of the RIDS. They are hardly noticeable. The parts I detailed months ago got a touch of Megs M80 and LC white pad followed by same polish and LC black.
Let the pictures speak:
This is where I need to improve
Blood Bath - it's the orignal white pad
I don’t have IPA here. So, I used a wet towel to wipe over the polished areas followed by a complete wash.
Then I proceeded to the final steps:
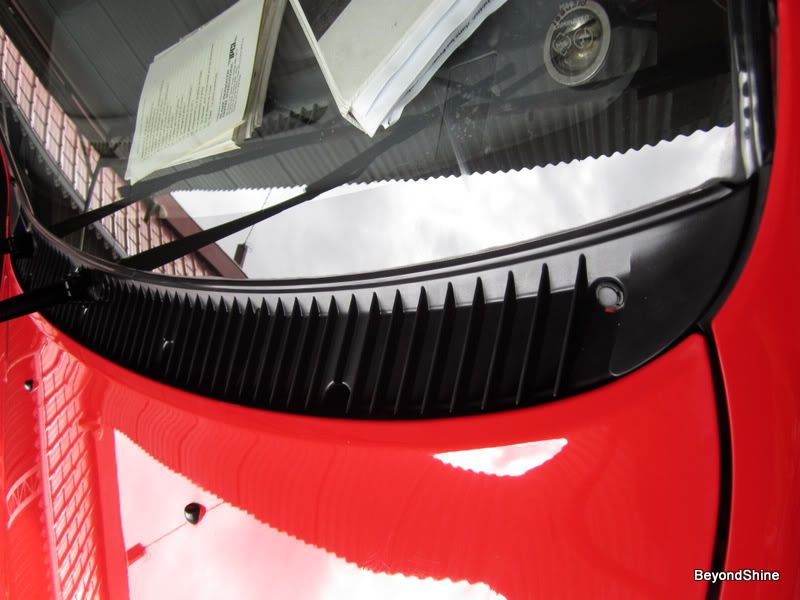
Plastics were treated with CG new look trim gel.
This was one the most time consuming part. I didn’t want to leave any spot untouched. I was wondering how it could be done, how others do it. And thanks God, I got an idea: “Use cotton swabs”. It was time consuming. Glass was cleaned with Stoner Invisble glass. I was happy with the outcome.
This is my friend’s Toyota Camy, the one I partly detailed 8 months ago. My friend was on tour to Reunion Island, and it was the opportunity to work with his ride.
rops:The passenger’s side remained to be polished. But ultimately the whole car got detailed.
So here we are:
The unpolished passenger’s side
The True Color
Close-up pics
It hurts. See my wound.
It’s not easy to be a Camy!
Road Tar
The headlights
The other side was worse
Water spots on glass
My tools:
Washing & claying:
Local car shampoo and APC mix,
Uber clay + ONR
Paint:
Makita rotary
Menz Power Gloss 34A, 203s
Meguiars M80
LC pads: Orange, White, Black
Menz PowerLock Sealant
Glass:
Menz PG and LC orange pad
Stoner Invisible glass
Plastics:
CG New look trim gel
Some cotton swabs and a dressing applicator
Headlights:
Menz PG and LC orange pad
Menz PowerLock Sealant
Washed and Clayed using 2BM:
Polishing:
I started off with Menz PG on LC orange pad, followed by Menz 203s on LC white pad. Actually, I stopped this combination shortly. I simply jumped to 203s on LC white pad then got a little more aggressive as needed. The change paid.
For the deeper RIDS, I resorted to wet sanding. But it proved very dangerous. The paint came out as powder paint, like the one used by kids in schools. So I stopped. I did want to correct all defects (RIDS) as I would unnecessarily remove paint. Remember there’s no clear coat on this paint.
Even my wife (though she’s against me detailing cars) remarked: “Are you not removing his paint?”J
I spot buffed the RIDS using PG on LC orange, significantly reducing my section. I just rounded the majority of the RIDS. They are hardly noticeable. The parts I detailed months ago got a touch of Megs M80 and LC white pad followed by same polish and LC black.
Let the pictures speak:
This is where I need to improve
Blood Bath - it's the orignal white pad
I don’t have IPA here. So, I used a wet towel to wipe over the polished areas followed by a complete wash.
Then I proceeded to the final steps:
Plastics were treated with CG new look trim gel.
This was one the most time consuming part. I didn’t want to leave any spot untouched. I was wondering how it could be done, how others do it. And thanks God, I got an idea: “Use cotton swabs”. It was time consuming. Glass was cleaned with Stoner Invisble glass. I was happy with the outcome.
 Now look at this pic very well.