Scratched up trunk paint correction

SRTSean

New member
Joined
Jun 8, 2011
Messages
438
Reaction score
0
Did this repair as a favor to my gf's sister and I wanted to try out the new Optimum mf cutting pads I'd ordered. Starting out least aggressive, in the context of how bad the scratches were, meant trying the mf cutting pad w/M105. Unfortunately this combo didn't make a huge dent in the defects so I went straight to wet sanding using 2000 grit, then followed back up with the mf pads and M105.

After seeing how nicely the trunk came out (relatively speaking) I decided to do an AIO detail on the car as the paint everywhere else was horrible. The car literally looked and felt like it hadn't even been waxed in 5+ years. So I went ahead and clayed the car and followed that up with Megs D151 (first time I've used it and loved it).

Anyway, here are a few pics I snapped using my phone while working on the bad spots.

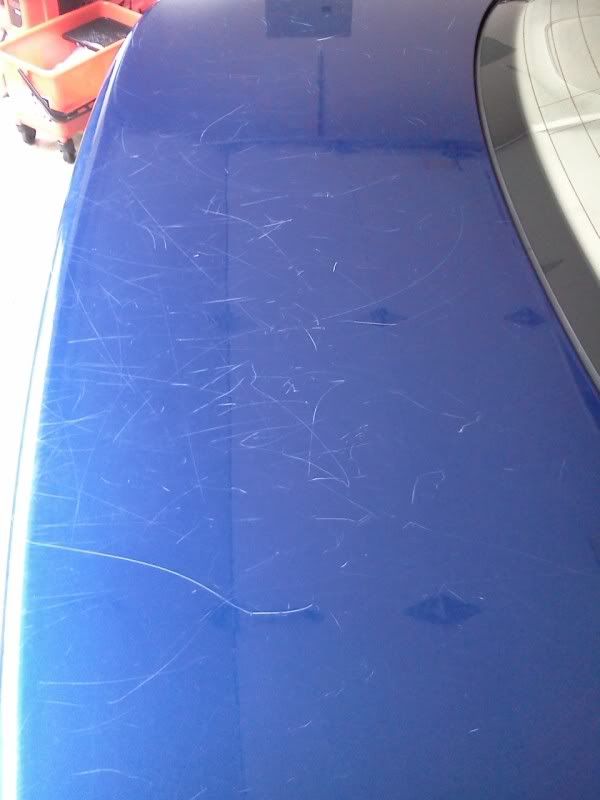
Trunk before any correction. Apparently she used the trunk lid as a place to sit boxes and containers during the course of moving.
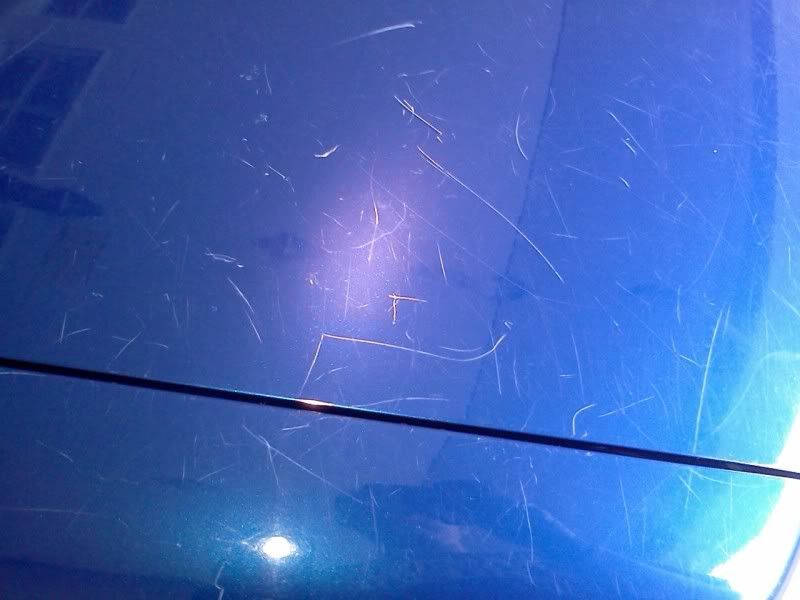
trunkbefore-1.jpg


Defects up close.
trunkdriversidebefore.jpg


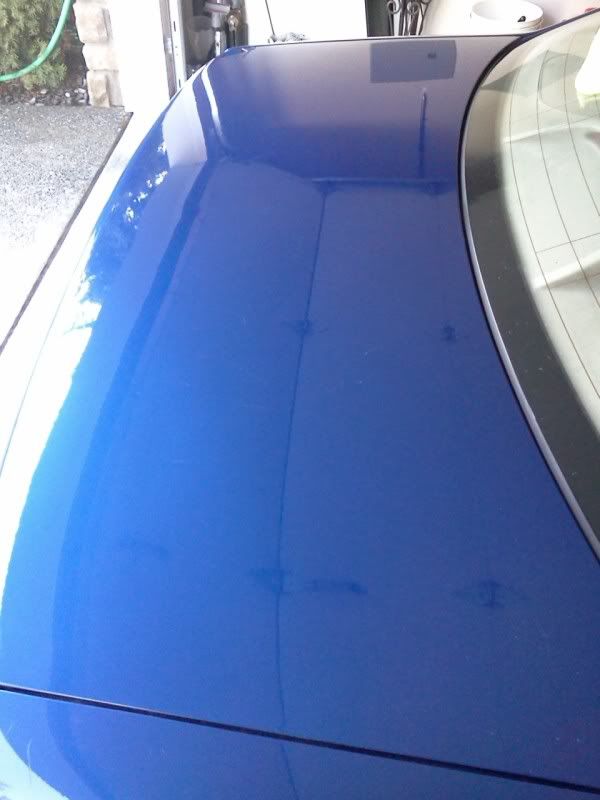
Trunk after wet sanding and correction with M105.
trunkafter.jpg


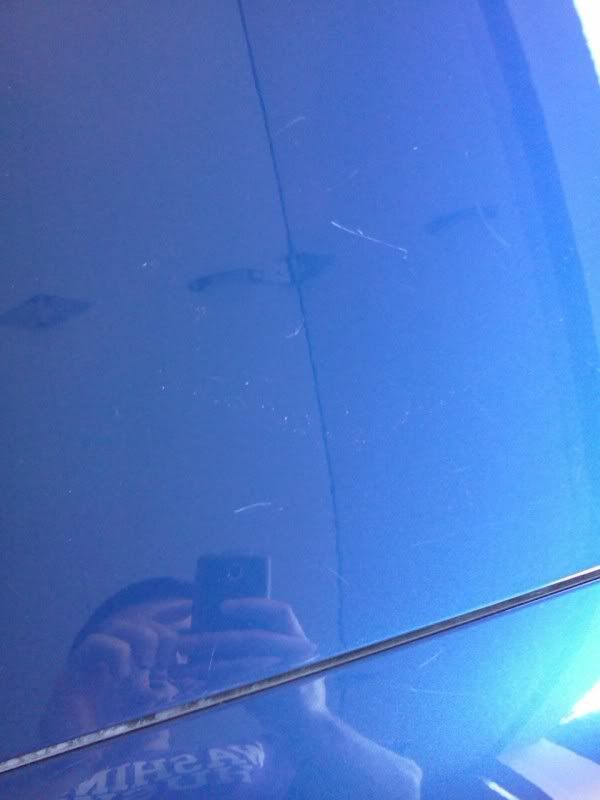
Trunk correction up close. Unfortunately some of the defects were simply too deep to risk fully removing them.
trunkdriversideafter.jpg


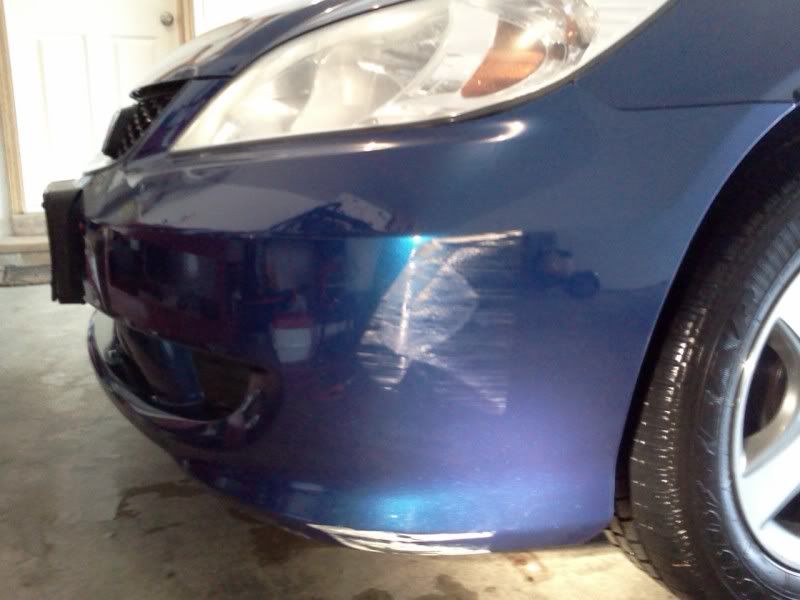
Paint transfer and scuff on the bumper. I tackled this only using the mf pad and M105. Could have achieved full correction with more wet sanding but I'd already put in more effort than I planned and gave her a free AIO detail.
bumperbefore.jpg


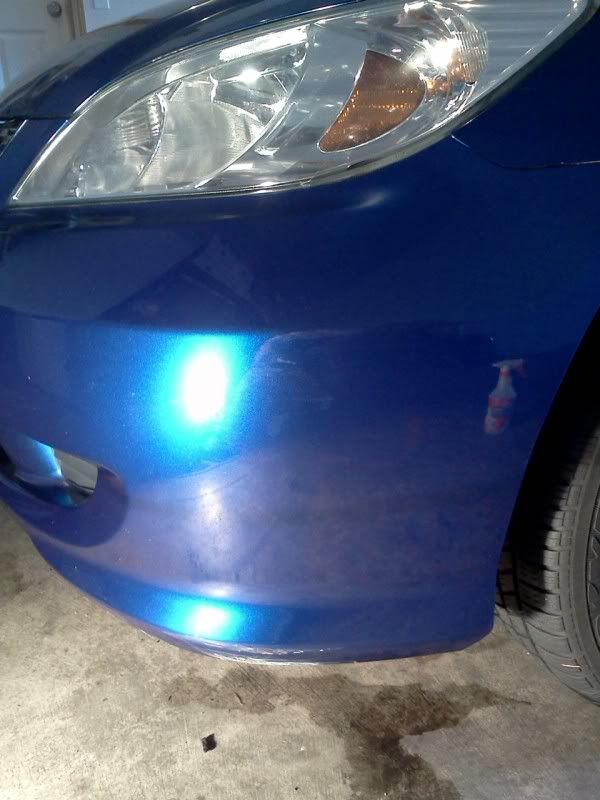
Bumper after mf pad and M105.
bumperafter.jpg


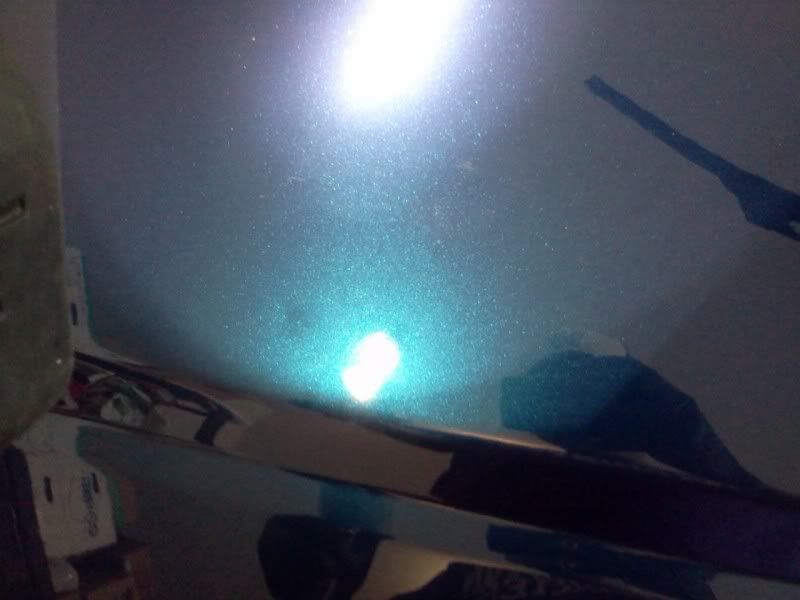
It's hard to make out here because of the metallic, but the paint was very dull and hazy and had lots of swirls and fine scratches.
rearquarterbefore.jpg


Here's the only shot I remembered to take after using D151. The paint pops a lot more and a nice gloss is restored with no hazing/swirling.
afterupclose.jpg
 
wow, that came out great. Nice job on the wet sanding. Seems like the MF pads worked out well. I ordered some on my last order and can't wait to give them a try.

D151 is a great product. It does wonders for an AIO. The only thing that it lacks is lasting protection but for what it is, D151 works great!

What machine did you use?
 
Thanks for the compliment. I used the Megs G110v2. Finally got one of the improved power cord versions as a warranty replacement.

I think what I'm going to do for future AIO details is pick up some Optimum Car Wax to use as a top coat so that the car stays protected a little while longer without adding much extra time to the job. I really liked how well the D151 worked though.
 
Great work! Man those scratches were nasty. Does she own a dog?
 
Great work! Man those scratches were nasty. Does she own a dog?

Thanks. The scratches were actually from moving back to Seattle from Pittsburgh. Apparently the trunk was used as a staging point for boxes and other containers while getting a trailer loaded up. :doh:
 
What pad did you use with the D151? The results came out fantastic!
 
What pad did you use with the D151? The results came out fantastic!

Primarily used white 5.5" LC flat pads, with a couple spots getting an orange 4" LC ccs pad for a little extra effort.

Thanks to all for compliments. When my gf's sister saw the car I guess she was stunned. I was asleep when they got home so I heard the story the next day. Apparently their mom thought someone else was parked in her spot when she visited her apartment over the weekend, so the D151 made for a pretty noticeable turnaround. D151 looks like something that produces results most consumers will be very satisfied with. I just wish I'd purchased it sooner and in a larger quantity.
 
That's quite a turnaround. Great work, dude! :xyxthumbs:
 
great work there. I've got a car I may need to do some wet sanding on . scratches just like u had there . the kid walked up and down on top of the car with cowboy boots on . I can catch quite aces with my fingernail. the car is only 2 months old . their car before that kid took a fish hook to the side of it . I've never wet sanded on a vehicle before and afraid of goin the the clear . could u maybe elaborate on the time u spent sanding that and what u were trying to achieve before you hit it with the 105 ?
 
WOW! That is fantastic work my friend! Looks like D151 will be on my shelf soon.
 
great work there. I've got a car I may need to do some wet sanding on . scratches just like u had there . the kid walked up and down on top of the car with cowboy boots on . I can catch quite aces with my fingernail. the car is only 2 months old . their car before that kid took a fish hook to the side of it . I've never wet sanded on a vehicle before and afraid of goin the the clear . could u maybe elaborate on the time u spent sanding that and what u were trying to achieve before you hit it with the 105 ?

I don't have a paint thickness gauge, so I was kind of using the amount of orange peel visible in the finish as a way of knowing how much clear I'd removed and how much might be remaining. Not an exact science by any means, but it proved to be reliable.

For the wet sanding itself, I just made sure to sand in one consistent direction so that I knew what to look for when compounding afterwards. I also made sure to rinse the panel and dry it after each 30 second pass of wet sanding to see what kind of progress was being made on leveling out the scratches. Going with 2000 grit made the process take longer than it could have, but I preferred a less agressive grit to ensure I didn't accidentally take the clear down too far.

If you're worried about going through the clear you might want to start out with something like a 2500 or 3000 grit and see where that gets you. Many of the scratches I was dealing with were also deep enough to catch a nail on, so you can definitely achieve so pretty good correction if you take your time.:xyxthumbs:

WOW! That is fantastic work my friend! Looks like D151 will be on my shelf soon.

Thanks! I have a feeling D151 will be a pretty nice product to have handy. I've already got three people lined up for AIO details over the next couple months and D151 will be my go-to for those jobs.
 
Back
Top