Rupes Project Car to really get some hands-on time with the Rupes Polishers
Rupes Detailing Classes
[video=youtube_share;sndP0ijmvQU"]Video documenting the true before condition[/video]
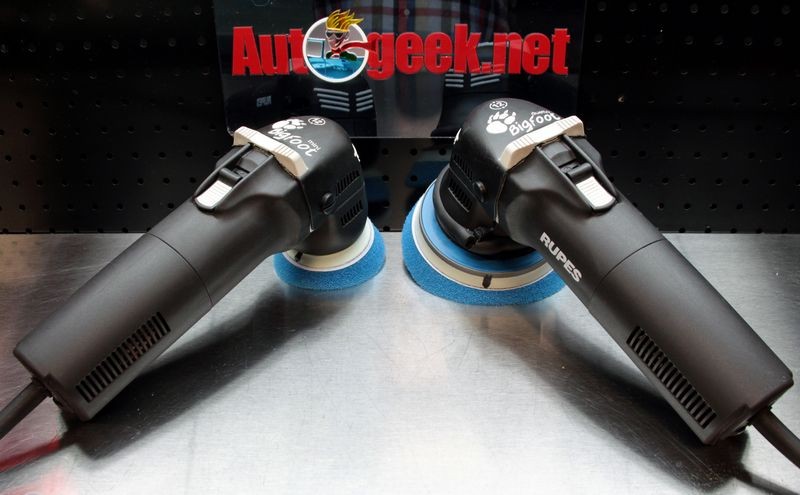
Rupes Polishers & Rupes Detailing Classes at Autogeek
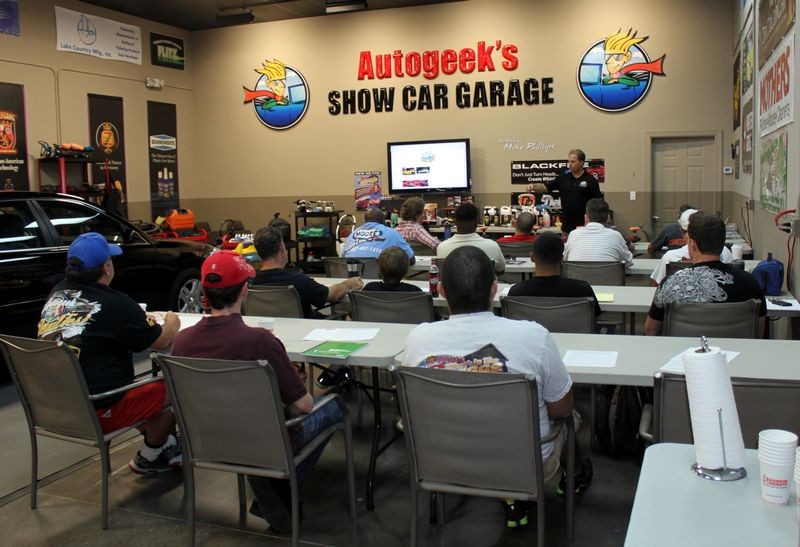
Autogeek.net carries the complete line of Rupes polishers, pads and products at our warehouse in Stuart, Florida. We've also added dedicated car detailing classes for both the Rupes Bigfoot 15 and the 21 Polishers at our Detailing Boot Camp Classes.
We hold these classes
three times a year here at our Corporate Office in Stuart, Florida.
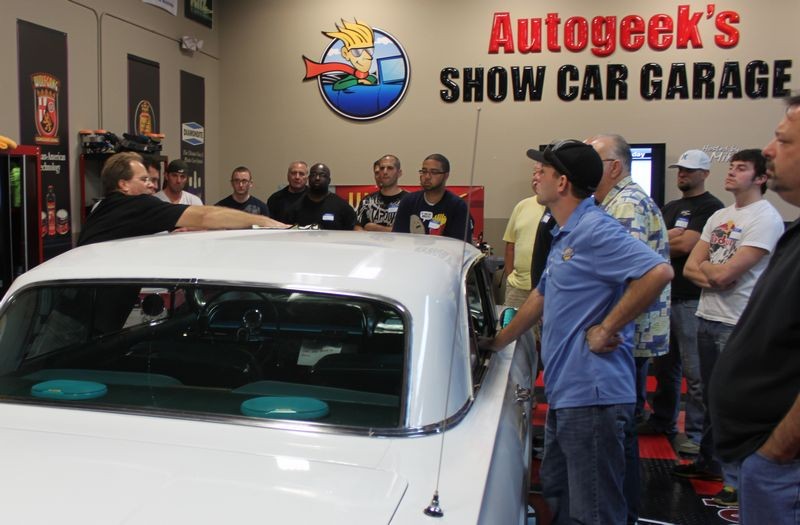
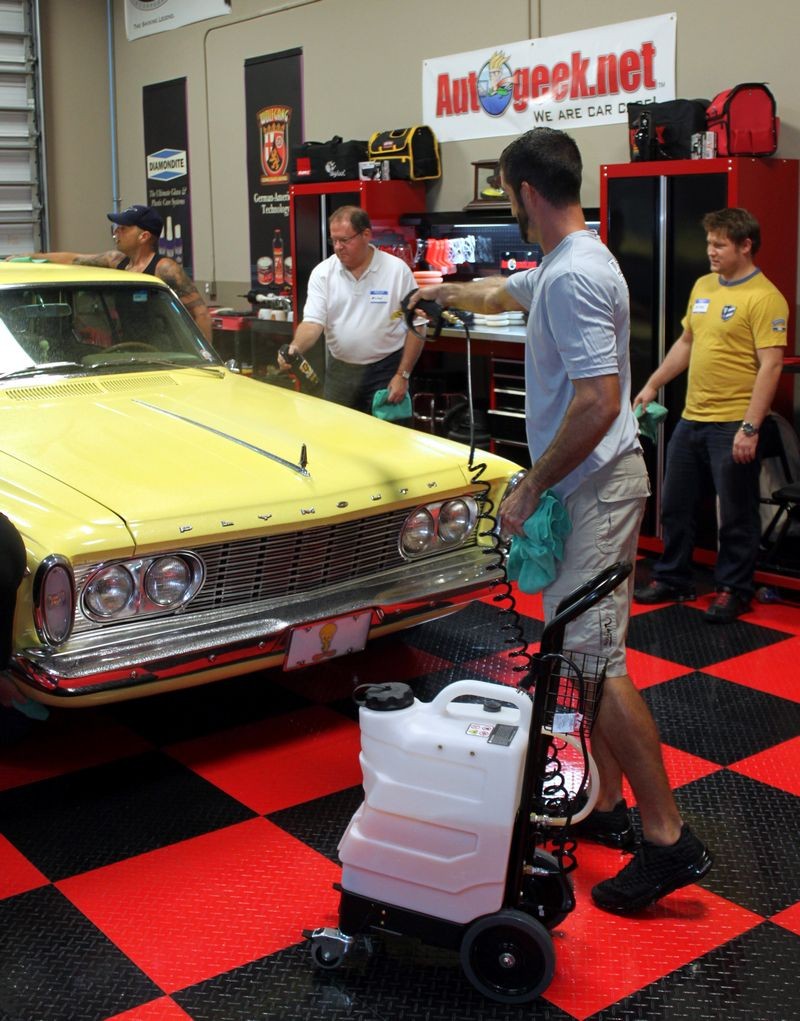
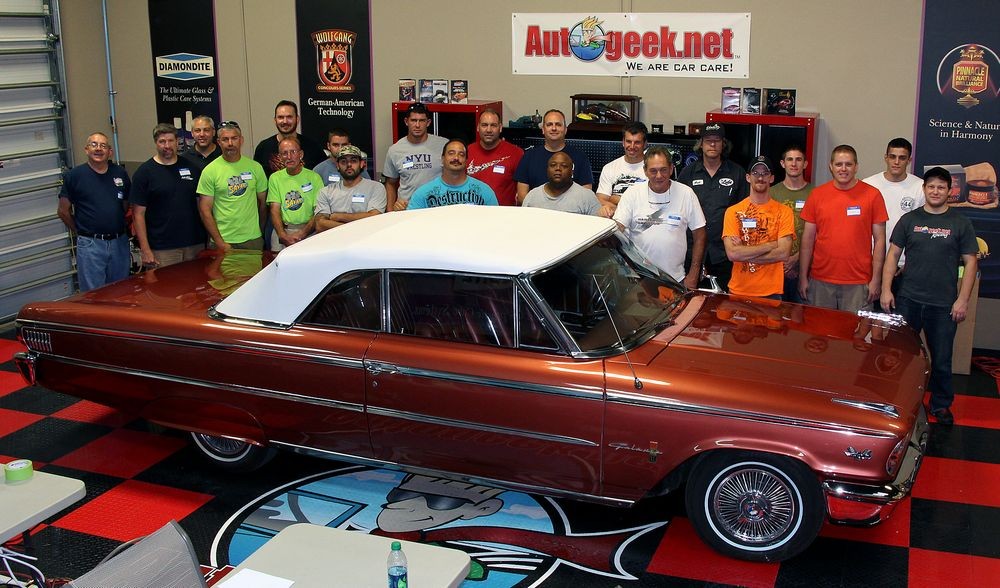
For these classes, I get my students the real deal, that is I get scratched, swirled-out and oxidized street rods, muscle cars and/or classic cars, for my students to get plenty of hands-on training time behind the Rupes polishers. For a lot of people, the chance to work on the type of cool cars I use in my classes not only makes the learning process a lot more fun and memorable but it might be the only opportunity you get to work on cars like these.
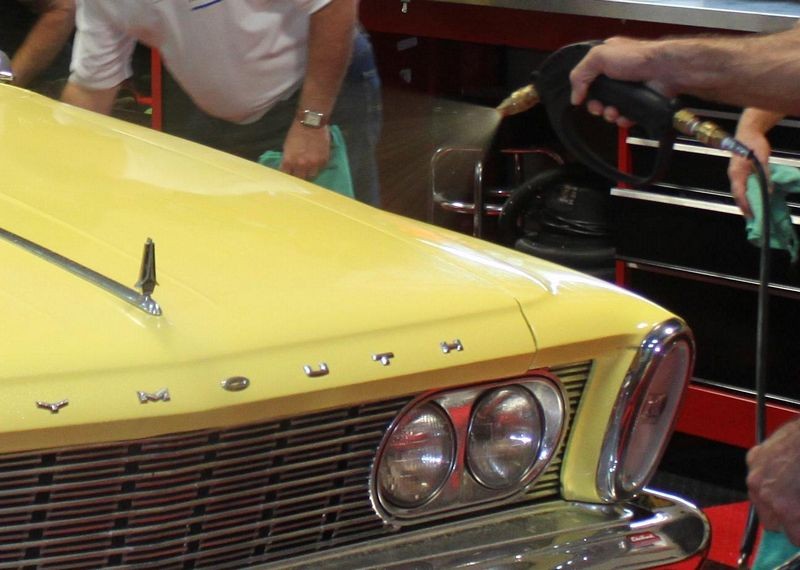
For this class we're using a hotrod 1963 Ford Galaxie!
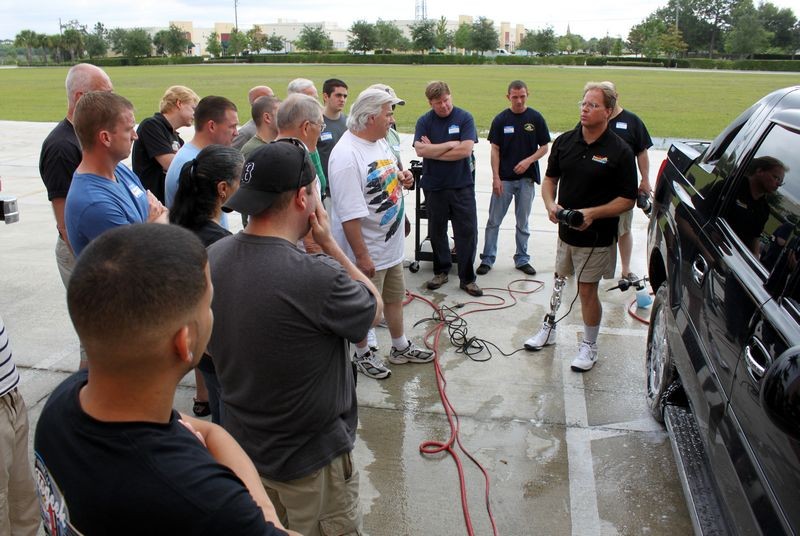
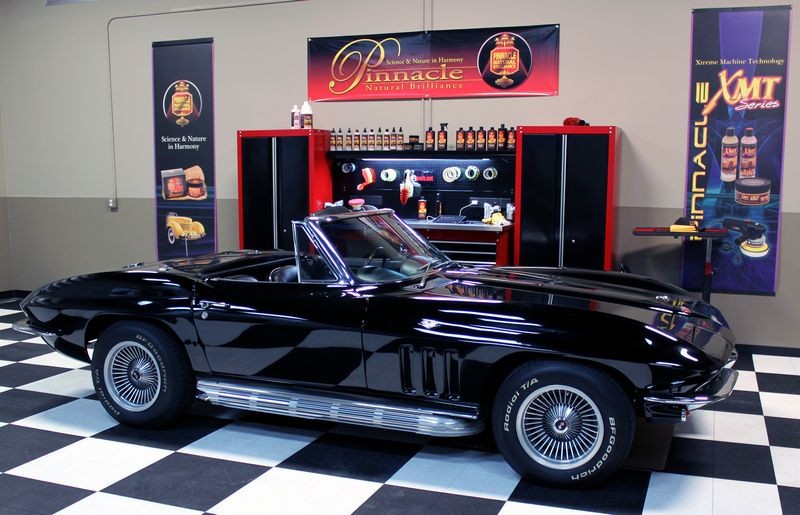
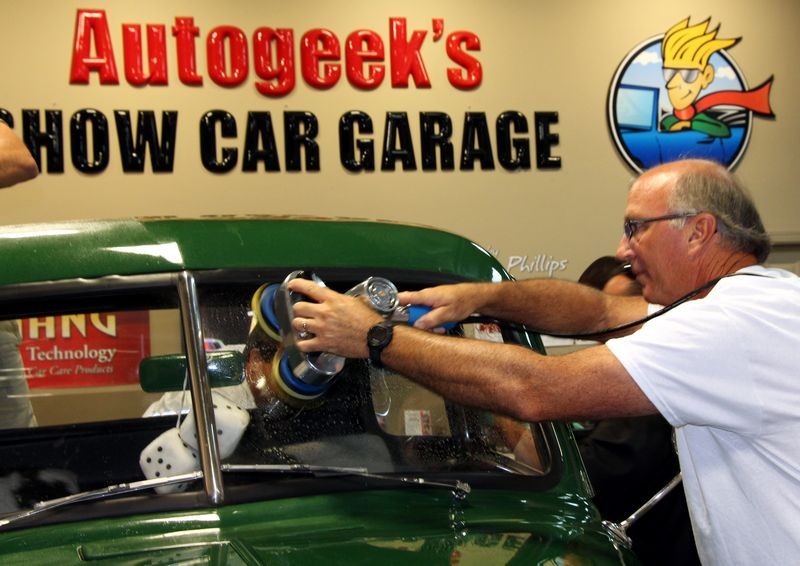
Autogeek's fully equipped training garage
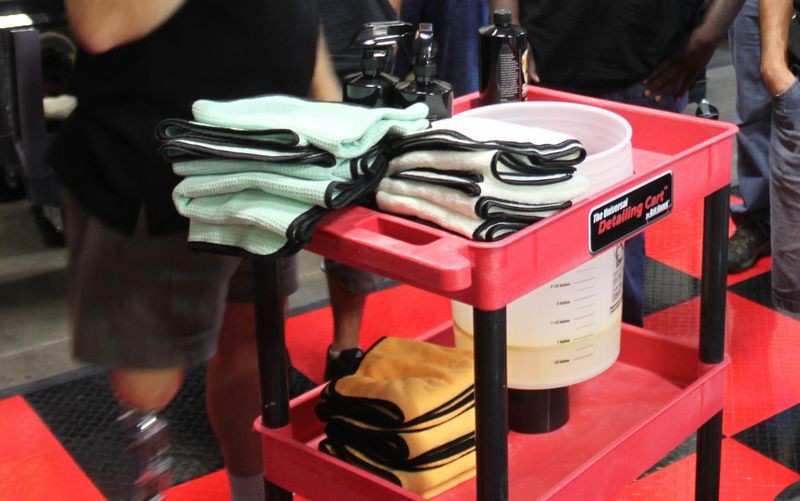
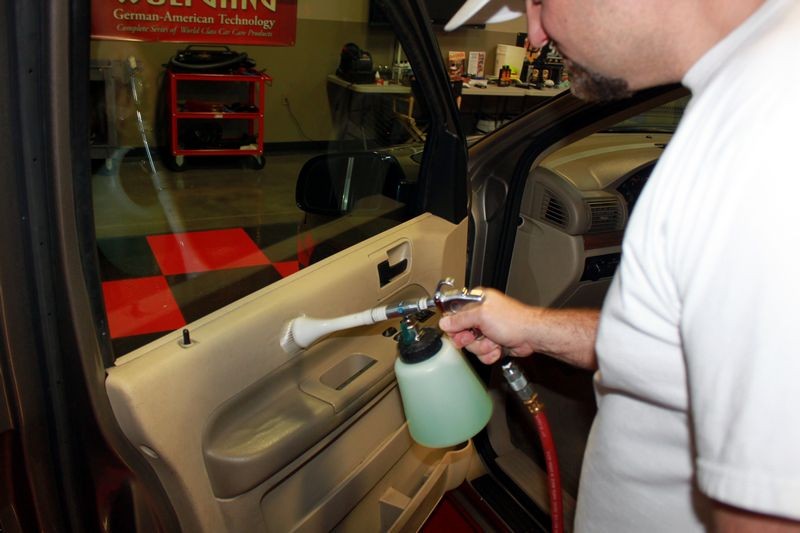
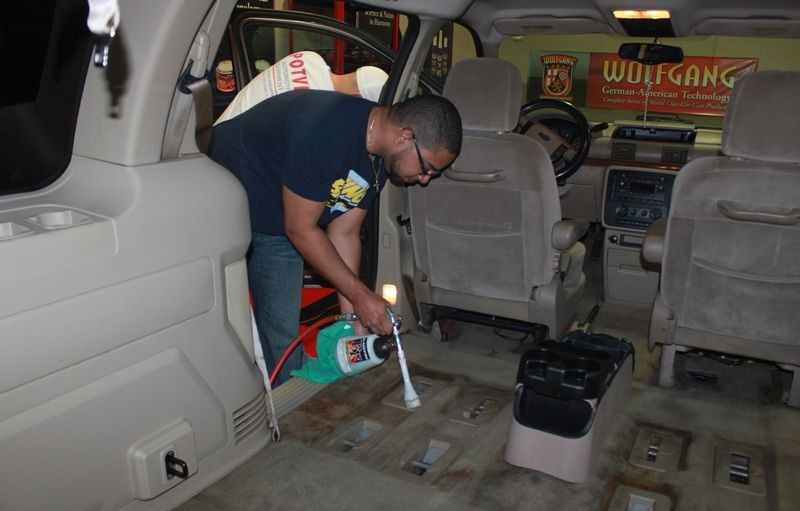
Waterless Wash for Classics, Muscle Cars and Streetrods...
I teach my class to never introduce running water to classic cars as a professional courtesy to the owner of these types of cars and as a professional best practice. This helps to reduce the potential for water to get into places that you cannot see or reach and thus creating a rust issue for cars already considered survivors.
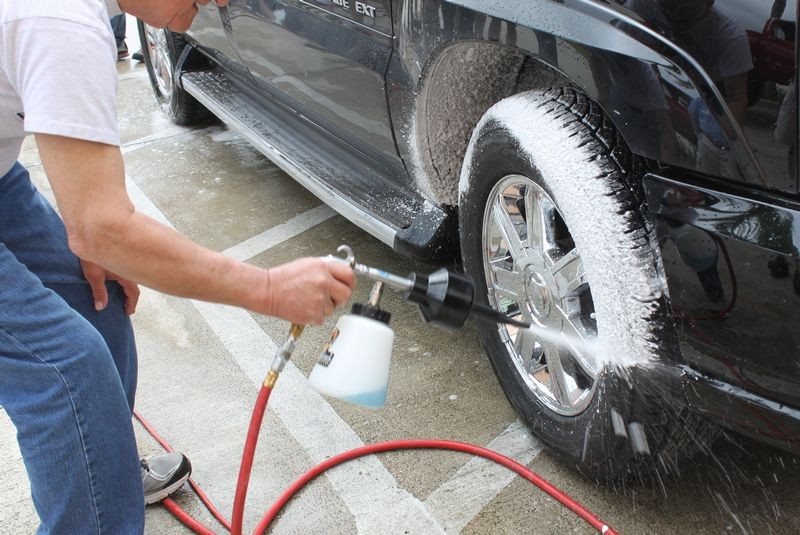
Mechanically decontaminate the paint
The paint on this 1963 Ford Galaxie had some type of above surface bonded contaminants on the paint. To remove these contaminants before machine polishing we used the Nanoskin Autoscrub Towels.
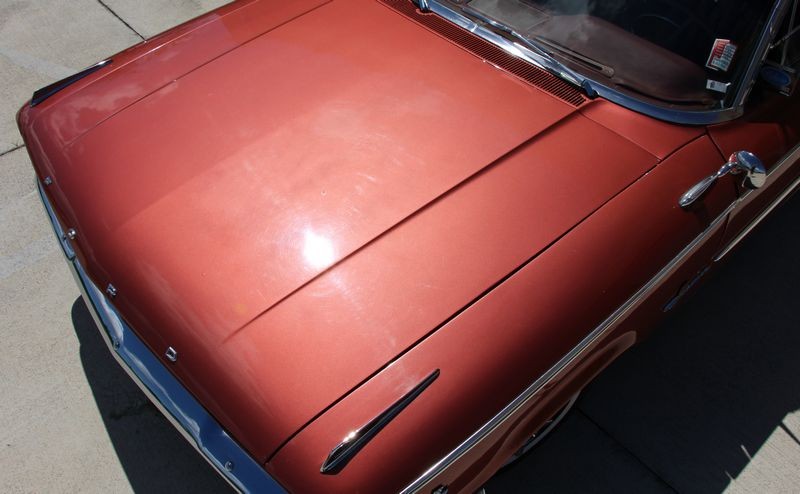
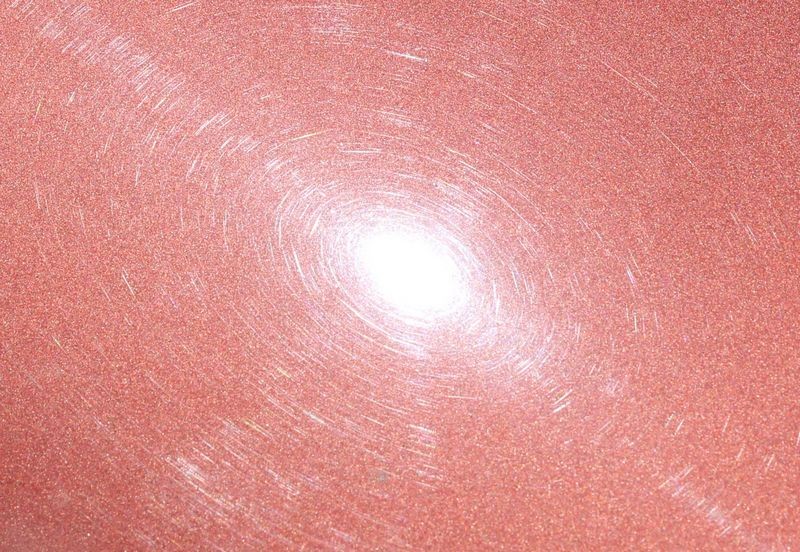
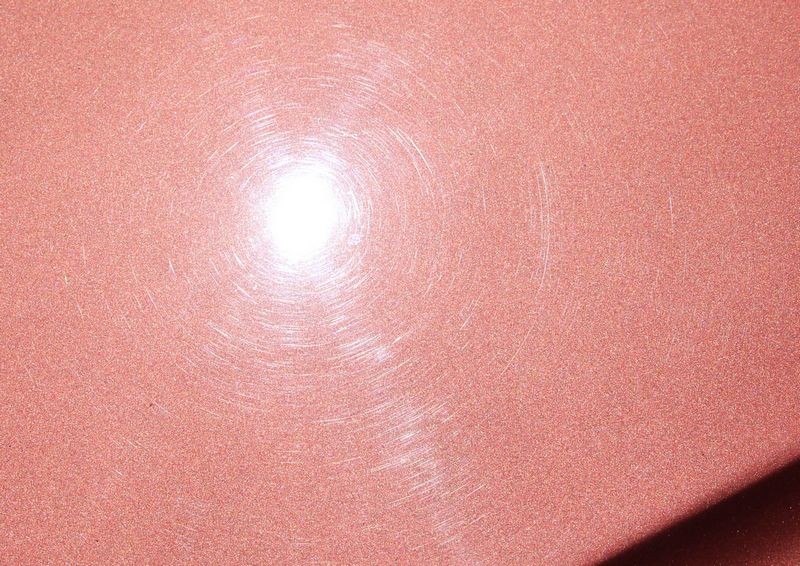
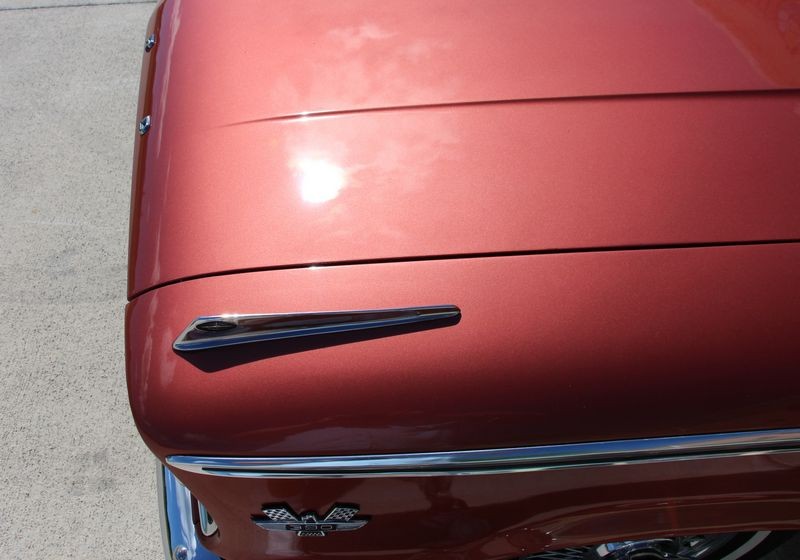
Swirls and scratches
The paint on this car was filled with swirls and scratches, there were holograms in the finish which are the sign it was improperly machine buffed using a rotary buffer.
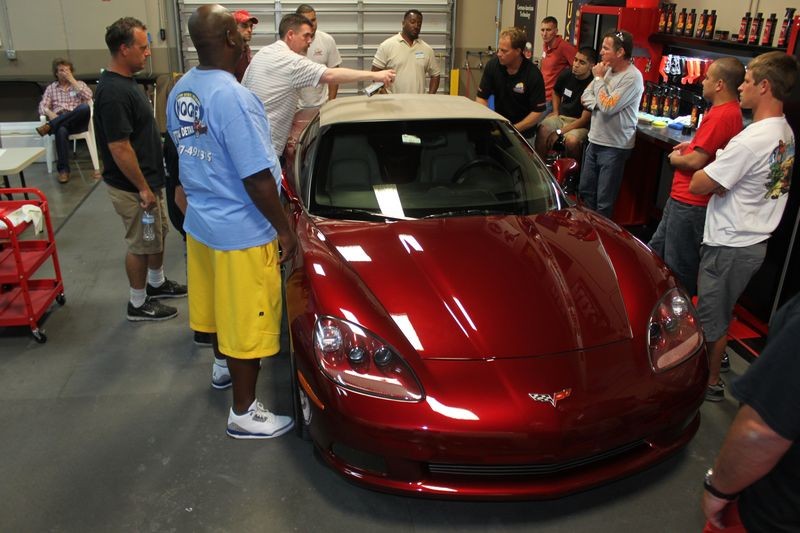
This 1963 Ford Galaxie has a modern basecoat/clearcoat paint job just like the car sitting in your driveway. When the clear layer has millions of swirls and scratches this makes the clear paint hazy and cloudy so your eyes cannot see through it to the beautiful colored basecoat below it. In this case the paint is Chestnut Metallic.
Always use the least aggressive product to get the job done
I teach the sage wisdom of always using the least aggressive product (and pad), to get the job done because this practice will remove the defects while leaving the most paint on the car to last over the service life of the car.
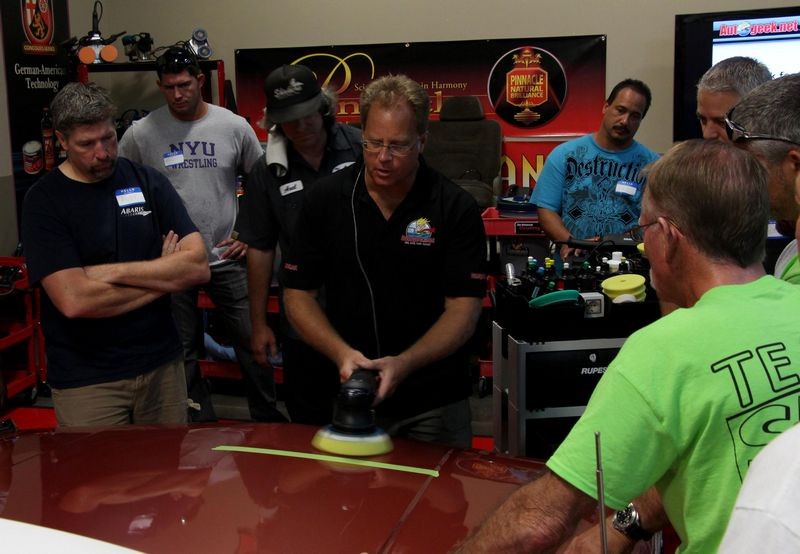
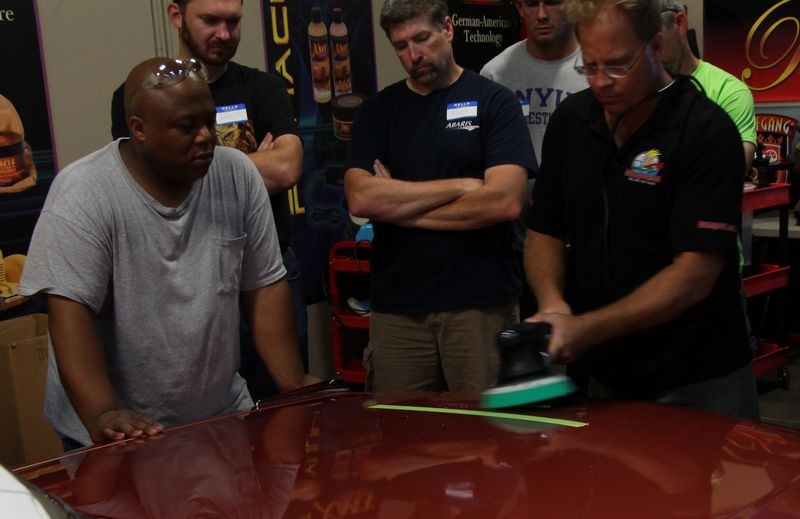
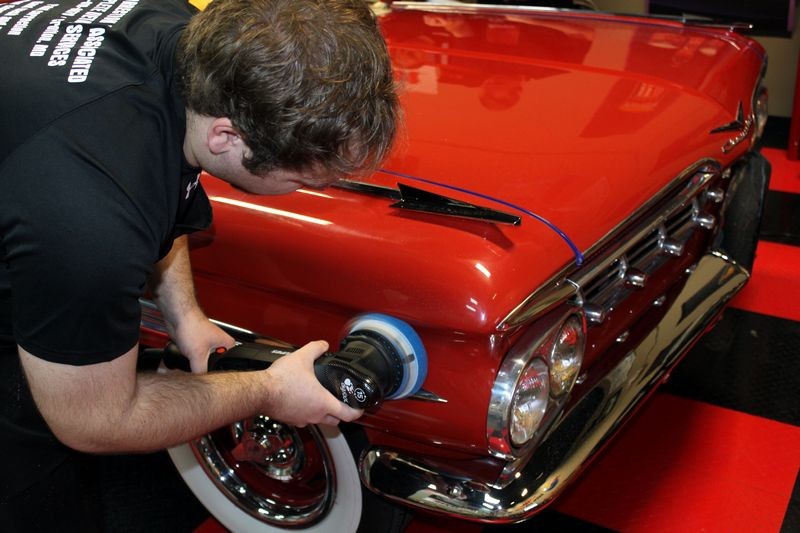
Test Spot Number 1
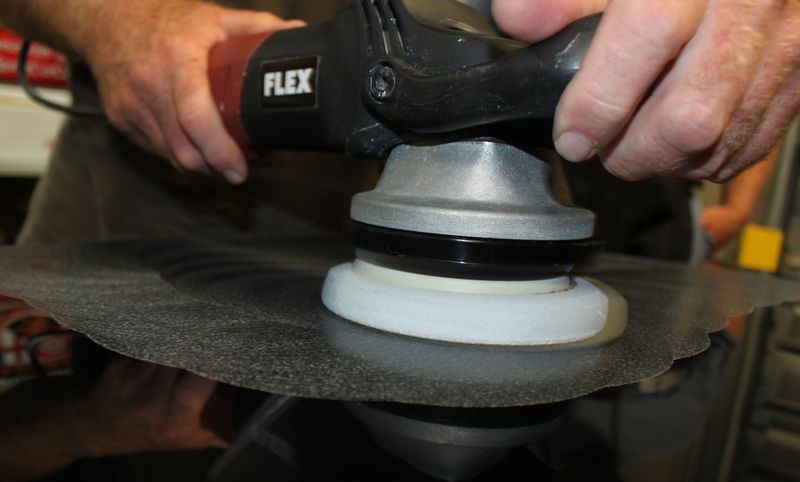
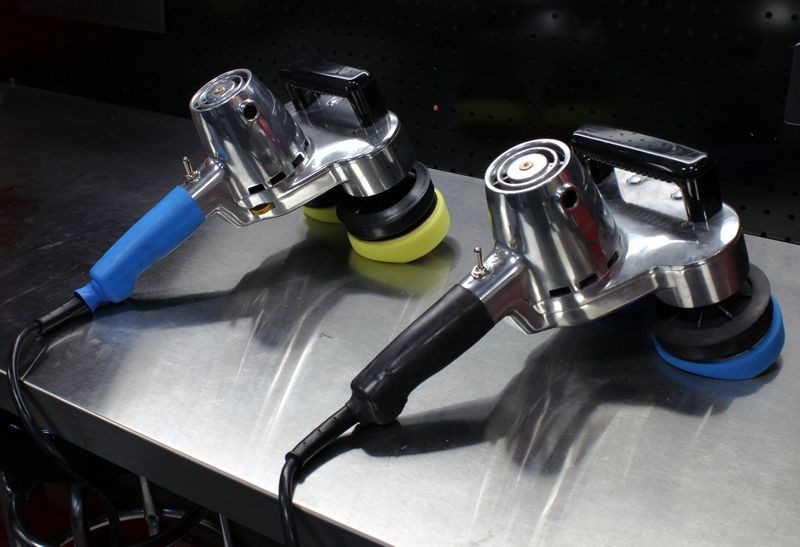
For our first Test Spot we're using the Rupes Bigfoot 21 Orbital Polisher with a Rupes Yellow foam pad and the Rupes Keramik Gloss Fine Cut Polish.
I show my class how to pick up a thin, bead of product using a modified version of the 10 @ 10 Technique which pulls the bead or strip of product under the pad trapping it between the pad and the paint instead of splattering it.
For our first
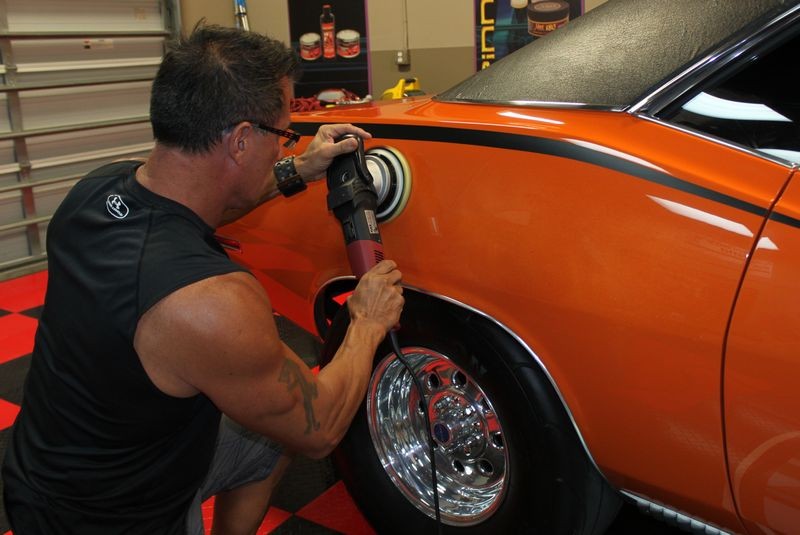
Test Spot Number #2
The first combination of pad and product removed the shallow swirls but it wasn't aggressive enough or fast enough to meet our requirements and expectations for the finish quality on this car's paint.
Next we tried the Rupes Green foam pad and the Rupes Quarz Gloss Medium Cut Polish. Note we're doing this Test Spot in a new section of paint as re-doing the test spot to an area we already polished would skew the results.
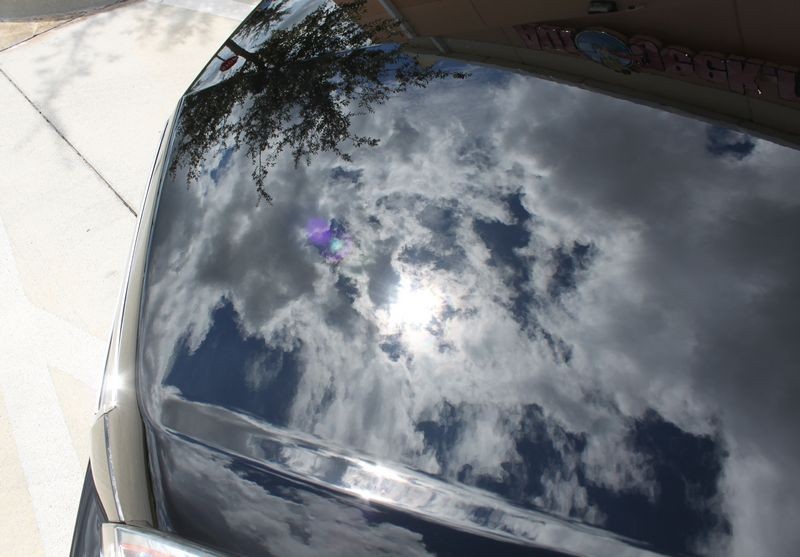
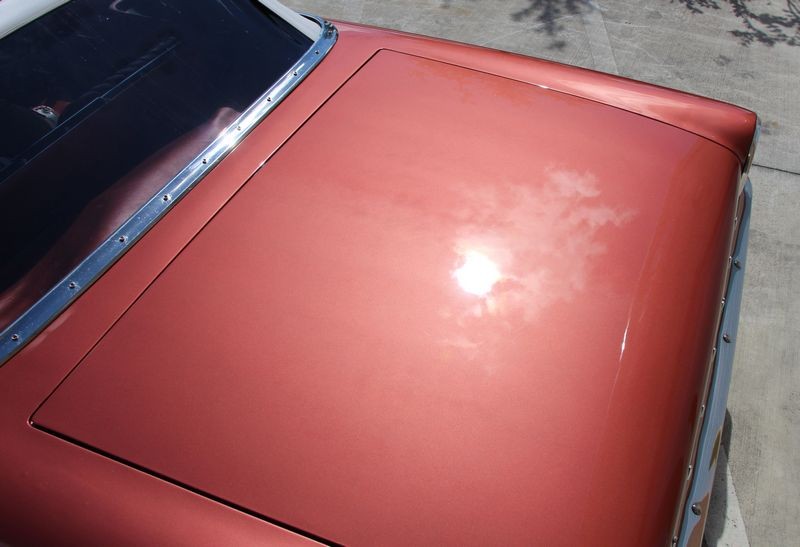
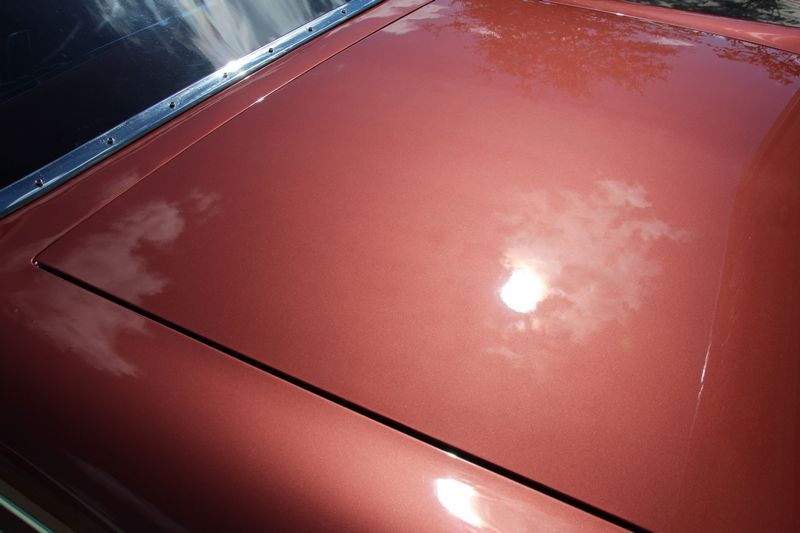
Perfect Finish
The more aggressive green pad and polish worked perfect on this paint system to remove the defects and restore a clear, high gloss finish.
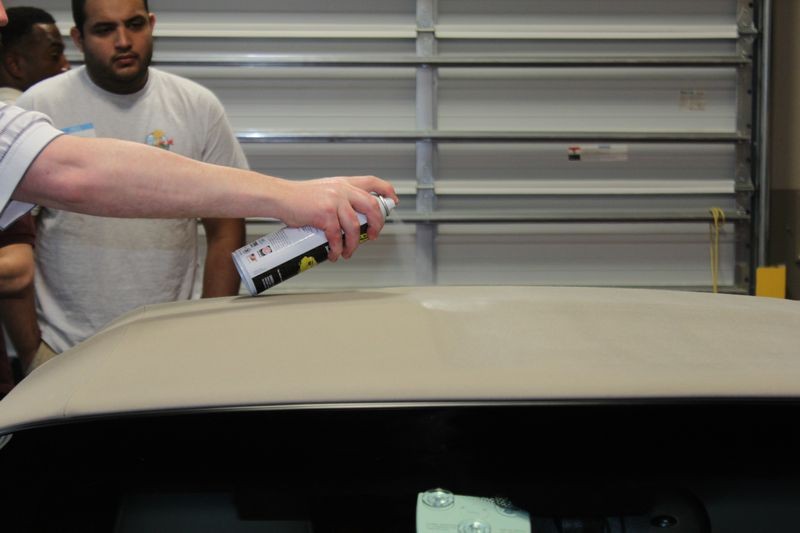
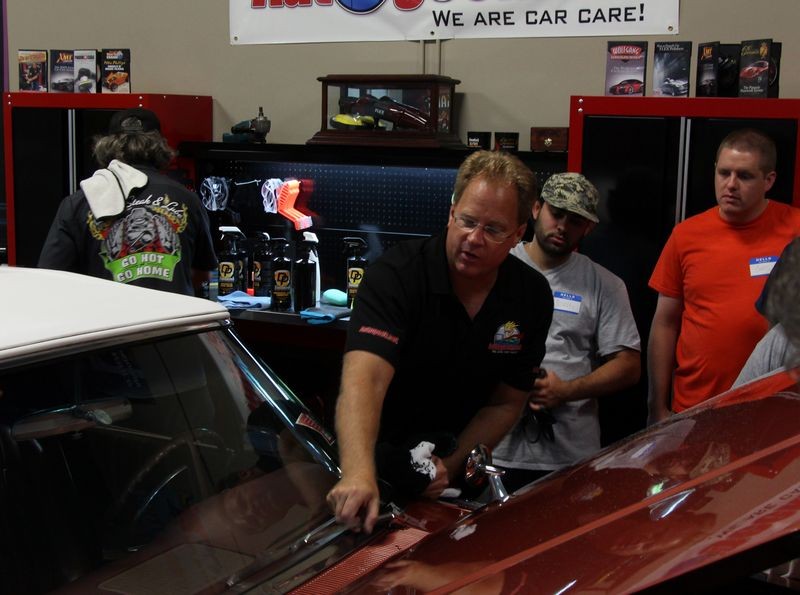
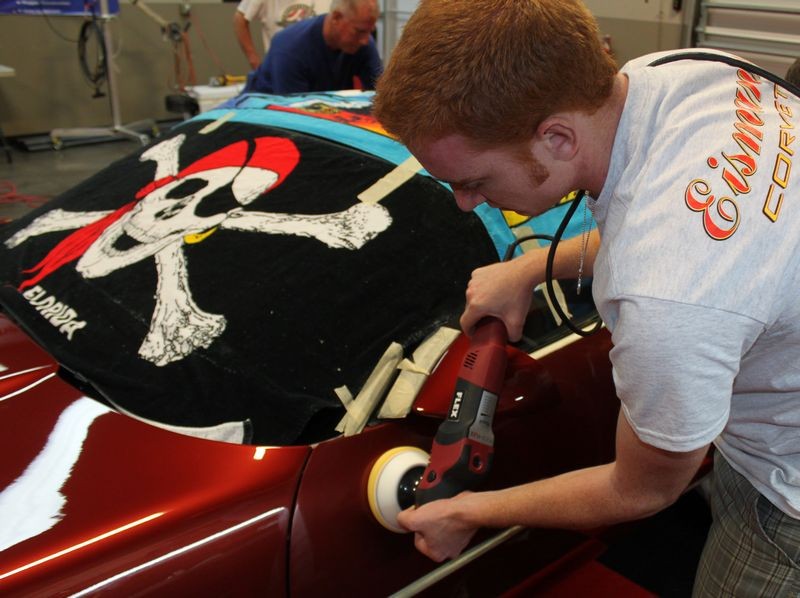
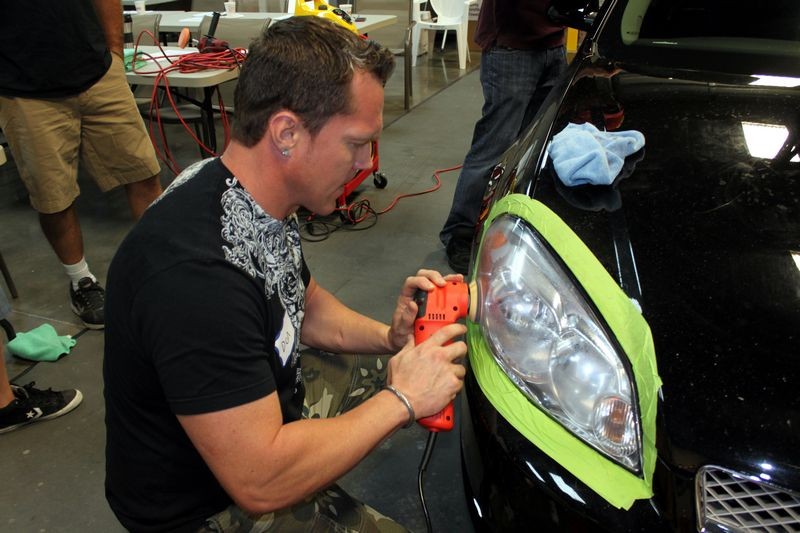
Tape-off and Cover-up
I teach my class to wait till they've proven a system that will remove the defects and restore a finish that meets their expectations. You never know, something could be out of your control and taping off a car before you dial in your system could end up being a waste of time.
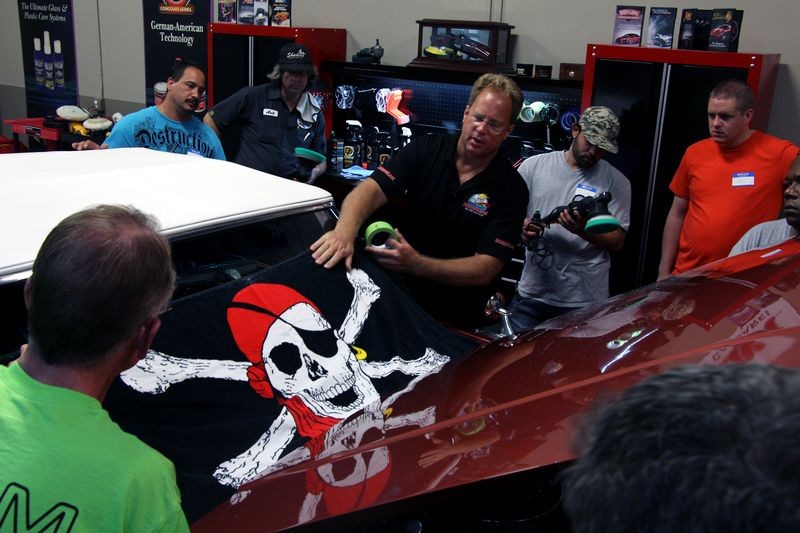
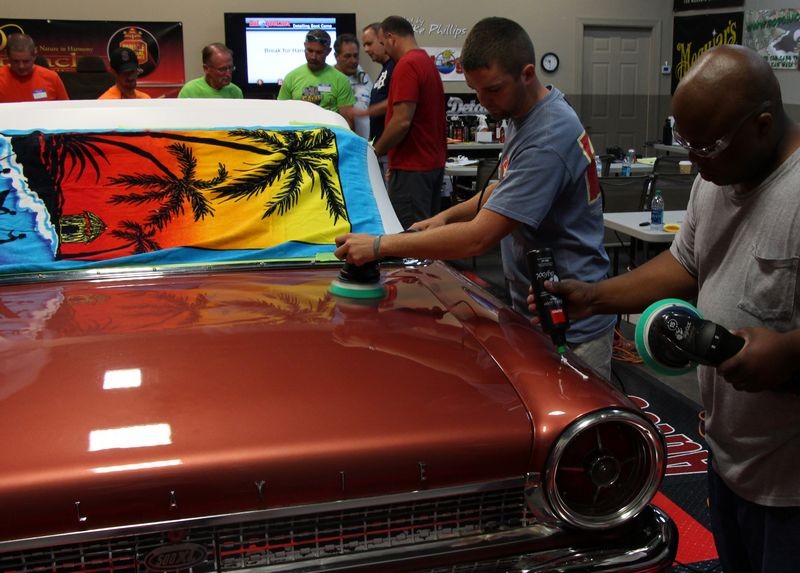
After we proved our system approach we went ahead and used the beach towel technique to cover and protect the fresh air grill, wipers and windshield from any accidental splatter. Remember for most of the people in this class this will be the first time they've either machine buffed and/or used the Rupes system and usually both.
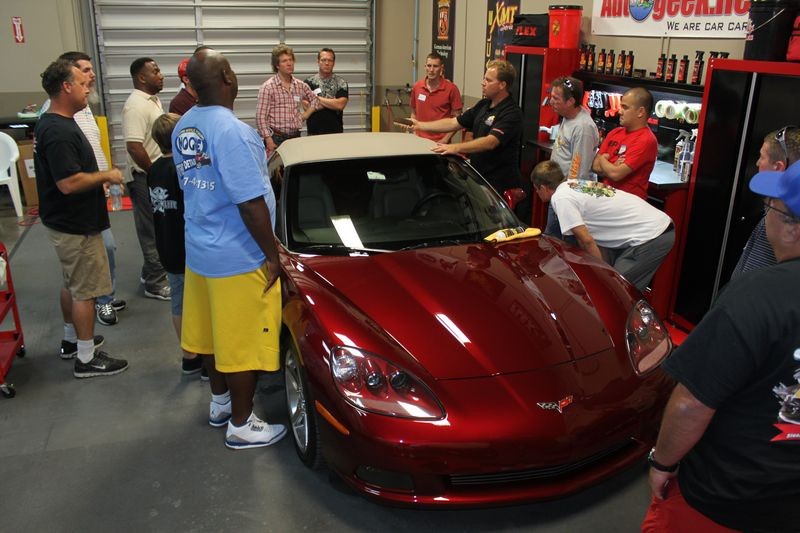
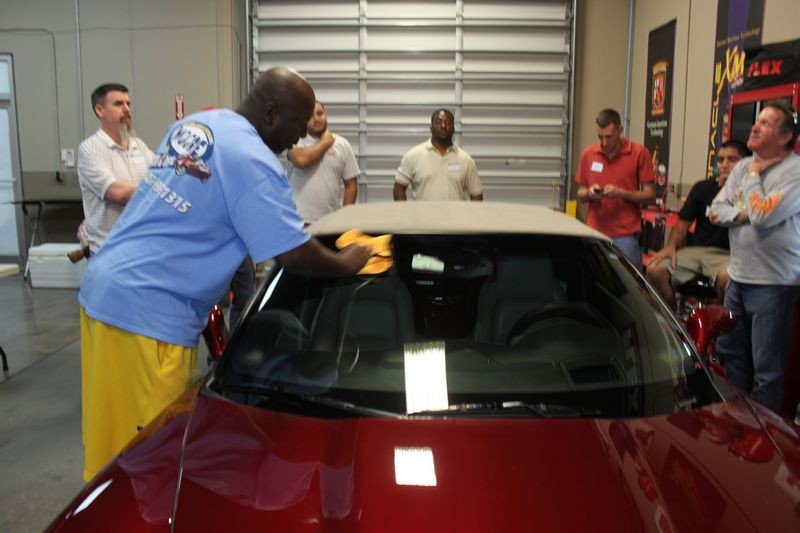
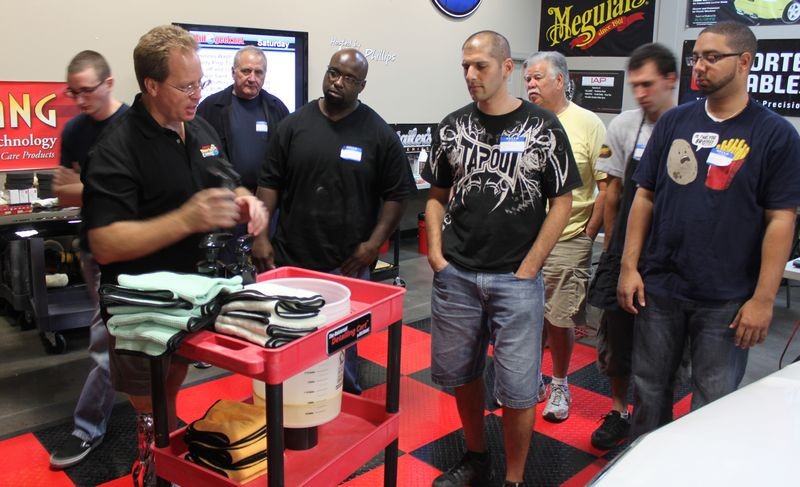
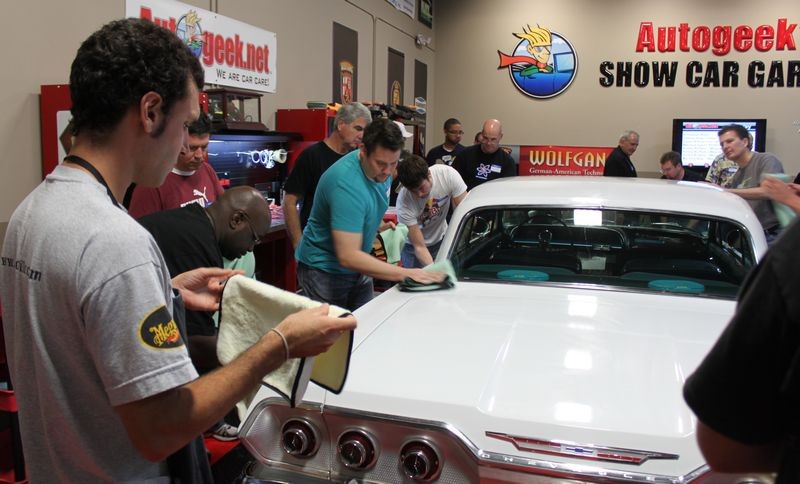
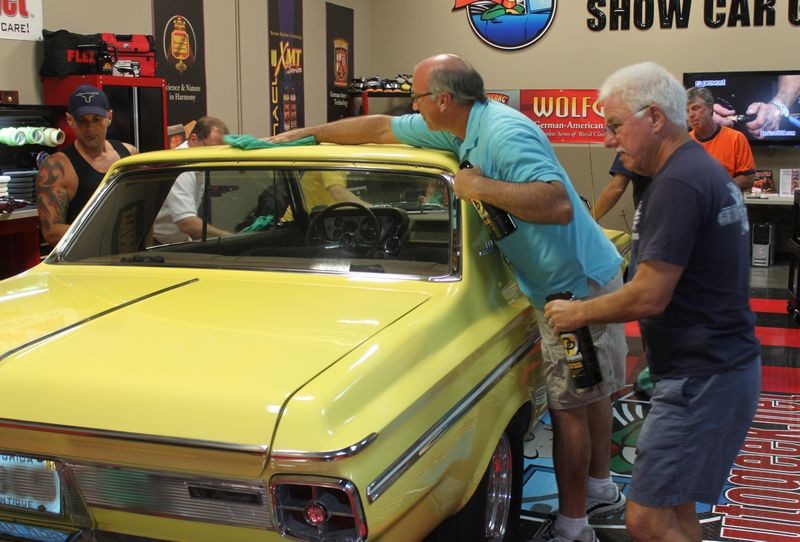
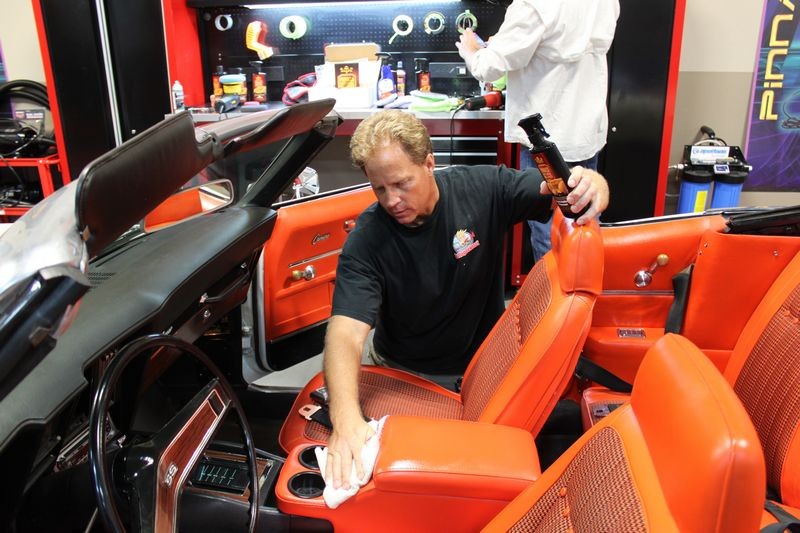
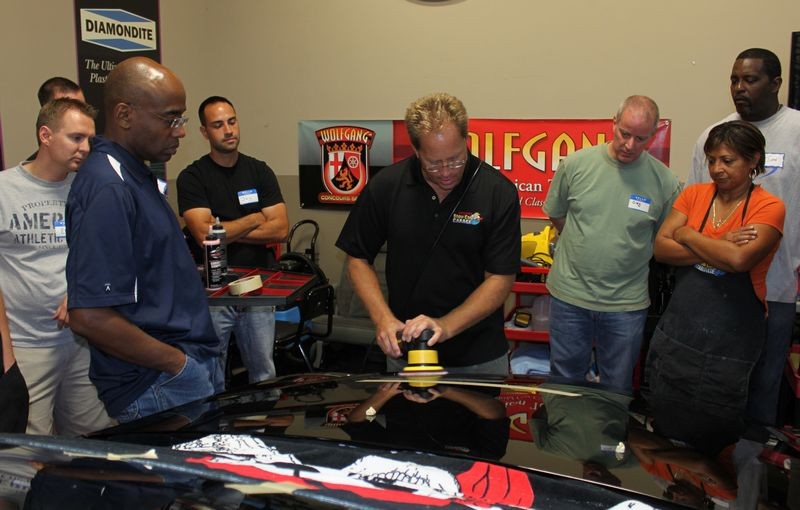
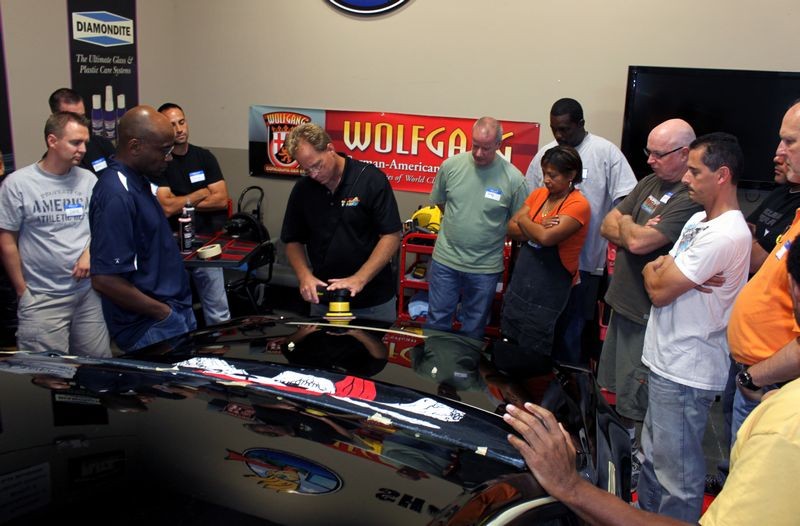
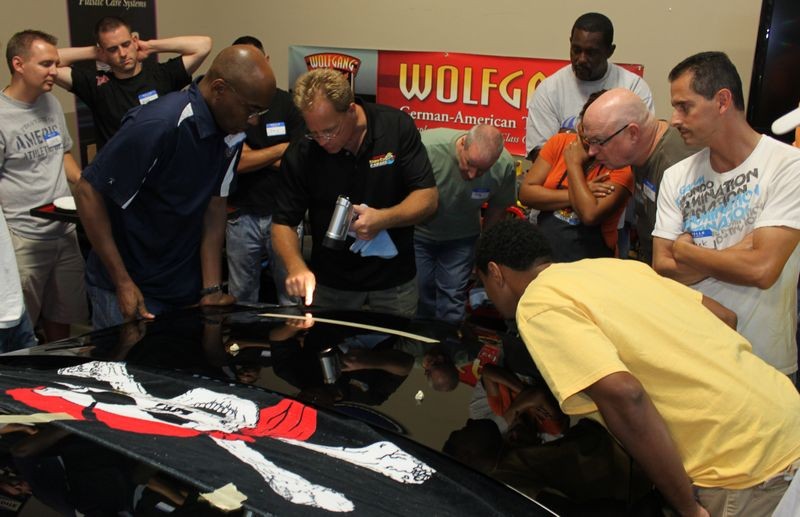
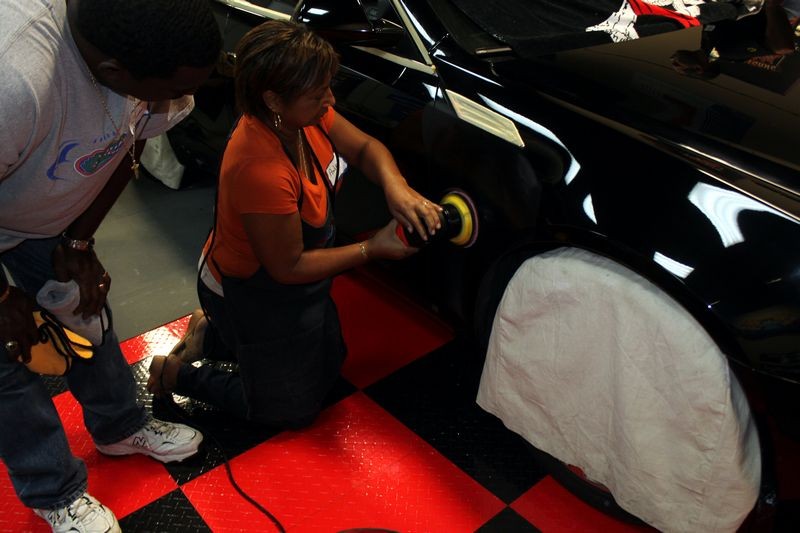
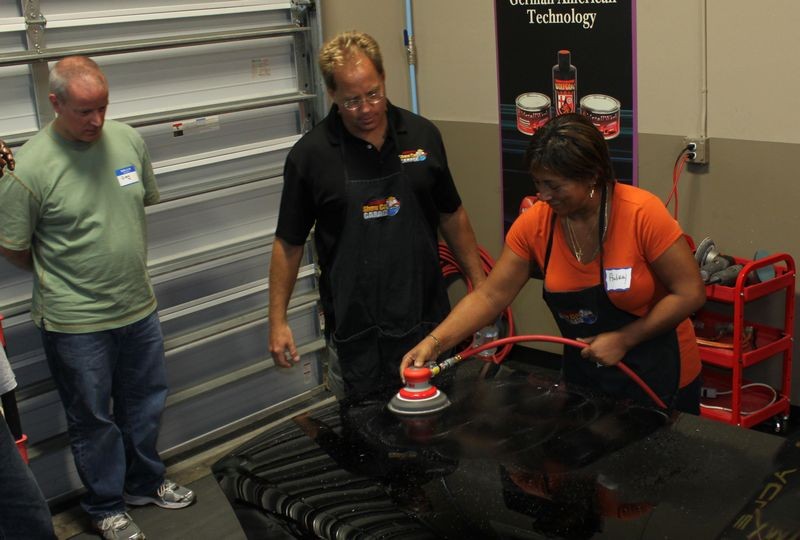
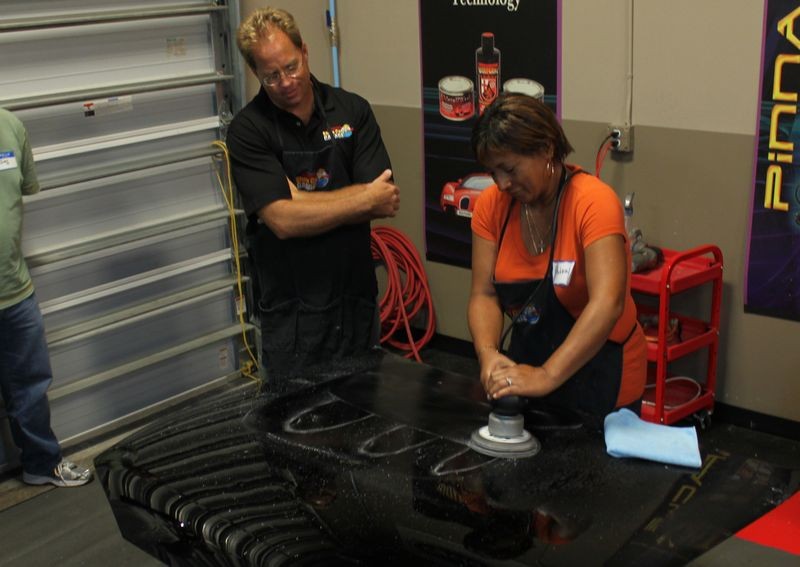
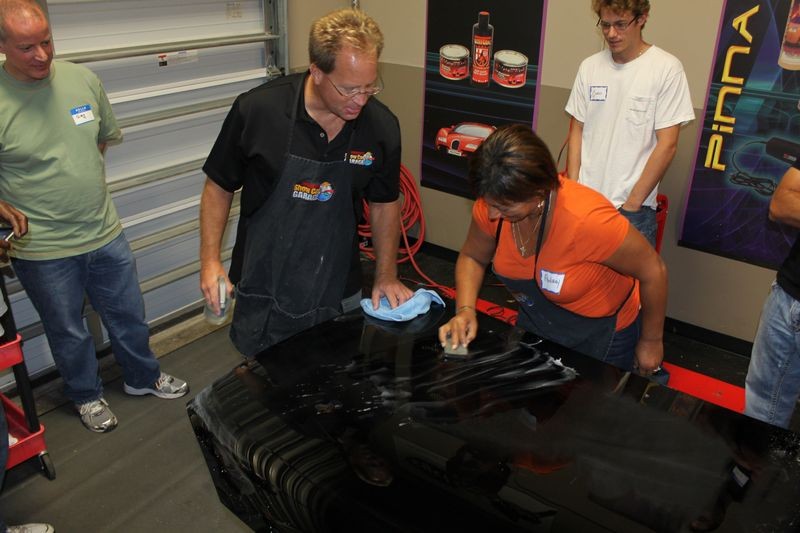
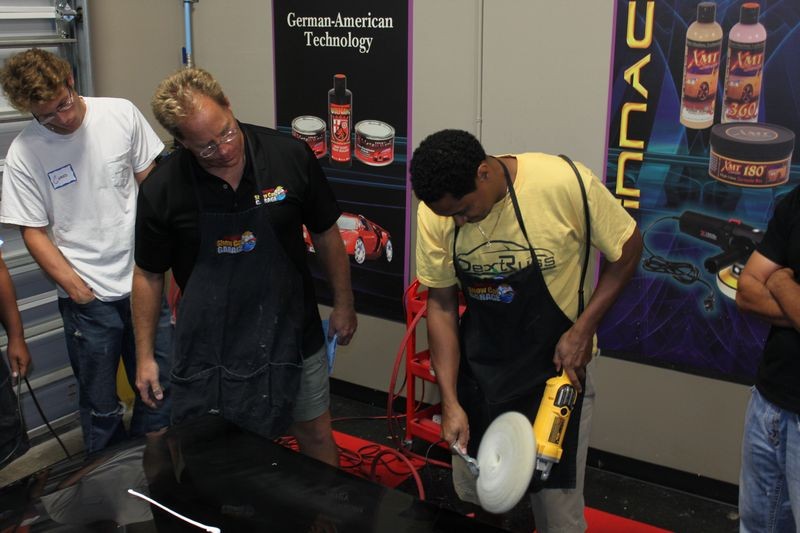
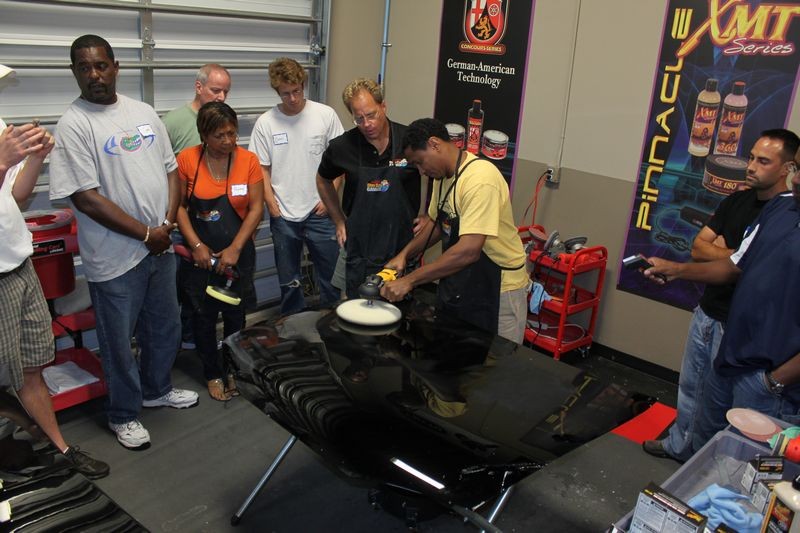
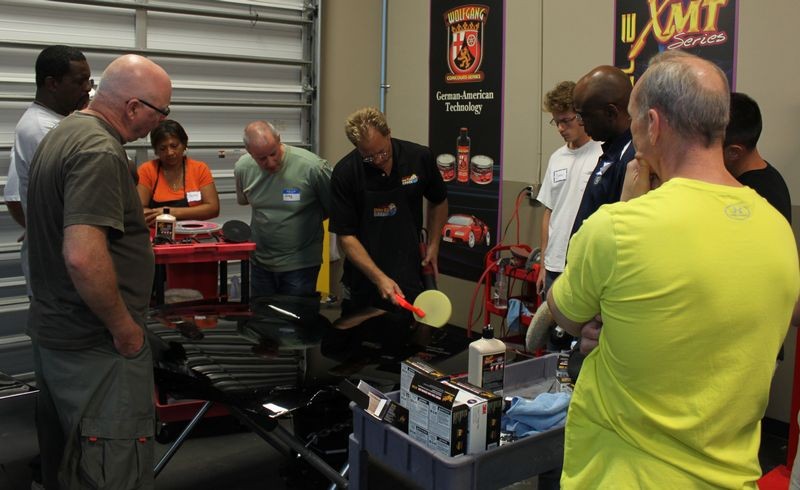
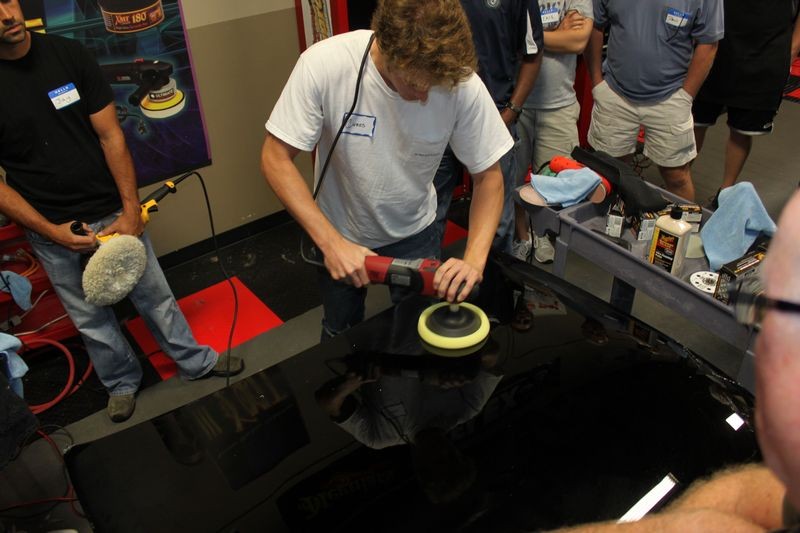
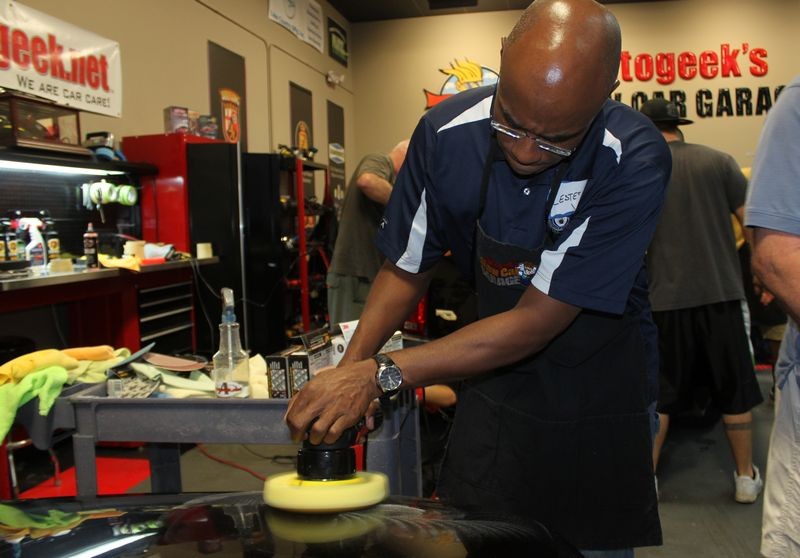
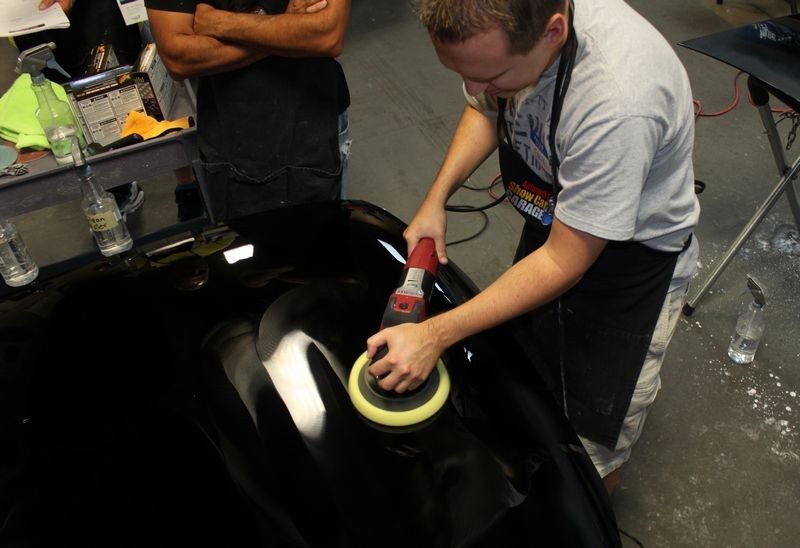
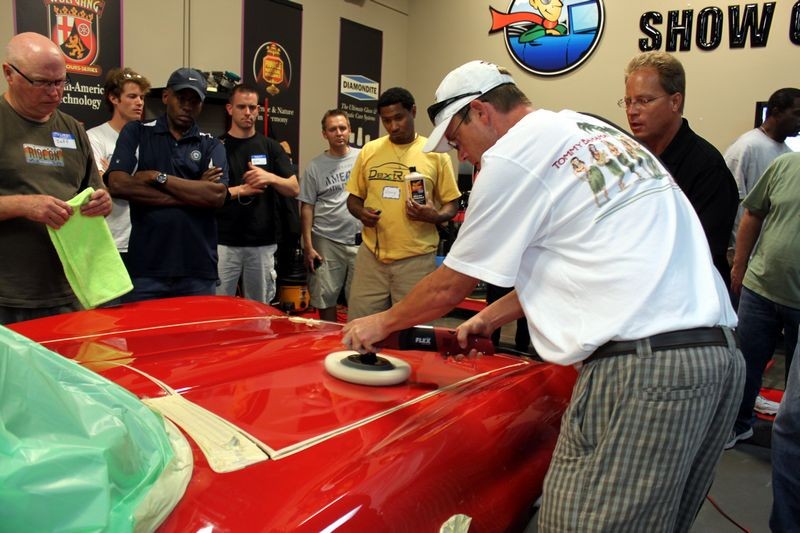
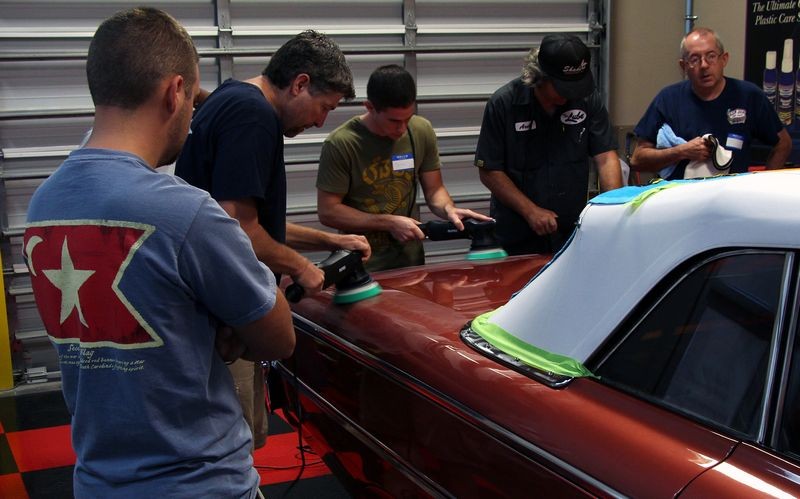
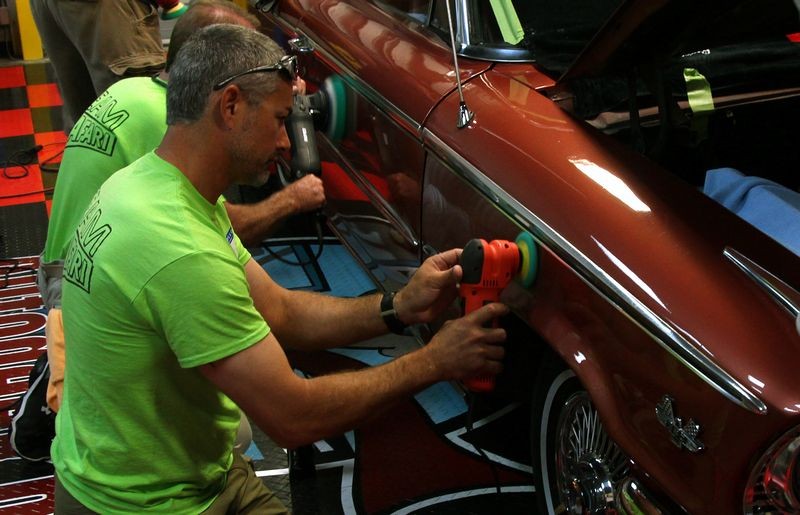
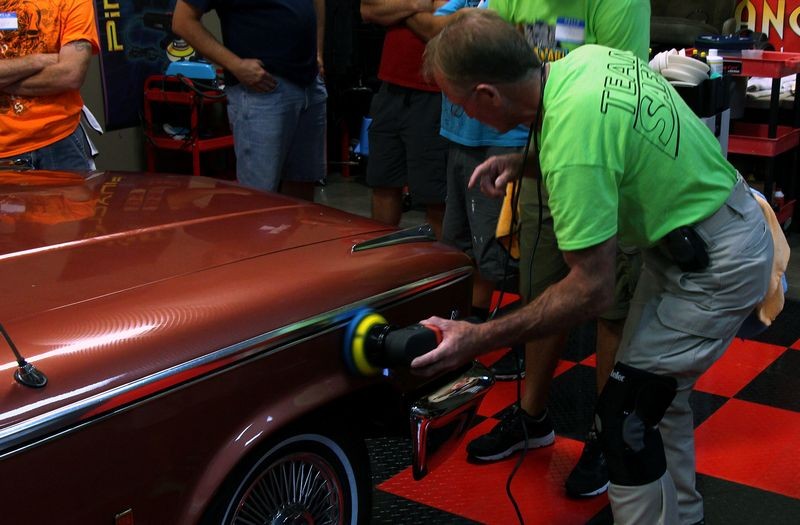
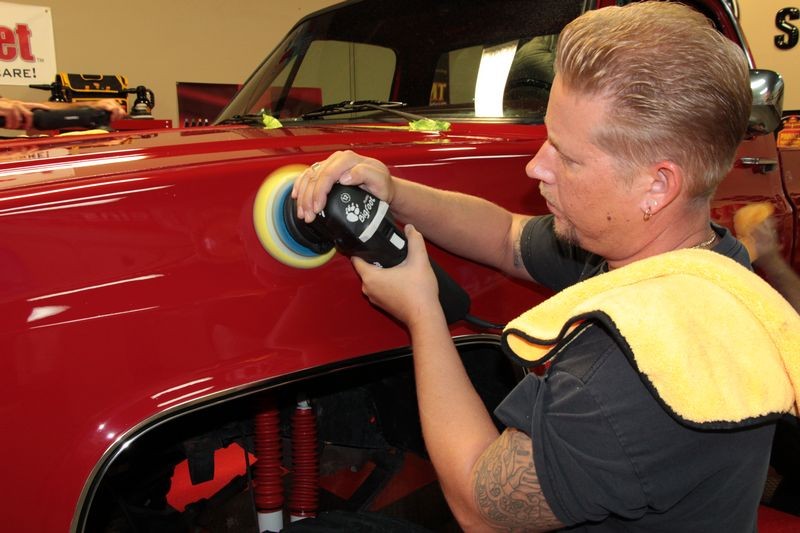
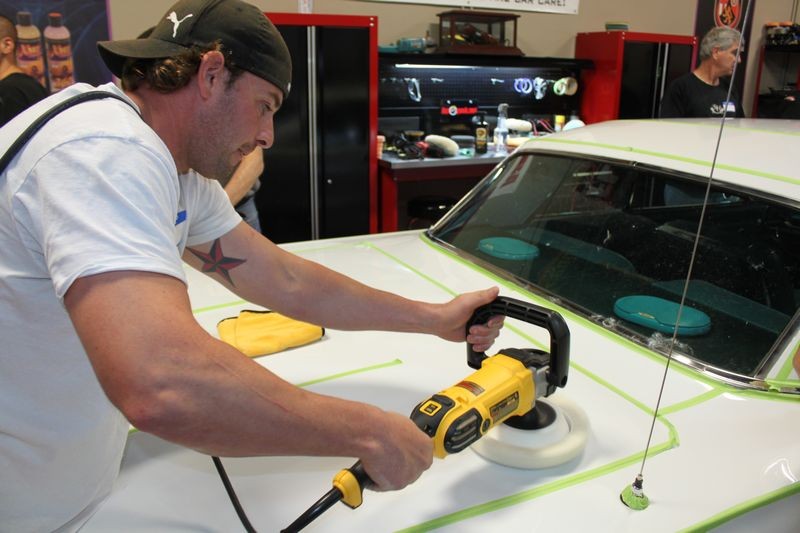
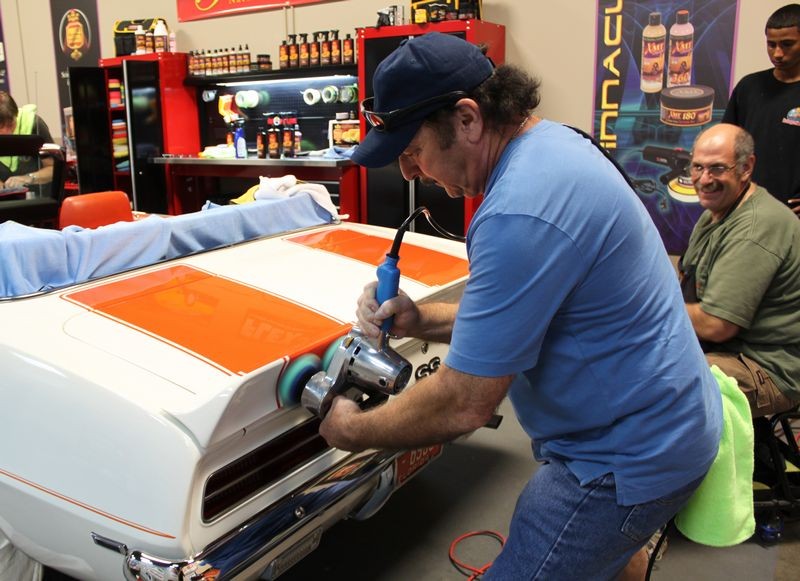
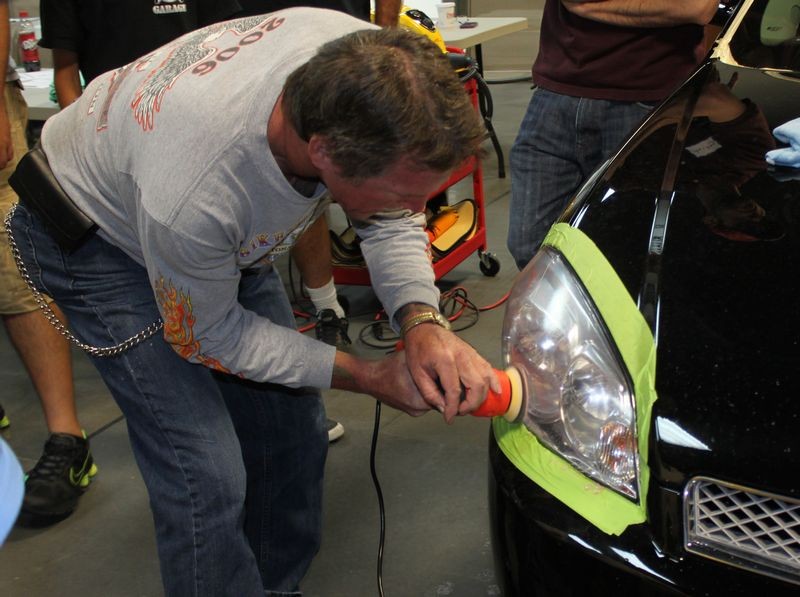
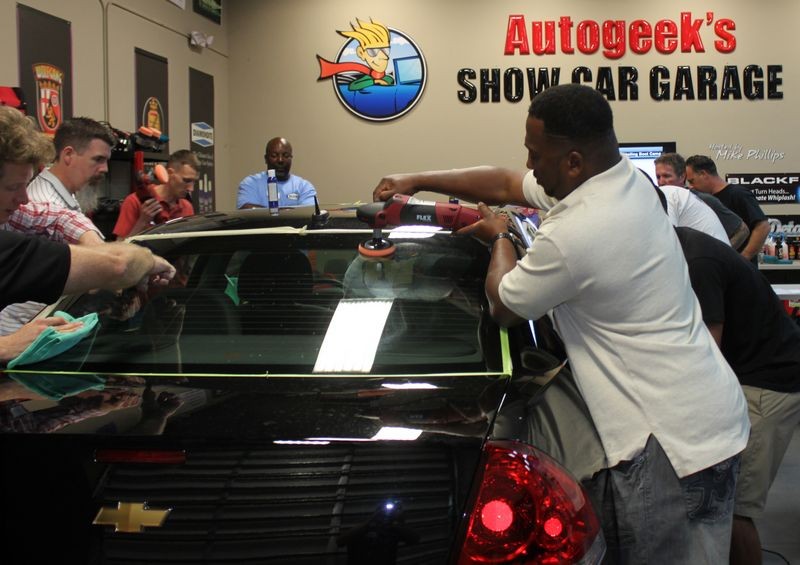
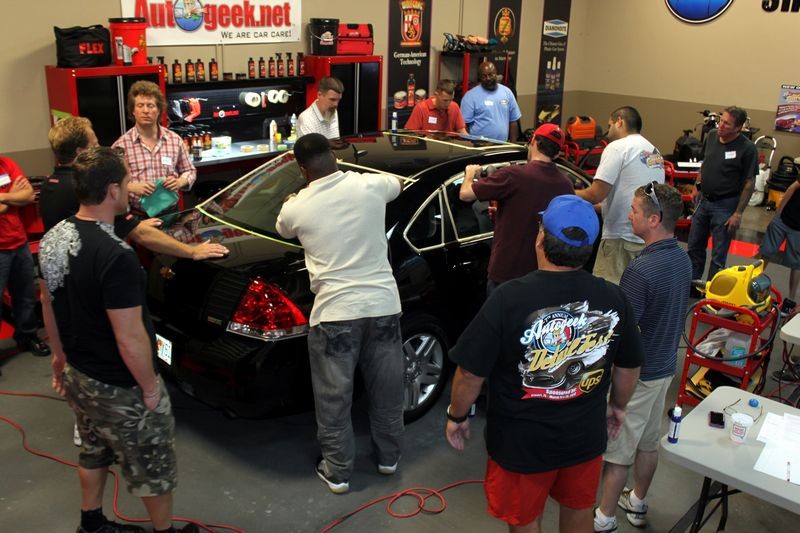
Hands-on Training
After taping off and covering over things like the convertible top with a tape line surrounding the areas close to body panels the class dives in using the buddy system. Students are paired up with one person buffing and the other person watching their technique as compared to what is taught during the power point presentation and when I demonstrate the tool. The person not buffing is also responsible for making sure the cord is not touching the paint and if it is, gently reminding their buddy to place the cord over their shoulder. They are also responsible to carefully wipe off the product residue. After the first buddy buffs a section of a panel they switch places with the second buddy and repeat the above process. By watching and working together, both people learn from what is done correctly and also by any mistakes that are made. This is a system I've developed on my own and is very effective.

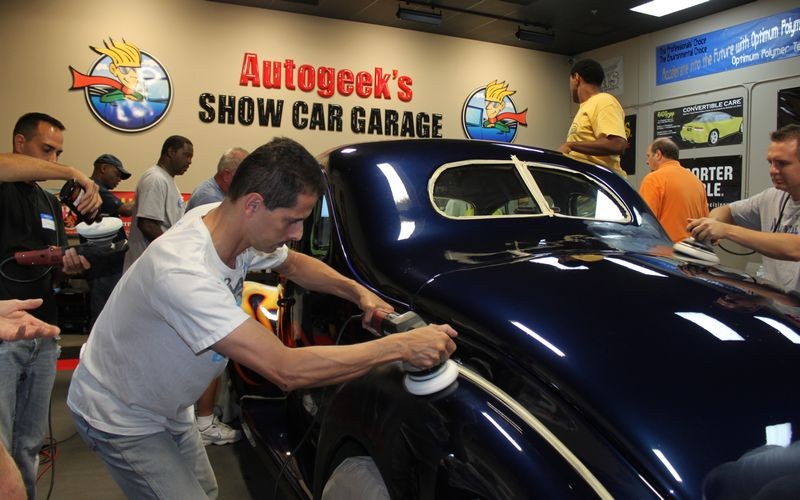
As you look through these pictures, take note of how much room there is for everyone to buff. Classic body designs from Detroit offer plenty of real-estate to learn on and practice your technique.
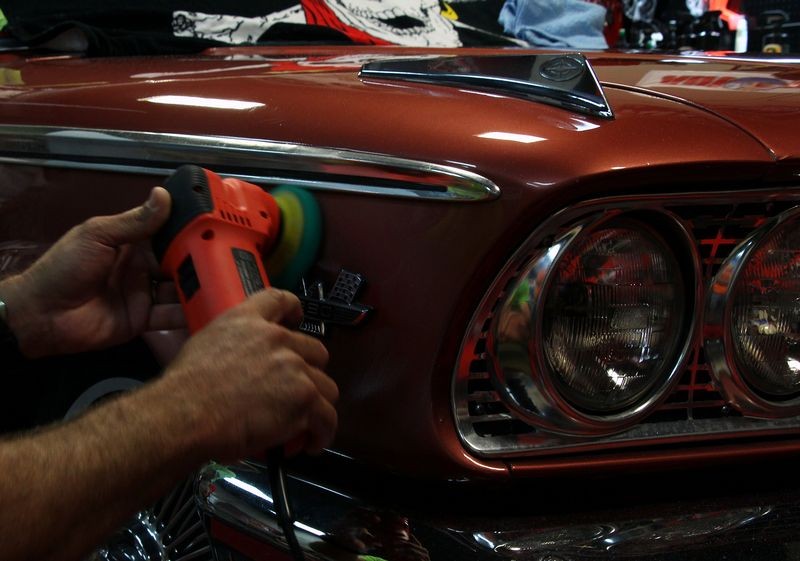
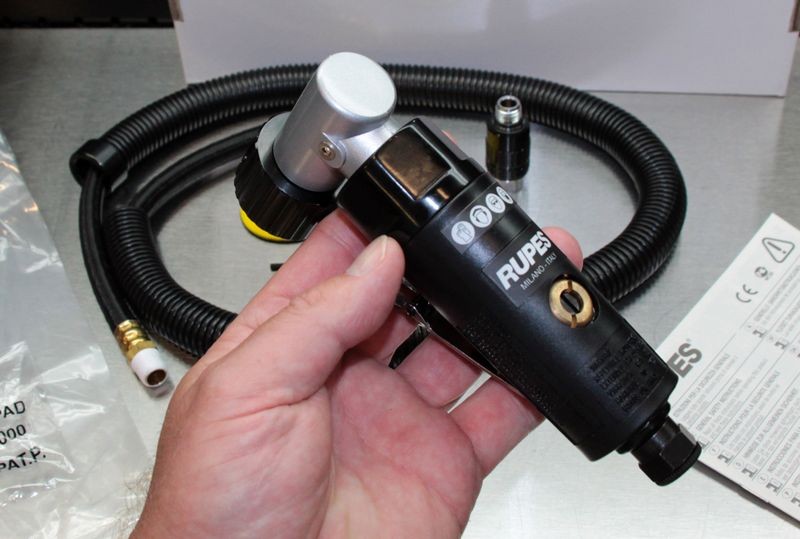
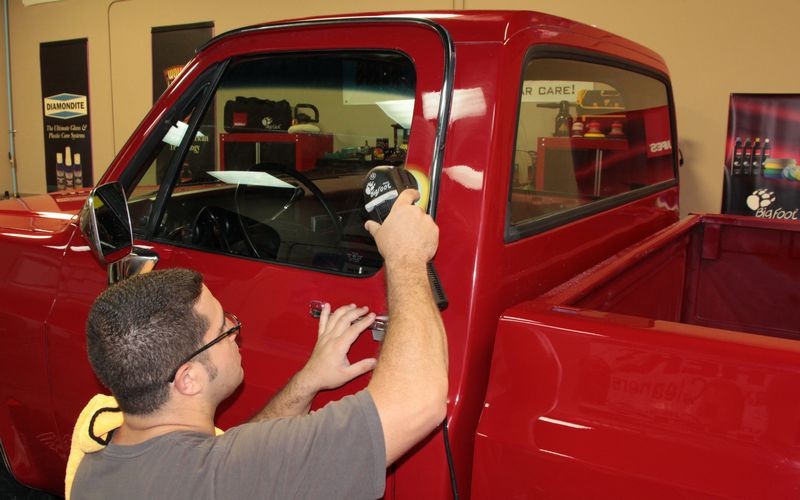
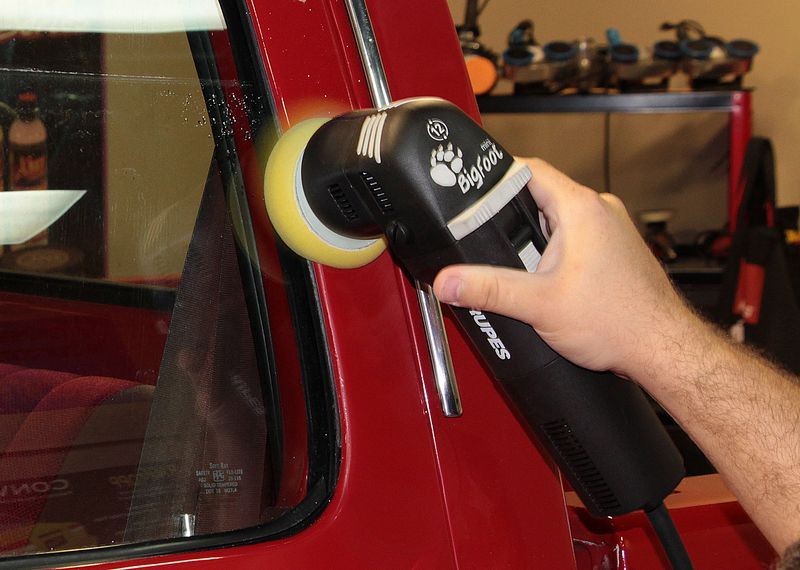
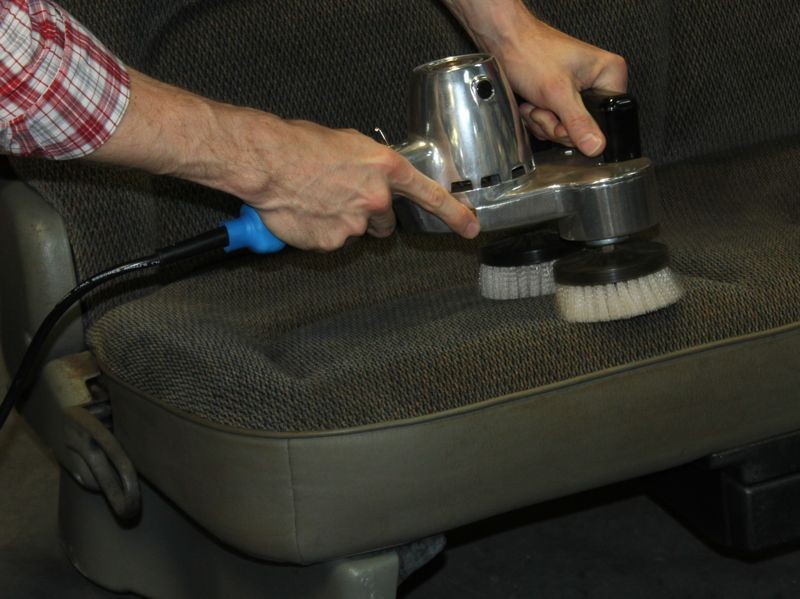
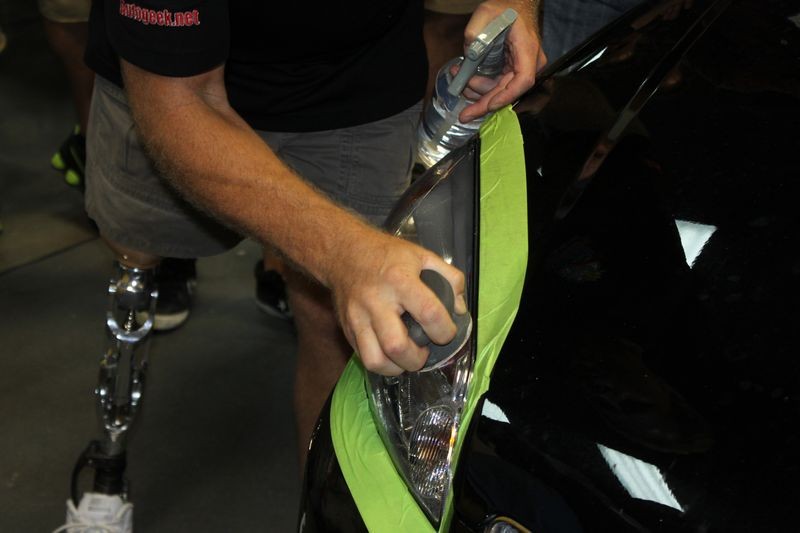
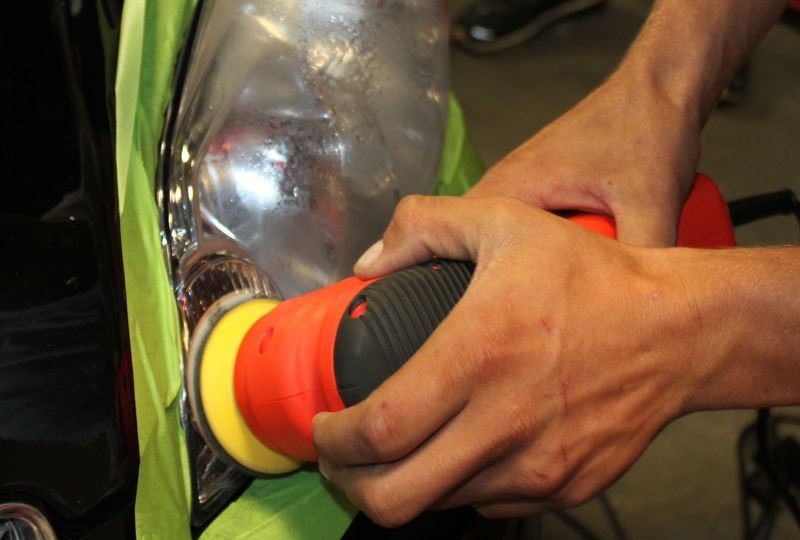
Small, Compact Polisher for Thin Panels or Intricate Areas
For doing small, thin panels we're using the Griot's 3" Mini Polisher with the 4" Rupes Pads. In my opinion, there's not only room in the market place for a
REALLY GOOD mini or small orbital polisher but there's a
HUGE DEMAND for a tool like this also.
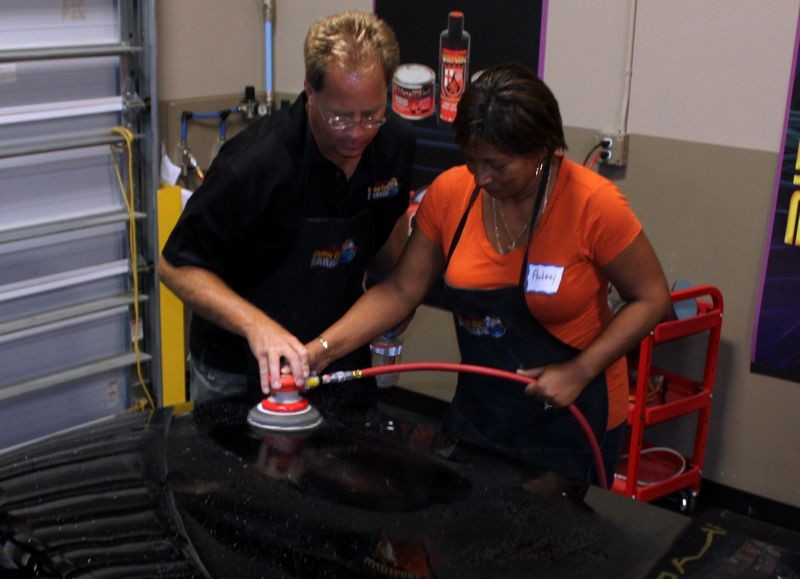
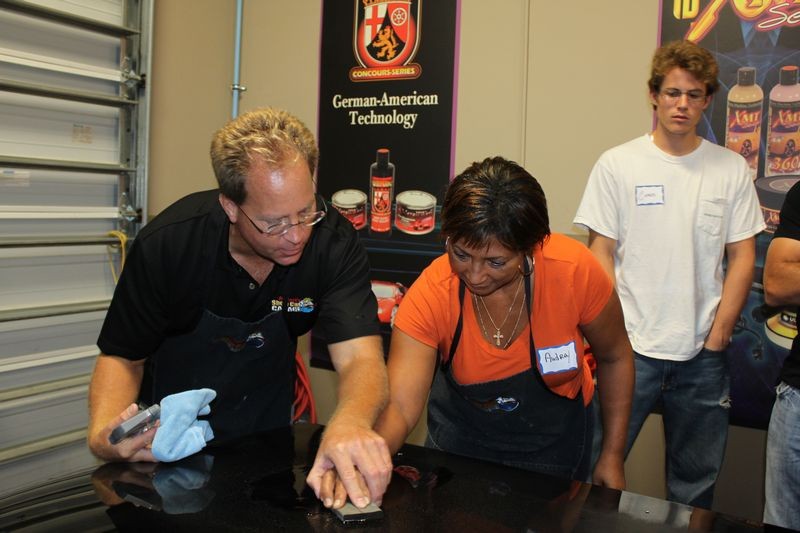
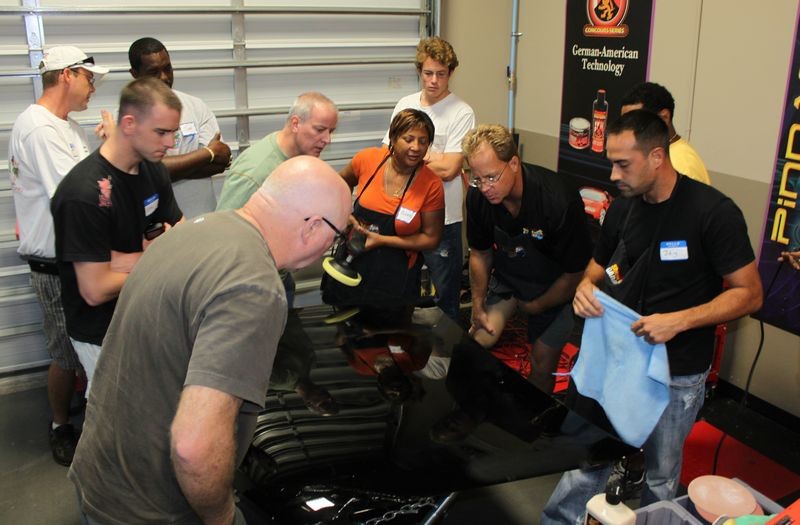
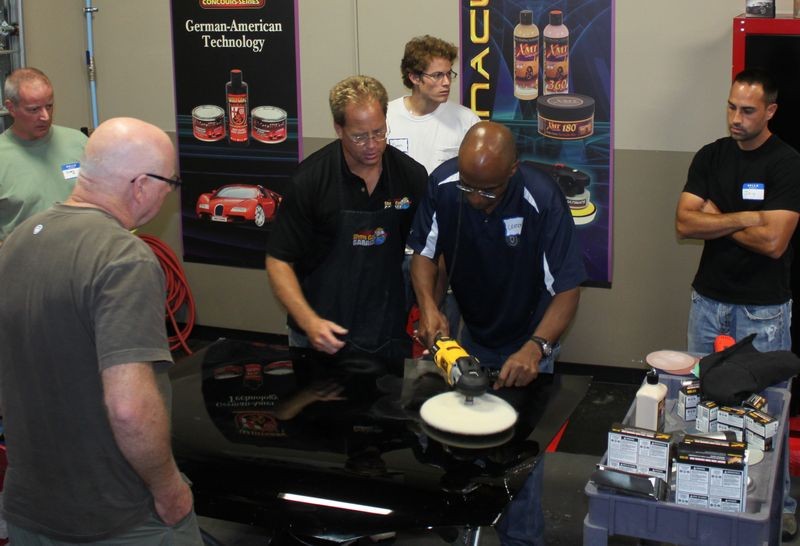
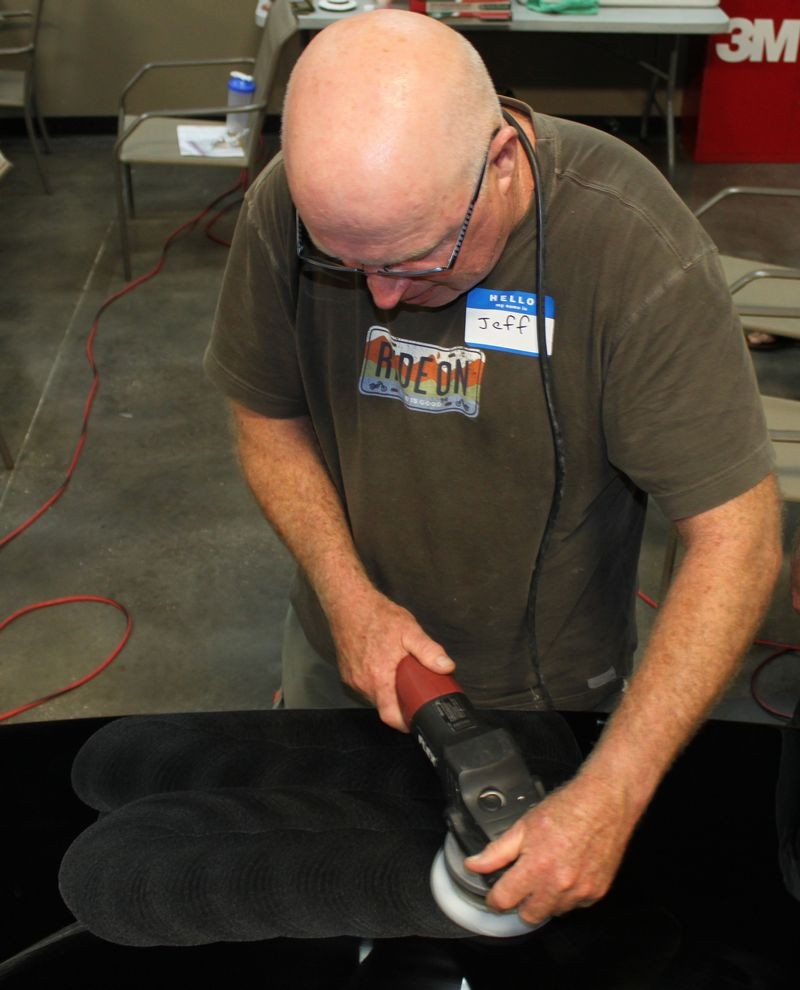
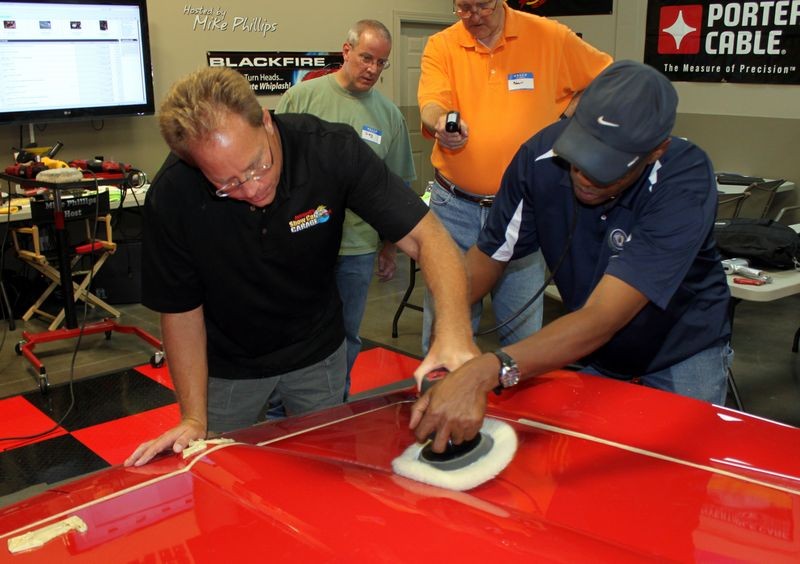
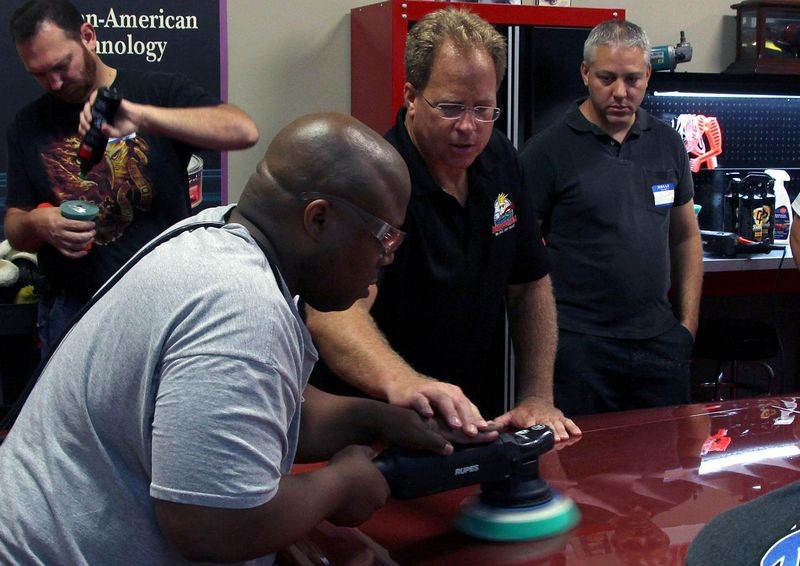
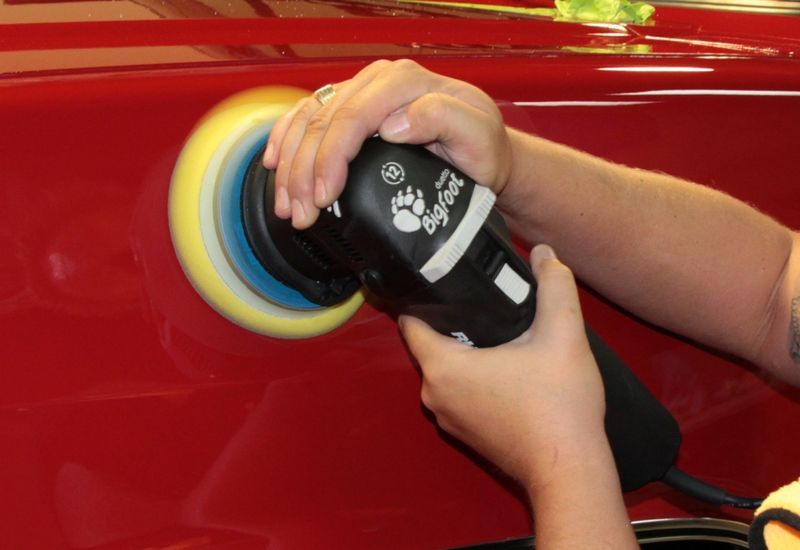
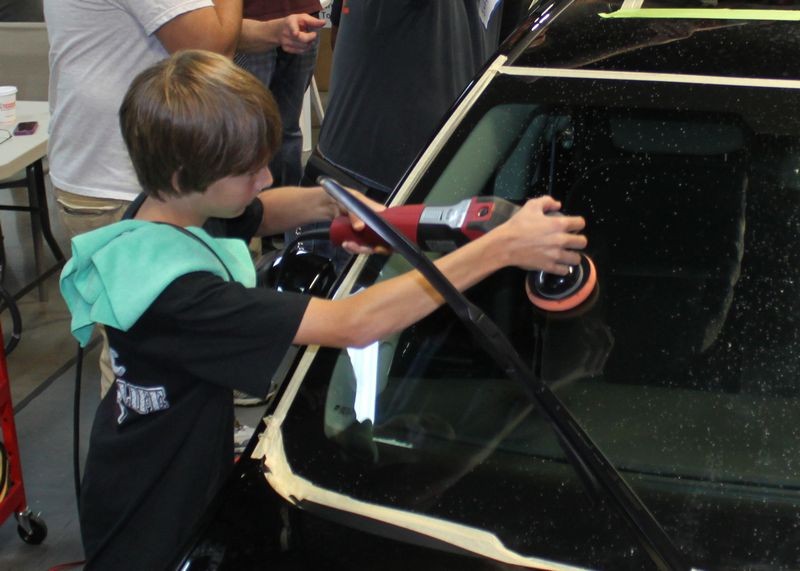
Hands-On Training
When I say hands-on... I mean hands-on... Sometimes the fastest way to dial-in your technique is to have someone physically place their hands on your hands as you grip the polisher and show you,
- How much or how little downward pressure to use.
- Which directions to move the polisher.
- How fast or slow to move the polisher.
- The size of an area to tackle at one time.
- How to divide up larger panels into smaller sections.
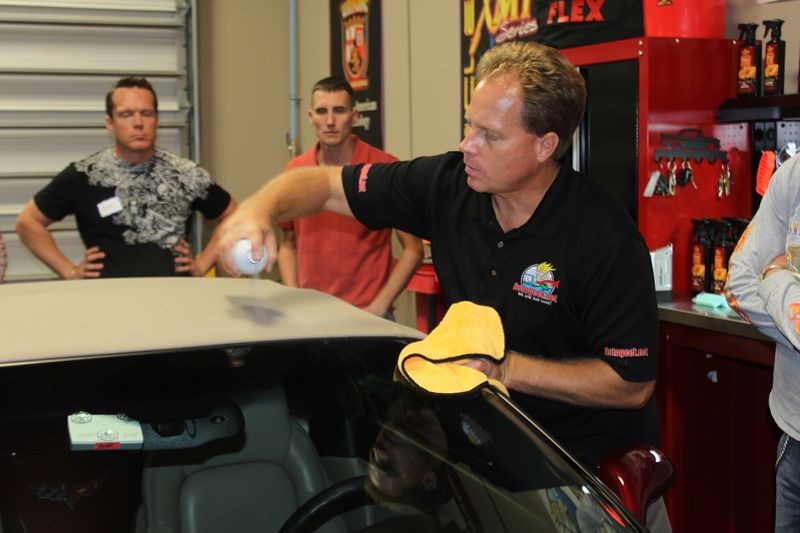
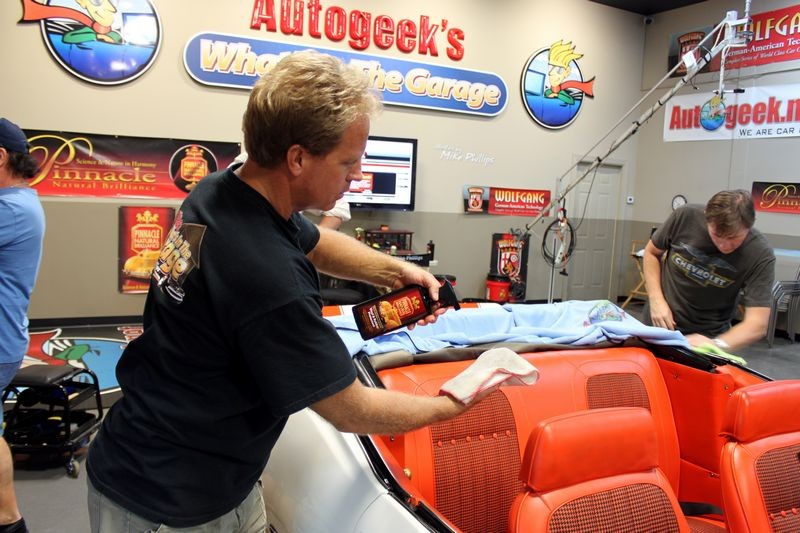
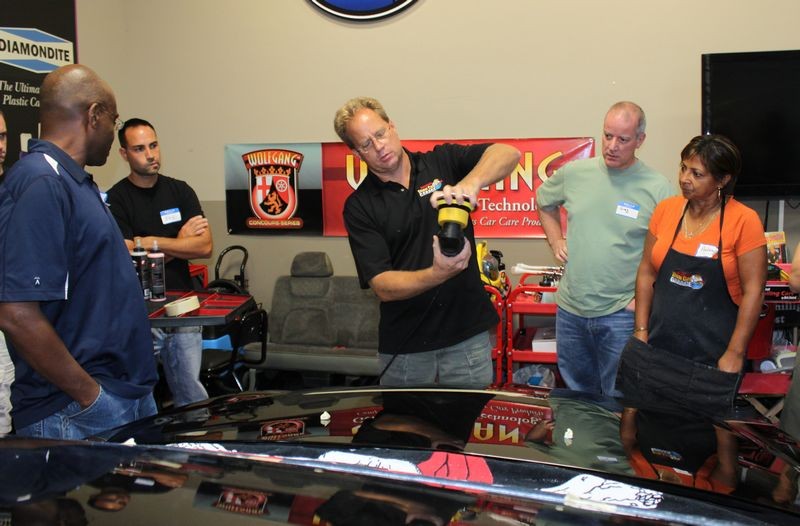
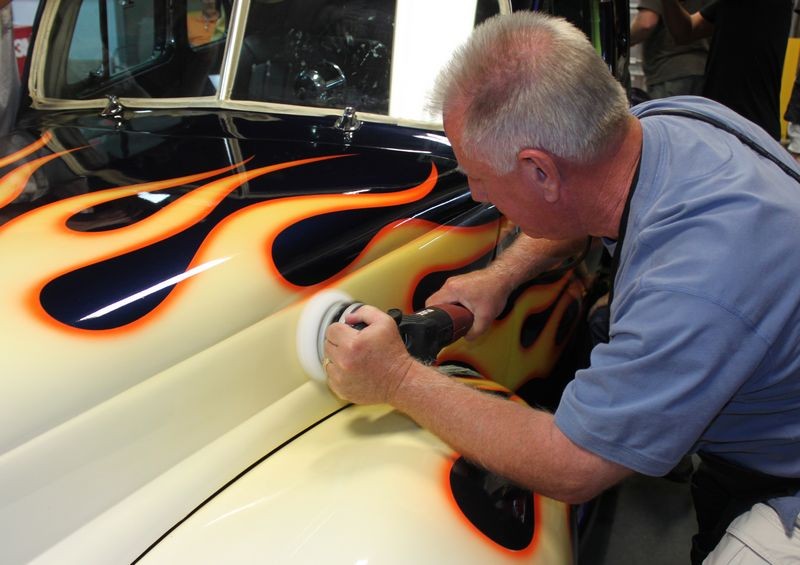
Show Car Techniques - Machine Applying a Show Car Paste Wax
As the saying goes, there's all kinds of ways to skin a cat. At my classes I show multiple ways to "seal" the paint after polishing. For this car I'm going to show my class how to machine apply a true show car paste wax to create a deep, wet shine.


")