Single Stage Correction Question

Newdetailer1

New member
Joined
Feb 2, 2012
Messages
351
Reaction score
0
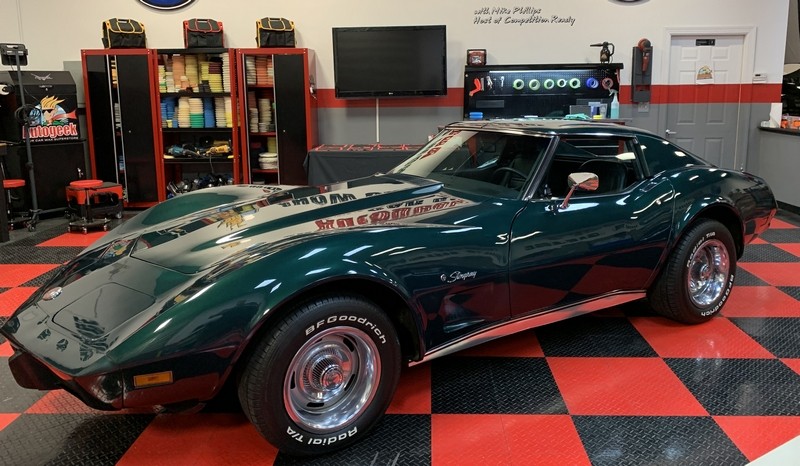
I've polished more clear coat cars than I can count but I've never come across a single stage yet. I might be doing a 73 Vette soon and there is a chance it's single. I understand how to check officially and know not to believe that all panels will be the same...
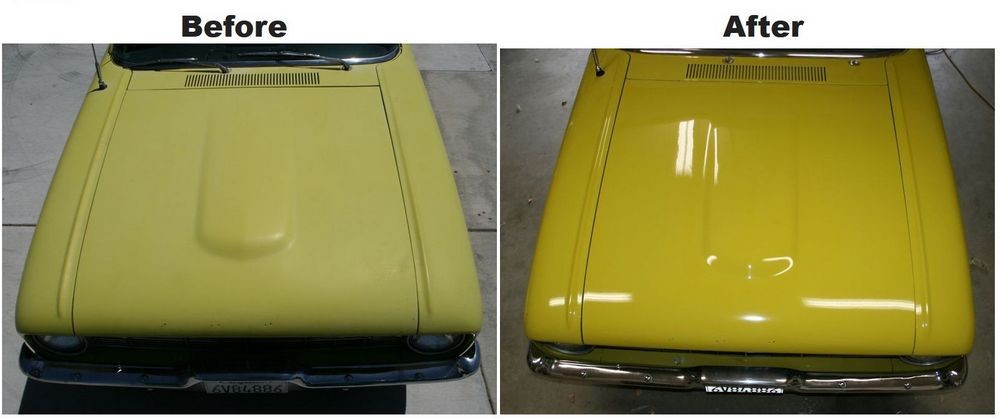
With assuming it's all single stage I understand taking the least aggressive approach, keep the polisher moving and watch the edges. I'll be using the flex 3401, menzera polish (whichever it requires 400, 2500, 3500) on lake country flats.
Would washing and clay bar processes still be the same as part of the decontamination process? Iron-x still safe to use? Any other advise would be appreciated! Thanks
 
Would washing and clay bar processes still be the same as part of the decontamination process?

Yes but if there is visible chalky oxidation the clay will remove this and it will load-up in the clay. Not a big deal but you might only get one use out of the clay.

See this write-up from 2004


1986 Ford Bronco II - Extreme Makeover


Before claying the panels, be sure to spray some Quik Detailer onto both the clay and the panel to be worked.

2005BroncoWetClay.jpg


Then simply work the clay back and forth over one section at a time, kind of like you would rub a bar of soap over your skin.

2006BroncoClaying.jpg


You can usually feel when the surface goes smooth


See the dead paint loading up?

2006BroncoContaminantsonClay.jpg


Iron-x still safe to use?

Not really. You can get away with it but from my experience iron removers will penetrate single stage paint and STAIN it. When you buff you can usually remove it - if there's enough material to buff off.

Me? I wouldn't do it.


Any other advise would be appreciated! Thanks


You nailed one of the other things, don't buff on edges. Actually, look for primer showing through on the flat panels and then just glide over them a little.


:)
 
Here's two original paint Corvettes I detailed this year....


04-10-2020, 05:33 PM

1976 Corvette Original Single Stage Paint - Paint Correction and Waxing

1967_Vette_065.JPG


11-22-2019, 01:11 PM

Original Paint Restoration - 1970 Bronze Metallic Corvette - Pinnacle Jeweling Wax- Porter Cable

1970_Corvette_Original_Paint_Bronze_011.JPG


NOTE - Both had thin section with primer showing under the color coat and BOTH had Lacquer Cracking or Lacquer Checking.


:)

Good stuff as always Mike, Thank you.
Good to know about the Iron-X. I will definitely stay away from that especially since the clay should be able to do everything I need it to. I guess you as the detailer and the car owner have to understand expectations based on paint condition. You can only get back what the paint can give.
I'm very guilty of being a perfectionist. Every car I do I do to the best of my ability which is usually more than what my customers are expecting.
I know from experience I have customers who look completely passed an imperfection staring at me right in the face! I try not to chase RID's because it can lead you down a bad road. Anyway I'm going off topic...thanks again!
 
I'm very guilty of being a perfectionist. Every car I do I do to the best of my ability which is usually more than what my customers are expecting.

I know from experience I have customers who look completely passed an imperfection staring at me right in the face! I try not to chase RID's because it can lead you down a bad road.


My other recommendation for projects like these?

Take great before pictures. Once you buff out the car you can NEVER go back in time and get the BEFORE shots. You can ALWAYS get the after shots, but not the before.

See my article here,

The power in the after shots is created in the before shots


In the picture below, if you DIDN'T know how bad the paint was BEFORE the paint correction, you wouldn't have as much appreciation for the AFTER results.

beforeaftershot.JPG


It's the before shot that gives perspective. It's the before shot that provides context.

The power in the after picture is created in the before picture -Mike Phillips


Before starting any detailing project, take the time to capture the before condition pictures. Take my word for it, you'll regret it if you don't.


:)

Roger that Mike.
 
Here's the T-tops off of a 1972 Corvette with the original blue metallic paint.

I've rubbed both down with the #7 Rub Down Technique and machine polished one with BLACKFIRE One Step.

1972_Corvette_Original_Paint_0011.JPG


This is after 2-3 hand applied saturation applications of Meguiar's #7

1972_Corvette_Original_Paint_0031.JPG


This is after #7 and machine polishing with BF One Step

1972_Corvette_Original_Paint_0021.JPG


I'm going to do a little more machine polishing and see how much shine I can squeeze out of this 48 year old paint.


:)
 
Back
Top