lawrenceSA
New member
- Feb 7, 2012
- 1,713
- 0
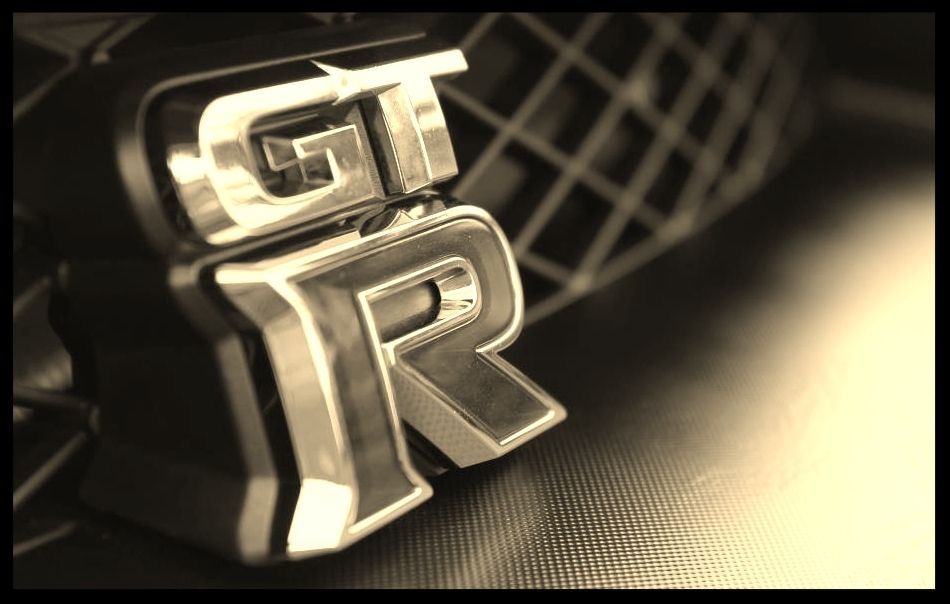
Man I love polishing red paint  :grin: I think even more so than black....
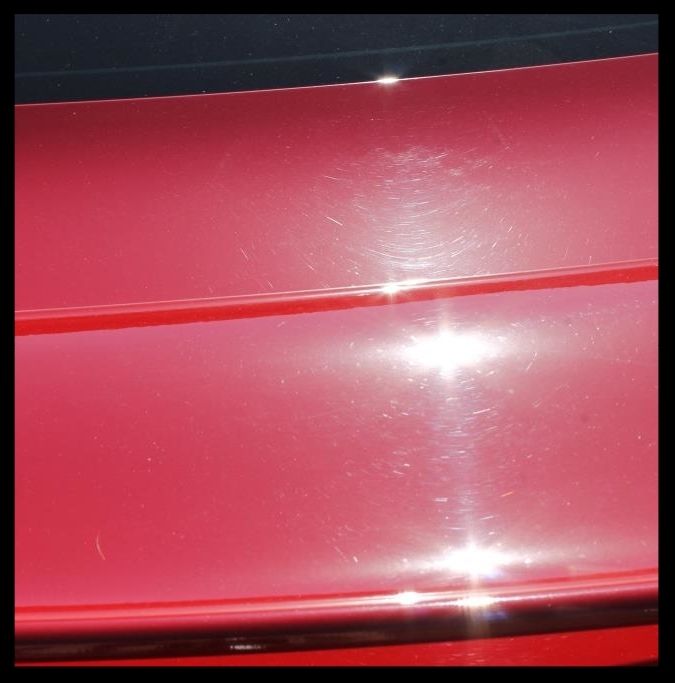
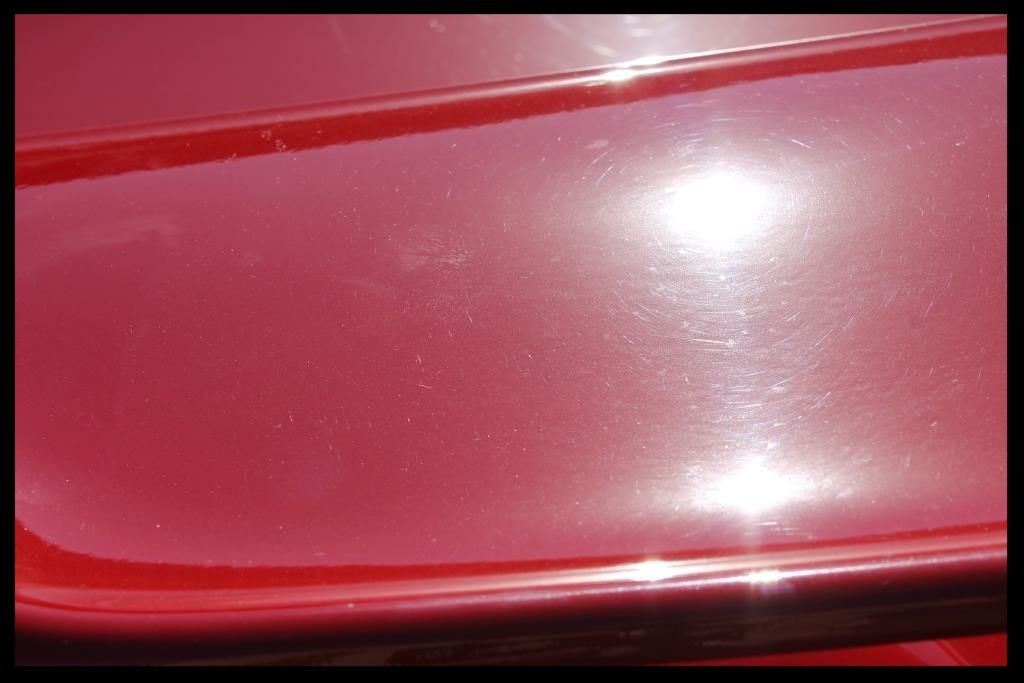
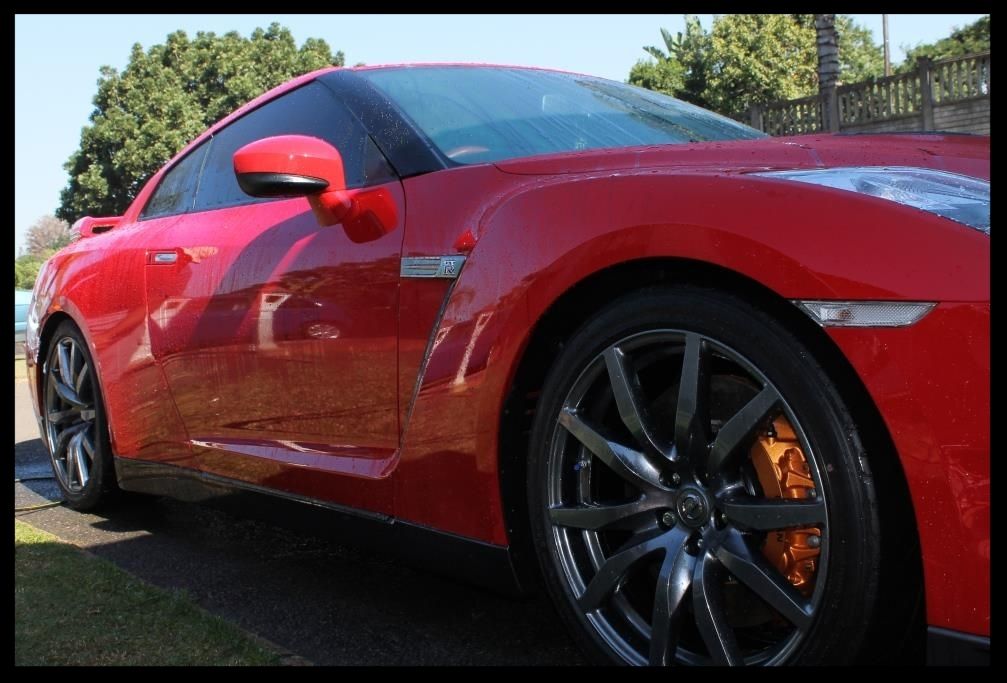
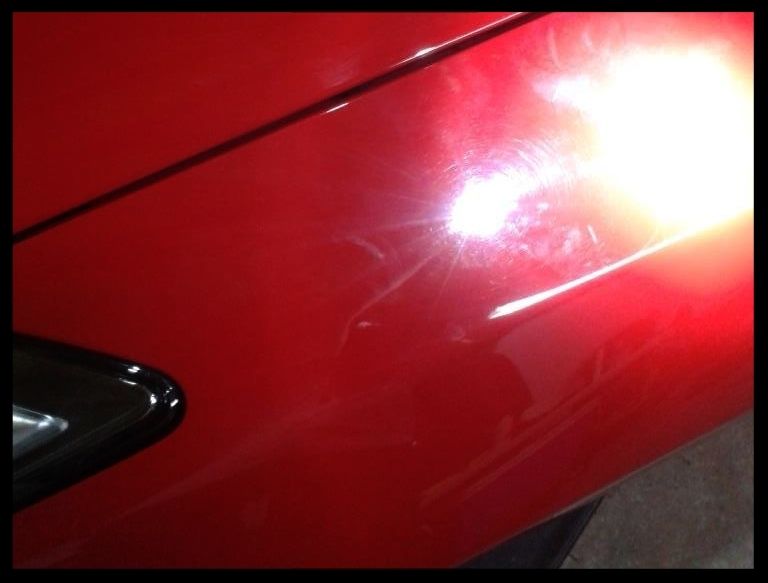
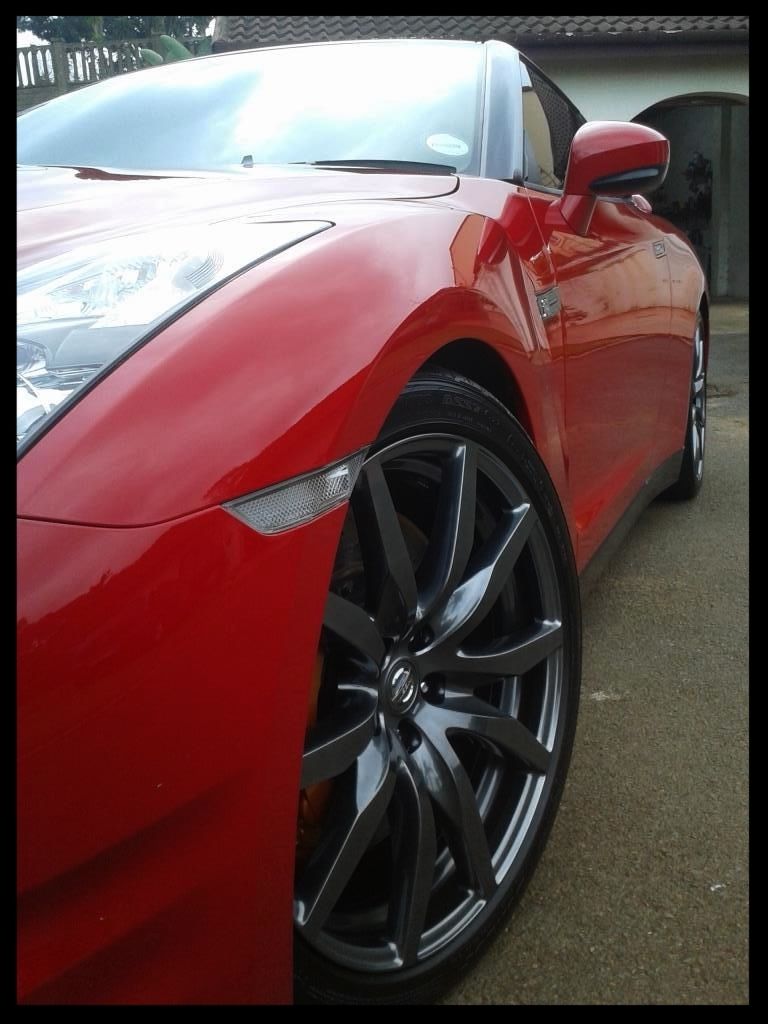
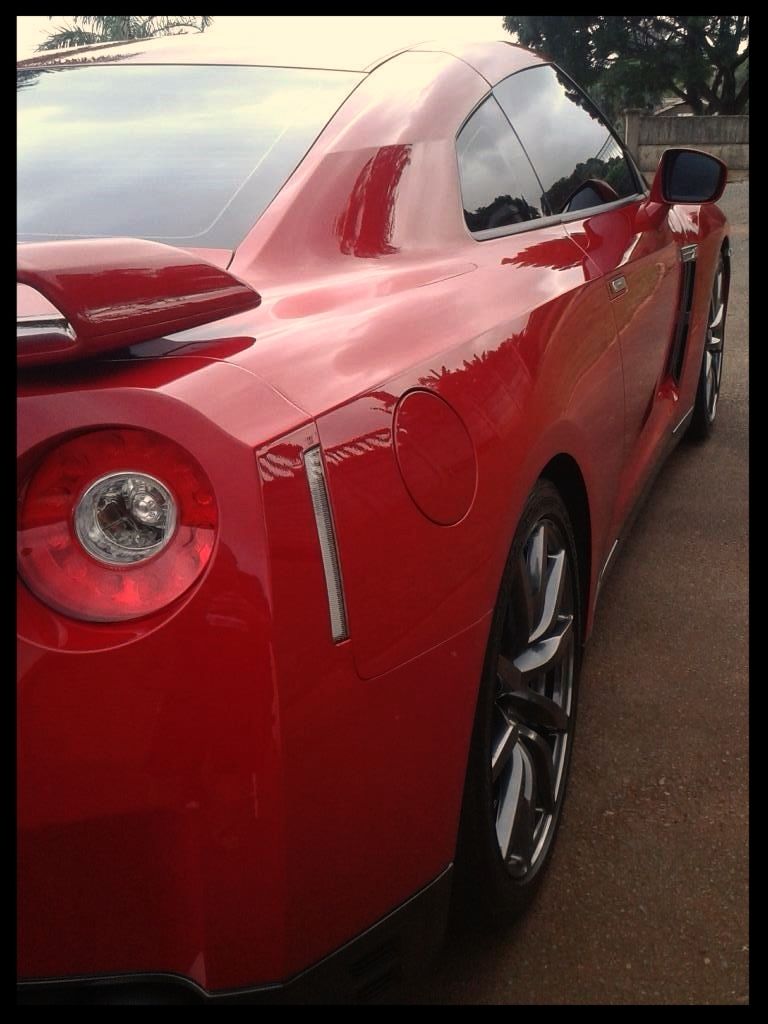
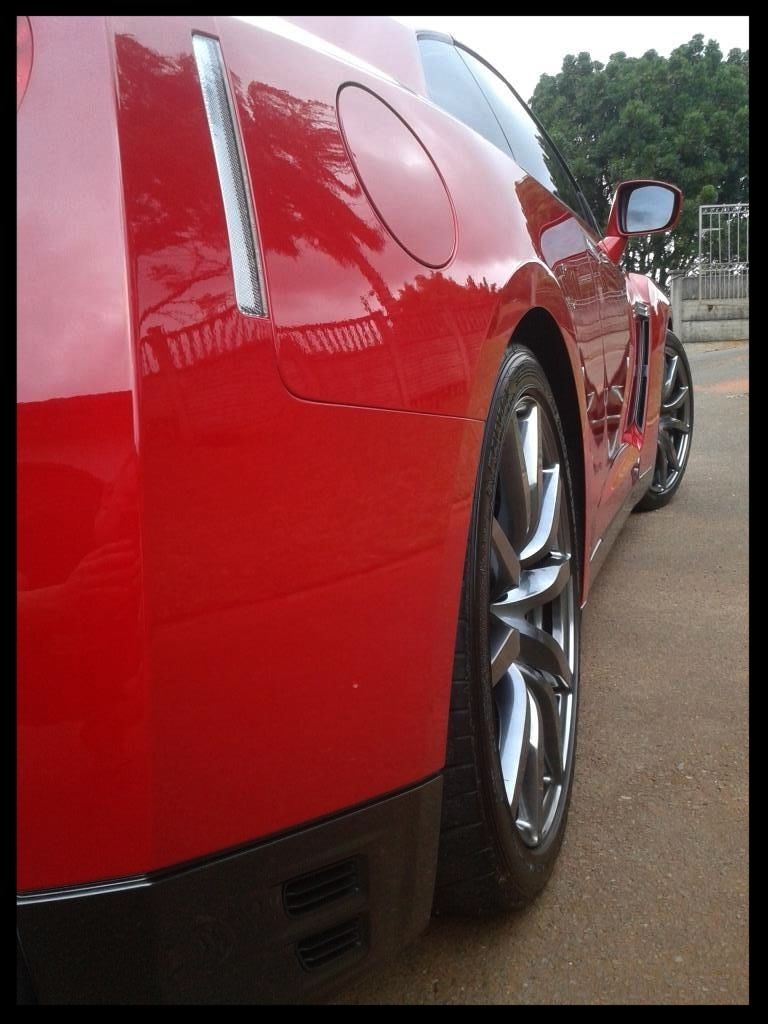
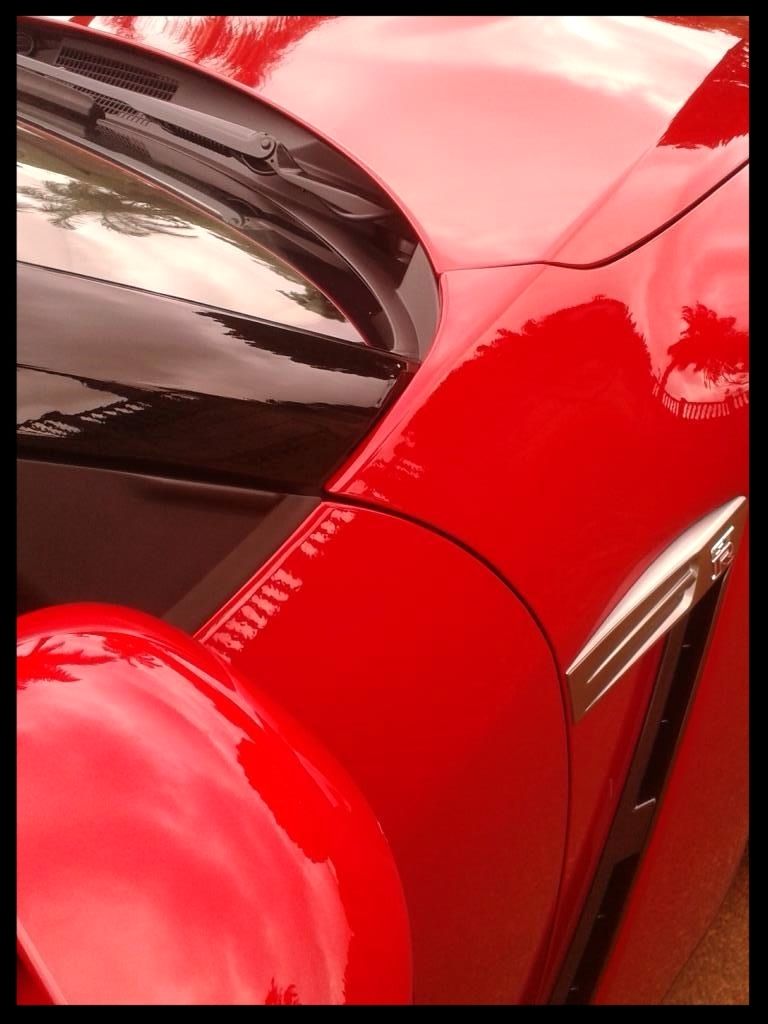
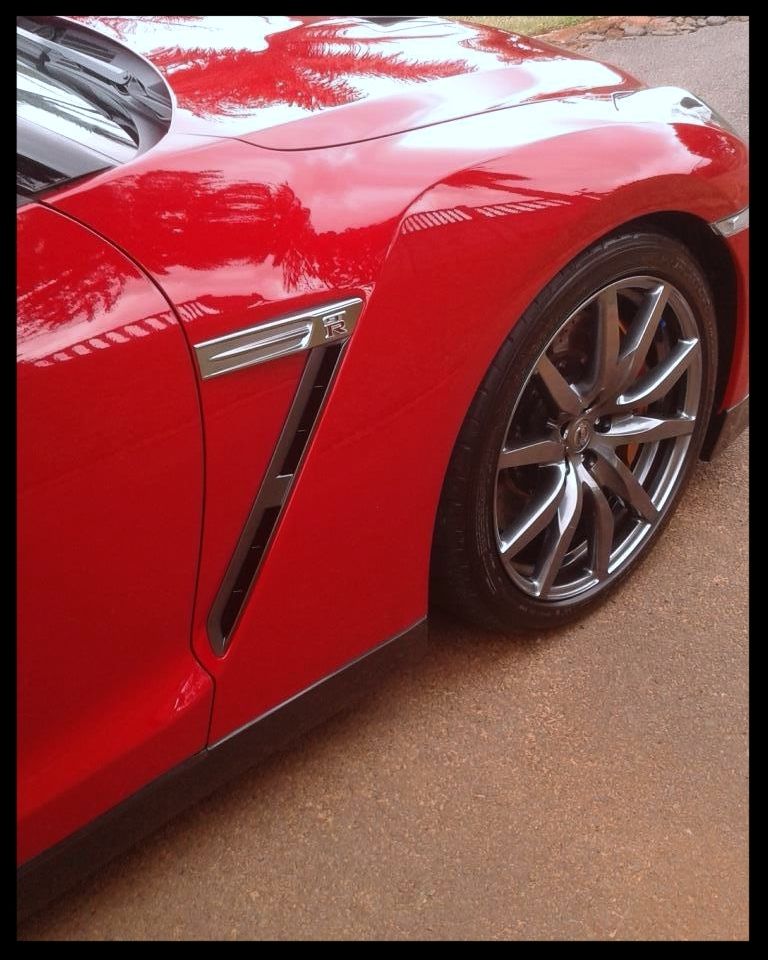
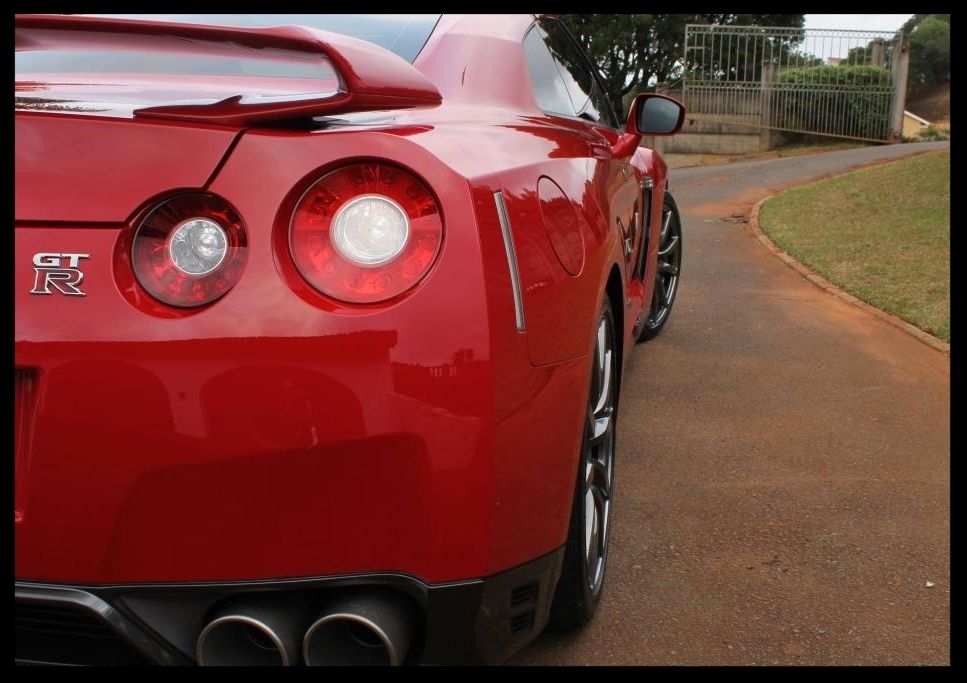
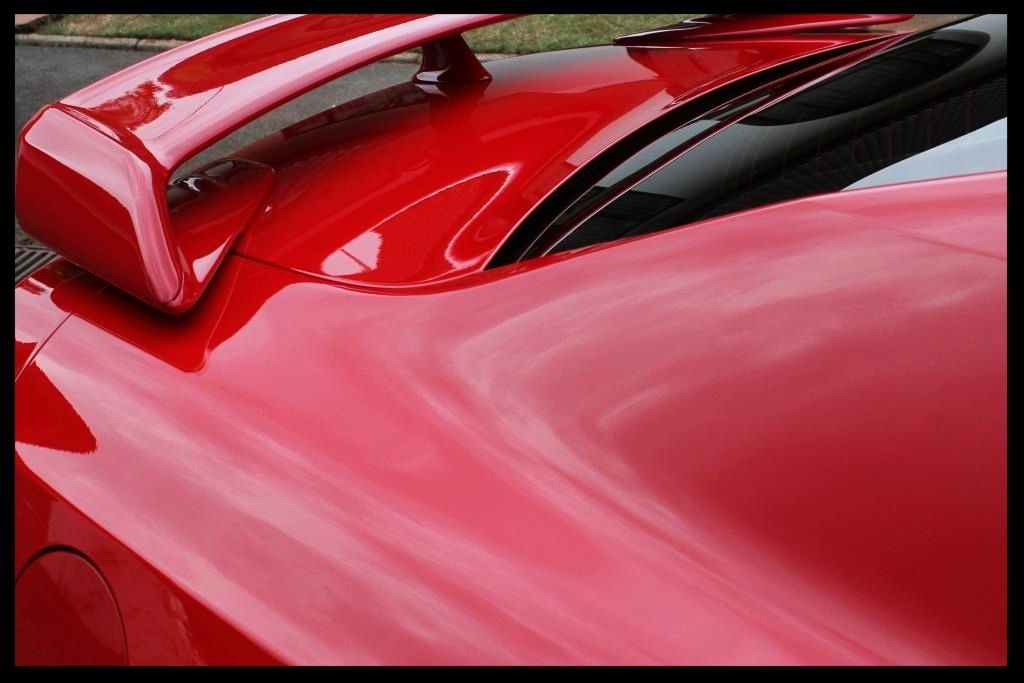
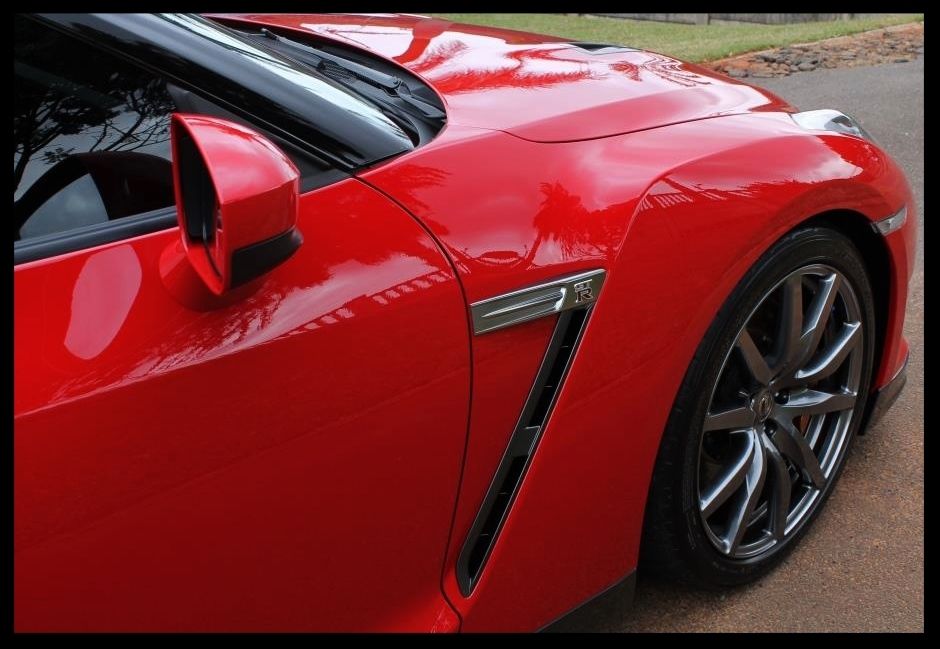
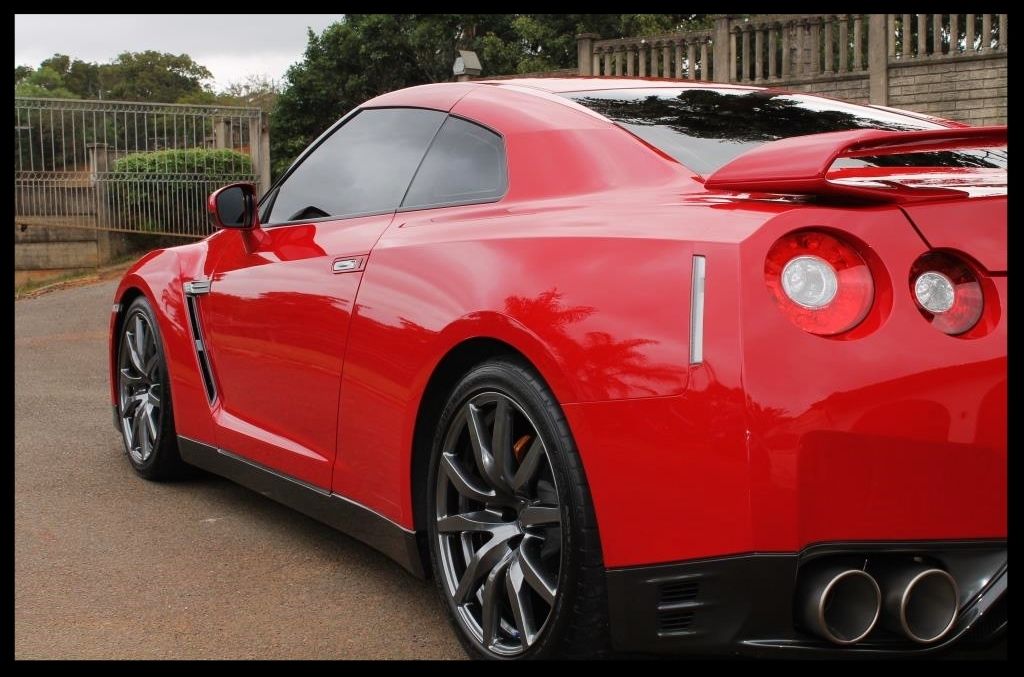
So this is a 2013 model, with around 10 000km's on the clock, and was in a bit of a sad state.... not only were the typical swirls present from poor washing and drying techniques, but the car had also been subjected to a poor 'detail' by someone else, who left buffer trails all over the car, along with plenty of wax and/or polish residue in most of the seams - thanks buddy, I really enjoyed your gift... Not!. Bird dropping etchings were also present as were a fair amount of RIDS.
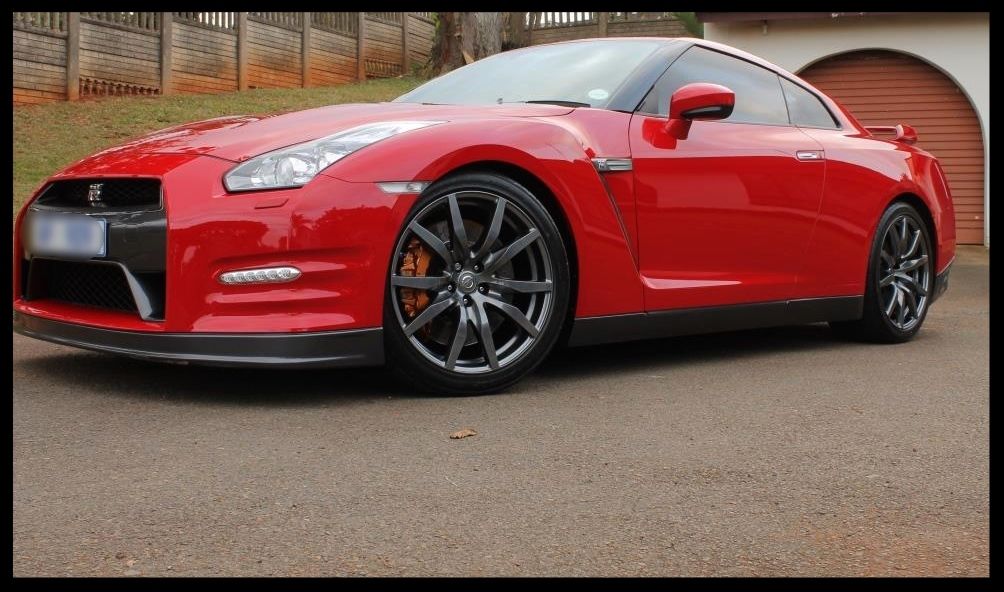
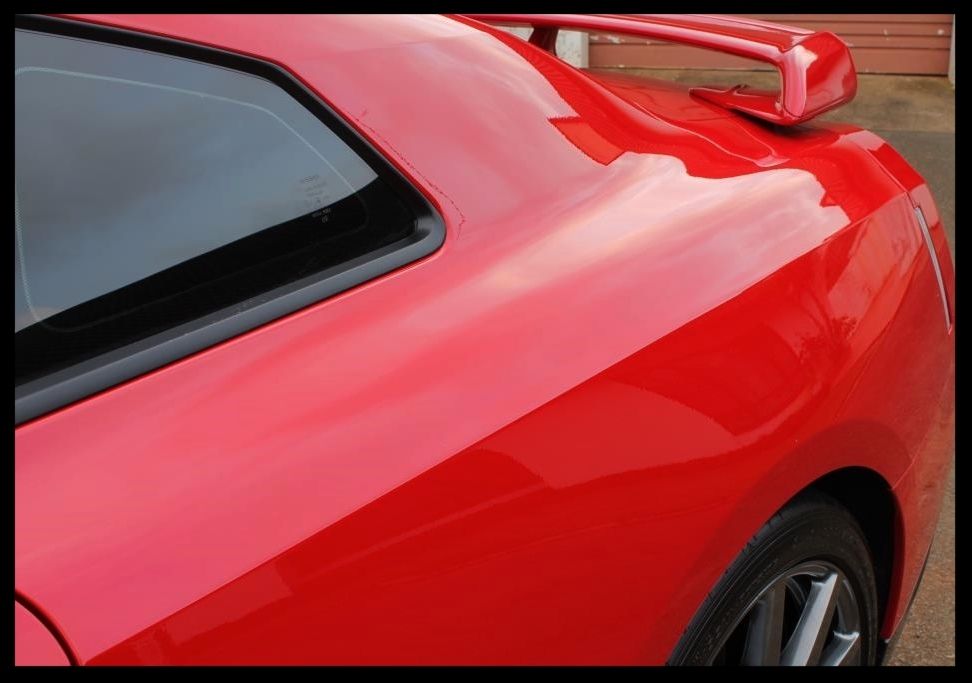
So let's see the condition of the car before we get detailing....
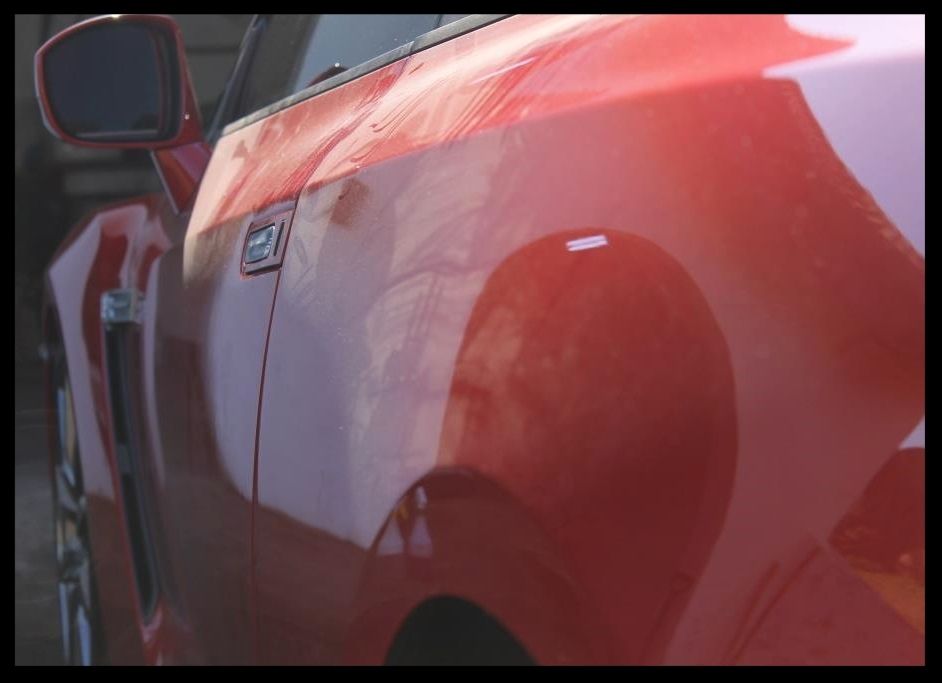
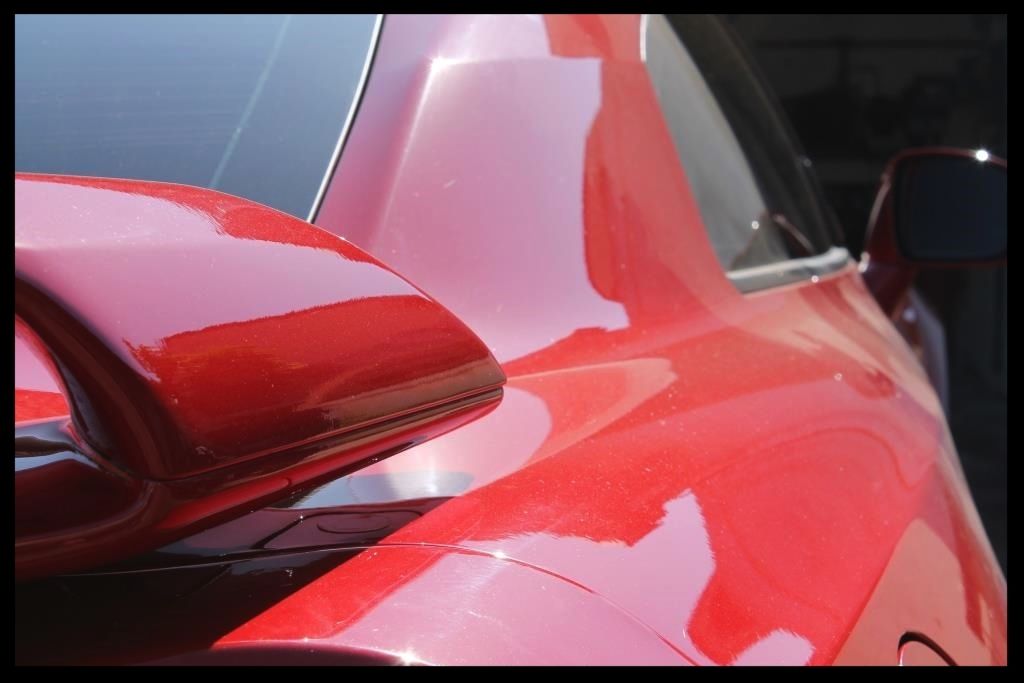
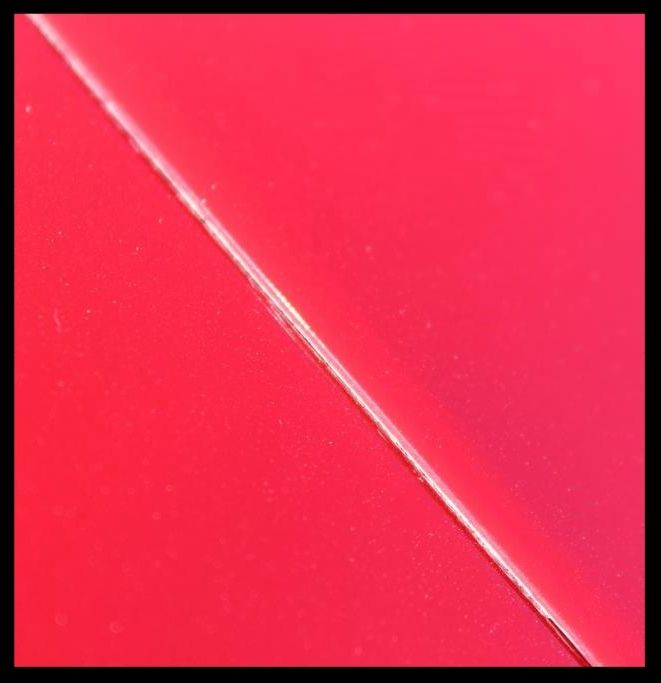
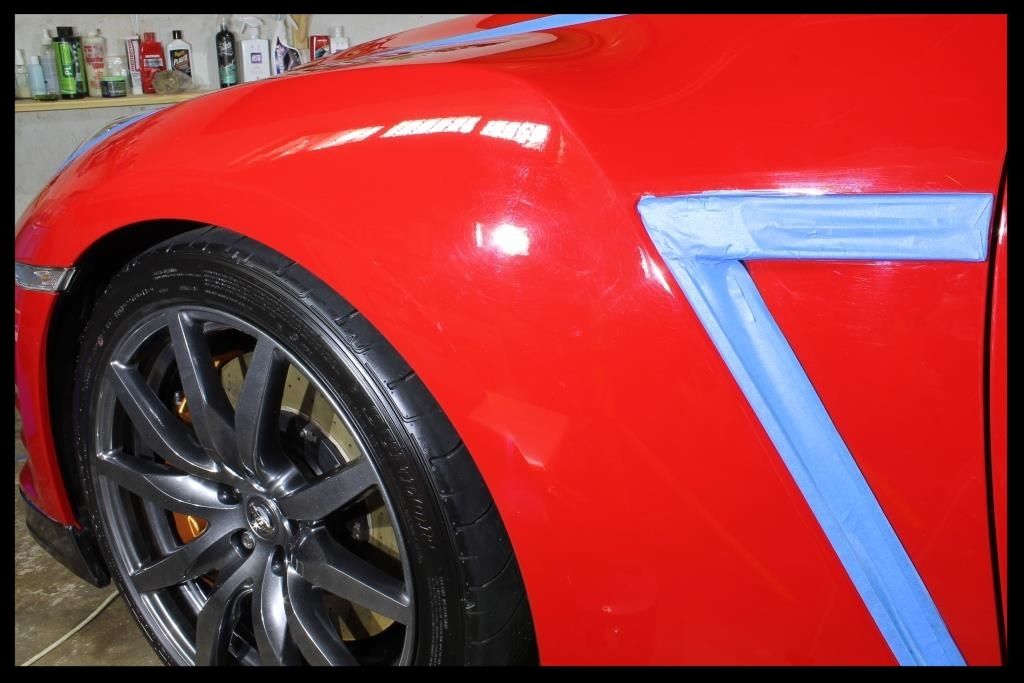
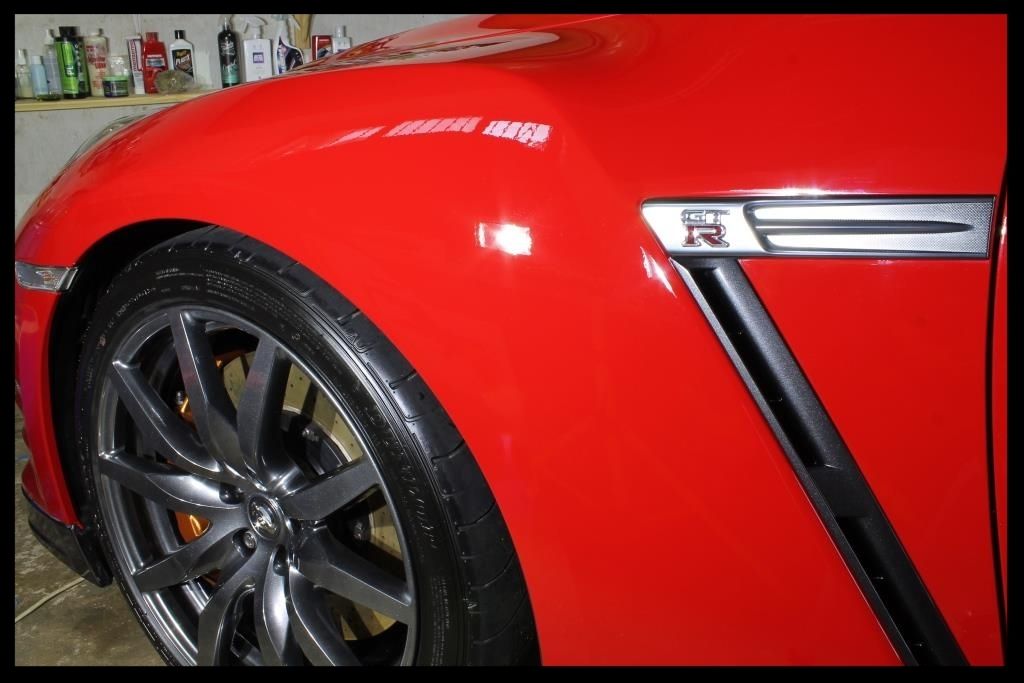
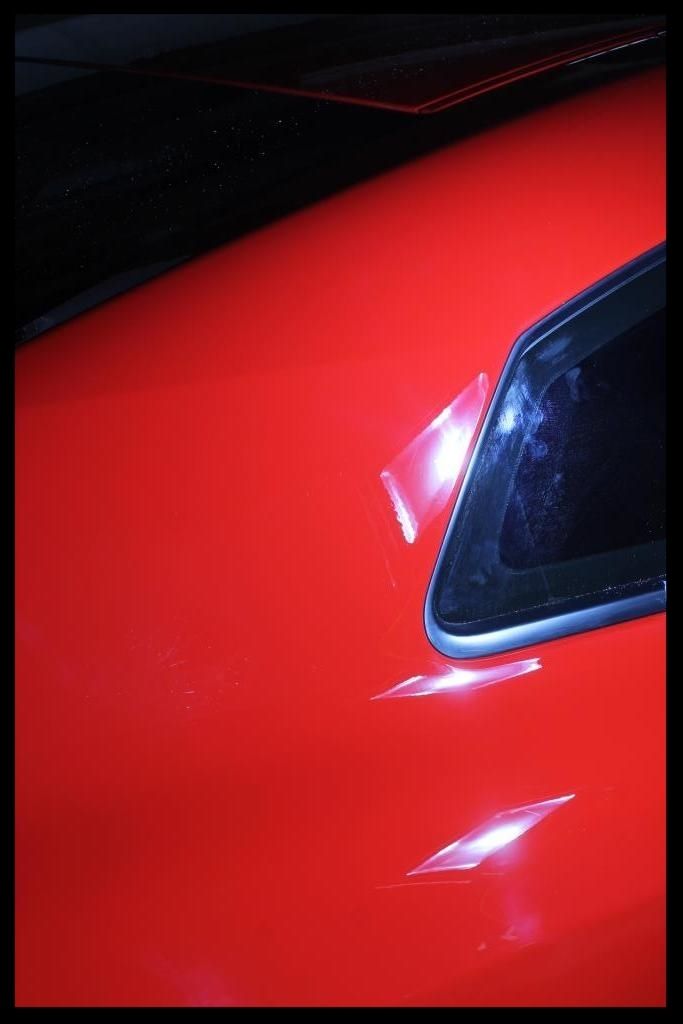
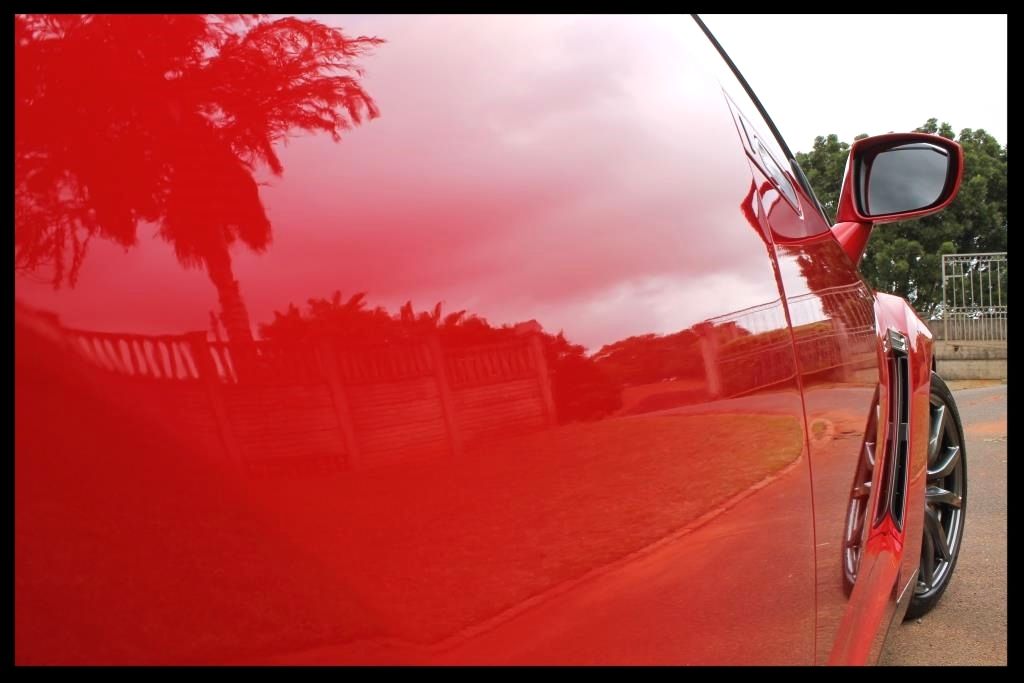
A fair amount of dirt, and evidence that people have been brushing up against the soft paint, contributing to the overall condition of the paint
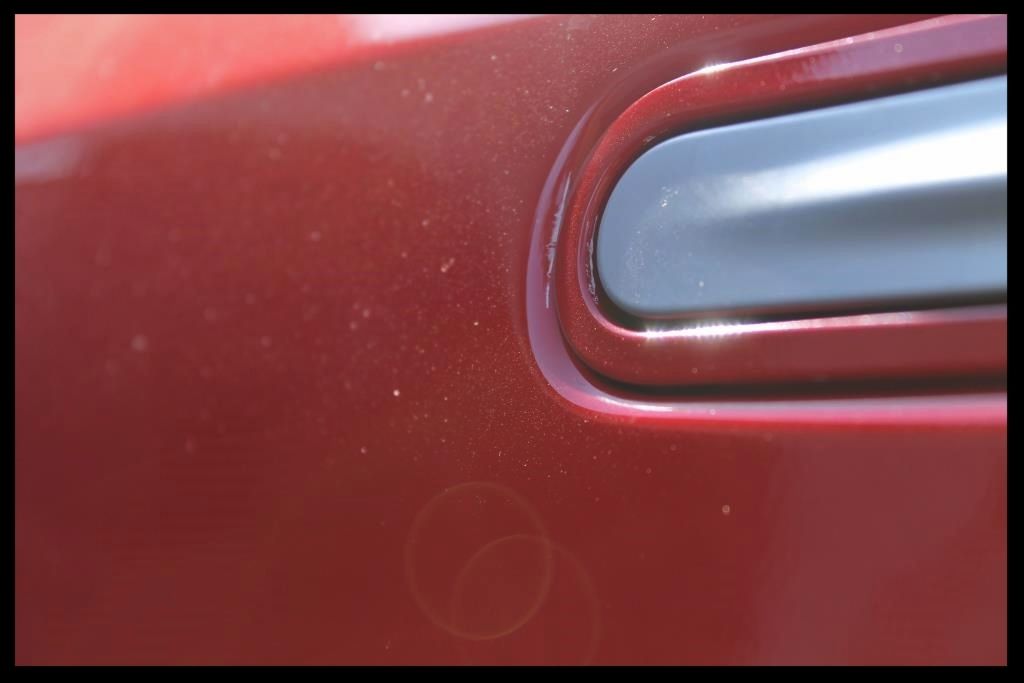
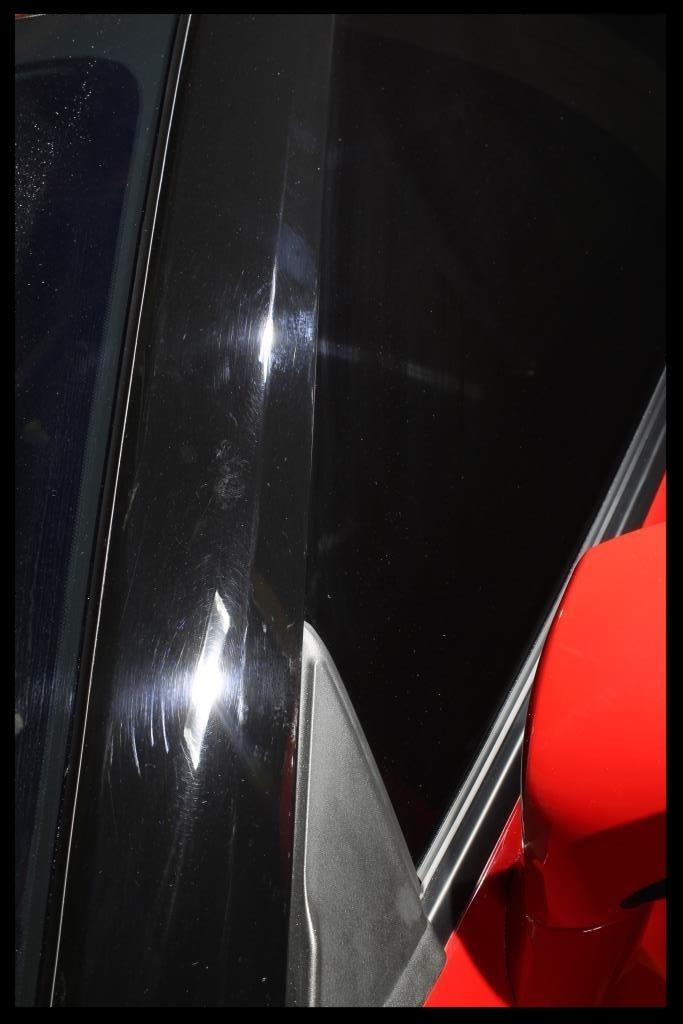
More dirt and polish/wax residue
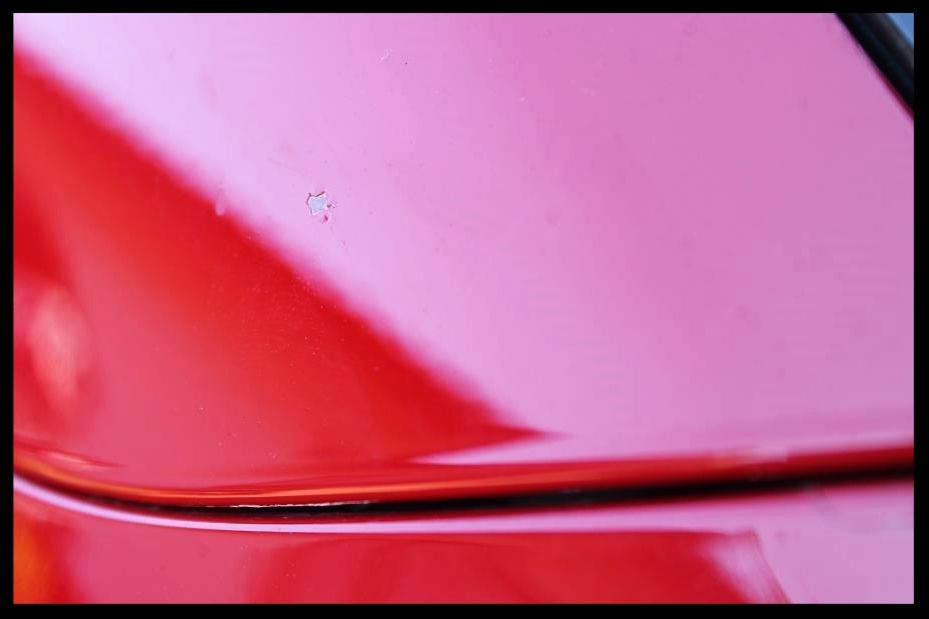
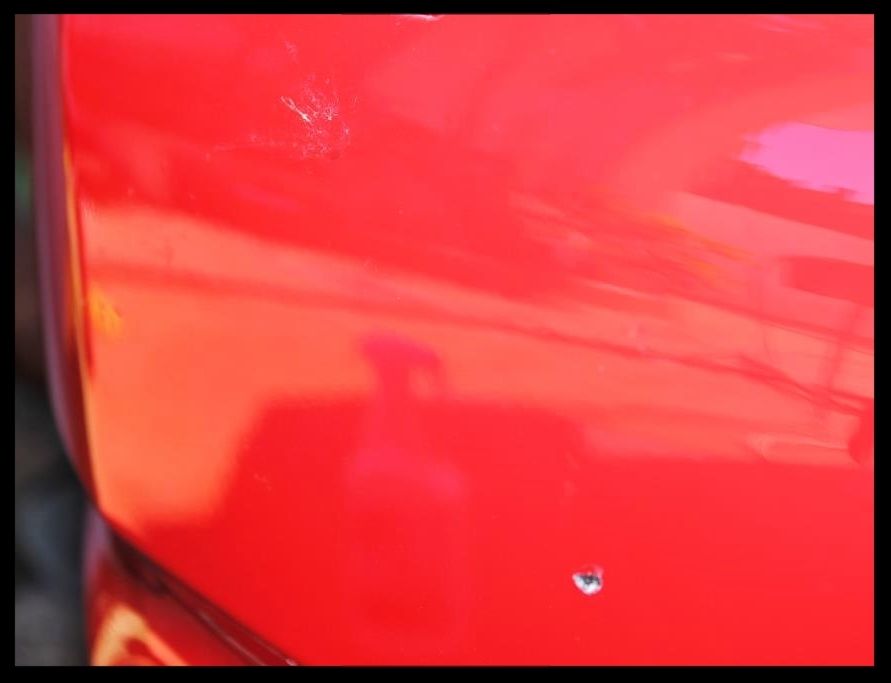
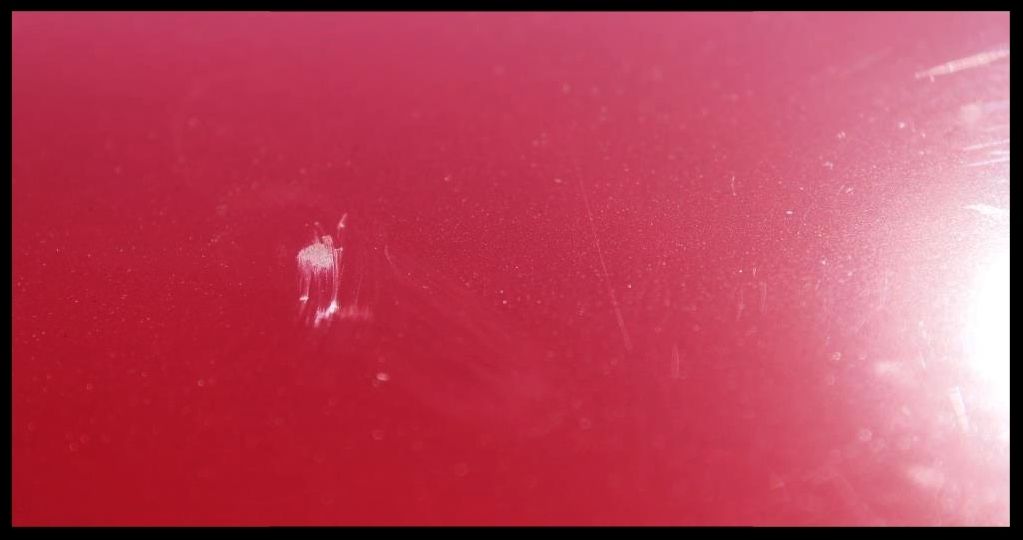
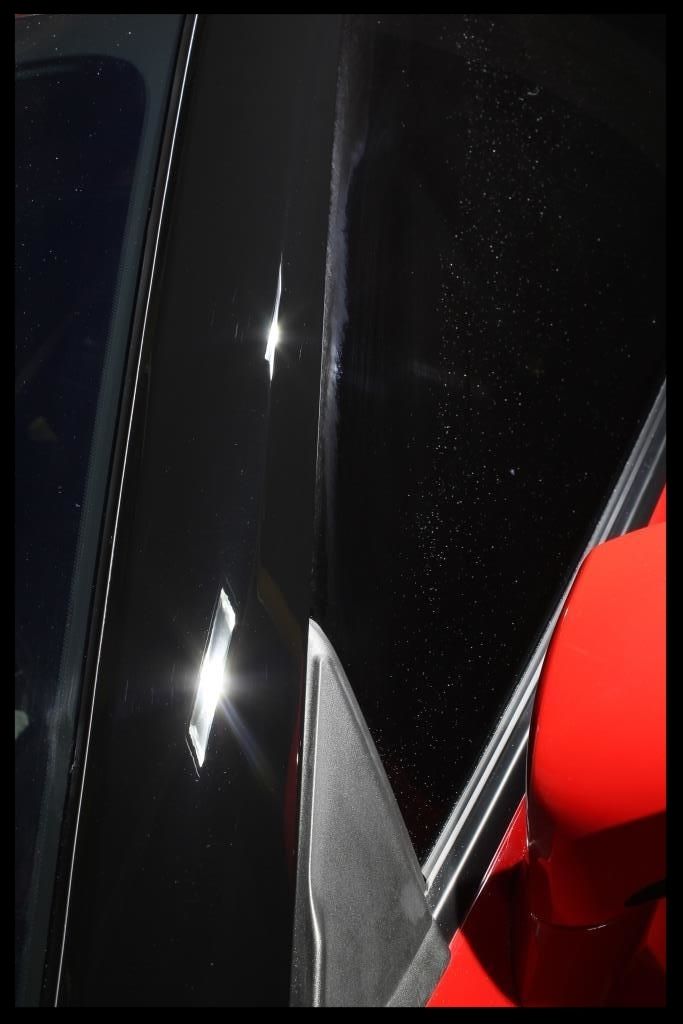
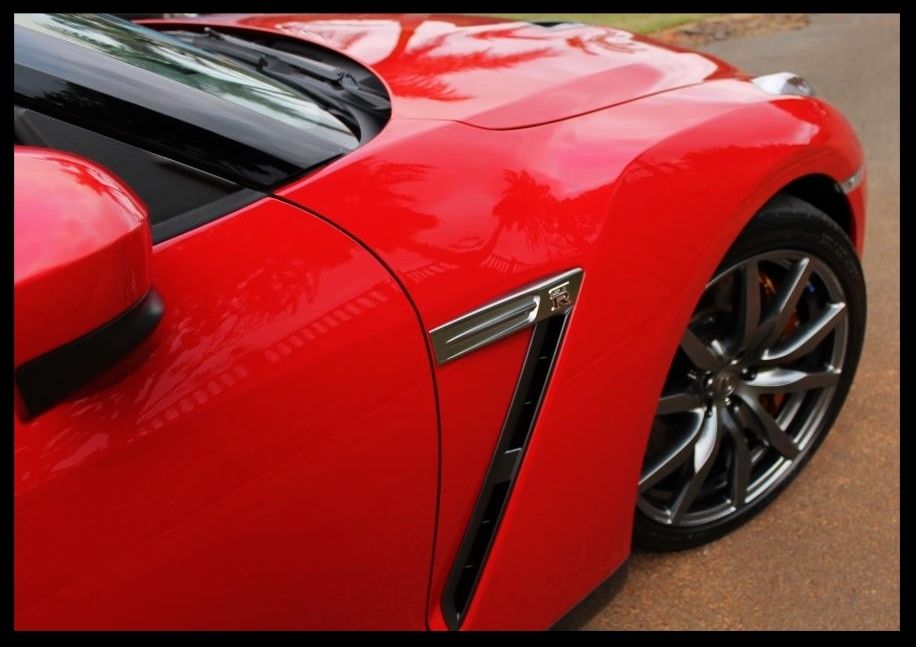
A chip in the paint along with more polish/wax residue
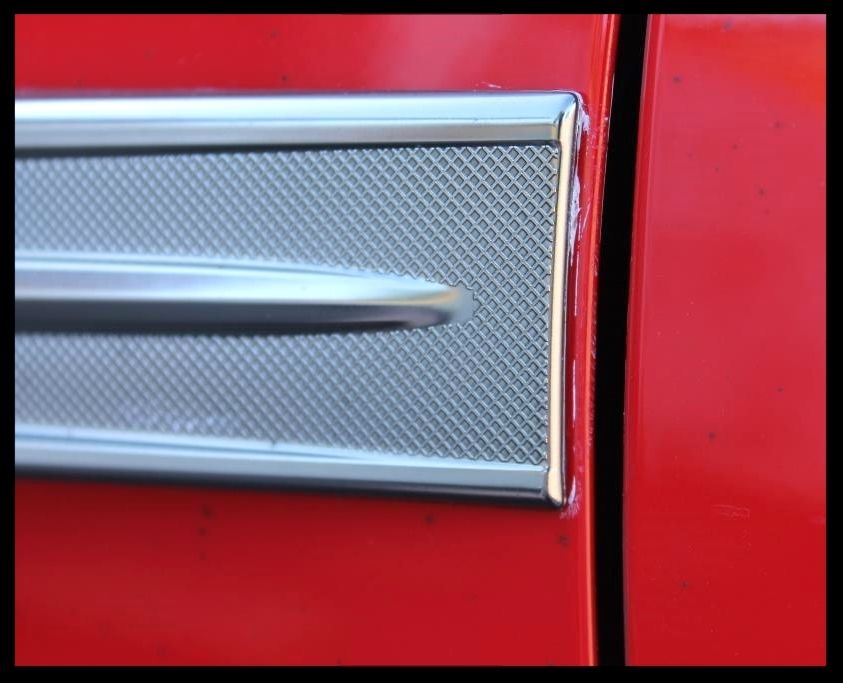
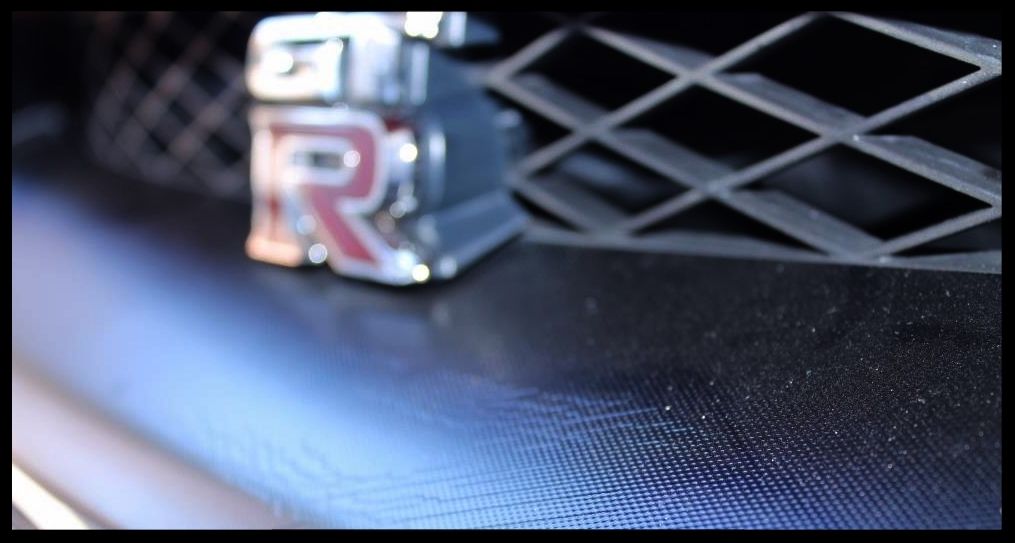
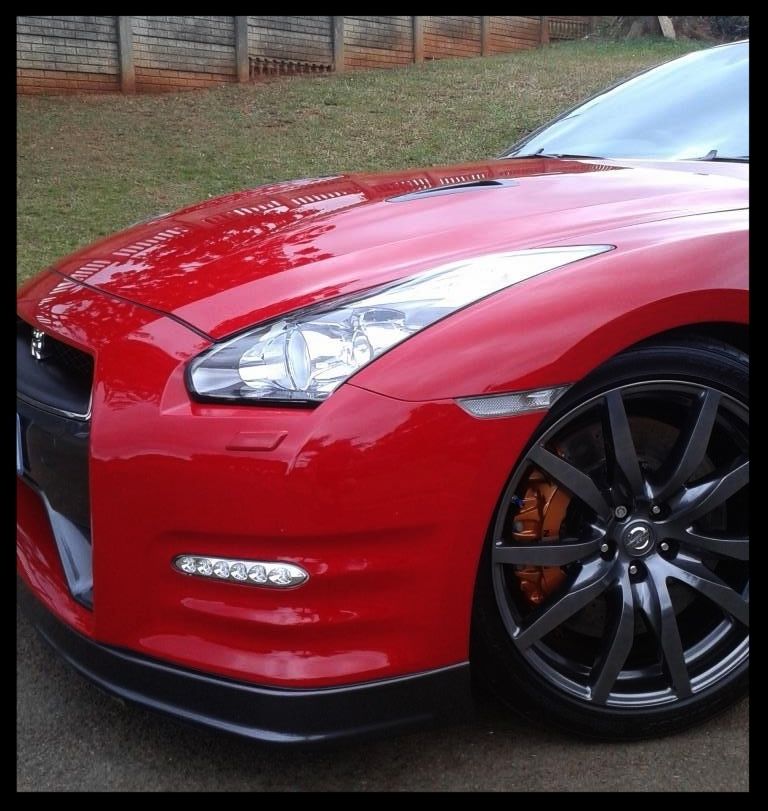
Faded looking front honeycomb section with polish/wax residue present
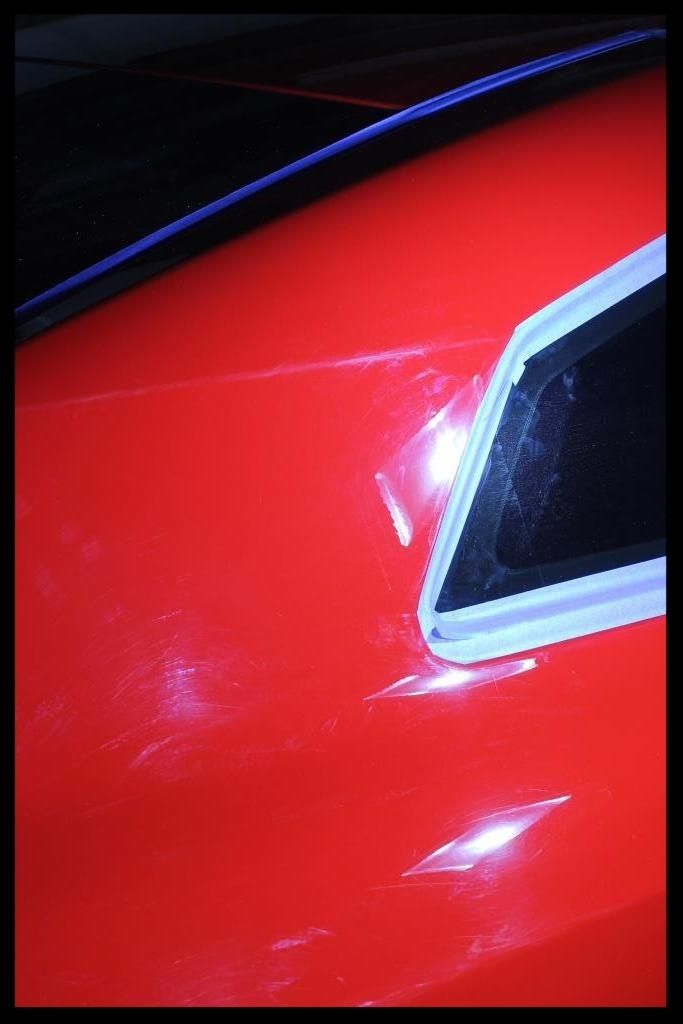
A chip with some etching
More etching
 [/URL]
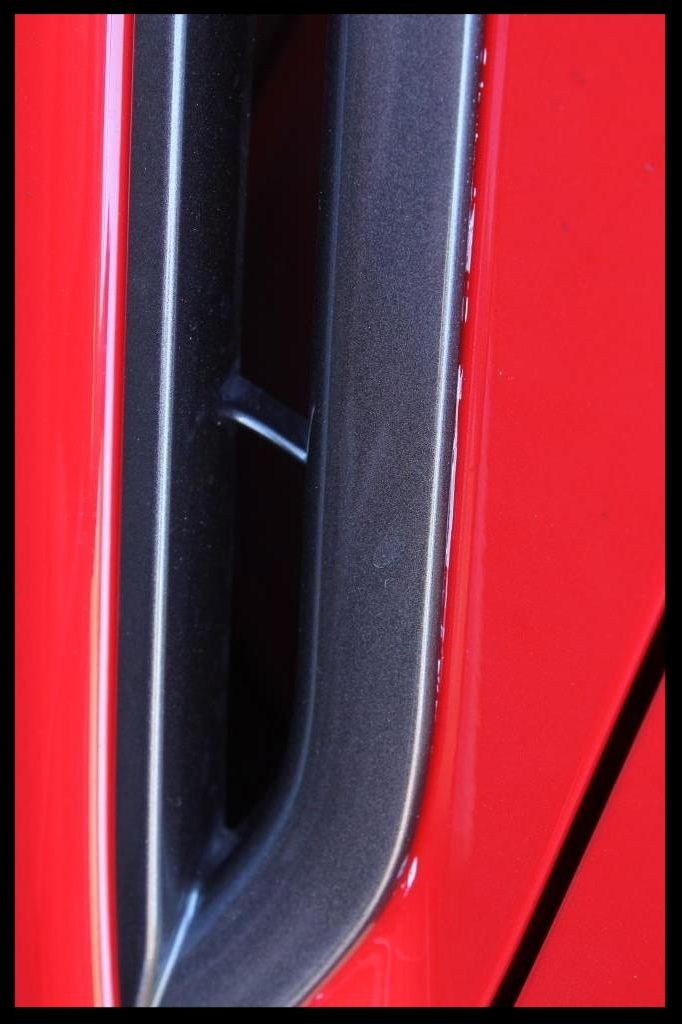
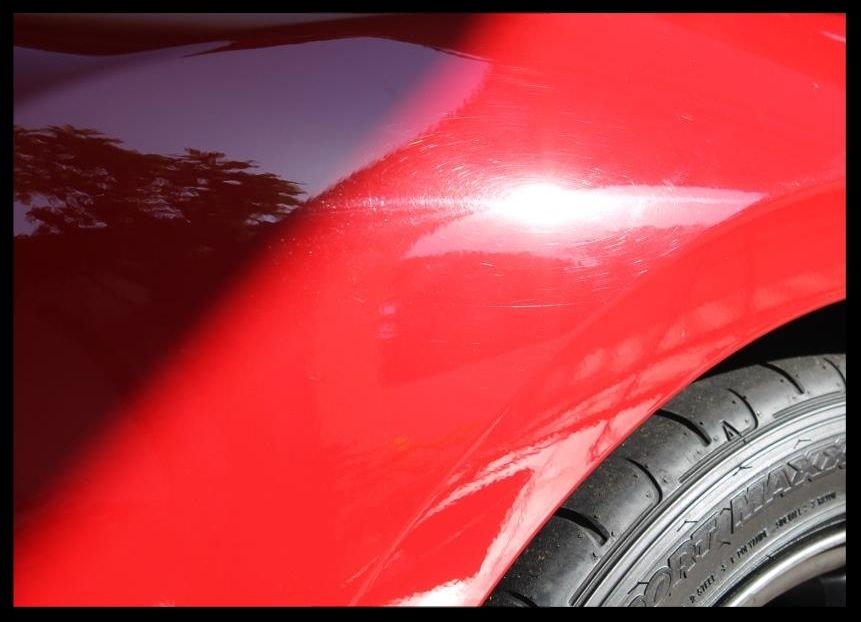
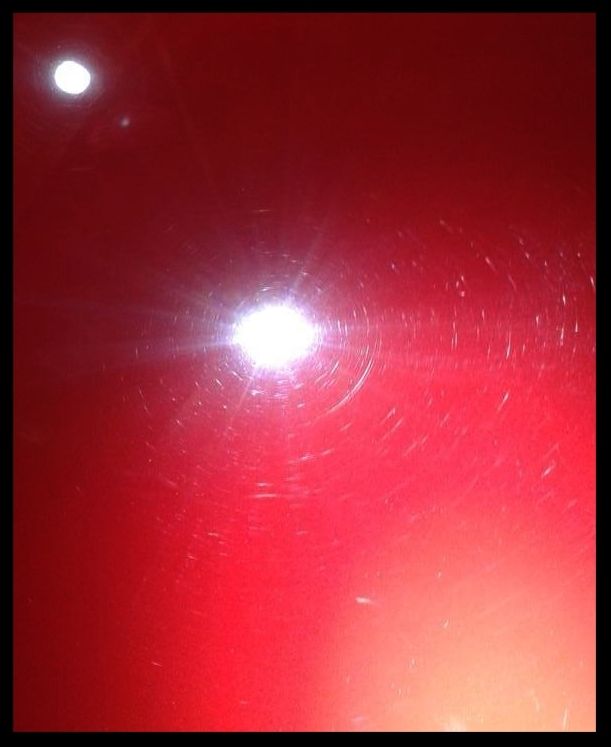
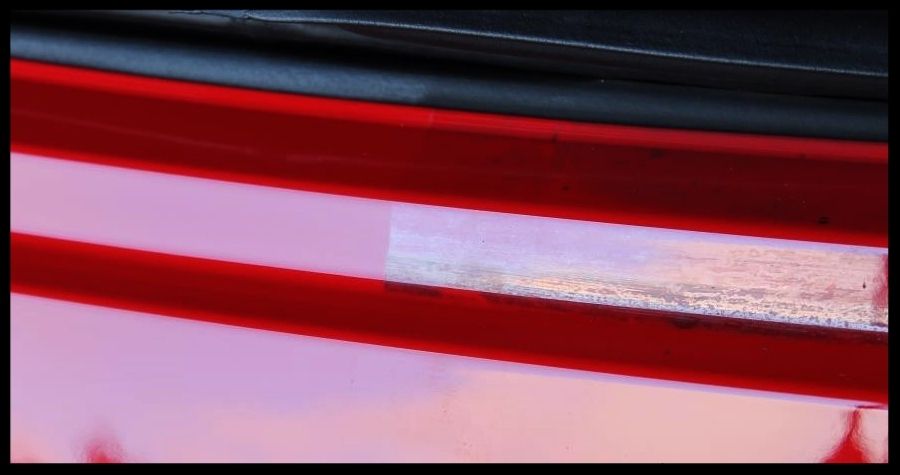
Etching along with some horrendous RIDS
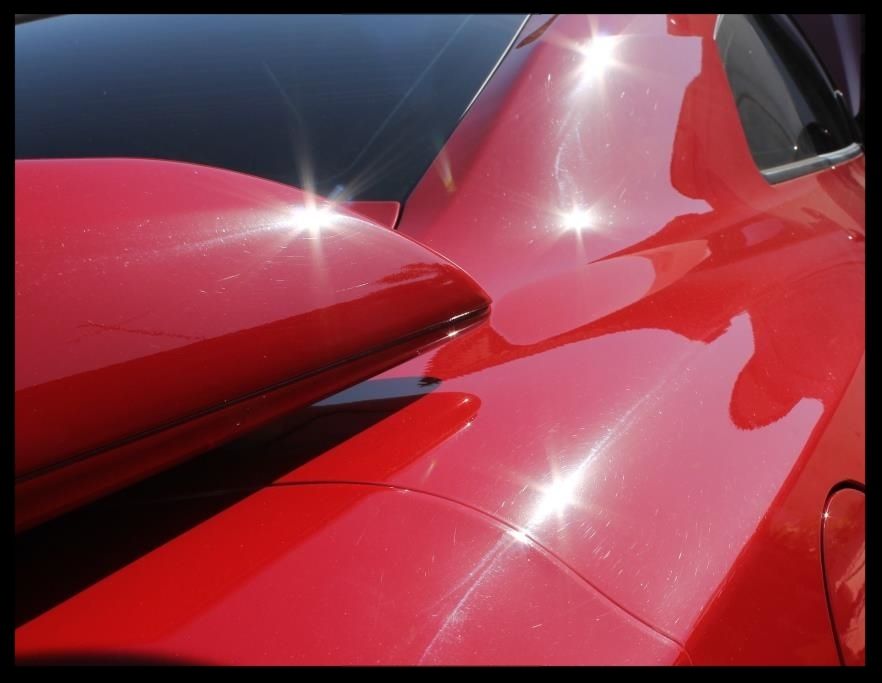
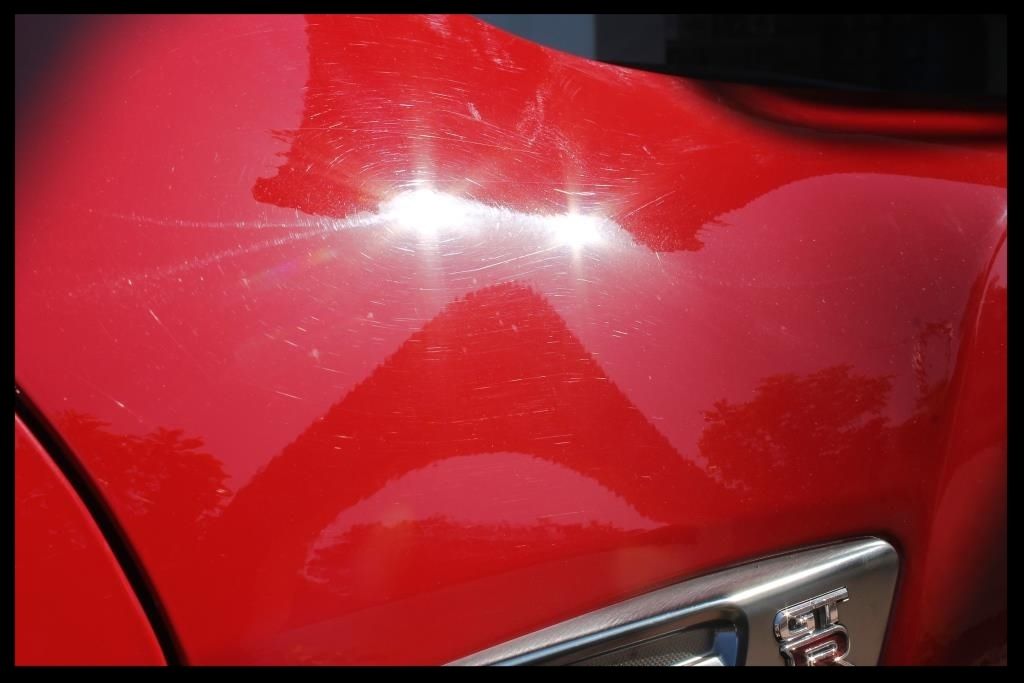
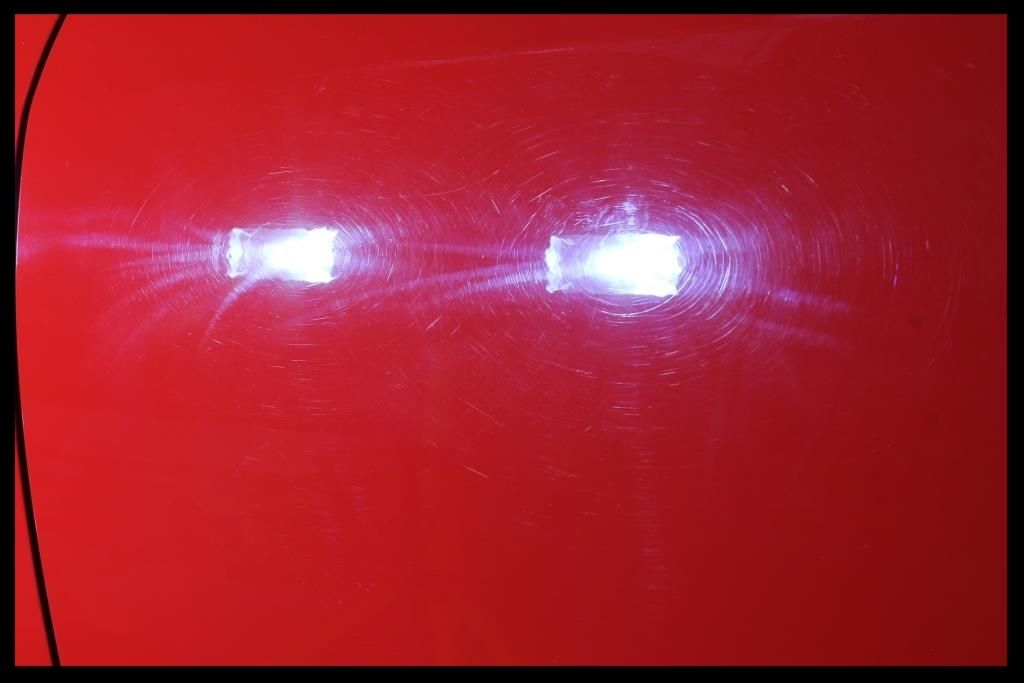
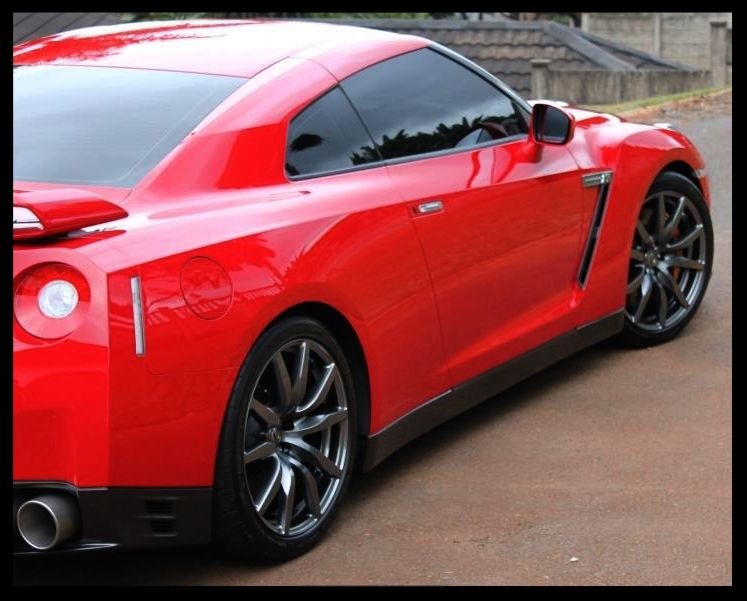
Swirls, buffer trails and RIDS


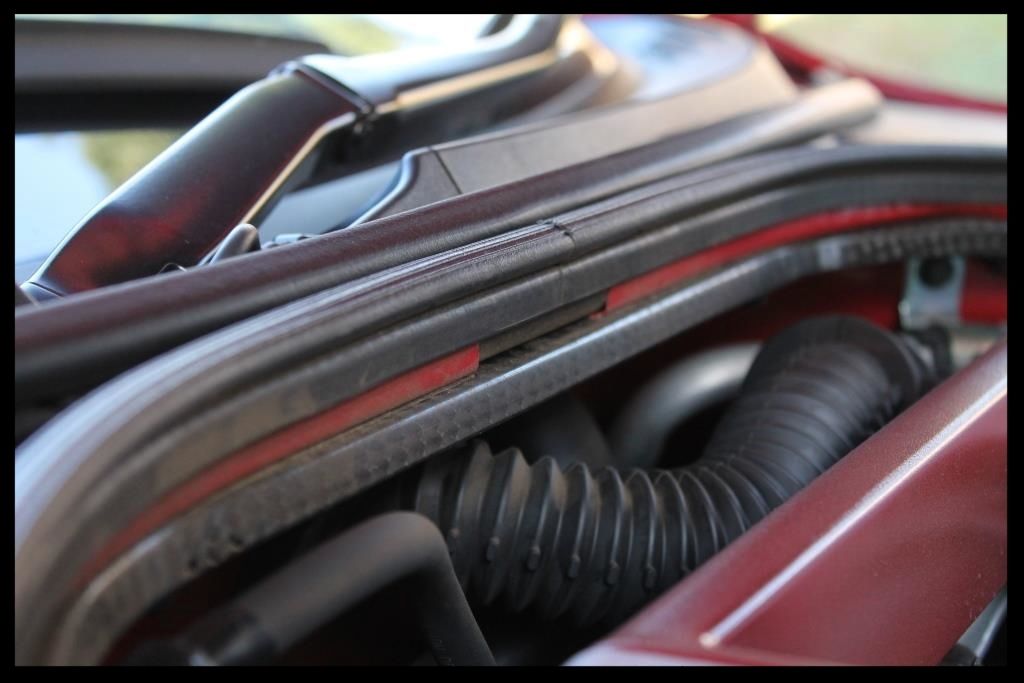
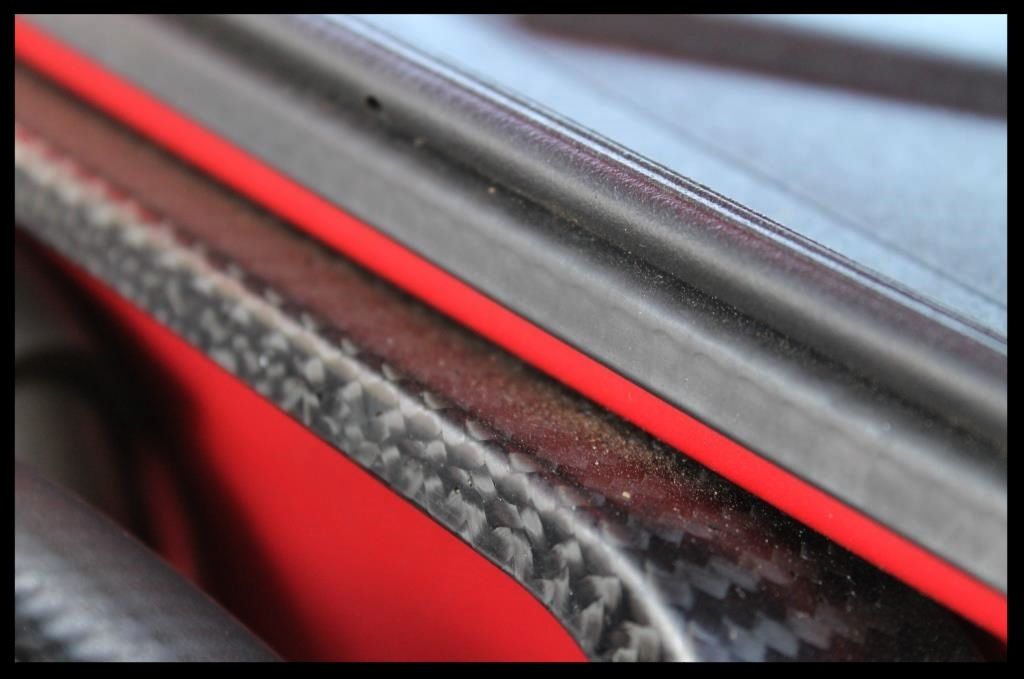
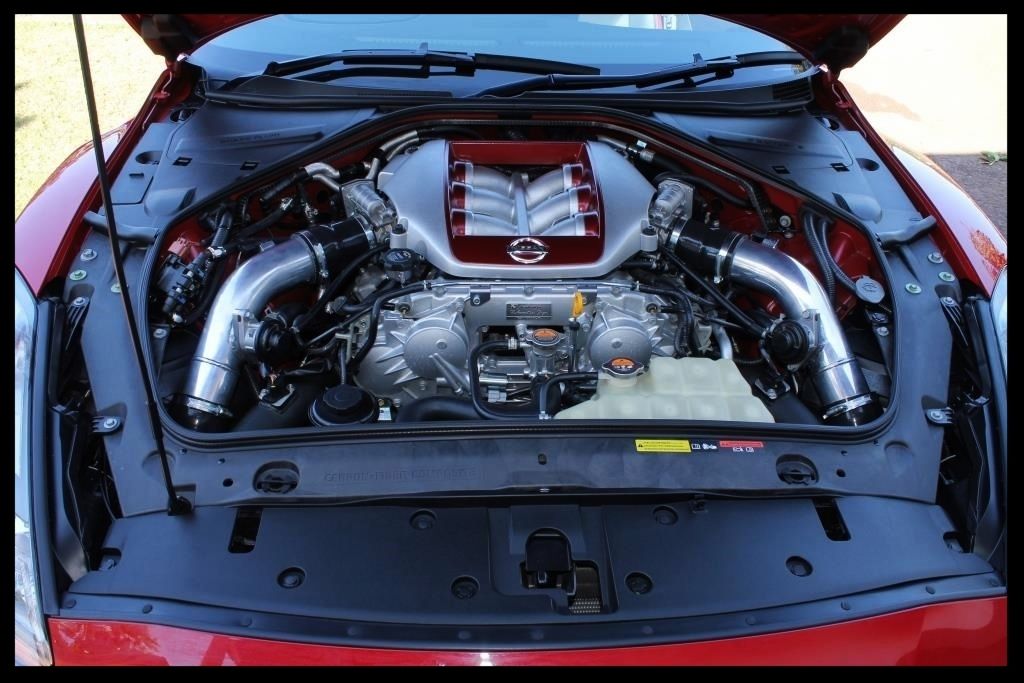
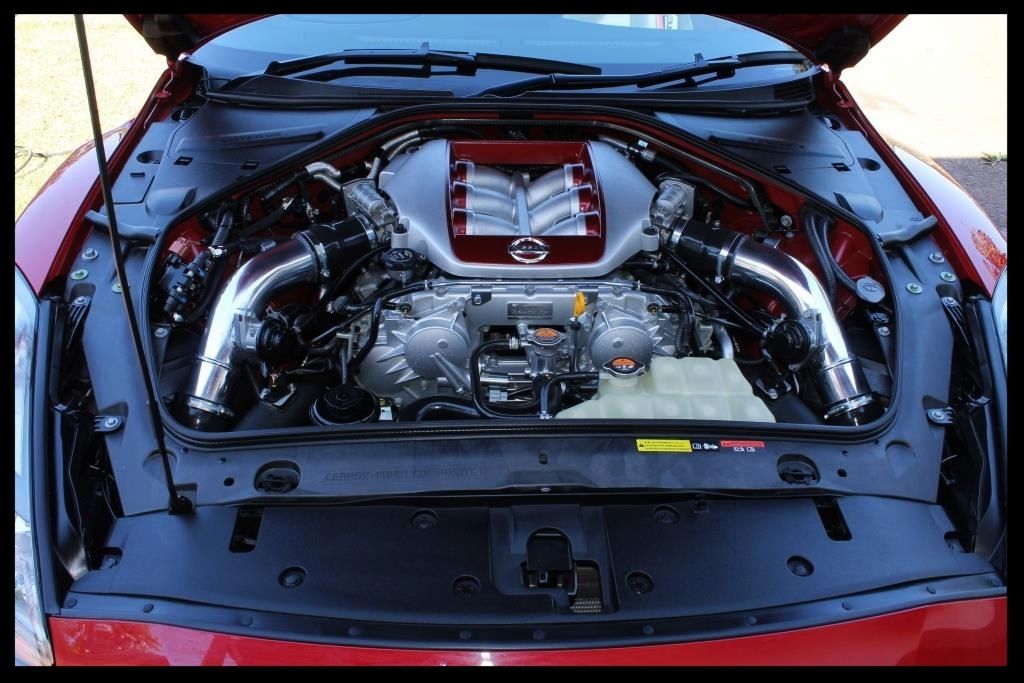
The engine bay had a fairl amount of dust but wasn't too dirty.
It was cleaned using Carchem Citrus APC, various brushes and MF towels. The painted surfaces were then further cleaned/polished/protected using Autofinesse Tripple applied with a MF applicator pad. The plastics and rubbers were cleaned using Shield Heavy Duty Vinyl and Rubber cleaner and dressed using Aerospace 303 Protectant. The Carbon Fibre was polished using Meznera PF2300 by hand using a Lake Country Orange Foam Pad.
Here you can see the difference polishing the metal work with Meguiars NXT All Metal Polish and various MF towels made.
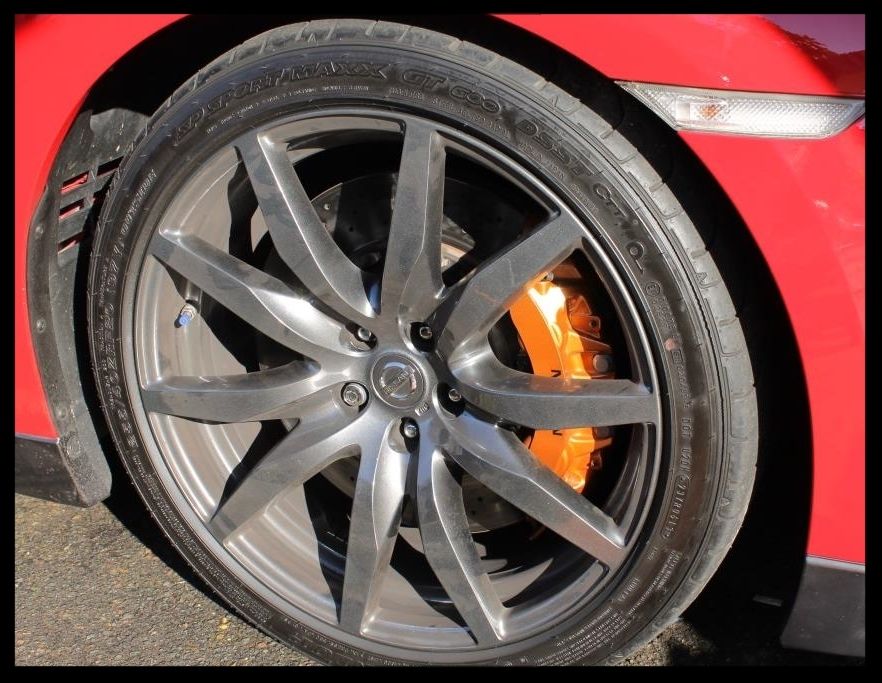
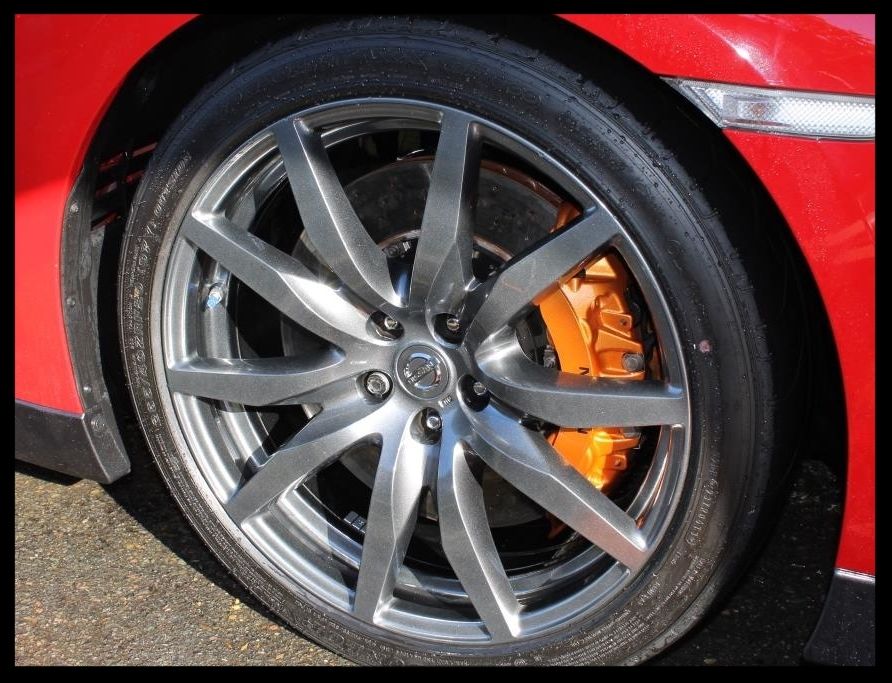
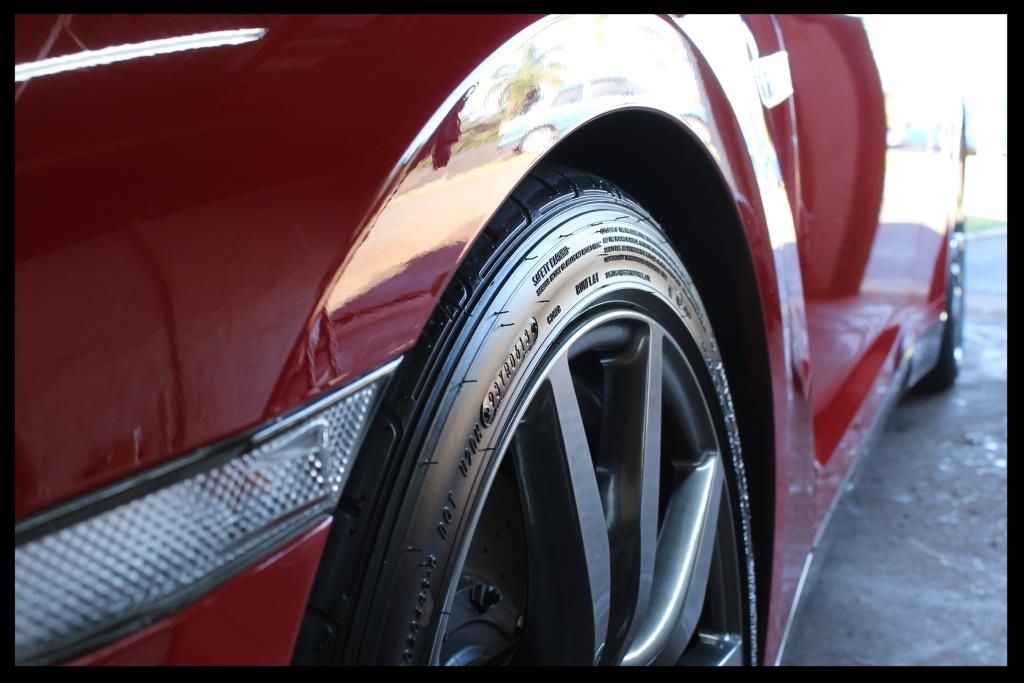
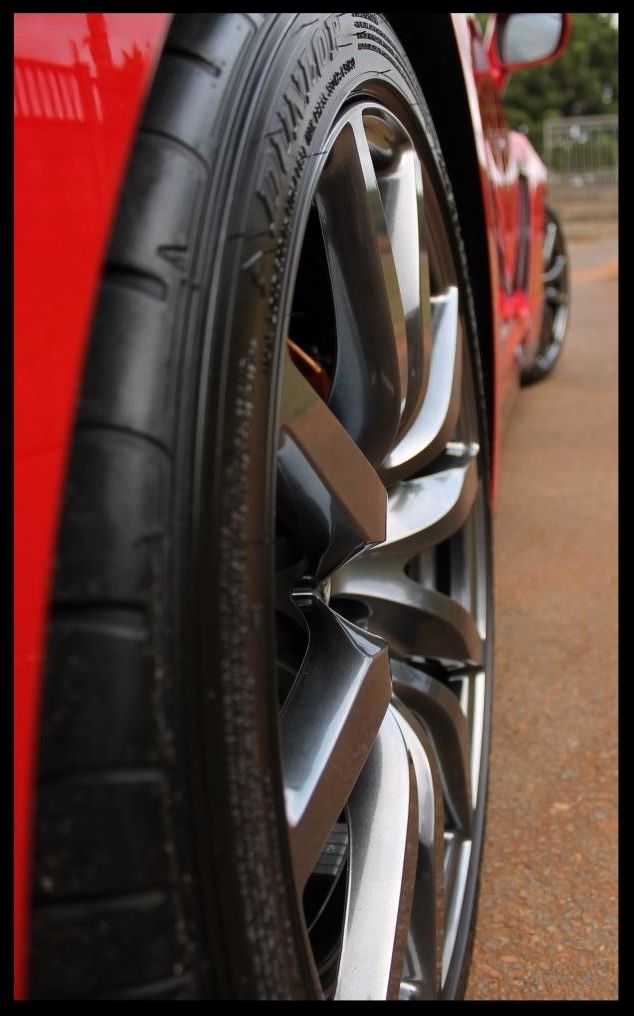
Then it was on to the fender wells, tires, wheels and brake calipers
Fender Wells
-HP rinse
-Apply Carchem Citrus APC, let it dwell then agitate using a Mothers Fenderwell Brush
-HP rinse
-Later these would be dressed with Carpro Perl a 1:1
Tires
-Clean tires with Valet Pro Billbery Wheel Cleaner @ 1:6 and a Mothers Tire brush.
-HP rinse
-Repeat tire cleaning
-HP rinse
-Dressed with 1 coat of Optimum Optibond followed by 1 Coat of Optimum Tire Sheen about 12 hours later
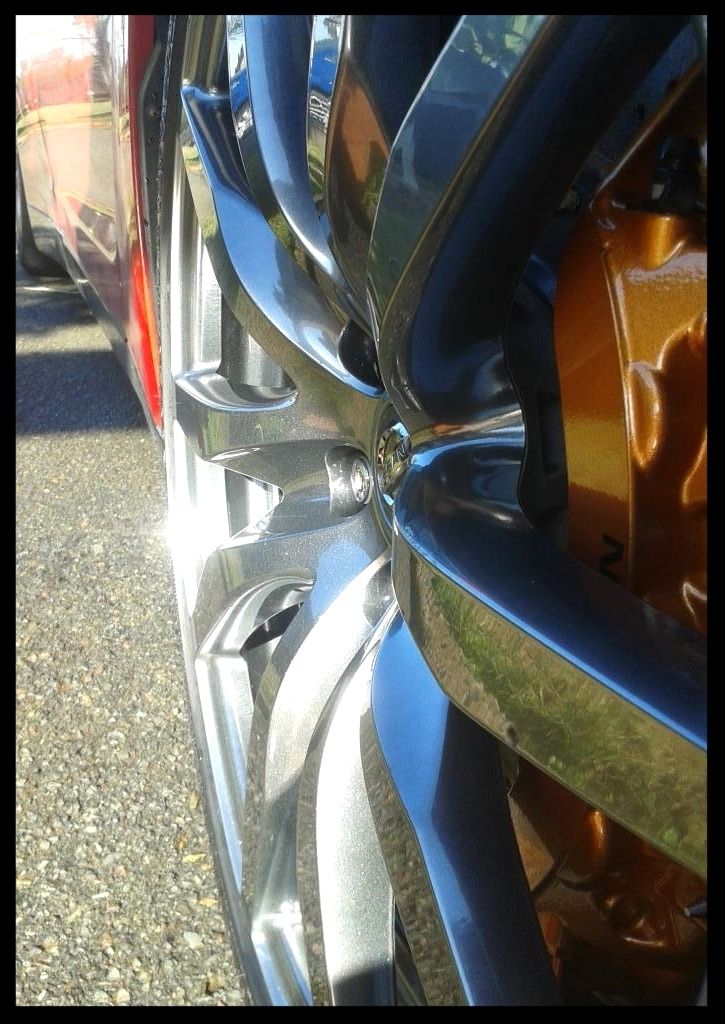
Wheels and calipers
-HP rinse
-VP Bilberry Wheel Cleaner @ 1:6, Daytona and Daytona Jnr brushes and Valet Pro Boars Hair Brushes
-HP rinse
-Dry
-Remove tar using VP Citrus Tar Remover
-Spray with Carchem Citrus APC and HP Rinse
-Dry
-Remove bonded and embedded ferrous contaminants on wheels and brake calipers with Valet Pro Dragon's Breath, Daytona (big and small) brushes and Valet Pro Boars Hair Brushes
-HP rinse
-Dry
Before
After
Before dressing

After Dressing
Wheels and calipers would then be sealed with Collinite 845
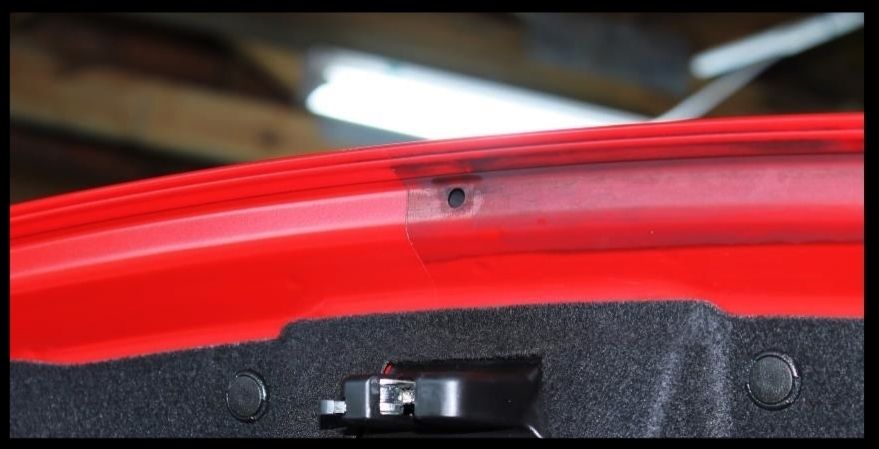
The door shuts were then cleaned using Carchem Citrus APC, various brushes and MF Towels.
Then the car was given a wash. The first step was to thoroughly HP rinse the car to try and remove as much dirt as possible.
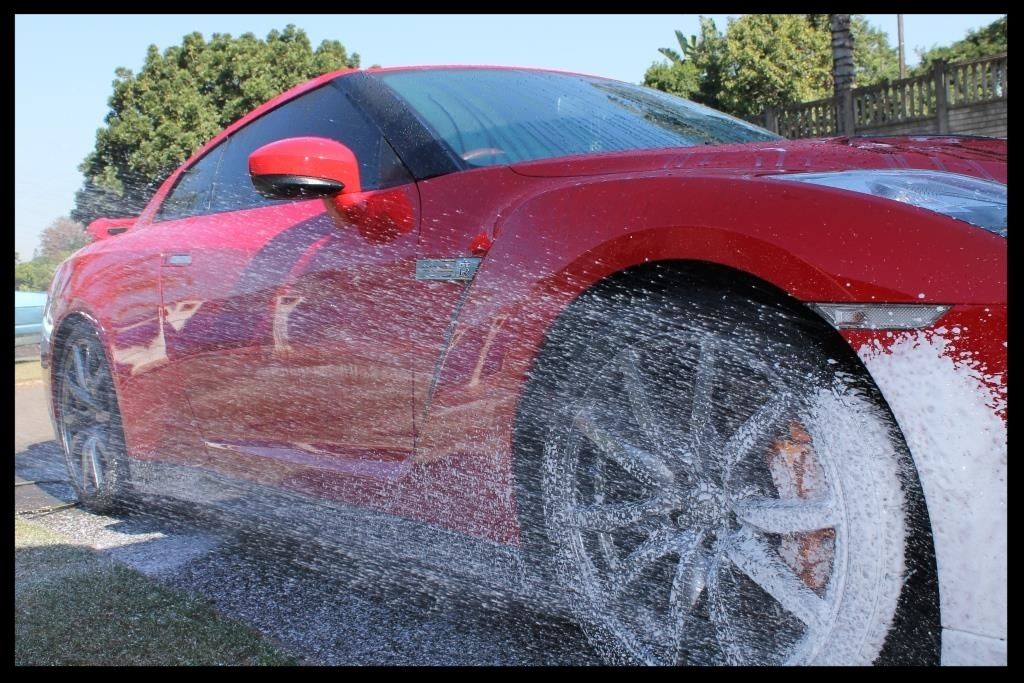
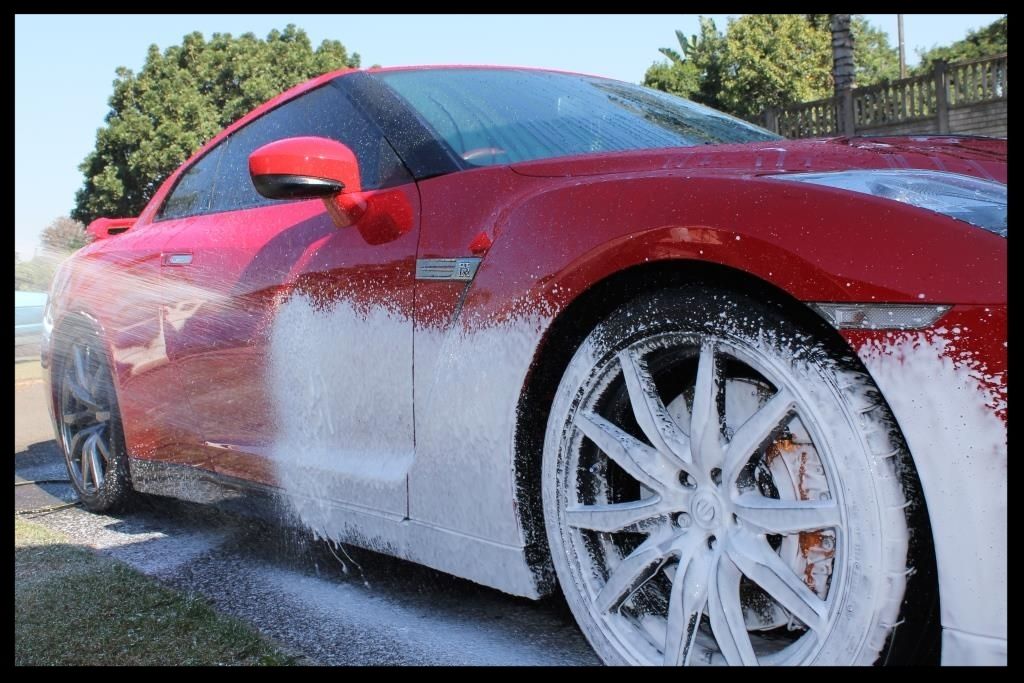
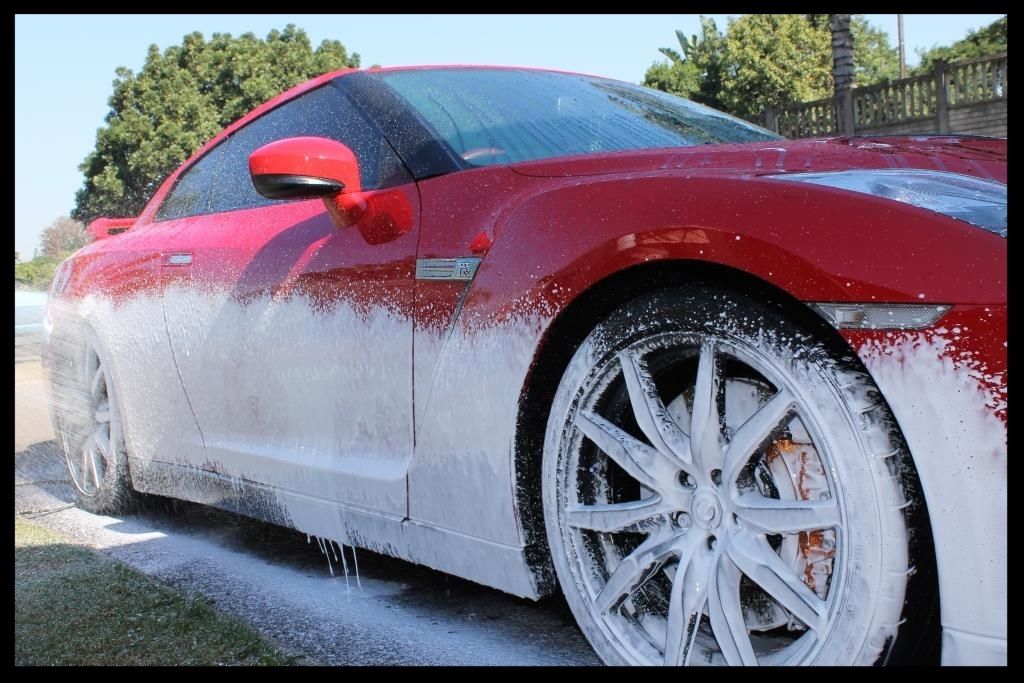
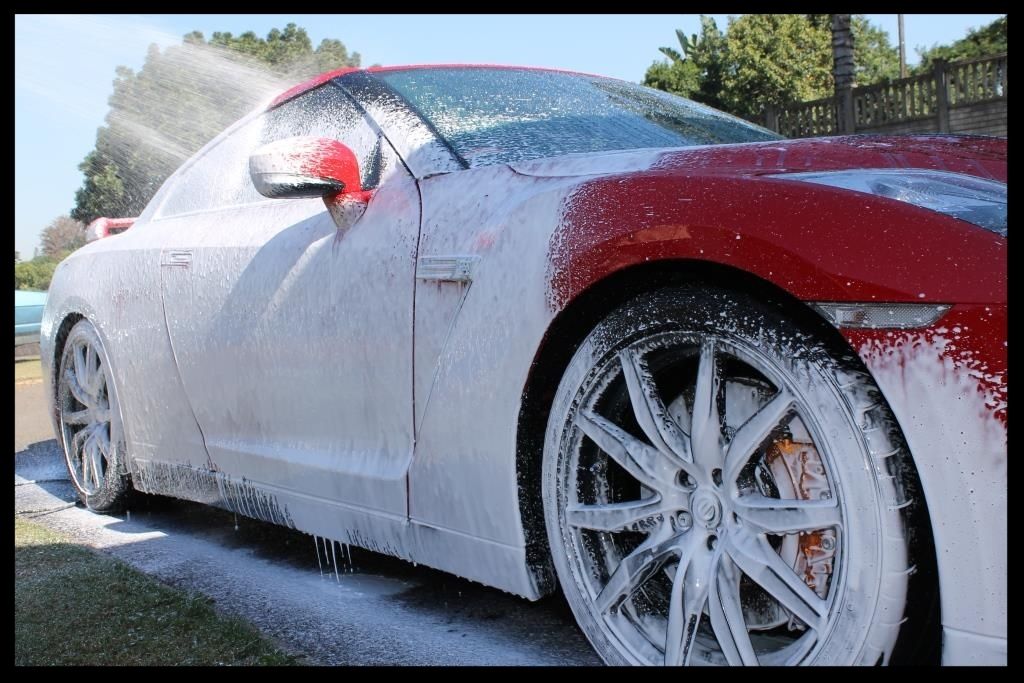
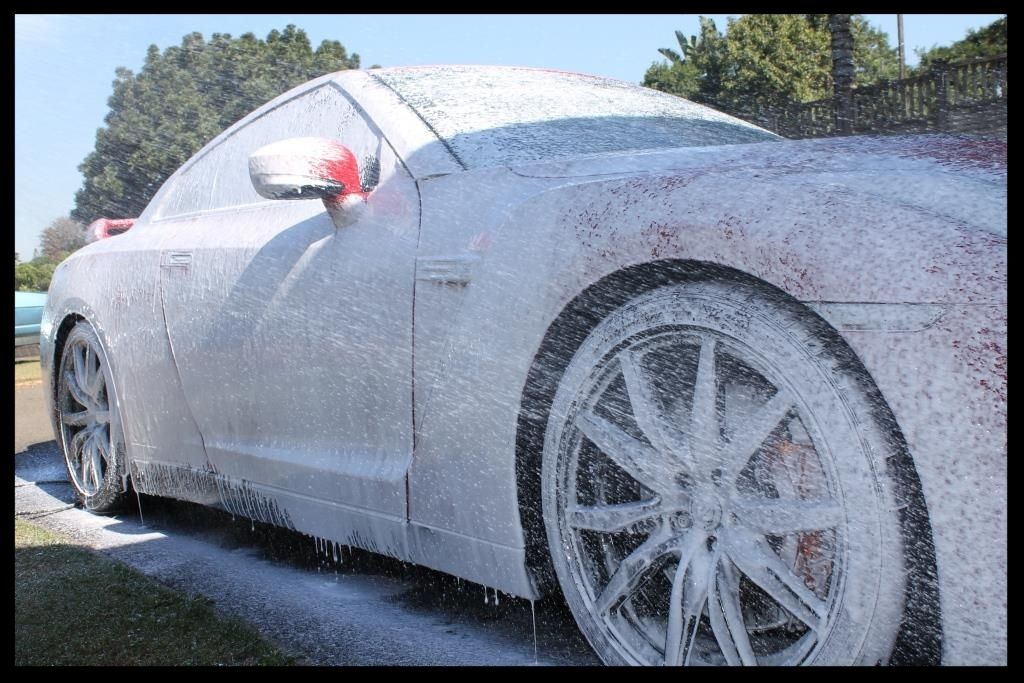
This was then followed by a full foaming using Gyeon Foam using the CD ver 2 Foam Cannon and a Karcher K7 HP washer. As you can see from the sequence of pics below, you want to spray the from the bottom of the car upward, which is contrary to the typical 'top down' method employed throughout the detail. This is ensure that the lower portions do not receive 'dirty' foam that has dripped down from higher up on the panel, but instead receive fresh clean foam from the outset.
This was followed by another HP rinse, then I sprayed Valet Pro Citrus Prewash through a pump sprayer, let that sit on the paint for around 5 minutes and HP rinsed that off. I then did a 2 bucket wash using 4 Lambswool wash mitts, and CarChem's Luxury Shampoo. The vehicle was then flood rinsed, sprayed with ONR at QD dilution as a drying aid and dried using 3 x waffle weave drying towels. The paint was then fully decontaminated using Valet Pro Citrus Tar Remover, Valet Pro Dragons Breath - which was sprayed on, left to dwell, covered with Carpro Iron-x Snowfoam to extend the working time, before being HP rinsed off - and Shield Heavy Duty Clay with ONR as lube.
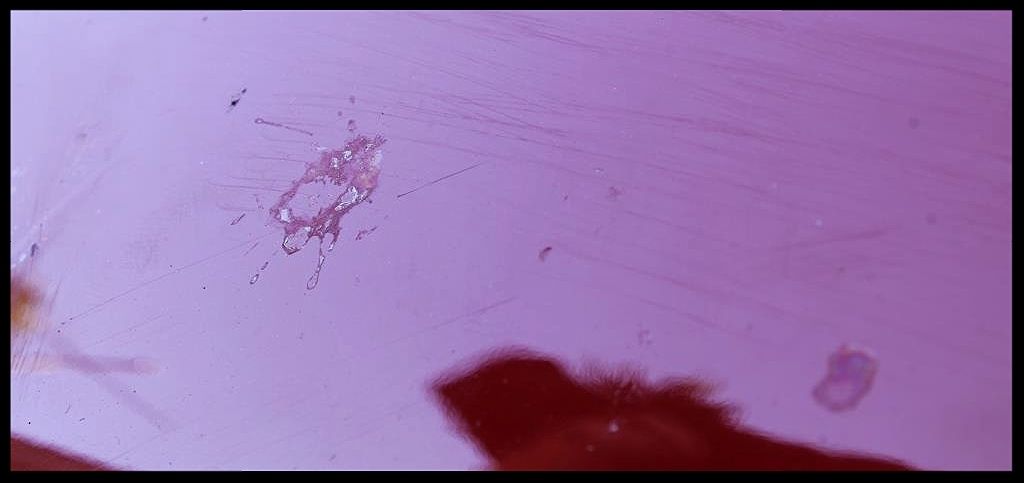
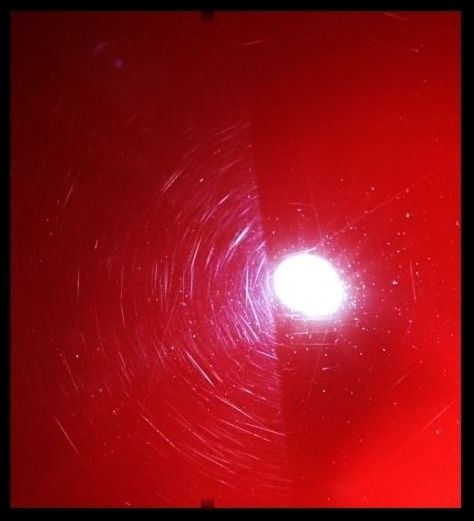
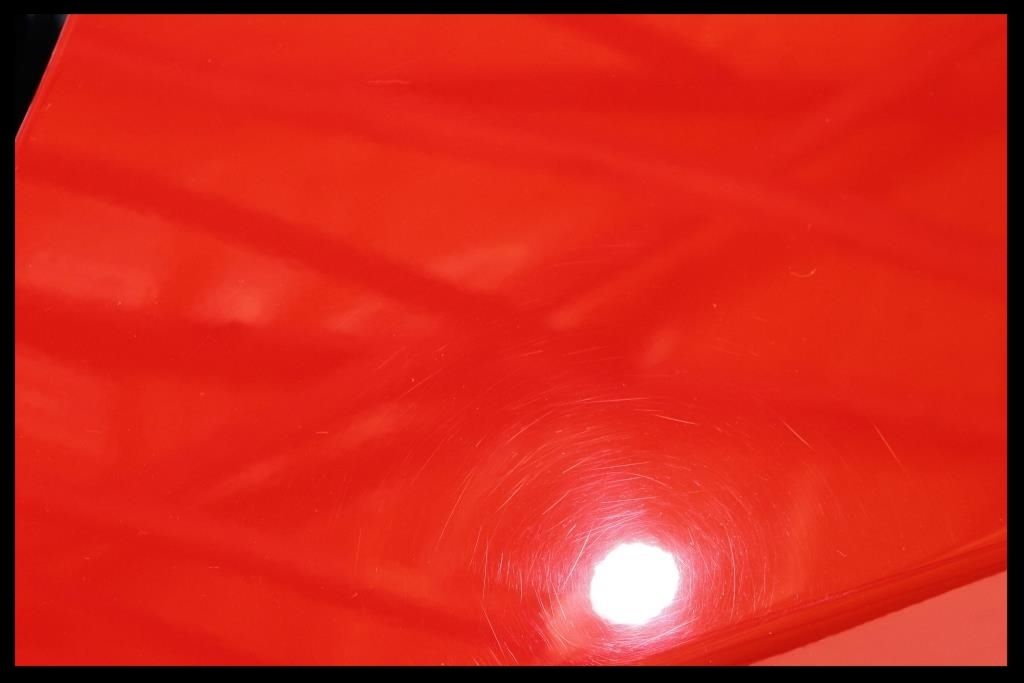
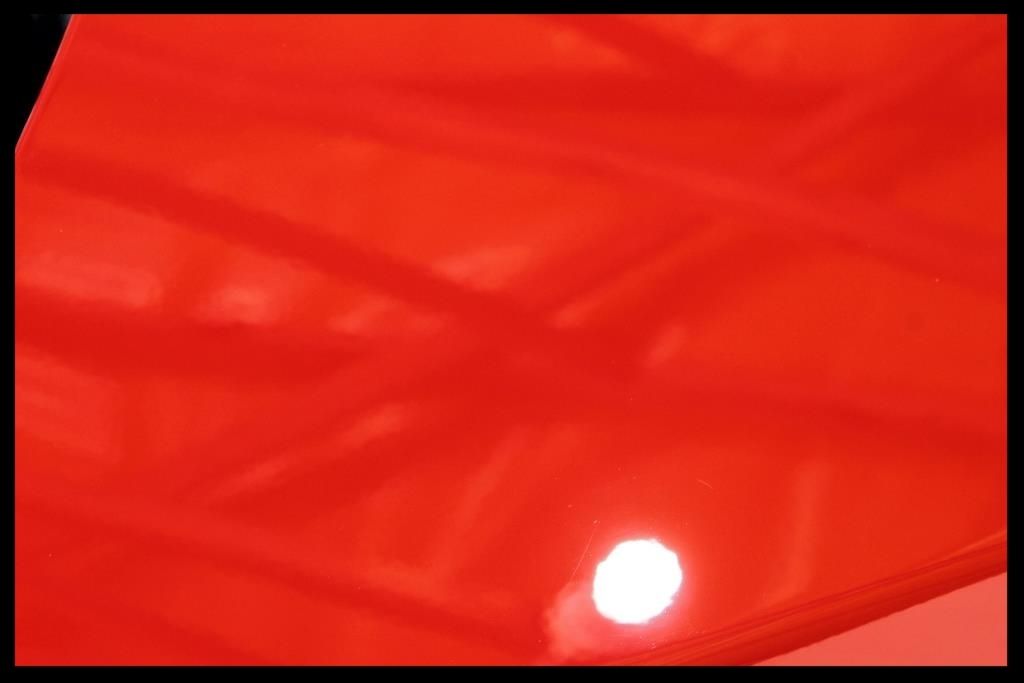
Here are 2 cell phone picture of the condition of the bare paint
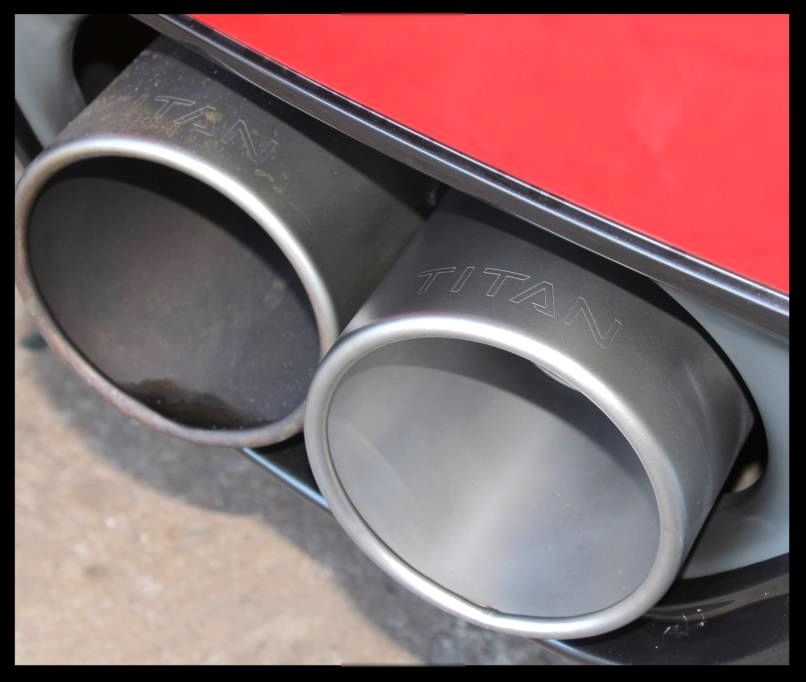
Whilst removing the iron off the car I also sprayed the exhaust tips to remove some of the build up
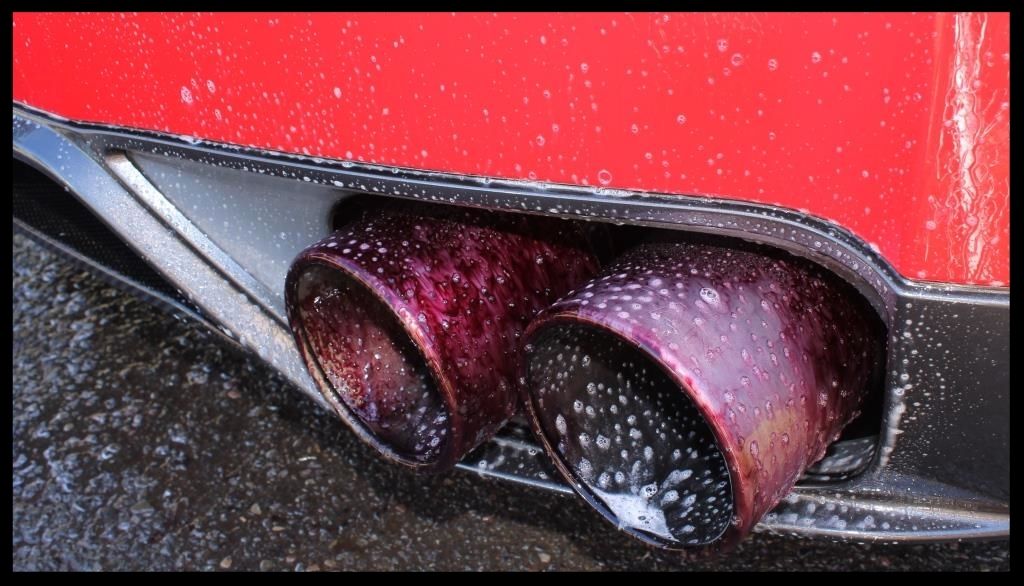
These would then be cleaned using CarChem Citrus APC and MF Towels, then polished with Meguiars NXT All Metal Polish, a Mothers Power Ball Mini and MF Towels. Due to the material of the exhausts, they will not product a high shine but did look better.
Knowing that these cars have soft paint, my initial test spot was using the Flex 3401 Menzerna SF4000 on a Lake Country White Hybrid Pad which yielded pretty impressive correction for a finishing polish.....
Imagine how much paint is unnecessarily removed during a polishing session on soft paint like this (as is evidenced by the buffer trails in the 'before' pictures above) where the person doing the polishing simply follows the same modus operandi of rotary+compound+wool pad + glaze The readings on this car range from 103µ to 162µ but were mostly in the 110µ to 130µ range - thicker than what I was expecting given their propsenity to chip so easily.....
I then switched to Menzerna PF2300 on the same white pad and it was better, but still not quite enough.... so I used the same polish with the orange hybrids and defect removal was where I wanted it.
:grin: I think even more so than black....So this is a 2013 model, with around 10 000km's on the clock, and was in a bit of a sad state.... not only were the typical swirls present from poor washing and drying techniques, but the car had also been subjected to a poor 'detail' by someone else, who left buffer trails all over the car, along with plenty of wax and/or polish residue in most of the seams - thanks buddy, I really enjoyed your gift... Not!. Bird dropping etchings were also present as were a fair amount of RIDS.
So let's see the condition of the car before we get detailing....
A fair amount of dirt, and evidence that people have been brushing up against the soft paint, contributing to the overall condition of the paint
More dirt and polish/wax residue
A chip in the paint along with more polish/wax residue
Faded looking front honeycomb section with polish/wax residue present
A chip with some etching
More etching
Etching along with some horrendous RIDS
Swirls, buffer trails and RIDS
The engine bay had a fairl amount of dust but wasn't too dirty.
It was cleaned using Carchem Citrus APC, various brushes and MF towels. The painted surfaces were then further cleaned/polished/protected using Autofinesse Tripple applied with a MF applicator pad. The plastics and rubbers were cleaned using Shield Heavy Duty Vinyl and Rubber cleaner and dressed using Aerospace 303 Protectant. The Carbon Fibre was polished using Meznera PF2300 by hand using a Lake Country Orange Foam Pad.
Here you can see the difference polishing the metal work with Meguiars NXT All Metal Polish and various MF towels made.
Then it was on to the fender wells, tires, wheels and brake calipers
Fender Wells
-HP rinse
-Apply Carchem Citrus APC, let it dwell then agitate using a Mothers Fenderwell Brush
-HP rinse
-Later these would be dressed with Carpro Perl a 1:1
Tires
-Clean tires with Valet Pro Billbery Wheel Cleaner @ 1:6 and a Mothers Tire brush.
-HP rinse
-Repeat tire cleaning
-HP rinse
-Dressed with 1 coat of Optimum Optibond followed by 1 Coat of Optimum Tire Sheen about 12 hours later
Wheels and calipers
-HP rinse
-VP Bilberry Wheel Cleaner @ 1:6, Daytona and Daytona Jnr brushes and Valet Pro Boars Hair Brushes
-HP rinse
-Dry
-Remove tar using VP Citrus Tar Remover
-Spray with Carchem Citrus APC and HP Rinse
-Dry
-Remove bonded and embedded ferrous contaminants on wheels and brake calipers with Valet Pro Dragon's Breath, Daytona (big and small) brushes and Valet Pro Boars Hair Brushes
-HP rinse
-Dry
Before
After
Before dressing
After Dressing
Wheels and calipers would then be sealed with Collinite 845
The door shuts were then cleaned using Carchem Citrus APC, various brushes and MF Towels.
Then the car was given a wash. The first step was to thoroughly HP rinse the car to try and remove as much dirt as possible.
This was then followed by a full foaming using Gyeon Foam using the CD ver 2 Foam Cannon and a Karcher K7 HP washer. As you can see from the sequence of pics below, you want to spray the from the bottom of the car upward, which is contrary to the typical 'top down' method employed throughout the detail. This is ensure that the lower portions do not receive 'dirty' foam that has dripped down from higher up on the panel, but instead receive fresh clean foam from the outset.
This was followed by another HP rinse, then I sprayed Valet Pro Citrus Prewash through a pump sprayer, let that sit on the paint for around 5 minutes and HP rinsed that off. I then did a 2 bucket wash using 4 Lambswool wash mitts, and CarChem's Luxury Shampoo. The vehicle was then flood rinsed, sprayed with ONR at QD dilution as a drying aid and dried using 3 x waffle weave drying towels. The paint was then fully decontaminated using Valet Pro Citrus Tar Remover, Valet Pro Dragons Breath - which was sprayed on, left to dwell, covered with Carpro Iron-x Snowfoam to extend the working time, before being HP rinsed off - and Shield Heavy Duty Clay with ONR as lube.
Here are 2 cell phone picture of the condition of the bare paint
Whilst removing the iron off the car I also sprayed the exhaust tips to remove some of the build up
These would then be cleaned using CarChem Citrus APC and MF Towels, then polished with Meguiars NXT All Metal Polish, a Mothers Power Ball Mini and MF Towels. Due to the material of the exhausts, they will not product a high shine but did look better.
Knowing that these cars have soft paint, my initial test spot was using the Flex 3401 Menzerna SF4000 on a Lake Country White Hybrid Pad which yielded pretty impressive correction for a finishing polish.....
Imagine how much paint is unnecessarily removed during a polishing session on soft paint like this (as is evidenced by the buffer trails in the 'before' pictures above) where the person doing the polishing simply follows the same modus operandi of rotary+compound+wool pad + glaze
The readings on this car range from 103µ to 162µ but were mostly in the 110µ to 130µ range - thicker than what I was expecting given their propsenity to chip so easily.....I then switched to Menzerna PF2300 on the same white pad and it was better, but still not quite enough.... so I used the same polish with the orange hybrids and defect removal was where I wanted it.


 rops:
rops:")