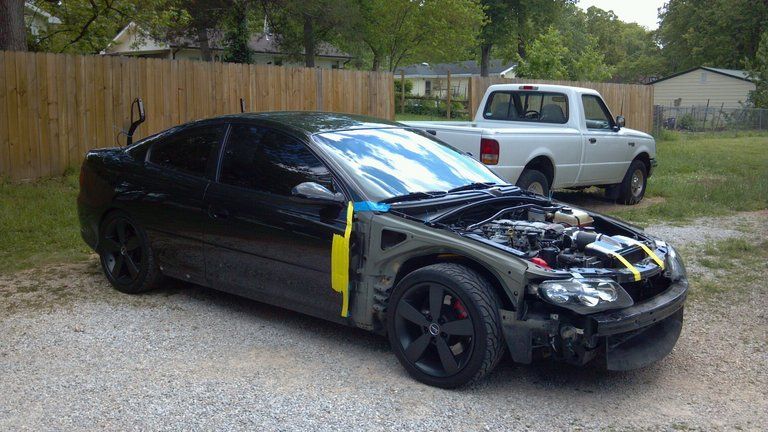
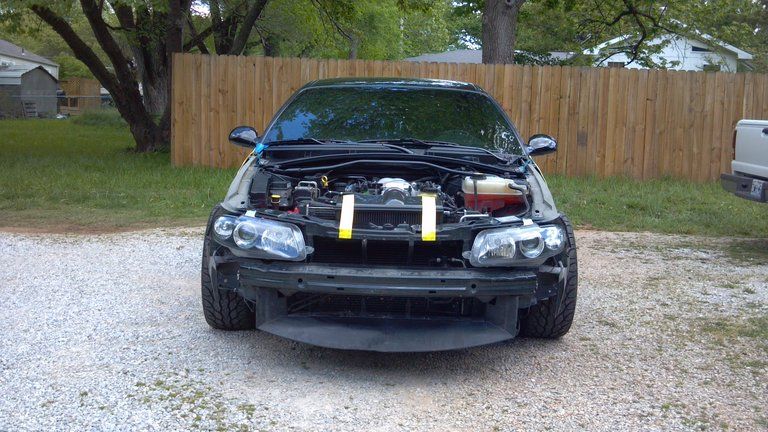
IDK if this is the proper area to post this in...it is a work in progress and here is where we are so far.
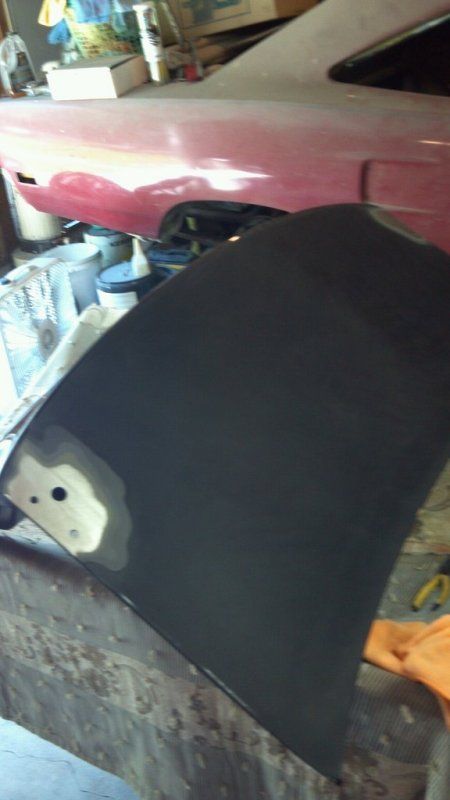
I had originally planned to get the front end resprayed in a few years but when I traded the carbon hood for the 05 hood the repaint became a priority.
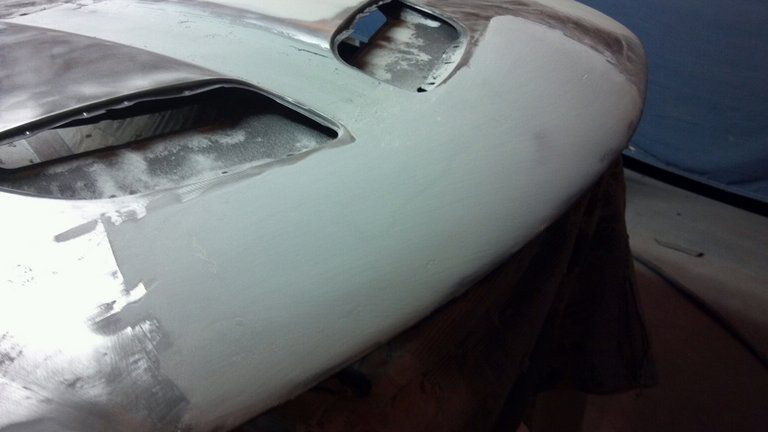
The 05 hood was a fresh respray but it was crap. The paint didn't match and the prep was very poor. Some of the paint actually pulled off when we taped up to paint the underside. There were several chips that were painted over and some waves. There was even some dirt in the paint. Upon sanding I found that they had actually put bondo over the factory clearcoat to fill in 2 deep rock dents.
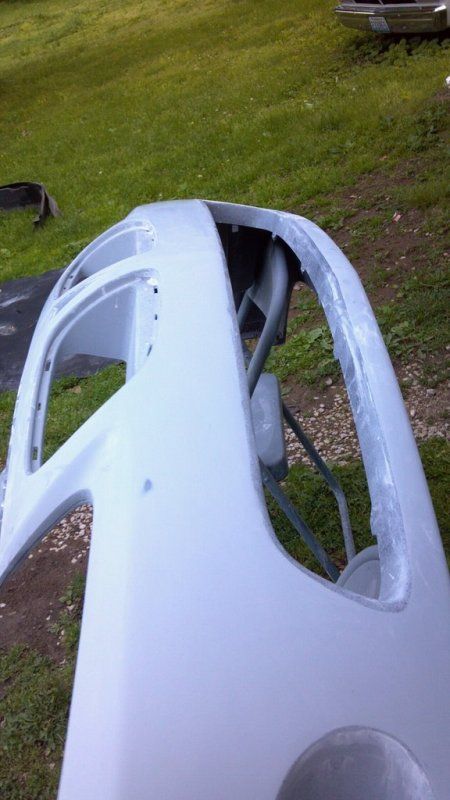
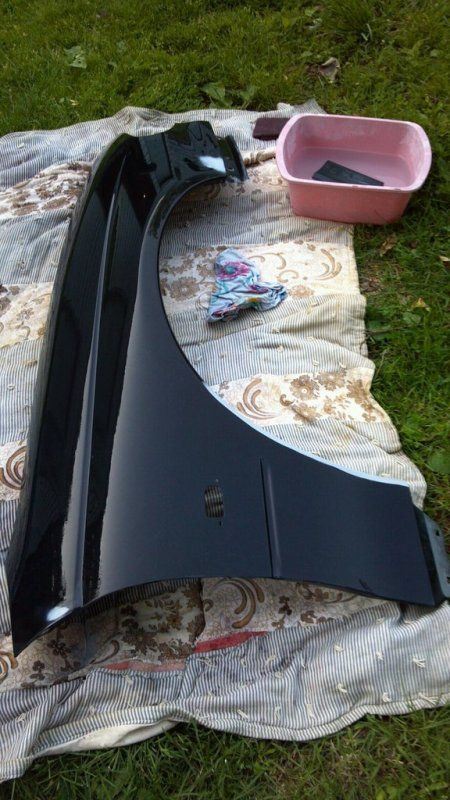
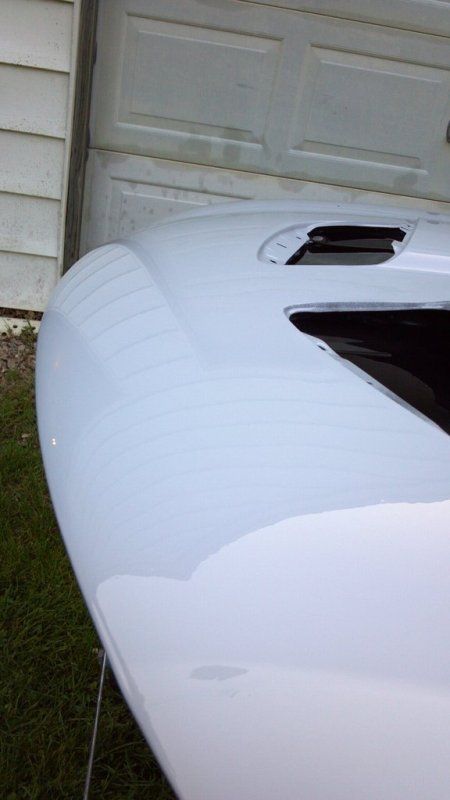
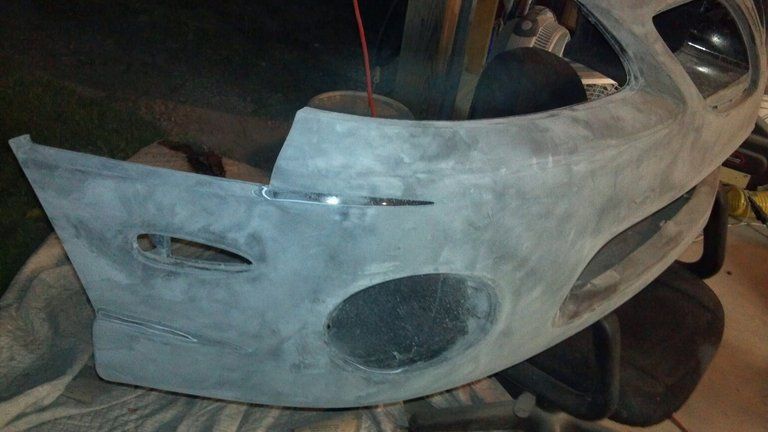
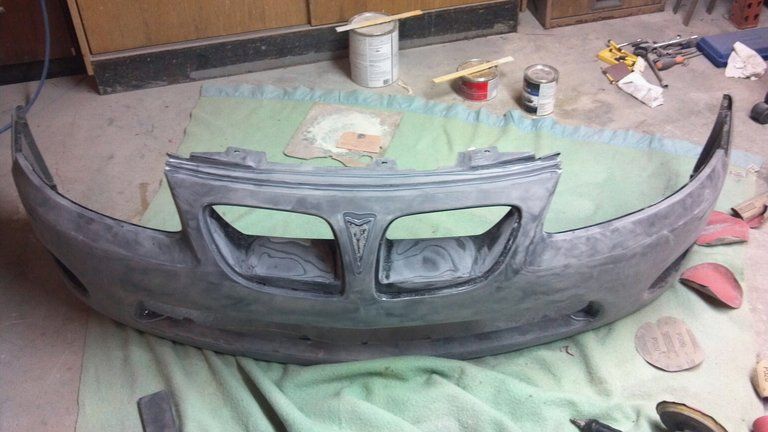
The front bumper had some stress cracks in the paint from when I smacked a deer last october. The bumper had previously been repainted in 2006 so I had 2 layers of paint to sand through.
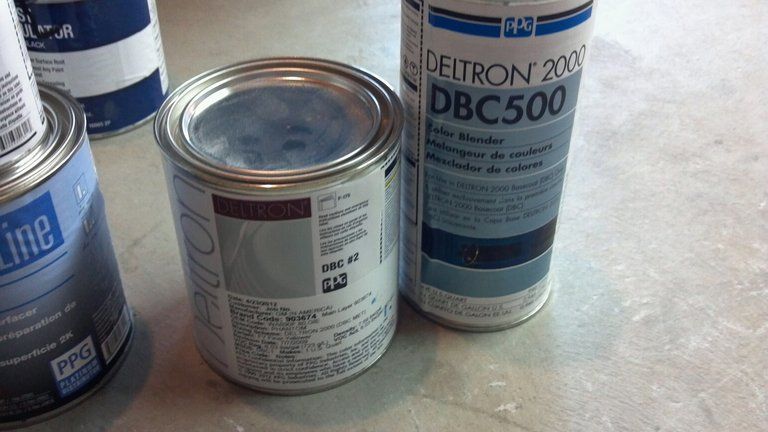
A good friend of mine had went to school for bodywork and worked at a body shop for a few years. We decided to tackle this in his garage. We went to a paint shop and started spending money. We had them give us a sample of the oem paint code, the variant of the oem paint code, and also use their gun to scan the paint and give us that sample. Out of all three the oem variant is the closest match so we went with it.
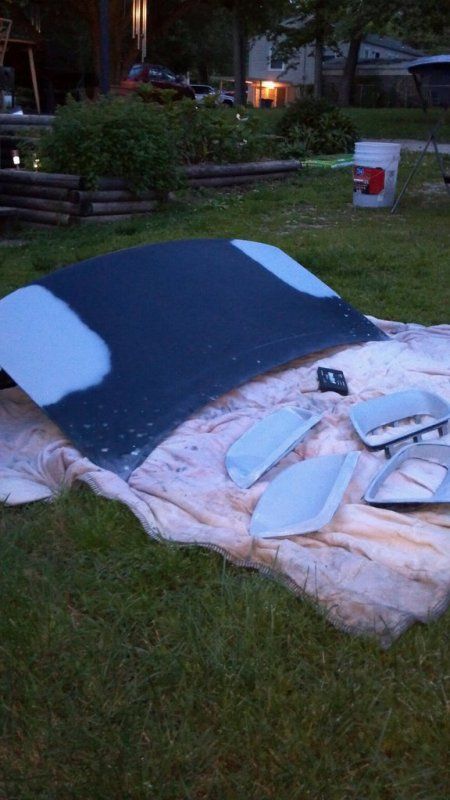
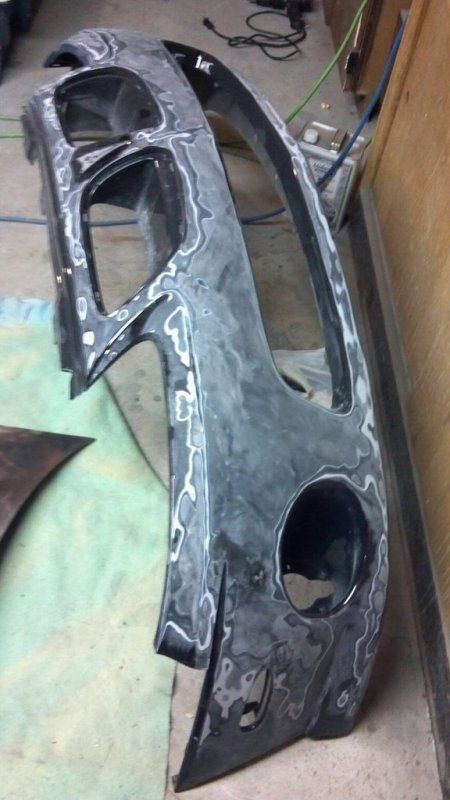
The teardown. The sideskirts, fenders, fender liners, hood, bumper, and trunk are all removed. Everything but the sideskirts will be getting some work.
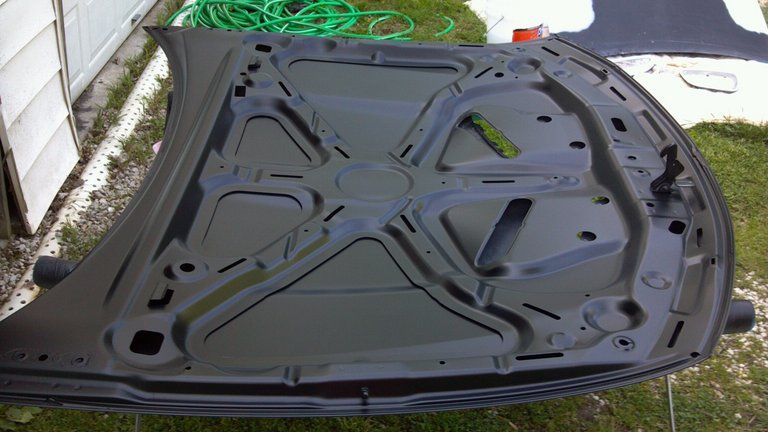
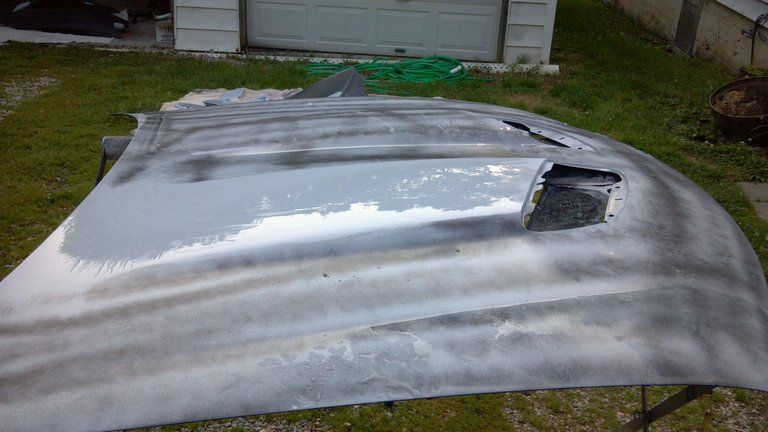
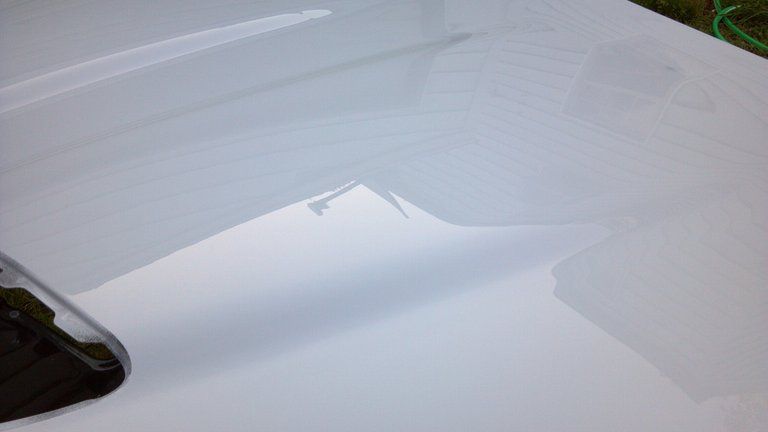
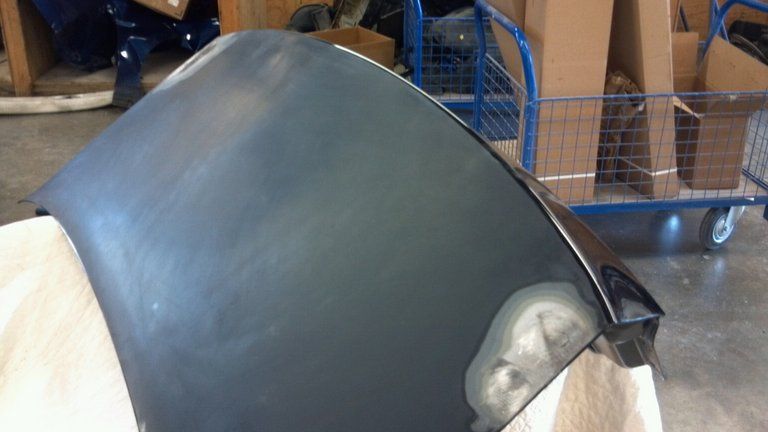
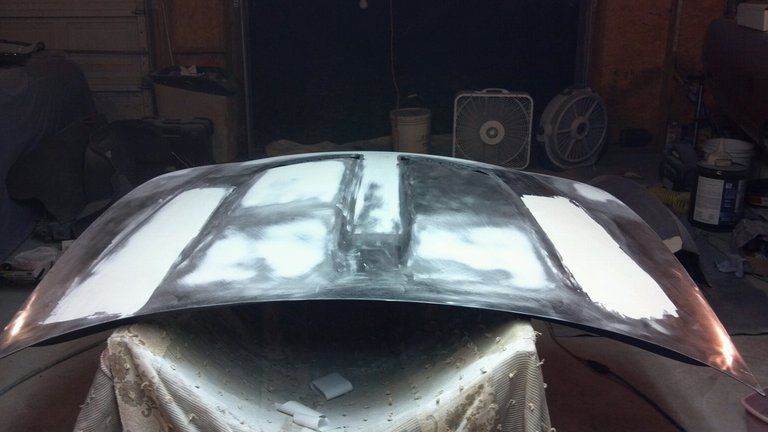
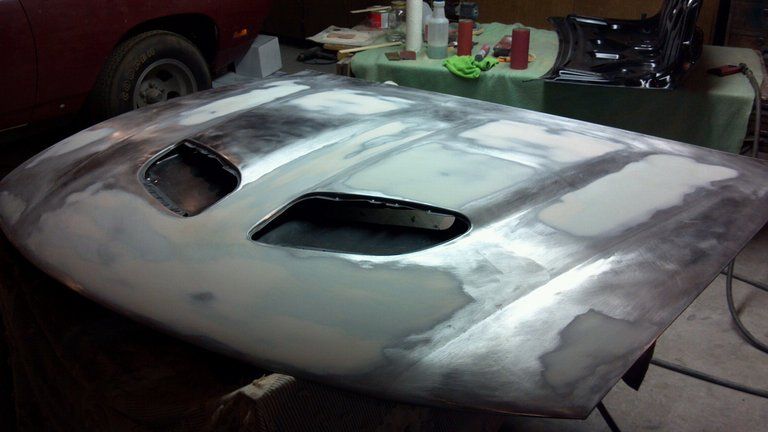
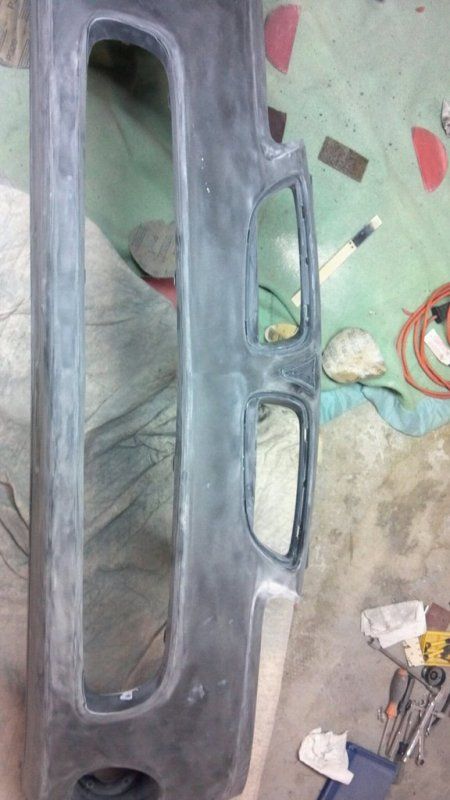
The hood.
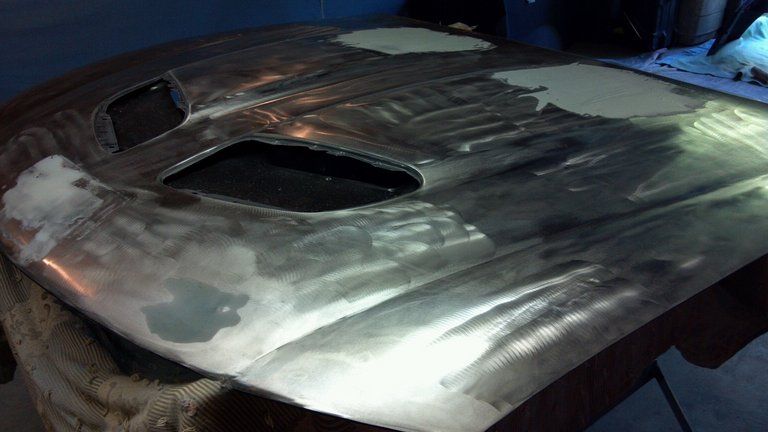
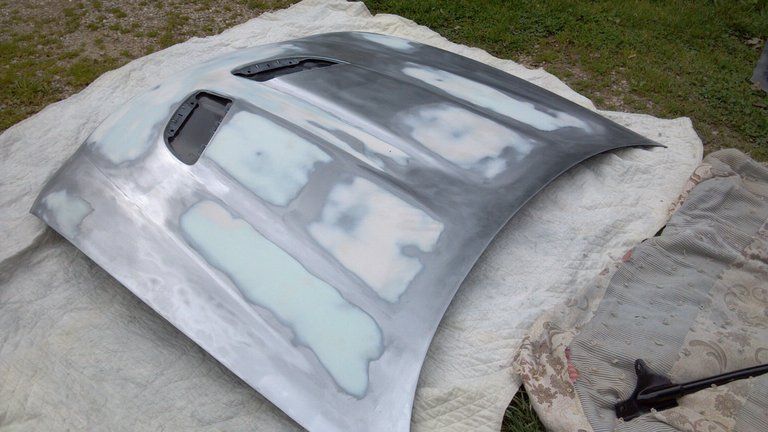
I started sanding on this with a DA. The whole hood had aftermarket clear, aftermarket basecoat, aftermarket primer, factory clear, factory basecoat, factory primer to get through so it took some time. The whole front of the hood had a nice layer of bondo on it OVER the factory clear. Crap prepwork by the other bodyshop.
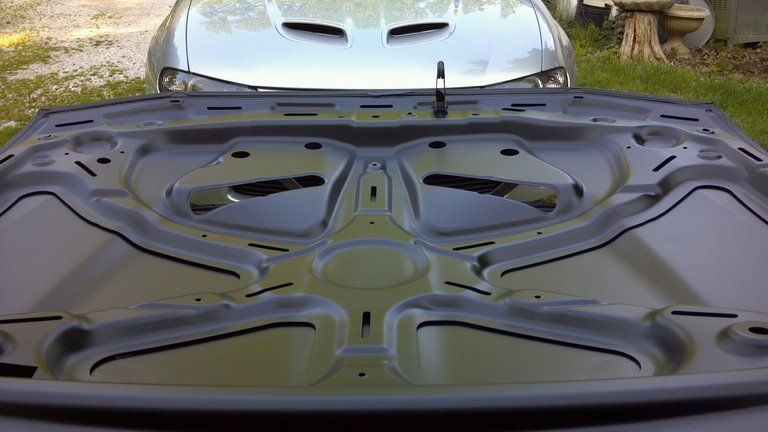
Halfway done.
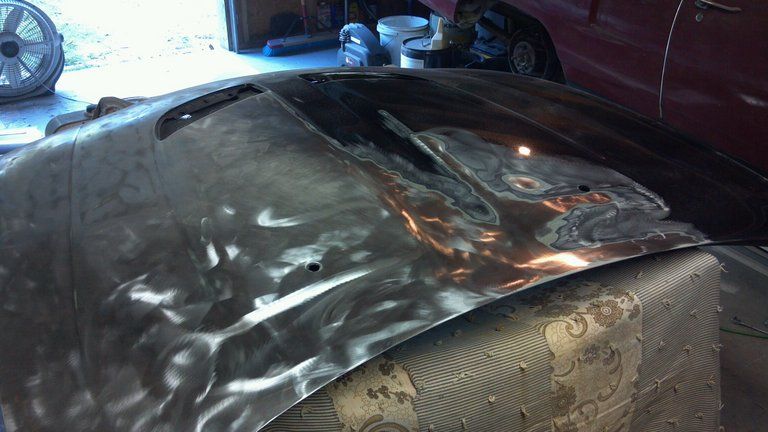
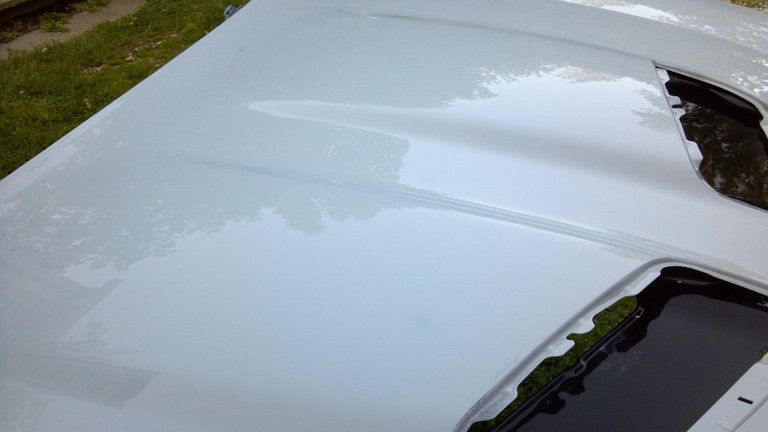
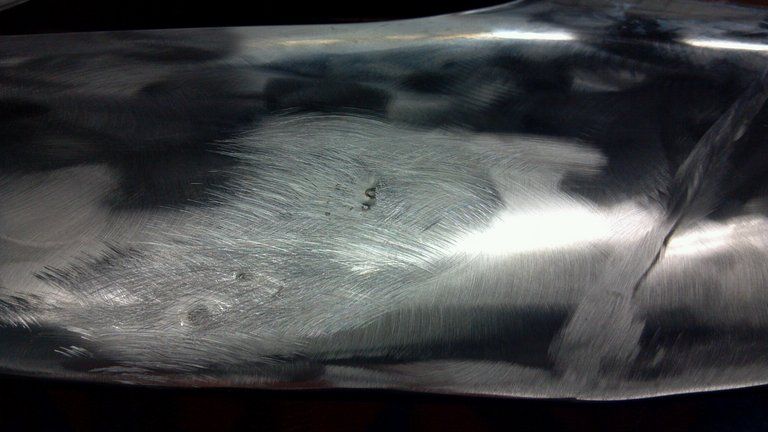
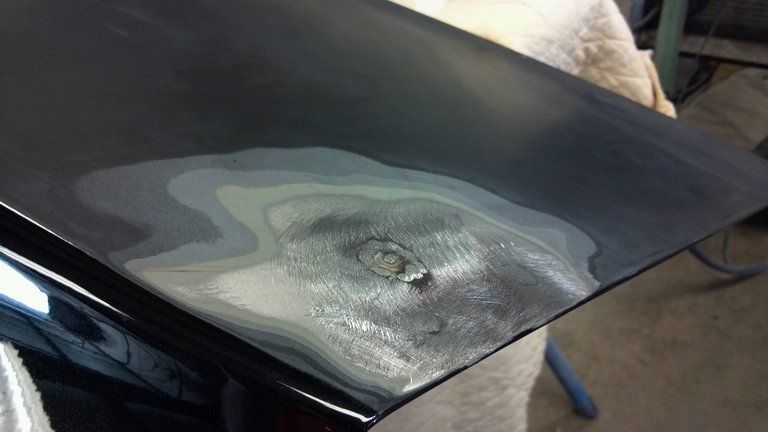
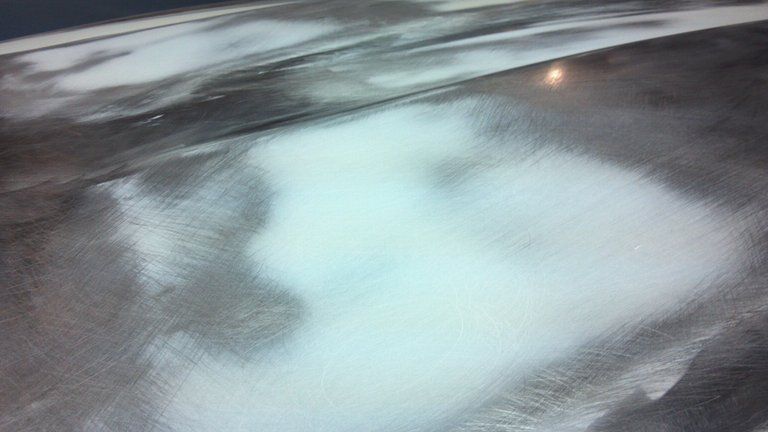
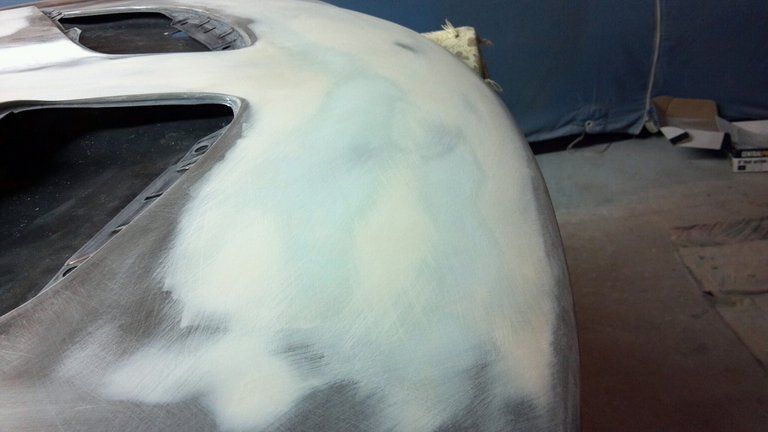
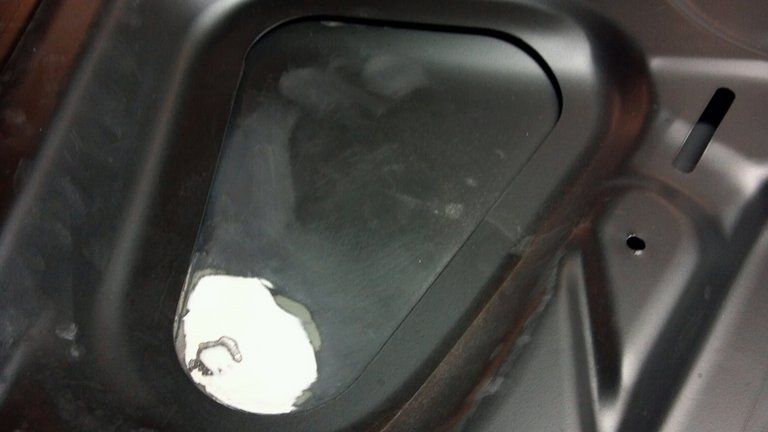
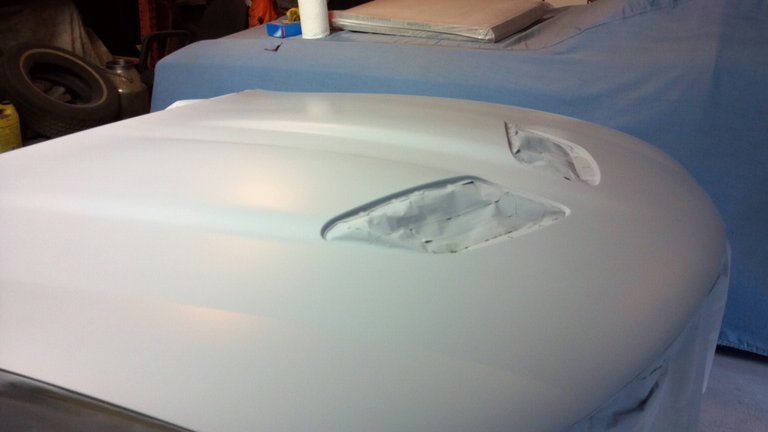
Notice the tan dot in on the left side of this photo above the scoop...that was a rock dent filled with bondo.
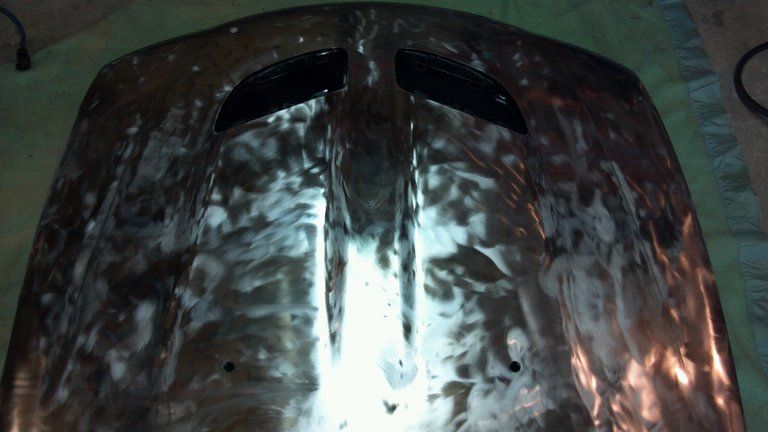
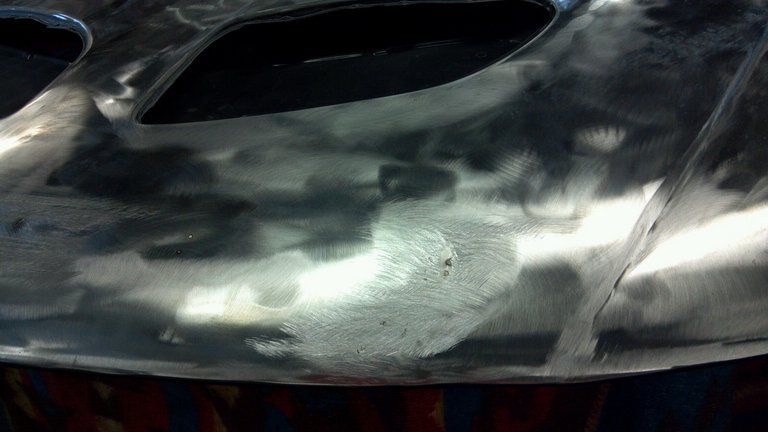
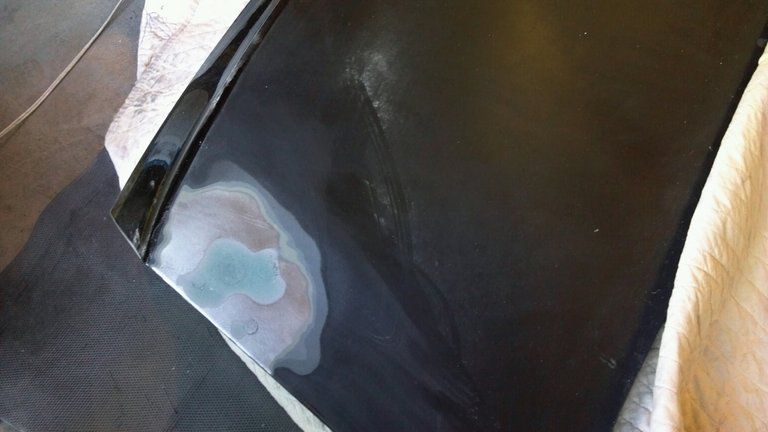
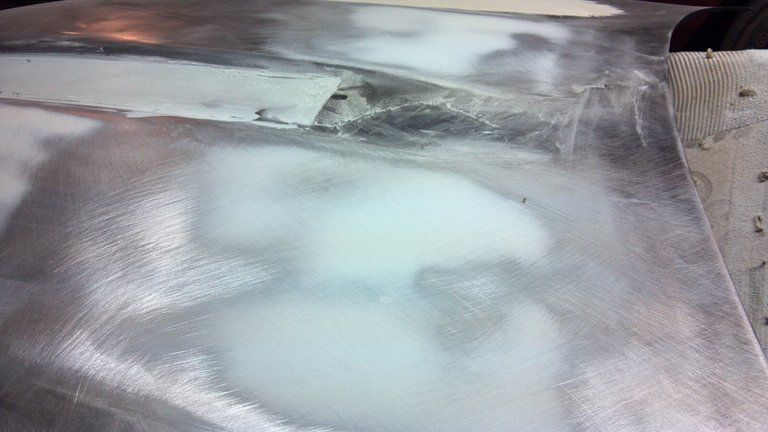
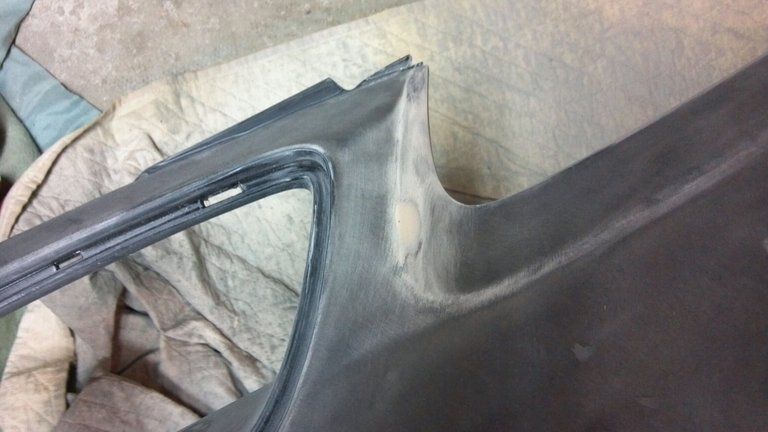
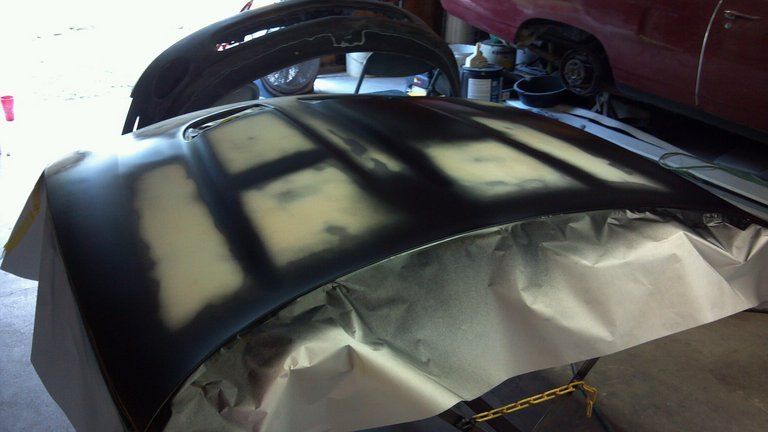
With the bondo removed this is what it looked like...unacceptable. The fact that they put bondo over the factory clear blew our mine. The front portion of the hood right above the latch was also dented down a tad. All we could tell is that someone pushed down in that area to shut the hood... repeatedly.
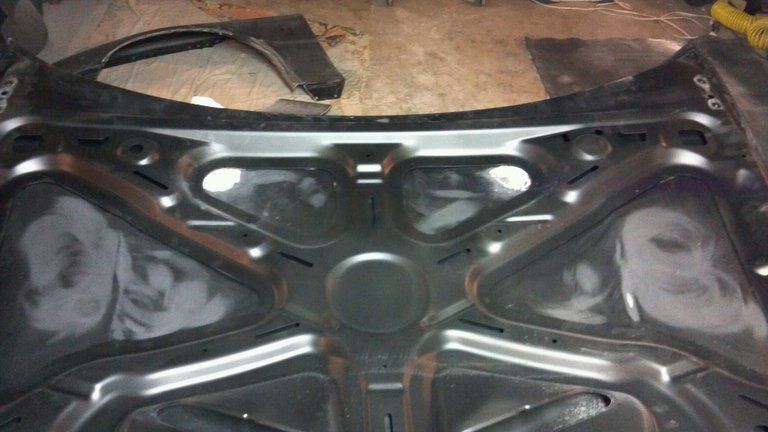
For this area the metal needed to be pulled back out. Here is the same area after the metal was pulled out.
Not perfect...but much better. Now there will not be a 1/4" deep crater filled with bondo.
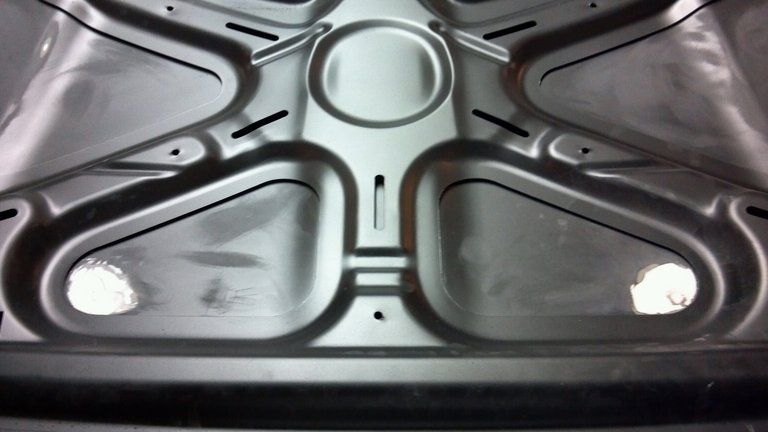
Another shot.
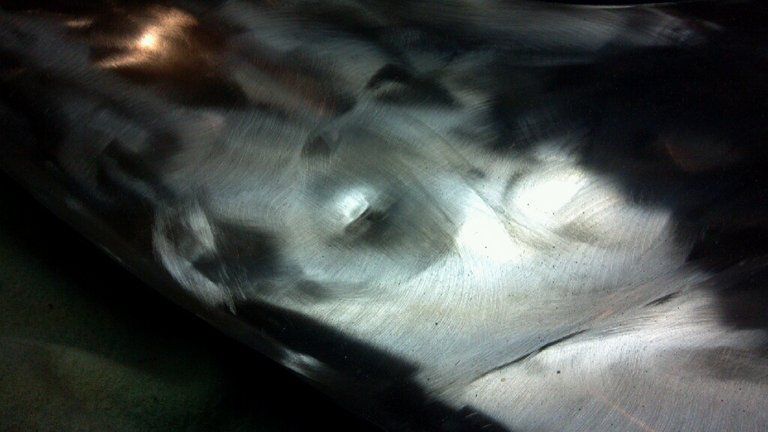
Since the hood was going to have some bondo anyway I made another decision...
Notice anything here?
Maybe this will help...
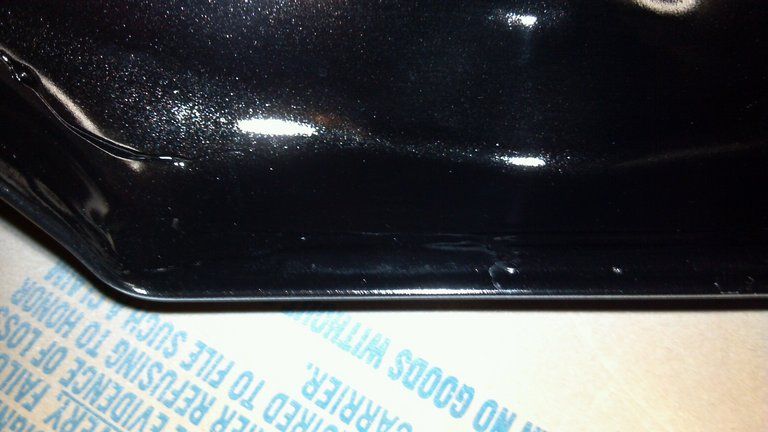
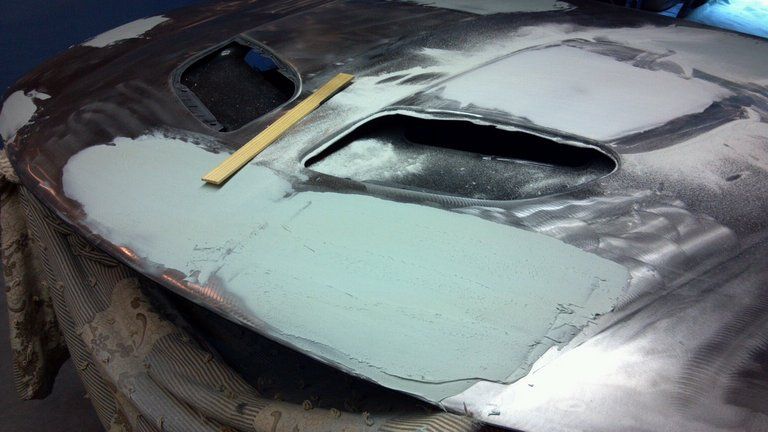
Went ahead and filled the washer nozzle holes with metal.
Ok if you don't have it by now this will give it away.
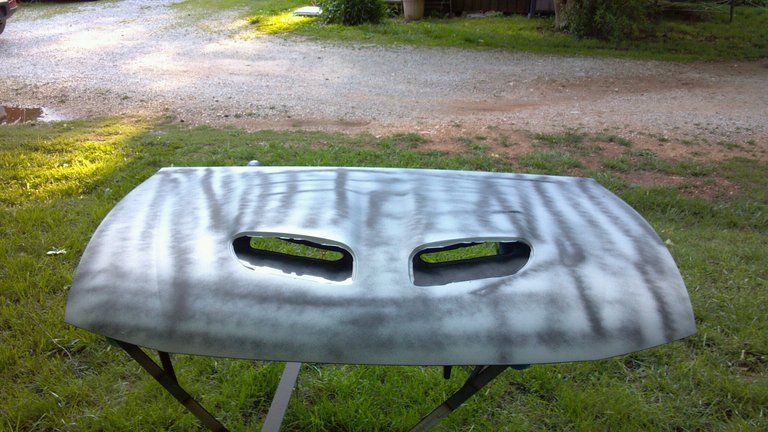
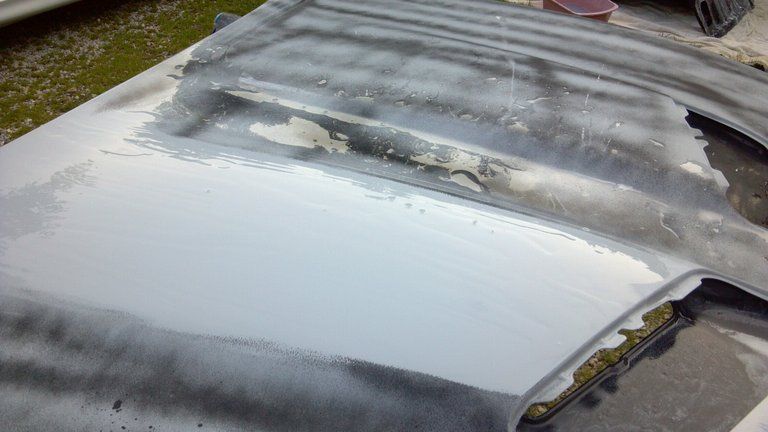
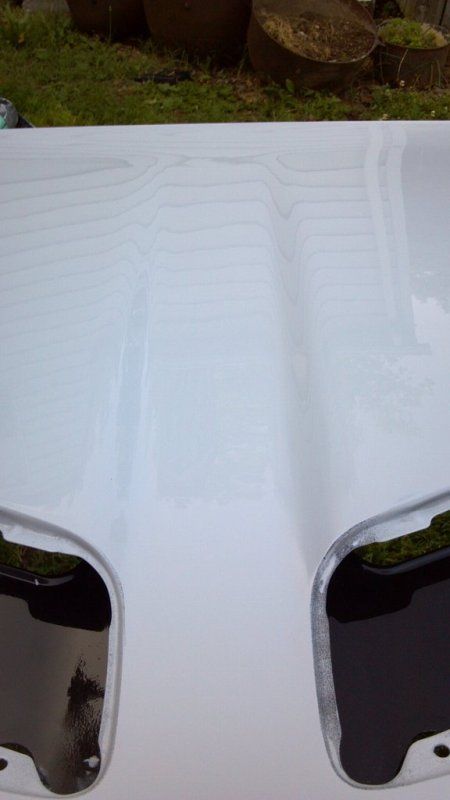
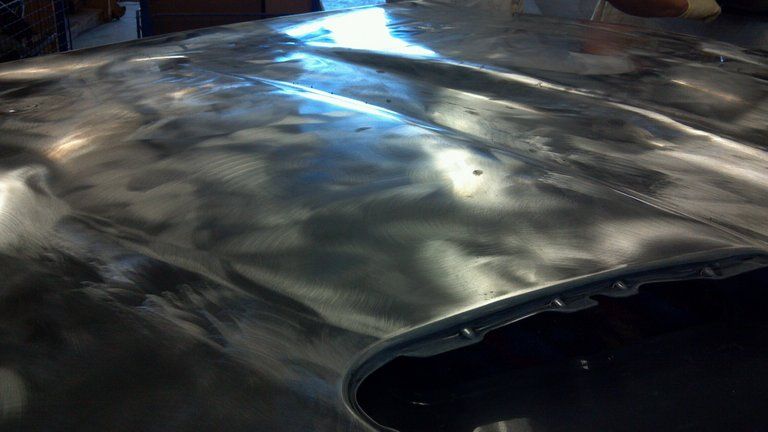
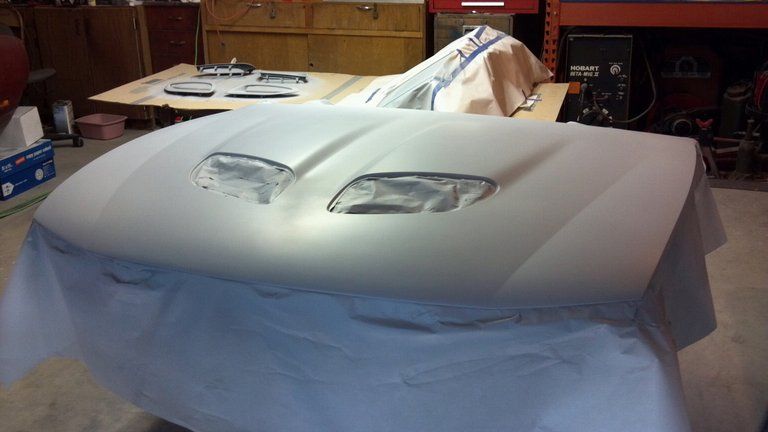
The deeper areas get some fiberglass filler then everything covered in a light layer of filler.
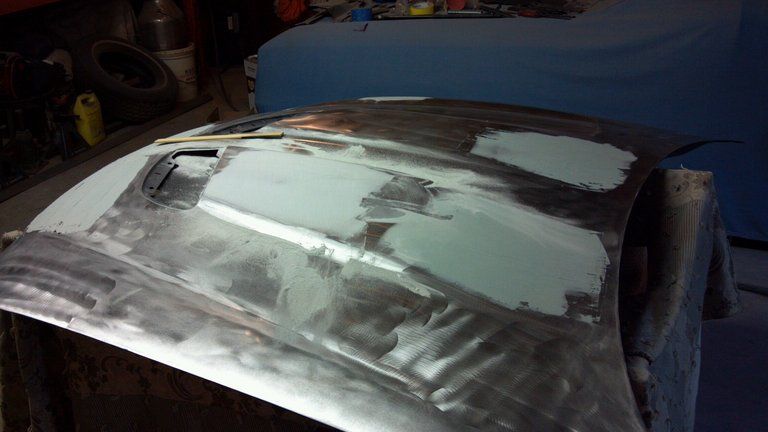
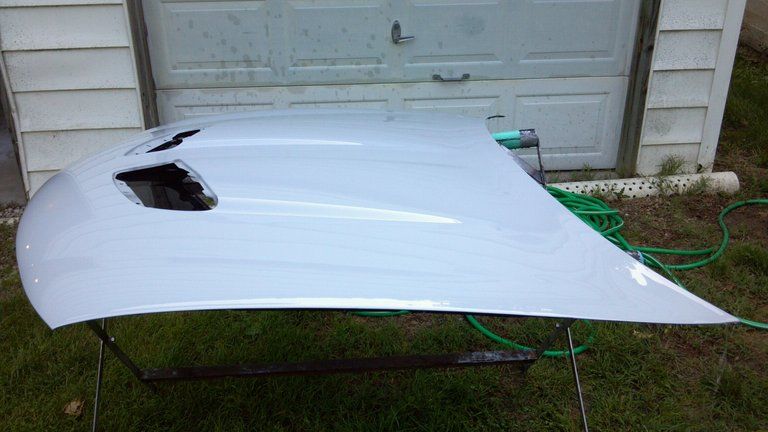
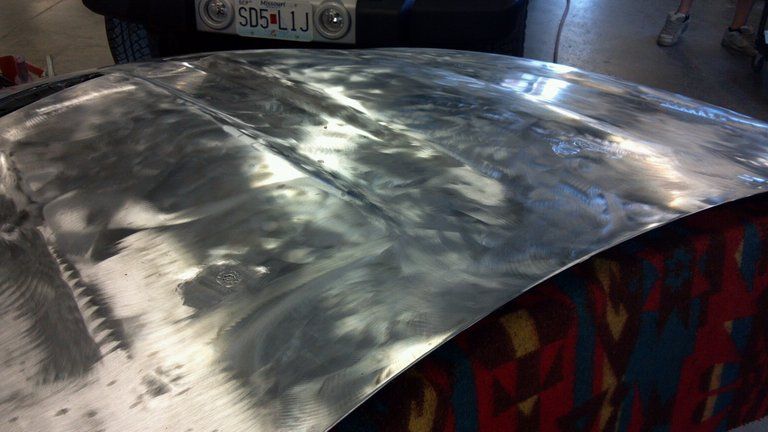
Still have some more work to do on the hood. Lots more bondo sanding. We are getting this hood as smooth as possible all over. Maybe even perfection...?
That is where we are at with the hood.
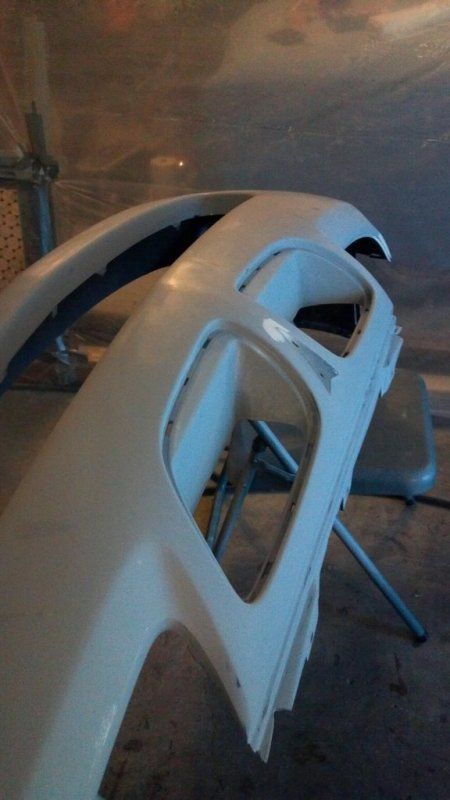
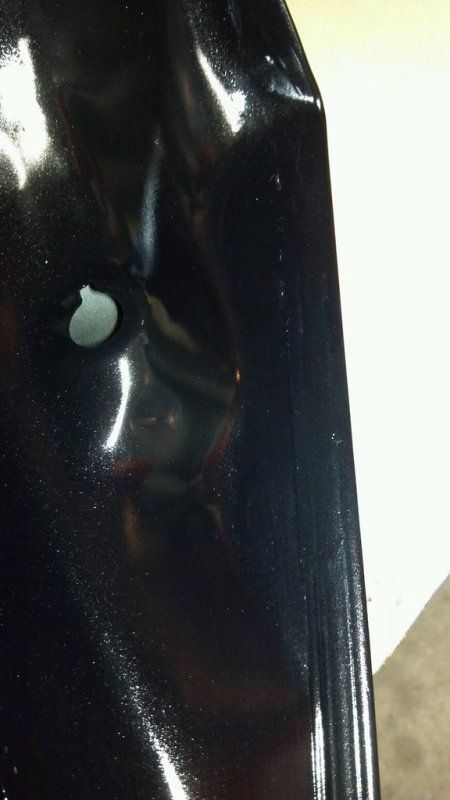
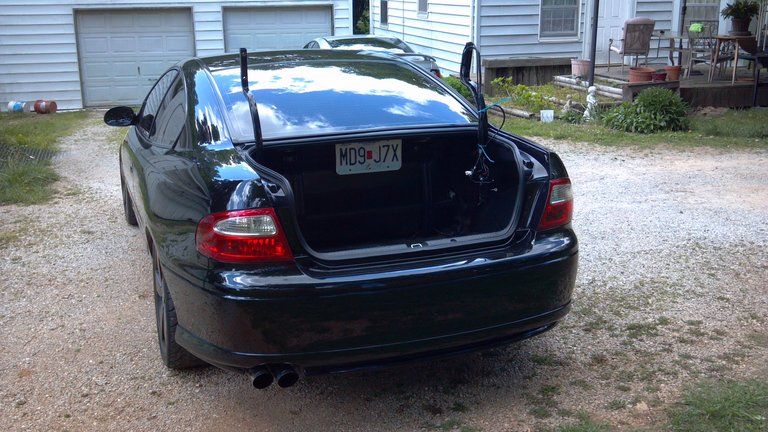
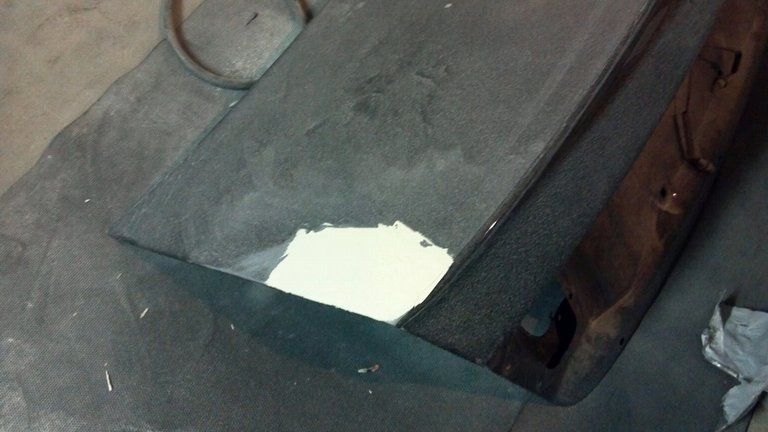
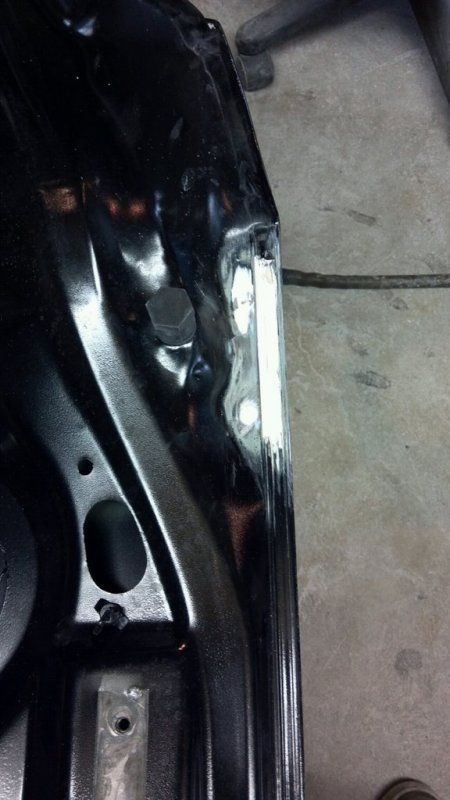
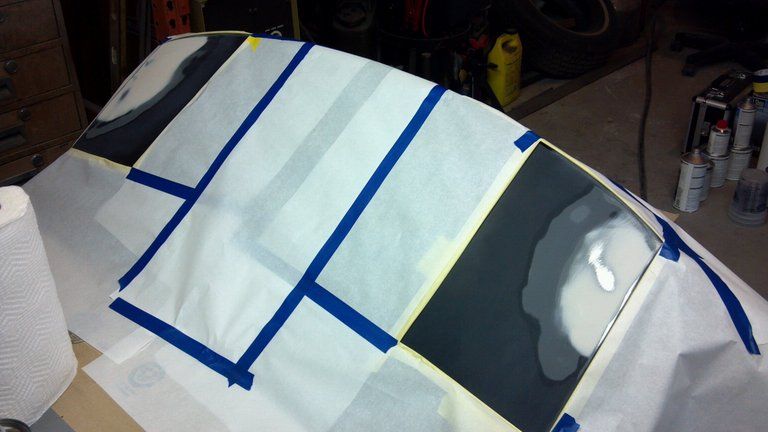
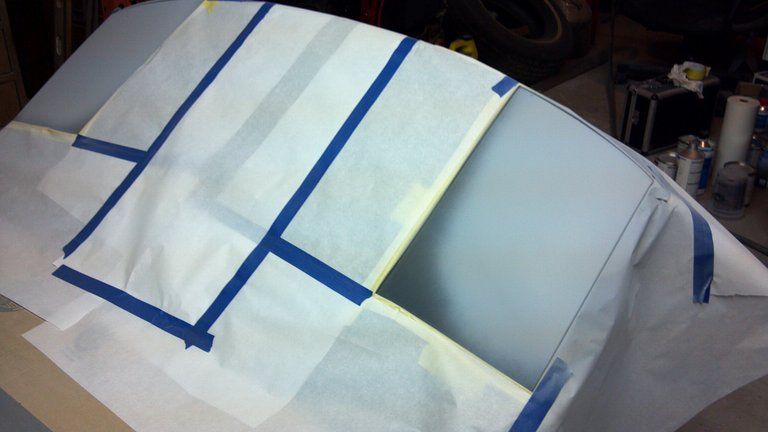
Onto the trunk. I decided to go ahead and fill the spoiler holes and eliminate the plugs I have been driving around with since 2005. All the paintwork on the hood has been wetsanded with 600 grit then the area around the holes taken to bare metal.
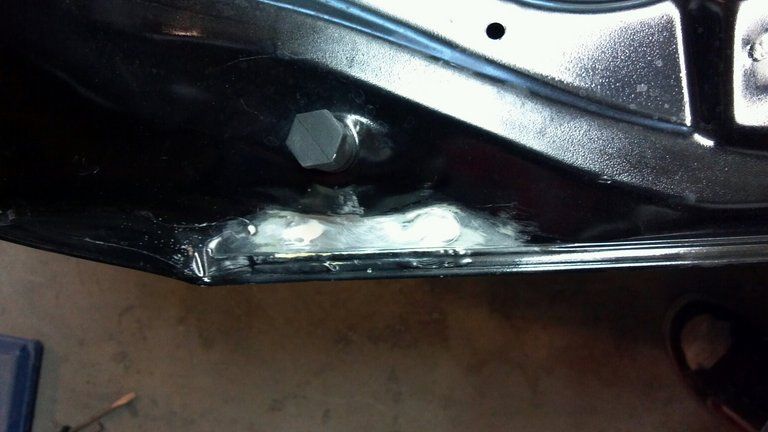
Then the smaller holes welded up, and a slug welded in the larger hole.
This stuff didn't warp at all.
A light layer of filler.
That's where the trunk stands.
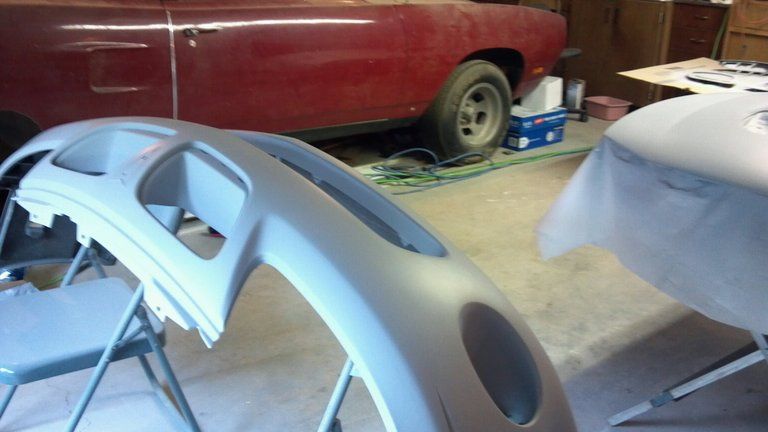
The bumper is being stripped to bare plastic because of the 2 layers of paint. DA to the rescue.
A little more progress has been made on the bumper but I do not have pictures.
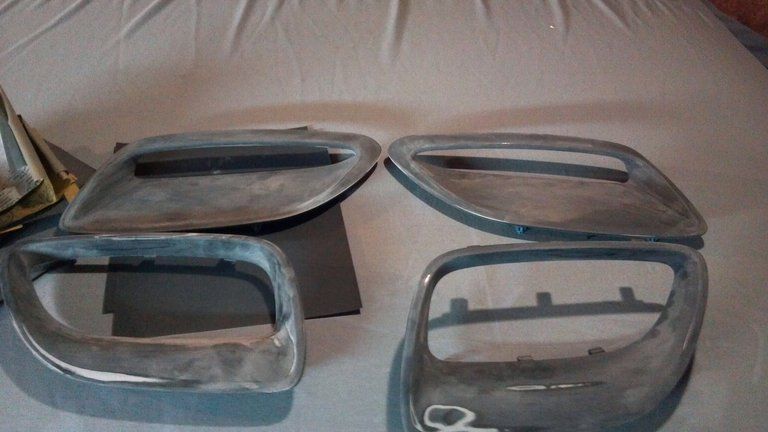
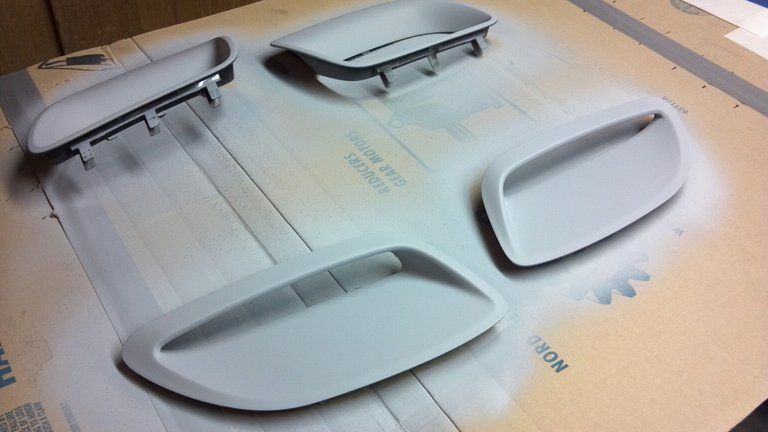
The grills have been taken apart and sanded by hand.
One fender has been wetsanded with 600 grit all over. The other fender still needs to be done.
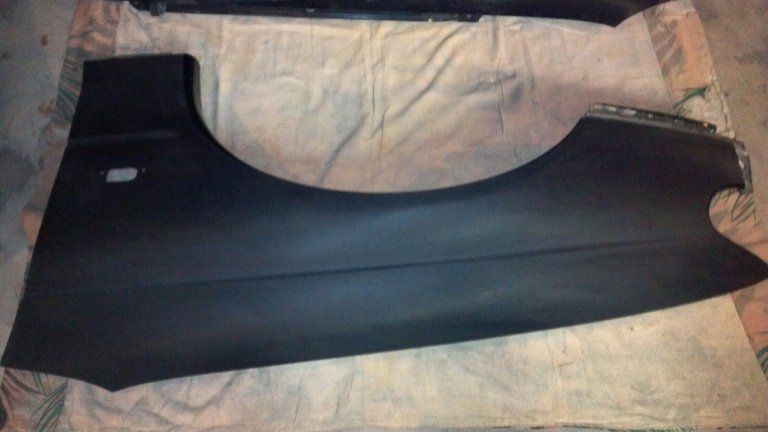
The top edges of the fender to about the body line along with the front edge where it is contact with the bumper. Nothing that touches the door will be resprayed. Just trying to blend the paint into the old.
After wetsanding on the trunk and seeing how thick the factory clear is we have decided that we will most likely wetsand the whole car to a slick mirror like finish. Just something to push it over the top.
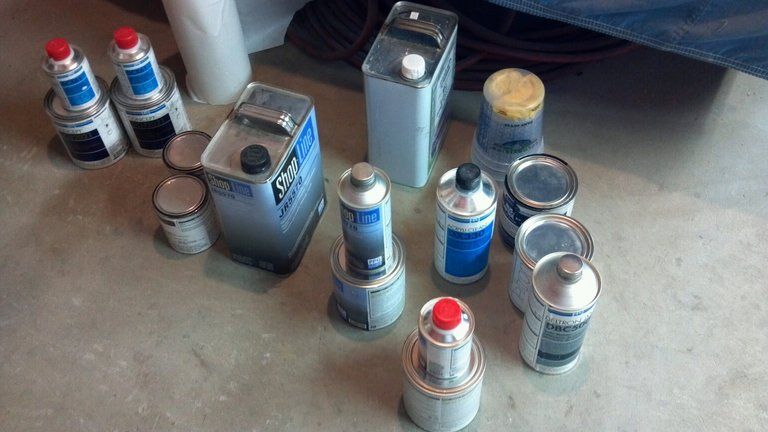
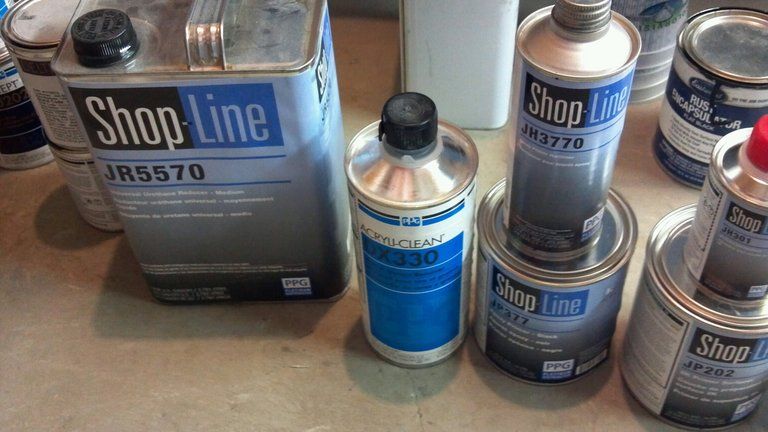
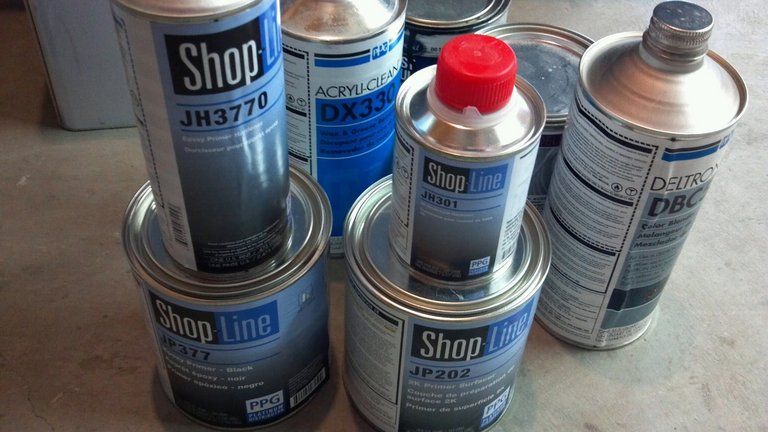
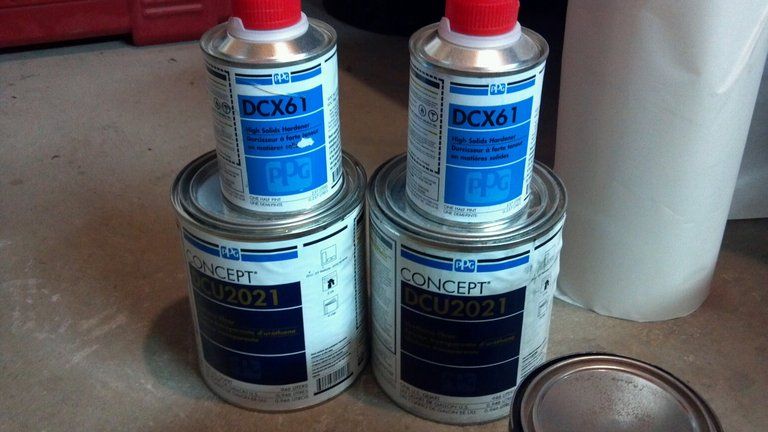
So far the total bill for this is over $1300. Paint and clear are expensive. Have also bought a gun and material to make a makeshift booth. Also decided to pull the plug on one of these.
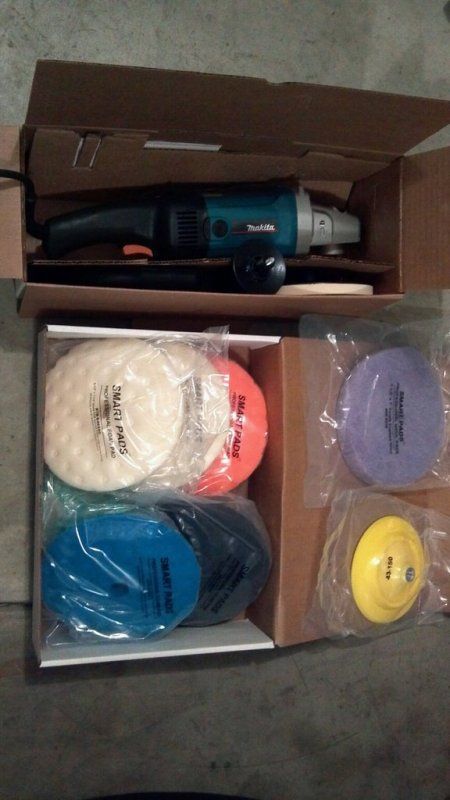
Didn't think the porter cable was going to cut it for what we were doing.
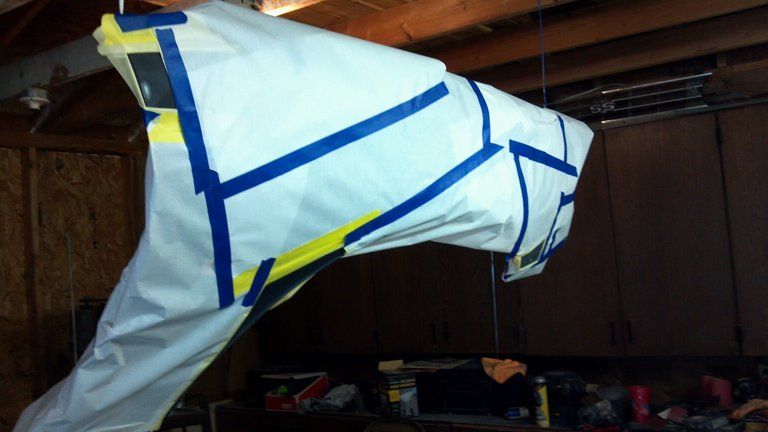
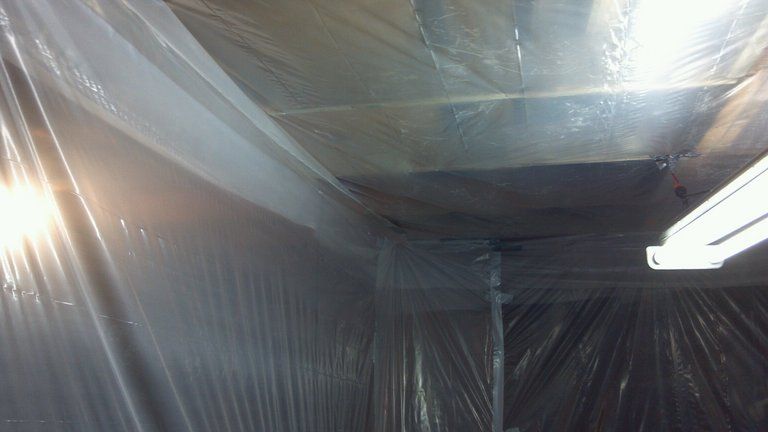
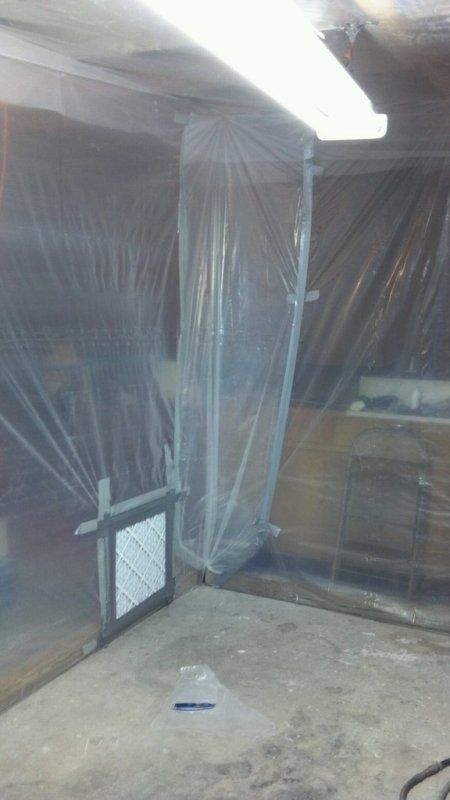
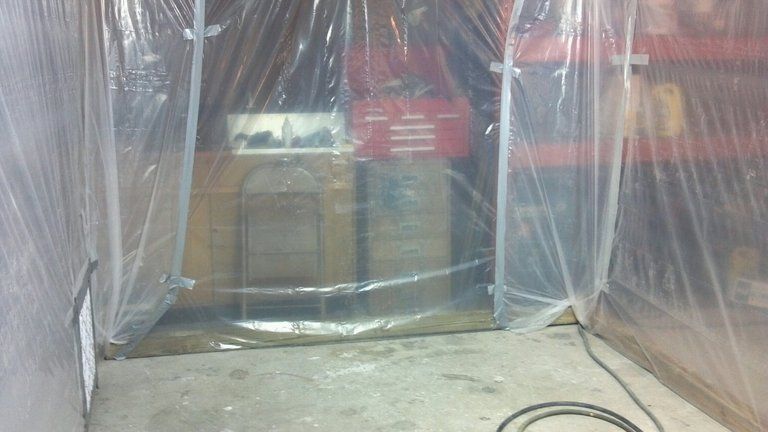
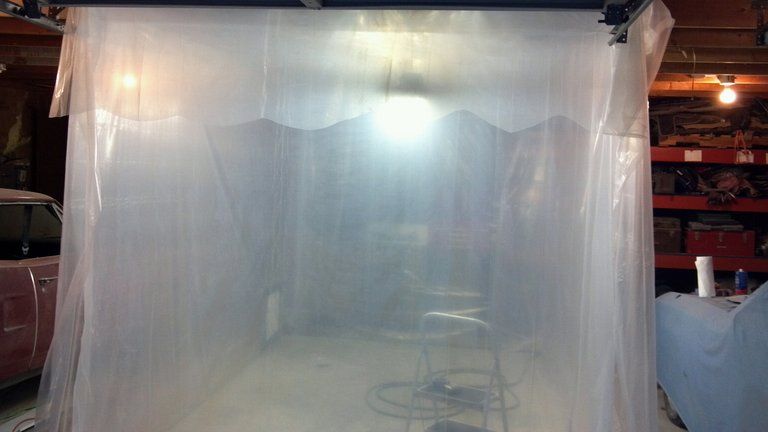
For the booth we have decided to make a 10' x 14' foot room out of plastic sheeting. Going to cover the floor and the ceiling and put lights inside the booth. We are going to have a fan with a filter on the back blowing into the room and another fan sucking out. It will be the best we can do but should keep things clean enough to get a good finish. We plan to finish up bodywork tonight and get it in primer/ sealer tomorrow. Then let that stuff bake in the sun and put the color on saturday.
I had originally planned to get the front end resprayed in a few years but when I traded the carbon hood for the 05 hood the repaint became a priority.
The 05 hood was a fresh respray but it was crap. The paint didn't match and the prep was very poor. Some of the paint actually pulled off when we taped up to paint the underside. There were several chips that were painted over and some waves. There was even some dirt in the paint. Upon sanding I found that they had actually put bondo over the factory clearcoat to fill in 2 deep rock dents.
The front bumper had some stress cracks in the paint from when I smacked a deer last october. The bumper had previously been repainted in 2006 so I had 2 layers of paint to sand through.
A good friend of mine had went to school for bodywork and worked at a body shop for a few years. We decided to tackle this in his garage. We went to a paint shop and started spending money. We had them give us a sample of the oem paint code, the variant of the oem paint code, and also use their gun to scan the paint and give us that sample. Out of all three the oem variant is the closest match so we went with it.
The teardown. The sideskirts, fenders, fender liners, hood, bumper, and trunk are all removed. Everything but the sideskirts will be getting some work.
The hood.
I started sanding on this with a DA. The whole hood had aftermarket clear, aftermarket basecoat, aftermarket primer, factory clear, factory basecoat, factory primer to get through so it took some time. The whole front of the hood had a nice layer of bondo on it OVER the factory clear. Crap prepwork by the other bodyshop.
Halfway done.
Notice the tan dot in on the left side of this photo above the scoop...that was a rock dent filled with bondo.
With the bondo removed this is what it looked like...unacceptable. The fact that they put bondo over the factory clear blew our mine. The front portion of the hood right above the latch was also dented down a tad. All we could tell is that someone pushed down in that area to shut the hood... repeatedly.
For this area the metal needed to be pulled back out. Here is the same area after the metal was pulled out.
Not perfect...but much better. Now there will not be a 1/4" deep crater filled with bondo.
Another shot.
Since the hood was going to have some bondo anyway I made another decision...
Notice anything here?
Maybe this will help...
Went ahead and filled the washer nozzle holes with metal.
Ok if you don't have it by now this will give it away.
The deeper areas get some fiberglass filler then everything covered in a light layer of filler.
Still have some more work to do on the hood. Lots more bondo sanding. We are getting this hood as smooth as possible all over. Maybe even perfection...?
That is where we are at with the hood.
Onto the trunk. I decided to go ahead and fill the spoiler holes and eliminate the plugs I have been driving around with since 2005. All the paintwork on the hood has been wetsanded with 600 grit then the area around the holes taken to bare metal.
Then the smaller holes welded up, and a slug welded in the larger hole.
This stuff didn't warp at all.
A light layer of filler.
That's where the trunk stands.
The bumper is being stripped to bare plastic because of the 2 layers of paint. DA to the rescue.
A little more progress has been made on the bumper but I do not have pictures.
The grills have been taken apart and sanded by hand.
One fender has been wetsanded with 600 grit all over. The other fender still needs to be done.
The top edges of the fender to about the body line along with the front edge where it is contact with the bumper. Nothing that touches the door will be resprayed. Just trying to blend the paint into the old.
After wetsanding on the trunk and seeing how thick the factory clear is we have decided that we will most likely wetsand the whole car to a slick mirror like finish. Just something to push it over the top.
So far the total bill for this is over $1300. Paint and clear are expensive. Have also bought a gun and material to make a makeshift booth. Also decided to pull the plug on one of these.
Didn't think the porter cable was going to cut it for what we were doing.
For the booth we have decided to make a 10' x 14' foot room out of plastic sheeting. Going to cover the floor and the ceiling and put lights inside the booth. We are going to have a fan with a filter on the back blowing into the room and another fan sucking out. It will be the best we can do but should keep things clean enough to get a good finish. We plan to finish up bodywork tonight and get it in primer/ sealer tomorrow. Then let that stuff bake in the sun and put the color on saturday.
 rops:
rops: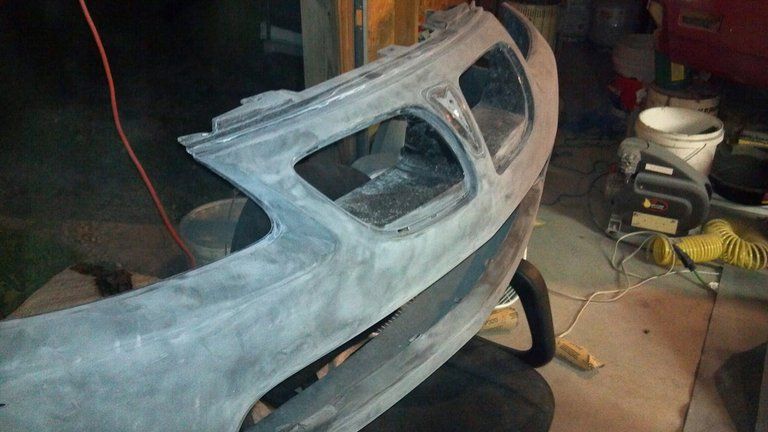


")