Rcrew
New member
- Nov 5, 2013
- 49
- 0
This Tesla came to us with just over 8000 miles and very extensive paint defects. The owner had heard about the benefits of Opti-Coat on the Tesla forums and sought out an installer in his area. When he called, I set up a time to inspect the car and found extensive scratches and swirl defects in the paint. After outlining the benefits of paint correction prior to application of a coating product, the owner was ready for me to dial this beauty in and then lock it down with Opti-Coat.
The decontamination process required a foam soak, 2-bucket wash, clay, iron neutralization and tar removal.
The correction process required some heavy artillery to level the clear coat down to a mirror like shine. Multiple levels of paint correction were used over the course of a few days. Paint thickness readings were healthy and right around 200, dropping closer to 100 the lower you went on the car.
The car received another decontamination foam soak, hand wash, and IPA wipedown prior to Optimum Pro Coatings being applied to painted surfaces, plastics and glass.
The pictures really tell the story, so let’s get to them!
Upon arrival, general grime along with a nice bird bomb on the hood. Love the license plate though!

IMG_2857.jpg by First City Auto Spa, on Flickr
Wheels and arches looking quite nasty
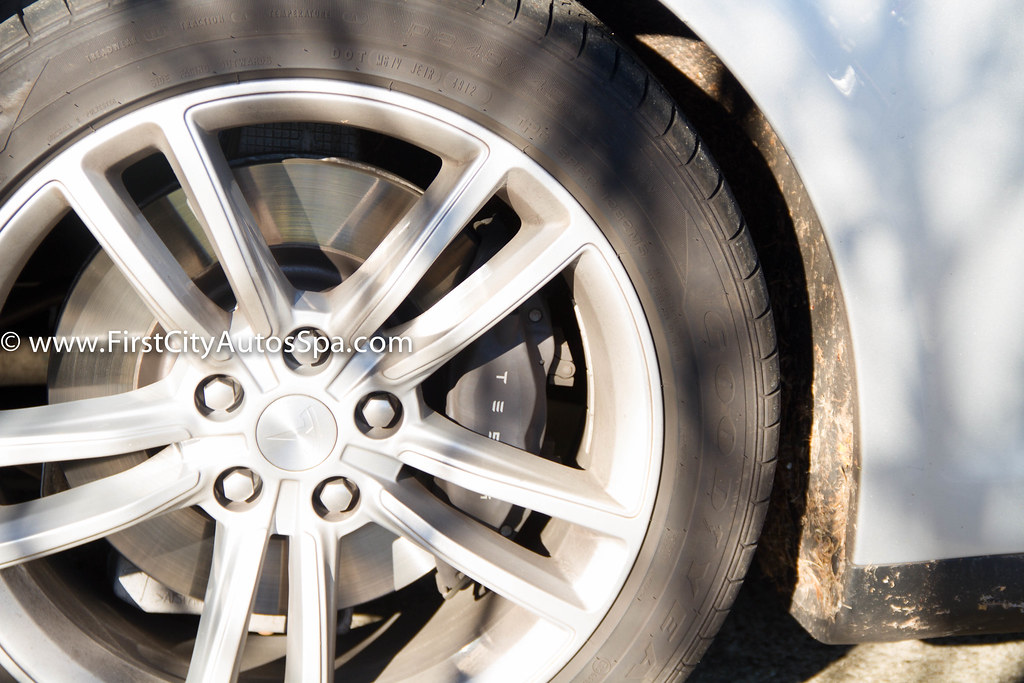
IMG_2862.jpg by First City Auto Spa, on Flickr
Not anymore!
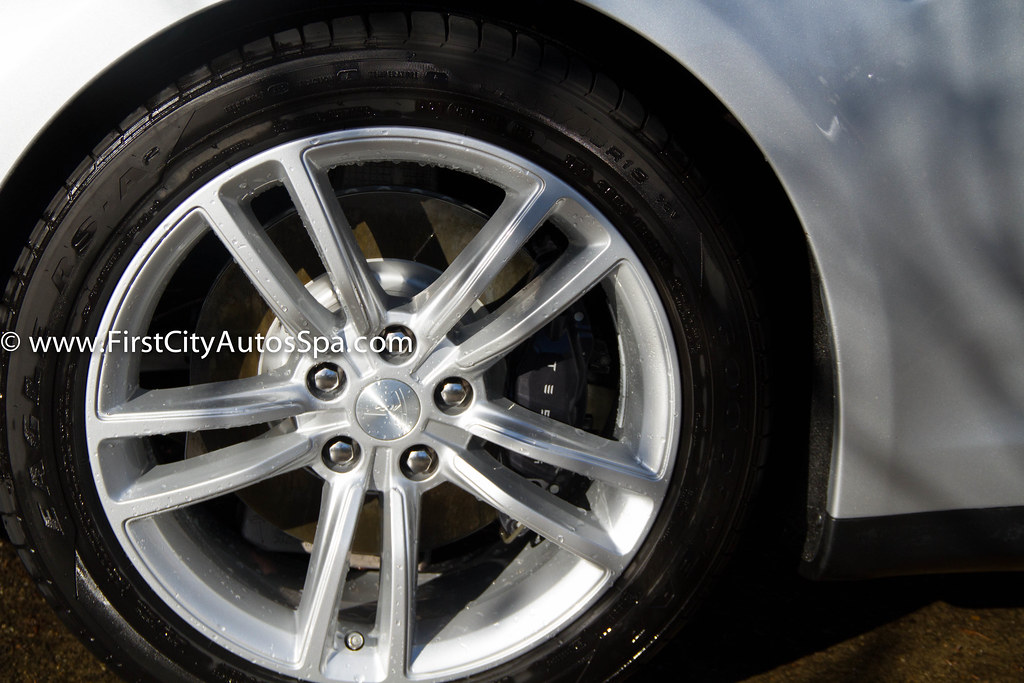
IMG_2872.jpg by First City Auto Spa, on Flickr
Can’t forget the door jambs and underneath the “frunk”
Before
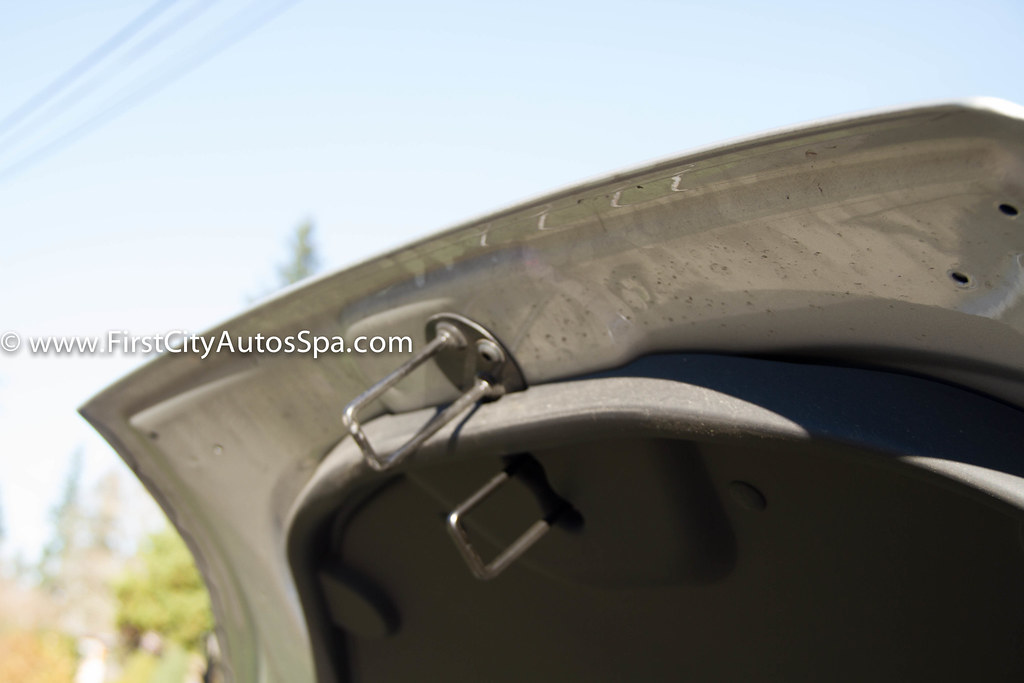
IMG_2866.jpg by First City Auto Spa, on Flickr
Dirt being transferred to the towel
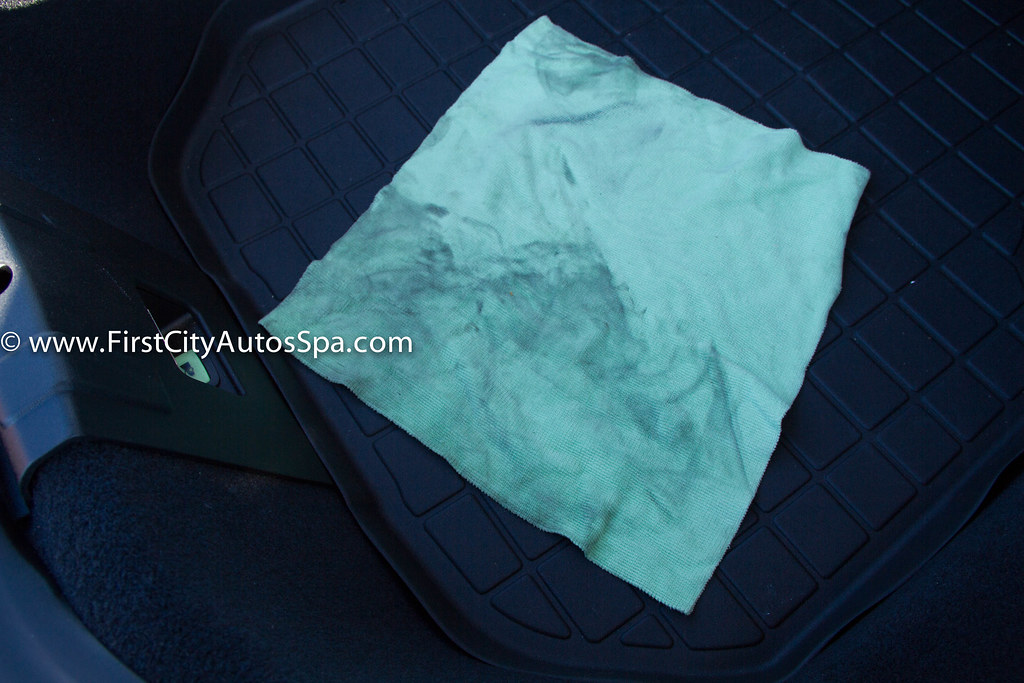
IMG_2867.jpg by First City Auto Spa, on Flickr
After

IMG_2868.jpg by First City Auto Spa, on Flickr
Here you can see the sheen of the tar removal product working on the paint.
IMG_2883.jpg by First City Auto Spa, on Flickr
Now that it is squeaky clean, we can begin the paint correction process. To really grasp the prevalence of the defects I was up against, imagine about 25% more defects than you see in these pictures. That is what I was seeing, but the camera didn’t capture things accurately.
Close up on the hood
before
IMG_2900.jpg by First City Auto Spa, on Flickr
after
IMG_2903.jpg by First City Auto Spa, on Flickr
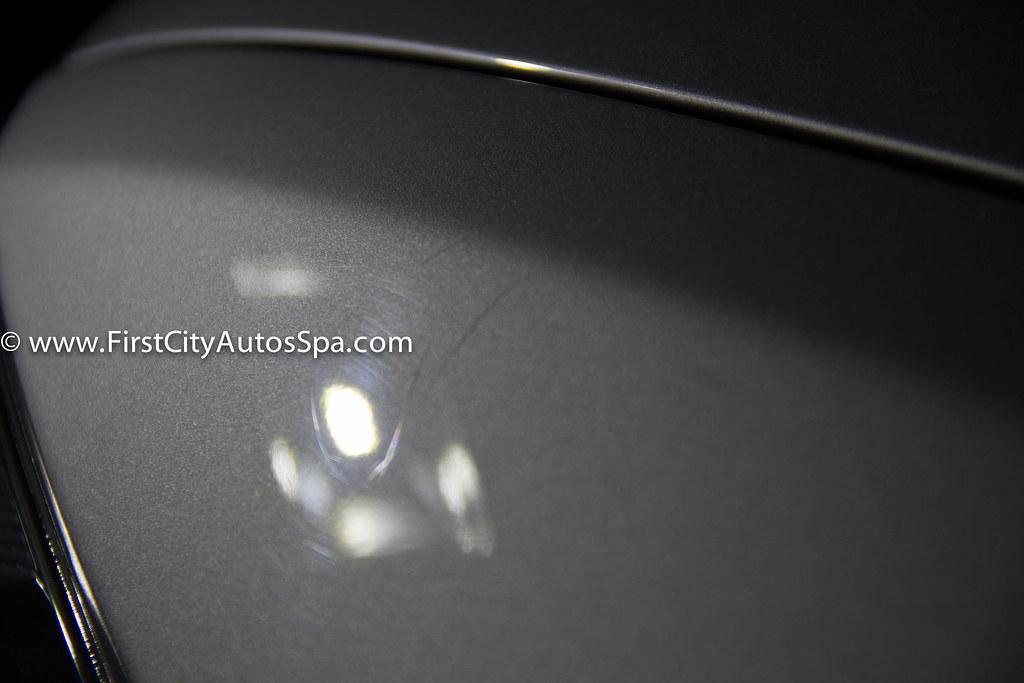
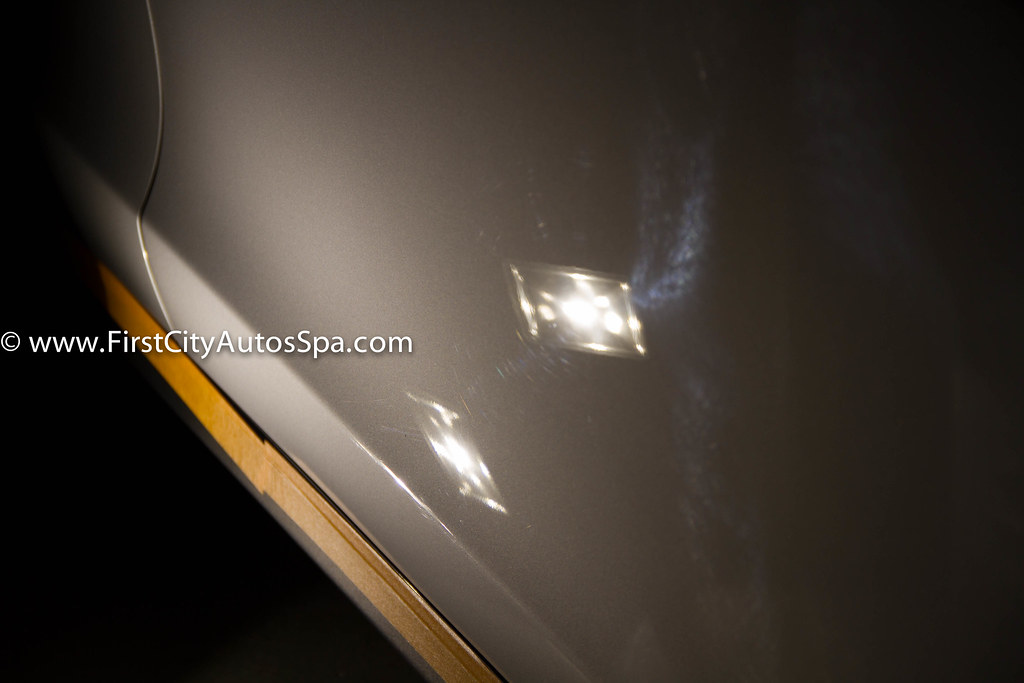
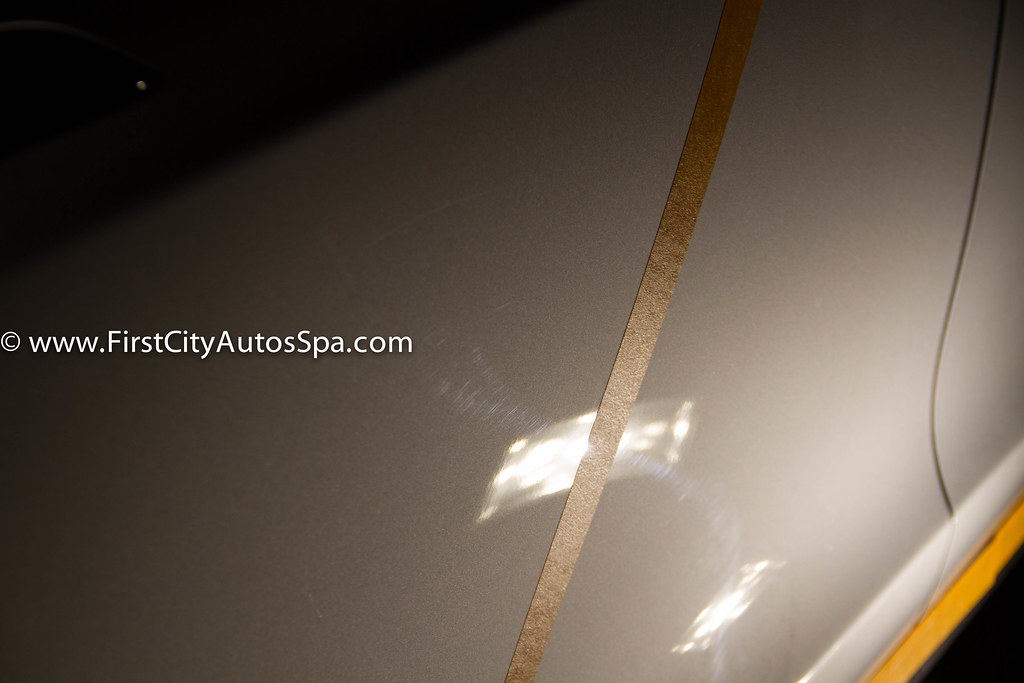
Long shot of the driver side of the hood edge
before
IMG_2911.jpg by First City Auto Spa, on Flickr
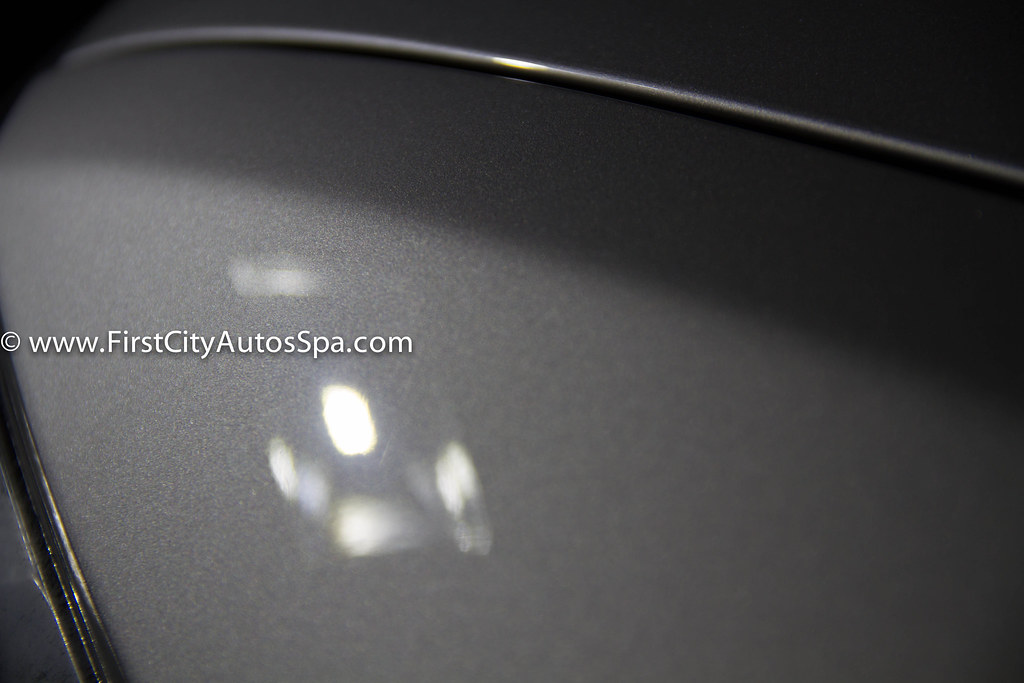
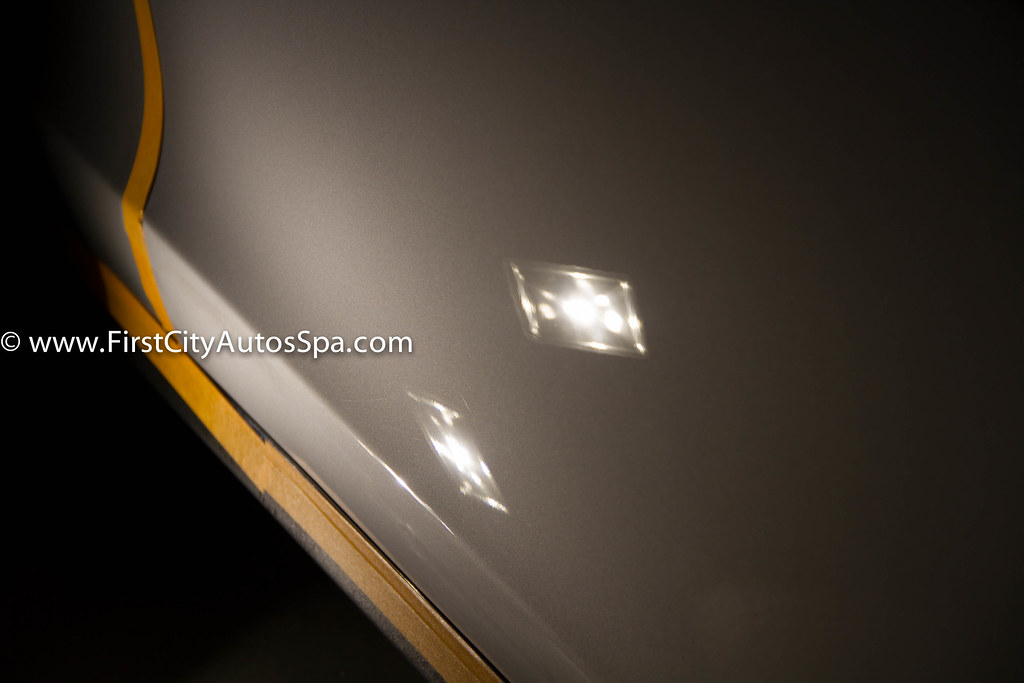
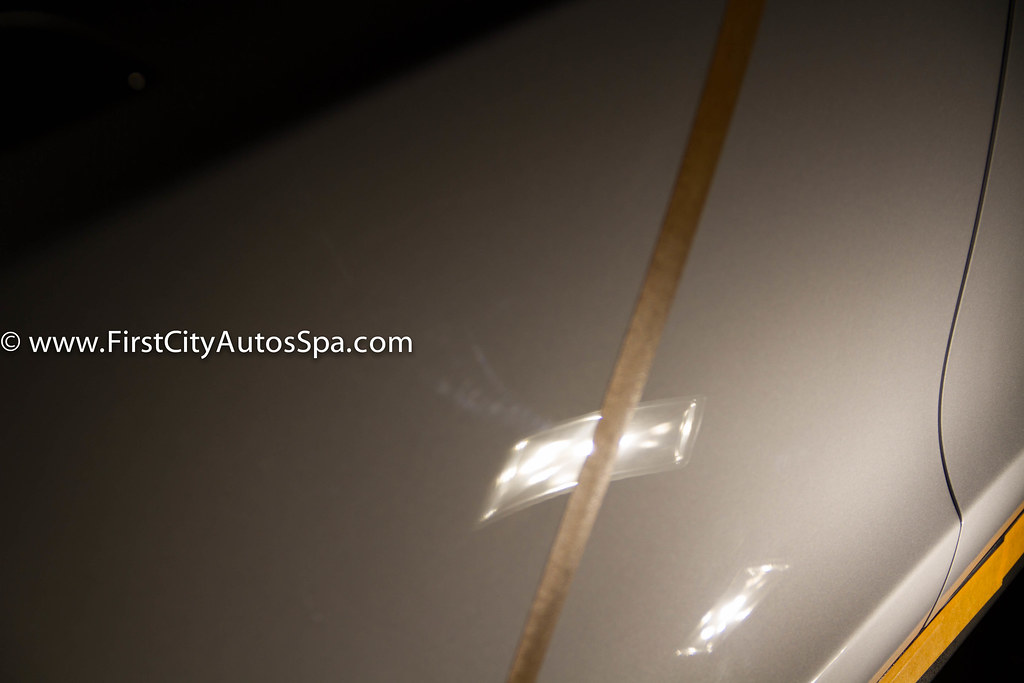
After (Bit of a scratch remnant remained)
IMG_2913.jpg by First City Auto Spa, on Flickr
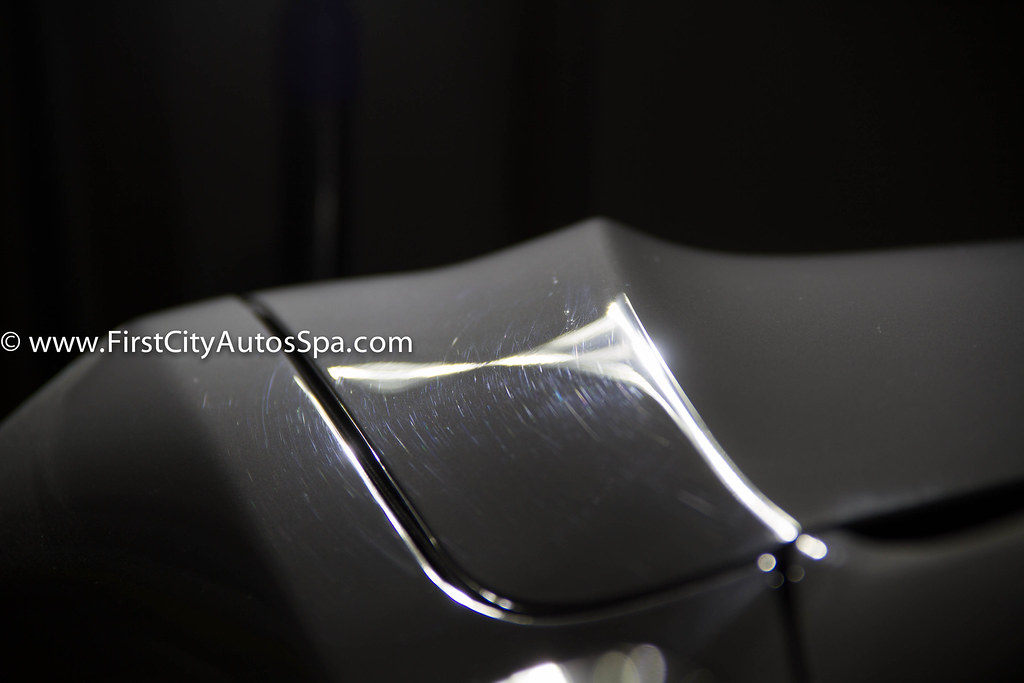
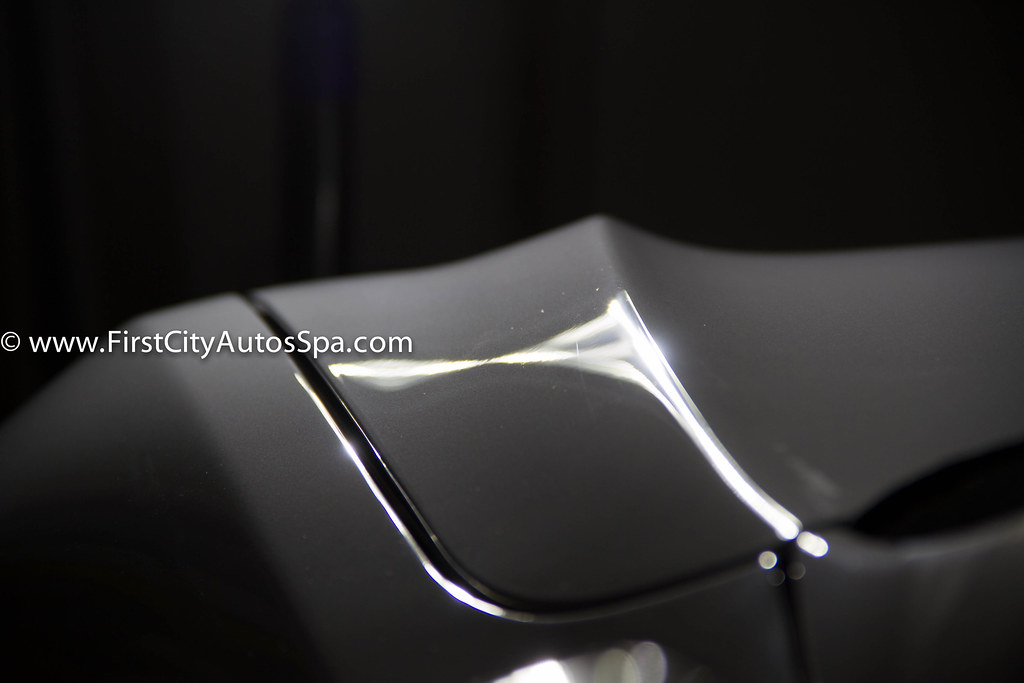
Driver front quarter, particularly deep cluster of scratches. Wetsanding was required to remedy this problem.
Before
IMG_2915.jpg by First City Auto Spa, on Flickr
After (not yet refined, just a tiny fraction of one of the scratches remained. No need to go after it and risk a strike through)
IMG_2918.jpg by First City Auto Spa, on Flickr
50/50: Big difference made on the front plastic piece
IMG_2921.jpg by First City Auto Spa, on Flickr
Bit of work done on the passenger door
Before
IMG_2927.jpg by First City Auto Spa, on Flickr
After
IMG_2928.jpg by First City Auto Spa, on Flickr
Door Pull
Before
IMG_2929.jpg by First City Auto Spa, on Flickr
After
IMG_2930.jpg by First City Auto Spa, on Flickr
Passenger rear door 50/50
IMG_2932.jpg by First City Auto Spa, on Flickr
Lower section corrected
IMG_2933.jpg by First City Auto Spa, on Flickr
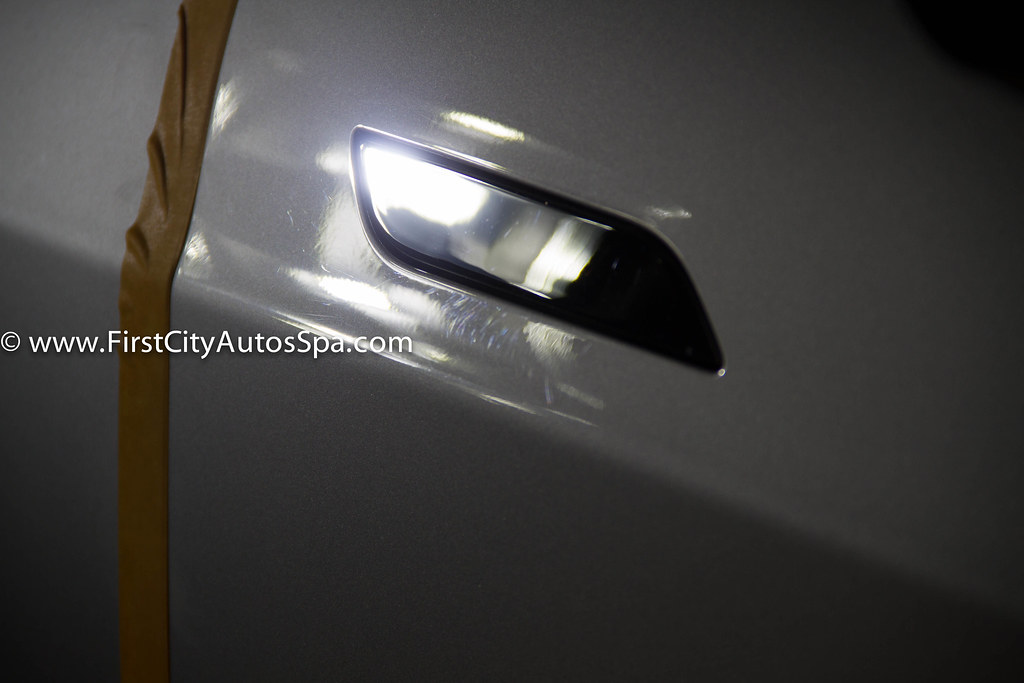
Couldn’t resist- underside of side mirror with some grime remaining
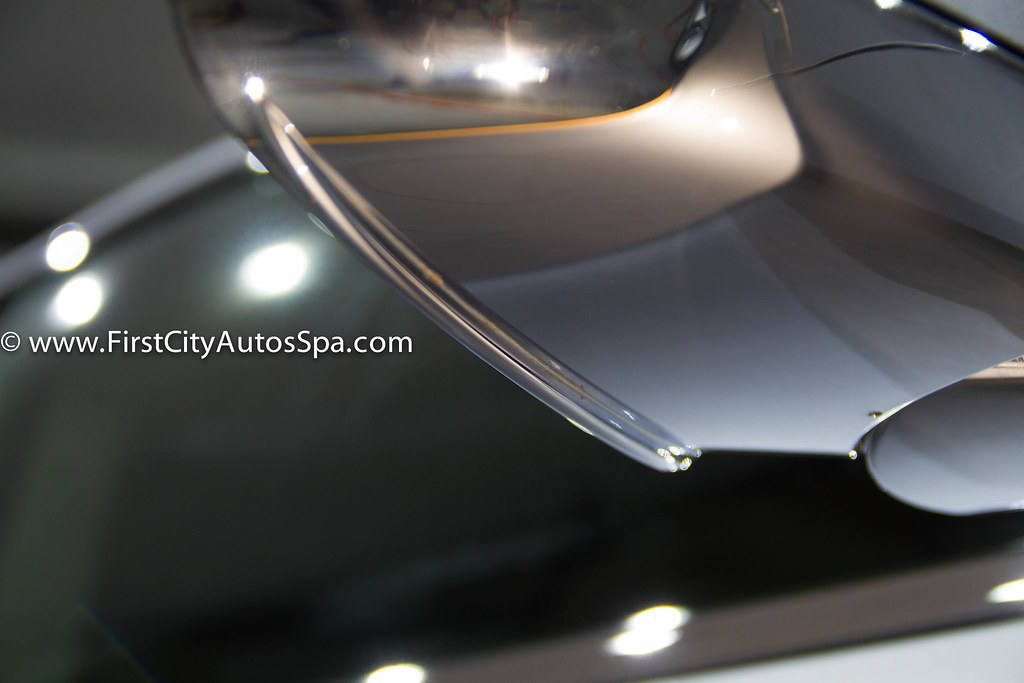
IMG_2936.jpg by First City Auto Spa, on Flickr
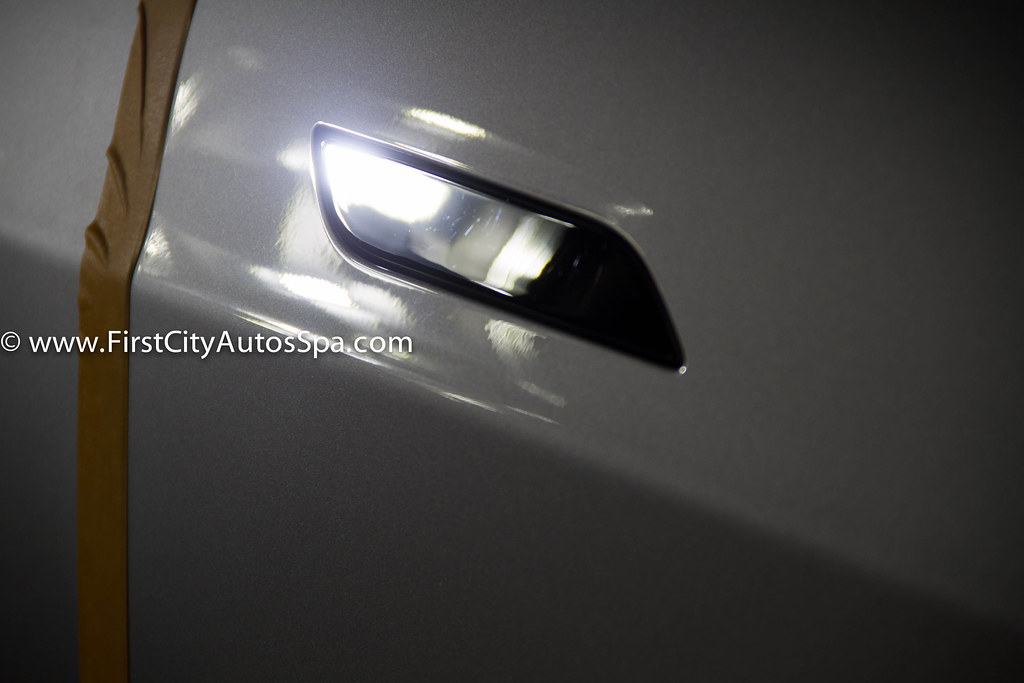
After some TLC
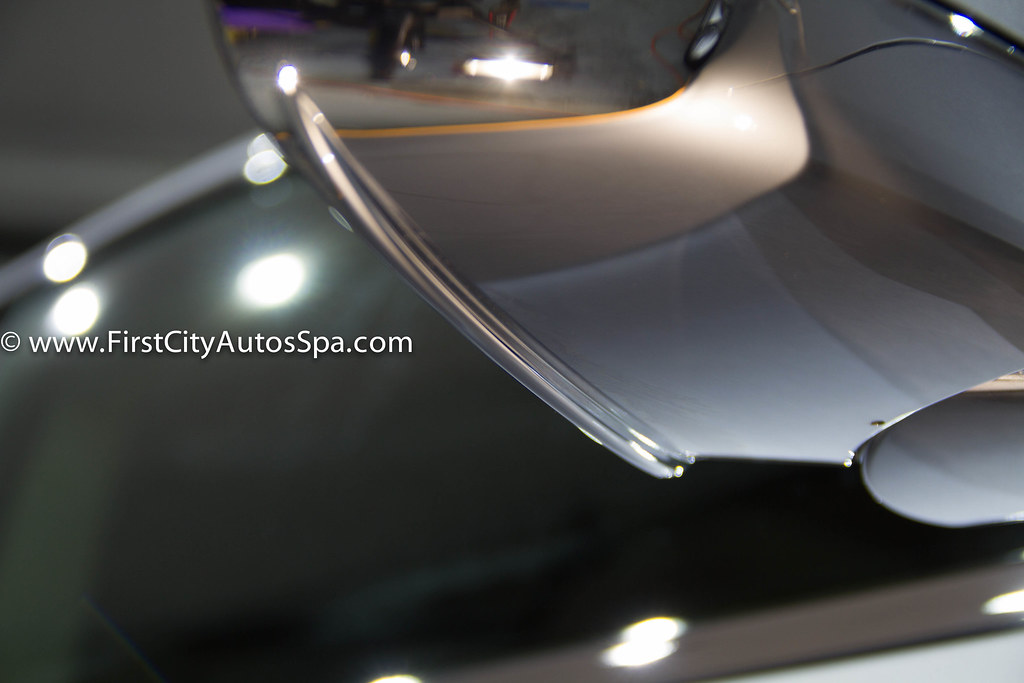
IMG_2937.jpg by First City Auto Spa, on Flickr
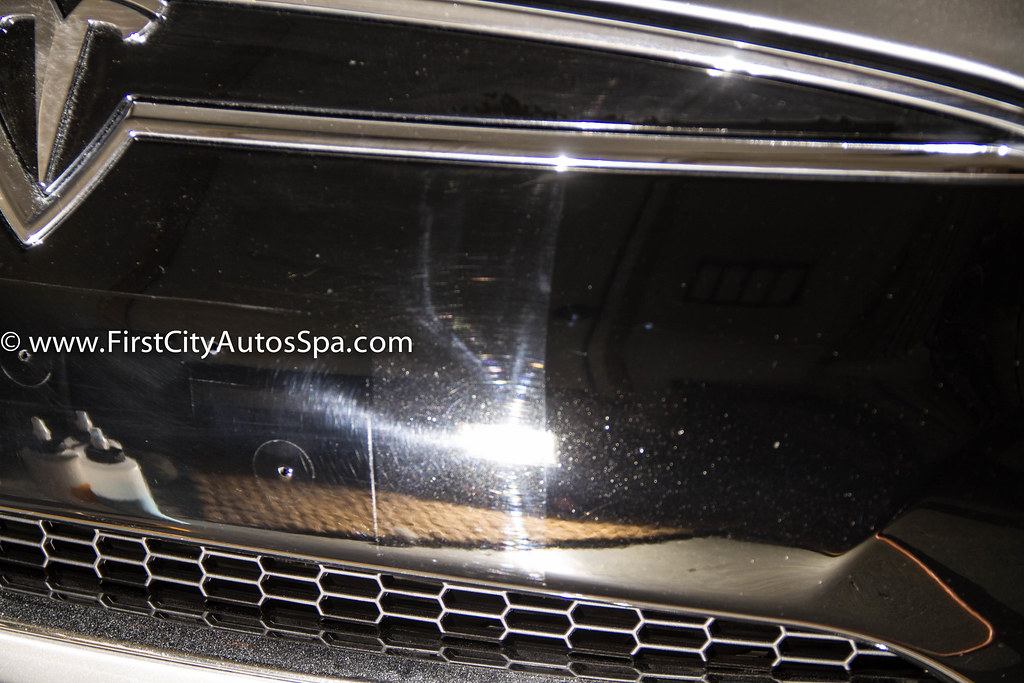
This is a “no-charge factory freebie” courtesy of Tesla

IMG_2938.jpg by First City Auto Spa, on Flickr
After correction
IMG_2939.jpg by First City Auto Spa, on Flickr
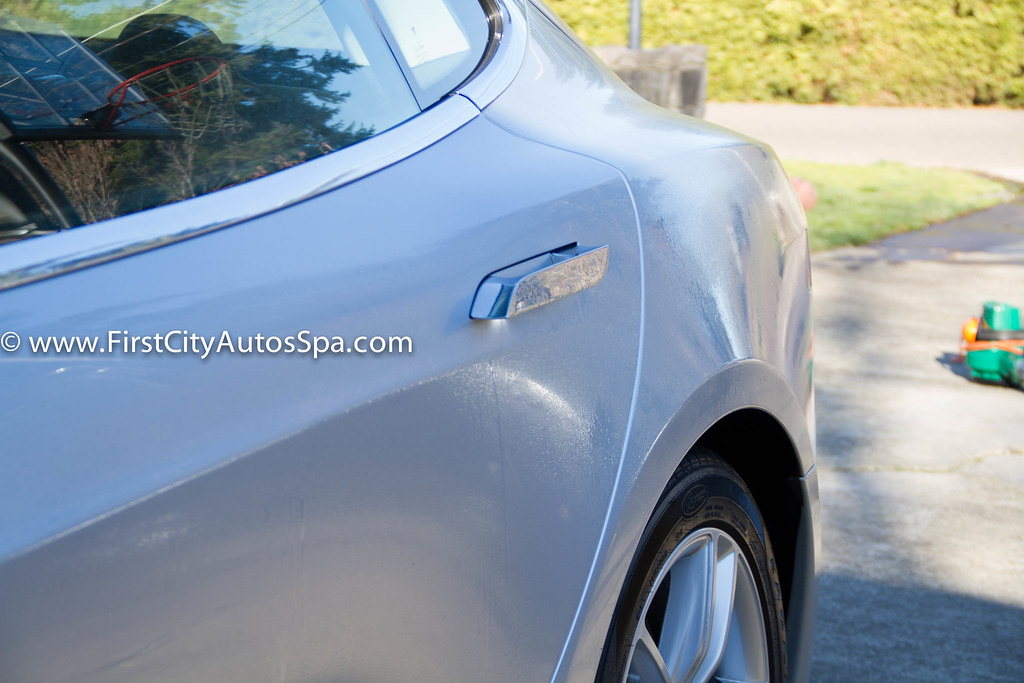
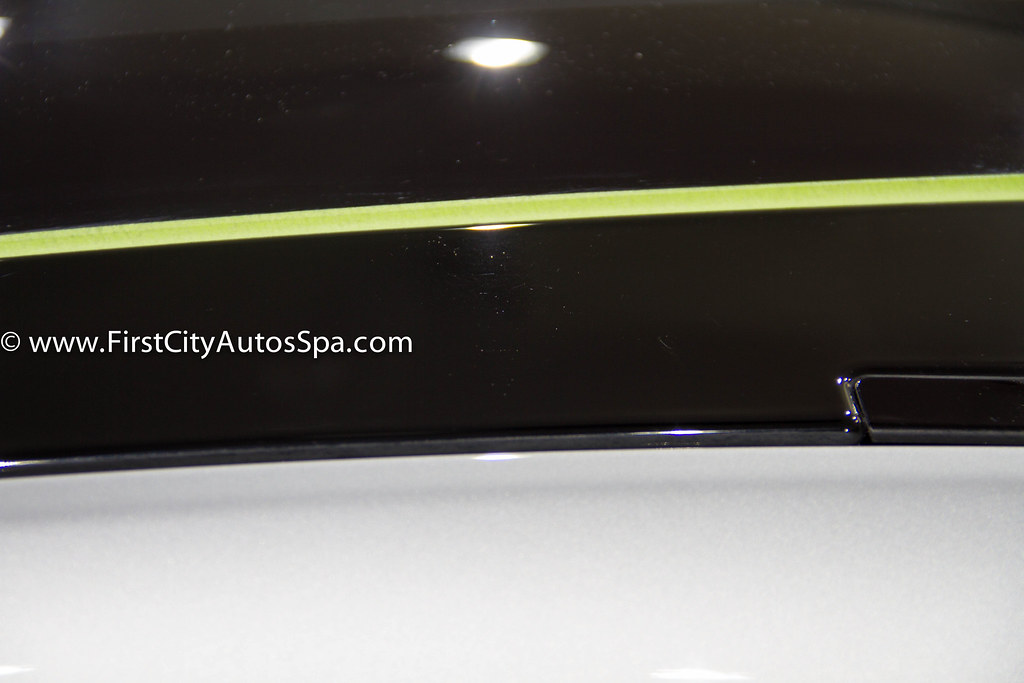
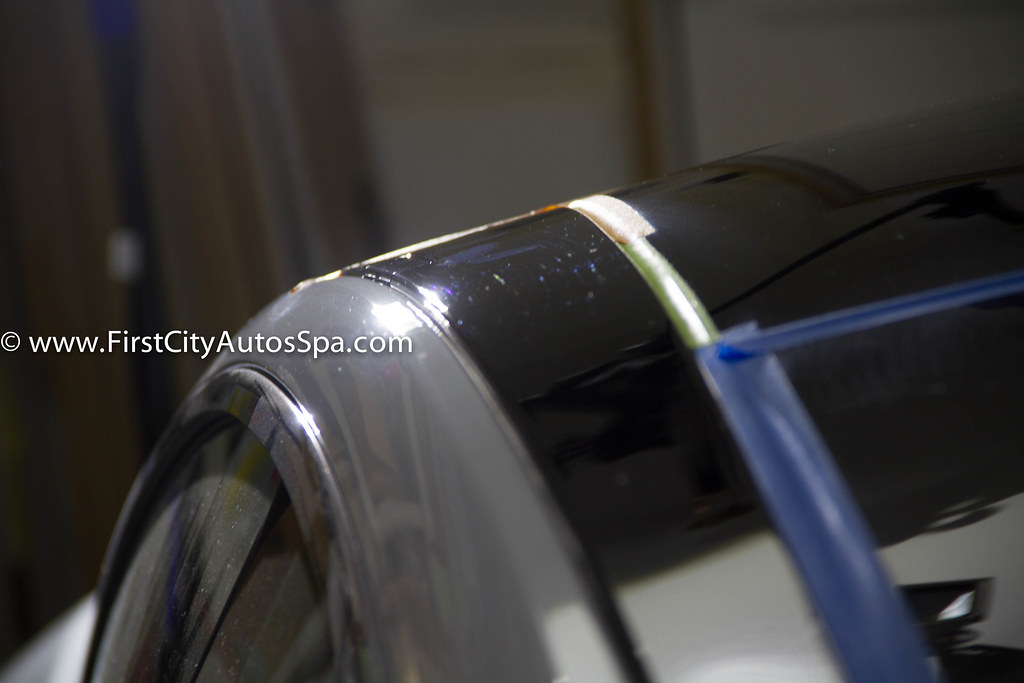
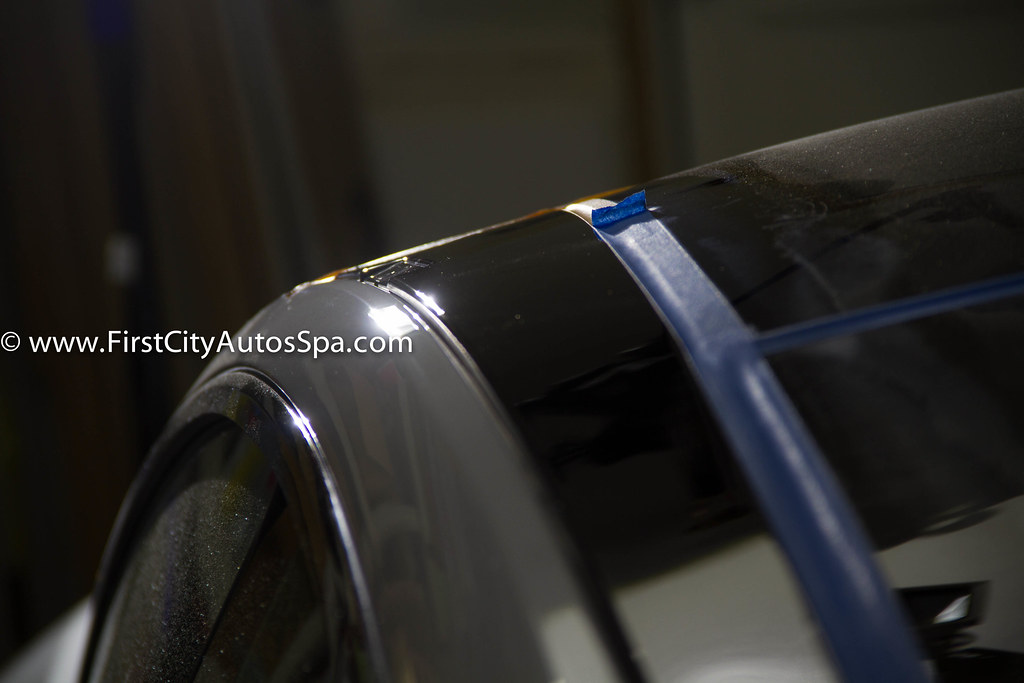
Plastic on the roof line
Before
IMG_2940.jpg by First City Auto Spa, on Flickr
After
IMG_2941.jpg by First City Auto Spa, on Flickr
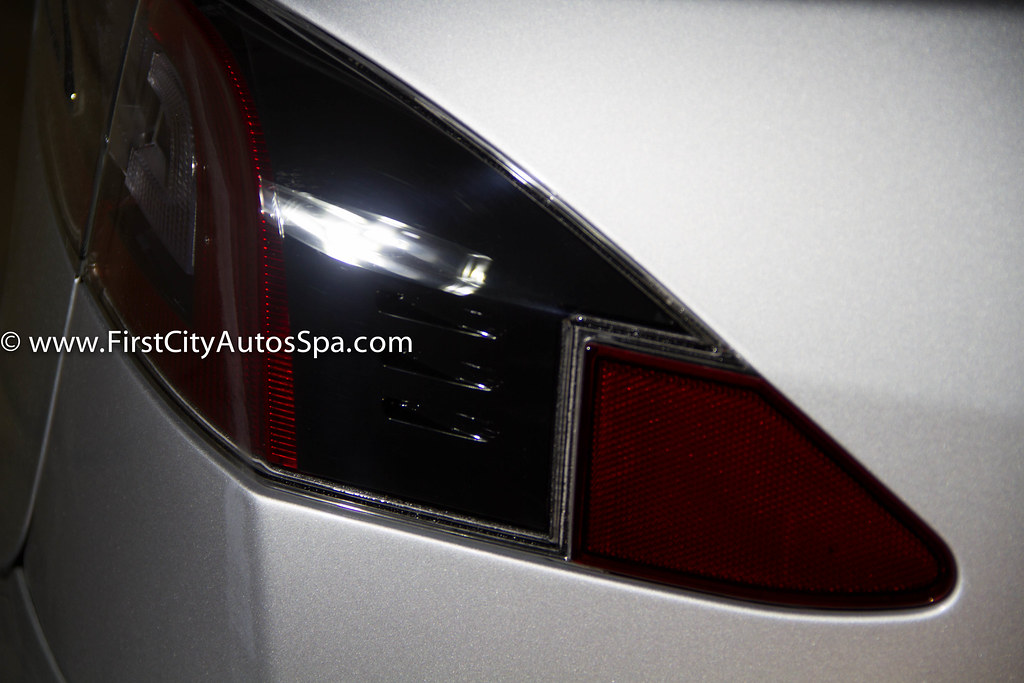
Taillights needed attention too
Before

IMG_2942.jpg by First City Auto Spa, on Flickr
After
IMG_2943.jpg by First City Auto Spa, on Flickr
The best part of the day! Time to coat!
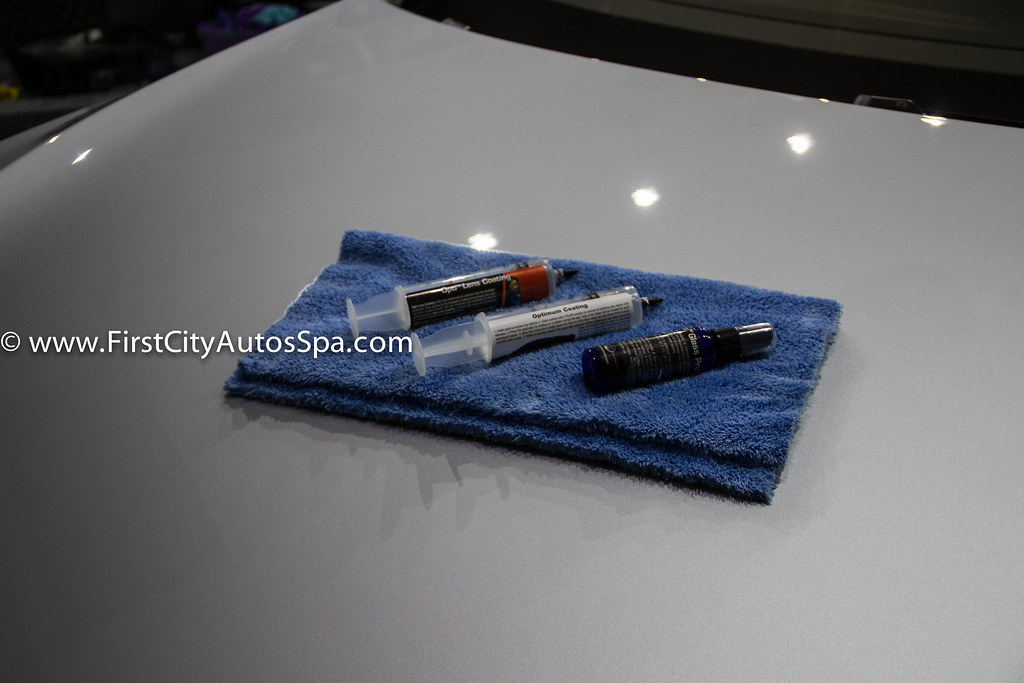
IMG_2948.jpg by First City Auto Spa, on Flickr
Starting to get “that Opti-Coat look”
IMG_2951.jpg by First City Auto Spa, on Flickr
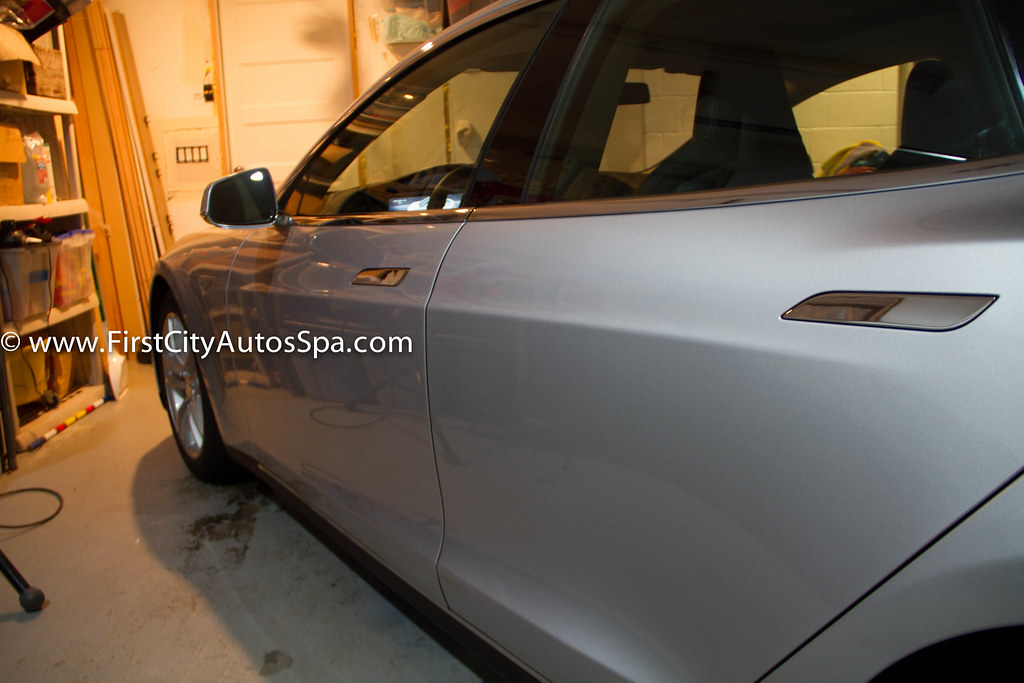
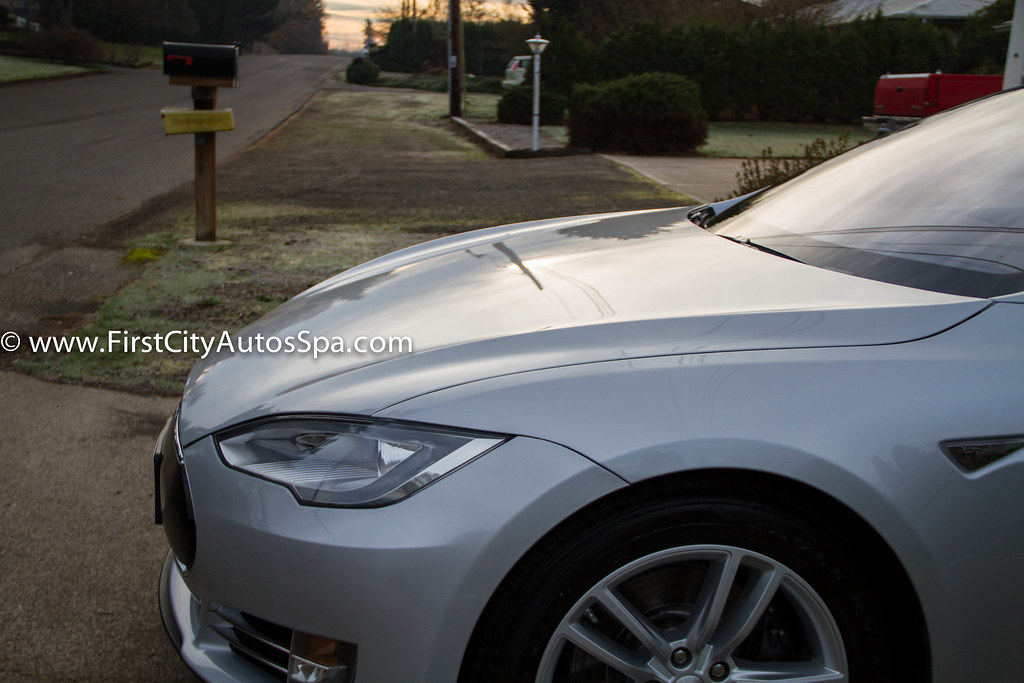
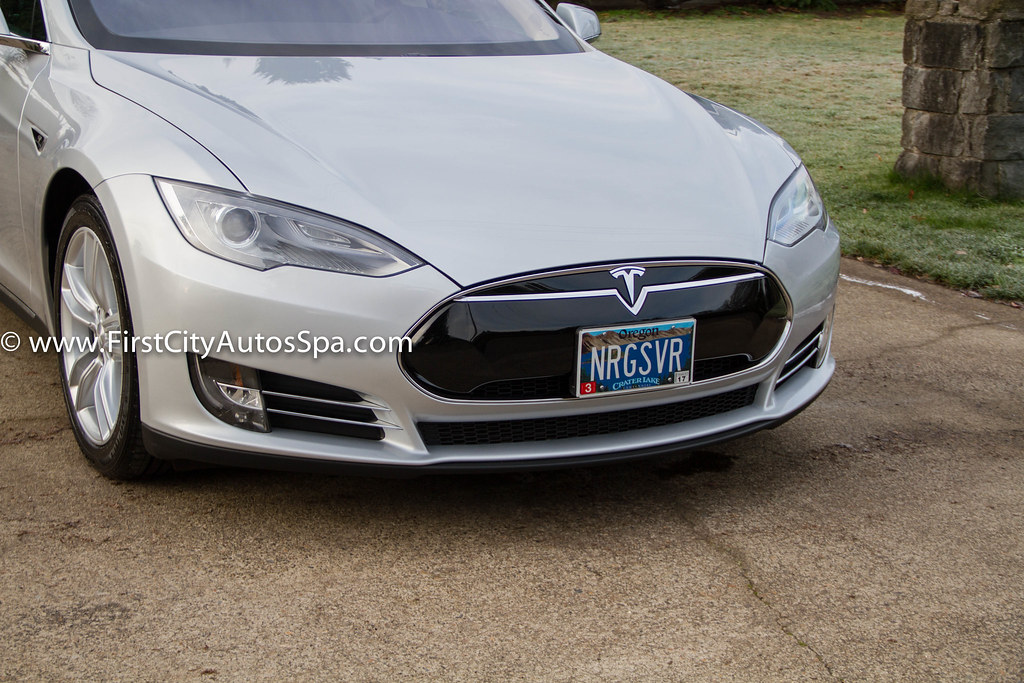
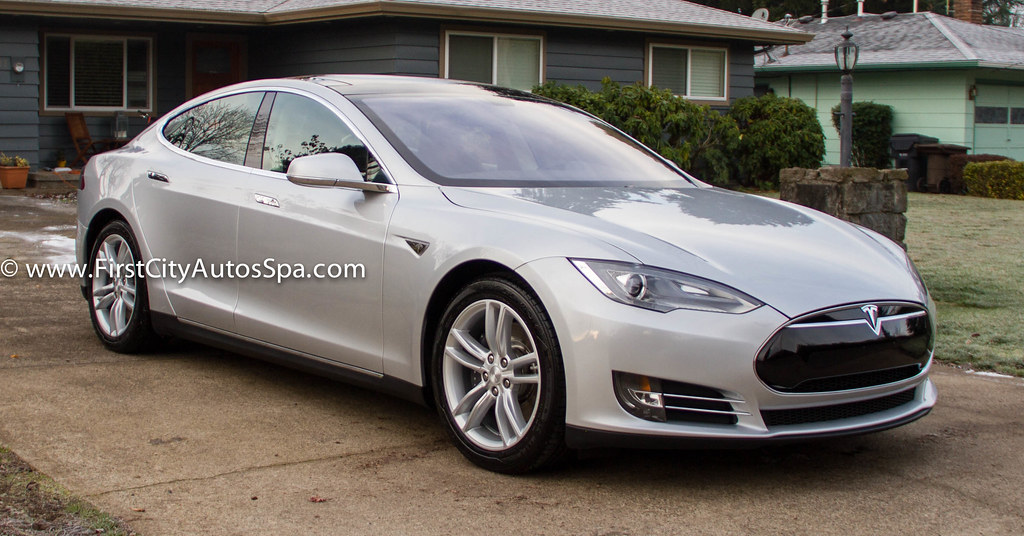
And after curing overnight, we pulled it out into the dingy, overcast morning. No matter, the car was still amazingly glossy! Thank you for taking the time to review my work. Questions and comments are welcome.
IMG_2980.jpg by First City Auto Spa, on Flickr
IMG_2978.jpg by First City Auto Spa, on Flickr

IMG_2963.jpg by First City Auto Spa, on Flickr
IMG_2960.jpg by First City Auto Spa, on Flickr
The decontamination process required a foam soak, 2-bucket wash, clay, iron neutralization and tar removal.
The correction process required some heavy artillery to level the clear coat down to a mirror like shine. Multiple levels of paint correction were used over the course of a few days. Paint thickness readings were healthy and right around 200, dropping closer to 100 the lower you went on the car.
The car received another decontamination foam soak, hand wash, and IPA wipedown prior to Optimum Pro Coatings being applied to painted surfaces, plastics and glass.
The pictures really tell the story, so let’s get to them!
Upon arrival, general grime along with a nice bird bomb on the hood. Love the license plate though!
IMG_2857.jpg by First City Auto Spa, on Flickr
Wheels and arches looking quite nasty
IMG_2862.jpg by First City Auto Spa, on Flickr
Not anymore!
IMG_2872.jpg by First City Auto Spa, on Flickr
Can’t forget the door jambs and underneath the “frunk”
Before
IMG_2866.jpg by First City Auto Spa, on Flickr
Dirt being transferred to the towel
IMG_2867.jpg by First City Auto Spa, on Flickr
After
IMG_2868.jpg by First City Auto Spa, on Flickr
Here you can see the sheen of the tar removal product working on the paint.
IMG_2883.jpg by First City Auto Spa, on Flickr
Now that it is squeaky clean, we can begin the paint correction process. To really grasp the prevalence of the defects I was up against, imagine about 25% more defects than you see in these pictures. That is what I was seeing, but the camera didn’t capture things accurately.
Close up on the hood
before
IMG_2900.jpg by First City Auto Spa, on Flickr
after
IMG_2903.jpg by First City Auto Spa, on Flickr
Long shot of the driver side of the hood edge
before
IMG_2911.jpg by First City Auto Spa, on Flickr
After (Bit of a scratch remnant remained)
IMG_2913.jpg by First City Auto Spa, on Flickr
Driver front quarter, particularly deep cluster of scratches. Wetsanding was required to remedy this problem.
Before
IMG_2915.jpg by First City Auto Spa, on Flickr
After (not yet refined, just a tiny fraction of one of the scratches remained. No need to go after it and risk a strike through)
IMG_2918.jpg by First City Auto Spa, on Flickr
50/50: Big difference made on the front plastic piece
IMG_2921.jpg by First City Auto Spa, on Flickr
Bit of work done on the passenger door
Before
IMG_2927.jpg by First City Auto Spa, on Flickr
After
IMG_2928.jpg by First City Auto Spa, on Flickr
Door Pull
Before
IMG_2929.jpg by First City Auto Spa, on Flickr
After
IMG_2930.jpg by First City Auto Spa, on Flickr
Passenger rear door 50/50
IMG_2932.jpg by First City Auto Spa, on Flickr
Lower section corrected
IMG_2933.jpg by First City Auto Spa, on Flickr
Couldn’t resist- underside of side mirror with some grime remaining
IMG_2936.jpg by First City Auto Spa, on Flickr
After some TLC
IMG_2937.jpg by First City Auto Spa, on Flickr
This is a “no-charge factory freebie” courtesy of Tesla
IMG_2938.jpg by First City Auto Spa, on Flickr
After correction
IMG_2939.jpg by First City Auto Spa, on Flickr
Plastic on the roof line
Before
IMG_2940.jpg by First City Auto Spa, on Flickr
After
IMG_2941.jpg by First City Auto Spa, on Flickr
Taillights needed attention too
Before
IMG_2942.jpg by First City Auto Spa, on Flickr
After
IMG_2943.jpg by First City Auto Spa, on Flickr
The best part of the day! Time to coat!
IMG_2948.jpg by First City Auto Spa, on Flickr
Starting to get “that Opti-Coat look”
IMG_2951.jpg by First City Auto Spa, on Flickr
And after curing overnight, we pulled it out into the dingy, overcast morning. No matter, the car was still amazingly glossy! Thank you for taking the time to review my work. Questions and comments are welcome.
IMG_2980.jpg by First City Auto Spa, on Flickr
IMG_2978.jpg by First City Auto Spa, on Flickr
IMG_2963.jpg by First City Auto Spa, on Flickr
IMG_2960.jpg by First City Auto Spa, on Flickr
")
 rops:
rops: