The Hernandez Polisher

I wouldn't do this to a machine I wanted to keep.


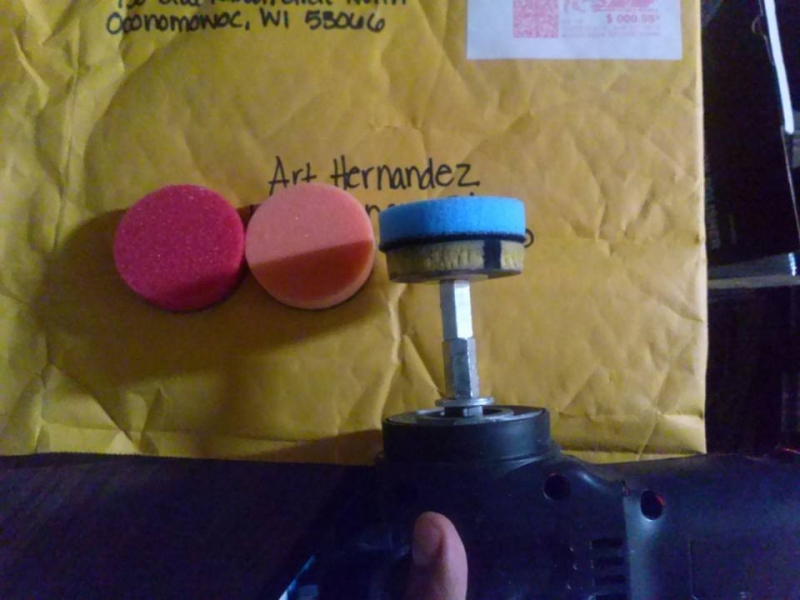
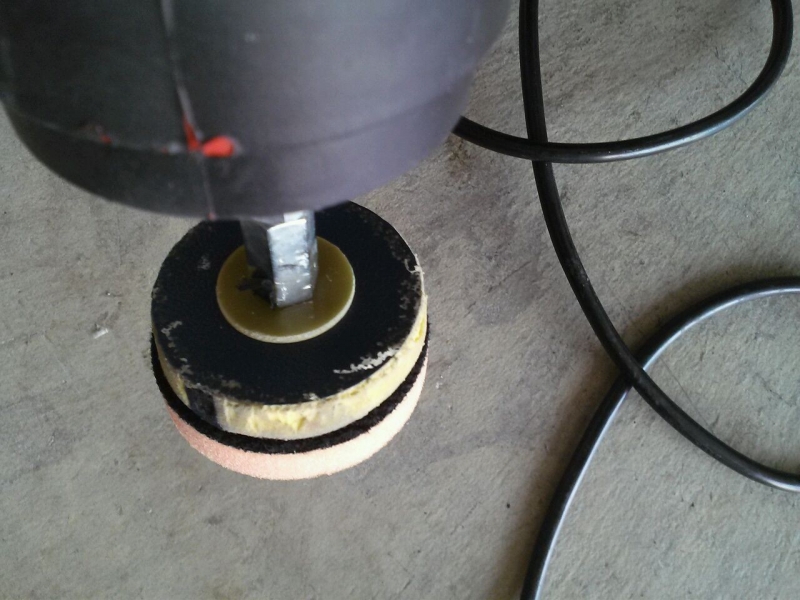
Well I bought this machine solely for this purpose, to be modified. (I never even used the machine with the normal 3" bp and 3" pads. It got modified the second I took it out of the box. lol

Do I want to keep this machine? You betcha..., has it decreased the life of it? :dunno:

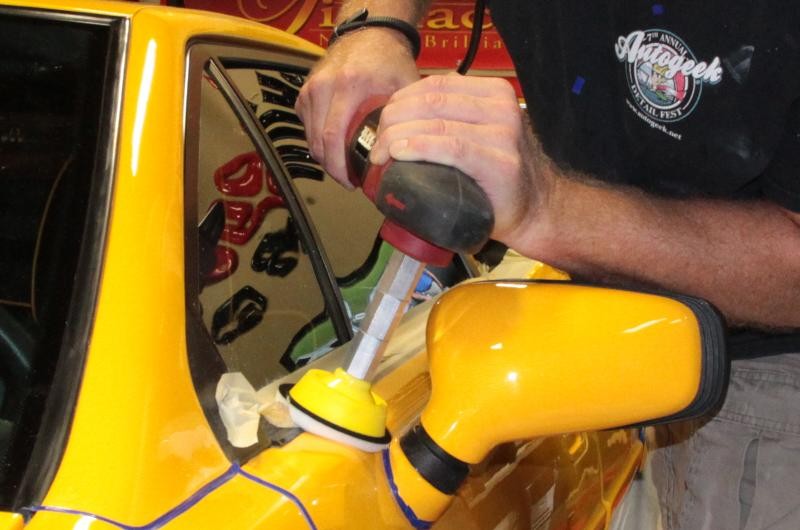
This machine was made for more quick/small jobs. I have other machines that are more work horses. As you can see in the pictures above.

If this were a baseball team. The Hernandez Polisher would be more of a Pinch Runner.

A pinch runner is a baseball player substituted for the specific purpose of replacing a player on base. The pinch runner may be faster or otherwise more skilled at base-running than the player for whom the pinch runner has been substituted.

:laughing:
 
I would be a little suspect of those rod couplings. The threads tend to fail pretty easily if they're side loaded. They work great at holding vertically , but not horizontally. especially if they're SS. I would change them out pretty often.

btw, GREAT idea !!! Awesome tool you have now !
 
Why would the threads on this rod be any more likely to fail than the threads on a backing plate?

They are the same.
 
Why would the threads on this rod be any more likely to fail than the threads on a backing plate?

They are the same.

Because of the total length of it all.

Think it like this...take a yard stick (3 ft) and hold one end and shake it. Notice the 'wave' action? Now the same thing with a ruler (1ft), notice how still it feels compared to the yard stick?

Now imagine the same thing with a couple of threaded gizmos, you can get an oscillation (standing wave) that can tear the threaded areas apart.

Just thought of another example. Ever seen the movies of the Tacoma Narrows bridge when the wind was whipping it apart? Same thing.

Make sense?

Bill
 
I don't like them being called "gizmos"

I prefer "thing a majiggies" :p haha kidding.

On a serious note, I bought this tool solely for the purpose to modify it. Plus it was a pretty inexpensive and seems like I might be able to take it back to the stock appearance if anything should happen and it does have a lifetime warranty. Read Griots warranty btw. (don't worry guys I'll take the fall for this one for documenting it)

I posted how I made mine, video, before And after pictures and also taking it along with me this week. But did say to "proceed at your own risk if one does decide to make one."

So one should make one and put their thoughts and concerns to the test. To see what changes need to be done to help others if they do decide to make my machine creation.

guhapagu.jpg


^ there's the date of my post. So those thoughts did go through my head.

Or... we can just be happy with electric 3" polisher and call it a day :xyxthumbs:

or even better we can all go by air tools and and air supply and call that a day. :props:

Happy Detailing Everyone! :)
 
The machine isn't going to last as long with that extension.

You have increased the leverage placed upon the mechanism and it will be more likely to fail.


I have to agree with you. I think the side load on the bearings is going to cause them to wear out faster. If it's not a high use tool then it won't matter but if a person were to use this polisher with this length of extension for any amount of time then the bearings are going to take a hit.

One option would be to replace the orignal bearings with the highest quality replacement bearing a person can get their hands on.


I find a small pad and an extension or two on my PE14 works really well.

2014_Mobil_Tech_Expo_Detailing_Classes_by_Mike_Phillips_007c1.jpg


Keep us updated...


:dblthumb2:
 
Thanks Mike, ^ Actually that picture is what gave me the idea the next day to make an extension, so little by little my idea came together from all the ideas I put together. Someone said that my first design looked good, but it lacked in reach liked the Rupes DA air powered tools do. So I looked up and found that picture, made a few runs to my local hardware stores and made the rest of the tool.

cutting the bp is done for the rupes and i'm sure for these too, but hadn't seen anything anywhere posted. (who knows it might be out there, but the lady at my local Arts and Supply store gave me the idea to use an xacto knife, since trying to cut it by machine became to dangerous)

then adding extra washer, coupler, thread rod, custom made pads from buffdaddy. There wasn't anything out there except the pads. So I went ahead and made it and named it.

I do remember reading (was before my time) and not naming any names. However, someone made a new wash method and talked about it online and everyone thought he was crazy for not doing it traditional style. Then someone took his idea and re branded it and is now considered another norm. (something like that) but I can say that I did in fact come up with this idea.

So like you say, (don't remember the exact words so not trying to misquote you) but something like being the first one to document it. Like the time lapse video of you wet sanding and buffing the red car. :)

Well as far as I know I am the first one to document this .

working_picture.PNG


working_picture_2.PNG


:caflag:
 
^umm you guys need to come up with an American Flag style smiley saluting lol.

Also I've been thinking Mike, so maybe you can help out with this.

Lets just say there was a rotary style tool with a 2" bp vs the one I made, 2" da.

If it were used on a jet black car, doing a 3 step, compound, polish, etc...

Couldn't it be more likely that the Rotary 2" would leave holograms in the paint if it wasn't followed up with a 2" style DA?
 
Thanks Mike, ^ Actually that picture is what gave me the idea the next day to make an extension, so little by little my idea came together from all the ideas I put together.

Cool... always nice to hear how a picture or two can lead or inspire someone to try something new.


So like you say, (don't remember the exact words so not trying to misquote you) but something like being the first one to document it. Like the time lapse video of you wet sanding and buffing the red car. :)

Well as far as I know I am the first one to document this .


I practice giving due credit to where credit is due. And moving into the future I'll aways give you credit for being the guy that came up with this idea no matter how it evolves.

Over the years in articles in the forum world and now in videos in the video world I see too often ideas, terms, techniques created by one person and then regurgitated by someone else as though it's their own never giving due credit where credit is due and I think that's just wrong. Todd Helm and I have both seen our articles lifted, sometimes word for word by others and then posted as their own work and that's something I would never do.

I think it's professional courtesy to give credit where credit is due and and very unprofessional to no do so...


FWIW


:xyxthumbs:
 
I have to agree with you. I think the side load on the bearings is going to cause them to wear out faster. If it's not a high use tool then it won't matter but if a person were to use this polisher with this length of extension for any amount of time then the bearings are going to take a hit.

One option would be to replace the orignal bearings with the highest quality replacement bearing a person can get their hands on.


I find a small pad and an extension or two on my PE14 works really well.

2014_Mobil_Tech_Expo_Detailing_Classes_by_Mike_Phillips_007c1.jpg


Keep us updated...


:dblthumb2:
Are any polishers made with ceramic bearings?
Ceramic bearings have 1/3 the friction and last longer.
 
^umm you guys need to come up with an American Flag style smiley saluting lol.

I think I know where to find one...


Also I've been thinking Mike, so maybe you can help out with this.

Lets just say there was a rotary style tool with a 2" bp vs the one I made, 2" DA.

If it were used on a jet black car, doing a 3 step, compound, polish, etc...

Couldn't it be more likely that the Rotary 2" would leave holograms in the paint if it wasn't followed up with a 2" style DA?


Good questions Art.

Here's my opinion and experience...

When you shrink down the diameter of the face of a buffing pad and use it with a rotary buffer the potential to leave visible holograms increases.

I don't know why this is but it's what I've seen in real life in the past...

When I say in the past, technology has really changed a LOT in the last decade, heck in the last couple of years. The technology would be,

  • Foam pads.
  • Slow RPM rotary buffers.
  • Abrasive technology.
Paint systems are always a huge factor too because what might work on one paint system will not always work on a different paint system.


Interestingly enough that you brought this up, I have such a test and project coming up and I'll let you know how it turns out.


:)
 
Witnessed the Hernandez Polisher in action last night at Meguiar's Thursday Night Open Garage.

They did four test spots with various pads and polishes to remove 1500 grit sanding marks on a test hood.

Good results with all combos.

Great results with the Buff Daddy Cutting Pad, paired with M100

The extension was also tested on the Meguiar's DA. Worked well on that too.

Art was shooting video, so I look forward to seeing that
 
Seems that these will be available pretty soon for everyone to buy. :props: (just got off the phone with Lake Country)
 
art, how's it holding up? any problems to report thus far?
 
None so far, I did cut down the extension down to 1 coupler. Having it that long seemed unnecessary. I also did it to reduce the margin of error to make it more balanced and stable. Also, I taped the extension with a foam tape and covered that up with masking tape.

I did this on the fly as a precaution of the metal extension hitting the paint.

I got to try out my polisher on a Harley this past weekend. I knew what it was capable of doing and how to use it since I've been using it more lately. It was nice having the option of a 2" system alongside a 3" system.

I did the whole bike with a 2" and 3", will post pictures of the finished bike.

10563060_1516370041927925_7665649744706400725_n.jpg


^ 2 coupler extension

995615_1516370058594590_9149062129859995564_n.jpg


^ and just one coupler

I've yet to try the 1 coupler extension, but I am sure it will work as I planned.

IMG_36822.JPG


IMG_36461.JPG


IMG_36722.JPG


IMG_36802.JPG


and I really like the LC pads with this setup. They fit slightly bigger (Which I prefer) and work like the LC pads are known for.
 
Back
Top